Part 1: Semester 1 - Introduction to Seismology

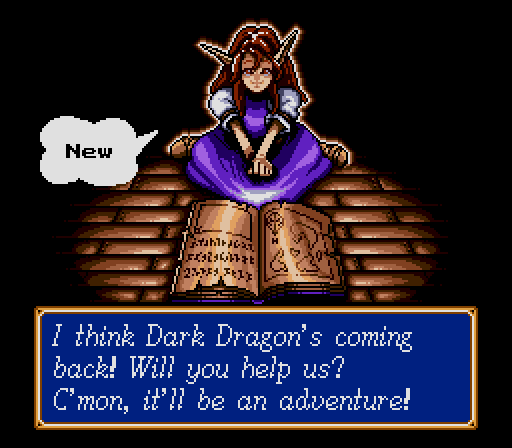
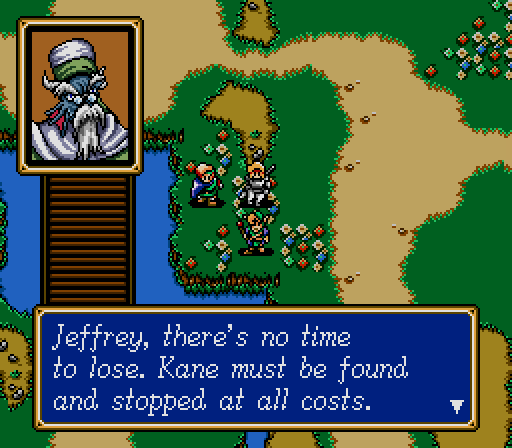
The game intro has some backstory, but it's not particularly complex. Those who are interested but unfamiliar can check out Random Hajile's fine vanilla playthrough on the LP Archive. Basically, there is a Dark Dragon, and it is bad, but it's magically sealed for now, and probably someone's going to have to make sure it stays that way.
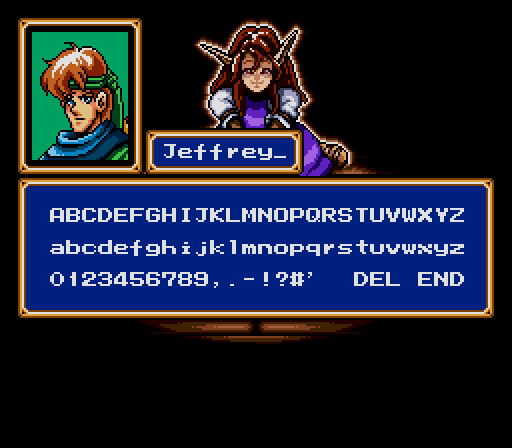
We start by creating a new save file, and naming the main character. Ordinarily I might let the thread chime in with suggestions, but, for the ad hoc leader of a rag-tag bunch of misfits who aspires to do as little as is strictly necessary to succeed, there can be only one choice.
Student ID
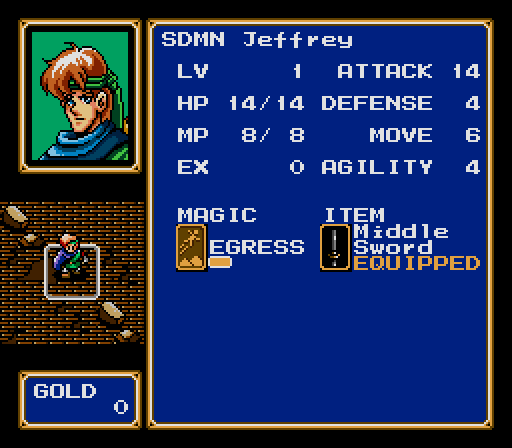
Jeffrey the Swordsman has great overall stats, access to the best weapons, and an early leg-up in the equipment department. As he levels up, he'll steadily gain HP and Attack, and usually be fast enough to act first in any battle. This is good in a normal game, because Jeffrey getting killed instantly loses the battle, and enemies will make him a priority target, so it helps that he's not an escort quest waiting to happen. It's doubly good in this challenge game, because Jeffrey will be fighting the first two battles solo.
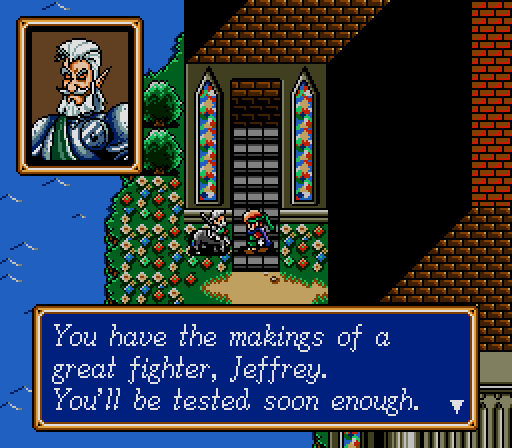
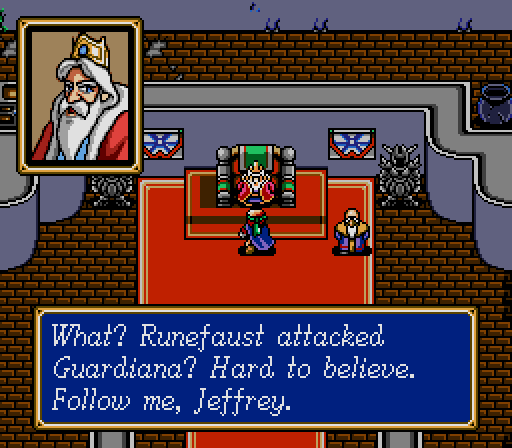
Jeffrey starts the game in Guardiana, minding his own combat training when his instructor gets called away by the King. His friend with the nose suggests following along, and that's the last we'll see of him until the end of the game.

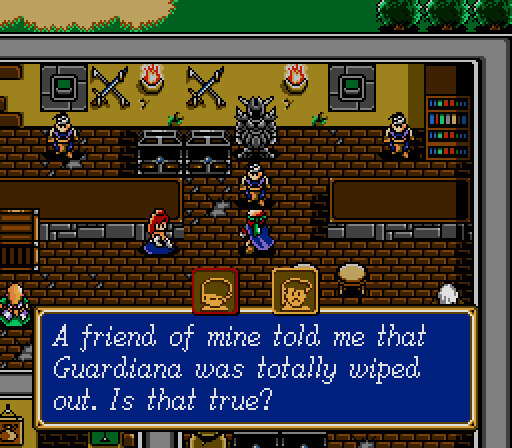
This guy's drinking in the bar, reminiscing about old times. We don't want to associate with drunks, so we'll steer clear of him.
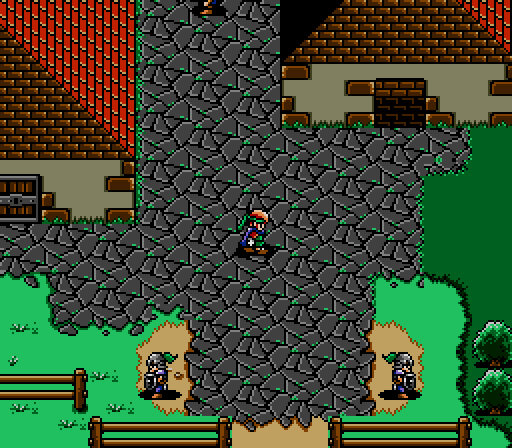
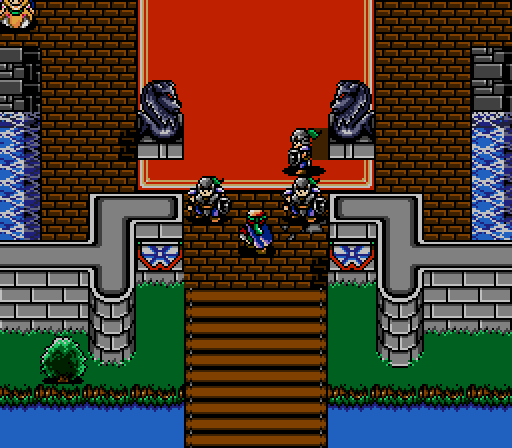
Ordinarily, we'd have to talk to the King to advance the plot, which forces Nose and four other characters into the party. We can try to leave town without them, but approaching the patrolling guards at the fence makes them block the exit and tell us it's too dangerous to go alone.
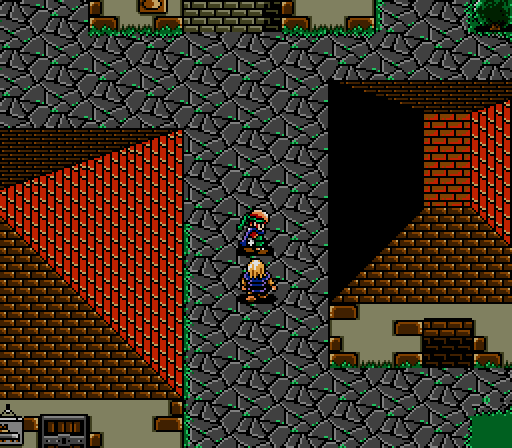
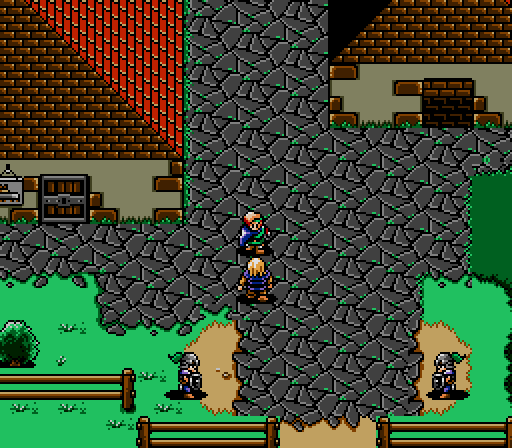
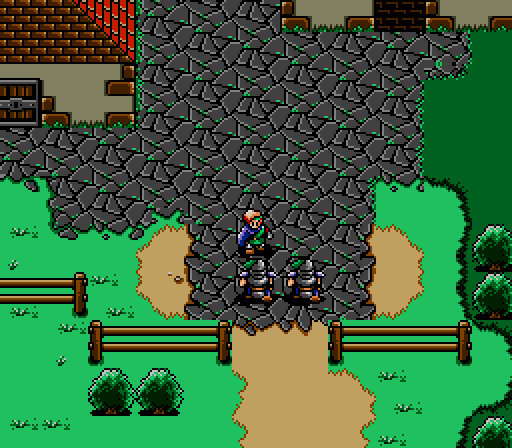
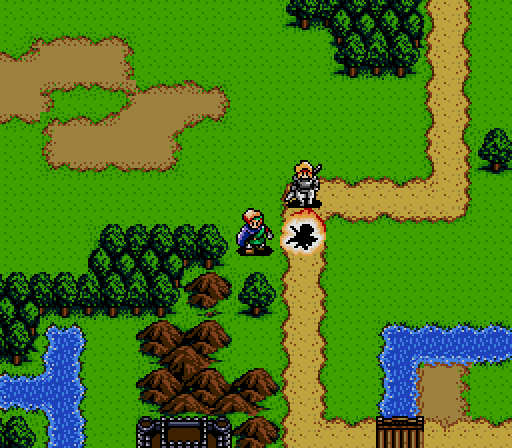
However, there's a townsperson wandering nearby whom we can block with Jeffrey's body. If we force him to walk south...

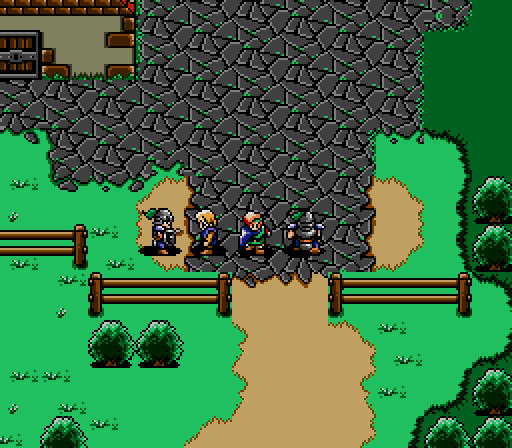
...he can block one of the guards' paths, leaving an opening for us to escape.

From there, we can walk straight to the first battle site. It's not a hard glitch to pull off, which is good, because we have to repeat it if we want to return to town.
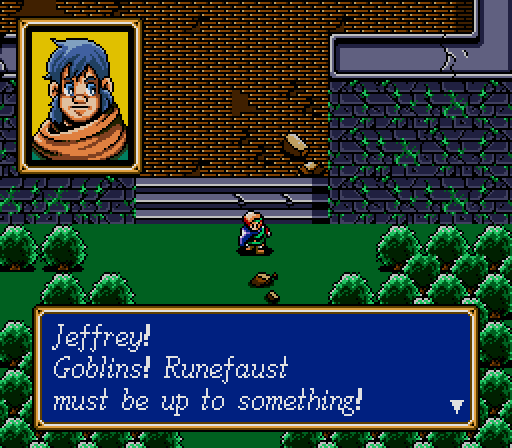
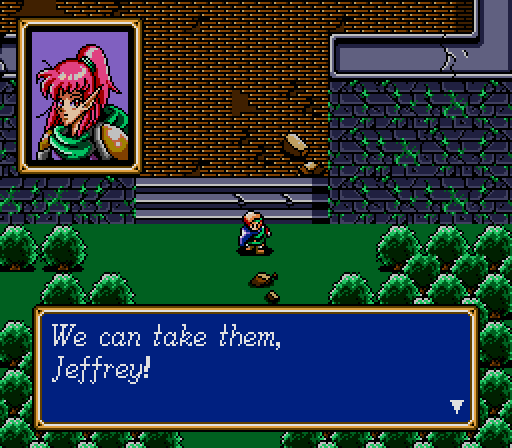
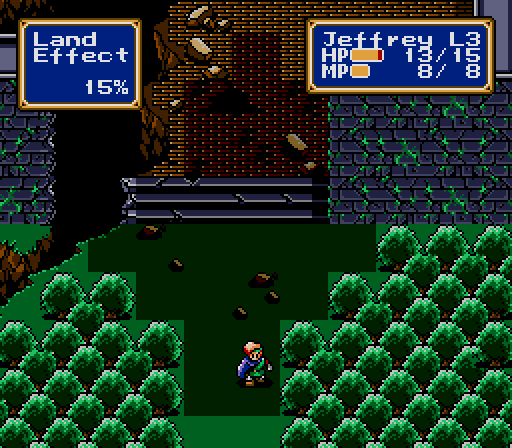
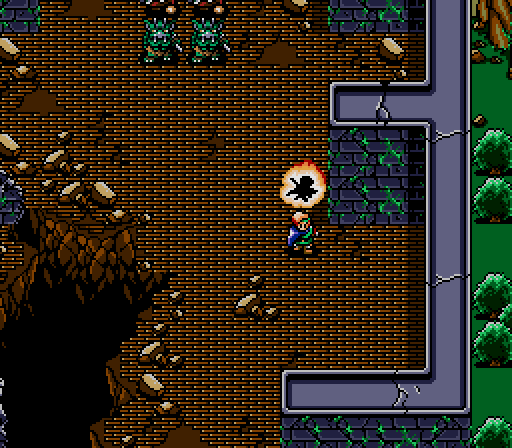
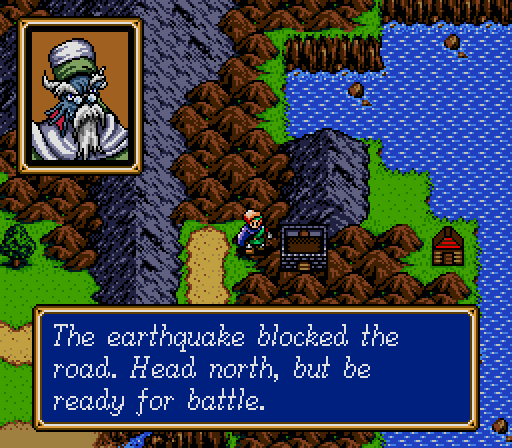
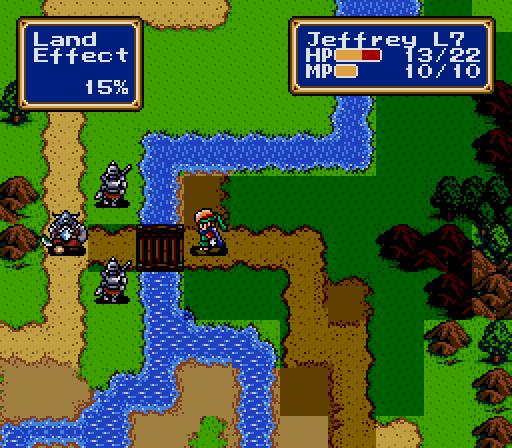
Once we're there, Jeffrey hears voices in his head...
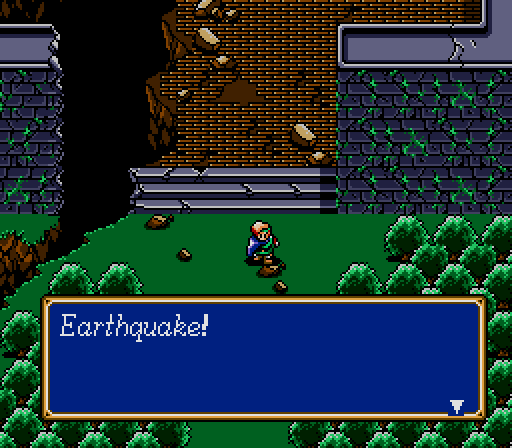

...while an earthquake narrows the battlefield.
Battle 1
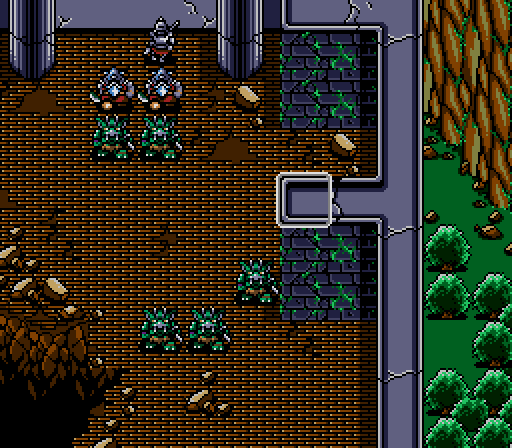
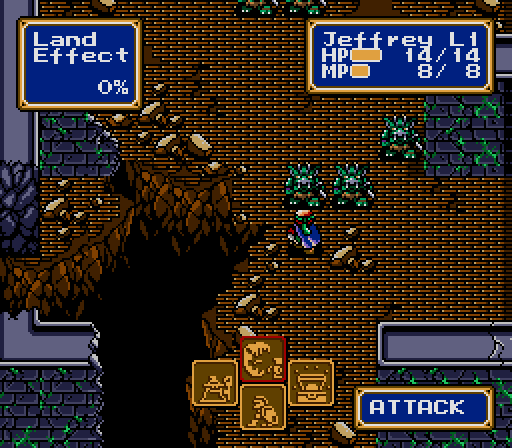
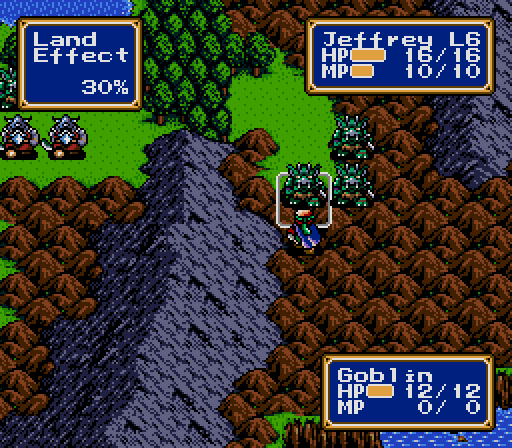
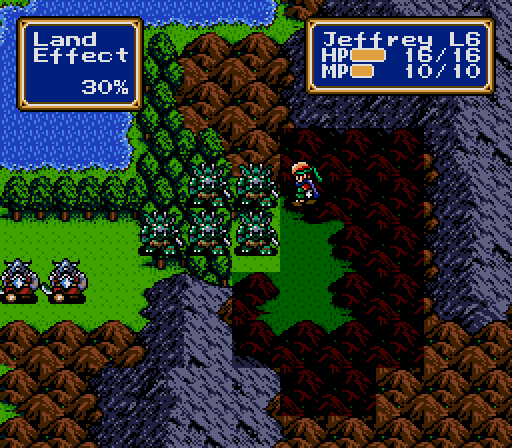
In the first round, three Goblins form the front lines of the enemy forces. These enemies share the game's dumbest AI, and won't move from their spots, even when Jeffrey's in range. They'll only attack if Jeffrey stops next to them.
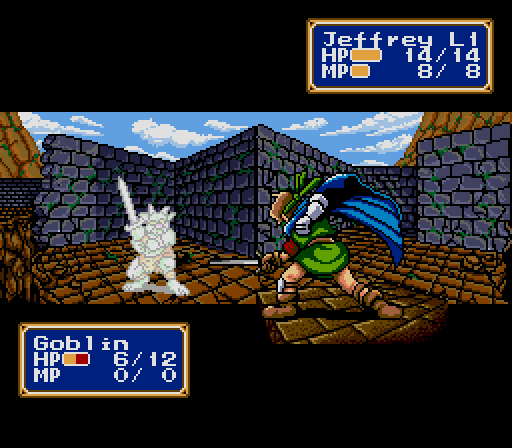
Which is good, because every Goblin is a two-hit kill for Jeffrey, and he can only safely absorb three hits himself. He's only just strong enough to take out the front line.

(Jeffrey gains 1 ATK, 1 DEF, 1 SPD)
This battle is obviously balanced for six characters, not one, so we're going to have to level up. I will mostly be limiting grinding to a few specific battles where it is most efficient, but there's no getting around it here.
Study Guide - Gaining Levels
The leveling system in Shining Force I is the subject of constant misinformation, mostly because hackers decoded the system from Shining Force II first and assumed the original game worked the same way. But the process is completely understood, largely through the work of DarkKobold, who disassembled the game and wrote a bunch of analysis software for his TAS.
Every character has an average value for every stat at every level hard-coded into the game. When a character gains a level, the game looks up that average for each stat, lets it vary randomly (±average/4-1, up to a maximum of ±4) and compares that value to the character's current stat. If it's higher, the character's stat goes up. Otherwise, nothing happens.
Some guides stress the importance of trying to get optimum stat increases at every level, but that doesn't matter in the long run. A high stat at any given level might raise the minimum for the next level, but it won't change the average or the maximum, and low or no increases become more likely. There's an in-battle save function, so I could technically scum for better level-ups without breaking my "no savestates" rule, but, as we see, there's just no point.
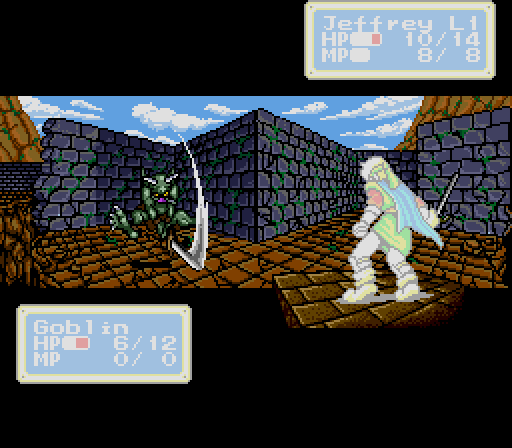
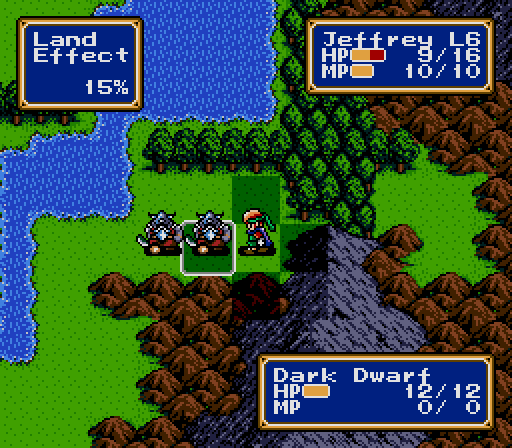
Back to the fight -- stepping into any of the squares formerly occupied by the front line causes two Dwarves and two Goblins to stop waiting patiently and charge. Going any further will draw out the Rune Knight as well. Unlike the front line, these guys will happily surround Jeffrey.
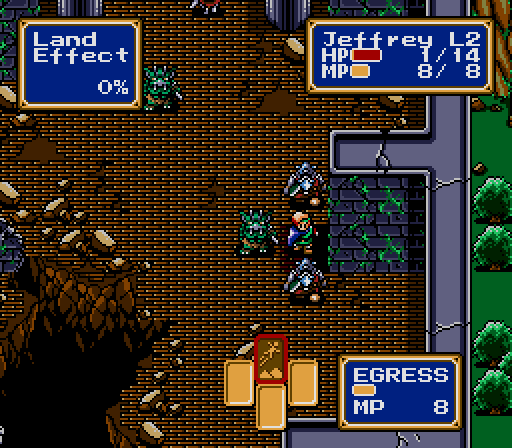
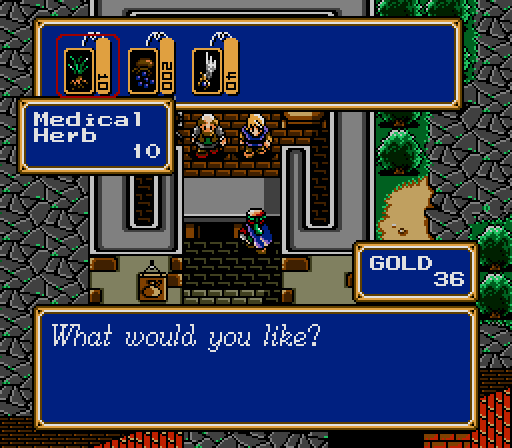
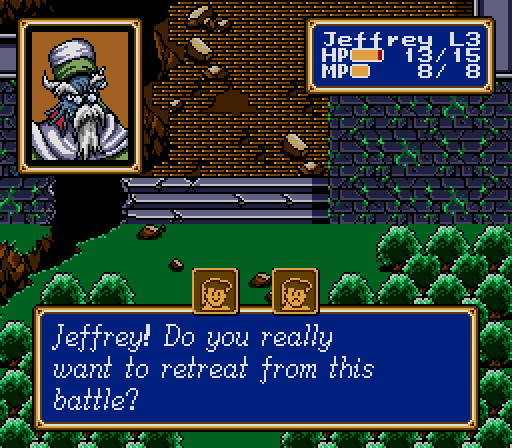
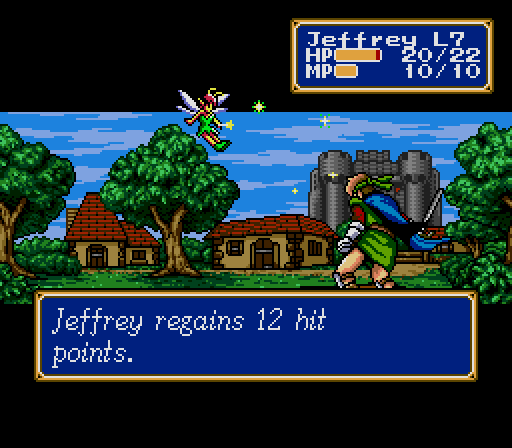
This is a good opportunity to use Jeffrey's Egress spell, which retreats from battle to the nearest priest. We don't want to do this much, since it brings us back to town, and we have to glitch our way back out again. We do want to do it once, though, because Jeffrey didn't get the allowance he'd normally get from the King, and we want to fill his inventory with healing items now that we have some cash. There won't be a chance to shop before the next battle.
(Jeffrey gains 2 ATK, 2 DEF, 1 SPD, 1 HP)
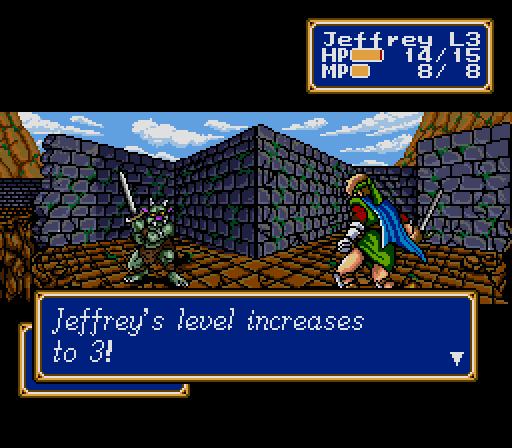
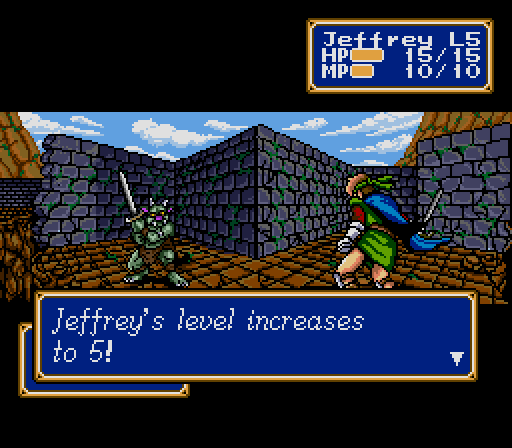
Back to the battle. The strategy is to take out the front line, then reset the battle, and repeat until Jeffrey is strong enough to win on his own. He needs the Attack to one-shot a Goblin, the HP and Defense to survive two hits from a Rune Knight, and the Speed to act first in the round. Level 6 or so should do.
Rather than using Egress, we can retreat by running back to the entrance. That drops us just outside, so we don't have to hack our way out of town again.

(Jeffrey gains 2 ATK, 3 SPD, 2 MP)
(Jeffrey gains 2 DEF)
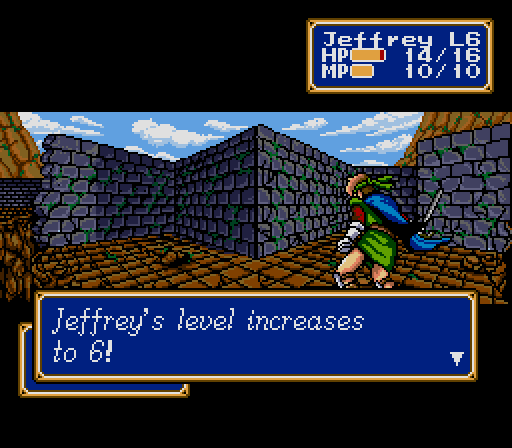
(Jeffrey gains 2 ATK, 1 DEF, 1 HP)

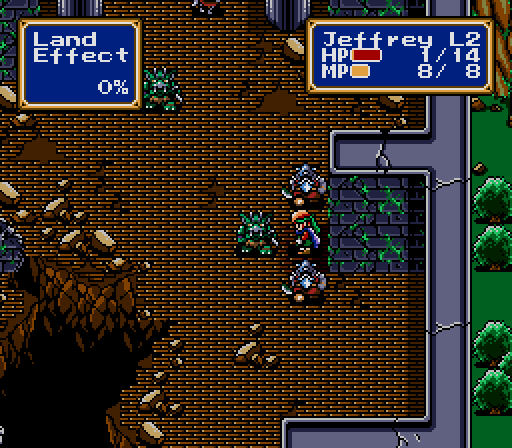
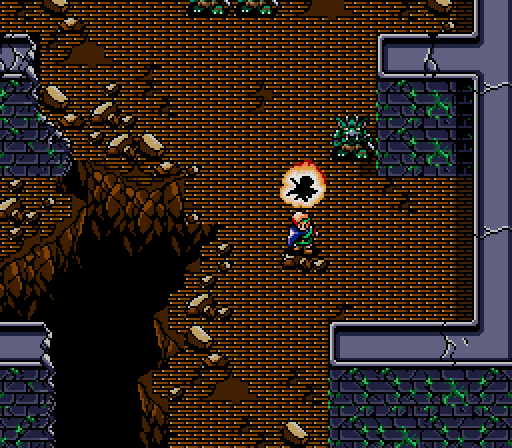
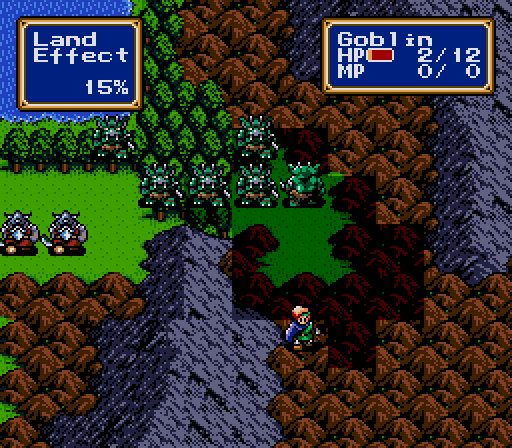
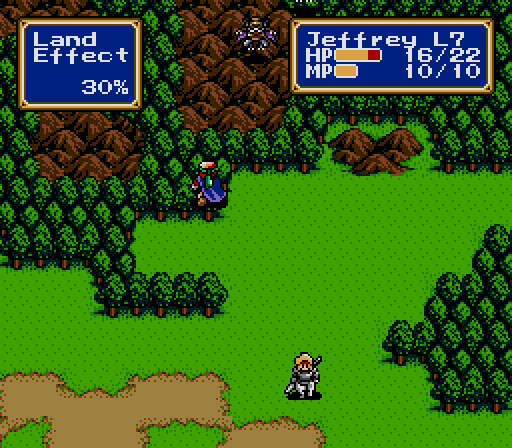
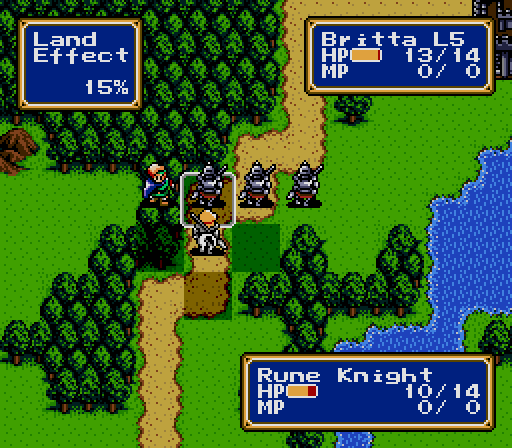
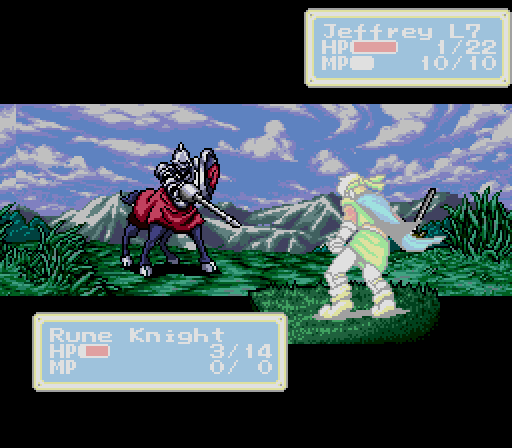
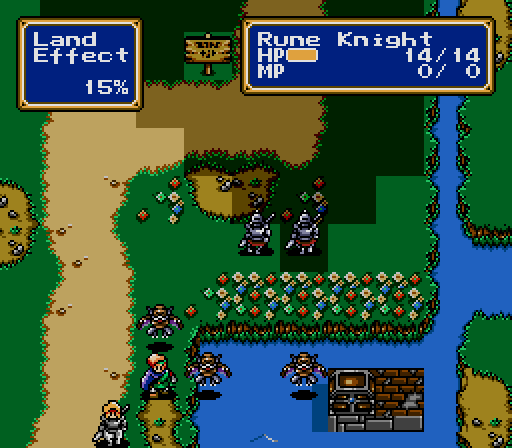
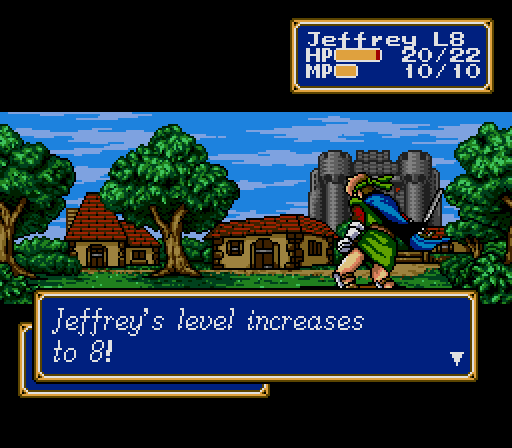
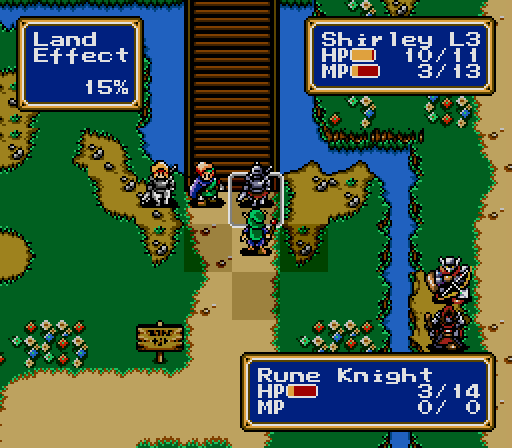
Once Jeffrey is Level 6, we reset the battle one last time and take out the front line, from left to right. Then, from below the last Goblin, we sprint into this side corridor. Ideally we'd be able to reach the rough terrain square, but it's not necessary.
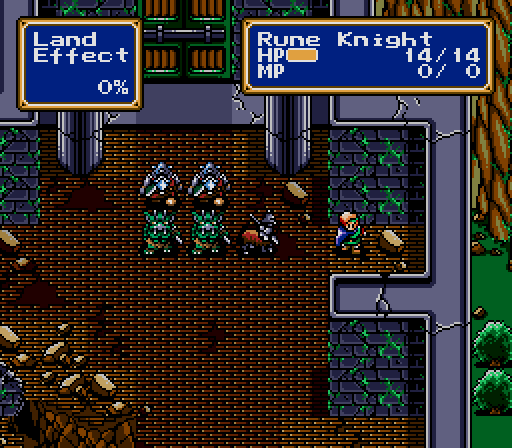
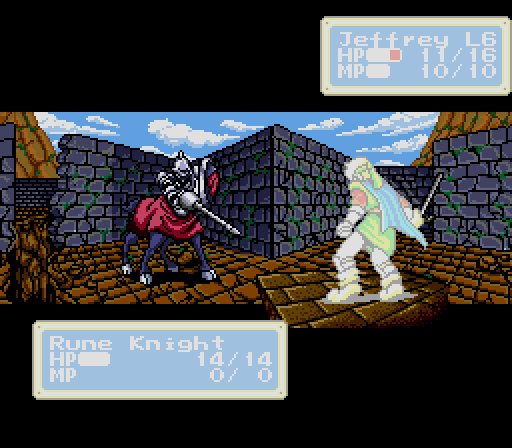
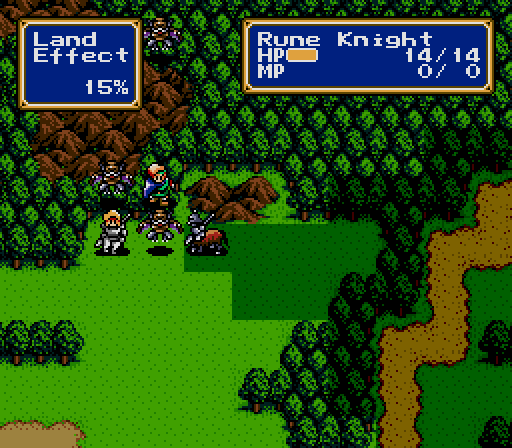
Jeffrey's still not strong enough to take on all the remaining monsters, but he doesn't have to be. The Rune Knight goes next and corners Jeffrey, and the other monsters line up ineffectually behind it, unable to get close enough to contribute to the fight.
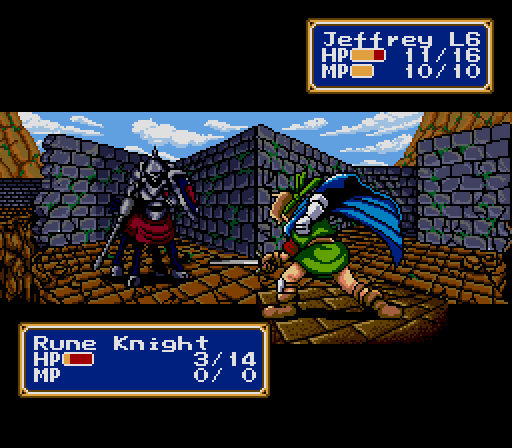
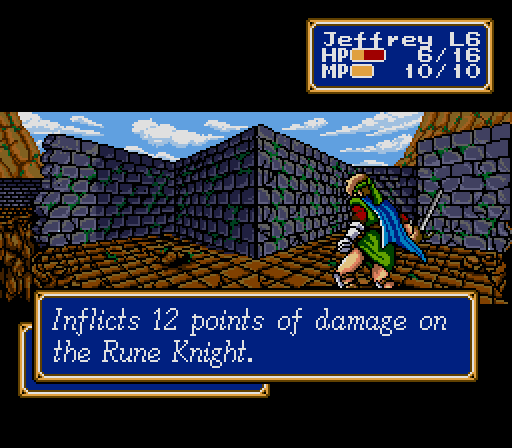
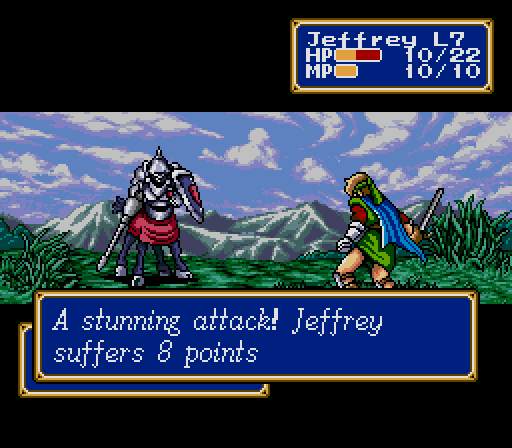
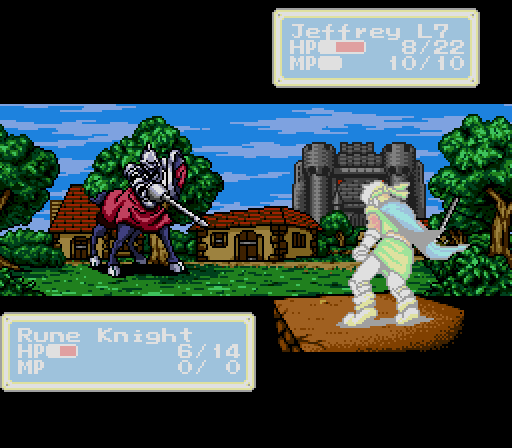
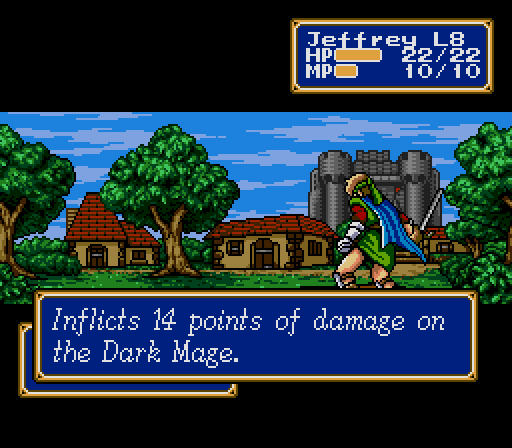
Jeffrey and the Rune Knight trade blows until the Knight falls...

...taking the remaining enemies with it.
Victory!
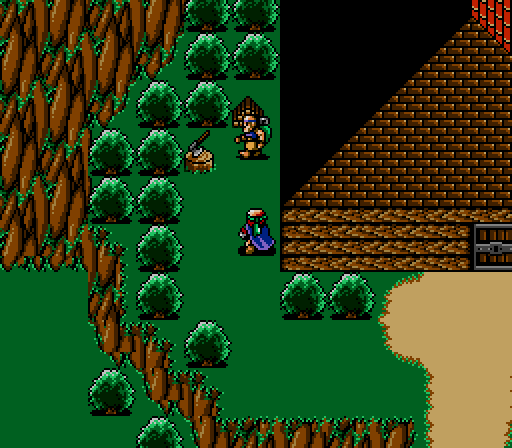
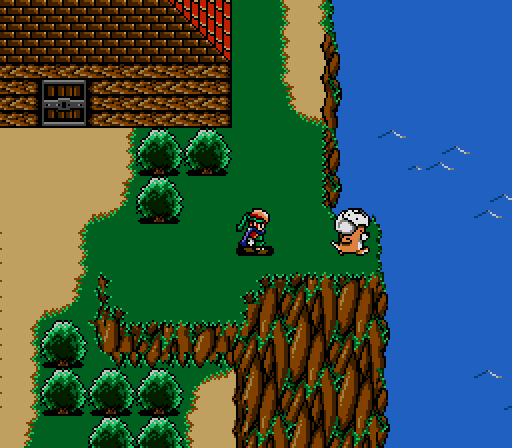
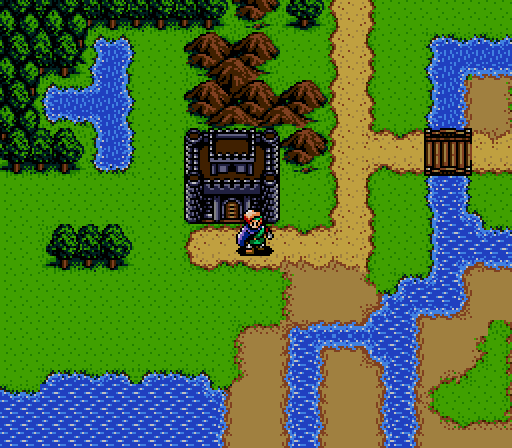
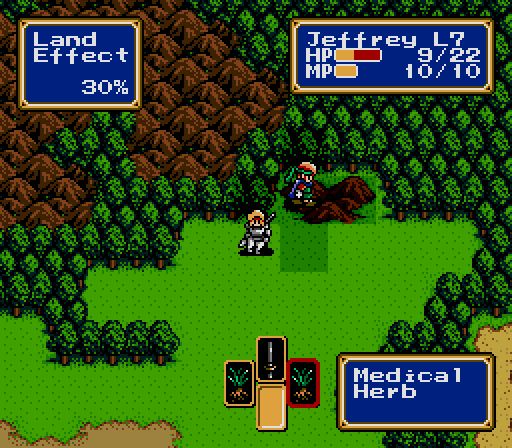
Now that we've beaten the first battle, Egress takes us to this cabin nearby, and we don't have to worry about doing the town glitch again. There's a priest, but no item shop, so we need to ration the three Medical Herbs we bought Jeffrey earlier. Nothing else of interest here, so we'll move on.
Battle 2
There's no new enemies in this battle, but we have to contend with the terrain, which will slow Jeffrey's movement and add to the monsters' Defense. Even Goblins will no longer be a one-hit kill, and enemies aren't worth enough experience to level any more. However, by exploiting the enemy AI, we can make most fights one-on-one and suffer only one or two damage from each one.
The first three Goblins will actually retreat once approached, joining forces with another three that approach from the west.

By taking our time and not advancing too far, we can take out the Goblins without getting mobbed.
(Jeffrey gains 6 HP)
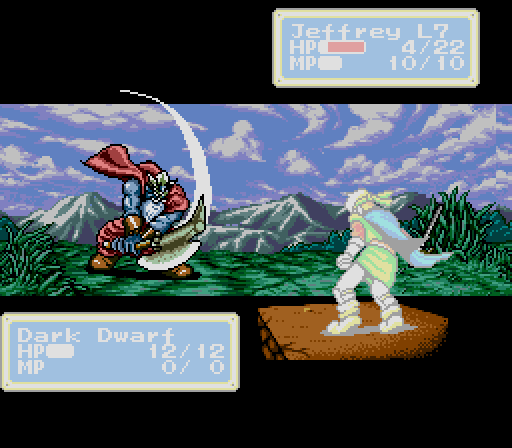
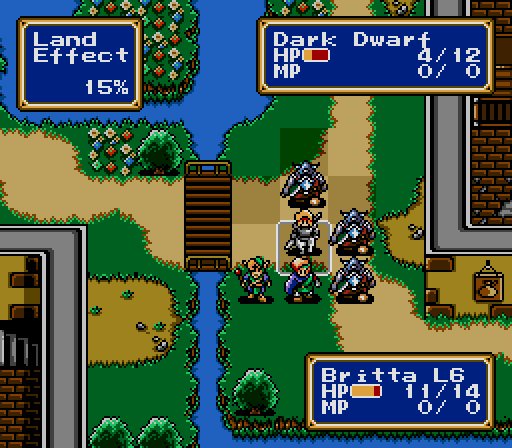
The Dwarves will charge, but two-on-one is doable.
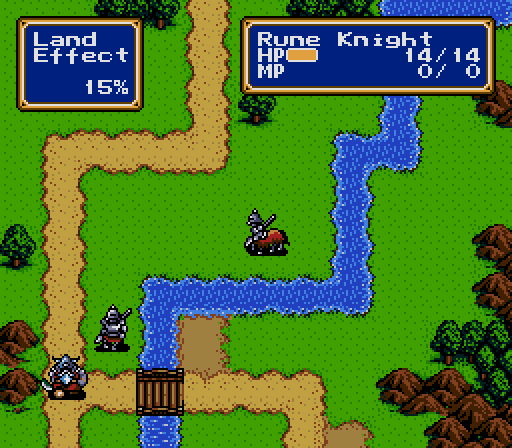
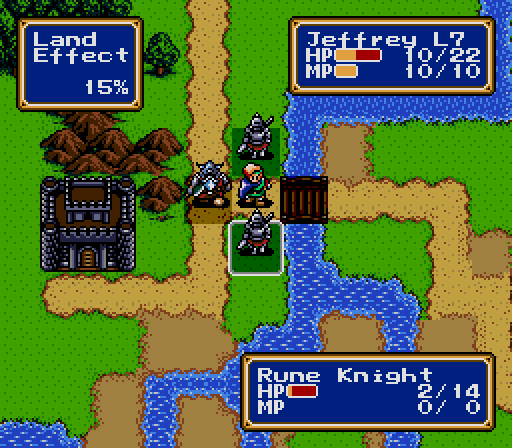
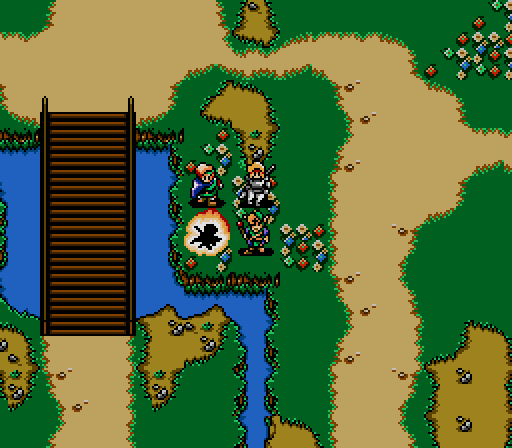
As we approach, two Rune Knights and one Dwarf will block the bridge. This is the time to use healing items to top up.
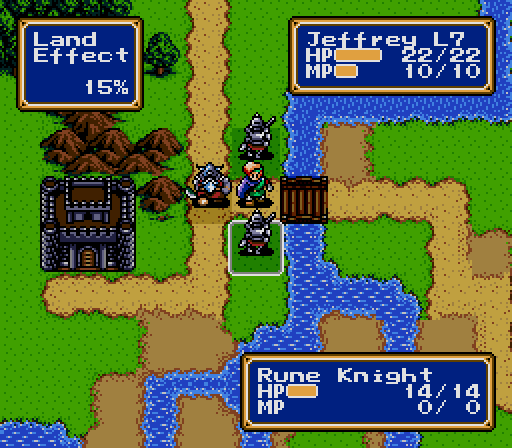
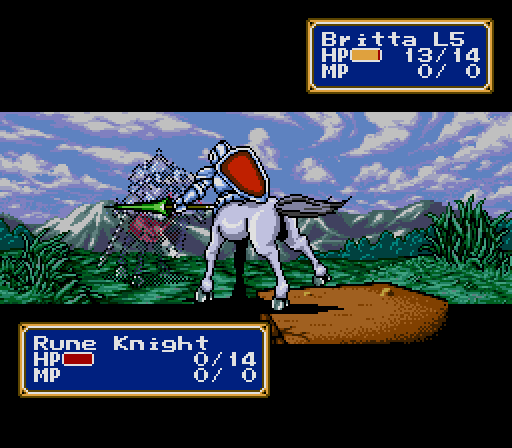
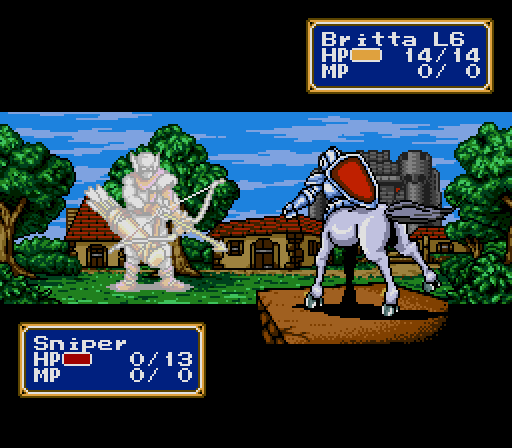
There's no load-bearing boss this time, but we still can get away with only defeating one of the remaining enemies. It's best to attack the southern Rune Knight, as they do more damage than Dwarves.
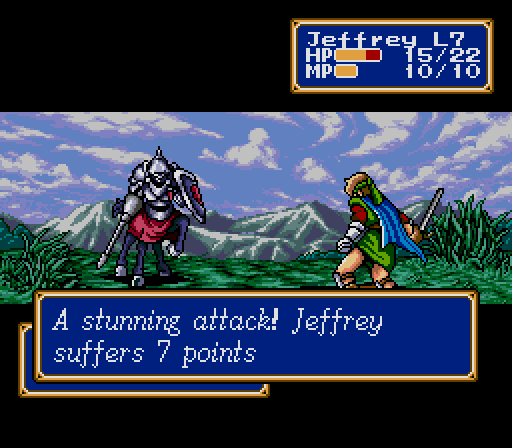
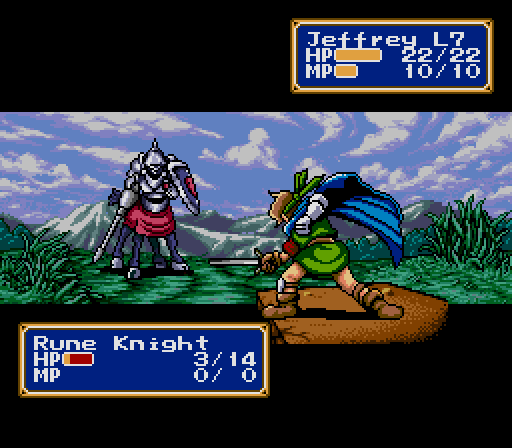
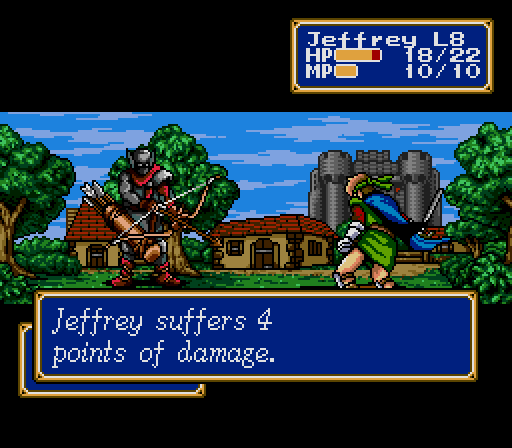
Jeffrey takes an unfortunate critical hit...
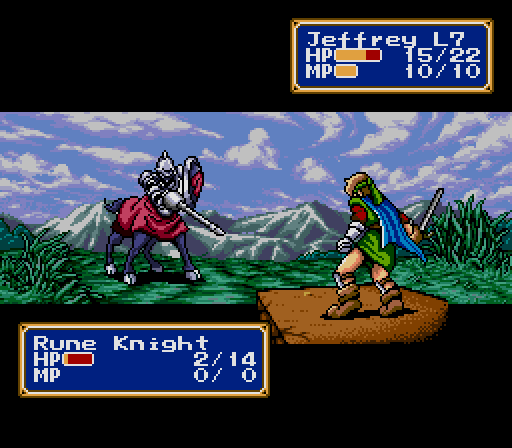
...and another round of attacks after the Knight falls...
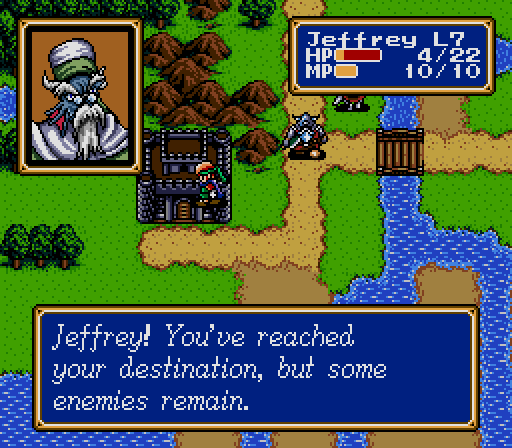
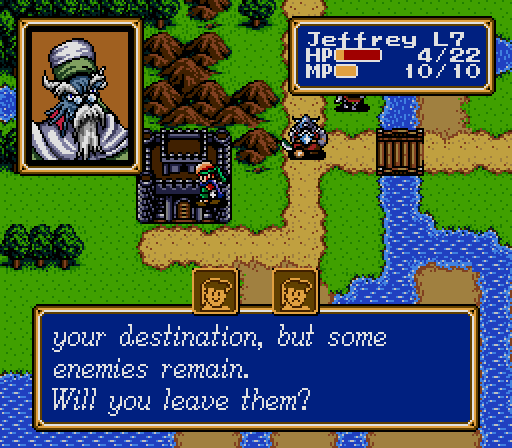
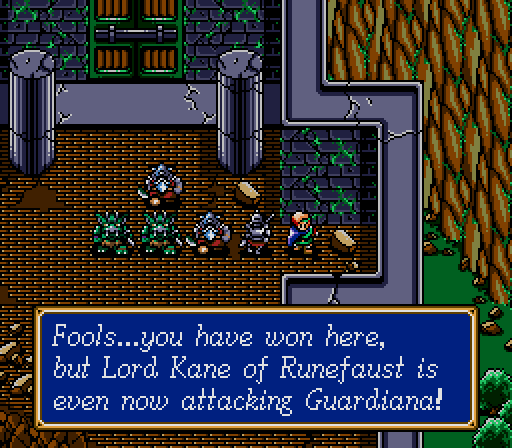
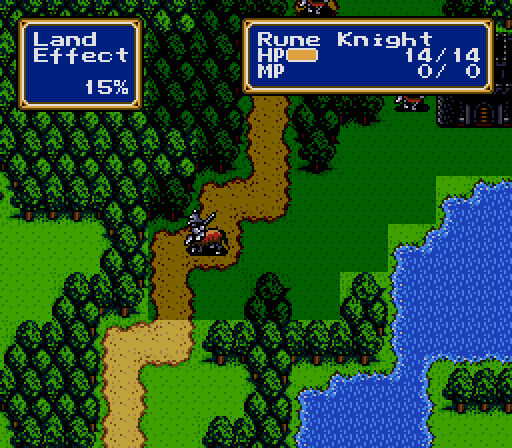
...but the way is clear to Guardiana, and we can leave the remaining enemies behind.
Victory?
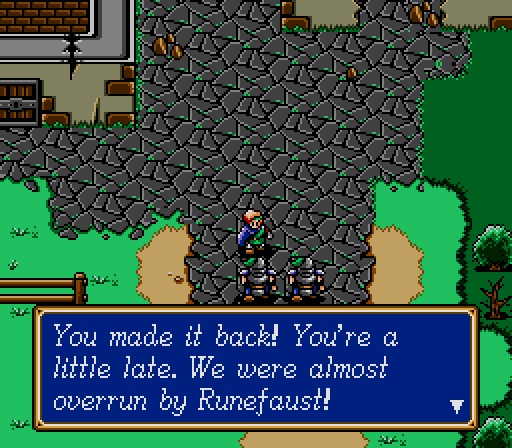
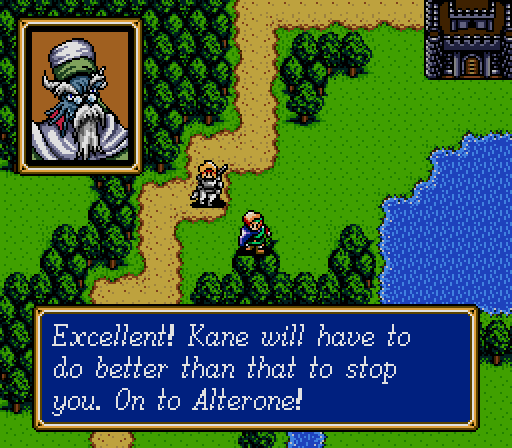
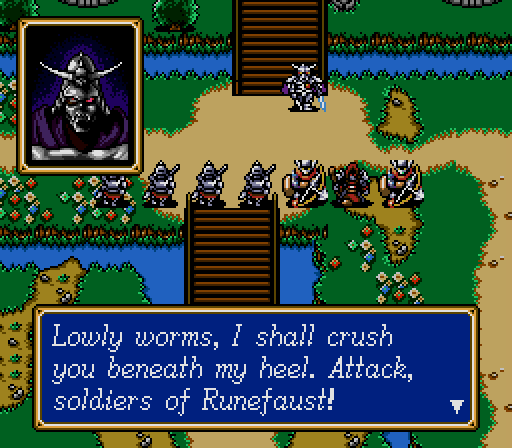
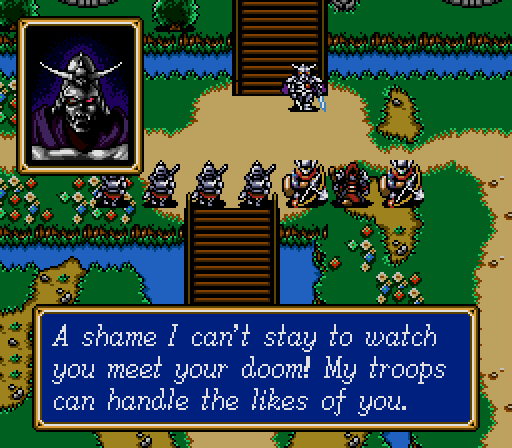
Well, home got a little trashed, and the guards seem to have forgotten an enemy general made it into the castle.
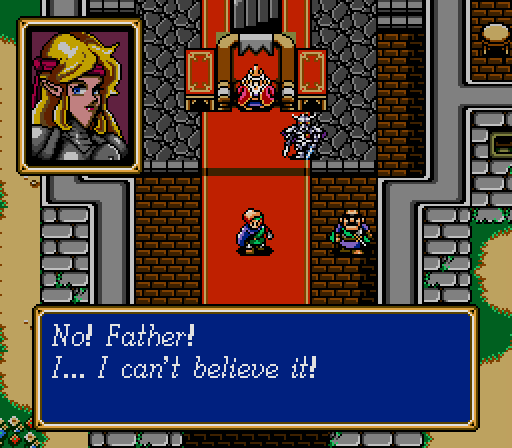
And he kills Jeffrey's mentor and the King.

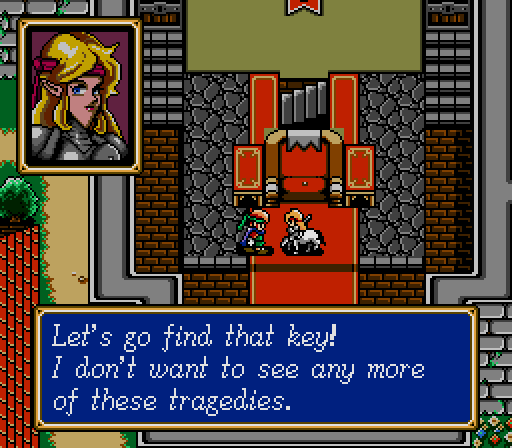
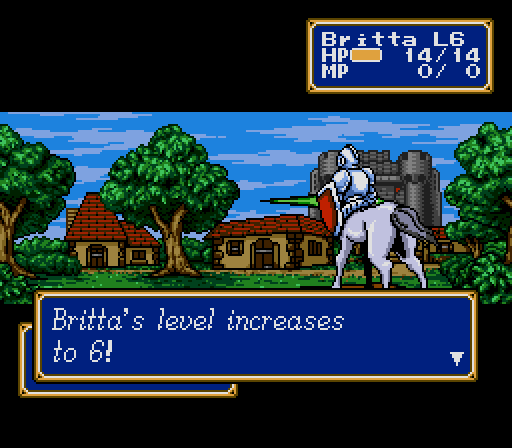
At least we get a centaur out of the deal.
Student ID
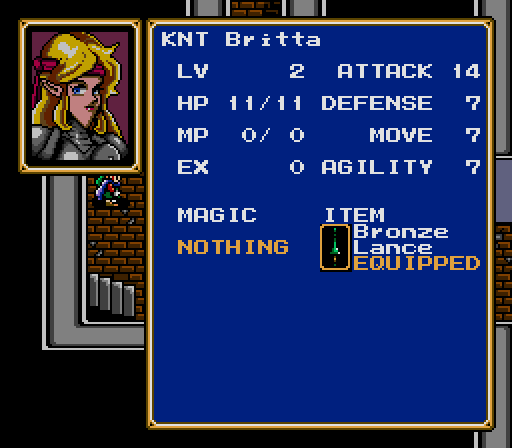
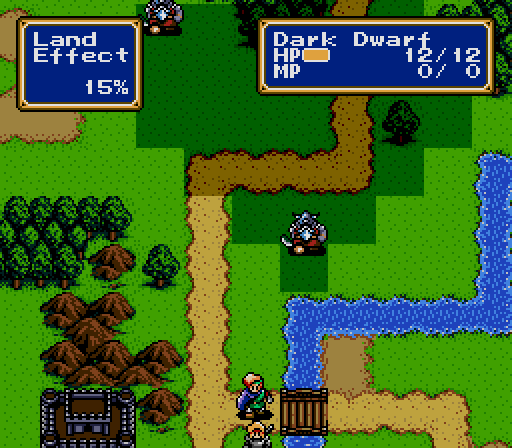
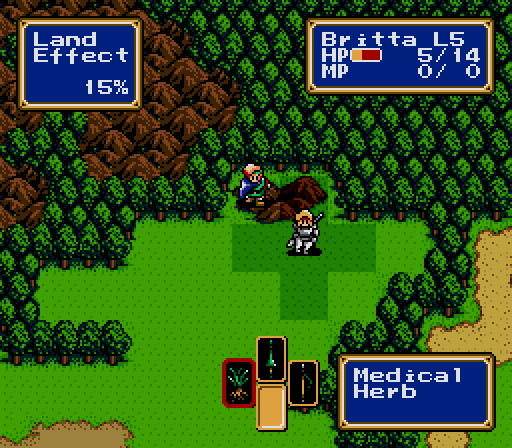
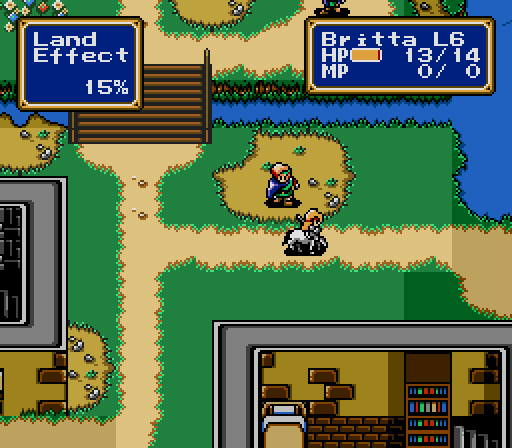
Britta the Knight is a typical centaur; high mobility, bad in rough terrain, dependent on equipment for most of her attack power. She gets lots of Defense early on, good for soaking up hits from Rune Knights, especially with a Force this small. She comes with a Bronze Lance, but we'll get her a weaker Spear before the next battle. An unfortunately high number of enemies in this game have their AIs set to hold position no matter what, and a ranged weapon will be vital to dealing with them.
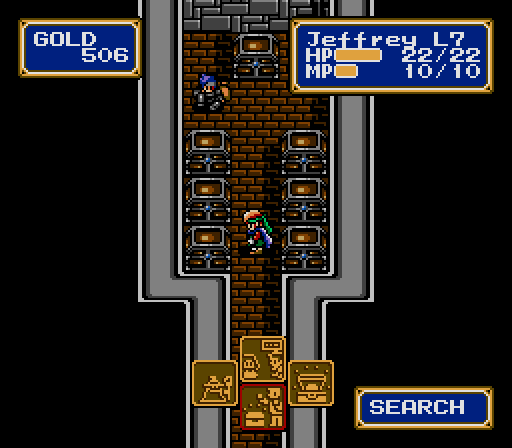
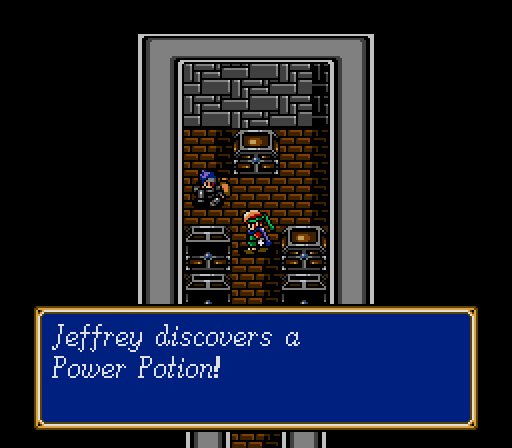
The third battle is just outside the town again, but we've got stuff to do first. We loot the castle treasury, winning 50 gold, a Medical Herb, an Antidote, an Angel Wing, a Power Potion, and a Defense Potion.
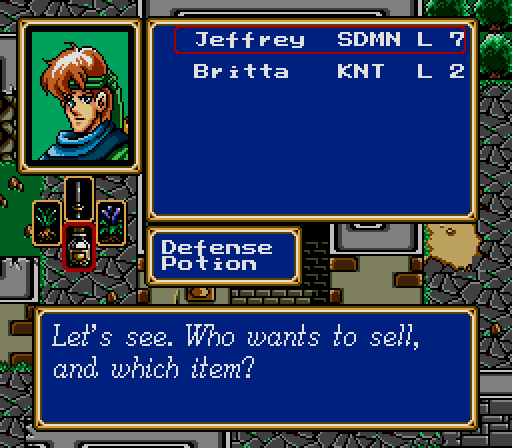
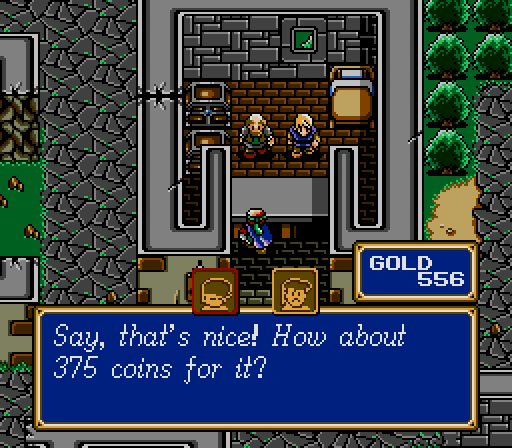
As we've recently learned, the benefits of the stat-boosting items are strictly short-term, and we don't have room in the inventory to carry them, so everything but the Herb gets sold. We'll be able to buy them back later.
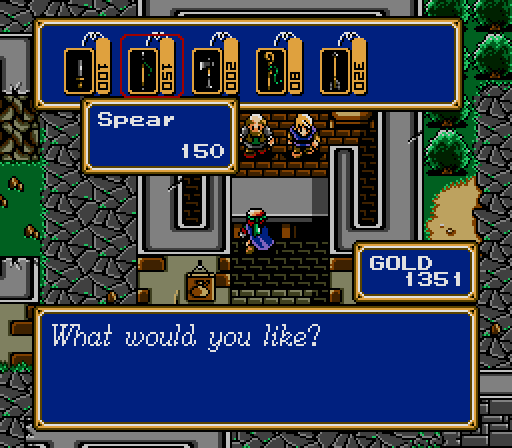
That also gives us cash for Britta's spear, although we're not hurting for money with all the grinding we just did.
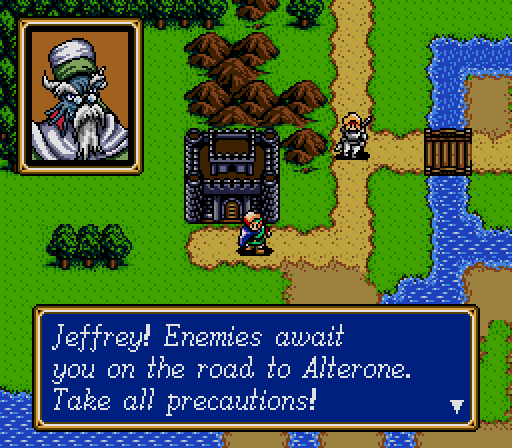
With our ranks swelling, we're ready to move on.
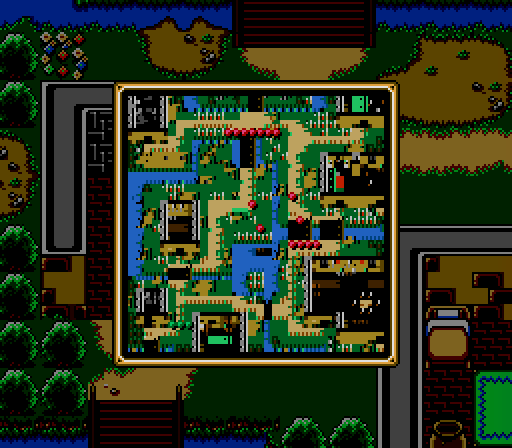
Battle 3

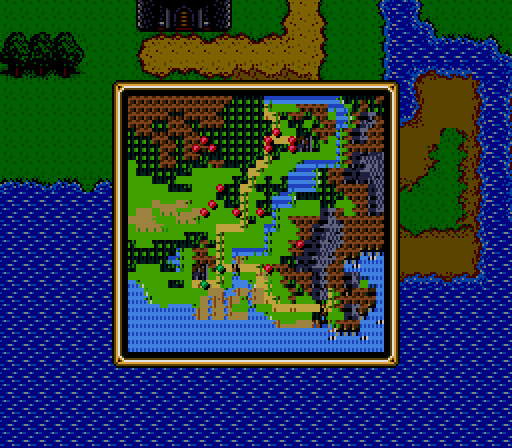
There aren't any stationary enemies in this fight, but they are divided up into four groups which can be engaged individually.
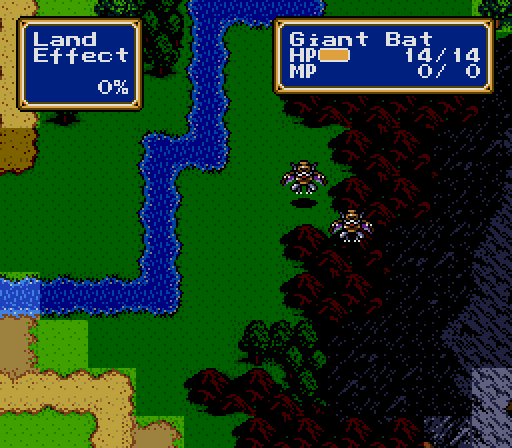
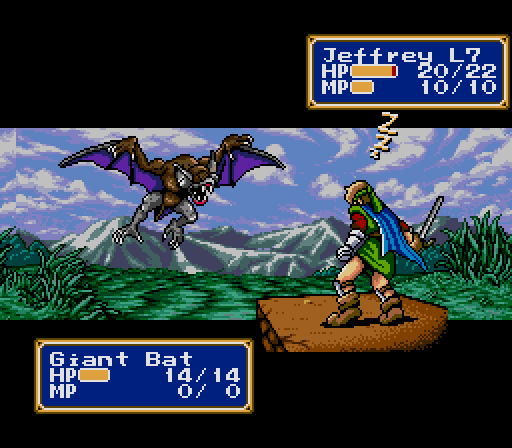
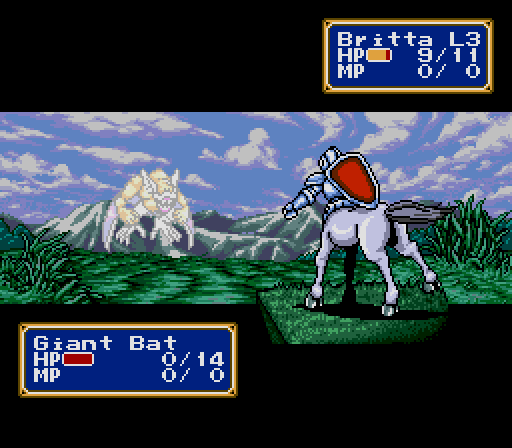
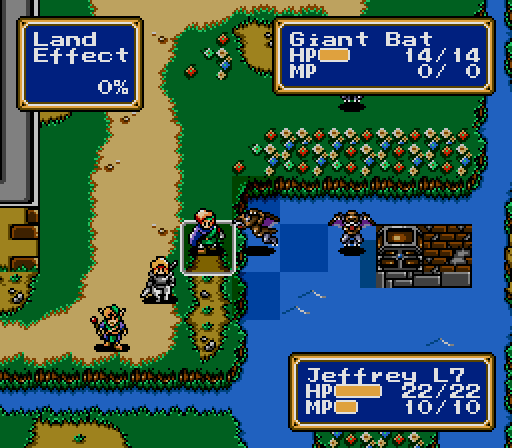
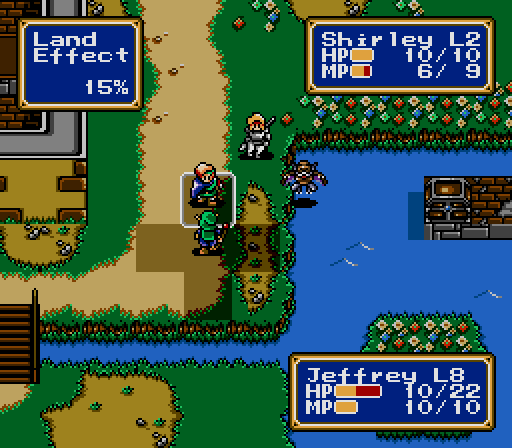
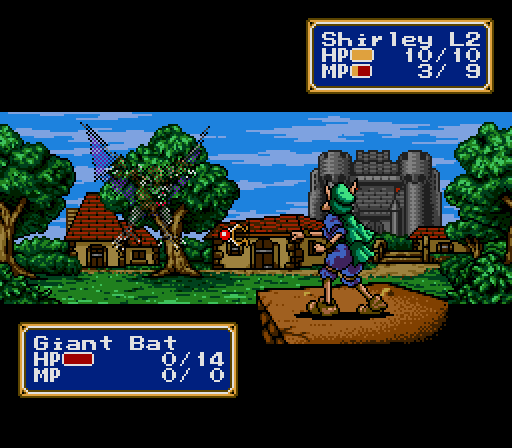
Two Giant Bats will immediately advance on the Force, and will reach us in two turns. These new enemies are relatively weak, but can put a character to sleep with their attacks. With only two fighters, losing one to sleep is pretty disastrous, but if we stay south of the bridge, we can deal with the bats alone.
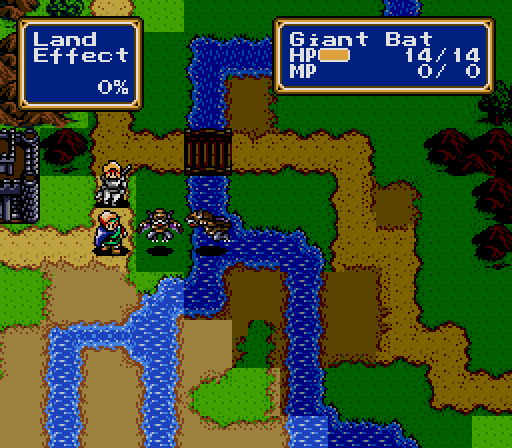
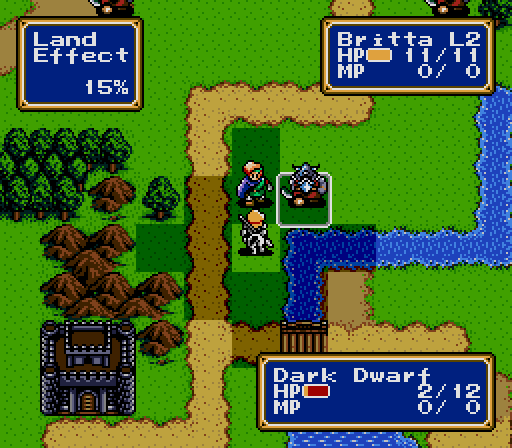
We can also take advantage of a peculiarity in the AI pathfinding. Many enemies will make a beeline for Jeffrey if he's in range, often ignoring other possible targets or even other angles of attack on Jeffrey. When the enemies line up like this, we can take them on one at a time for as long as Jeffrey can continue to tank the hits.
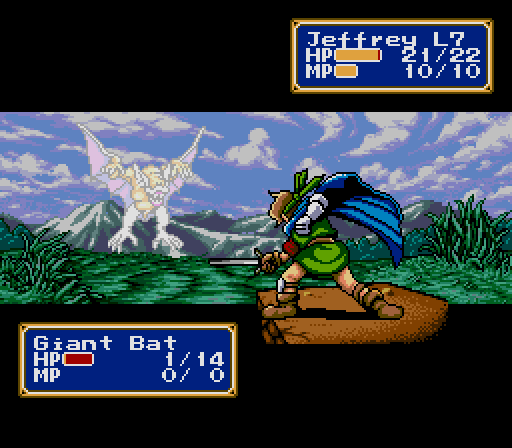
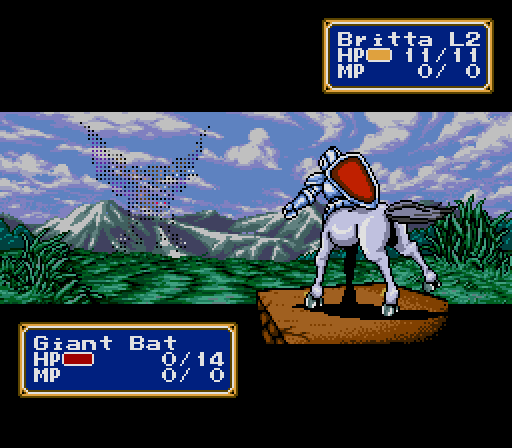
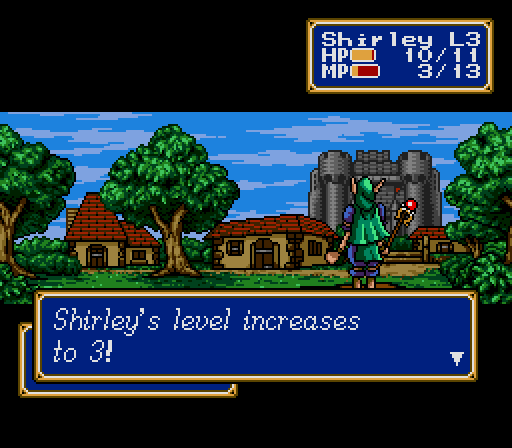
One of the side objectives of this mission is to catch Britta up to Jeffrey's level. Jeffrey's still not strong enough to one-shot enemies, but that lets Britta take the finishing blow and the majority of the available experience rewards.
The second group is five Dwarves. They only do one damage to Jeffrey, and their approach is staggered, so they're no serious threat.
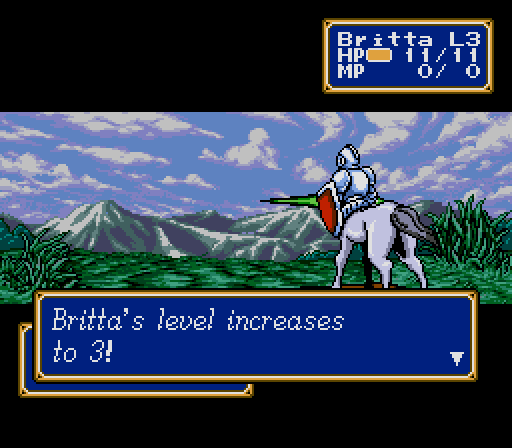
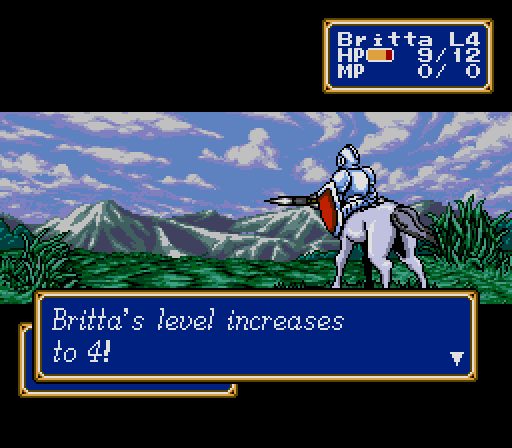
(Britta gains 1 ATK, 2 DEF, 1 SPD)
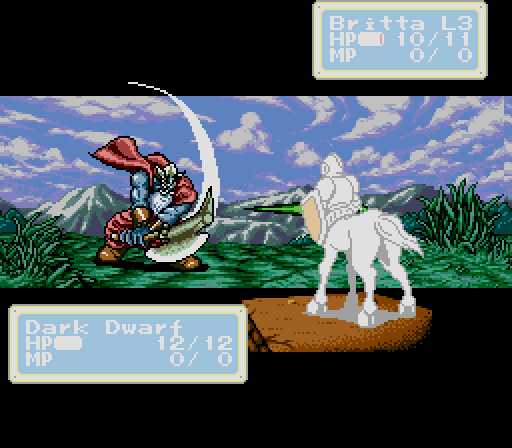
Especially once Britta starts gaining Defense.
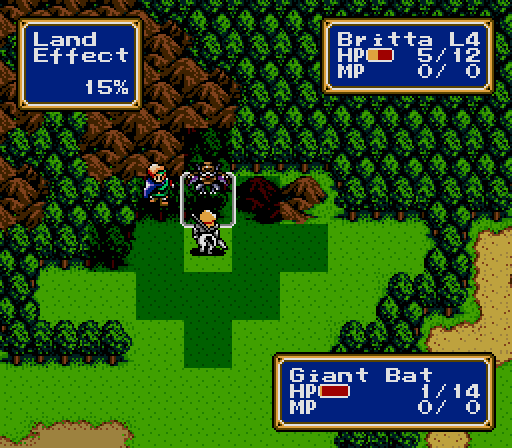
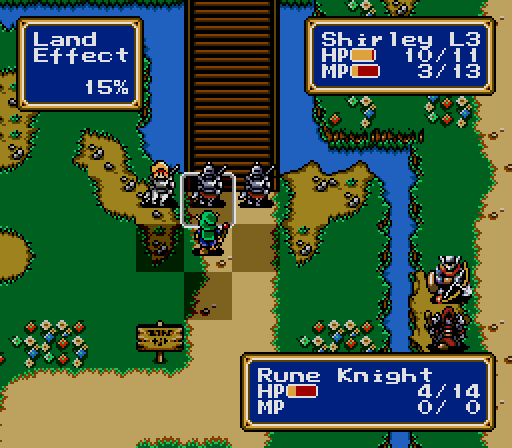
Once the Dwarves are down, we approach the third group, three more Bats, from the southwest. The final group is five Rune Knights, and their activation radius is pretty large.
Two even get drawn out from this far away.
(Britta gains 1 ATK, 4 DEF, 2 SPD, 1 HP)
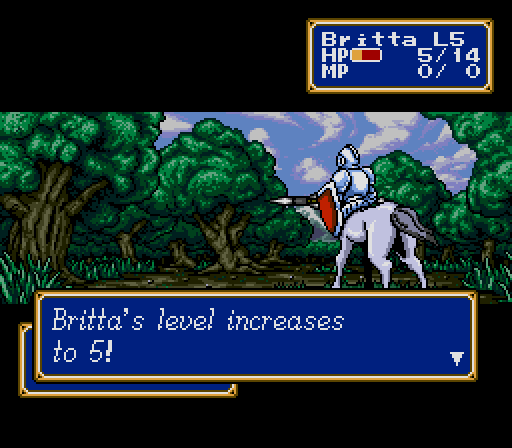
(Britta gains 2 ATK, 1 DEF, 2 HP)
We heal up before the last three enemies...
...exploit some stupid AI...
...take some unlucky hits...
...and scrape through by the skin of Jeffrey's teeth.
Victory!
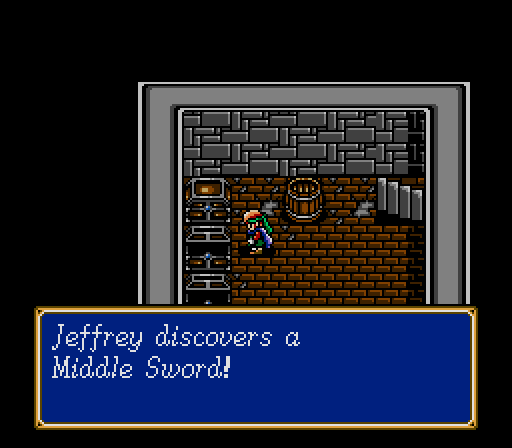
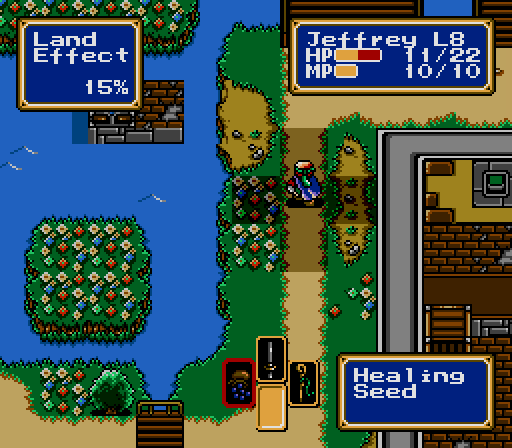
Once in Alterone, there's some stuff to do. We get a Bronze Lance, 2 Middle Swords, a Wooden Arrow, a Wooden Staff, a Power Potion, a Defense Potion, a Bread of Life, a Medical Herb, 3 Healing Seeds, and 270 gold. Jeffrey and Britta each take a Healing Seed; everything else goes to the vendors. There's also a fortune teller with a mysterious character portrait. I'm sure she won't be important in the future.
We can't get into the castle until we talk to this nobody in the bar.
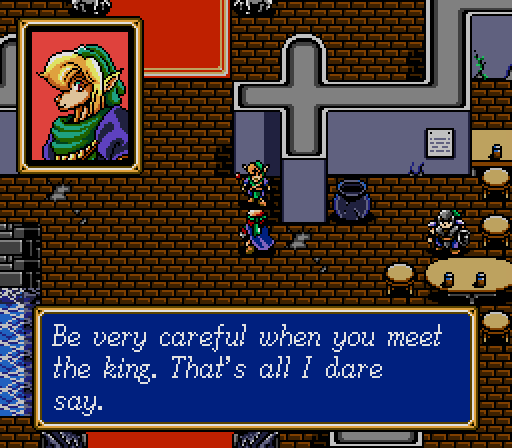
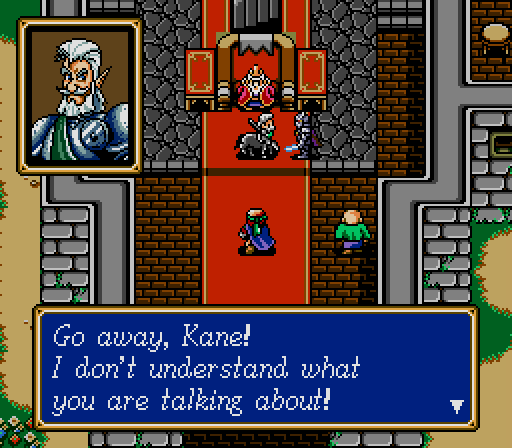
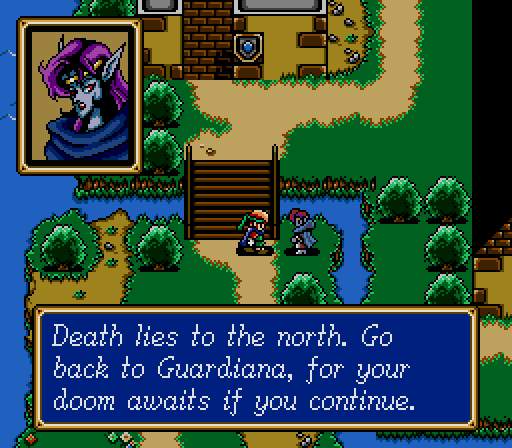
Then we get warned about the King...
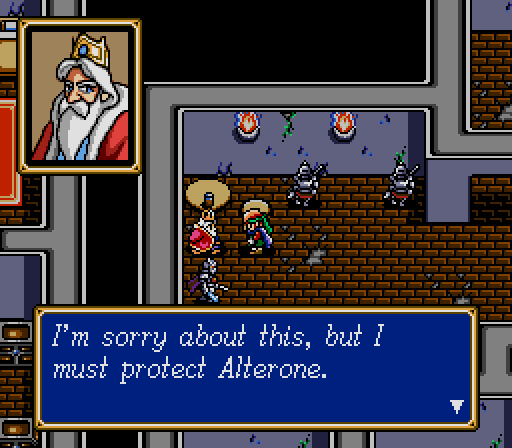
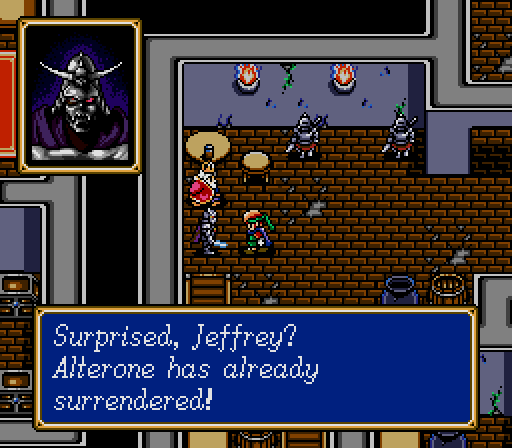
...who betrays us about thirty seconds later.
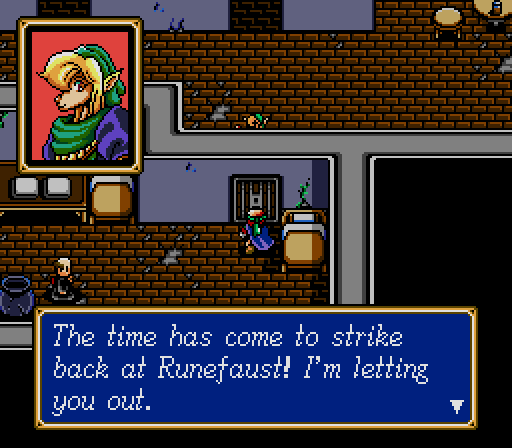

It's a good thing these cells only lock from the inside.
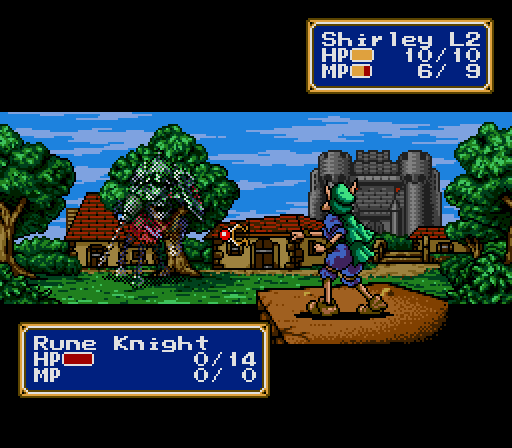
Student ID
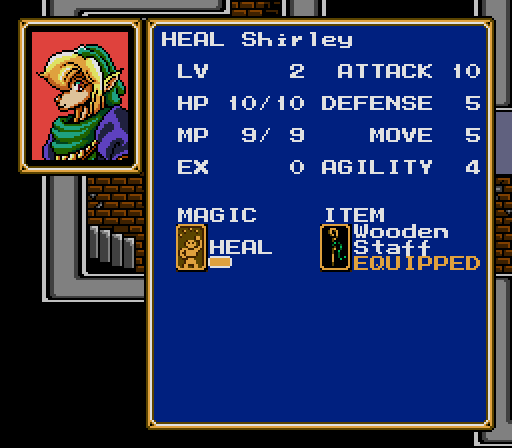
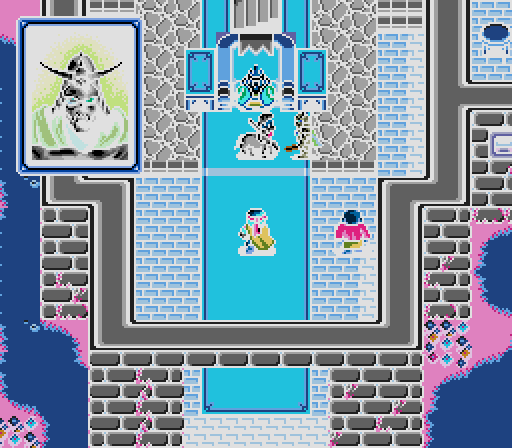
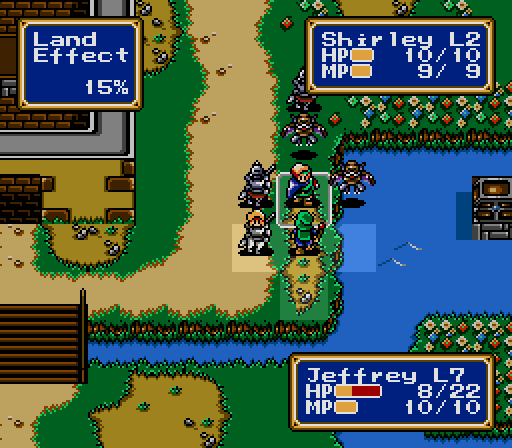
Shirley the Healer is a welcome addition to the Force, and the only healer we'll get for a long time. Unfortunately, she doesn't gain anything but MP very quickly, and won't contribute to offense much. She learns Heal 4 and Aura 2 for healing and Quick and Slow for buffs and debuffs, although being the sole healer won't leave her much time or MP for support spells.
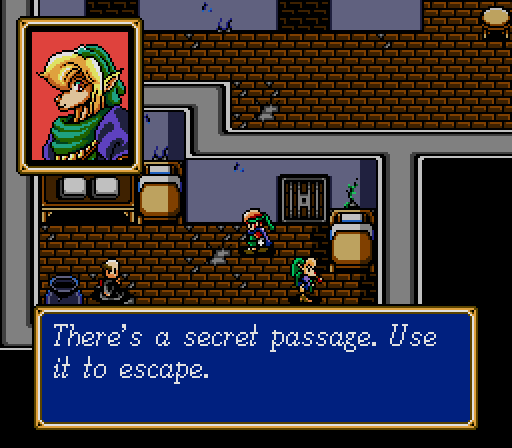
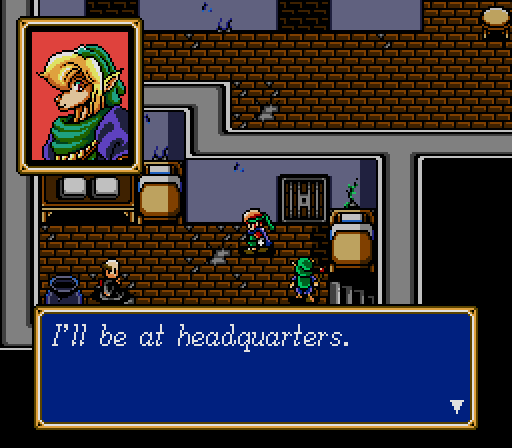
There's a convenient secret exit from our cell to the next battlefield.
Probably because an army is waiting for us.
Battle 4
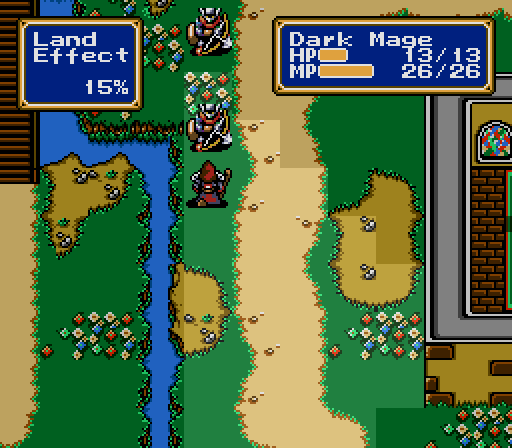
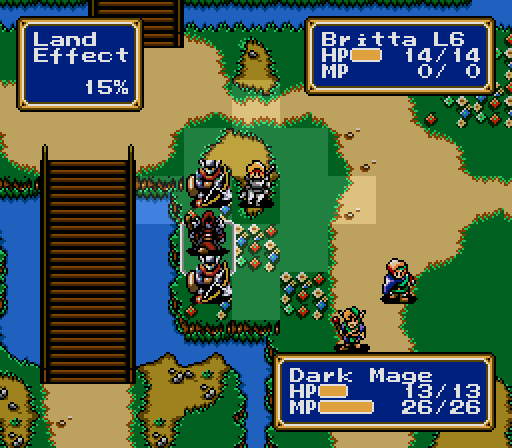
This battlefield is roughly elliptical in shape. Four Giant Bats patrol near the middle, while four Rune Knights, four Dwarves, two Snipers, and a Dark Mage will reposition themselves based on which direction we advance.
We move forward on the left side first, drawing out three Bats and two Knights.
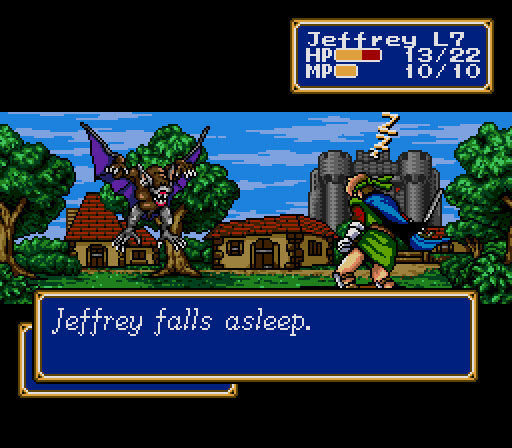
This is a fight we've basically beaten already, but this time we get unlucky, and Jeffrey gets surrounded and put to sleep.
However, with our new healing resources, this is a set-back from which we can recover.
While struggling to regain control of the situation, Jeffrey and Britta both gain levels with no stat increases. Balls.
As before, the secondary objective is to catch Shirley up to the rest of the force. She's no powerhouse, but her next weapon upgrade will let her contribute to fights for a little while.
(Shirley gains 1 ATK, 1 DEF, 1 SPD, 1 HP, 4 MP)
Also, every 3 MP she gains is another healing spell she can cast each battle. Healers can only get so much experience from healing before running dry, so it's important to give Shirley time to kill things as well.
The easiest way to keep Shirley safe during this process is to give the enemies a Jeffrey to beat on. Fortunately, the last two Knights won't move once we close in on them.
Next, we head back around to take out the Dwarves. Moving in this direction causes the Snipers and Mage to retreat, so we won't have to deal with them at the same time.

(Shirley gains 1 MP)
We feed these to Shirley as well. Even though they only do 1 damage to our tanks, Britta has meager HP, and their numbers make them a minor inconvenience.

Once they're gone, we use a Healing Seed and Shirley's remaining MP to top off.
The Mage is the biggest threat, as its magic can hit our entire Force and pierce our Defense as well. I play it safe to make sure the Mage dies before it acts.
The Snipers hit like Rune Knights, but have pathetic Defense, and we can trap them in a corner where they can't hit us with their bows.
We mop them up handily.
Victory!
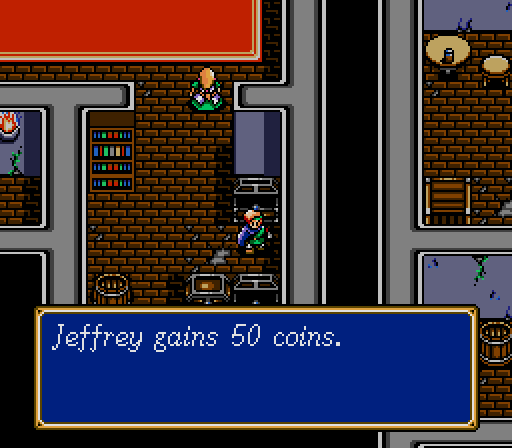
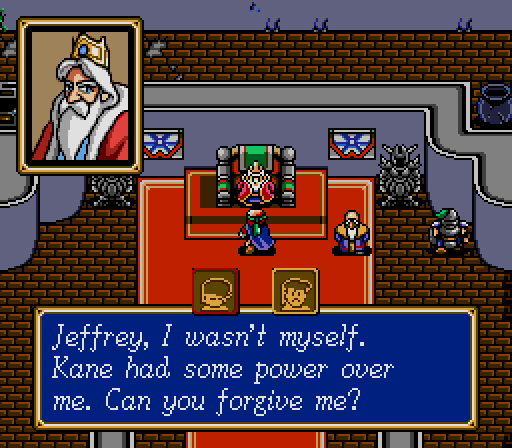
For our efforts, we get another 50 gold, an apology from the King...
...and a secret tunnel to the next chapter.
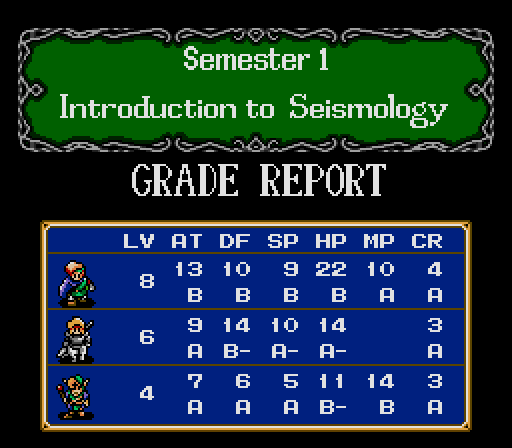
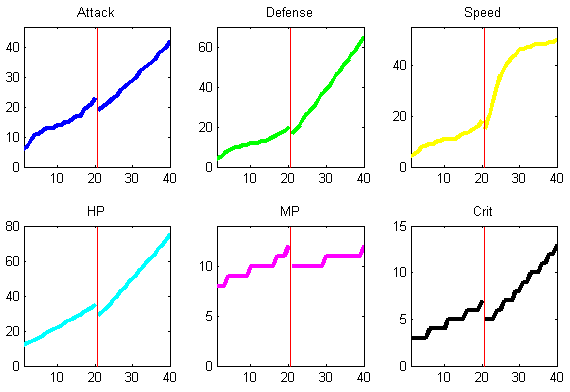
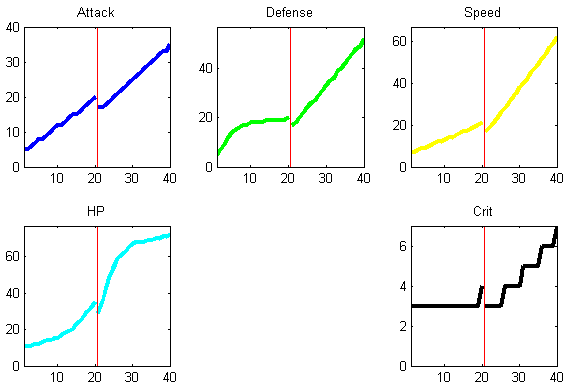
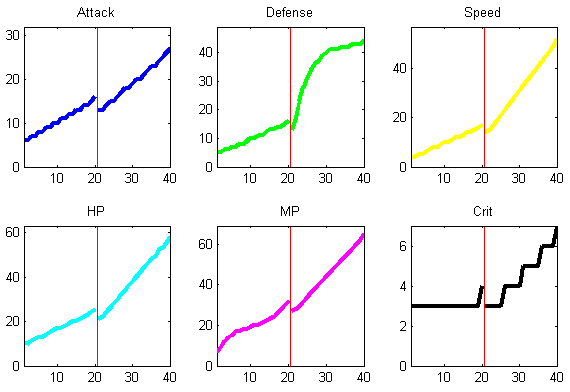
The stats in Shining Force are pretty self-explanatory. Attack increases damage dealt, Defense decreases damage received, Agility/Speed determines the acting order in a combat round, HP and MP run out at the worst possible times. Crit is a hidden stat that determines the likelihood of critical hits, but it rises just like all the other stats. I'll be grading the Force on a curve, with an A being the maximum possible value each character could have in a stat for the level they're at. Those empty levels hurt Britta and Jeffrey in slightly different ways, but both can hopefully look forward to big catch-up gains next level. Meanwhile, Shirley is more fragile than we like a healer to be, and her MP is only average at this point, so a new weapon and some time in melee is in order as soon as possible.
See you next time for Semester 2: Comparative Ancient Religion!