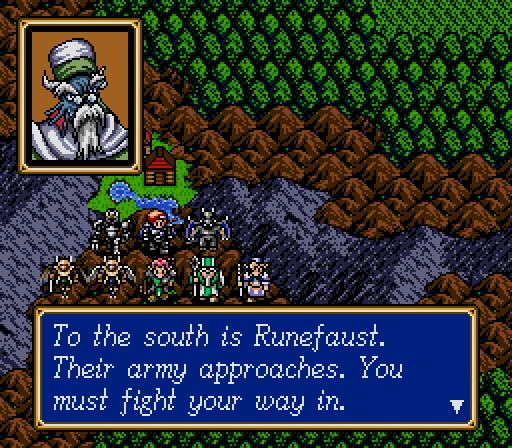
Part 7: Semester 7 - Varsity Robotics
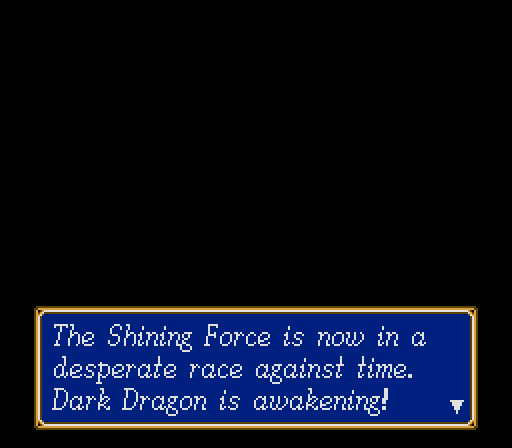
Last time on Shining Force Bare Minimum, we gained a dragon and lost the keys to the apocalypse. Now we're in a desperate race against time to plow through the enemy ranks fast enough to stop their evil plans.
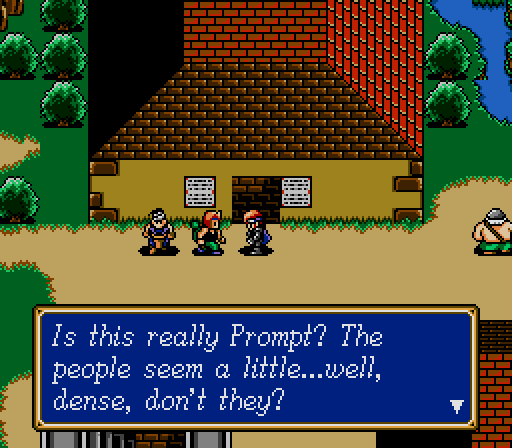
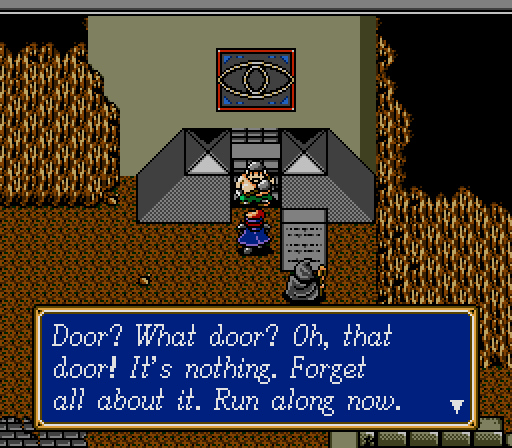
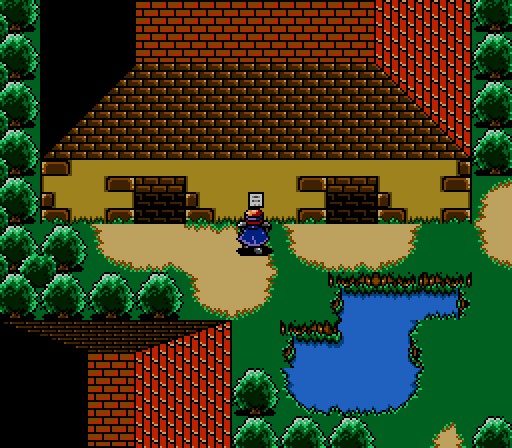
The starting town for this chapter is Prompt, and its gimmick is... well... I'm not entirely sure whether the residents are all supposed to be pretending to be stupid because they don't trust outsiders, magically stupid because of Runefaust's evil influences, or just plain old actually stupid.
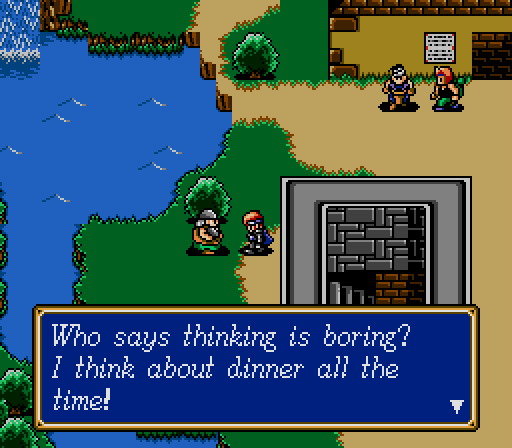
Regardless, it's grating, and not really funny at all. There's plenty of useless flavor text, but I'm not going to bother reading most of it.
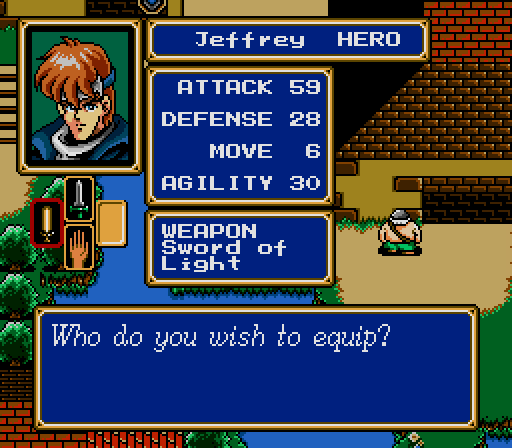
Anyway, on to cooler things. You may remember we picked up a Sword of Light in the last chapter. It's the most powerful weapon currently available, it's exclusive to Jeffrey, and it's got another cool feature we'll see soon. Jeffrey also gets the White Ring, which is the only equipment we can get that boosts Defense. There's also the Black and Evil Rings, but they are cursed items, which cause the wearer to occasionally lose a turn. I usually decide they're not worth the risk.
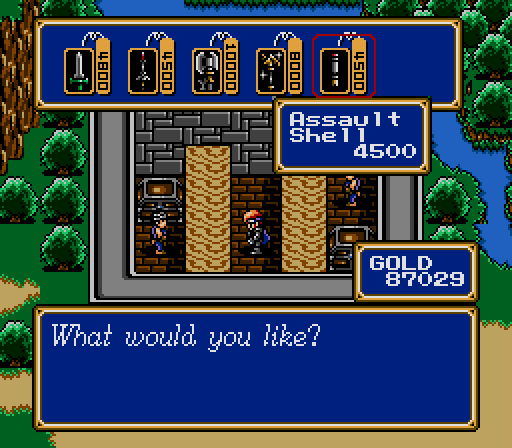
Additionally, the shop has new weapons, including freaking artillery shells for Annie. After some purchasing and shuffling, Chang ends up with the Mobility Ring so he can keep up with the birdmen.
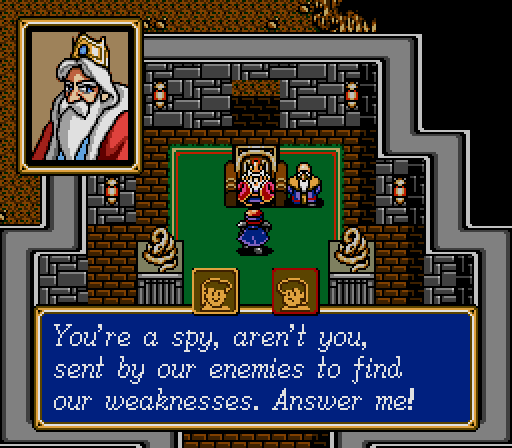
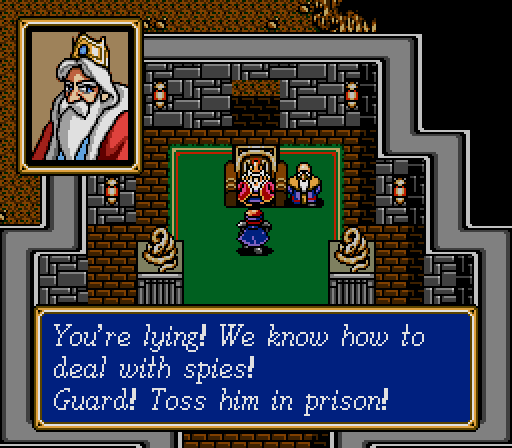
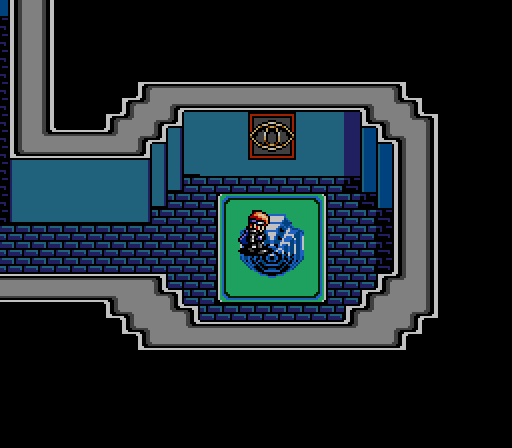
Eventually we head into the underground castle to speak to the King, who immediately puts us in prison.
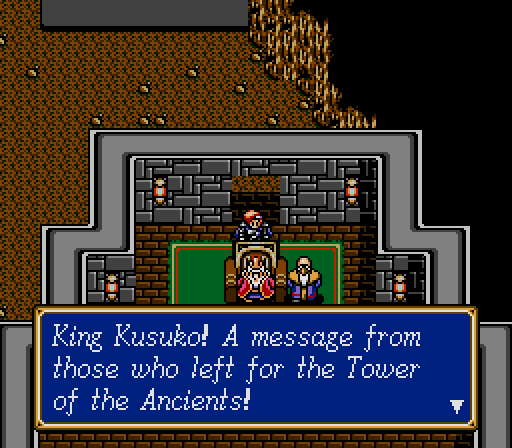
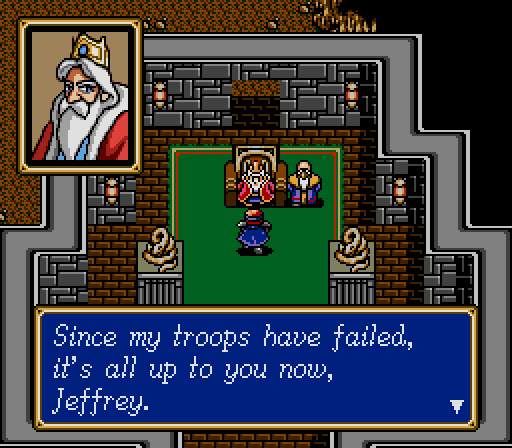
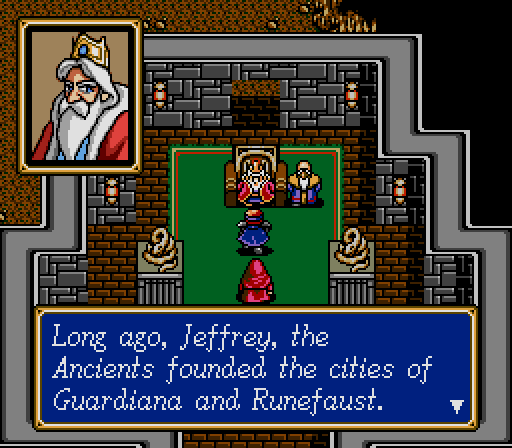
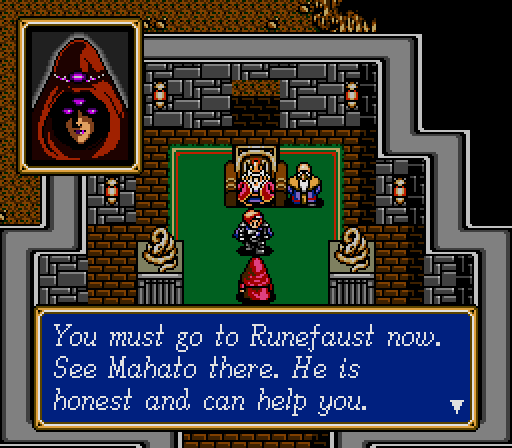
And then once we break out of prison, the King not only doesn't send us right back, he seems to trust us implicitly, and asks us to investigate the Tower of the Ancients for him... but doesn't tell the guards to let us leave town. See what I mean about the stupidity kind of being all over the place?
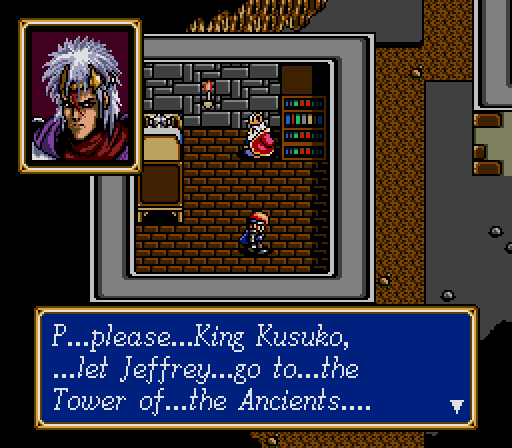
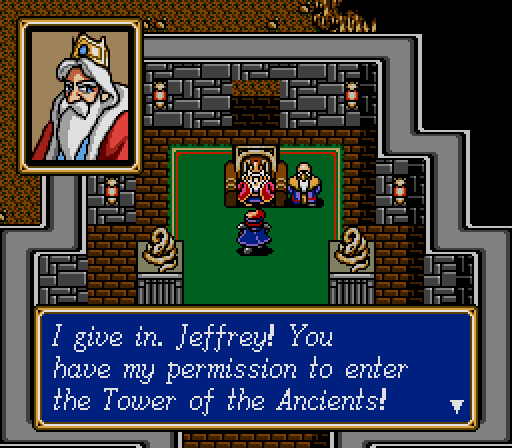
We can't actually proceed until we find Kane sleeping off his explosion in a side room, after which the King gives us permission to do the thing he asked us to do.
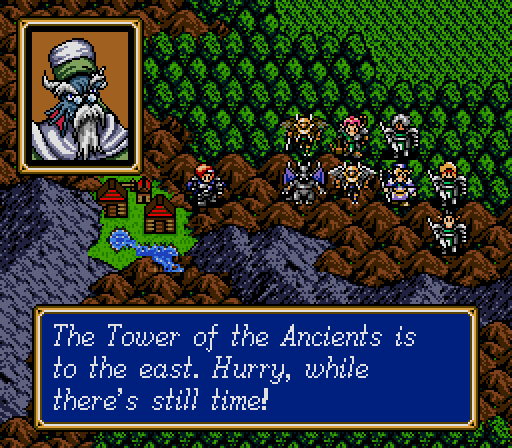
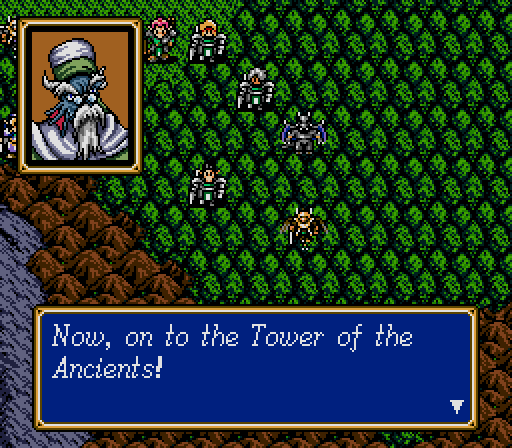
But of course getting there isn't going to be simple.
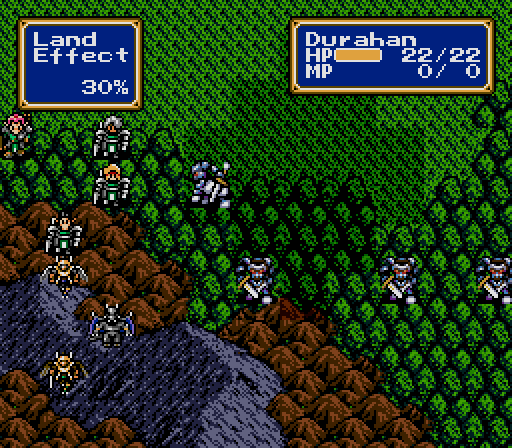
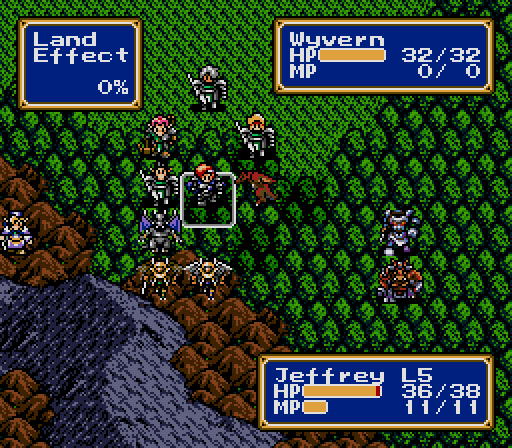
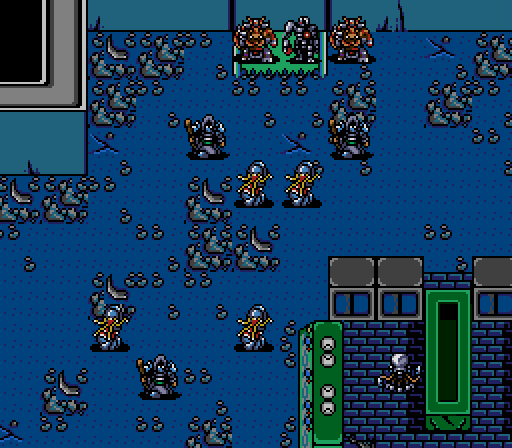
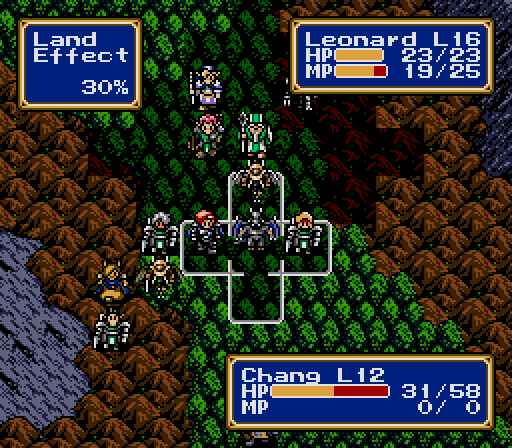
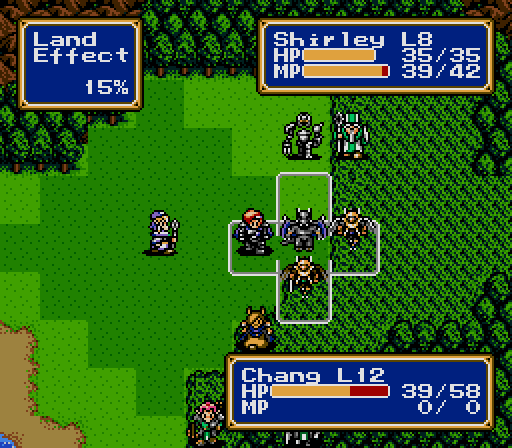
Battle 22
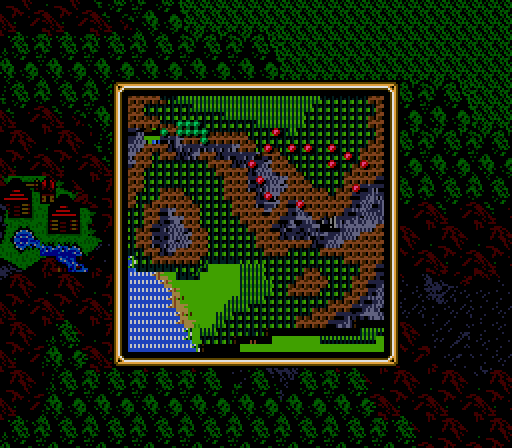
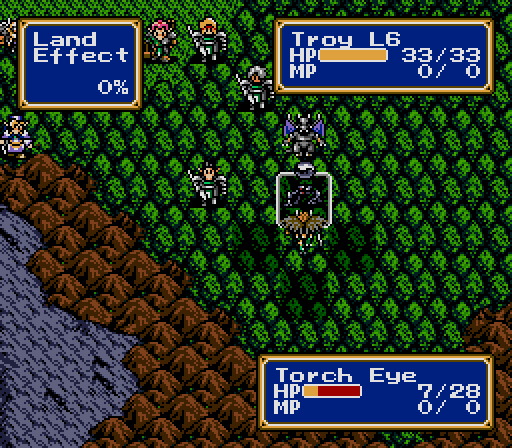
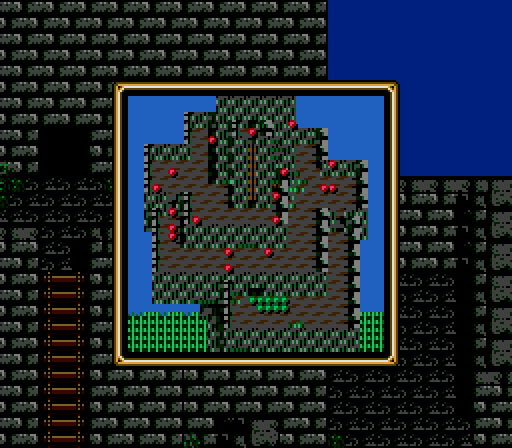
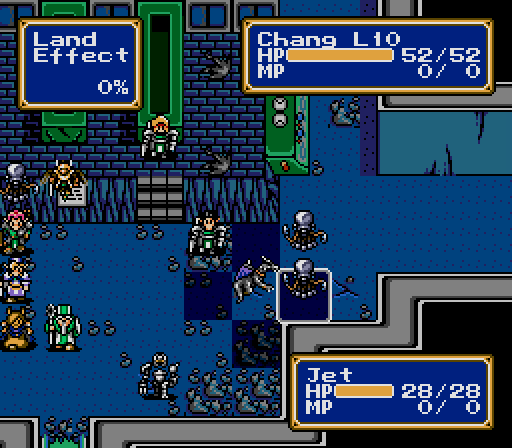
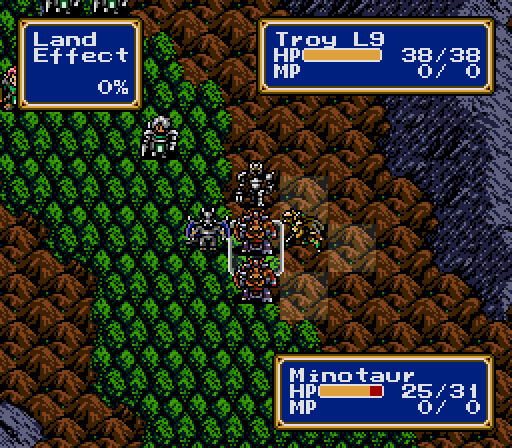
Another wilderness map full of rough terrain, which the game has gotten really fond of. We only use the upper third of the map, a sign there'll be another battle here later.
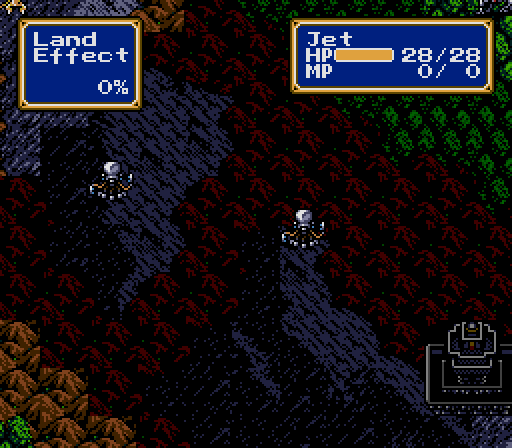
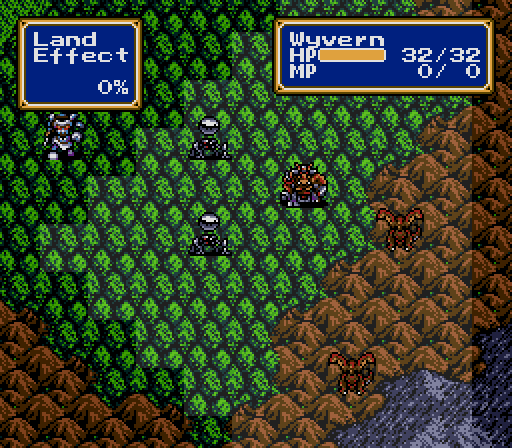
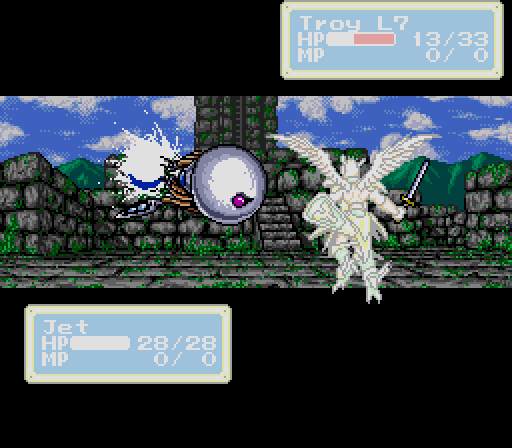
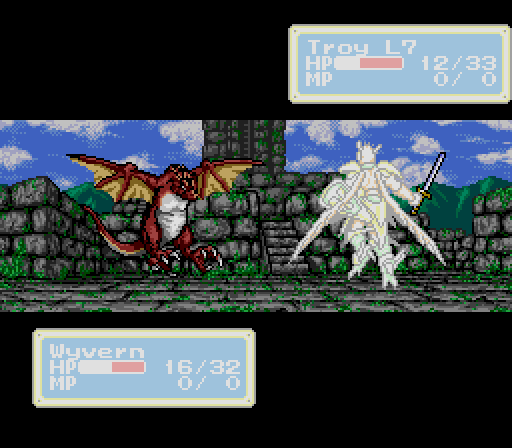
There's a bunch of new enemies on this map, and they're all jerks. Jets are new aerial enemies that hit quite hard, Wyverns are basically flying Hellhounds whose normal attacks don't suck, and those orbs with legs are miniature mobile Laser Eyes that always deal special defense-ignoring damage.

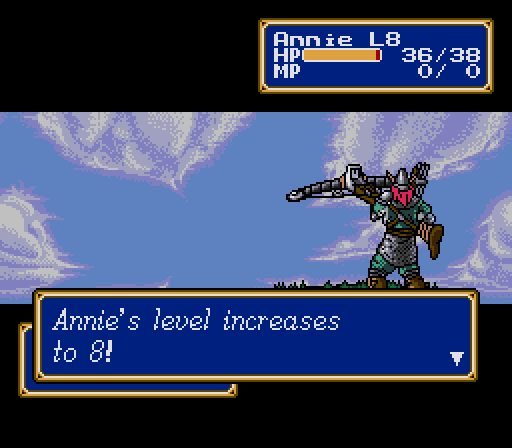
(Annie gains 3 SPD, 2 HP)
All of the enemies are proximity-triggered according to their movement, so the beginning of this fight involves working east along the mountain range dealing with the flying enemies. Because of the bad terrain, Annie and the air brigade will have to shoulder most of the work.
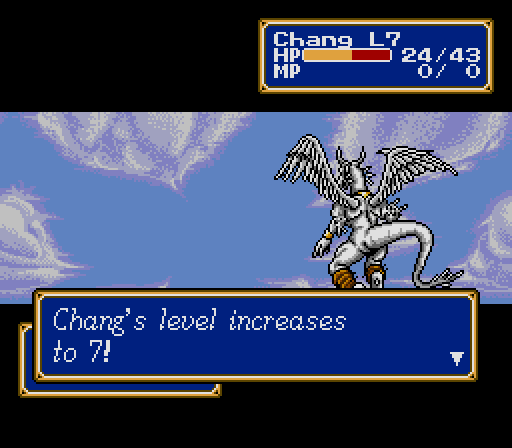
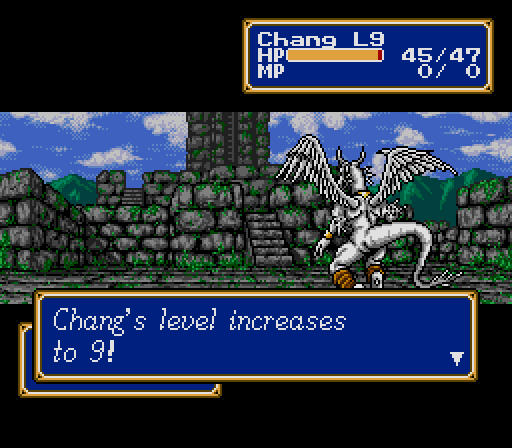
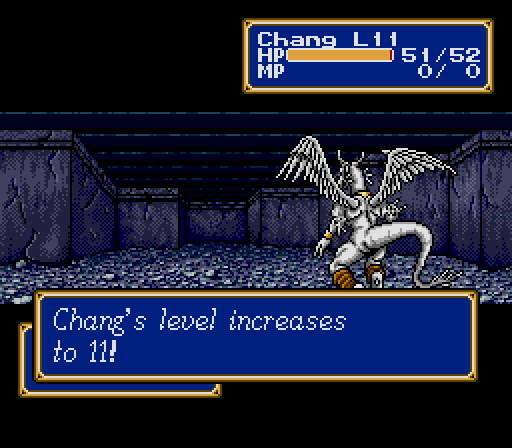
(Chang gains 3 DEF, 3 SPD, 4 HP)
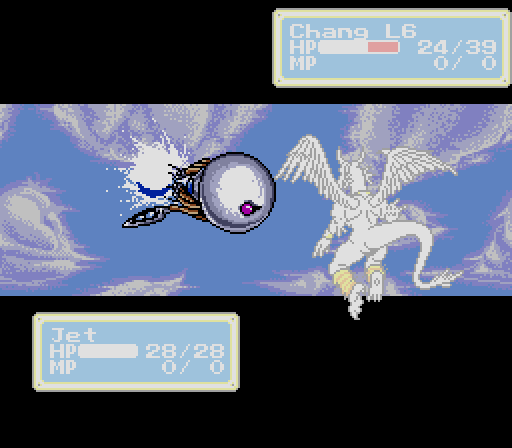
The Jets are rather formidable foes, strong enough to put a dent in even our flying tank.
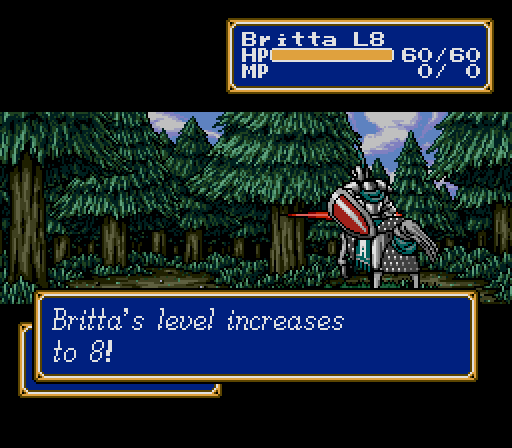
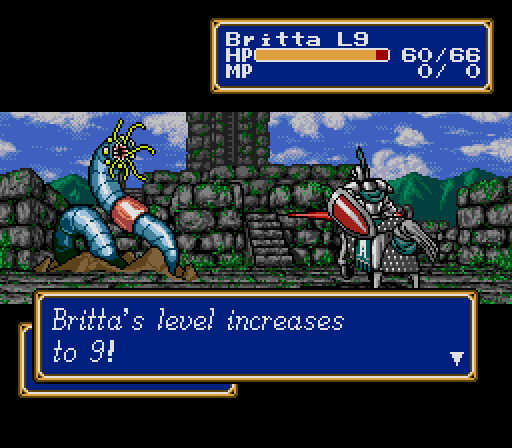
(Britta gains 6 SPD)
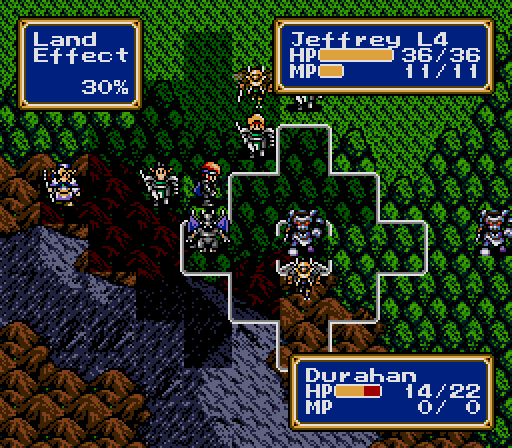
The Durahans will start to charge around here, which can happen at a bad time if you're still clearing out the Jets.
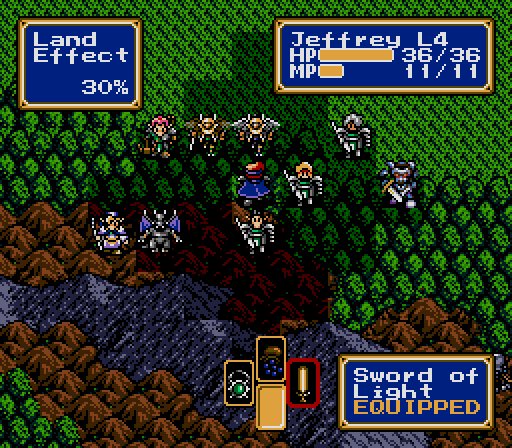
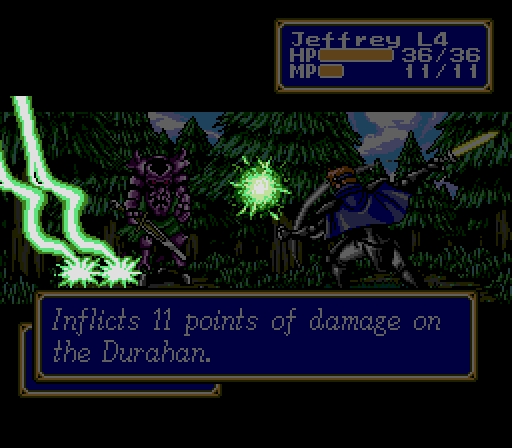
The bad terrain will hinder Jeffrey, but he's got an ace up his sleeve now -- the Sword of Light will cast Bolt 2 when used as an item, giving him a couple extra squares of range. And since it's a plot-important weapon, it'll never break.

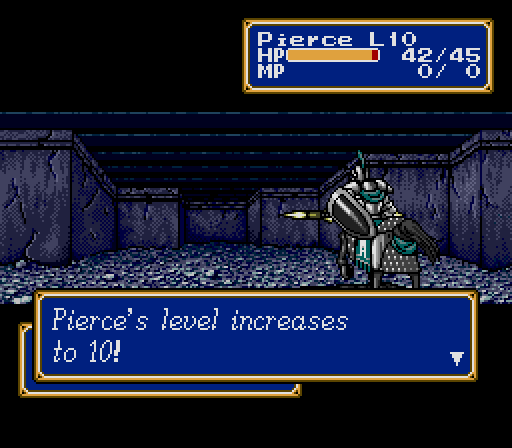
(Pierce gains 3 SPD, 3 HP)


(Troy gains 4 HP)
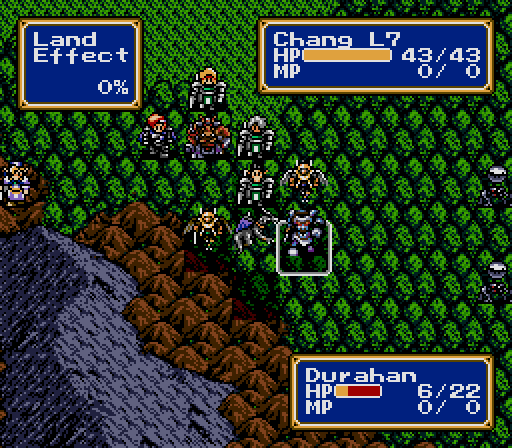
Now this Durahan is special, because...
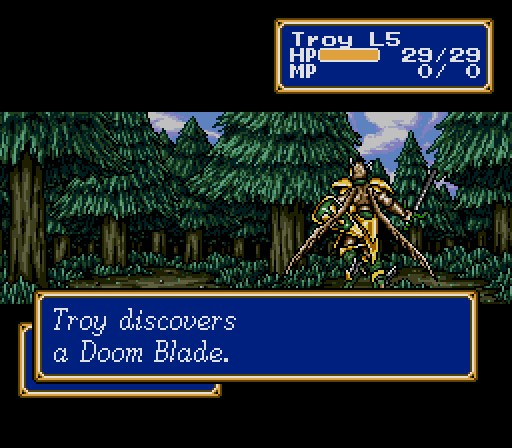
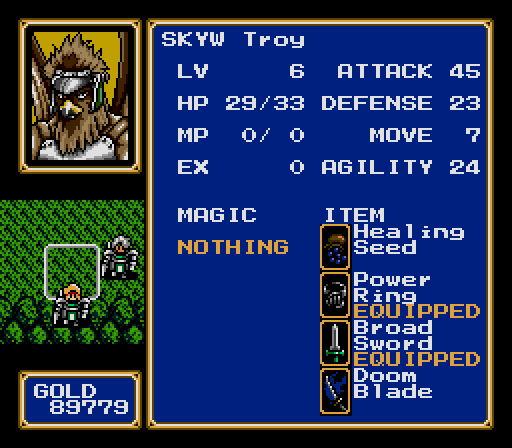
...it drops the Doom Blade, which will be the last weapon upgrade for the birdmen. We'll only be getting one, so it'll go to whoever isn't using the Power Ring. I could Egress out of the battle and come back to get another, but I sort of consider that cheating.
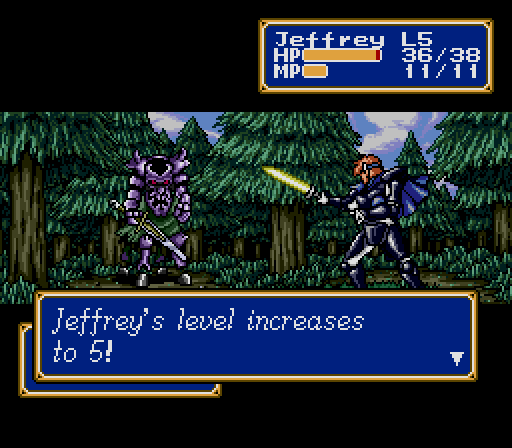
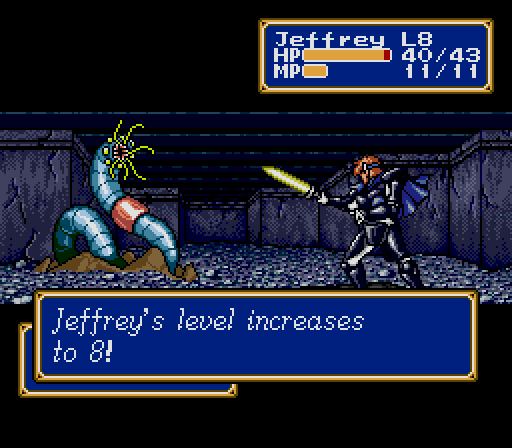
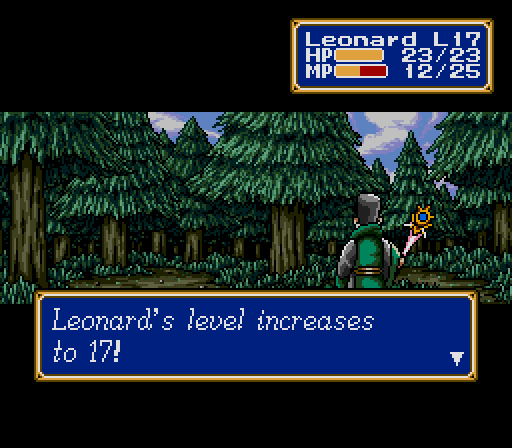
(Jeffrey gains 2 ATK, 4 SPD, 2 HP)
Usually, in my playthroughs, the Sword of Light is instrumental in keeping Jeffrey's levels up. Between flying units and centaurs, he gets left behind a lot, and that extra range really makes a difference.
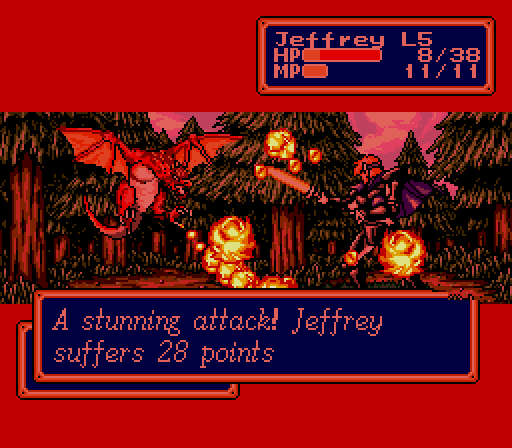
Next come the Wyverns. Oh, did I mention that Defense-ignoring special attacks can crit?


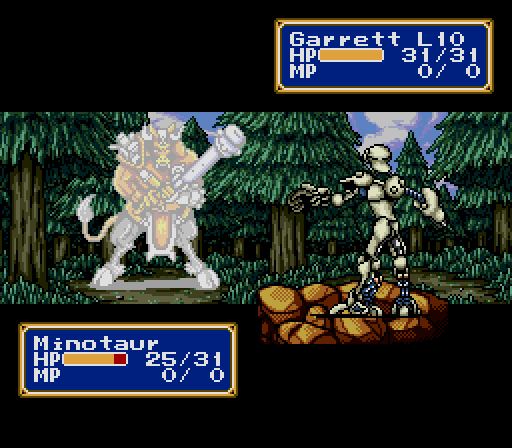
Somewhat less threatening is the Minotaur, which puts out strong, consistent damage but can't ignore Defense.
(Chang gains 4 ATK, 2 SPD, 2 HP)

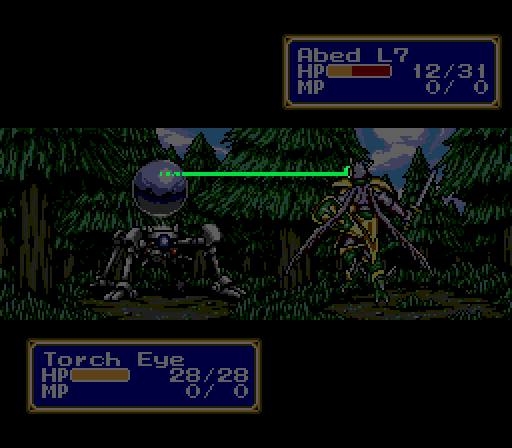
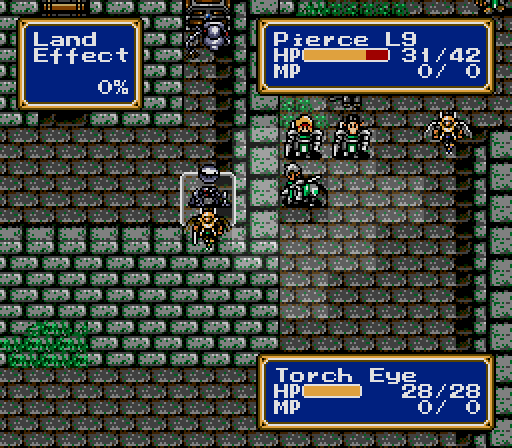
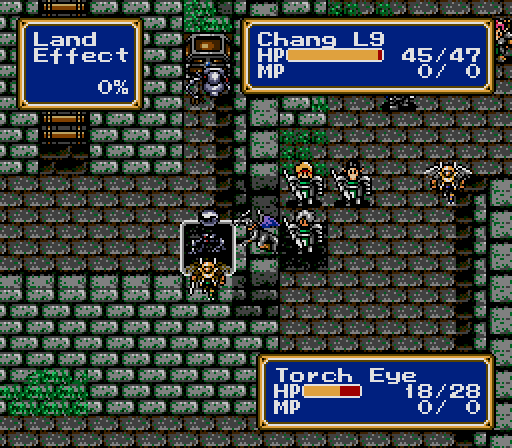
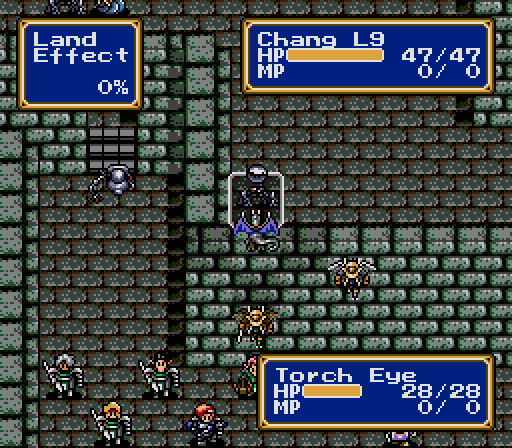
And finally, the Torch Eyes. Their laser always does about 20 damage. They'll be a pain for most of the rest of the game.

(Shirley gains 4 ATK, 4 DEF, 1 SPD, 1 HP)
There's only one benefit to all these new, powerful enemies.
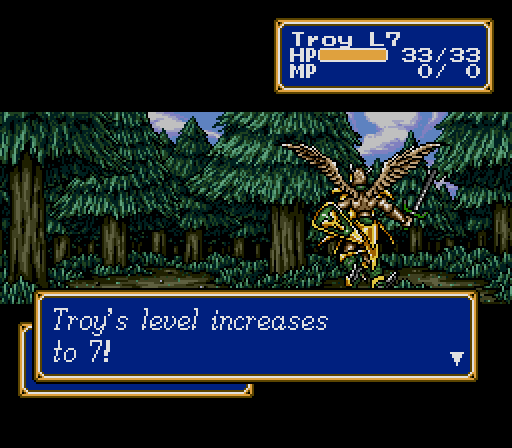
(Troy gains 1 ATK, 8 SPD)
Well, we're half-done with this map.
Victory!

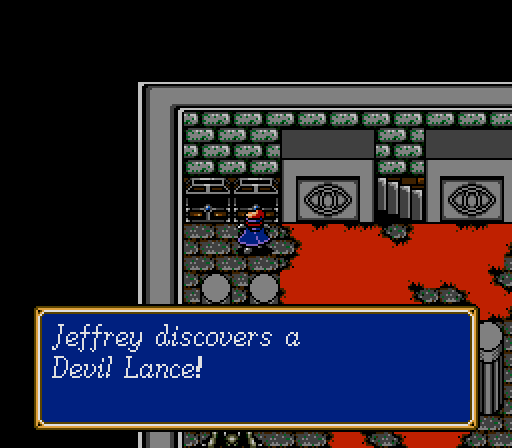
No rest for the wicked. The Tower of the Ancients looks to be in pretty good condition, and also not very tall. Along the way is a Devil Lance, a powerful Knight/Paladin weapon, but it's also cursed, so it's not going to see any use. There's also a Turbo Pepper, which is a really important stat-boosting item.
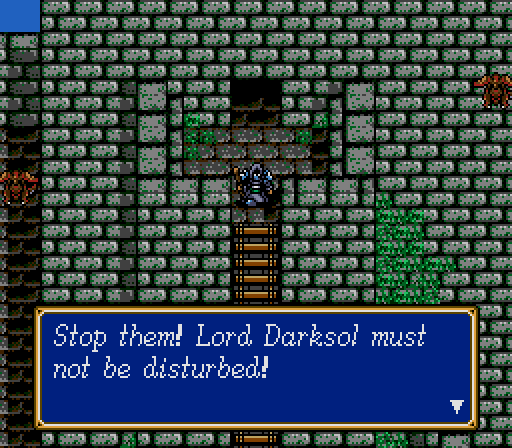
Darksol's left some more cannon fodder in our way. At least we can fight these on decent terrain.
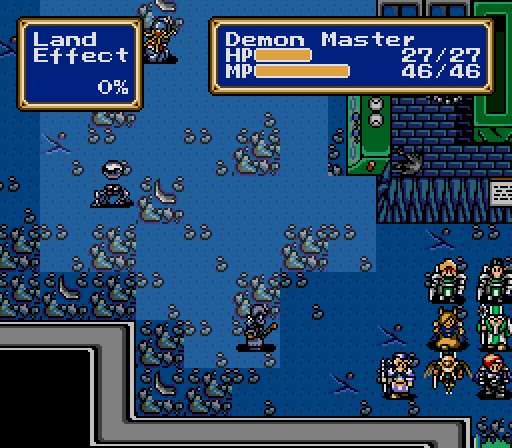
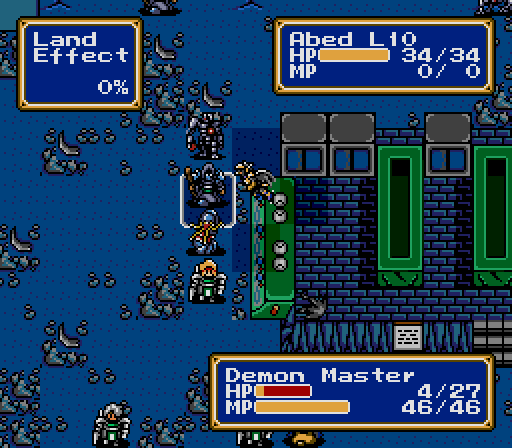
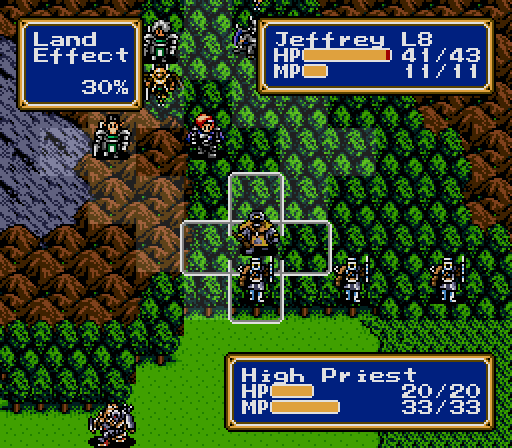
Battle 23
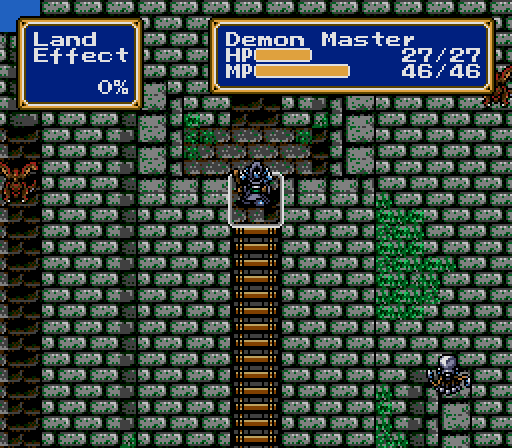
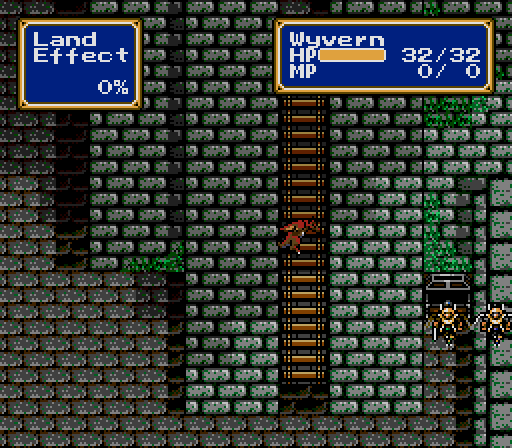
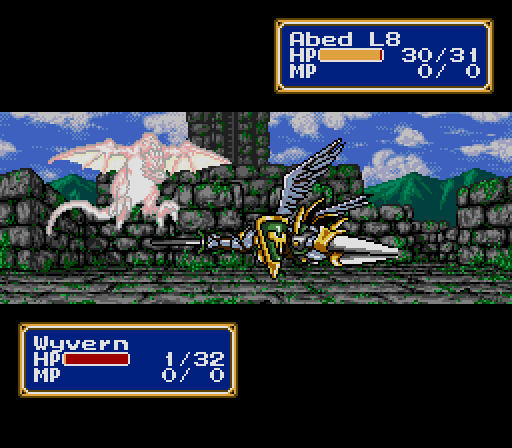
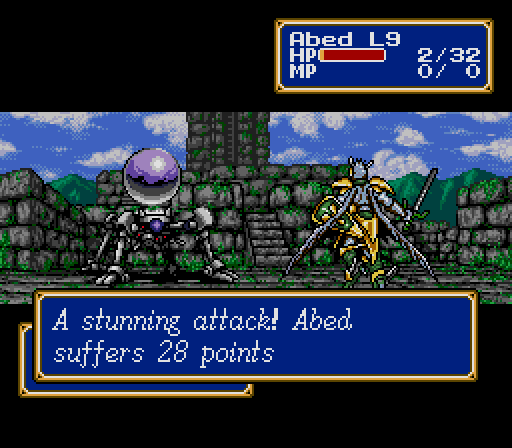
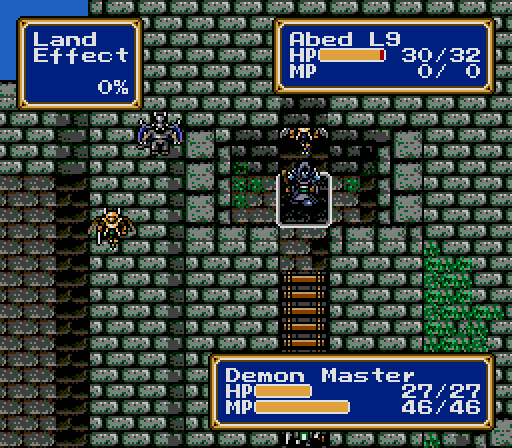
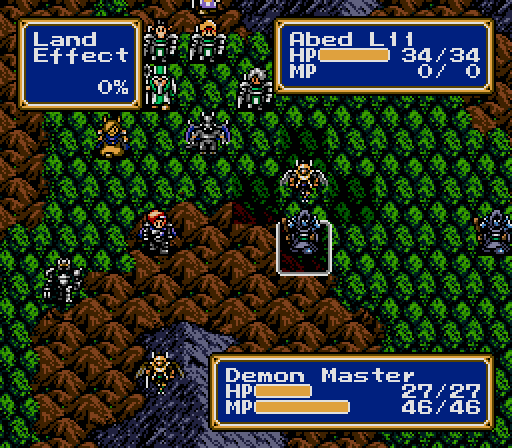
The target is this Demon Master, who has a pair of Wyverns flying circles around its head. The top of the tower is a switchback, so land units have a significant trek.

(Abed gains 1 ATK, 2 DEF)
On the other hand, flyers can take some significant shortcuts, but tend to arrive outnumbered if they're not careful. It's really important to keep the air brigade together on this map.
Here's the cool special feature of the Doom Blade -- it randomly kills enemies, similar to the Desoul spell. I gave it to Troy on the off-chance that the effect is tied to the user's Crit stat, but it isn't. Sadly, this is the only time the effect triggers this entire playthrough.


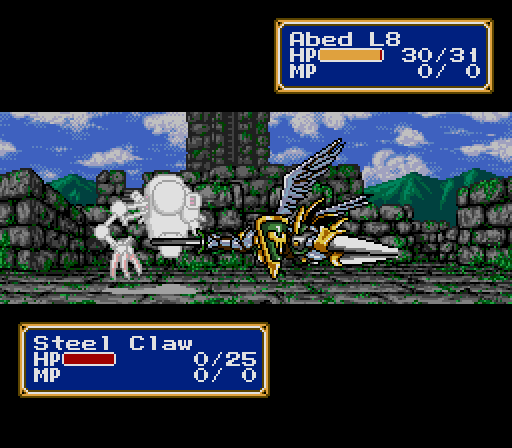
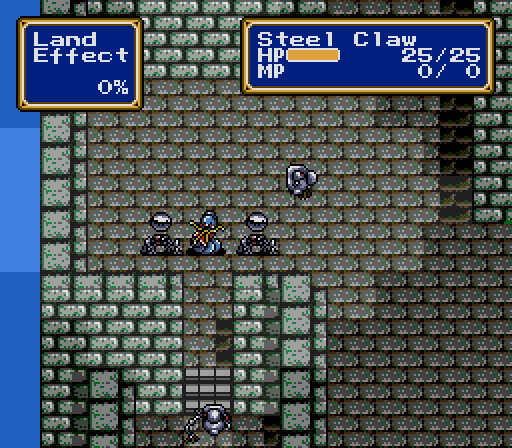
There's yet another new jerk robot enemy here, the Steel Claw. It's got a laser attack like the Torch Eyes, but tends not to use it if it can reach melee range.
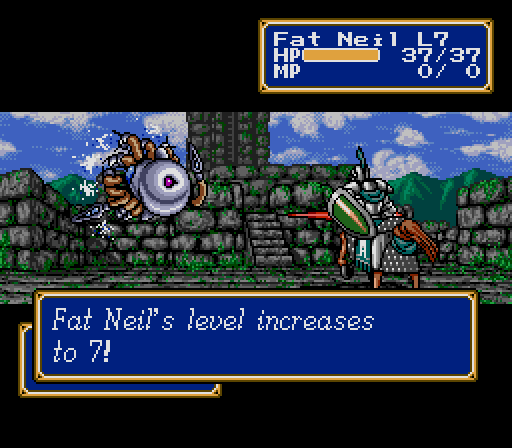
(Fat Neil gains 2 DEF)
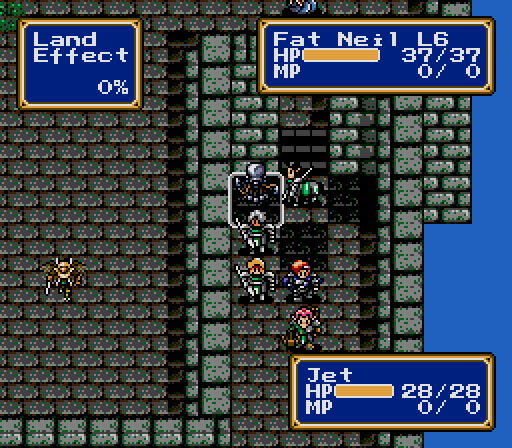
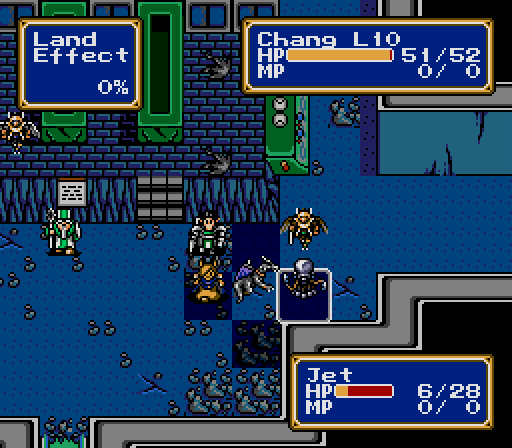
Thankfully, the trio of Jets near this chokepoint decides to split up rather than gang up on our air forces. They have an annoying habit of squatting on a wall tile and limiting our available angles of attack.
Chang can take a few hits from a Jet, but he's pretty much the only one who can.

(Pierce gains 2 SPD)
(Chang gains 6 ATK, 4 DEF, 3 SPD, 2 HP)
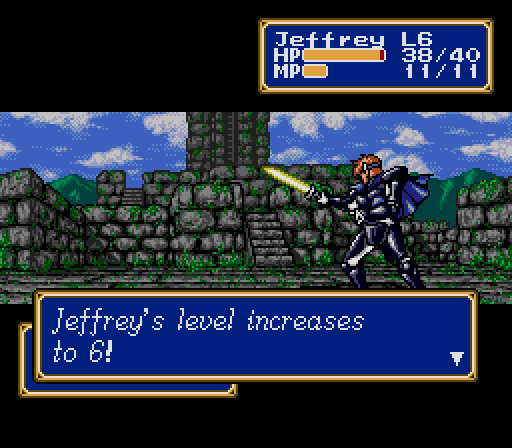
(Jeffrey gains 2 DEF, 4 SPD, 2 HP)
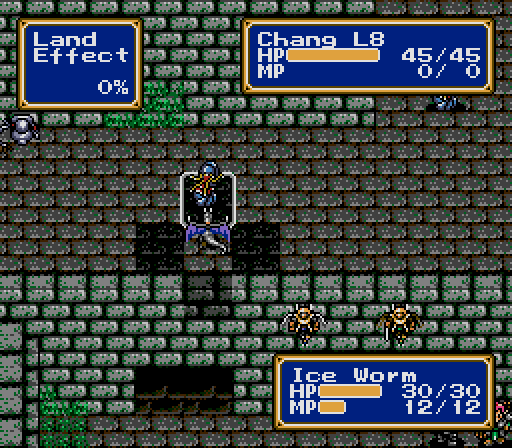
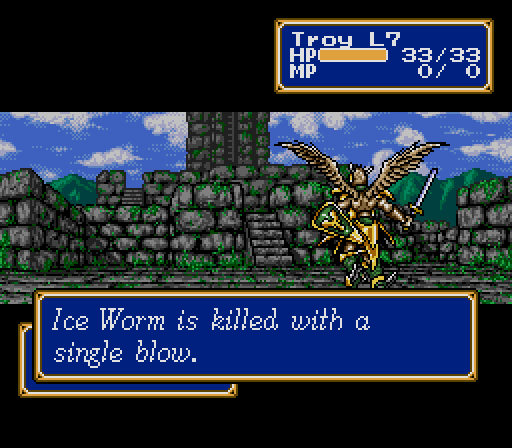
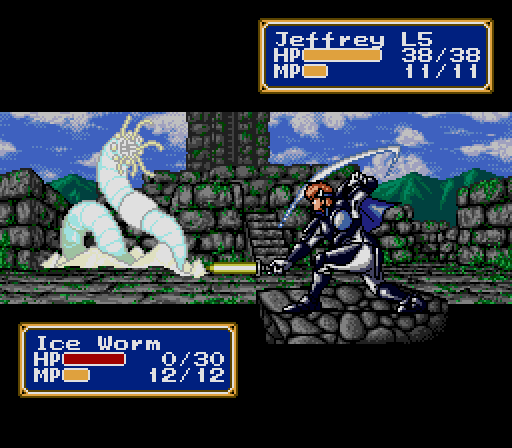
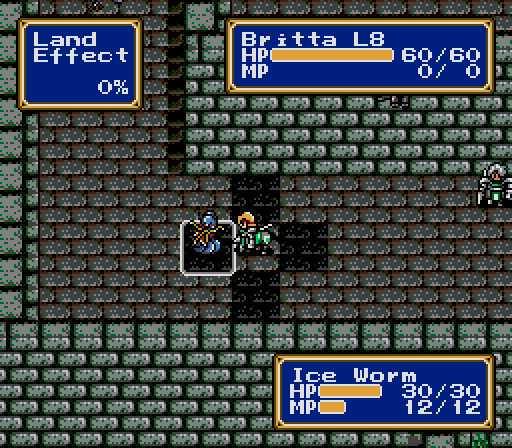
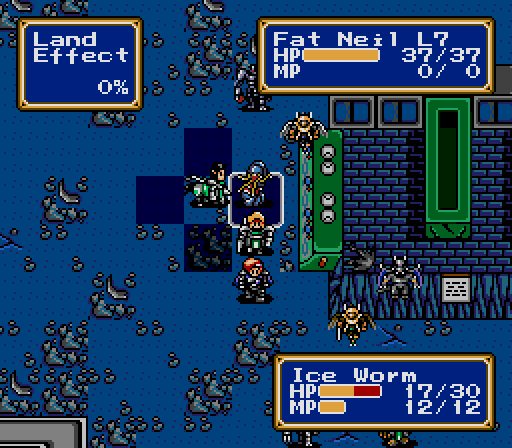
Of course, the Sword of Light also helps Jeffrey keep up in levels by being really powerful. The first chokepoint is blocked by this Ice Worm, and Jeffrey more than kills it in a single hit.
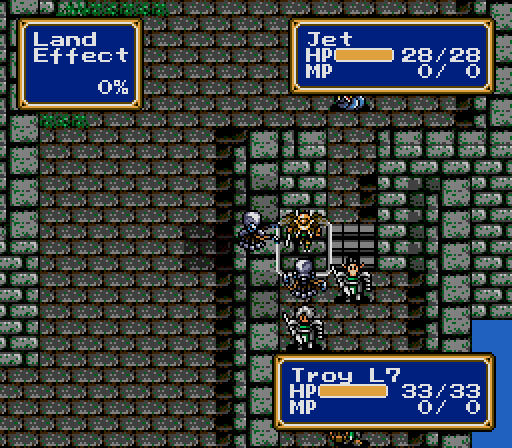
The Torch Eyes posted on the corners of the highest tier aren't particularly dangerous yet, as they can only hit one tile on the lower tier. However, it's worth taking them out now with flyers and ranged units rather than facing them in a fair fight.

Sequence breaking here also grants access to a Valkyrie, which is the strongest spear-type weapon in the game, and, bucking the recent trend, it's not even cursed! Troy will deliver this to a centaur as soon as possible.
However, this is also close enough to attract the patrolling Wyverns.
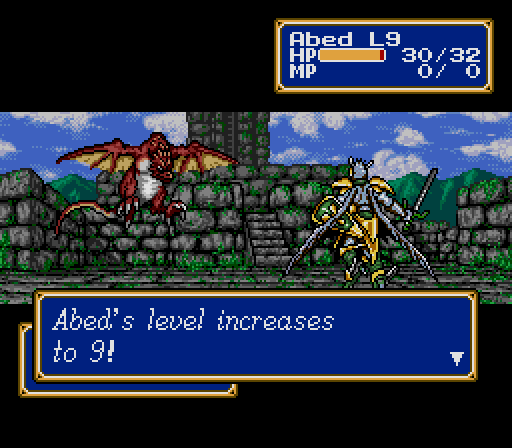
(Abed gains 4 DEF, 7 SPD, 1 HP)
It also draws off some units from the next checkpoint, and I'd rather not make Troy and Abed deal with this many enemies in a row, so it's time to pull back as soon as possible.
(Britta gains 6 HP)
(Chang gains 6 DEF, 6 HP)
We reset and approach the next checkpoint from the south.

(Jeffrey gains 1 ATK, 2 DEF, 4 SPD, 1 HP)
If you're coming to the series from some other JRPG, you might expect robots to be weak to Bolt magic, but, as far as I can tell, robots are slightly resistant to all magic, lightning included.
(Abed gains 5 ATK, 2 HP)
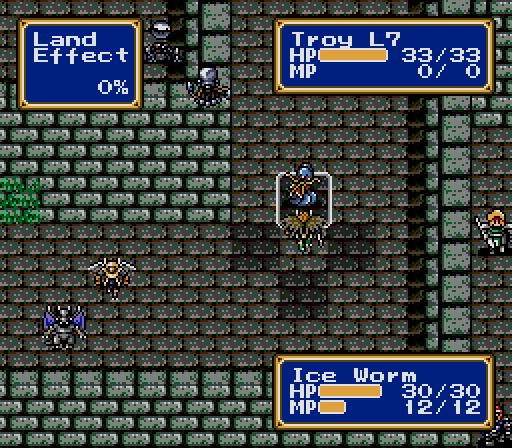
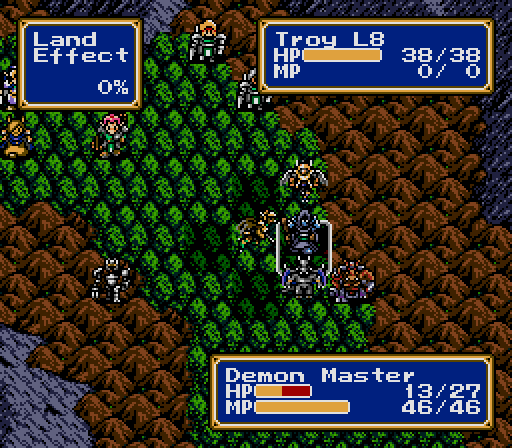
The Demon Master is the last enemy. We can take it out before it acts.
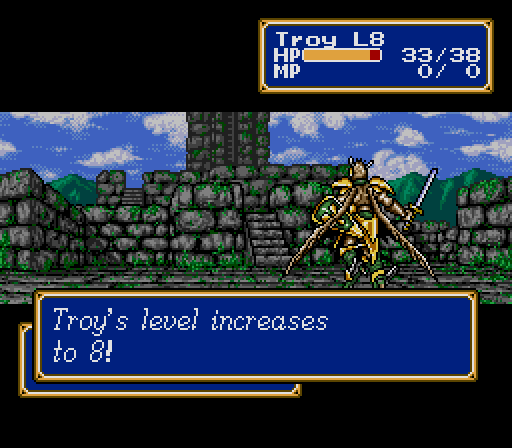
(Troy gains 3 DEF, 5 HP)
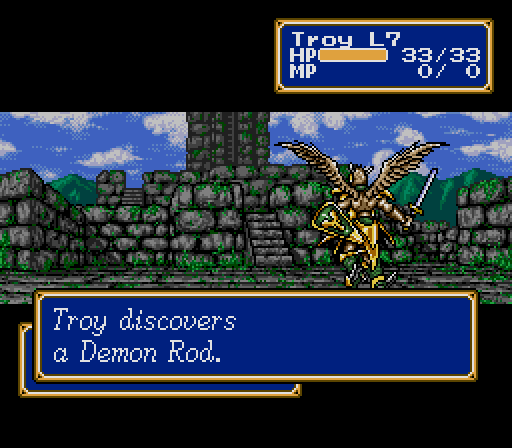
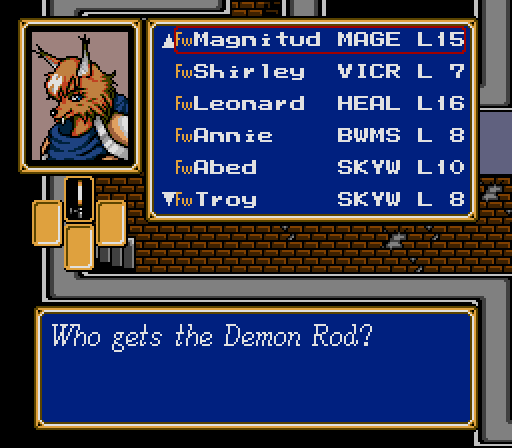
It's important that the unit that makes the killing blow has an empty inventory slot, because this Demon Master drops the unique Demon Rod. It's a wizard weapon, so nobody on the team can use it yet, but we'll get there soon enough.
Victory!

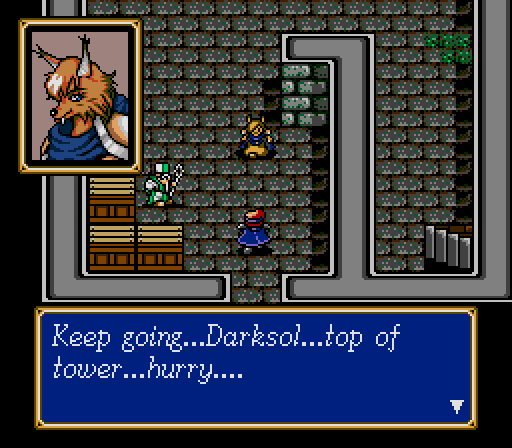
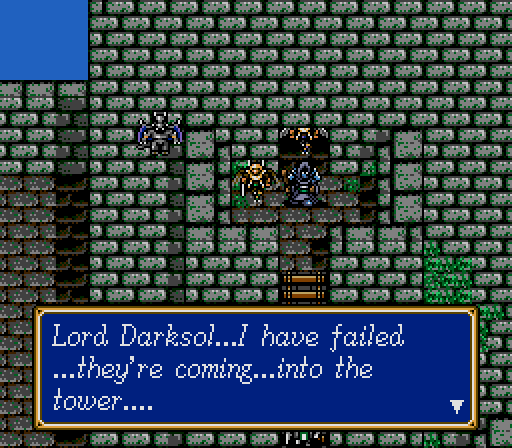
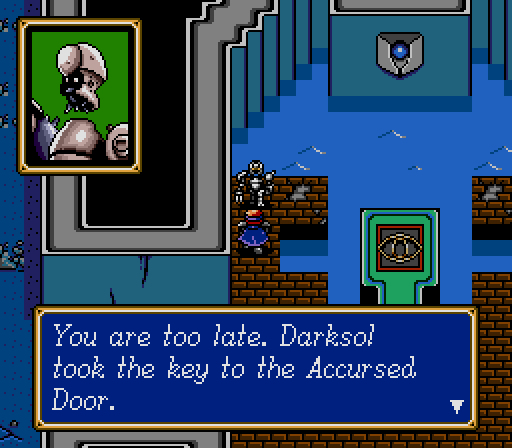
Inside, we find the advance team that the king of Prompt sent. I guess he only sent two people to fight an entire army? That's going to swing the needle a bit on the whole "pretending to be stupid" question.

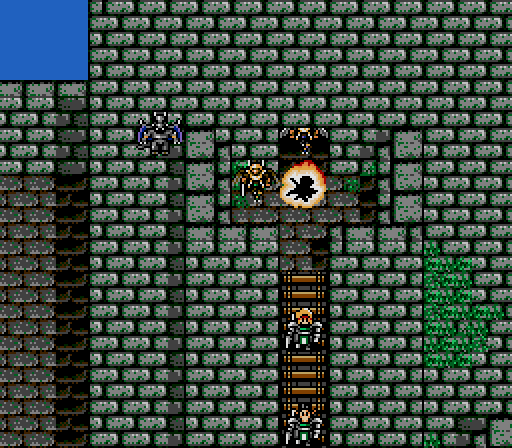
The game's not over yet, so of course we're too late.
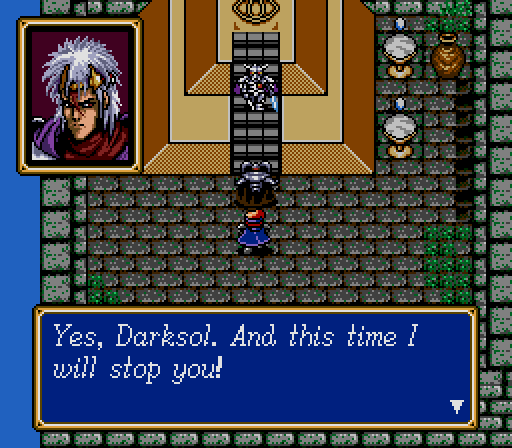
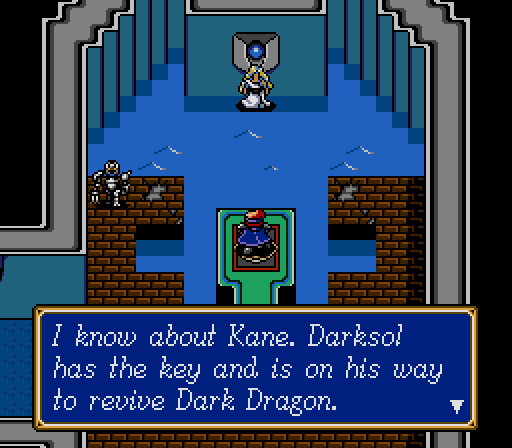
Kane pops in to try to interfere, and, considering that he's half-dead already and isn't a recruitable character, it goes about as well as you could expect.
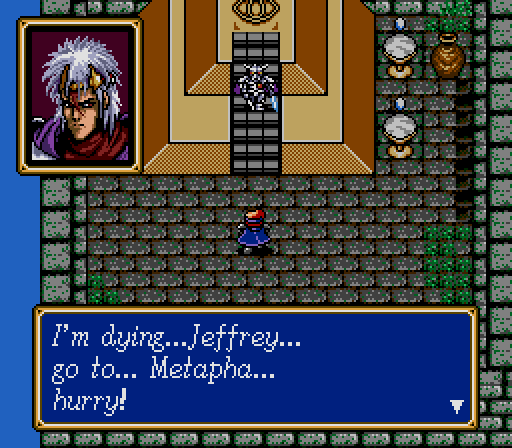
So the bad guy has both MacGuffins. Now it's a desperate-r race against time. Our two new recruits will hopefully help.
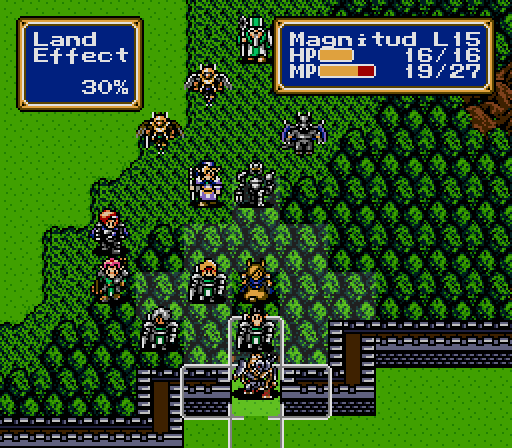
Student ID
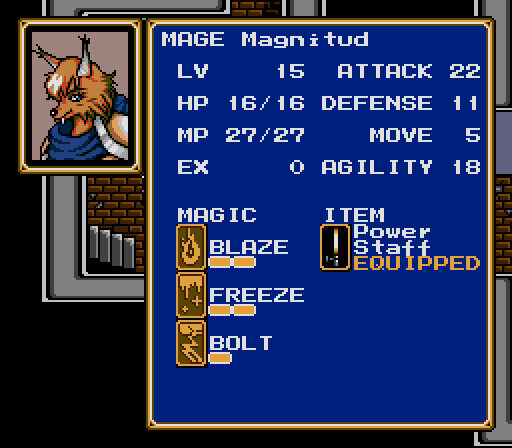
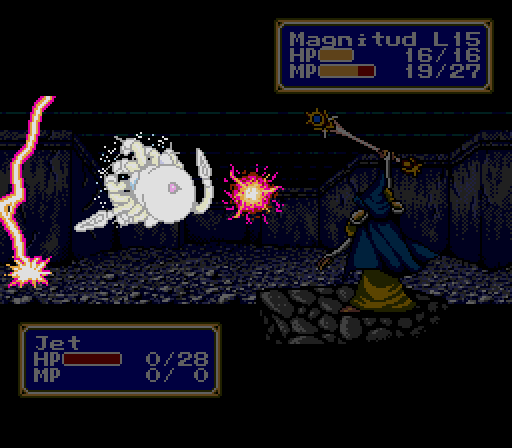
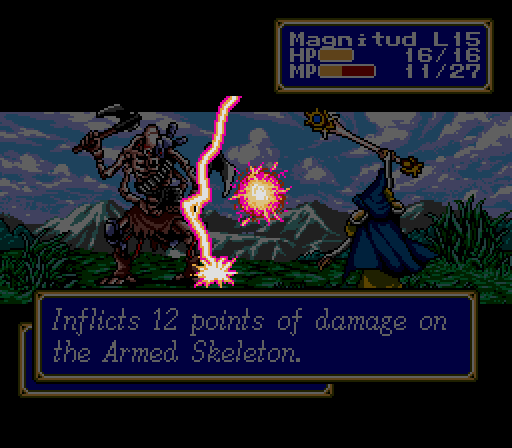
Magnitude the Mage is the third of three offensive magic characters in the game. Each one specializes in a different element, and Magnitude, despite being able to cast all three, is the Bolt expert. This is a blessing and a curse, because the Bolt spells are far and away the most expensive, and Magnitude doesn't get significantly more MP than any other mage. At the highest level of Bolt, he'll typically only have enough MP for two shots, and this game, unlike some of the sequels, doesn't have any MP-restoring items, so it's "pop, pop," and he's done for the fight. Magnitude also won't be performing as well in melee as Shirley insists on doing, and will have very low HP and Defense even after promotion. Joining about 10 levels behind the rest of the Force isn't helping either.
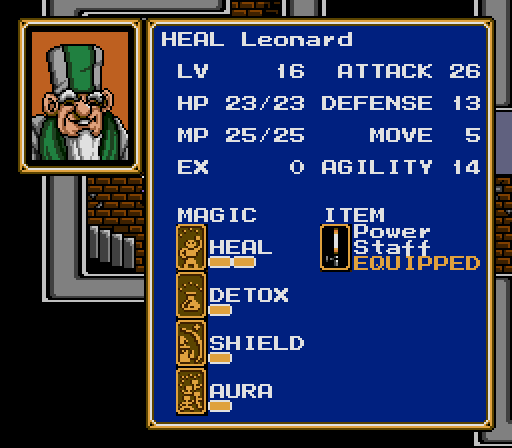
Leonard the Healer, on the other hand, joins useful and stays that way. He starts with Aura 1, and eventually goes all the way up to Aura 4, which heals the entire Force from anywhere on the battlefield like a Shower of Cure. He's not as strong as Shirley, and doesn't get most of his Defense until very high levels, but he'll do well sitting at the back of the map and healing from there, and he'll be pretty easy to catch up to the rest of the Force.
Now, this hasn't come up yet, because we've been avoiding offensive magic users until now. But with Magnitude joining the party, we've got to know a few things about how magic works.
Study Guide - Magic Scaling
One thing this game doesn't do so well, and which subsequent games in the series try to rectify a bit, is how magic scales throughout the game. A Wizard's offensive magic is about on par with a Knight's melee attack in the early game, and is useful through the mid-game against enemies with high Defense. However, as Wizards refine their spells up to Level 3, rather than getting much stronger, they tend to gain range and area of effect. In fact, you get more damage moving from Freeze to Bolt than Freeze to Freeze 2. Instead, Wizards start to specialize in dealing moderate damage to larger groups, which is problematic as enemy HP totals grow. The prospect of sending the squishier members of the Force into close range of increasingly large groups of enemies they can't kill in one hit is not a good long-term tactical approach. Something similar is true for Healers, whose Heal spells get better at healing from a distance before they get better at healing large amounts of damage.
All that changes at Level 4. Heal 4 drops back down to a range of 1, but justifies its inflated MP cost by healing the target to full. Similarly, each of the Level 4 elemental attack spells hits a single target for massive damage, which lets Wizards be relevant again near the end of the game.
Each spell-casting character learns magic based on how many Levels that character has earned, including all the Levels earned prior to promotion and counting promotion itself as an additional Level. This is yet another reason, besides extra MP, to promote spellcasters at Level 20 if you intend to use them in your final Force. For example, Magnitude learns Bolt 4 after thirty Levels, and it's much easier to promote at 20 and grind to 10 than to promote at 10 and grind to 20.

New members means a bit of inventory shuffling. Magnitude gets the Demon Rod, although he can't use it without a promotion, and Britta has the Valkyrie, so she can offload the rest of her weapons.

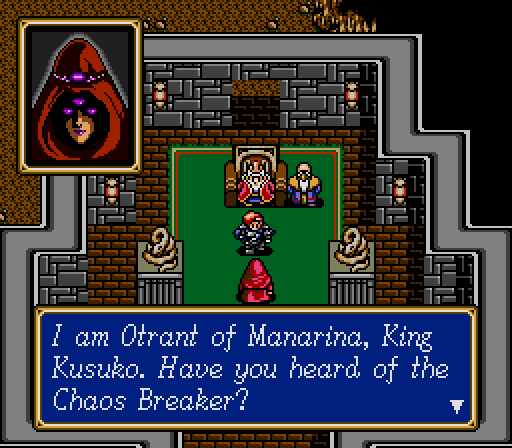
The idiot king is freaking out, but the creepy lady from Marinara shows up to inform us that the solution to all of the world's problems is a bigger, better sword.

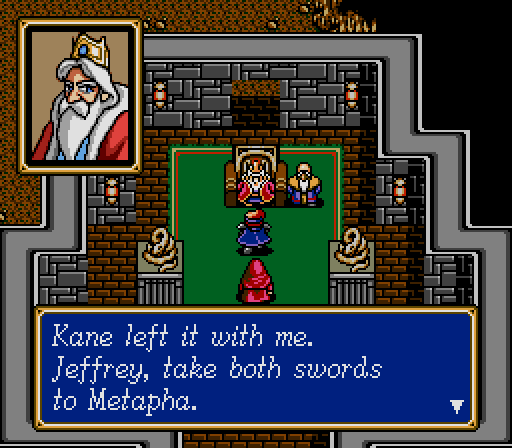
That we make by duct-taping two swords together.
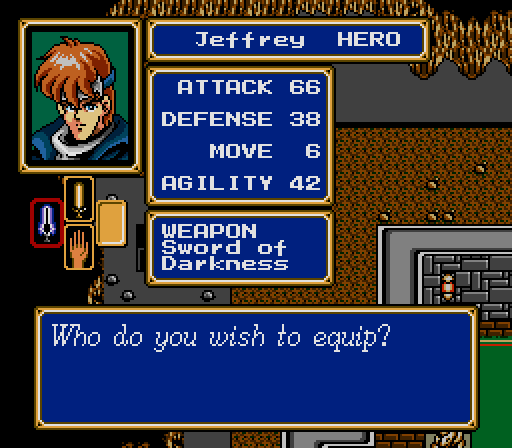
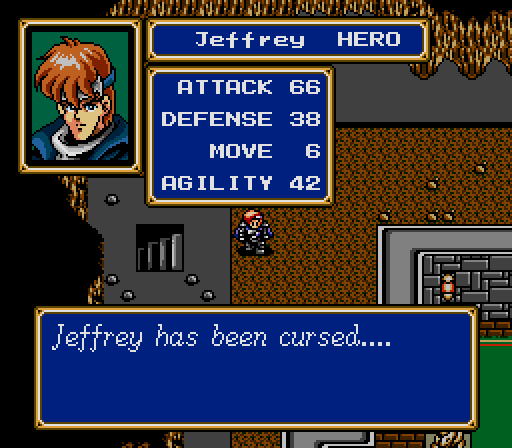
The Sword of Darkness is actually a usable weapon, and while it's slightly stronger than the Sword of Light, it's also cursed and not really worth using. Oddly, Troy or Abed can equip it, but they're best used in precision surgical strikes, so randomly missing turns is even worse for them. It can also still be used as an item to cast Desoul, but that's a gamble as well.
Now that the plot demands it, these people are smart enough to get out of the way.
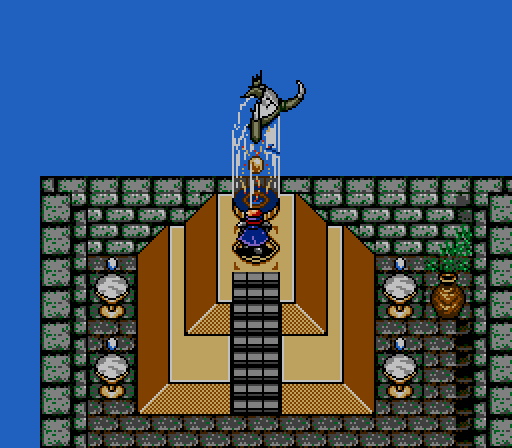
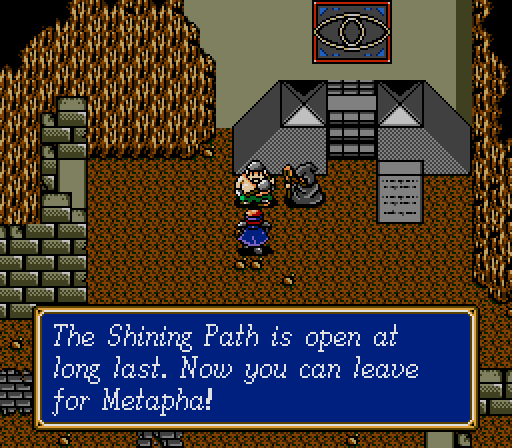
This Shining Path looks pretty beaten up, but there's a convenient protocol droid waiting to show us how to make that fancy new sword we need.
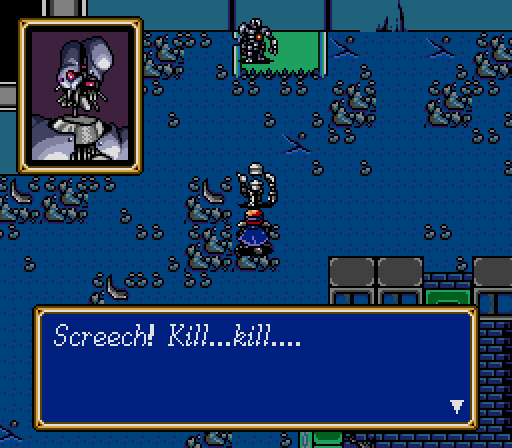
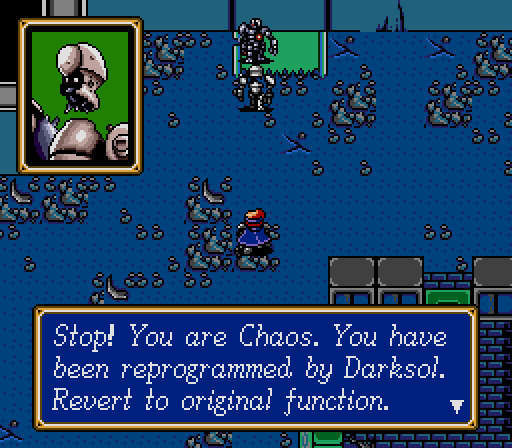
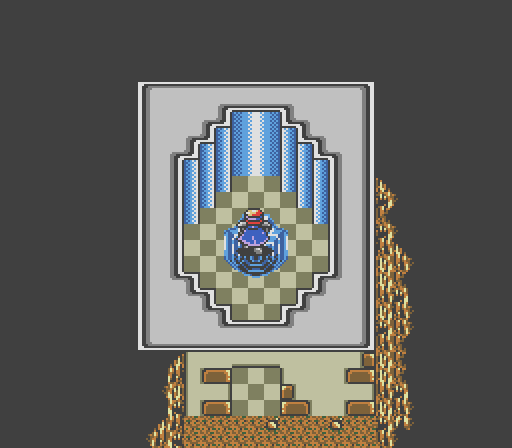
But it's never that easy, is it?
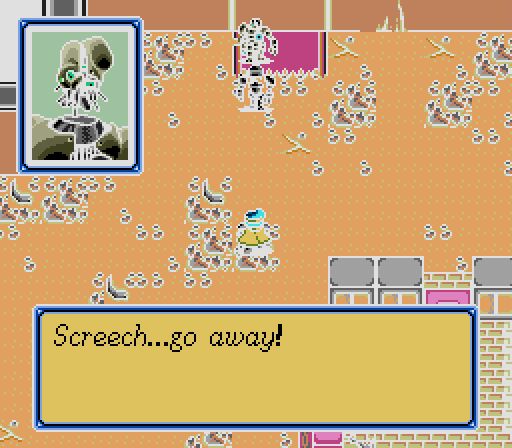
The cutscene makes it seem like our new robot friend gets destroyed by Chaos here, but he actually gets dropped into the Force quietly before the next fight starts. Normally we'd have a full team at this point in the game so he'd go straight to the sidelines, but, in this challenge run, this is our twelfth and final member.
Student ID
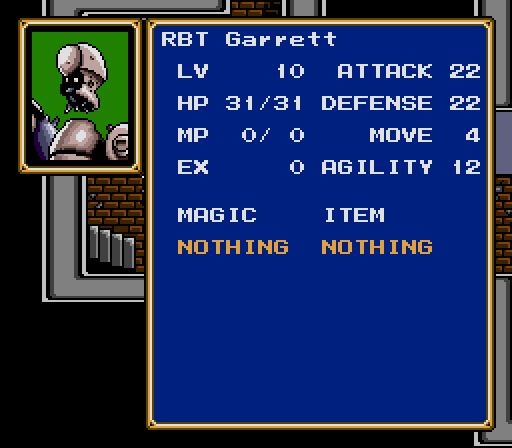
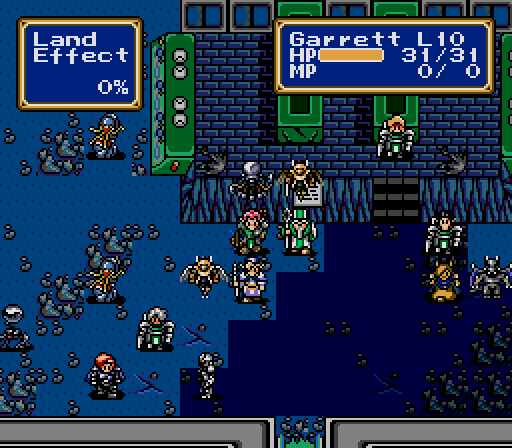
Garrett the Robot isn't actually a bad unit on his own merits. The big problem is that he's a barehanded fighter who joins far too late in the game to be useful. He's six levels behind the new members that just joined, and fifteen to twenty behind the rest of the Force, and he doesn't get any weapons to compensate for the lack of Attack. He needs both a Boost spell and a Quick spell to even approach being useful, and his pre-promotion gains are agonizingly slow. You might be tempted to immediately promote Garrett, but that will only make his stats drop even more. Combine that with an atrocious Movement, and Garrett is a unit that only a completionist will get any use out of. His one special ability, which I'll discuss later, is only a benefit in one single battle after he joins, and too soon for Garrett himself to make use of it.
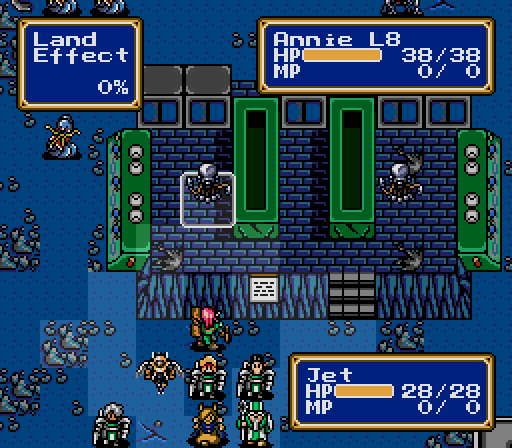
Battle 24

This battle is a tough one, largely because it's so compact. A handful of enemies will charge right off the bat, and moving up to deal with them will only trigger more. I'd love the opportunity to train the new recruits, but this is a singularly bad fight to field units that need to take their time killing.
(Pierce gains 7 SPD, 3 HP)
We start out having to deal with a Demon Master, which has already become a regular enemy, and four Jets, two of which start in attack range of the whole Force.
(Annie gains 2 SPD)
(Shirley gains 1 DEF, 1 SPD, 1 HP, 1 MP)
The best we can hope to do is take them out quickly and heal up the damage later. Chang makes a useful wall to throw at the two approaching from the east.

Magnitude may get an opportunity here or there to finish off a wounded enemy, but we can't afford to set up these situations for him.
See, look at that. Even if Garrett could numerically contribute to this battle, he's never going to reach the enemy fast enough.
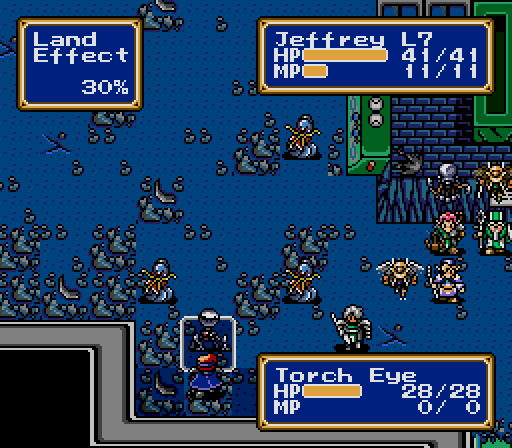

The next wave is a Torch Eye and three Ice Worms.
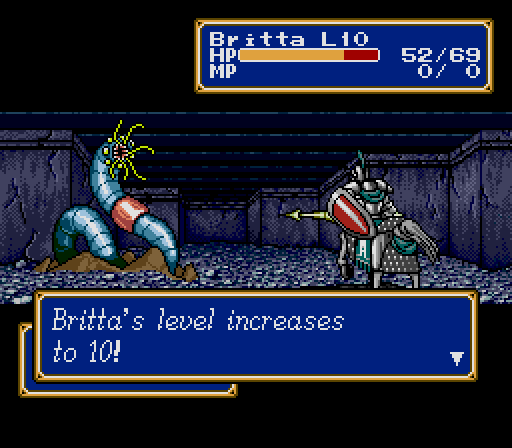
(Britta gains 2 ATK, 4 DEF, 2 SPD, 3 HP)
I do not apologize for giving the Valkyrie to Britta, who is currently the strongest Paladin, for this fight. Or, indeed, for the rest of the game.
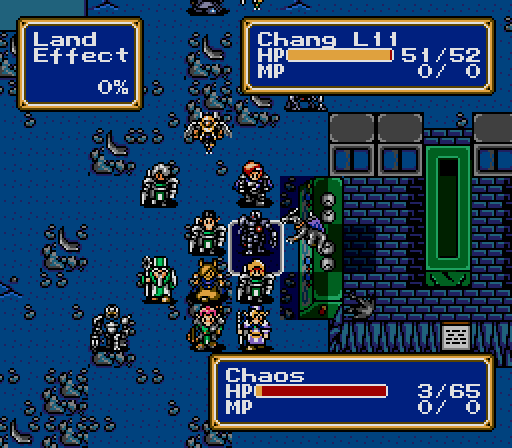
We've barely moved from our starting positions and already the boss is approaching. This is a really fast level.
(Chang gains 4 ATK, 2 DEF, 4 SPD)
Success is just a matter of killing fast enough to keep up with it.
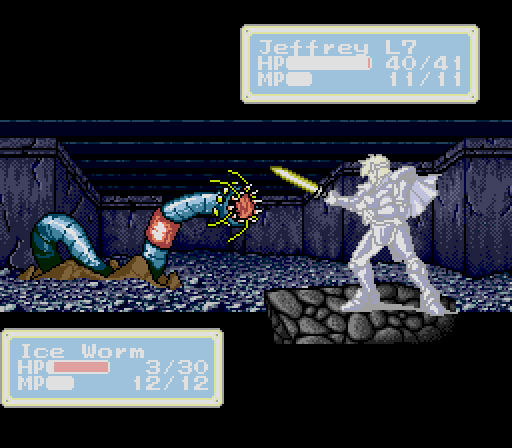

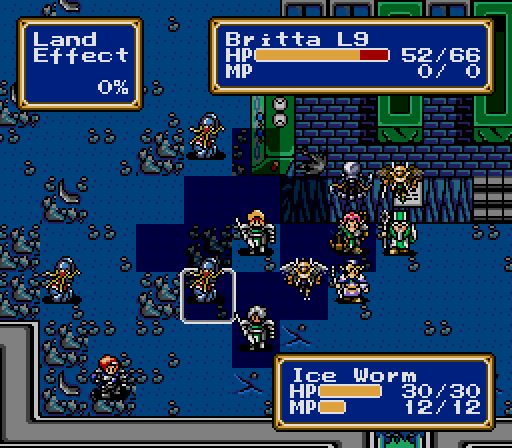
By the way, here's the Ice Worm, which I haven't actually allowed to make an attack yet. They have an ice breath attack that does magic damage. The breath attack can actually hit twice sometimes, which is why I've been aggressive about taking them out.
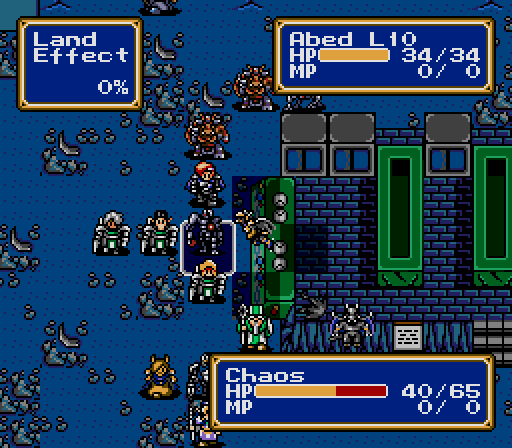
A line of enemies forms in front of the boss. I really don't want him to get any closer, but the Demon Masters are also bad news.
(Jeffrey gains 1 DEF, 3 SPD, 2 HP)
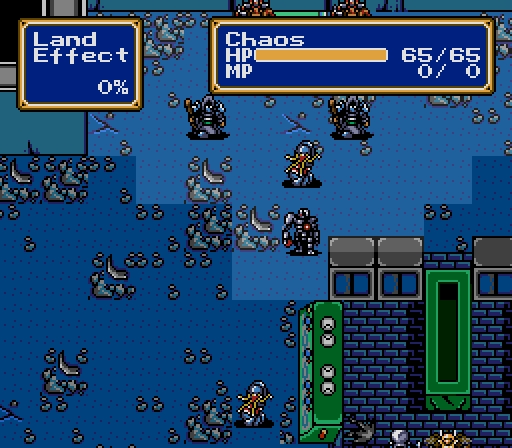
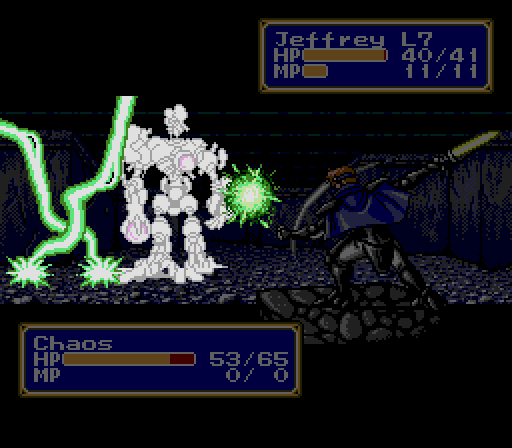
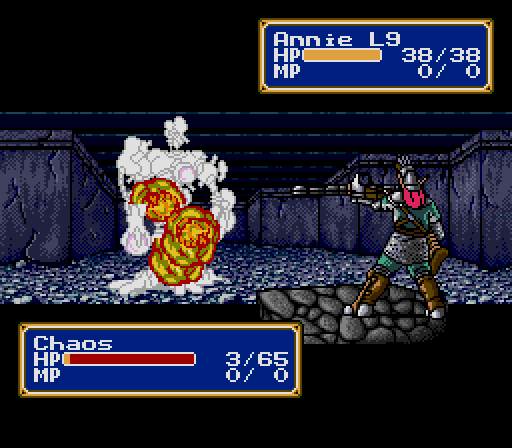
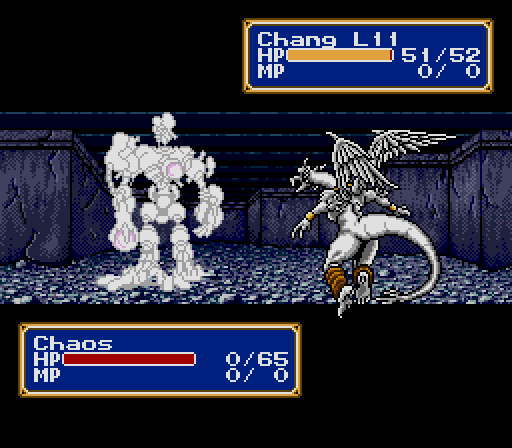
Jeffrey snipes at Chaos from behind a shield of centaur meat, but Chaos has a bit of magic resistance. It's too bad we don't have something, you know, specifically intended to break Chaos.
(Fat Neil gains 3 ATK)
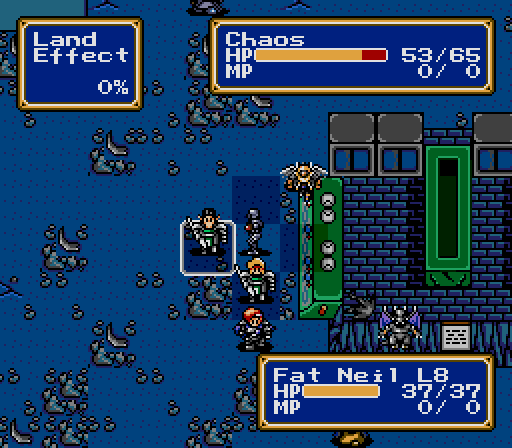
Chaos is pretty strong, regenerates, dodges a lot, and he also has a laser attack like all the other jerk robots. This is a problem with the end of this game, when you start to amass a decent amount of Defense right when it basically stops mattering.
(Abed gains 1 SPD)
This positioning is kind of reckless, but I really want to finish the fight quickly, and Jeffrey's sword is, I think, the strongest attack I currently have.

(Pierce gains 1 ATK, 2 SPD)
(Annie gains 5 DEF, 1 HP)
The battle lasts long enough to do a little clean-up, and thankfully we come through it okay.
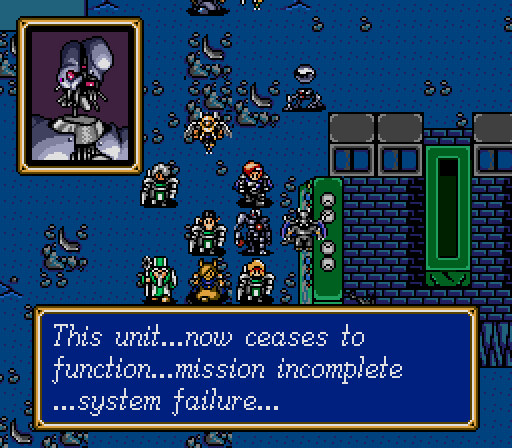
Victory!

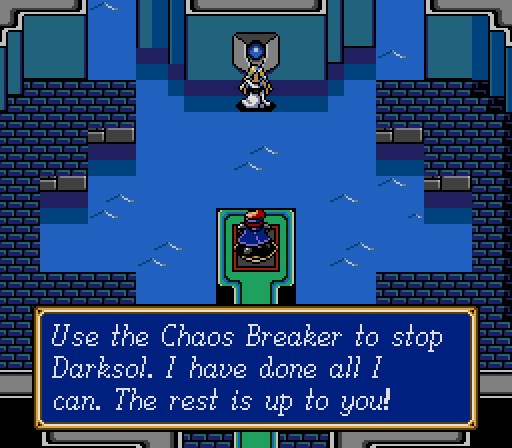
Behind Chaos' door, it's a simple matter of dropping both special swords into a pair of pedestals...
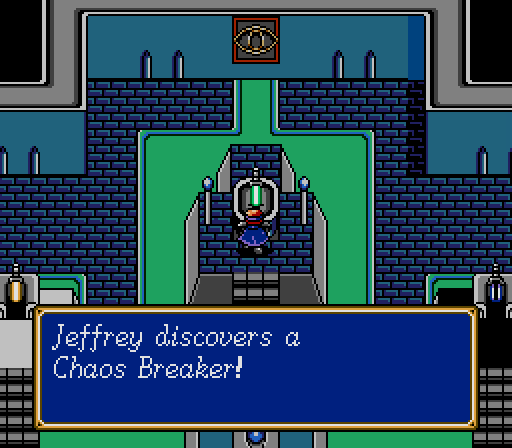

...and picking up the result. The Chaos Breaker is as strong as the Sword of Darkness was without being cursed, so it's an upgrade for Jeffrey.
Now, if you have any sense of pacing, this is the end of the chapter. Climactic boss fight, cool new sword, mystical entity telling us to venture forth. Hard fade to black, musical sting, right?
Nope, now we have to fight a whole 'nother battle to travel into Runefaust.
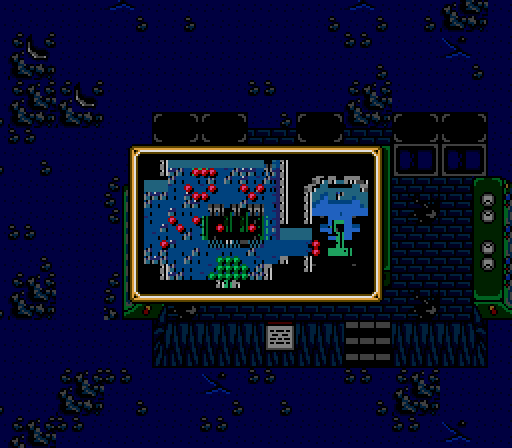
Battle 25

This is the last of the wilderness maps full of rough terrain, thankfully. It's all indoors from here. I gave Garrett the Mobility and Power Rings before this fight in case they made him slightly useful. (Spoiler: they did not.)
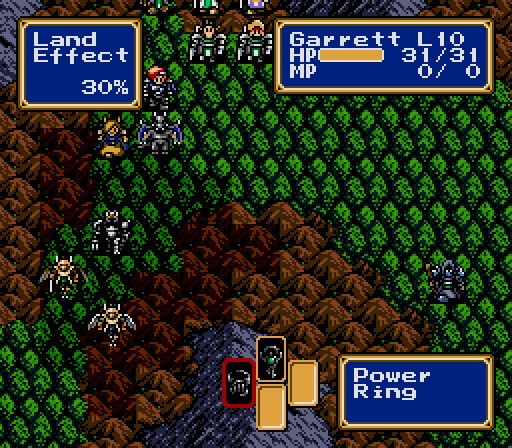
Here we see Garrett's one unique ability -- like certain other non-organic enemy units, Garrett doesn't suffer any penalties on any type of terrain. This would be great if we got him earlier in the game, and if his base movement was more than four.
The first two enemies are Demon Masters, and the usual tactic to lure out dangerous enemies won't necessarily work -- Demon Masters have a movement of 6, and cast Freeze 3, which has a range of 3 squares, so their activation radius is still the same size as their danger radius in the forest. However, they will just occasionally forget to cast magic sometimes.
(Troy gains 4 DEF, 2 SPD)
The flying units have been getting disproportionate experience lately with all the wilderness maps. In the real game, there's a couple of extra units that are good in rough terrain I could be taking along only on these missions.
Even with the Boost spell active, Garrett does pathetic damage. I'd be keeping him at the back of the army for the time being, but that would imply some kind of conscious choice in the matter.
(Chang gains 1 DEF, 2 SPD, 6 HP)
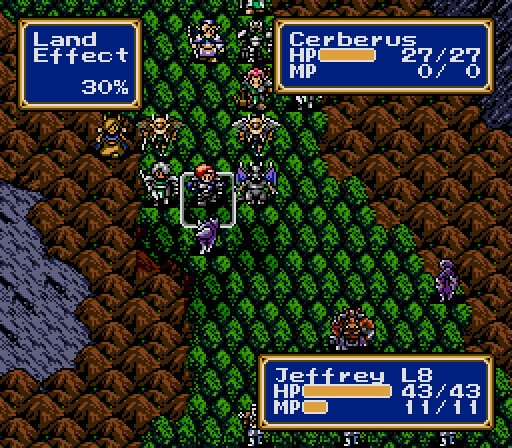

The Cerberus, an upgrade of the Hellhound, starts appearing here. I think their breath can hit twice too.
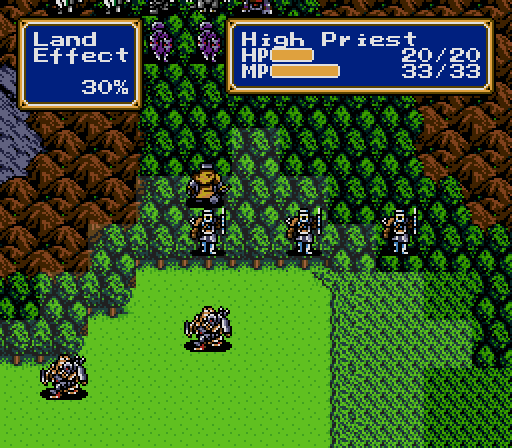
No, the AI in this game is not very bright. I damaged these Cerberi and this High Priest decided to just charge in to save them, right past the enemy's front lines.

(Abed gains 6 SPD, 2 HP)

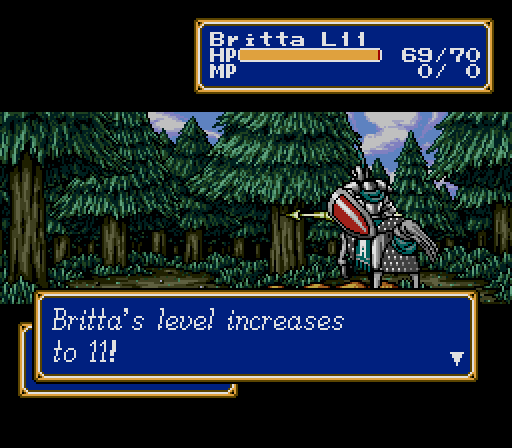
(Britta gains 1 DEF, 1 HP)
(Leonard gains 2 DEF, 2 SPD)
As I said, Leonard will be pretty easy to level. I could have gotten him his first level earlier if Shirley had taken it easy.
The Chaos Breaker "upgrades" Jeffrey's spellcasting from Bolt 2 to Freeze 3. It does a little more damage, but to fewer targets, and it makes less sense to me than the light-electricity pairing did. I guess ice crystals are pretty ordered, and order breaks chaos? Maybe the sword works by reversing entropy?

(Troy gains 2 DEF, 1 SPD, 3 HP)
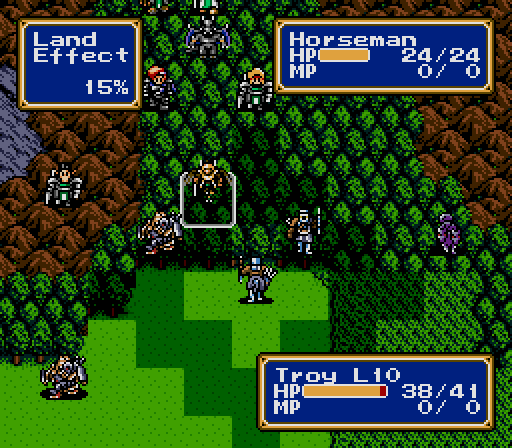
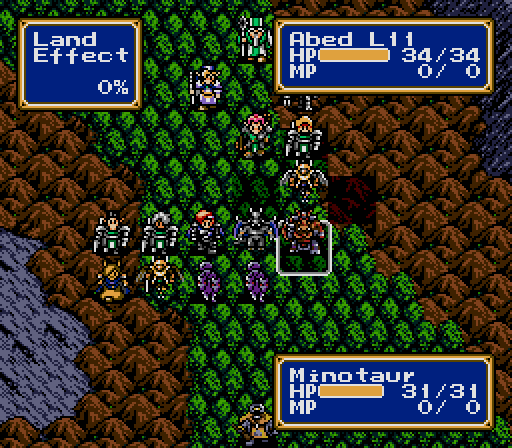
Horsemen aren't that dangerous any more. They're as slow in the forest as most of the Force is, and even the birdmen have the Defense to take a couple of shells now.

There are a couple of enemies off to the east on this map, but most of them won't bother coming after the Force, and none of them are necessary to win the fight.
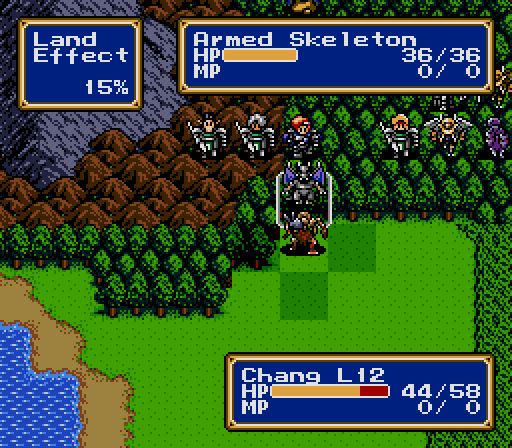
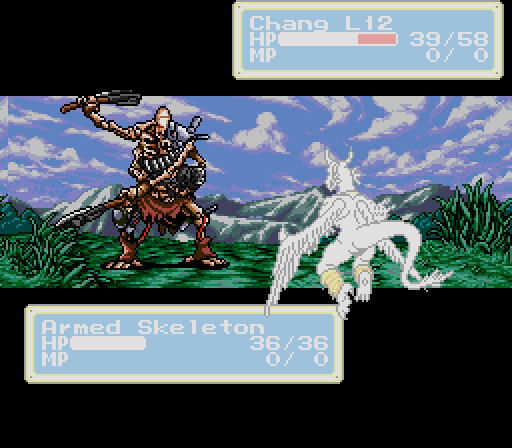
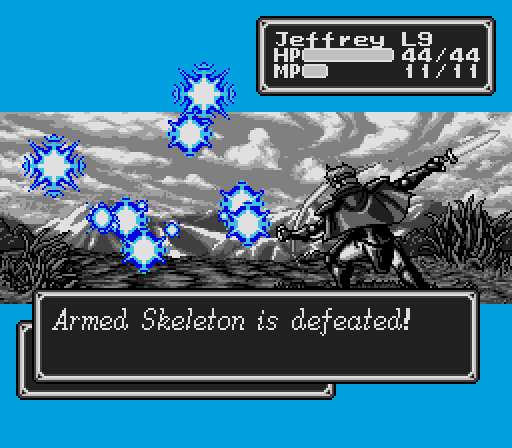
The Armed Skeletons have a decently strong melee attack, but if they catch you at range they'll use a machine gun attack that pierces Defense. I'm lucky/careful enough that I never see it during this playthrough.


(Jeffrey gains 4 DEF, 1 HP)

(Abed gains 8 DEF, 1 SPD, 4 HP)

(Shirley gains 4 DEF, 3 HP, 2 MP)
The only enemy we really need to kill is this guy blocking the wall. I probably could have done something fancy with the flying units to finish the fight really quickly, but I've got a full team now, and I don't want to pass up a whole battle's worth of experience.

(Magnitude gains 6 MP)

This guy doesn't even move, so the end of the fight is anticlimactic even for a battle that kicks the chapter's pacing in the balls.
I mean, I'm tired of being told I'm in a desperate race by now.
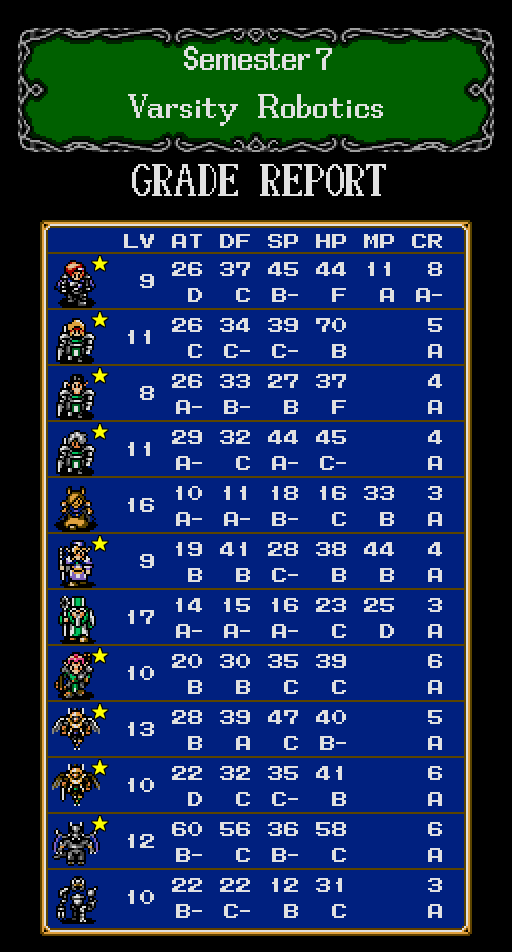
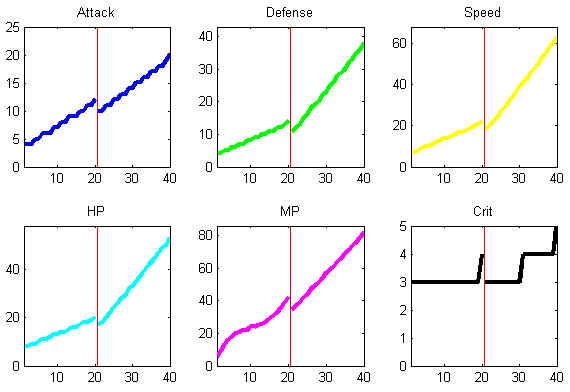
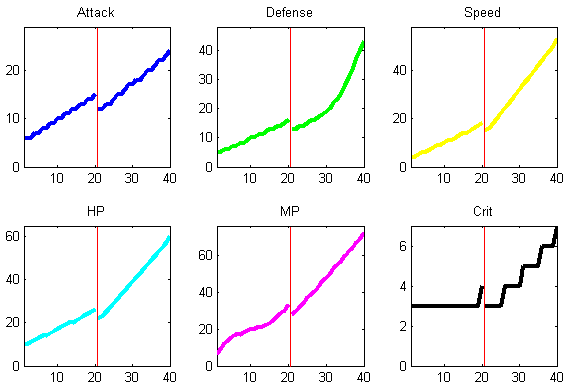
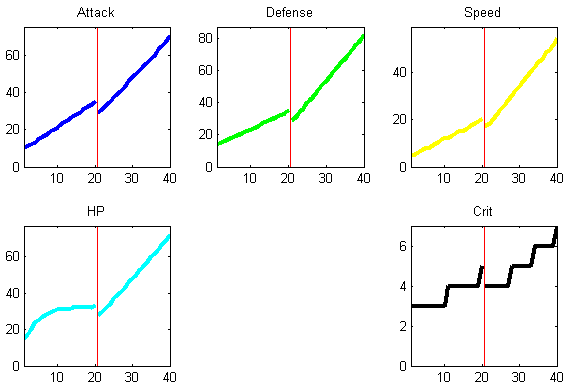
Those of you who've taken any statistics might notice that the stat distributions have been weighted a little more heavily towards As and Bs than you might expect if the game's hard-coded averages were actually supposed to be averages. Because stats can't decrease on level-up, there's some gentle upward pressure, and it's only once you have a lot of characters with high enough growth rates that the error bars don't overlap from level to level that you start to see an appropriate number of Ds and Fs. What concern me the most are Jeffrey's HP and Leonard's MP, as both of those play an important part of my end-game strategy. Still, the grind point and promotions of our last three members are still ahead.
See you next time in Semester 8: Essentials of Crisis Management!