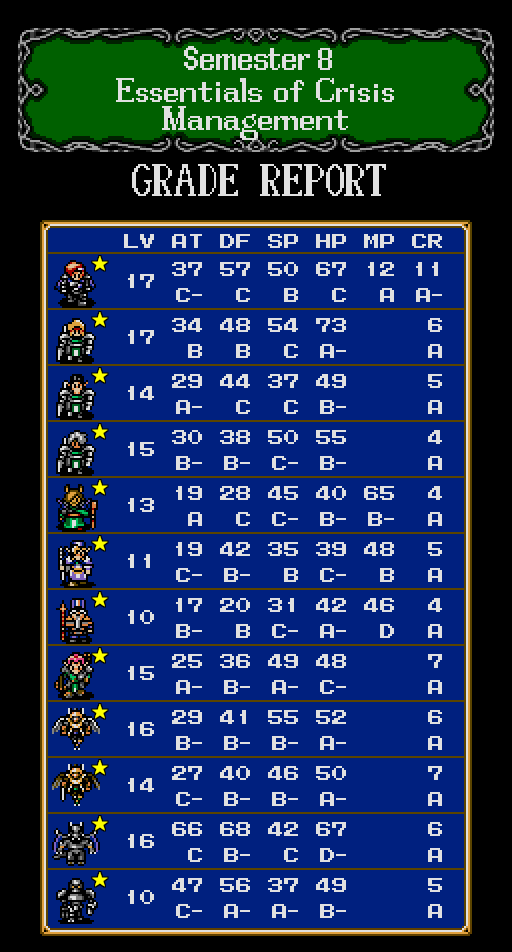
Part 8: Semester 8 - Essentials of Crisis Management

Last time on Shining Force Bare Minimum, we glued two magical swords together. Now we just need to stab some evil with them, and everything will be fine forever.
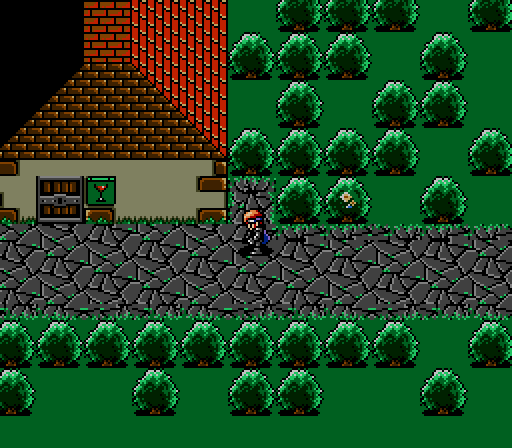
Runefaust is supposed to be Guardiana's sister city across the ocean, built to guard the other Gate of the Ancients. Somebody left a note on the bushes by the entrance, but there's no time to read litter, not with Dark Dragon due to be summoned any moment!
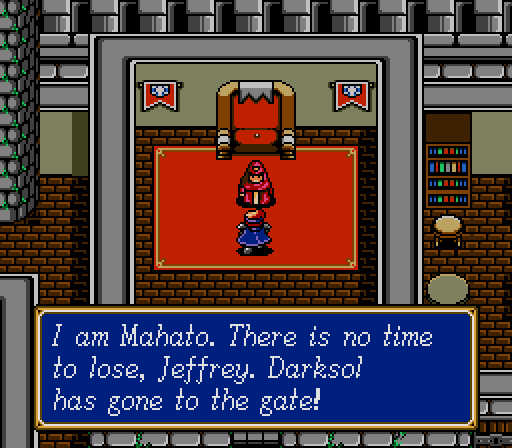
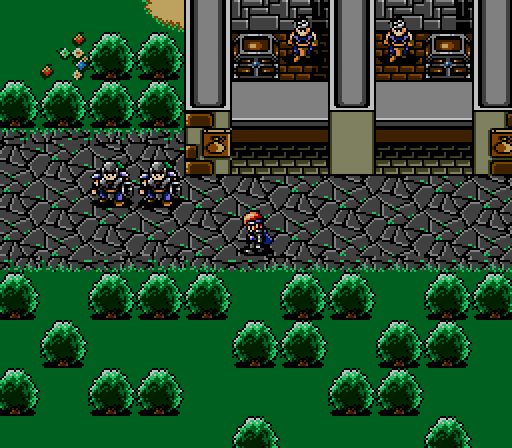
Since the Force has basically killed all of the Runefaust military that was willing to follow their brainwashed king, everyone left in the city is on our side. We have to first head north to the castle and talk to a person, who tells the guards to let us out west to the... other, more different castle?


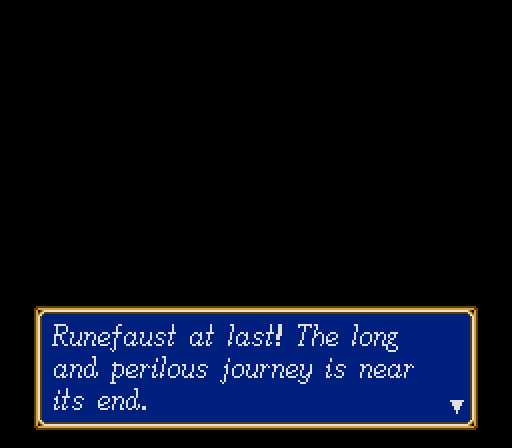
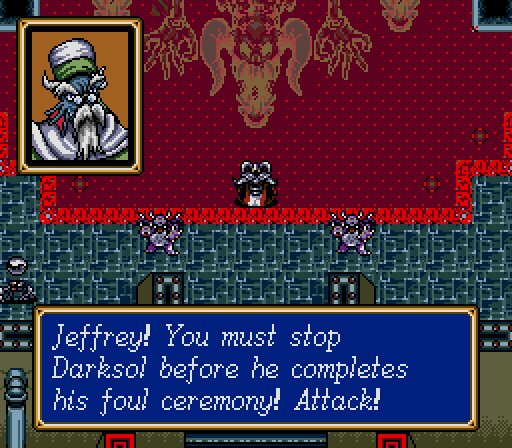
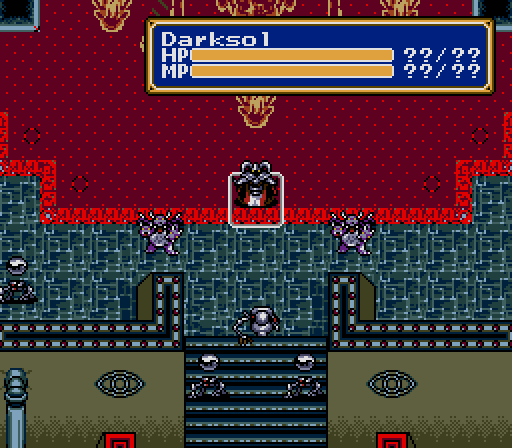
King Ramalama is making his last stand there, and Darksol takes time out of his busy schedule to taunt us before the battle starts.
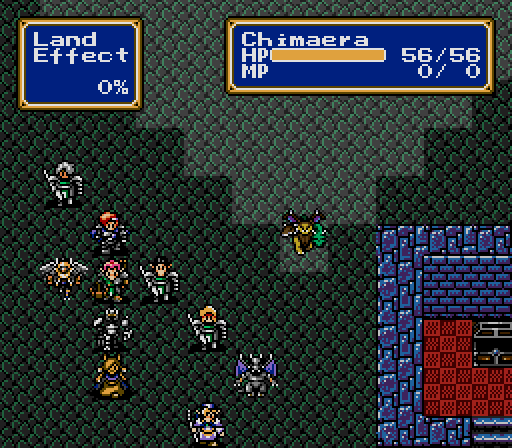
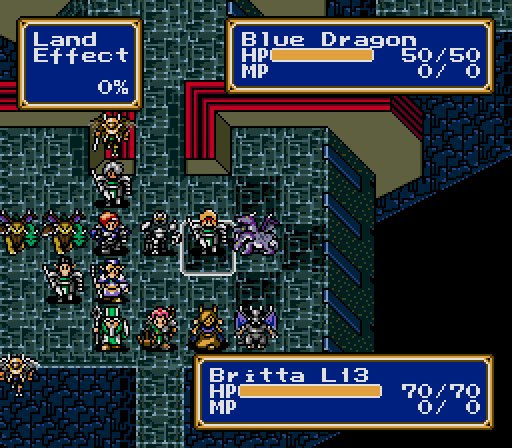
Battle 26
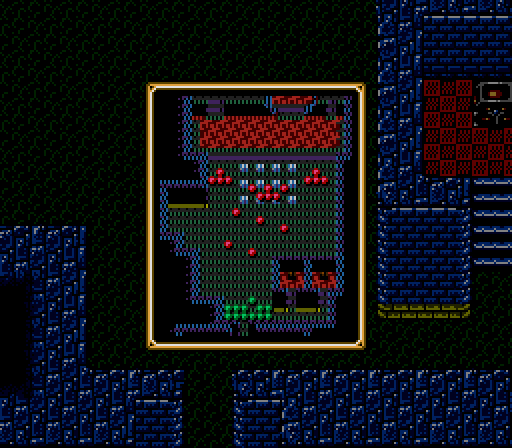
This battle is mostly open space, and only the beginning is at all dangerous, but there's a couple new enemies to be careful around.
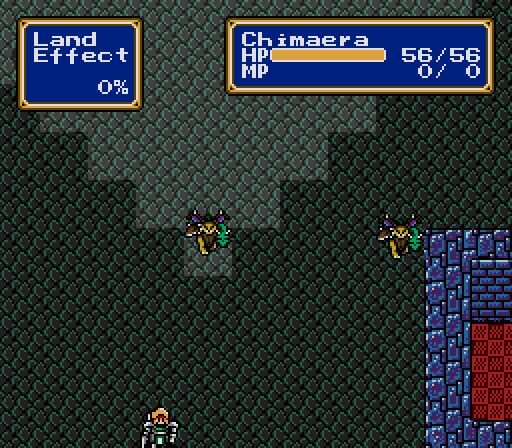
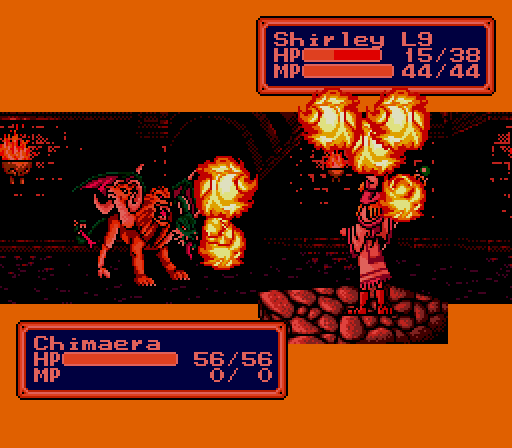
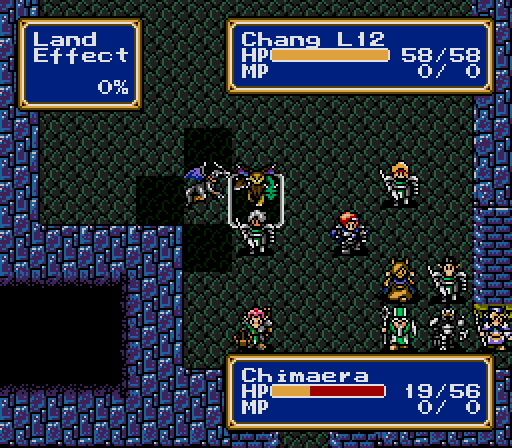
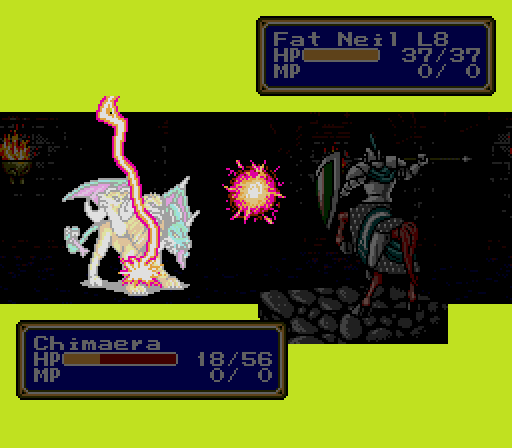
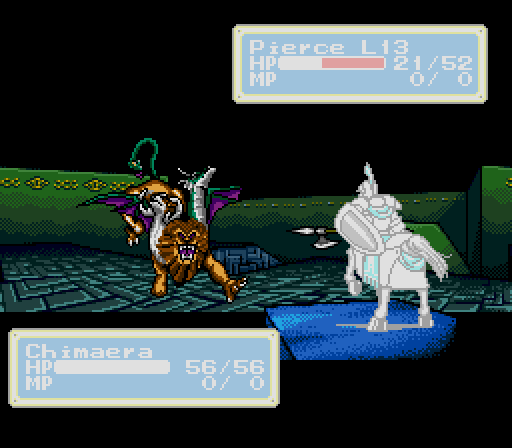
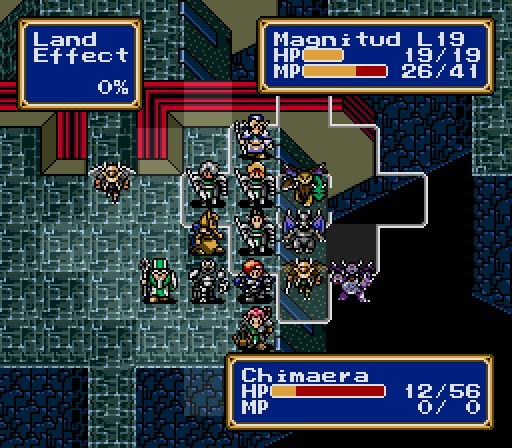
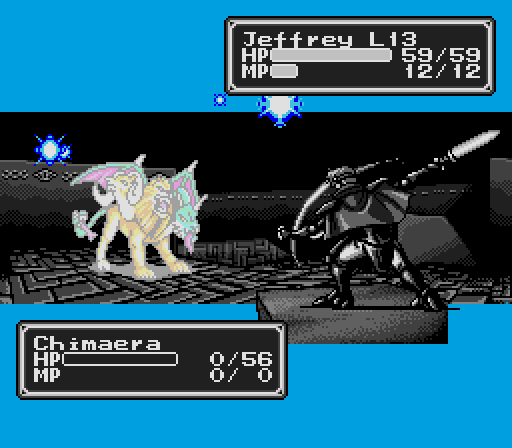
The main one is the Chimaera, which hits all the asshole points -- it's strong, it flies, it evades, and it does multi-hit magic attacks. All it needs is a ranged attack to hit for the cycle. Two of them charge straight off the bat, and it's best to hang back until they're dealt with.
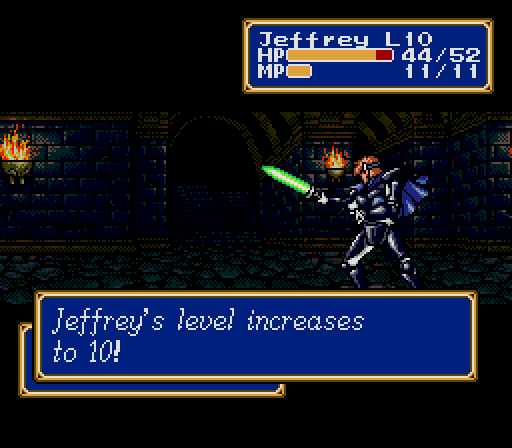
(Jeffrey gains 4 ATK, 2 DEF, 8 HP)
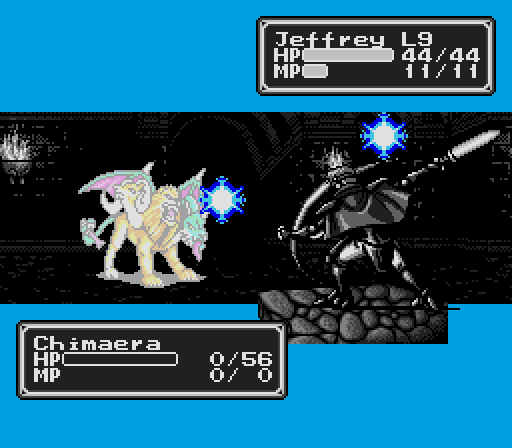
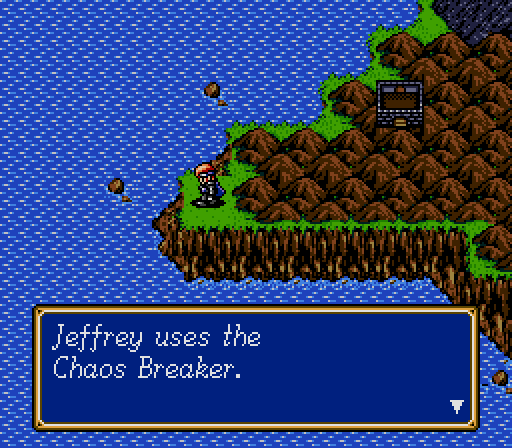
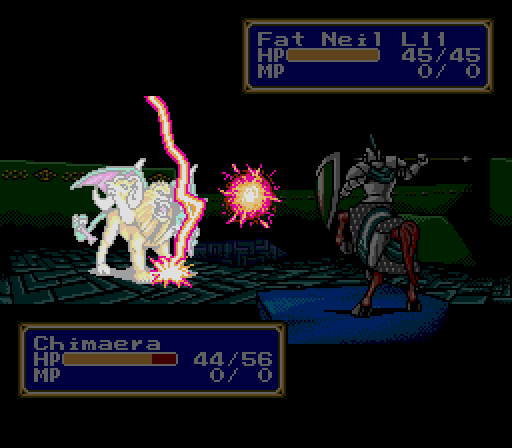
Magic is the preferred method of dealing with Chimaeras, but our only mage is still behind the curve, and this is still a pretty dangerous place to get Magnitude up to speed. Spell-casting weapons will have to fill the gap, particularly the Chaos Breaker. I think Chimaeras take a little extra damage from ice spells.
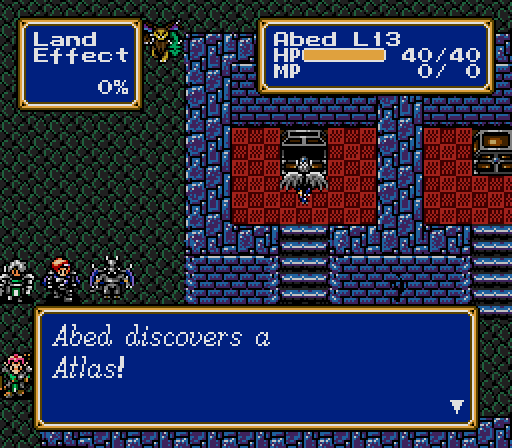
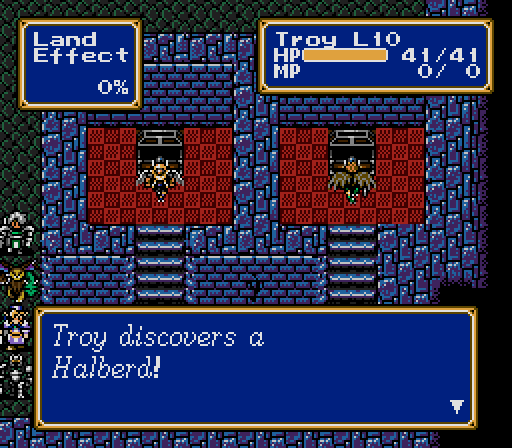
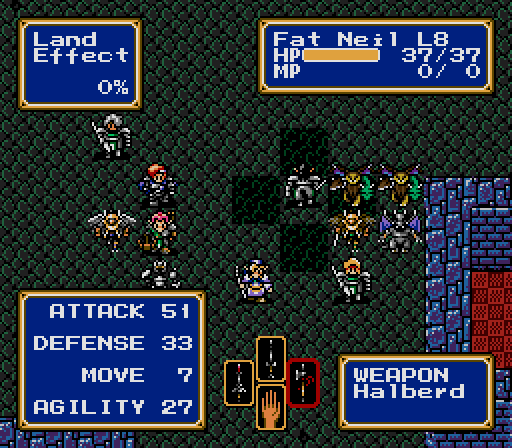
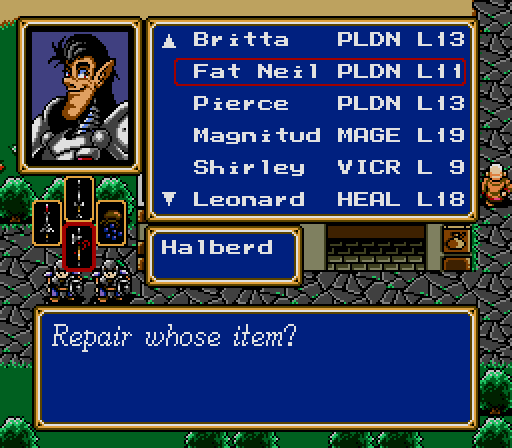
The accuracy of the birdmen might also help, but they're a little fragile to melee these enemies, plus they're on an important mission: looting the treasure room! The Atlas is an axe, and we've already passed up the two character who could use it, so it's going to the vendor once we're done here, but the second Halberd will help bring Fat Neil up to Pierce's strength and give us an extra magic weapon to use in this fight. A nice coincidence of this challenge run is that there's exactly enough uncursed special knight weapons for the number of knights we have.
(Chang gains 1 ATK, 2 DEF, 2 HP)
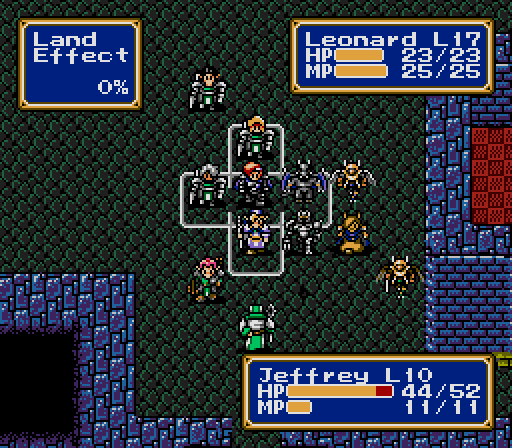
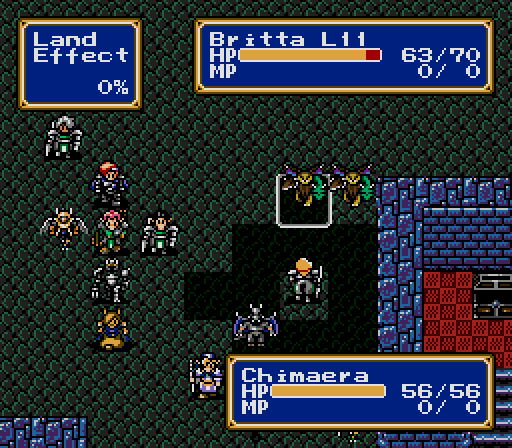
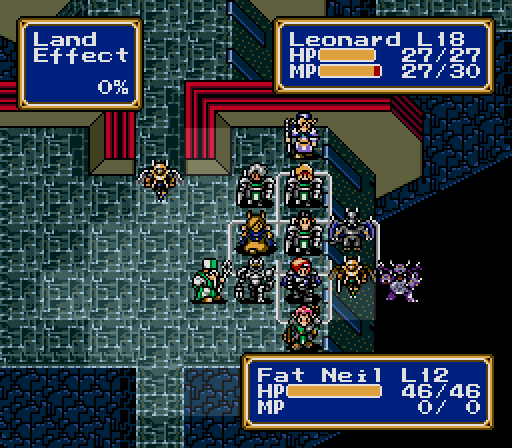
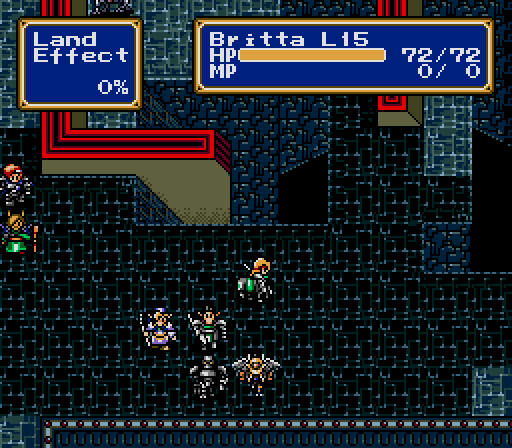
Once the first wave goes down, we heal up and shift left before advancing. Going past the edge of the treasure room wall causes the next three Chimaeras to advance, but this formation will feint them into attack range safely.
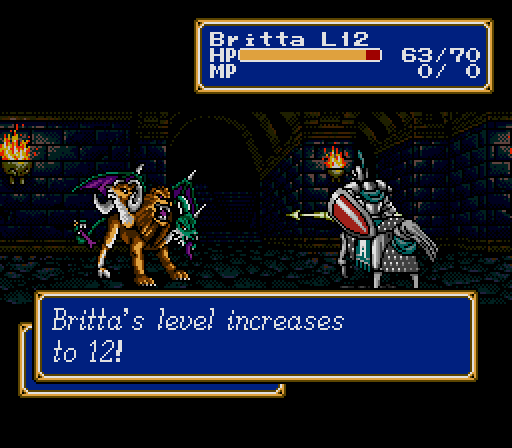
(Britta gains 1 ATK, 1 DEF, 3 SPD)
I don't use the Halberds for casting often, because, like the rings, they can break permanently, but it's worth it here.
Anyway, once those three enemies are dead, the battle's basically over.
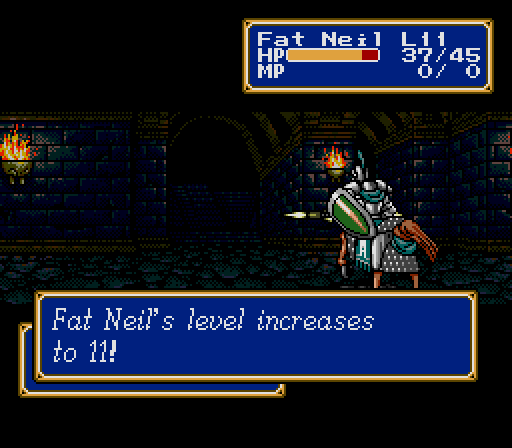
(Fat Neil gains 3 DEF, 2 SPD, 6 HP)
See, the remaining enemies are set to take up positions on the north end of the map and -- wait for it -- never move. We've got the combination of range and melee to deal with all of them safely.
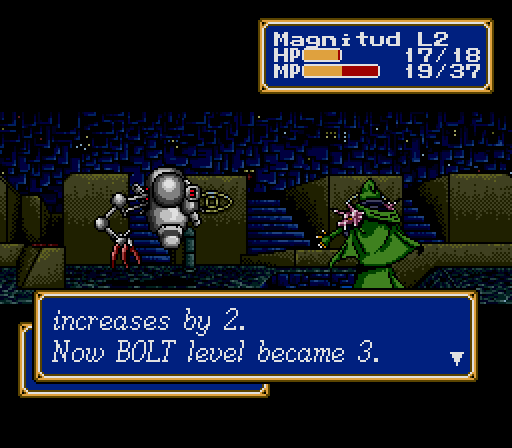
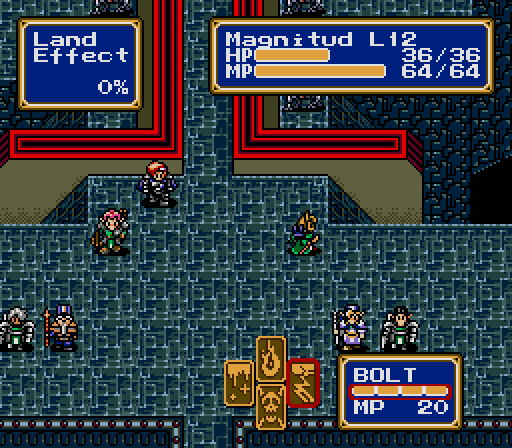
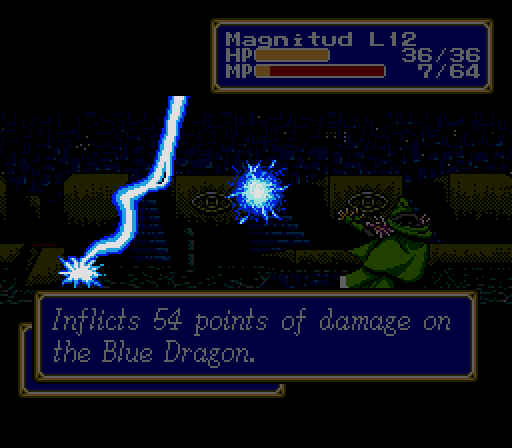
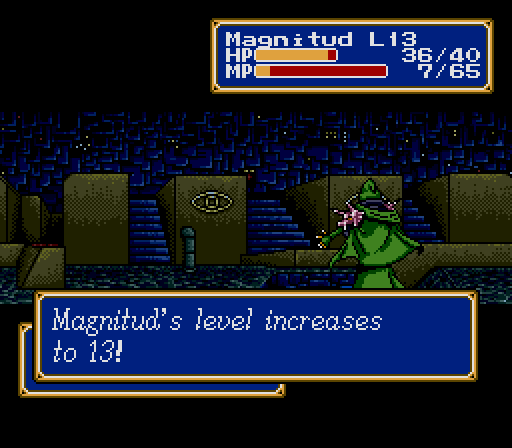
(Magnitude gains 1 DEF, 1 HP, and BOLT 2)
(Fat Neil gains 4 DEF, 1 SPD, 2 HP)
We start with the Cerberuses on the left, and Magnitude and Fat Neil whittle them down with their weaker attacks. I try to feed the kills to Magnitude.
(Magnitude gains 1 DEF, 1 SPD, 3 MP)
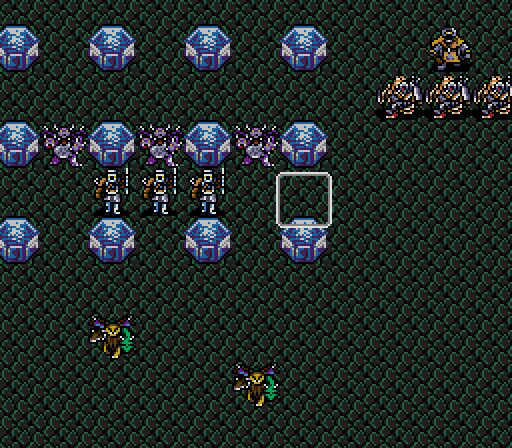
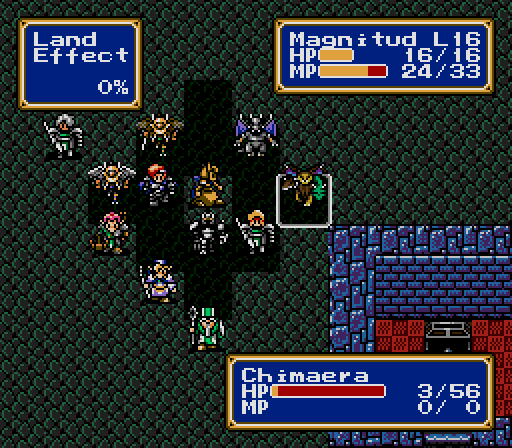
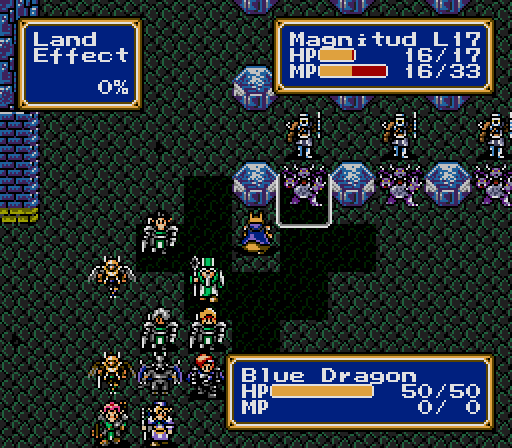
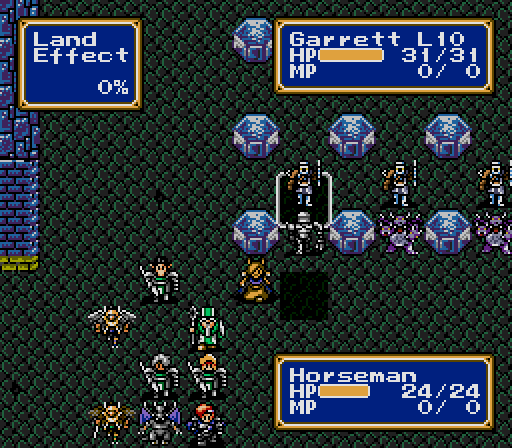
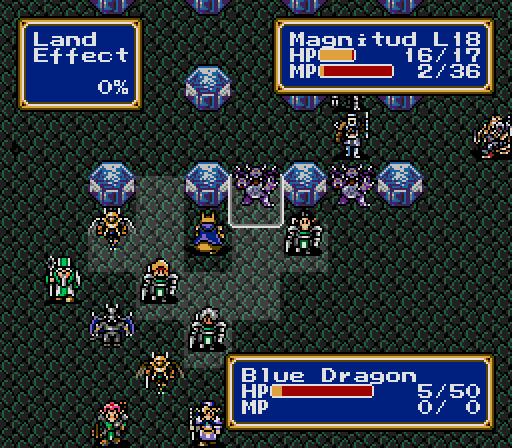
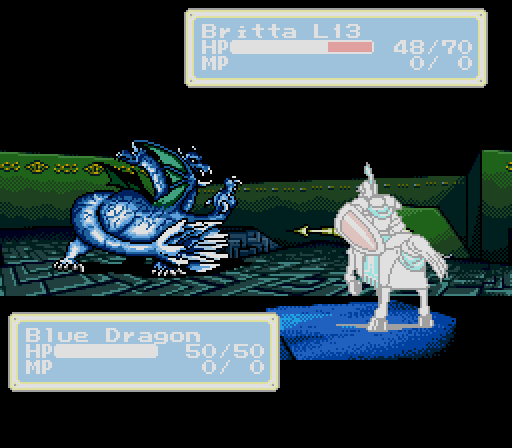
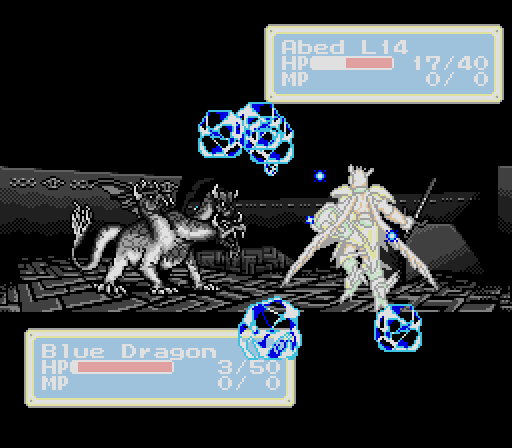
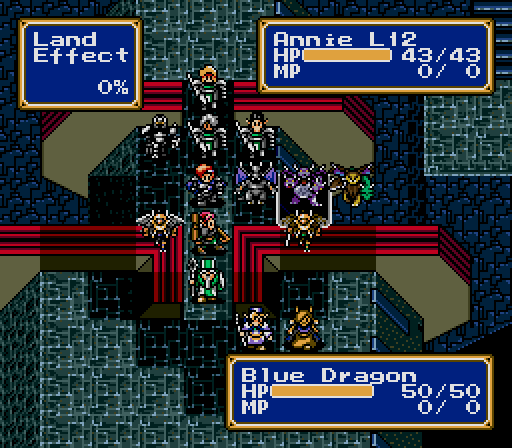
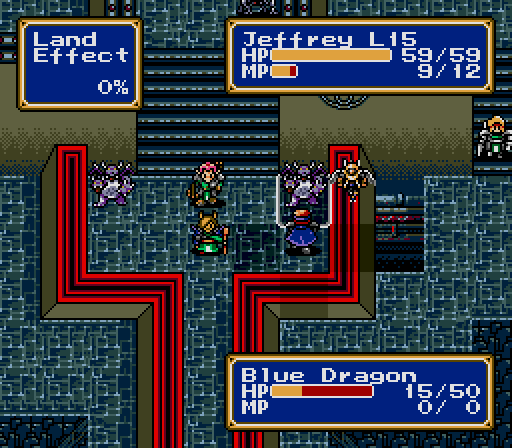
Then to the middle, with three Horsemen protecting three new Blue Dragons. Ordinarily this would be a dangerous setup to approach, even stationary, due to the Horsemen's range. However, those blue crystal things are the kind of impassable tiles that also block flight and line-of-sight, so a ranged attacker can hide behind one and snipe the Dragon safely. Blue Dragons take a little extra damage from fire, so Blaze 1 is a relatively efficient method of taking them out.

(Garrett gains 6 DEF, 1 SPD)
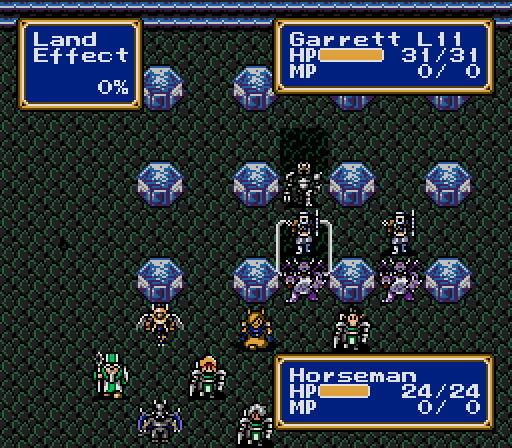
Then, once the Horseman is exposed, a melee attacker can run up and whack it without taking shots from the other Horsemen.
(Garrett gains 2 ATK, 2 SPD, 1 HP)
In fact, a melee fighter can even run around behind the enemies to take out the Horsemen first. There aren't any triggers that make the enemies advance that I've found.
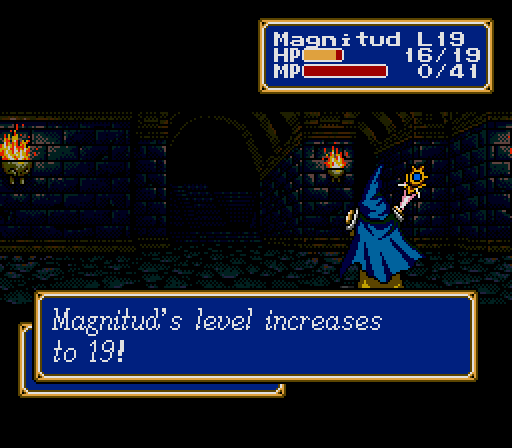
(Magnitude gains 1 ATK, 1 SPD, 2 HP, 5 MP)
Magnitude gets a lot of the way to 20 before running dry.
(Fat Neil gains nothing)
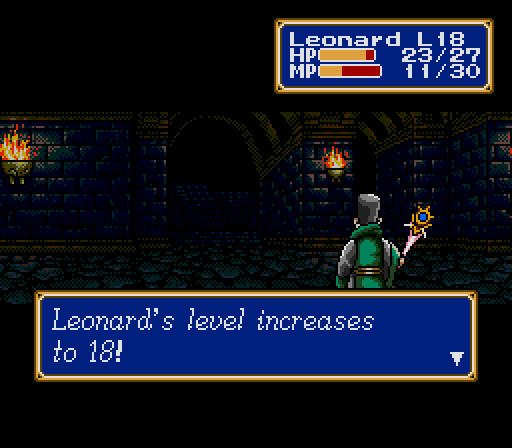
(Leonard gains 1 DEF, 4 HP, 5 MP)
The rest of this group is just cleaning up and healing.
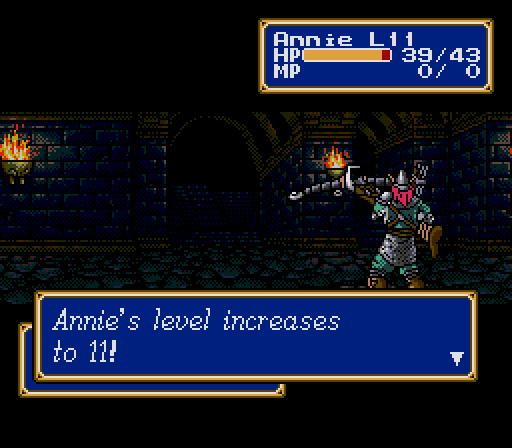
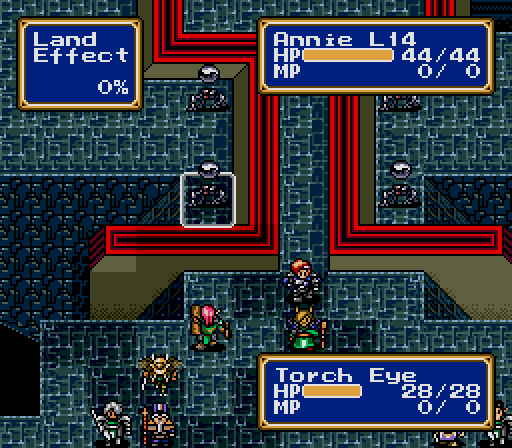
(Annie gains 1 ATK, 4 HP)
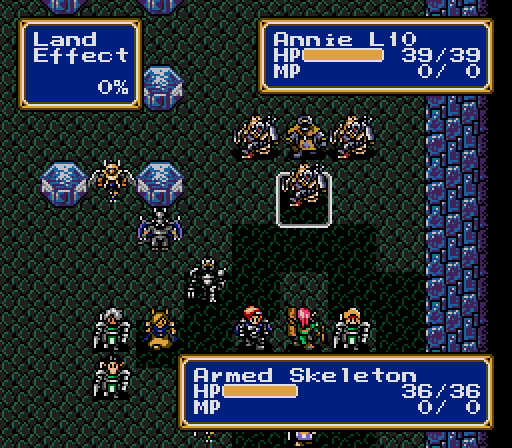
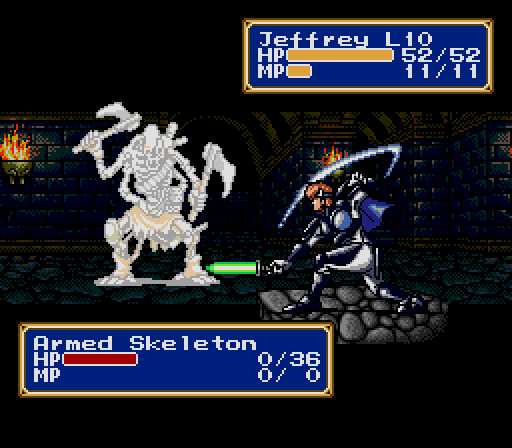
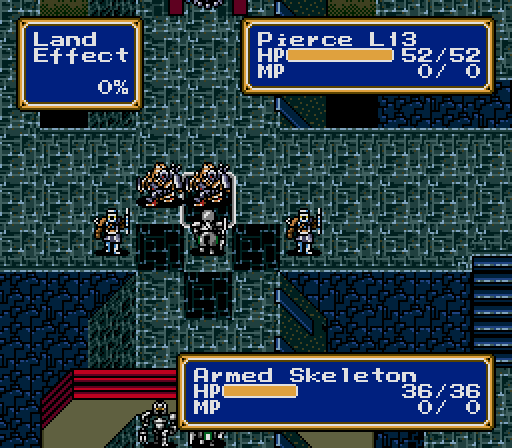
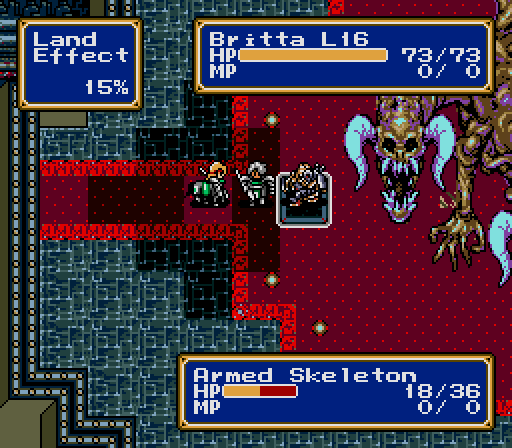
The last group does have some ranged attacks from the Armed Skeletons, but Annie and the Chaos Breaker (and Bolt 2, if Magnitude isn't empty) can hit from a safe distance to soften them up for melee. One of the Skeletons has another Atlas, not that it matters.
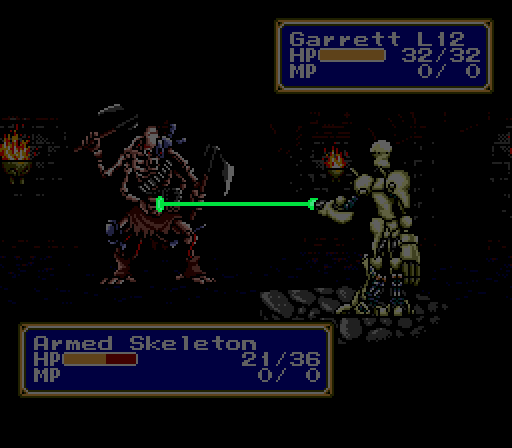
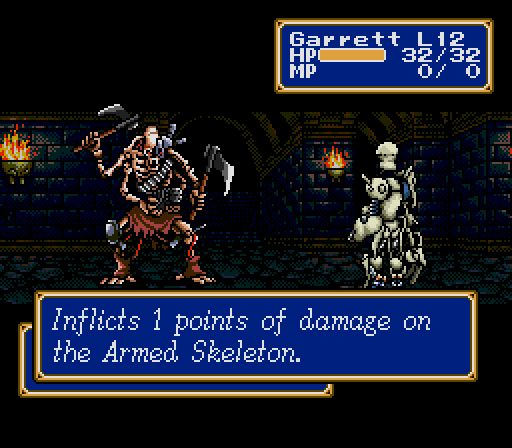
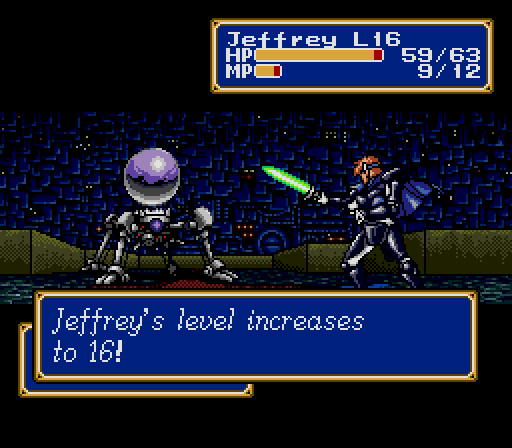
By the way, Garrett gets a laser for critical attacks. Nope, it doesn't do magic damage either.
(Jeffrey gains 1 DEF, 3 SPD)
And that's that! Ramladu must be ready to surrender now that he's alone, right?
Deceptively Easy Victory!
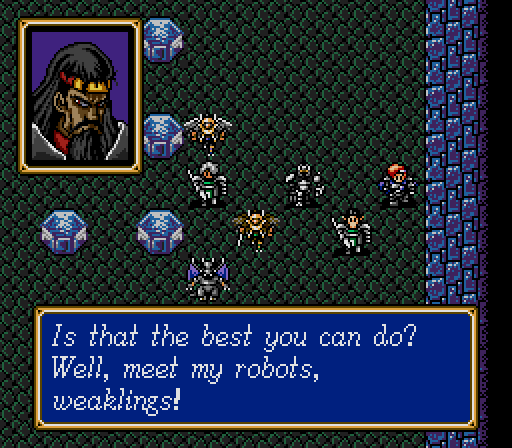

And that's why those blue things were impassable -- they were pillars, inside which robots were hiding.
Battle 27


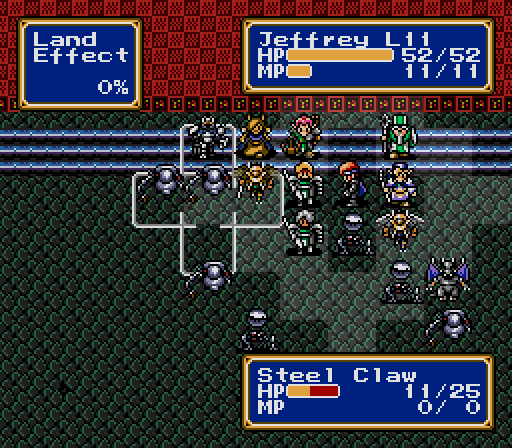
Oh, man, this fight. This fight killed my first run through the game when I was a kid. Twelve enemies with asshole Defense-piercing attacks that all start close enough to dogpile on you. It counts as a separate battle, so your HP and MP get refilled first, but, if you lose or run away, you have to start over at Battle 26.
Some of the Force isn't fast enough to move away before the enemies go, so the only thing there is to do is charge...
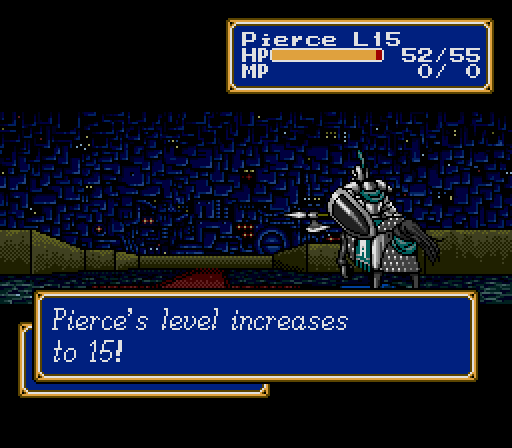
(Pierce gains 1 ATK, 2 SPD, 1 HP)
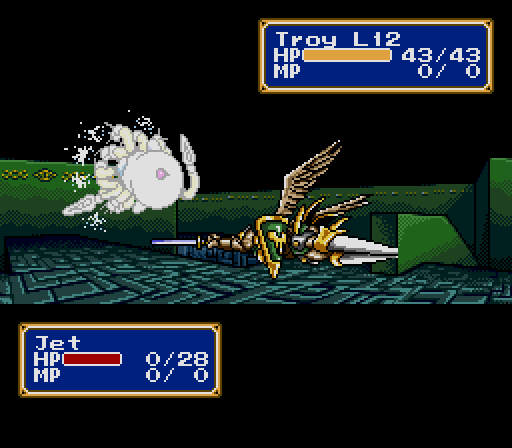
(Troy gains 5 ATK, 2 SPD, 2 HP)
...reap what benefits we can...
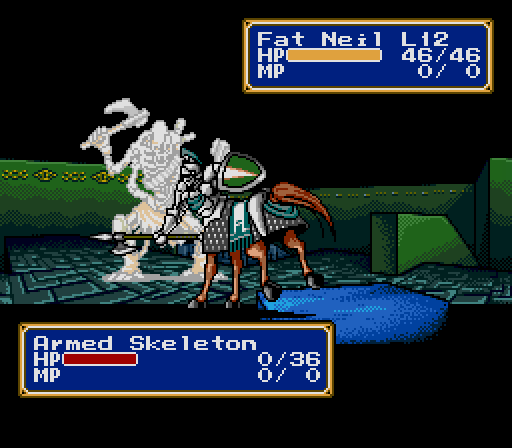
...and try to survive the inevitable counterattack. Fat Neil doesn't make it.
(Chang gains 2 ATK, 2 DEF, 4 SPD, 5 HP)
Next round is more of the same.
This time it's Magnitude that falls. The one nice thing about this fight is that you'll know very quickly if you've lost it.
(Jeffrey gains 4 ATK, 3 DEF, 2 SPD, 7 HP, 1 MP)
(Annie gains 1 ATK, 3 SPD)
One last round finishes the robots off. All things considered, that went okay.
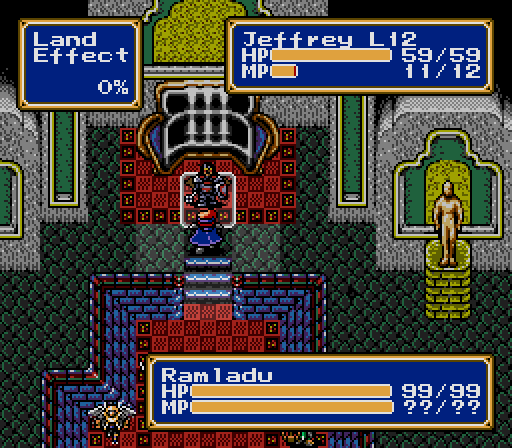
Ramladu will wait by his throne, so we have plenty of time to buff and heal.
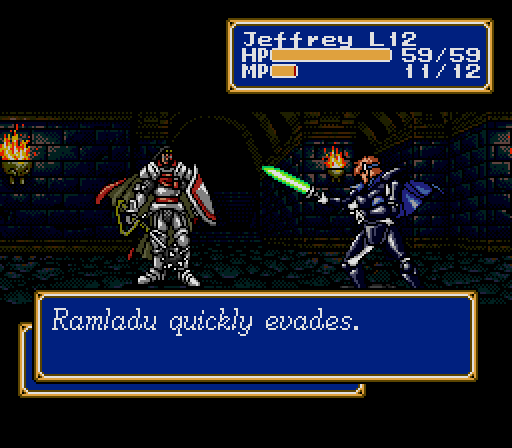
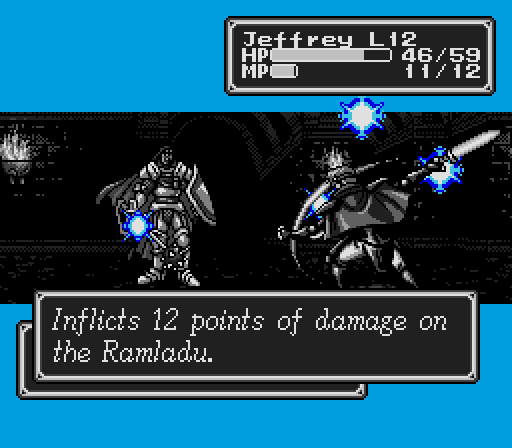
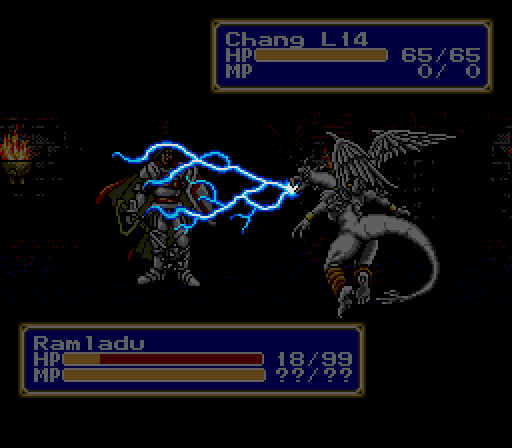
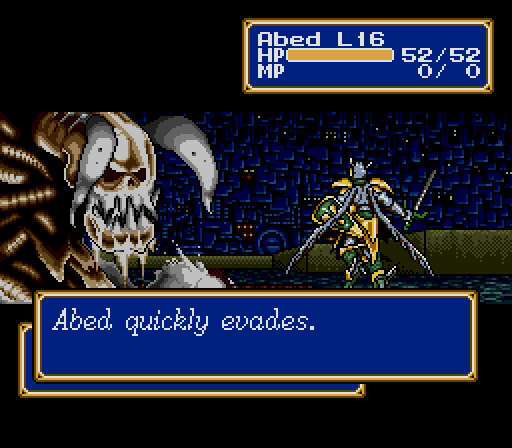
I put Boost on Jeffrey hoping he could cut down Ramladu's 99 HP in just a couple hits, but he ended up evading every single attack, even after Boost wore off.
On top of that, he's really, really dangerous to melee.
(Abed gains 1 SPD)
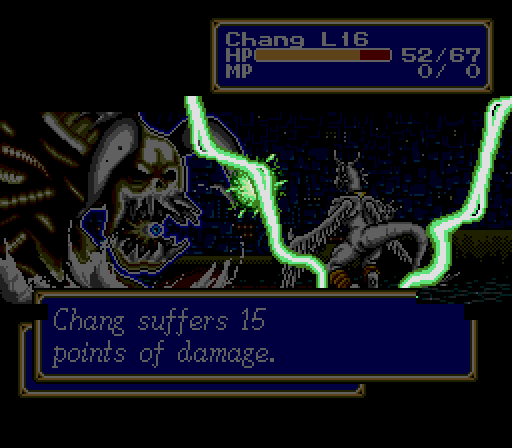
So I have Jeffrey back off and spit ice and put a bird in Ramladu's face. I could have Britta tank, but I'm worried about a crit and I want her and the Valkyrie to stay in play, evasion notwithstanding.
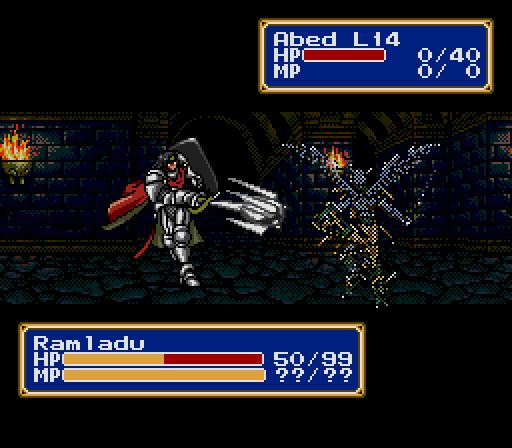
It ends about as well as you'd expect.
(Pierce gains 1 DEF, 6 HP)
(Britta gains 3 ATK, 1 DEF, 5 SPD)
This fight is just a slog without high-level mages.
Three units lost. That's a new record!
Costly Victory!
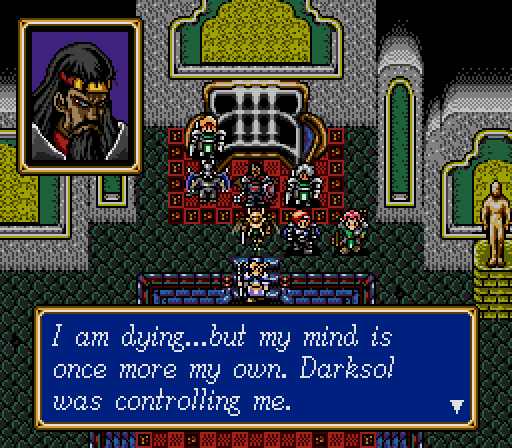
So, with another mind-controlled innocent dead, we're ready to enter the Castle of the Ancients.

After a little... bookkeeping.

First, we raise the castle from the ocean floor. This may have been a mistake. I don't remember the game ever saying that Darksol could breathe underwater, so maybe we should have just left it down there.
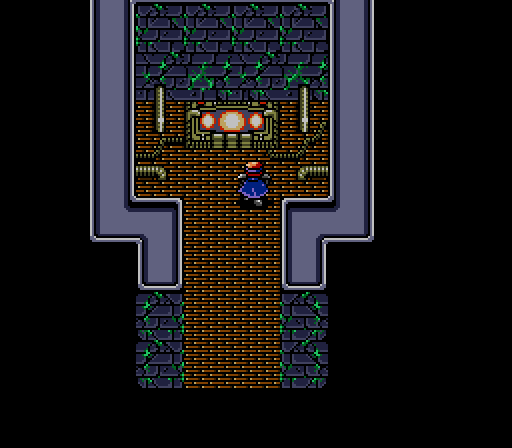
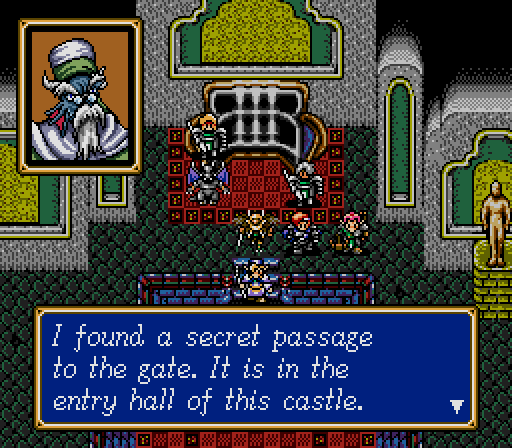
Then we head through the gate to an ancient teleporter.
Well, maybe raising the castle is just for our benefit, since Darksol can teleport all over the place. Like, right past the ancient defense system in the foyer that we have to fight to get in.
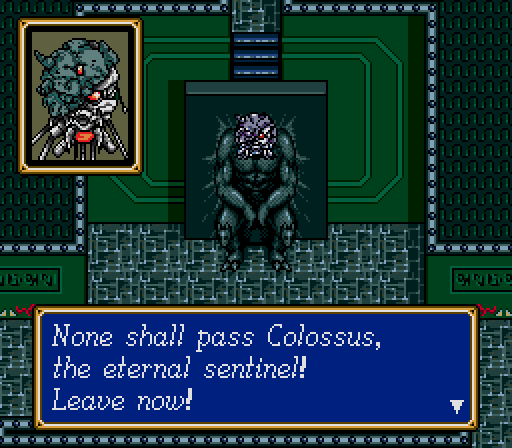
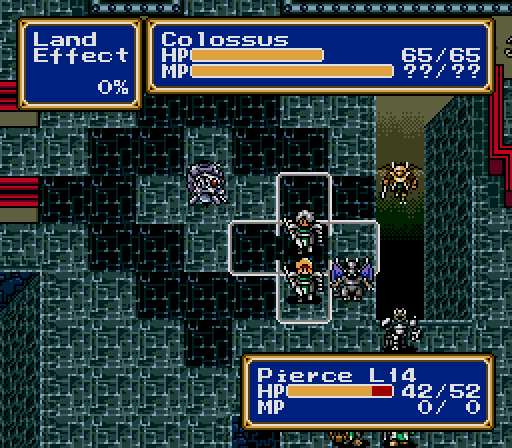
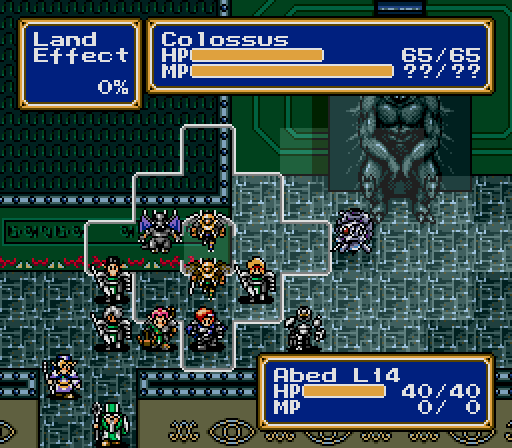
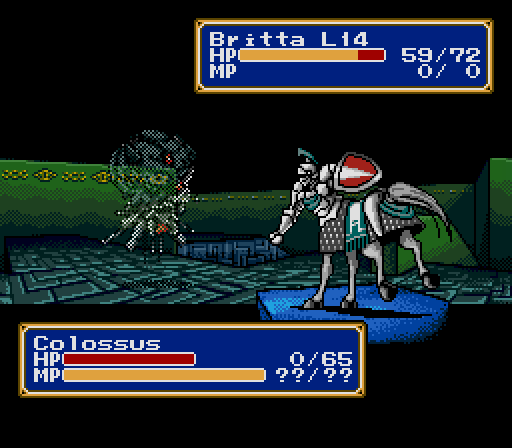
Battle 28
Colossus is actually three enemies, but we only need to take out the middle one to win.
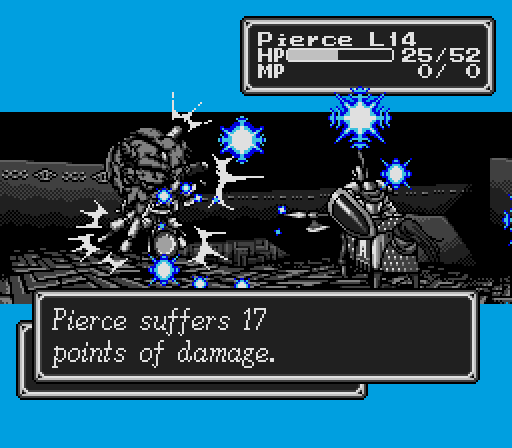
The starting position for this fight is better than for the last one, but it still isn't great. Three Chimaeras and one Blue Dragon will charge right off the bat.
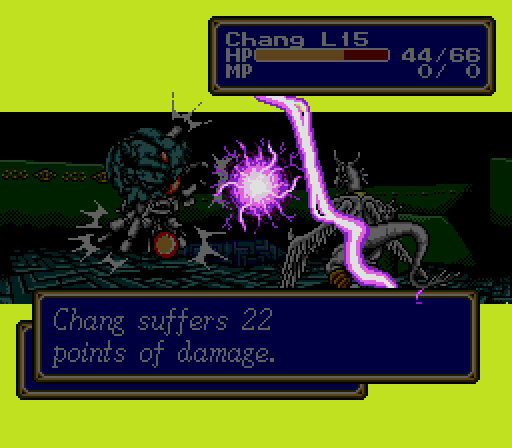
The Chimaera special attack is mostly dangerous to Jeffrey and Chang, who've accumulated some serious Defense. To everyone else, their standard attack is just as or more powerful.
(Fat Neil gains 4 SPD, 1 HP)
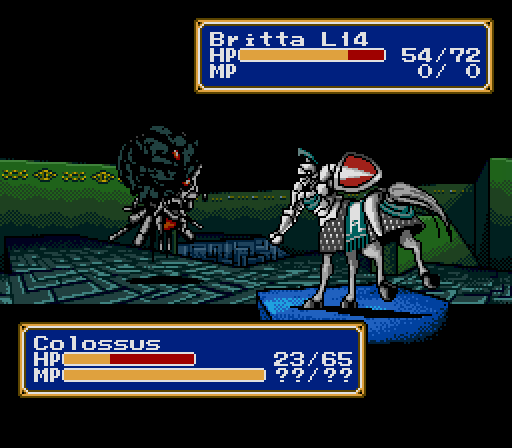
Once again, magic is the key to victory.

(Shirley gains 5 SPD, 4 MP)
The key is to move up slowly to draw out the flying enemies, and heal between waves. There are three more Chimaeras and two more Blue Dragons that can be staggered out.

(Magnitude gains 1 ATK, 1 DEF, 2 SPD, 2 HP)
Using the reach of the newly-acquired Bolt 2, Magnitude hits the magic number. I could warp out and promote him, but I'd rather be done with Chimaeras.
(Leonard gains 3 SPD)
And Leonard inches closer keeping everyone healed up.
Did I forget to mention that Blue Dragons are just as big assholes as Chimaeras? Because Blue Dragons are just as big assholes as Chimaeras.
(Annie gains 1 DEF, 2 SPD)
They're bad enough that I build the killzone with Jeffrey hiding behind a dragon.
(Chang gains 6 DEF, 1 SPD, 1 HP)
(Jeffrey gains 5 DEF)
(Troy gains 3 DEF, 4 SPD)
Finishing them off takes a while because of the tight quarters.
The next line is two Horsemen and two Armed Skeletons. With the right timing, they don't even get to react.
Then, one more Skeleton and three Jets, which aren't as threatening as they used to be.
(Britta gains 1 ATK, 6 DEF, 2 HP)
(Pierce gains 2 DEF, 1 SPD)
(Fat Neil gains 2 DEF)
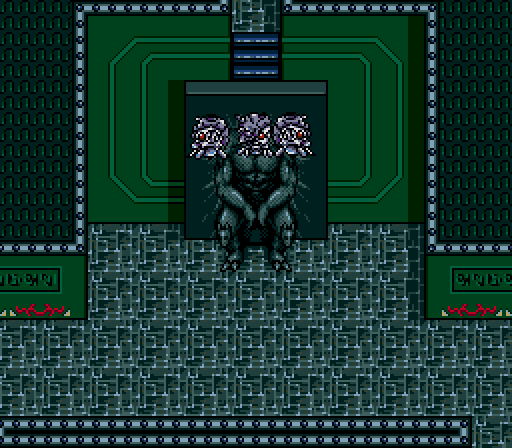
The Colossi all have slightly different spell selection, I believe. This one likes Freeze 3. What does it think it is, a Chaos Breaker?
(Troy gains 2 SPD)
One round of attacks is sufficient.
We heal, regroup, and get pounced on by the central Colossus. This guy likes Bolt 3, Mishaela's old favorite, which is still pretty dangerous.
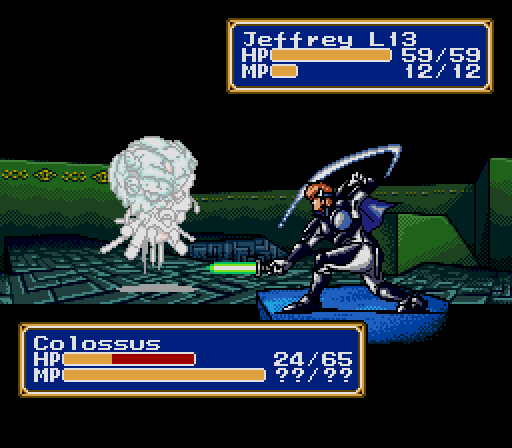
(Jeffrey gains 2 ATK)
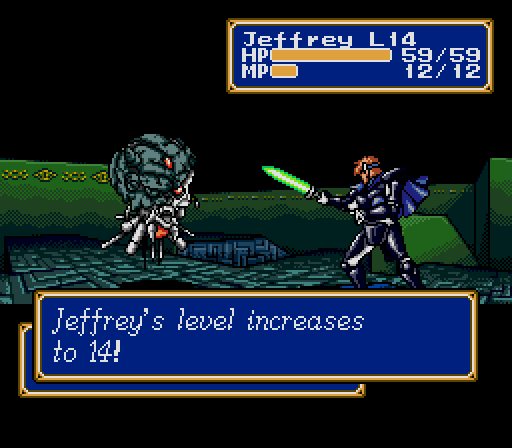
Except now, we can heal up that damage pretty quickly with Aura 2, and Jeffrey already has the ridiculously powerful sword.
Again, one round does it.
Victory!
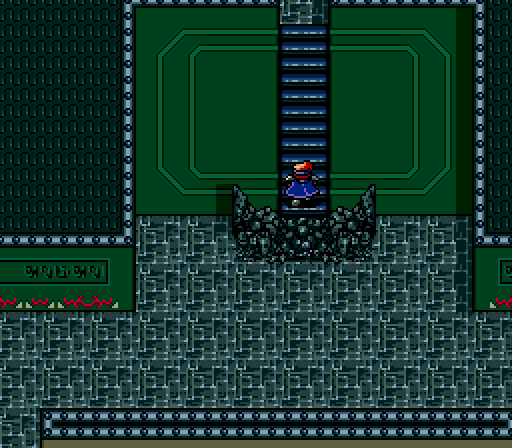
These stairs lead to the final two battles. This isn't a point of no return, exactly, but it is the point you have to start over from if you do return. Like the first two battles of the chapter, the last two have to be done back-to-back.
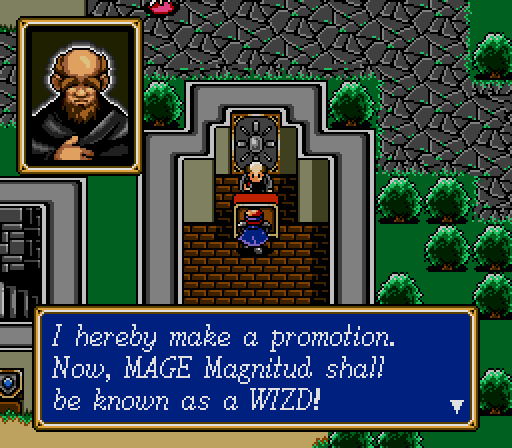
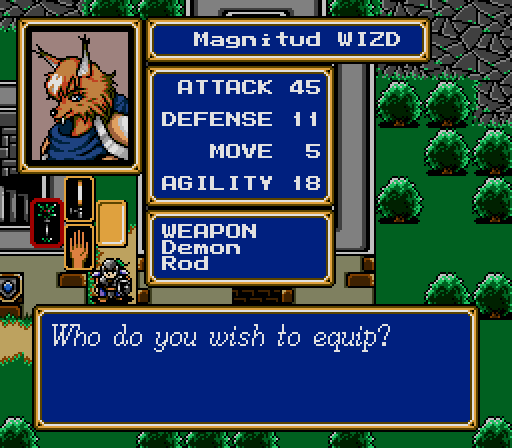
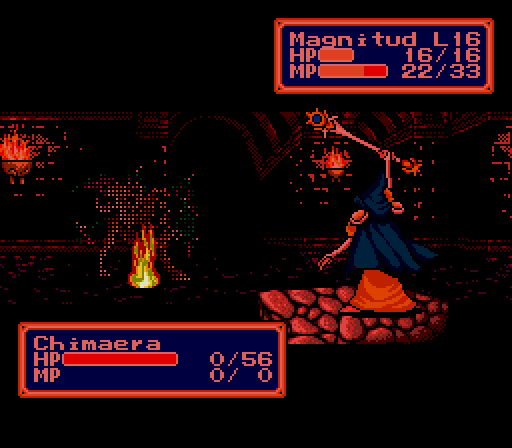
So, first we pop back to promote Magnitude. He could use the Demon Rod now, but it's cursed, and the mage shouldn't be going into melee anyway. The Demon Rod isn't exactly useless, though. You'll see what I mean in a bit.
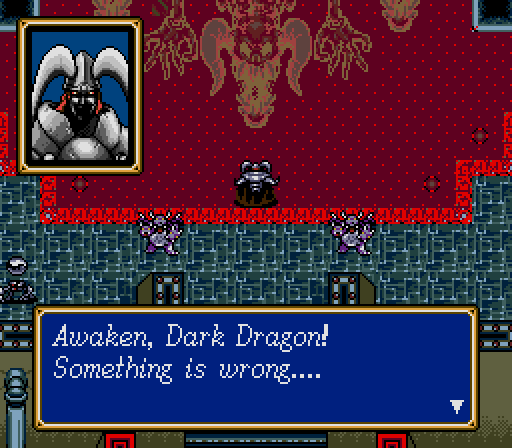
Back down into the castle, Darksol seems to be having some trouble getting it up.
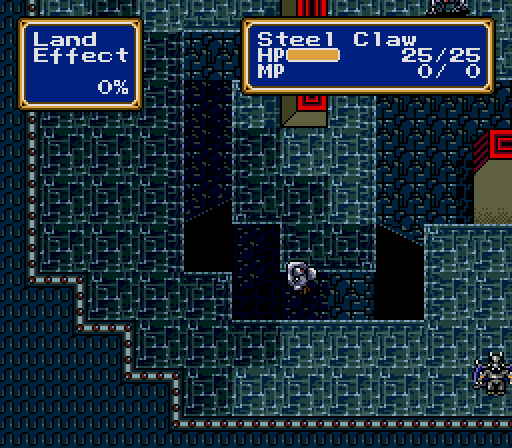
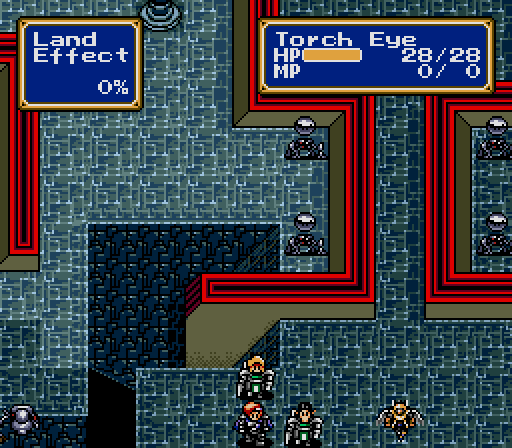
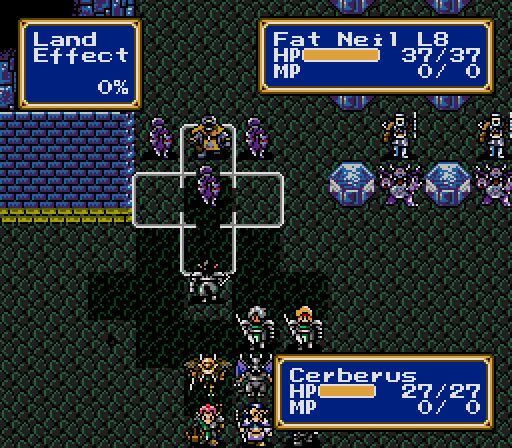
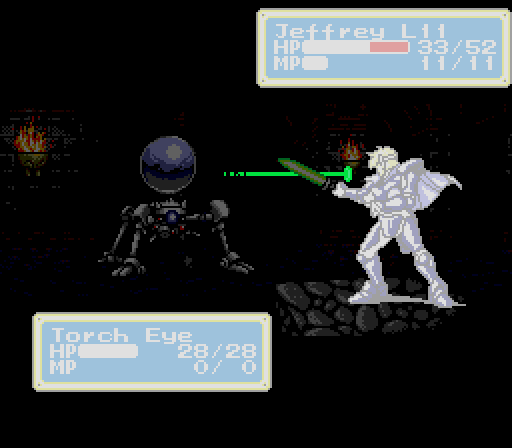
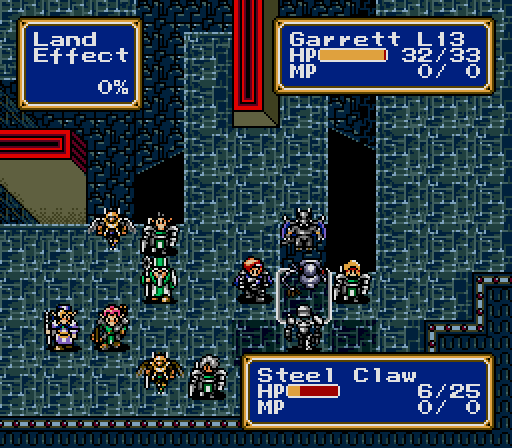
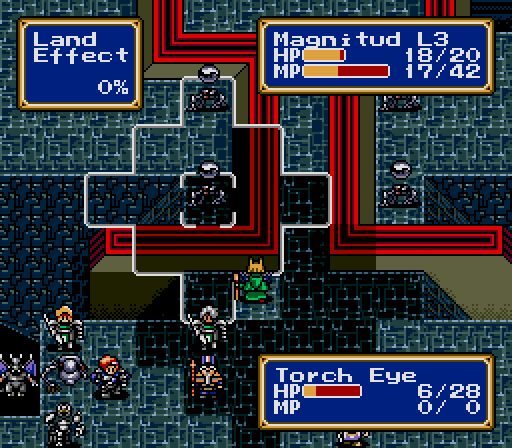
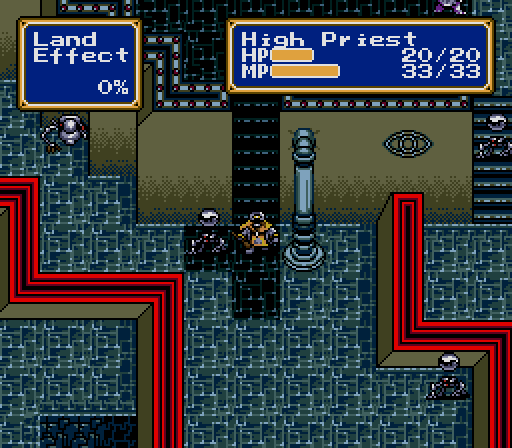
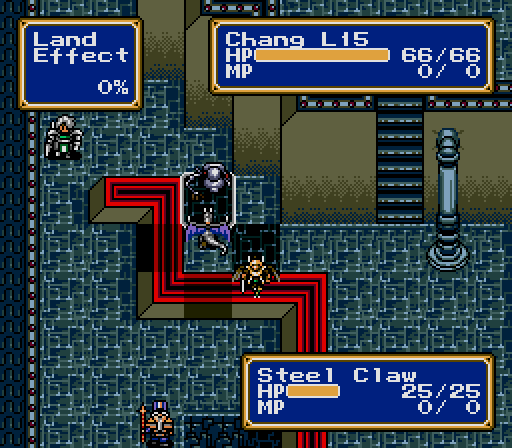
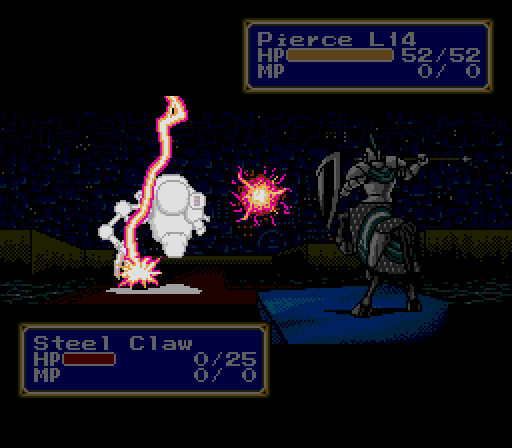
But wait, you say. Wasn't I going to grind one more time? Yes, yes I was. At the beginning of this battle, a single Steel Claw will charge at us from the west while four Torch Eyes take up turret positions nearby. Compared to a pair of Chimaeras, three Chimaeras and a Blue Dragon, or twelve murderous killdroids bearing down on the Force from Turn One, this is a relatively controllable start. So it actually makes sense to grind here, at literally the last possible moment before the end of the game.
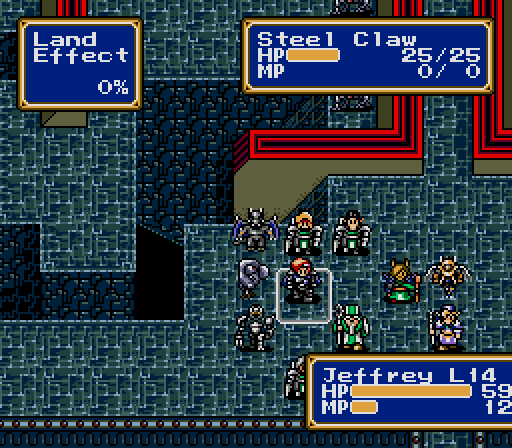
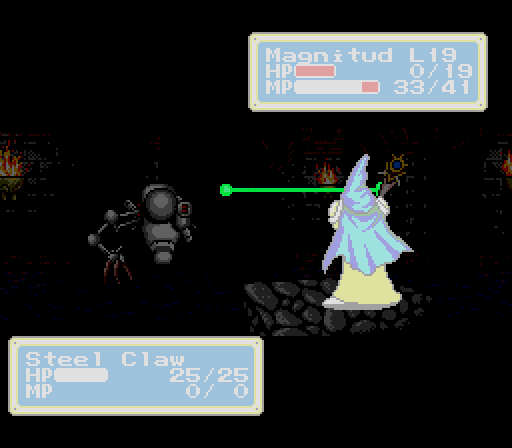
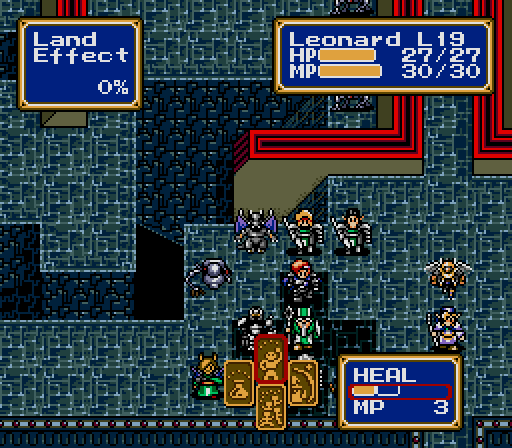
So we set up a formation like this. Jeffrey, having recently earned a few big Defense gains, will take hits and give Leonard something to heal. Magnitude will use his various spells to weaken the Steel Claw, and Garrett will use the Power Ring on himself and finish it off. Chang and Britta are there in case of a double critical or some other emergency.
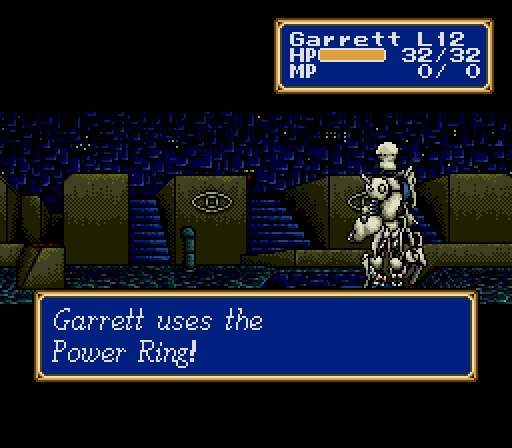
(Garrett gains 1 HP)
In fact, Garrett was sitting at 99 experience coming into this fight, and using the Power Ring got him a level.
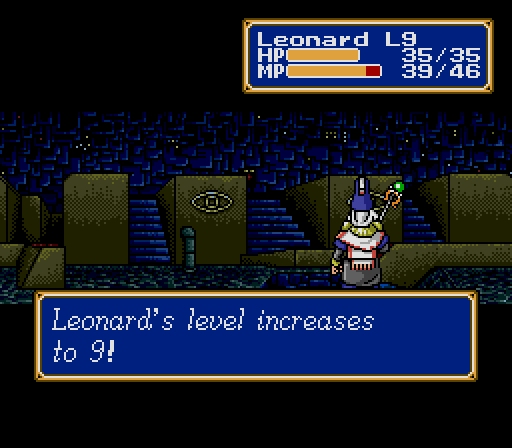
(Leonard gains 1 ATK, 1 DEF, 1 HP, 3 MP, and AURA 2)
And one heal is enough to get Leonard to 20 as well.
(Garrett gains 2 ATK)
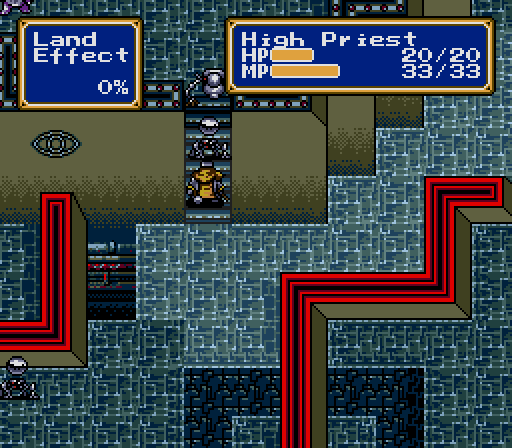
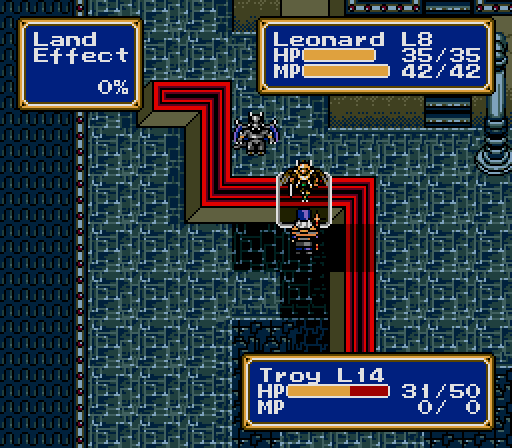
Once we're done on that side, we can head east and lure in another lone Steel Claw.
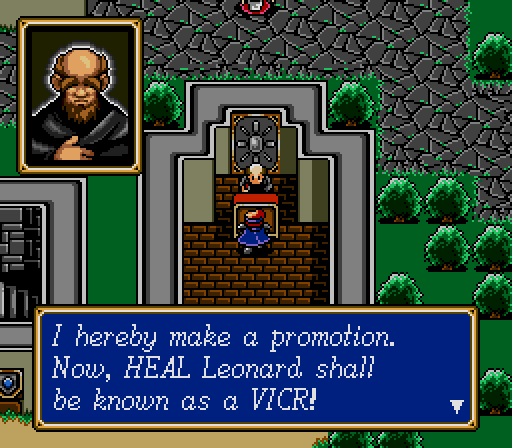
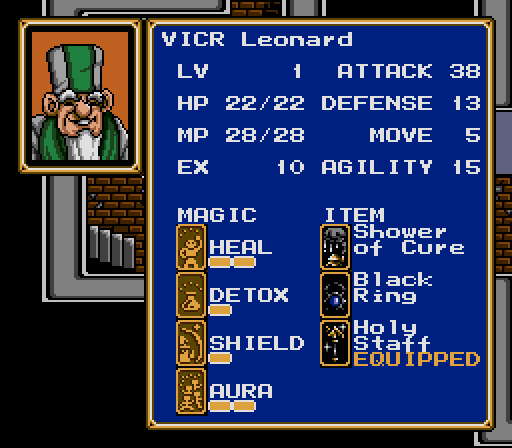
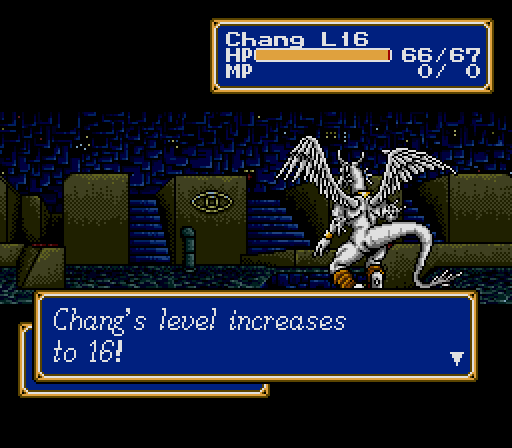
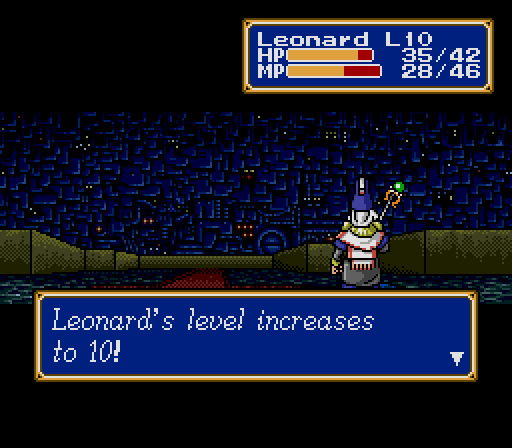
Then we Egress and get Leonard's promotion. He also gets a Holy Staff like Shirleys. I wish they weren't healer-only staves, because mages' offense is limited enough as it is.
(Garrett gains 6 levels, 13 ATK, 18 DEF, 6 SPD, 2 HP)
Anyway, let's speed this up a bit.

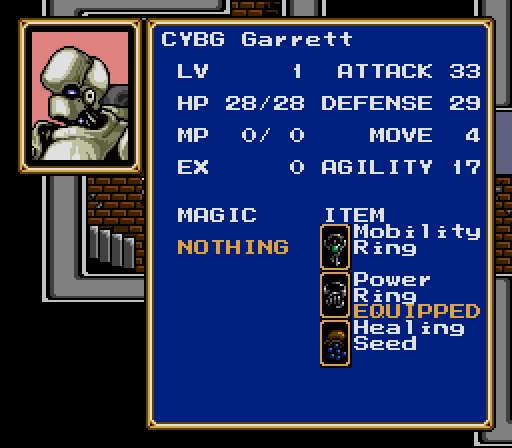
Garrett gets upgraded to a cyborg and gets a new character portrait. Wait, how does that work? Does he grow flesh over his robot parts or something? Anyway, the real problem is that promotion severely cuts into Garrett's offense again, although the climb back up is a little faster with better gains.
But anyway, grinding up Garrett is just for shits and giggles. The spellcasters are what I'm really interested in. I want Magnitude at least up to Level 10 for Bolt 4, and Leonard at least Level 8 for Aura 4. Both of those are important for my end-game strategy. Magnitude picks up Bolt 3 pretty quickly, which lets him also train effectively on the nearby Torch Eyes.
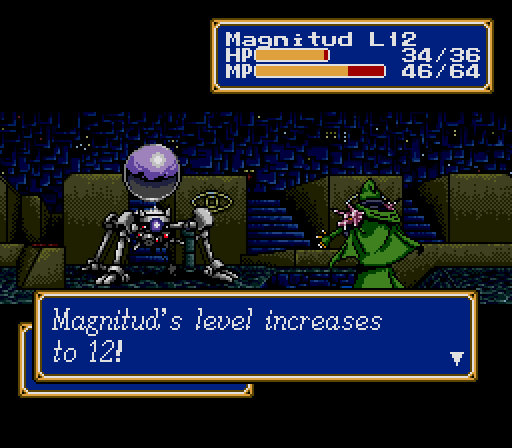
(Magnitude gains 11 levels, 6 ATK, 14 DEF, 27 SPD, 19 HP, 29 MP, BOLT 4, and DESOUL)
(Leonard gains 7 levels, 5 ATK, 4 DEF, 11 SPD, 13 HP, 14 MP, and AURA 4)
(Garrett gains 9 levels, 16 ATK, 27 DEF, 20 SPD, 21 HP)
So there you have it. Magnitude went a little over, but it's not like magic damage scales to level, so it's not going to break the game.
(Shirley gains 1 DEF, 2 SPD)
(Fat Neil gains 1 ATK, 2 DEF, 3 SPD, 2 HP)

(Britta gains 2 SPD)
(Troy gains 4 DEF, 3 SPD, 7 HP)
(Annie gains 4 DEF, 2 SPD, 1 HP)
A few of the rest of the Force also pick up a spare level here and there cleaning up leftovers.
So, we're ready for the final battle, right? Not just yet.
Extra Credit - Stat-Boosting Items
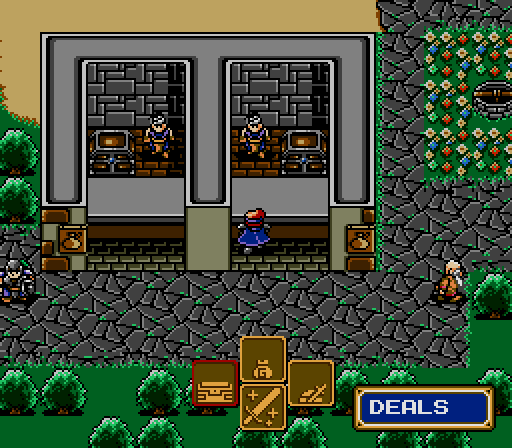
Remember all those stat-boosting items we've been diligently collecting and selling? This game is a little forgiving in that selling a unique item to the shops doesn't cause it to wink out of existence. Instead, they go to a special part of the store, the Deals menu, where they can be repurchased at any time. Unique weapons dropped by monsters also sometimes go here if the character that landed the killing blow had a full inventory, but that seems to be buggy and inconsistent.
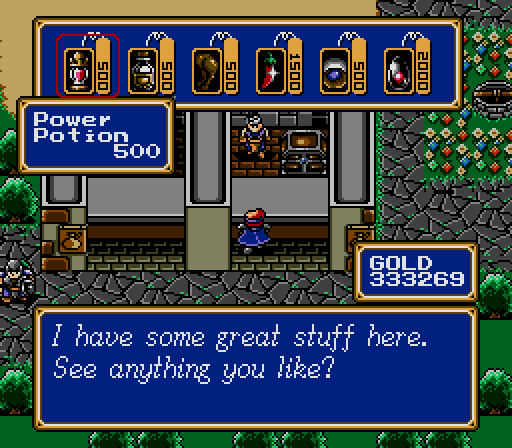
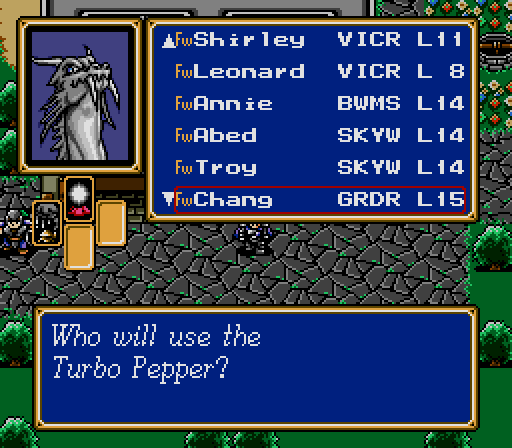
We've got three Power Potions, four Defense Potions, three Breads of Life, a Quick Chicken, and a Turbo Pepper. They permanently raise Attack, Defense, HP, Agility, and Movement respectively by a random 1-2 points. I could savescum to ensure all 2's, but I won't -- except for with the Turbo Pepper. Unlike all the other stat-boosting items, this is the only way to permanently increase Movement in the game, and it is absolutely irreplacable. I feel no shame in making sure I get a 2 out of it.
So, after a quick check of everybody's stat screen, I give the Power Potions to Fat Neil, Annie, and Garrett, the Defense Potions to Pierce, Pierce again, Abed, and Troy, the Quick Chicken to Leonard, the Breads of Life to Fat Neil, Shirley, and Abed, and the Turbo Pepper to Chang.
(Fat Neil gains 2 ATK, 1 HP)
(Pierce gains 3 DEF)
(Shirley gains 1 HP)
(Leonard gains 2 SPD)
(Annie gains 1 ATK)
(Abed gains 2 DEF, 1 HP)
(Troy gains 1 DEF)
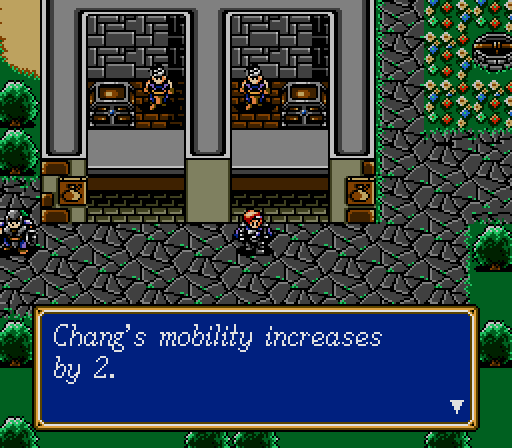
(Chang gains 2 MOV)
(Garrett gains 2 ATK)
Now we're ready to finish the game.
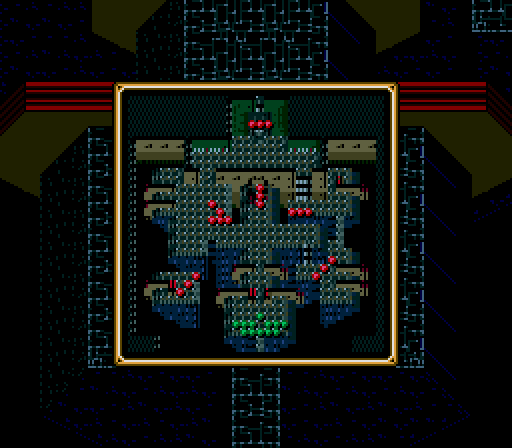
Battle 29
There are three paths through the battlefield, each with advantages and disadvantages. Darksol will wait in front of the sealed Dark Dragon whichever way we choose to go.
I'm taking all three. Britta, Fat Neil, Garrett, Abed, and Shirley will head east through that solitary Steel Claw and its backup; Troy, Pierce, Chang, and Leonard will head west through the other one, and Jeffrey, Annie, and Magnitude (or, as I've taken to calling them, Team Range Of Three) will head up the middle sniping the Torch Eyes from a safe distance.
This is why I brought Magnitude up to Level 10. The top-tier offensive magic is basically required for mages to be viable in the end-game, and Bolt is the strongest element there is, so the combination puts out some ridiculous magic. I probably shouldn't have blown 20 MP on this cannon fodder, but it works out okay.
To the left, past the Steel Claw, are three enemies that run out to meet us, while to the right are three enemies that run away. Weird.
(Jeffrey gains 3 DEF)
Alpha Team makes it up the middle with no trouble.
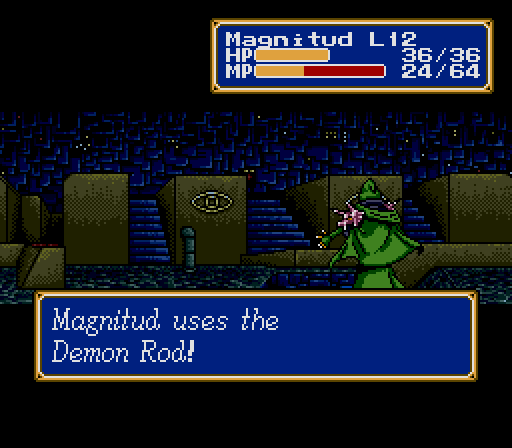
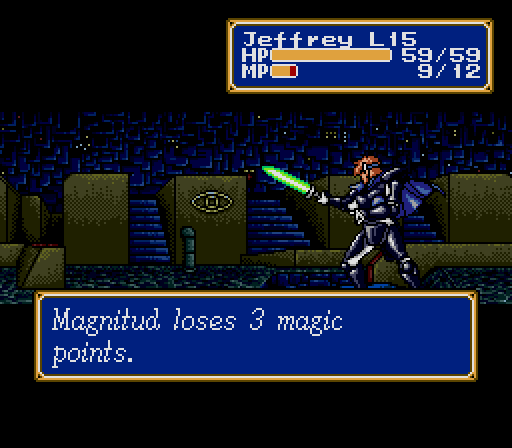
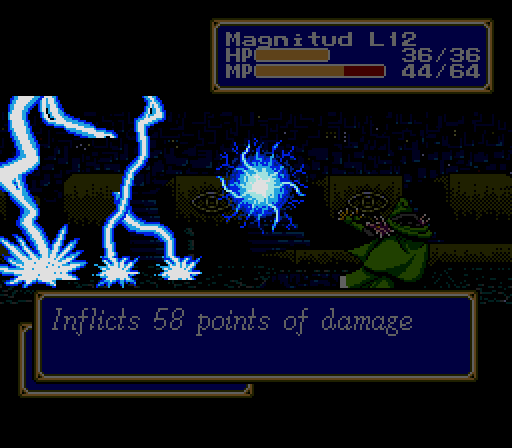
Here's the Demon Rod in action, and the text isn't quite right -- Magnitude is actually draining MP from Jeffrey. This is the only way to restore MP during battle in this game. As you can see, it's not very efficient, though.

(Abed gains 4 SPD, 4 HP)
(Chang gains 3 ATK, 2 DEF, 1 SPD, 1 HP)
I don't normally like to split up the fliers like this, but it's nice in this battle to be able to skip over the walls and hit priority targets. The enemies won't hold back from doing it.
(Leonard gains 1 DEF, 1 SPD, 4 MP)

The next concern is two Blue Dragons who come down the middle after Jeffrey, but T.R.O.T. has more than range on their side.
(Magnitude gains 3 ATK, 3 DEF, 4 HP, 1 MP)
Jeffrey and Magnitude are still two of our top damage dealers, and Magnitude saved enough MP to one-shot one of the dragons.

(Jeffrey gains 3 DEF, 4 HP)
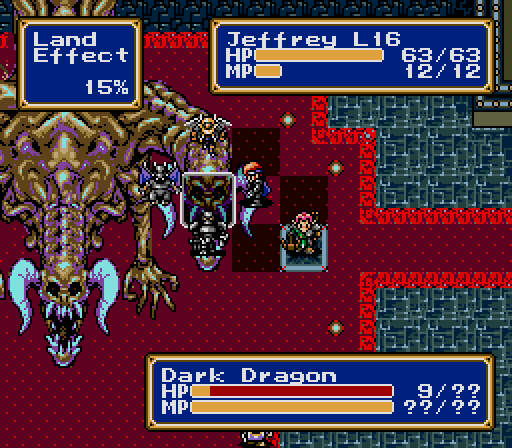
Finally, we get to the last group, and Darksol. The end is nigh!
(Pierce gains 3 SPD, 3 HP)
Between the Chaos Breaker and the two Halberds, the bodyguards don't get to move.
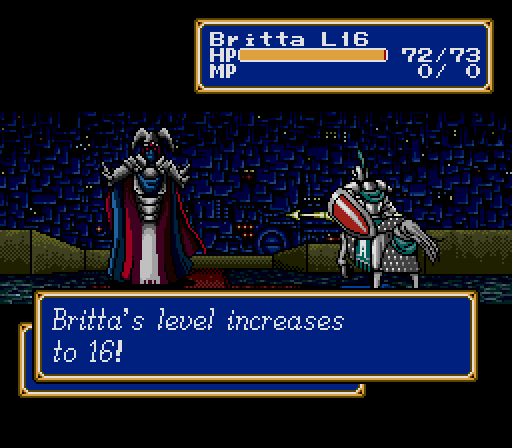
(Britta gains 6 DEF, 2 SPD, 1 HP)
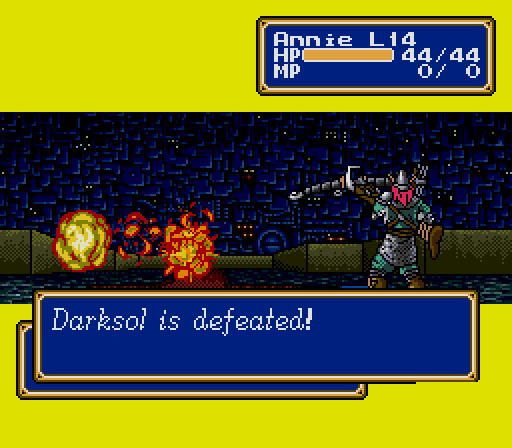
And neither does he.
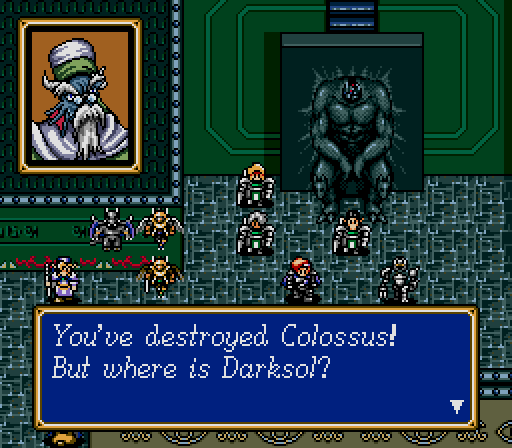
Victory!
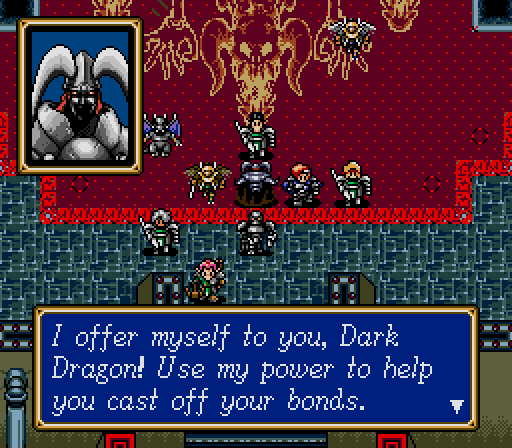
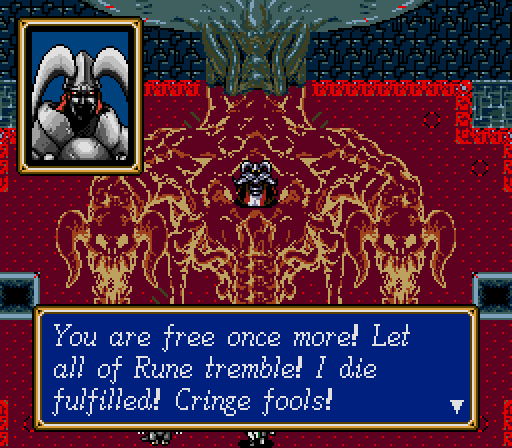
So I guess the problem Darksol was having was that the summoning ritual was actually blood magic. Welp, he's got plenty of blood to work with now.

How does the trope go? Heads I win, tails you lose?
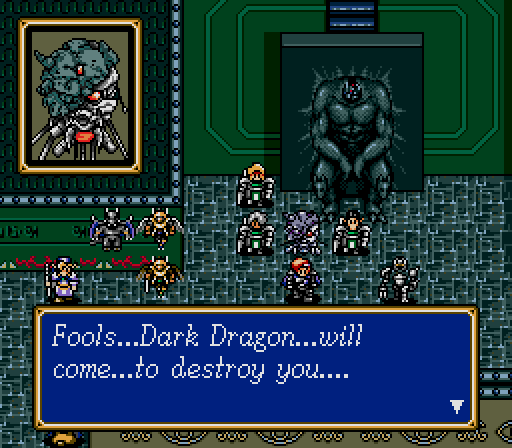
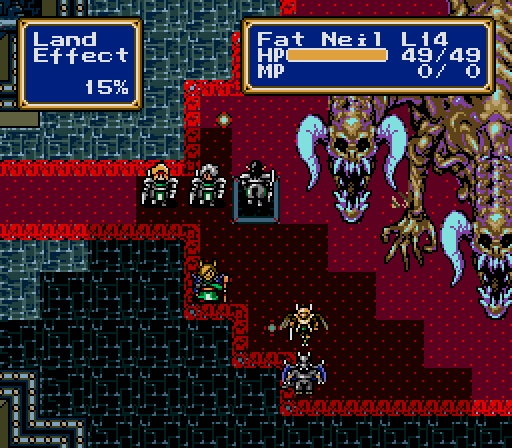
Final Battle

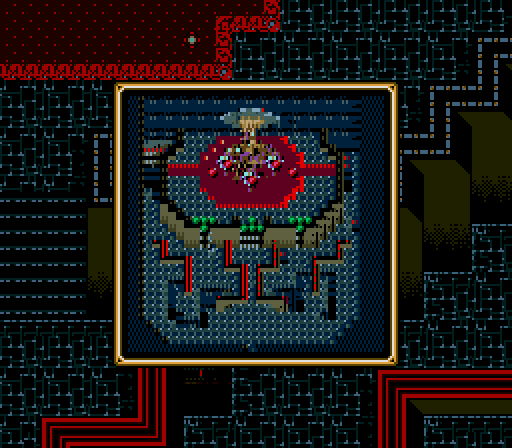
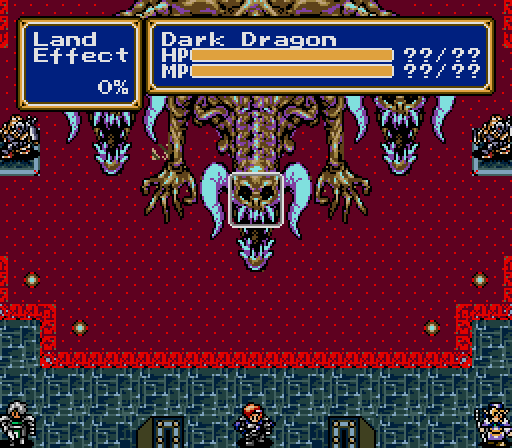
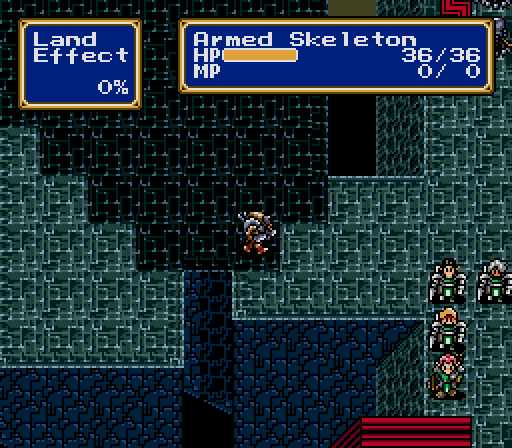
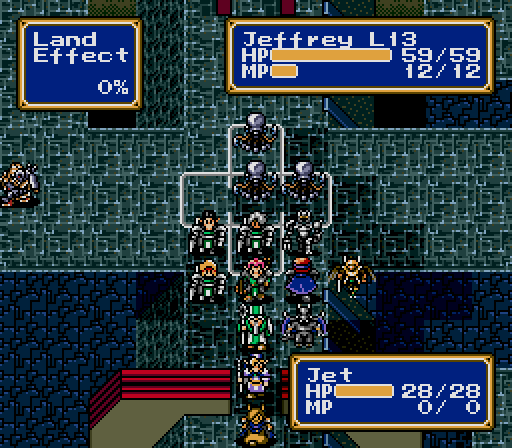
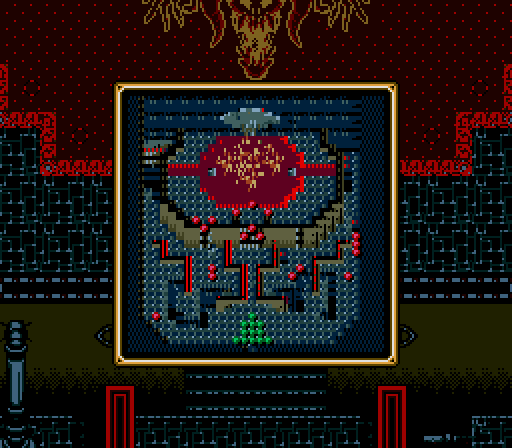
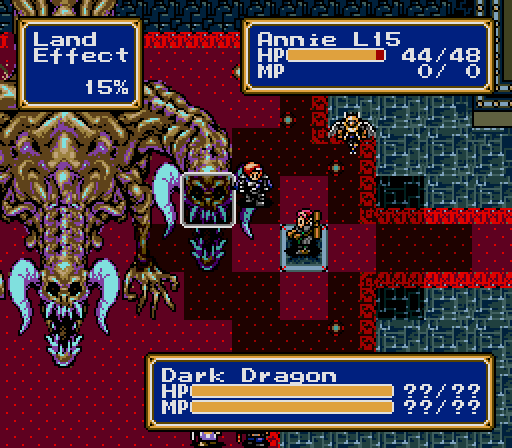
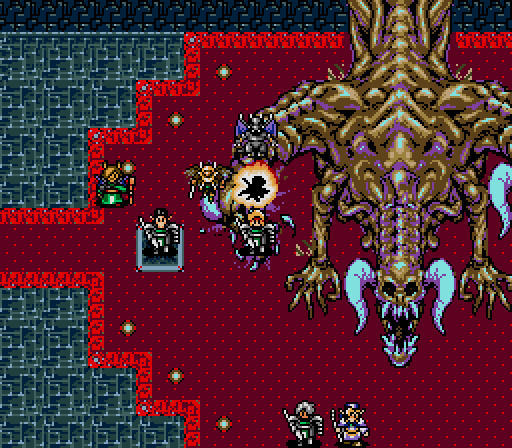
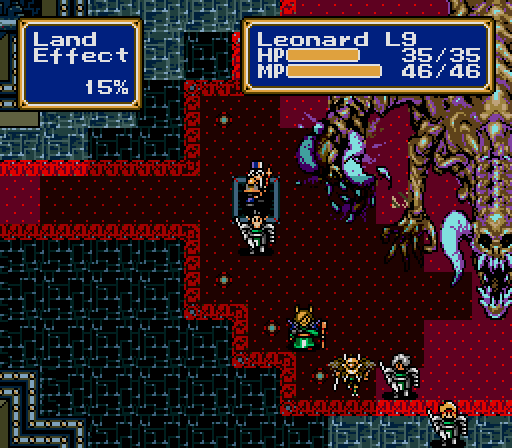
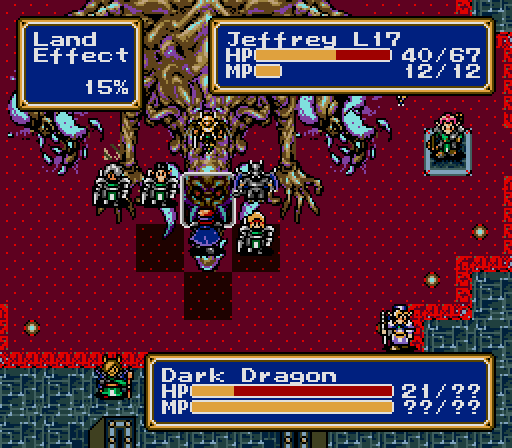
So here's the last challenge. Dark Dragon has three heads, each of which is a separate enemy, and stats appropriate for a final boss. To either side is an Armed Skeleton.
(Abed gains 1 ATK, 3 SPD, 7 HP)
The only saving grace is that Dark Dragon is completely immobile, so we can control the pace of the battle.
(Annie gains 2 ATK, 1 DEF, 7 SPD, 4 HP)
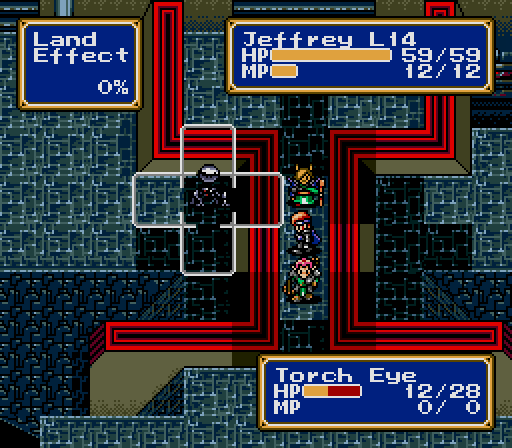
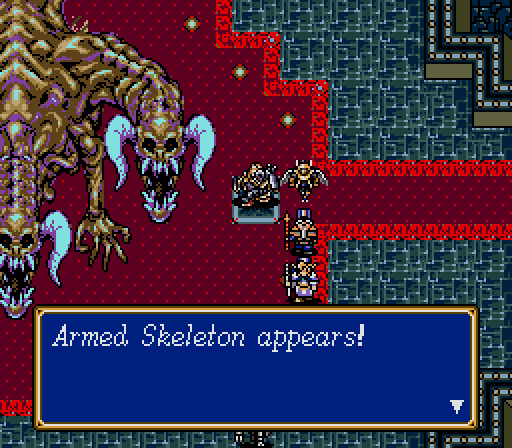
There's one wrinkle to this, though. We've seen appearing enemies before, and this time there's twelve or so stacked on top of each other on each of these two tiles. At the top of every round, if we've killed a Skeleton, a new one will bamf in to replace it.
Or we can just stand on the teleporter. There's no such thing as telefragging in this game, so blocking their spawn point is a valid way to stem the tide. We could also kill them until they run out, but that's boring.
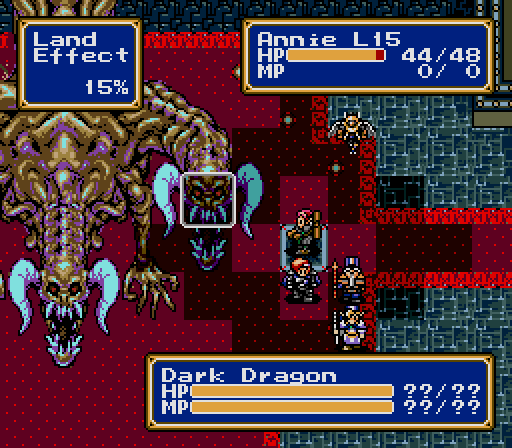
Once they're taken care of, we can start working on Dark Dragon. The Force starts out split into groups of four, and not very evenly, so the first thing to do is move people around to set up two 6v1 fights on the side heads.
Dark Dragon has attacks with a range of 3, so we can't range-cheese this fight even though it's bolted to the floor.
It is at this moment that I realize I forgot to buy Annie her final weapon upgrade from the Runefaust weapon shop. I guess it's too late to pretend that's part of the challenge? Oh well. I decide to leave Annie here blocking this spawner after the right head falls.
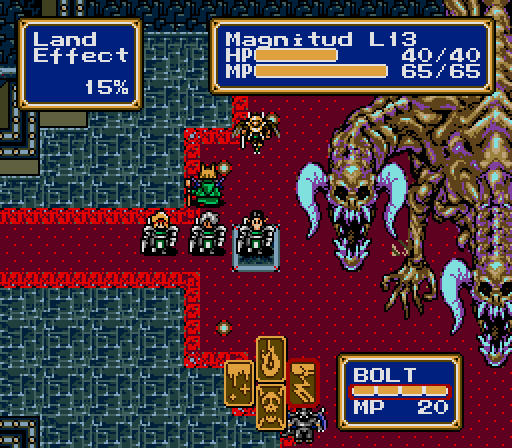
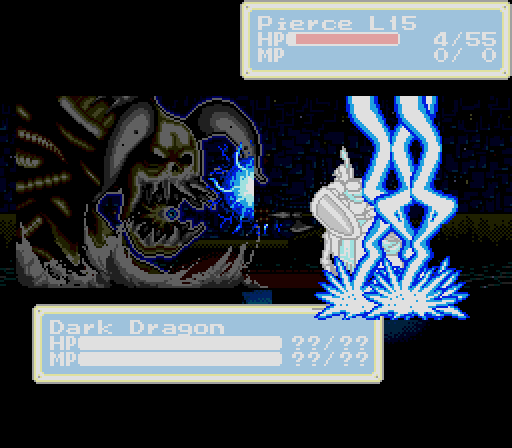
Getting Bolt 4 for Magnitude was important because that massive damage lets me take out a head quickly, saving my healing resources for the other two heads.
(Britta gains 3 ATK, 3 SPD)
One down.
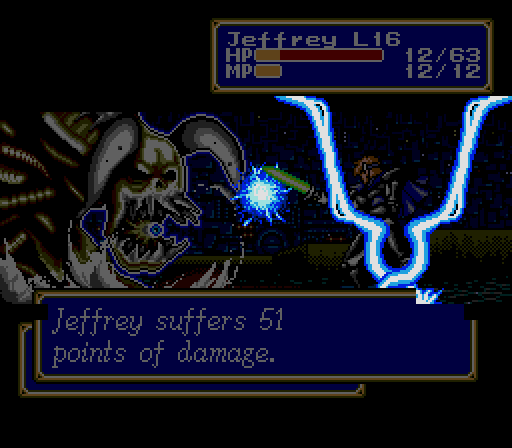
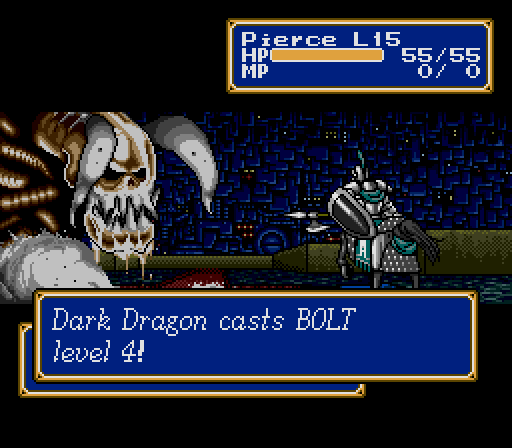
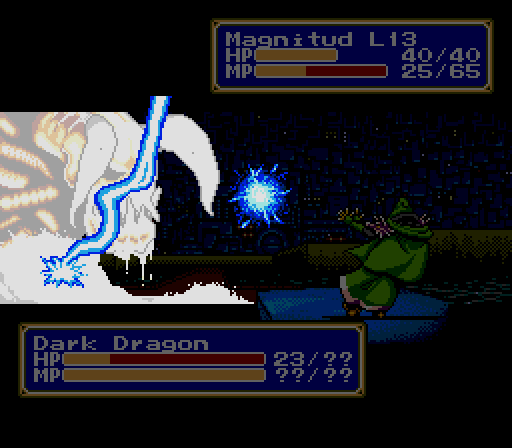
Jeffrey takes a Bolt 4 to the face. I don't want to use Leonard's MP just yet, so instead I use one of the Showers of Cure I've been collecting.
Dark Dragon also brings out Bolt 2 and Blaze 3, plus standard attacks. If you take on both side heads at once, the damage from the multitarget spells is minimized.
(Jeffrey gains 1 ATK, 3 DEF, 4 HP)
Two down.
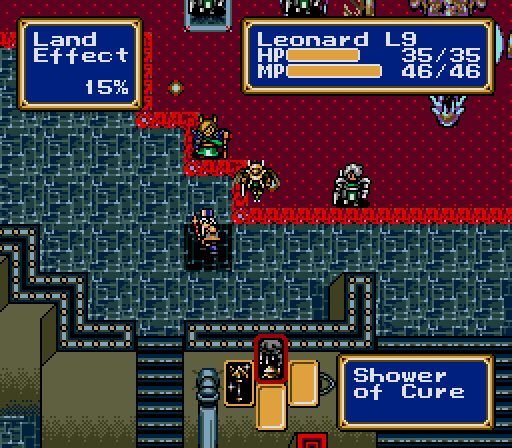
Leonard is a perfect candidate to hold down the other button. Because of Aura 4, he can heal from anywhere.
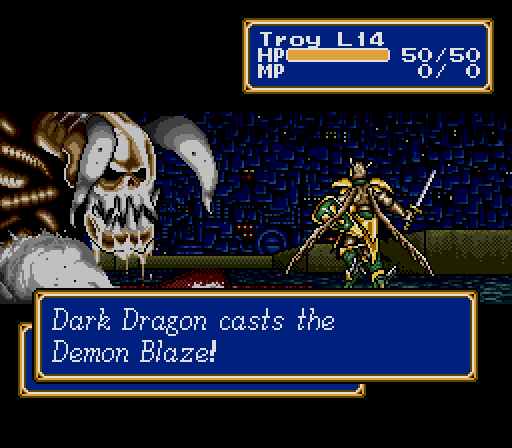

This is Dark Dragon's unique attack (actually, Darksol could have done it if he hadn't died like a bitch). It hits like a slightly stronger Bolt 3. And since we're clumping up on the last target, we take a lot of damage.
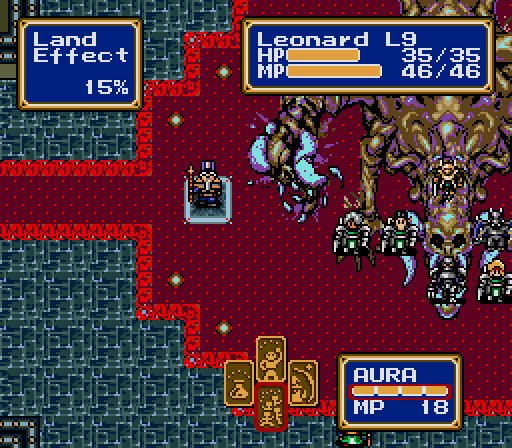
(Leonard gains 2 DEF, 2 SPD, 7 HP)
As bad as it is, we've been stockpiling for just such an occasion.
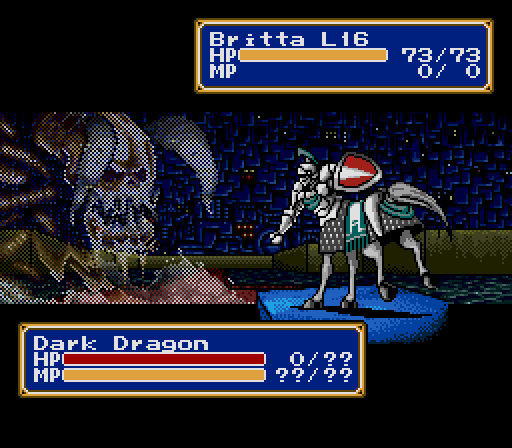
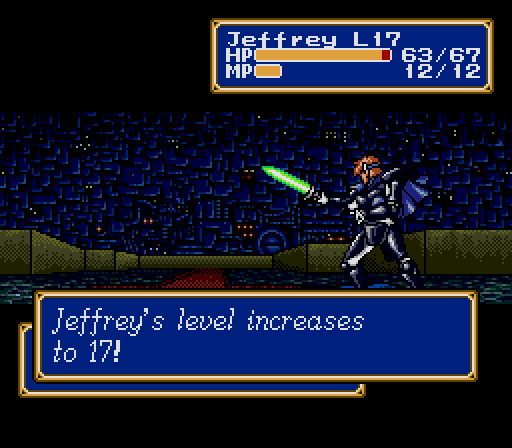
When Jeffrey gets the last hit on DD, he gets a special animation for it. If you miss out, it'll play during the credits, but it's not as rewarding.
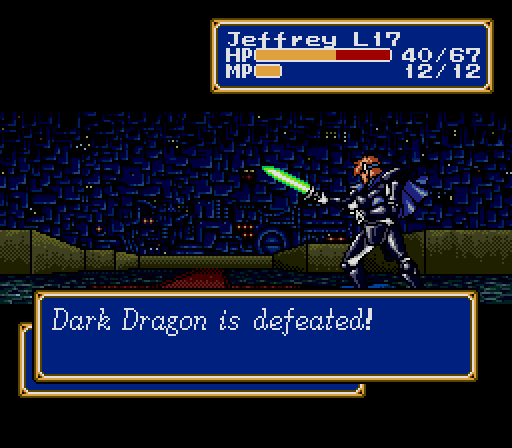
And that's three.
Ultimate Victory!
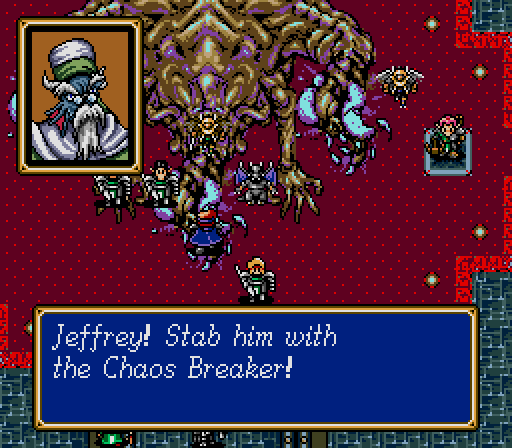
You know how, in RPG tradition, the ancient evil has only been sealed away to return again every time, and it's only now that the heroes can actually destroy it? Not so much in Shining Force.
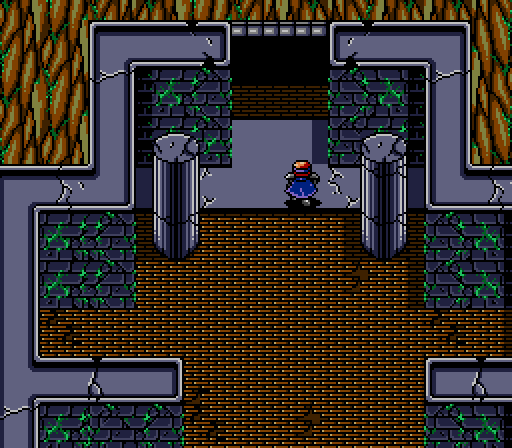
A sword to the head should slow it down for a thousand more years though.
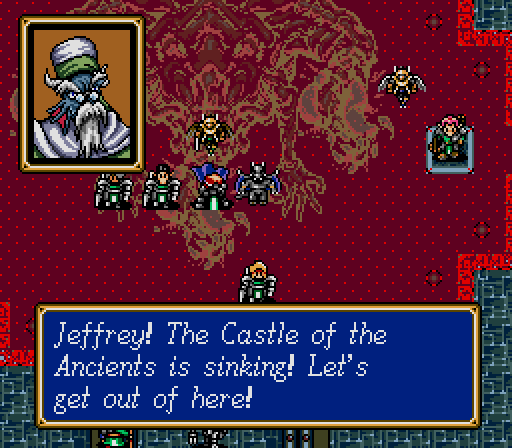
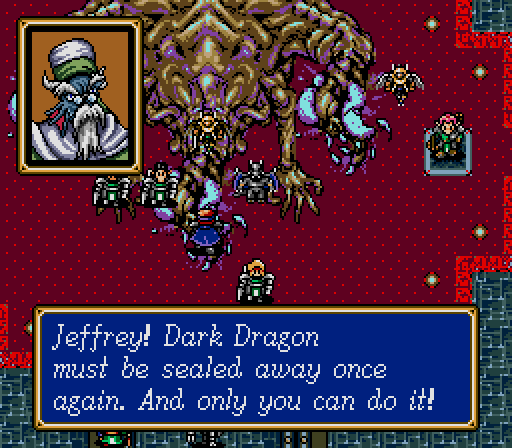
Load-bearing boss, collapsing castle, thrilling escape, blah blah blah. Note that fully two-thirds of the people in this scene aren't actually here.
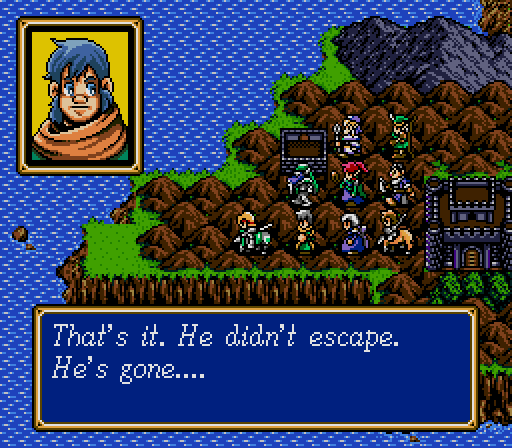
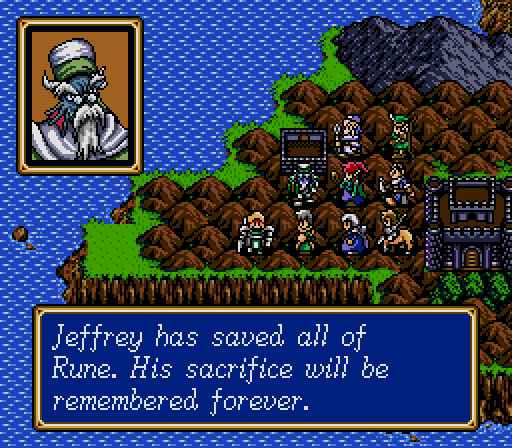
The game really wants you to think that Jeffrey had to stay behind to keep DD sealed.
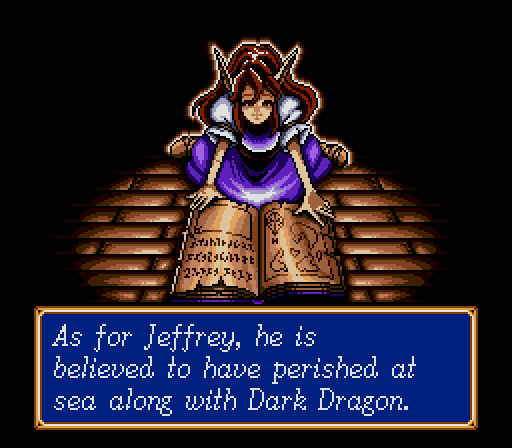
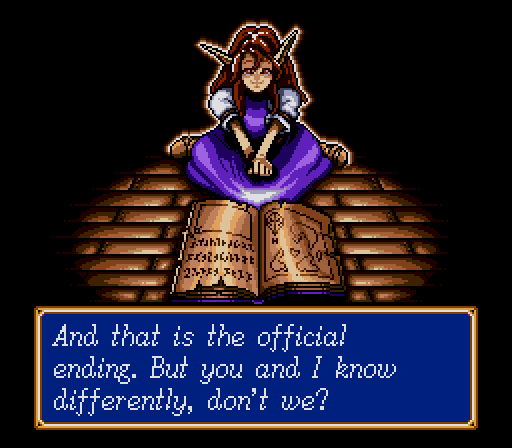
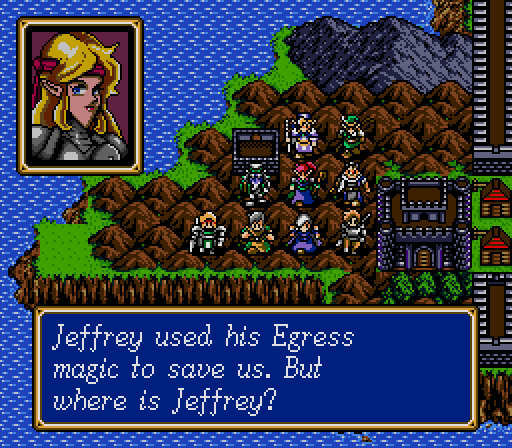
But we know better, because the save menu / framing device has been talking to him this whole time.
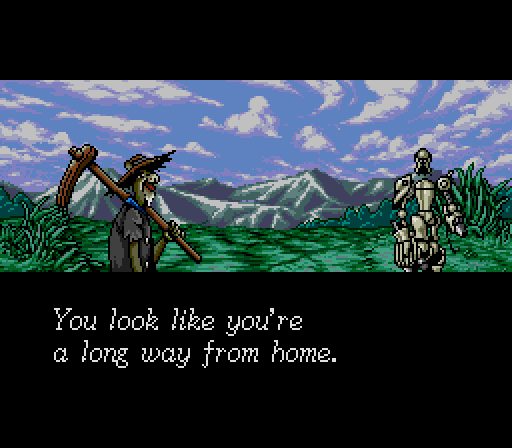
And so, having saved the world and learned a lesson about the true meaning of teamwork and friendship, Jeffrey fakes his own death to ditch Nose for a second time and moves to the middle of nowhere so he doesn't have to deal with any of this shit ever again.
I can't count the reasons he should slay.
One by one, they all just fade away.