Part 26: My strategy begins to fail
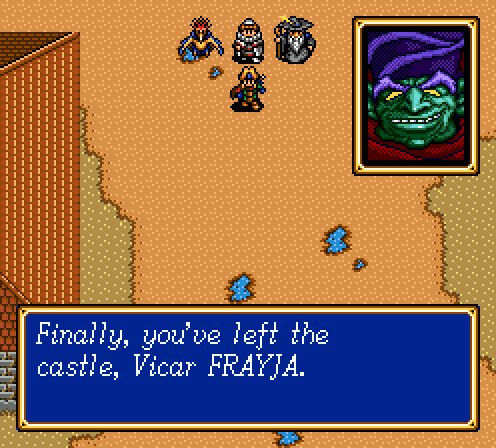
Part 17: My strategy begins to failLast time we left off, some plot happened. Then I skipped a bunch of stuff and went back to Pacalon. Who knows which part of the dialogue actually indicates that you go back there.
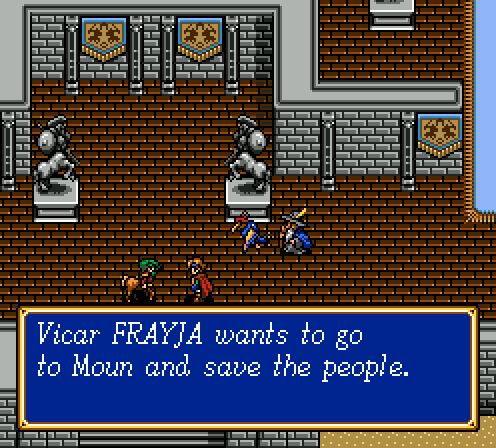
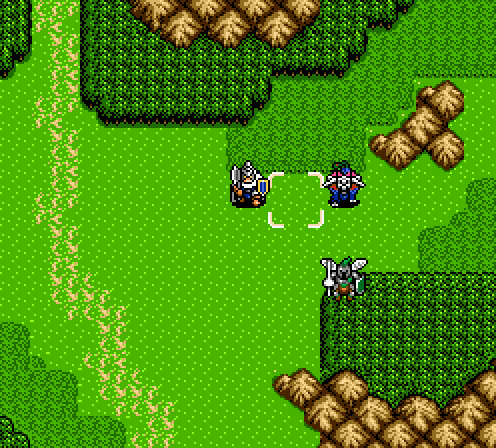
So the devils are strong enough to stop the rain and cause widespread famine, but they can't open a pair of heavy doors. Got you.
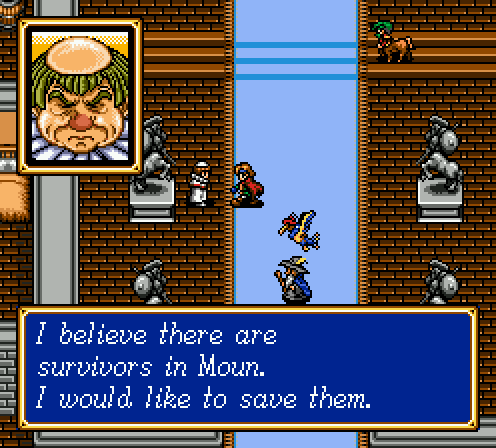
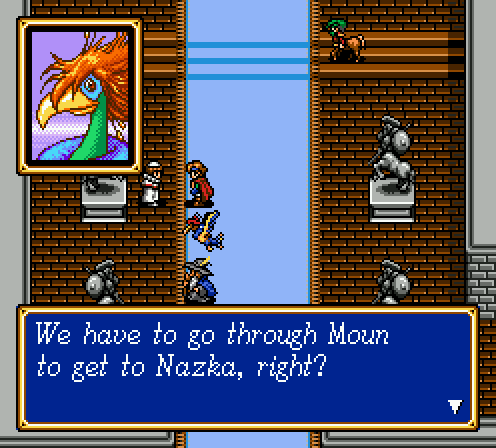
Okay, Mitula might have told us to go to Nazca, which is a peninsula or something. I'm not very good with Shining geography.
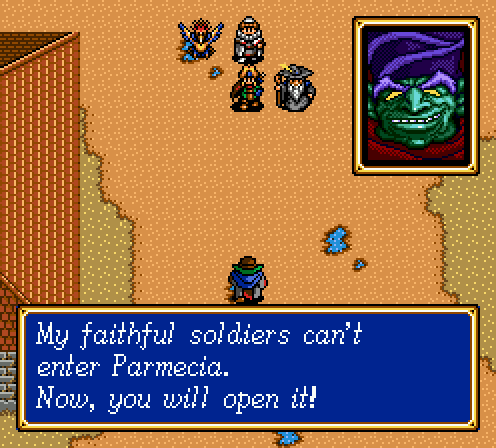
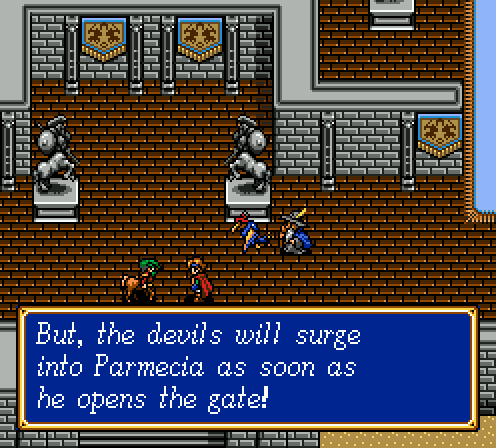
Yep, that's exactly what we're going to do. Now if you'd kindly stand aside and
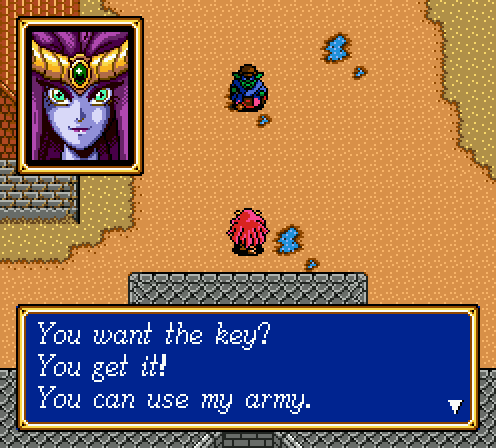
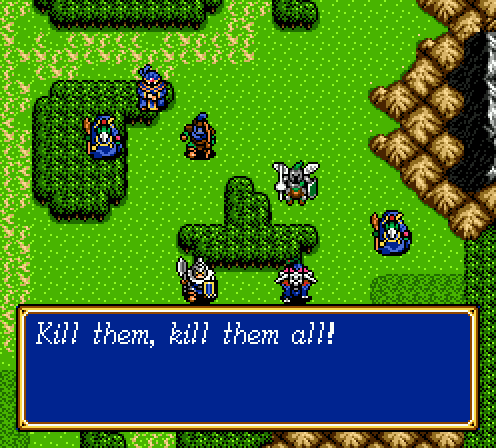
Or you could start a completely superfluous fight and waste your army while doing it. That's cool too.
I keep forgetting to upload and link this track, so I'll do it now. During this fight (and many others that aren't in the wilderness) plays the non-outdoors battle theme, which I think is the strongest composition in the game. It starts at about 2:54 in this medley. The tracks in order of the medley are castle theme → unpromoted attack → battle theme → unpromoted attack reprisal. I think the other medley (People of the Demon World) is better overall, but the arrangement of the battle theme is very much worth a listen.
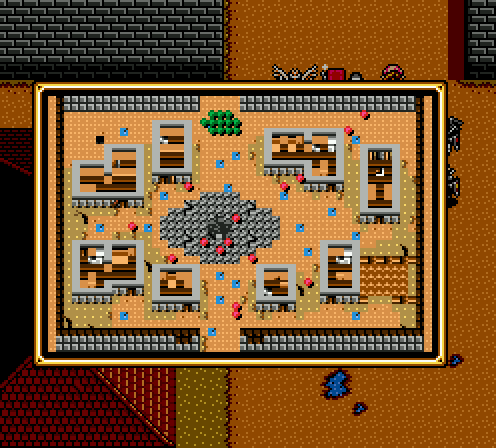
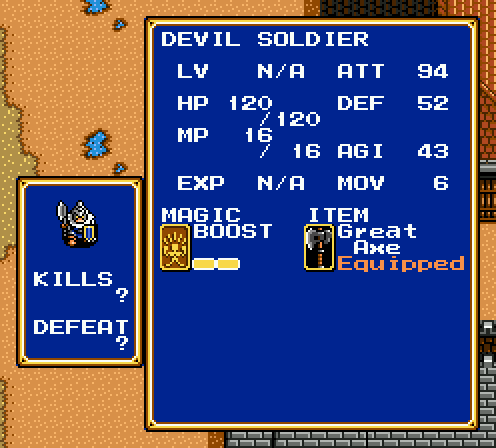
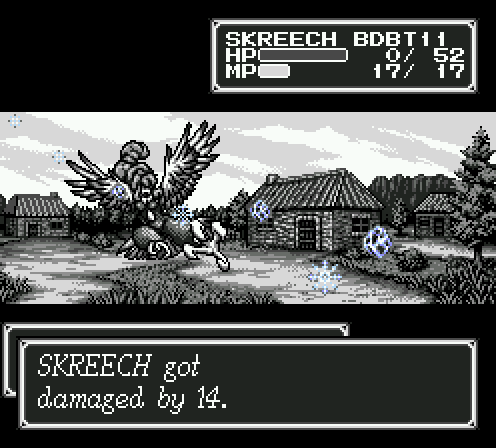
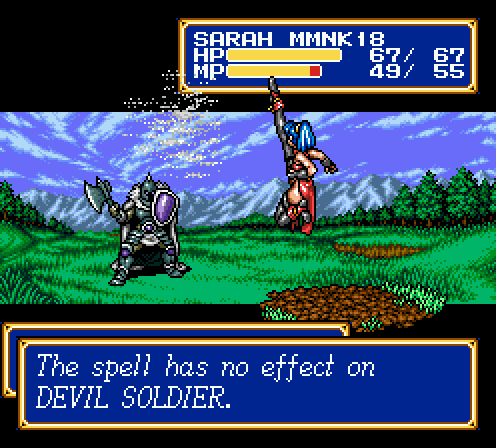
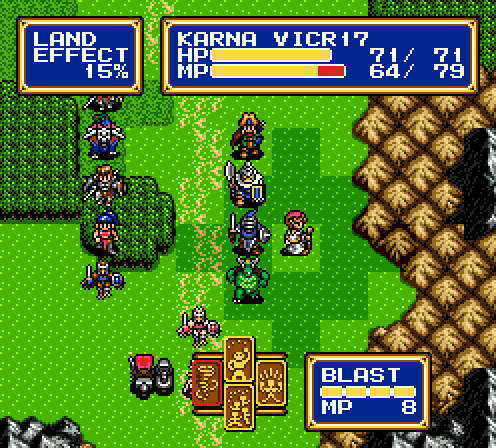
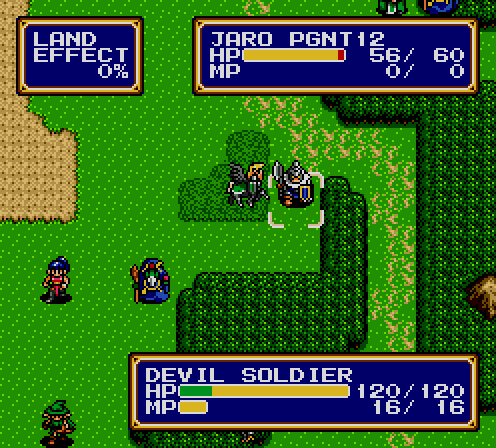
No idea what the dark bishop is doing back here, since that monster got retired a while ago. Necromancers and devil soldiers are nasty for reasons I'm about to find out.
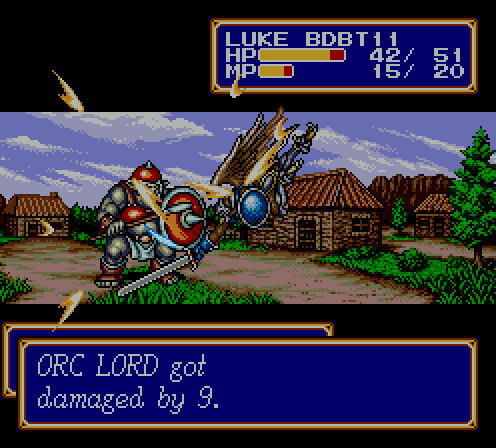
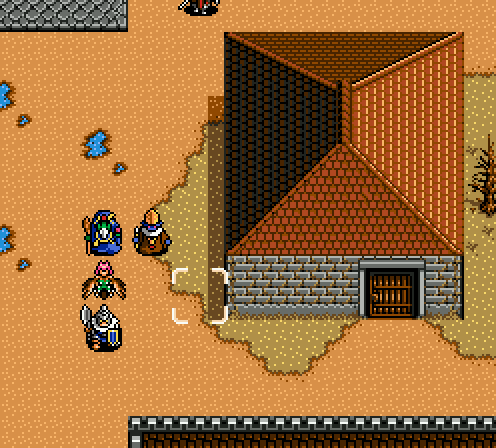
The first time I tried to do this, I took a contingent of four or five characters off to the side to clean out that dark knight and orc lord. While two enemies in a corridor should be easy for me, I made a crucial mistake.
The mistake being the use of Higins. Why is this such a huge problem?
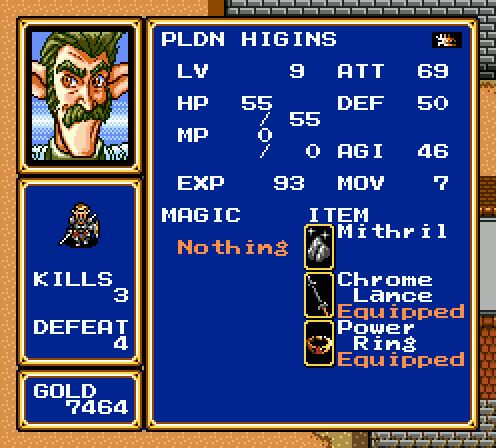
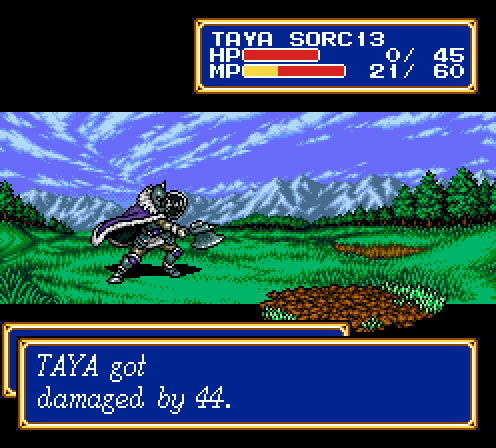
Well, even while boosted, his defense is comparable to Taya's. Remember, Taya is the most fragile character in the game. Damn it all! Anyways, I hit the reset button and reconsidered my tactics.
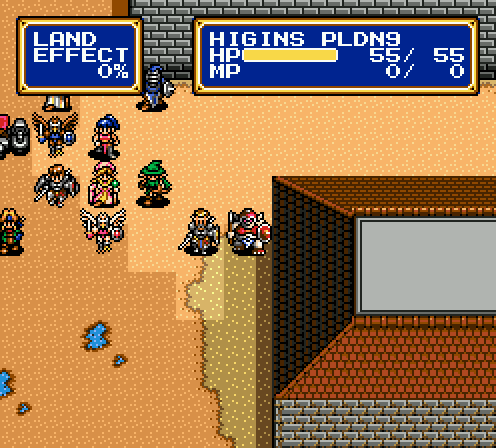
There's an orc lord and master monk to the lower right of your starting point. Their movement patterns are far more aggressive in the first few turns, so I have enough time to kill them while waiting for the dark knight and the orc lord to crawl down their hallway.
This was a little harder than it sounds, since if you take a look at the positioning, the orc lord had a good spot to cast Dispel. Centered on Skreech, it hit him, Sarah, Taya, and Bowie, silencing all four of them. I've never had Dispel nail me on the RNG that hard before.
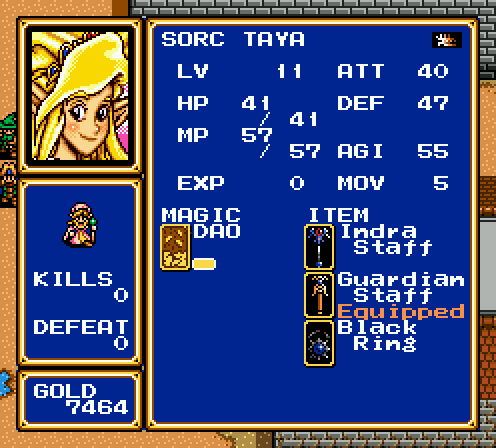
No, Taya doesn't learn Blaze 2. The black ring which I picked up ages ago casts it for free as a used item. Gives casters something useful to do when you need to be more frugal with your MP or you're silenced.
I'm not sure I've cast Blast a single time with my birdmen. Might as well try it, right?
As useless as that was, I didn't want Luke taking up that last vacant spot to hit the orc lord. Nothing lost, nothing gained.
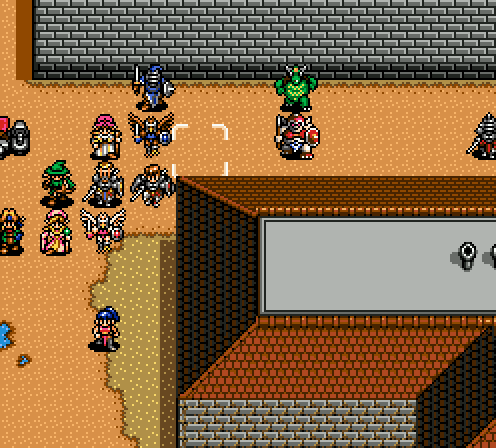
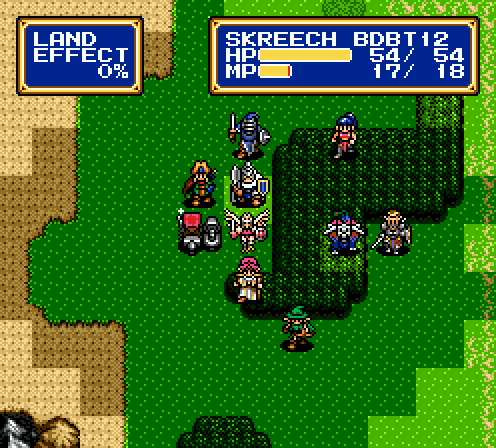
The sidelined enemies show up well after I've killed the first clump. Bringing twelve to the fight instead of five makes things a lot easier.
After that little scuffle, the fight's very easy. Each of the three enemies that are floating by themselves (two harpy queens and a dark knight) tend to run into you solo, making them non-threats. The middle cluster is a master monk, an orc lord, and a harpy queen. Nothing terrible if you can nail the orc lord with Slow.
I'm starting to ponder taking the Protect Ring off of Jaha and throwing it on somebody else, but both Skreech and Higins need it badly.
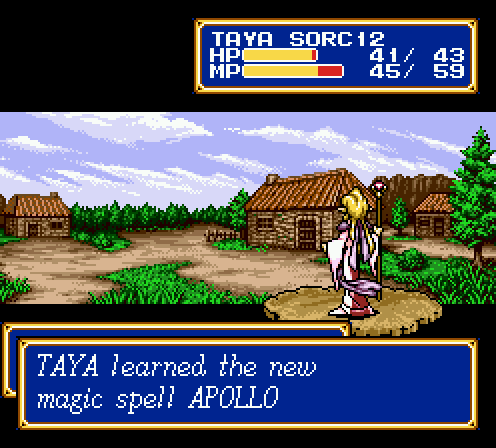
Taya learns a new spell when she hits level 12.
 Of course, I haven't even had the chance to use her spells yet, since every enemy she's hit could be killed with the black ring.
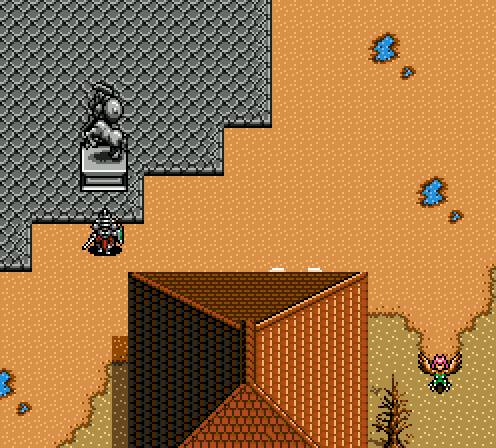
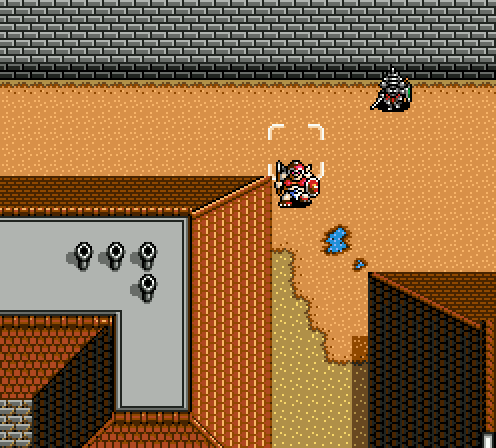
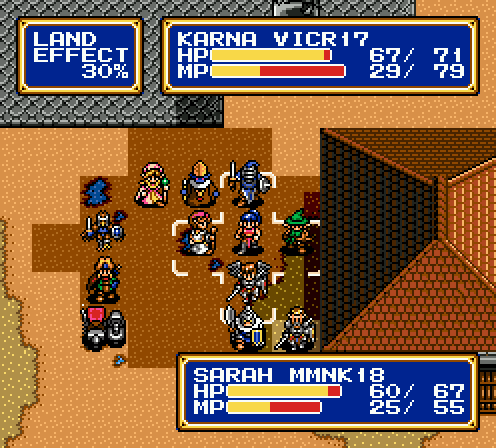
The free floating enemies I was talking about. If you just count their movement – an easy task since there's no difficult terrain – you can pull them out individually and kill them without any threat. It's also worth noting that almost every tile gives you 0% terrain bonus, with the exception of puddles. Don't ask me why puddles give you 30% defense.
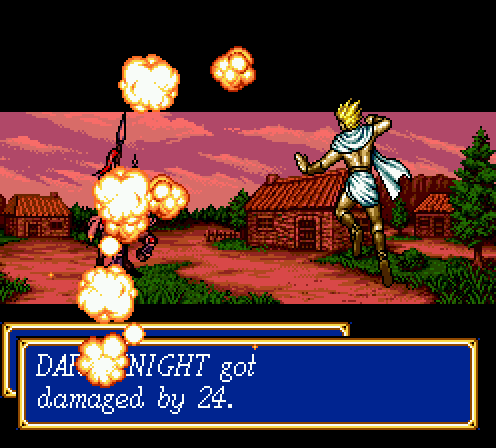
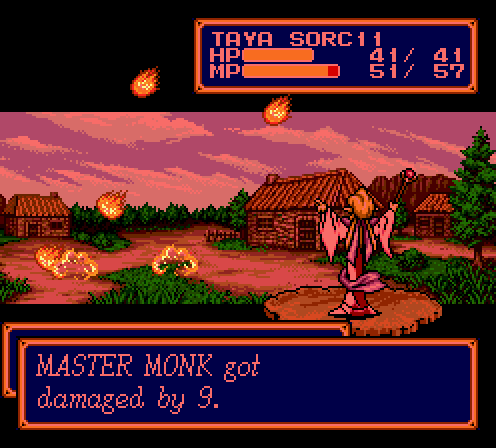
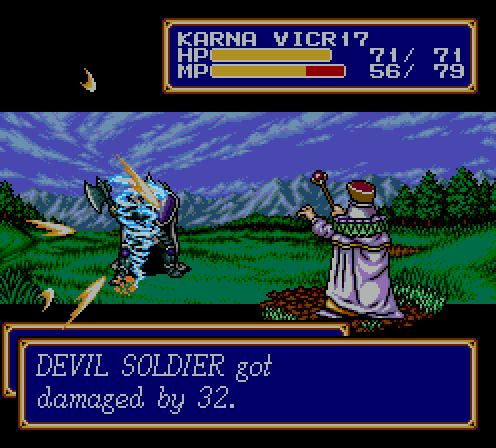
Apollo summons a man from the sky with explody hands. I think his name might be Ralf.
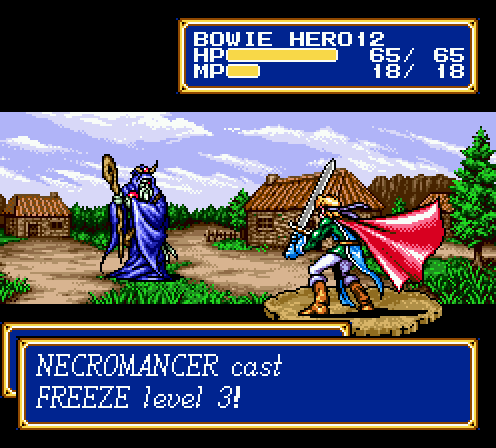
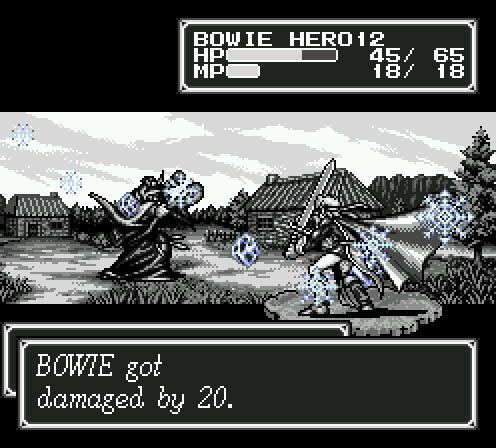
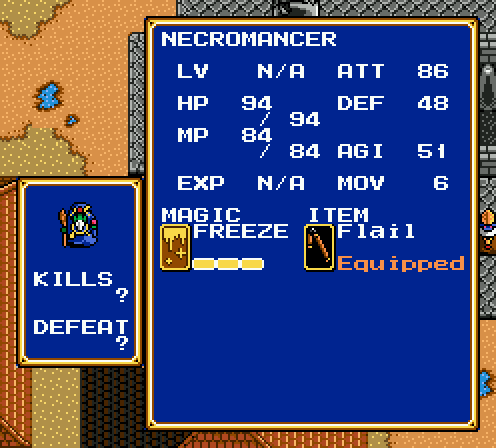
In the last bundle of enemies, the necromancer is kind enough to peel himself away from the rest. Freeze 3 actually has longer range, like that of a promoted archer but with melee range too. Still an area effect of up to five targets, but the damage isn't threatening if it only hits one guy.
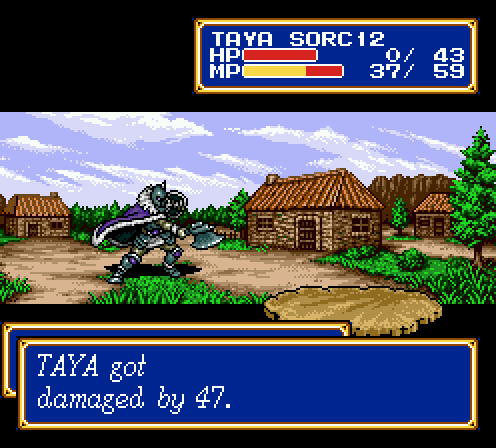
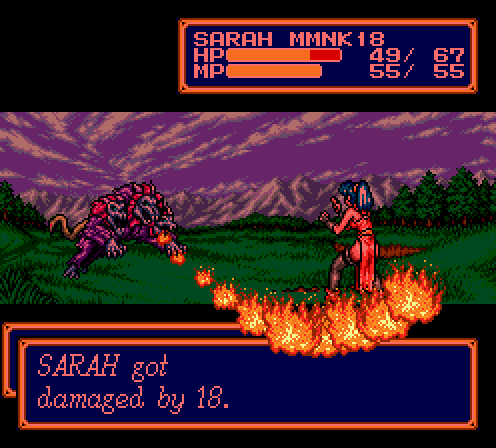
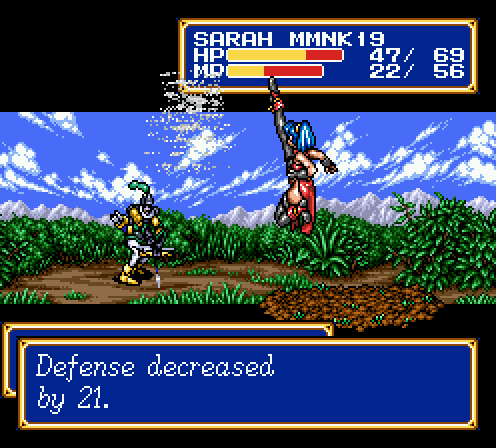
Devil soldiers do not play nice.
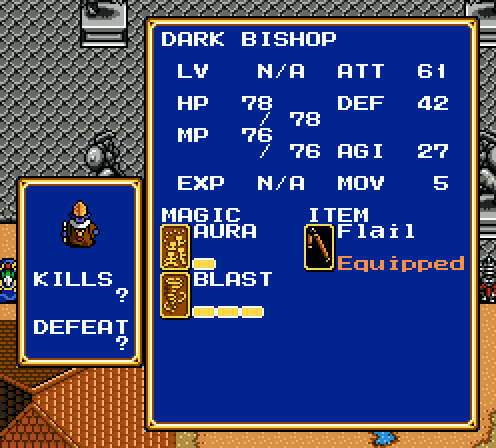
At this point I'm just converting MP to EXP because the dark bishop isn't a threat, and a single enemy can't really take down a character if I play it right.
That would be not playing it right, for the record. I actually wanted to demonstrate Taya using her Indra Staff on the bishop to steal MP. Of course, it only steals about 7 MP, so I might as well just let the cat out of the bag now. Still worth carrying one around on your casters in case of emergencies.
The devil soldier goes down shortly afterwards without anything exciting happening.
Battle Report!
 Level 12 2 HP/1 ATT/3 DEF/1 AGI
 Level 18 2 HP/1 MP/1 ATT/2 DEF/1 AGI
 Level 14 2 HP/1 ATT/3 DEF/2 AGI
 Level 13 2 HP/1 ATT/2 DEF/2 AGI
 Level 17 4 HP/4 MP/2 DEF/2 AGI
 Level 14 3 HP/2 ATT/4 DEF/2 AGI
 Level 11 4 HP/2 ATT/3 DEF/2 AGI
 Level 12 2 HP/2 MP/1 ATT/2 DEF/2 AGI
It's worth noting that Janet and Elric are consistently becoming my highest level characters. I can't tell if this is because their long range affords them a lot of safe damage or if it's because they have easy competition.

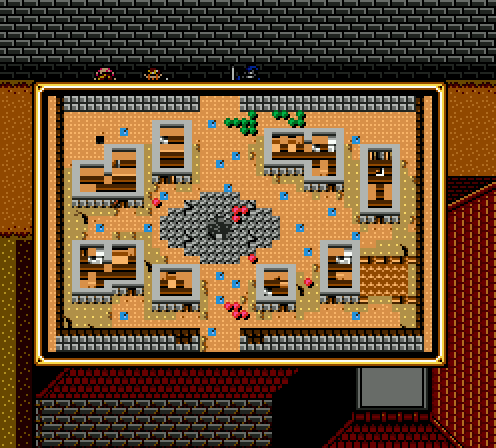
Head north of Pacalon, and we run into another fight in the same territory from four fights ago. That's the long north-south fight before Pangoat Valley. By the way, did you know that bridge with the worms is called Pangoat Valley?
Too lazy to screenshot it, but it's the archer who's giving out the orders. Kill him and the rest of the fight is toast.
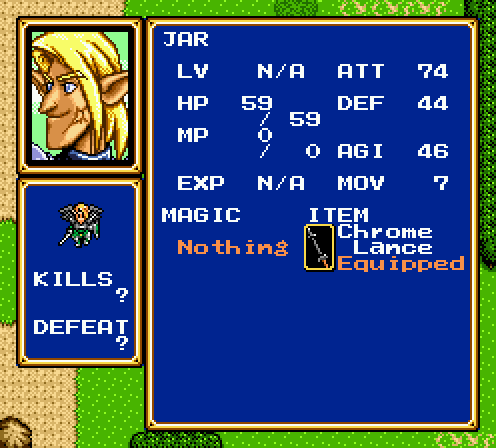
Funny how Jaro's stats and name are apparently untouched. Obob couldn't just throw me a bone and give me a super-steroided AI controlled unit.

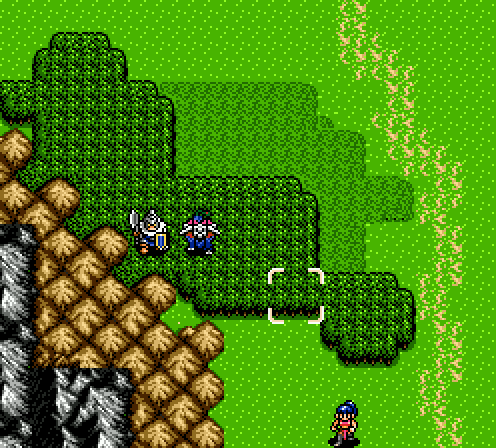
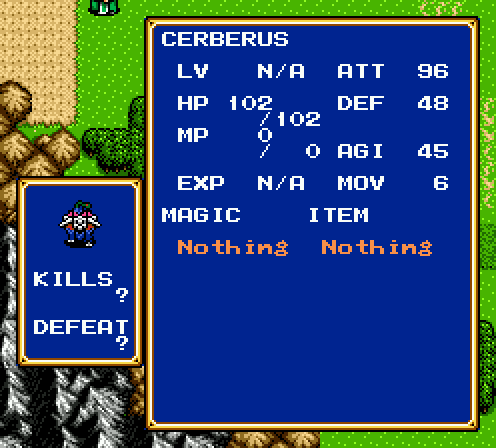
The first two set of enemies. I have to trash the devil soldier + cerberus pair really quickly, else the other group catches up to me and I have to tangle with five monsters at once.
Yeah, I'm at the point where I'm relieved when enemies use magical breaths instead of attacking normally.
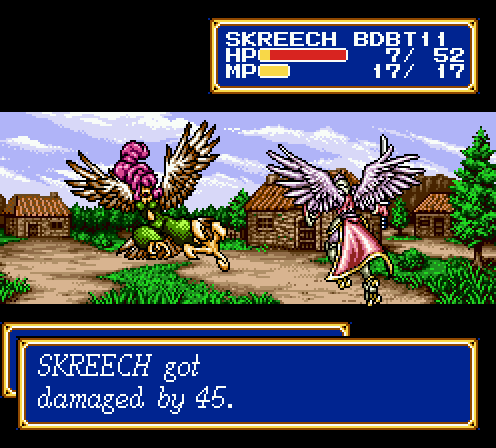
I never noticed how fabulous Skreech's plumage was until now.
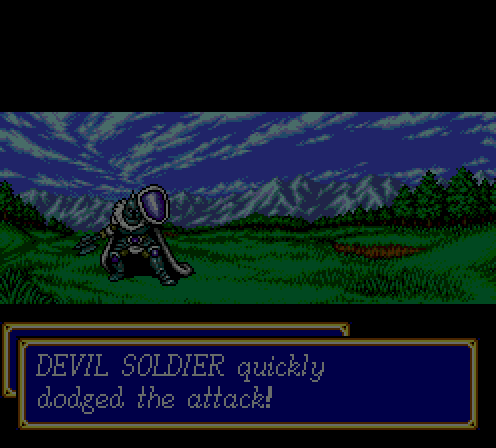
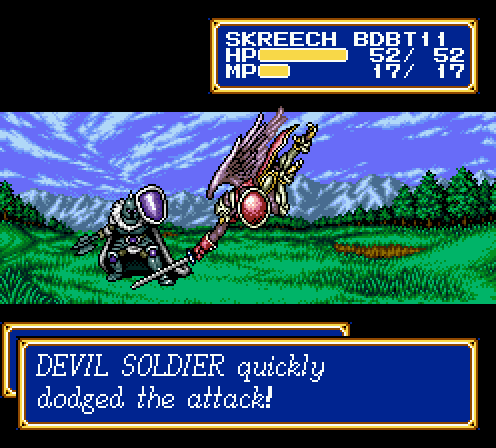
It is, however, pretty fucking annoying when high defense enemies dodge twice in a row. If SF2Edit had any data on it, I'd check the devil soldier's dodge rate, because it dodged another two or three times in this fight. Also, that's Janet's attack, in case it wasn't obvious.
And this is why I don't like devil soldiers. SF2Edit says they only have a minor resistance to status effects, but I tried three or four times (I reloaded save states after the second time), and they all failed. These things are tough as nails and hit hard, so not having an all-but-guaranteed kill in one turn makes me very unhappy.
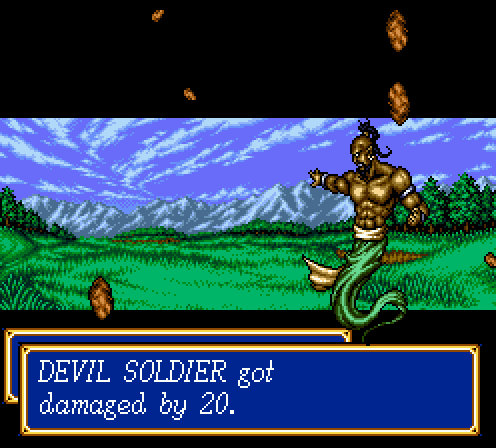
Of course, they're not resistant to magic. Even if they were, I have no idea what element type Dao is.
The thing about sorcerer magic that I haven't talked about until now is that it's actually best used as single-target rather than multi-target. While Dao and Apollo have the same area effect that Blaze 2 and Freeze 2 do, the total damage is actually split among targets rather than replicated. So while Blaze 2 will deal 7 – 10 damage to all targets, Dao 1 will do 20 damage to a single target, 10 damage to two targets, and so on.
The upshot of all this is that sorcerer magic is a million times easier to use and also owns against bosses because you can save up your MP and blast away for ~50 damage a turn, regardless of defenses.
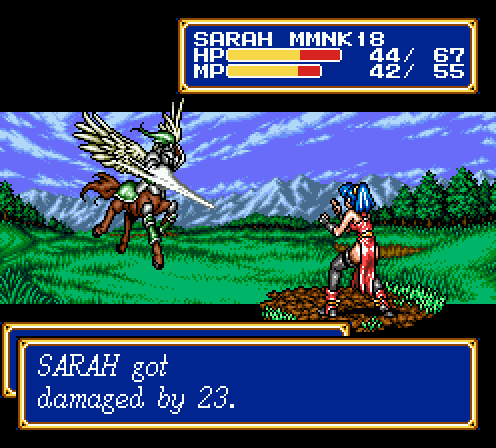
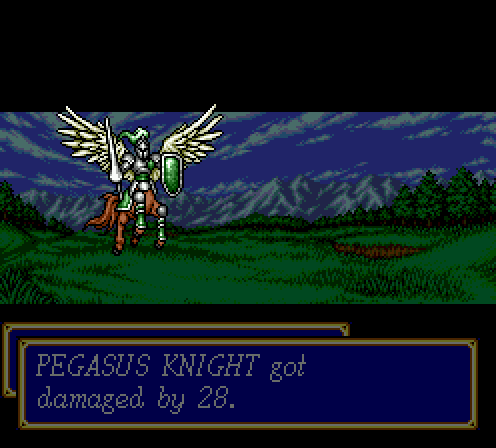
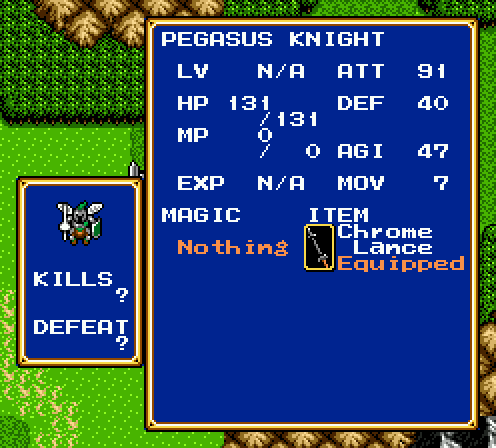
Pegasus knights are the next in succession of flying enemies that hit hard but also get dropped easily by archers. Casting Slow on them is almost a waste of MP at this point, considering Janet and Elric do about 25% of their HP per shot.
I figured if Karna had Blast 4, I might as well try it out. The results were actually quite pleasant, especially since I'm reaching the point where Karna is ending fights with surplus MP. It'll be rare when I find a turn to use Blast 4 instead of healing, but this gives Karna enough of a punch to make up for not being a monk.
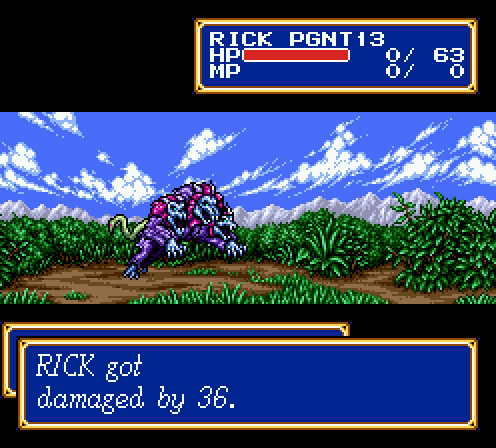
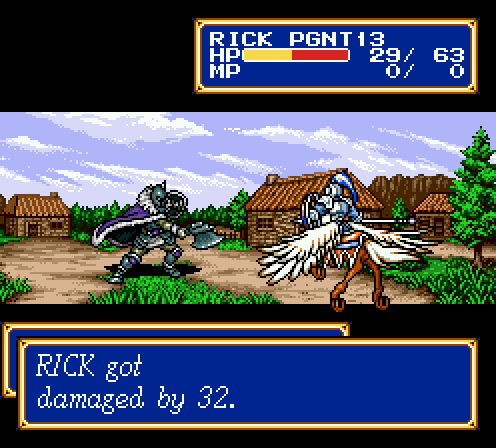
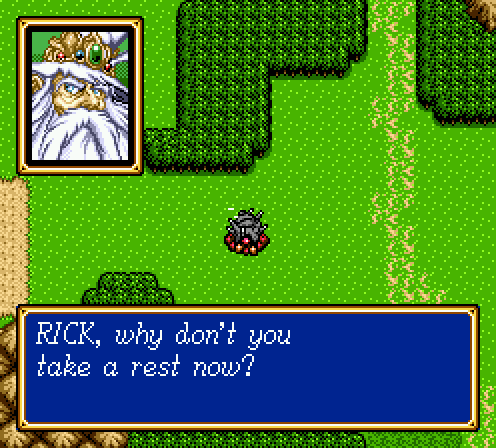
In fact, healing Rick is probably what I should have been doing instead of trying out Blast 4.
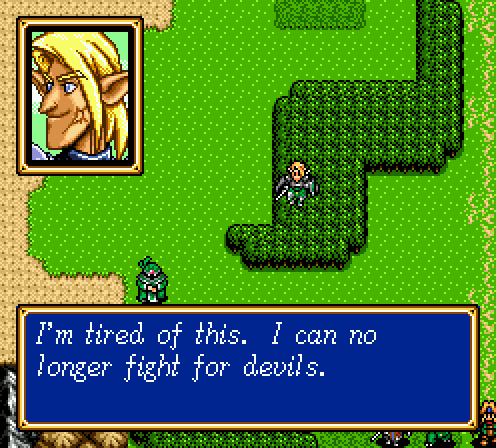
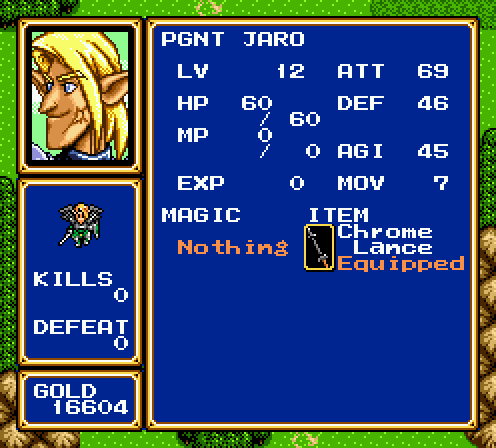
But hey, I got a replacement pegasus knight!
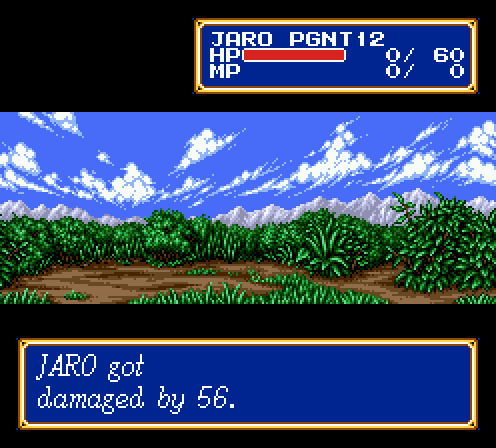
Even though he takes a cut to attack after joining, he still hits harder than Rick. And while he looks like he's made out of glass, he's still more durable than Higins. I honestly think Jaro is the most underrated character in the game.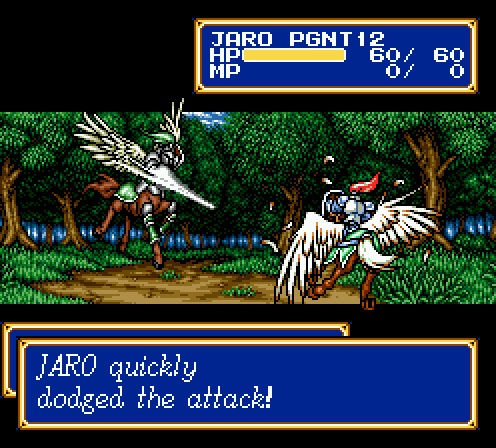
Unsure how I feel about his color scheme, though. Somebody with better aesthetic sense than I do ought to comment on this.

Remember what I said about devil soldiers being resistant to Slow? Necromancers are outright immune. They're innately fragile, so I forgive this one, but it's still not anything I enjoy.
No AI Jaro, please do not fly out on your own and get killed. You do not get a free revive after the fight because Camelot is a bunch of assholes.
Well, there's 300+ gold out of my pocket.

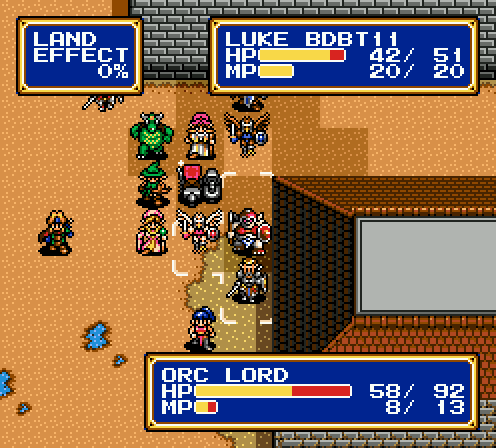
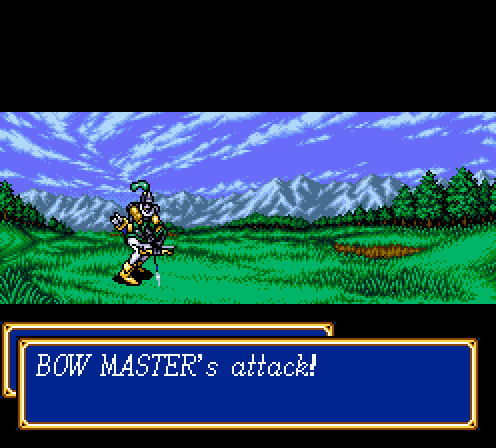
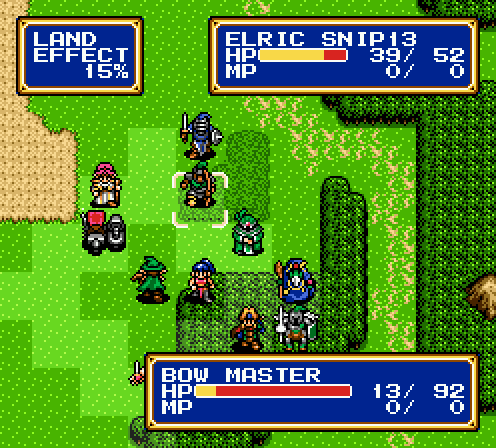
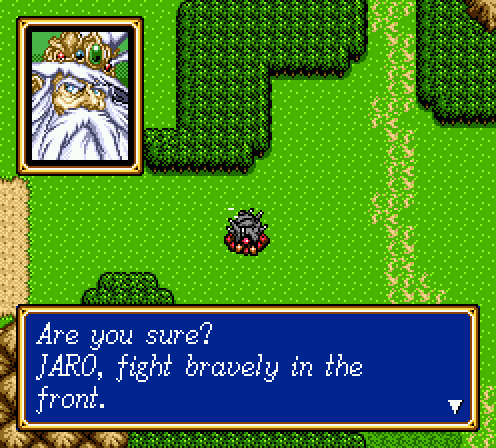
Okay, so now I'm down Taya and Rick. You can't see it in this screen, but there's also a master monk and the bow master lurking upwards. This calls for one thing that I'm always reluctant to do.
Anything else would result in more casualties.
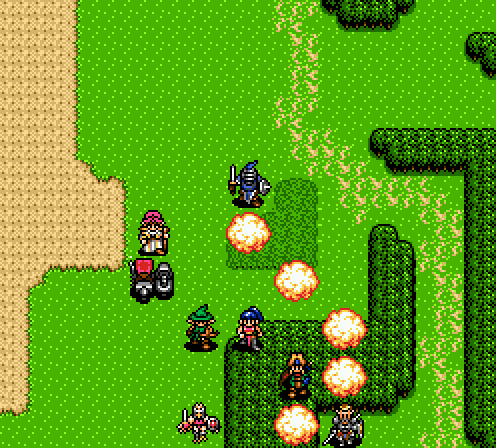
I'm pondering how much gold I lost by doing that. Considering there were still another six to eight enemies left on the map, it was more than I'd like, but I'm willing to grind out gold later if I need it.
Battle Report!
Level 13 2 HP/1 ATT/2 DEF/1 AGI Level 19 2 HP/1 MP/1 ATT/2 DEF/2 AGI Level 13 1 HP/1 MP/2 ATT/2 DEF/1 AGI
 Level 12 2 HP/2 MP/1 ATT/2 DEF/2 AGI
 Level 14 2 HP/1 ATT/1 DEF/1 AGI Level 18 2 HP/2 MP/1 DEF/1 AGI Level 15 2 HP/1 ATT/2 DEF/1 AGI Level 12 2 HP/1 ATT/1 DEF/1 AGI Level 13 2 HP/1 MP/1 ATT/1 DEF/1 AGI
 Level 12 2 HP/1 MP/1 ATT/2 DEF/1 AGI
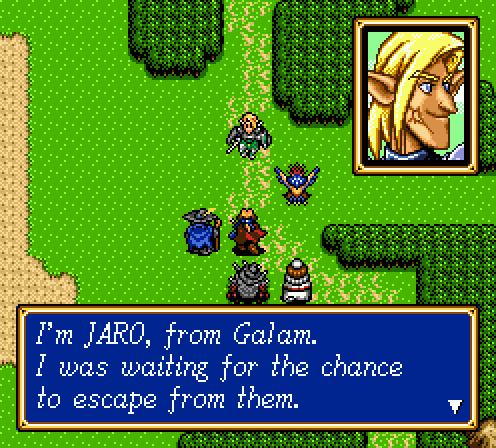
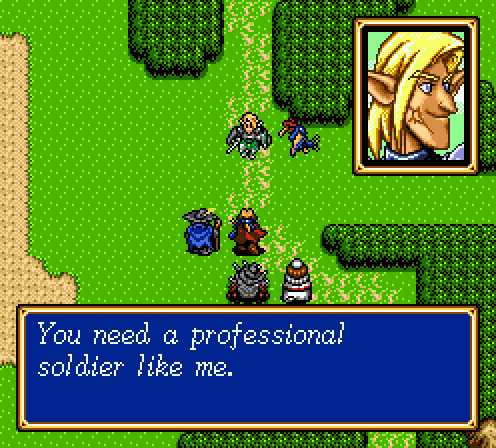
For a professional soldier, he's really not much better than the rest of us. But he's better than Chester and that's what counts.
Anyways, since Rick died right before Jaro switched sides, that means Jaro was meant to replace Rick, right?

I'm amused that Astral thinks putting in Jaro is something I want to reconsider. In reality, the only reason he says that is because Jaro is currently dead.
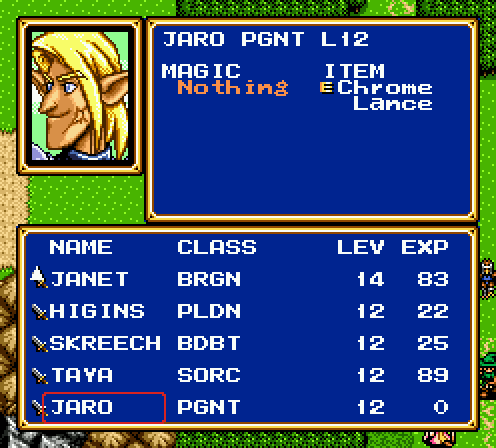
Anyways, it's been a while since I've done it, so have a stat sheet of the current party. Only the characters with swords next to their names are active, because I'm too lazy to edit out the reserves.
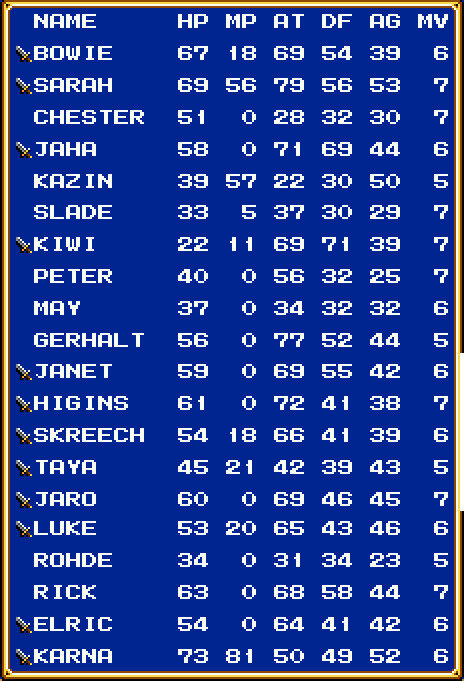
Shut up about the characters being out of order and the borders being wrong. I'm bad at image editing.

NEXT TIME: I got Shining Tactics to work
