Part 29: I took nearly 300 screenshots for one fight
Part 19: I took nearly 300 screenshots for one fightOkay, to start off we're going to do a giant chunk of backtracking. I'm talking all the way back to Creed's mansion. Most people think you can't do this backtrack until after the next fight, but RandomHajile's LP taught me that the flag is actually plucking the Sky Orb off of Cameela's corpse.
On the way, though, there will be random encounters.
Remember this one, first fight in North Parmecia?
Oh, how liberating this feels.
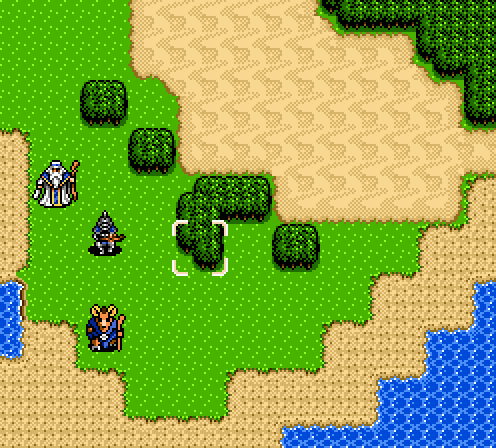
Can't remember if I noticed this weird, impassable space when I first did the fight. If I did, well, it's still here.
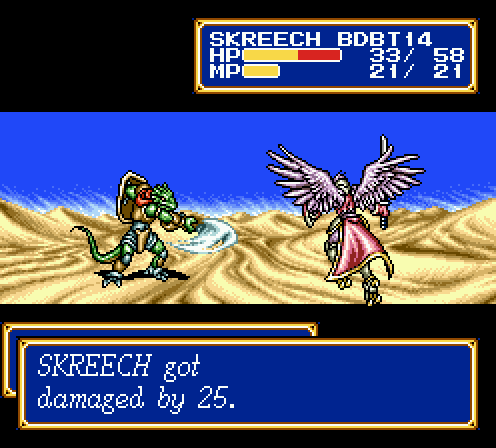
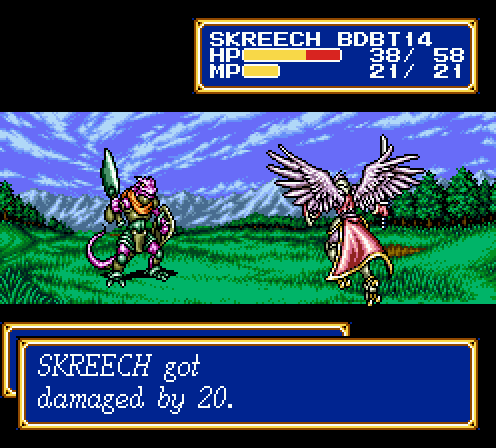
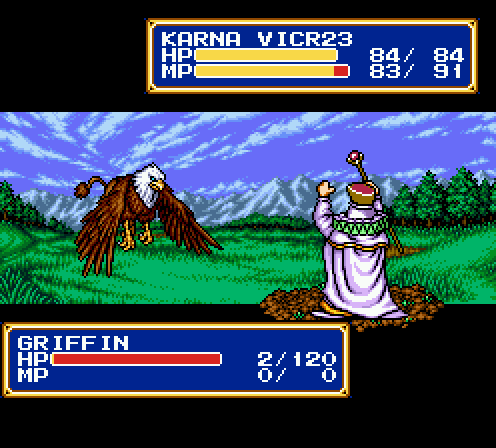
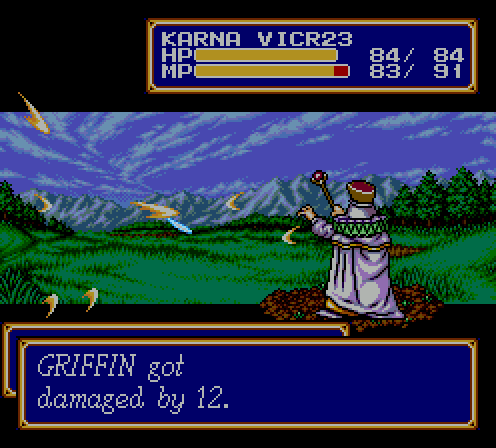
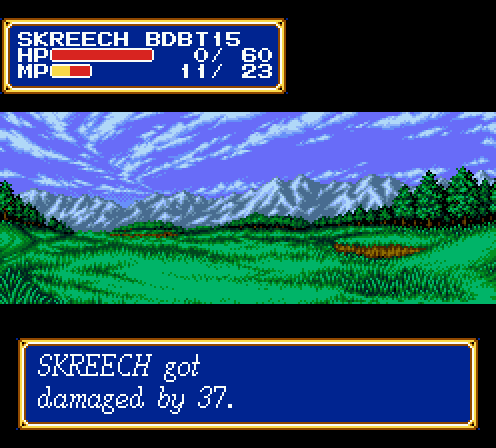
Skreech.

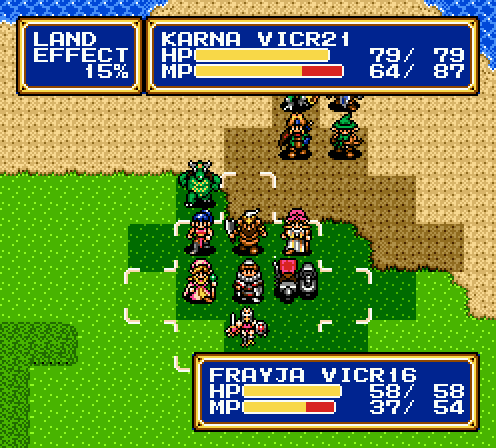
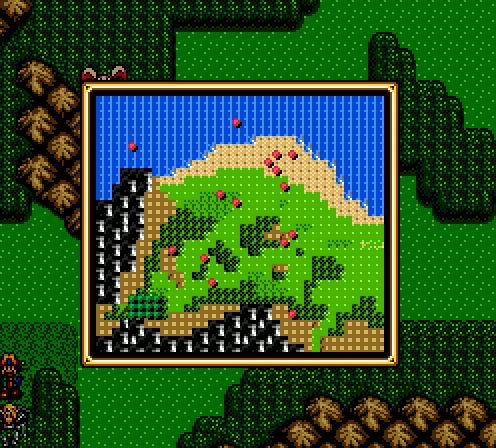
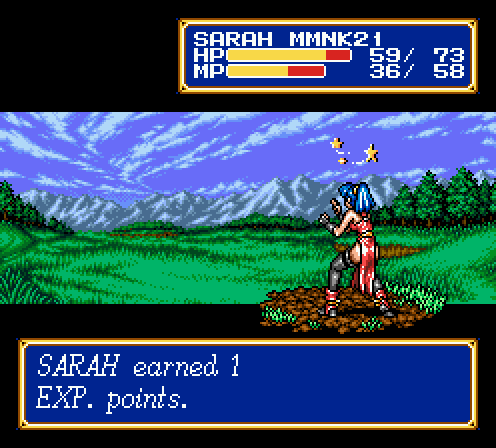
On the plus side, Karna learned Aura 2 during this fight. This is the AoE 3 range, and can potentially hit all twelve members of your army at once. This was also the old area of Boost 2. You can probably see why it got shrunk in the hack.
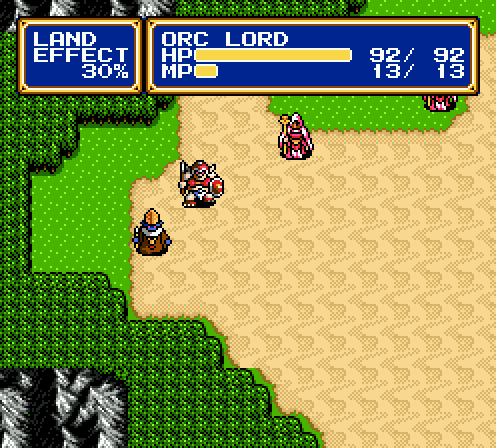
Fight outside Creed's mansion. Strangely, the skeleton has been replaced with an orc lord, a much more recent (but still expired) enemy. More interestingly, the dark witch by the orc lord spawns with a protect ring again! And I cheated to get it!


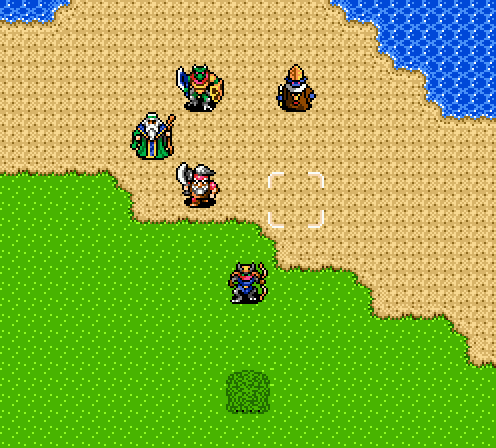
Yeah okay, just gonna grab these three guys and scoot. Later.
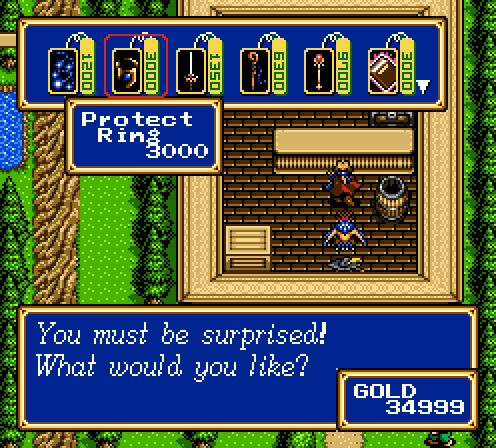
So yeah, I turned on the Control Enemy cheat while backtracking just to make it go by faster. When I learned the dark witch was carrying yet another protect ring, I made her drop it. Enemies using the drop item command on rares will make the item appear in the deals section of the shop. Curiously, if you kill an enemy with a droppable item and they don't drop it, its chances of appearing in the shop are random. This happened with the Taros Sword and Cameela's Iron Ball – neither of them are to be found in the deals. It's not a big loss since nobody can equip them and it's not worth paying out the money for on demand Bolt 2 and Blaze 4. But there's your Shining Force 2 trivia for the update.
And for the record, no. I do not feel one bit guilty about cheating to score an extra protect ring.
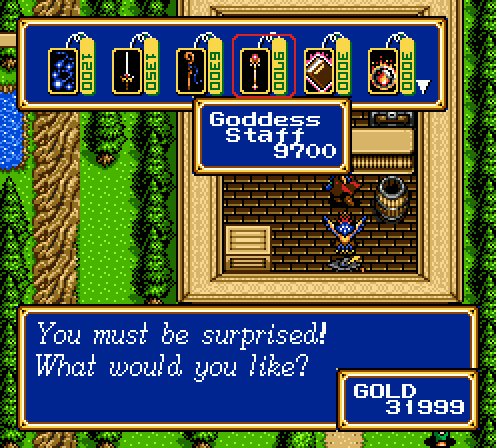
I'm also not sure where this came from, but it's a vicar weapon that casts Aura 2 on use. I buy it, naturally.
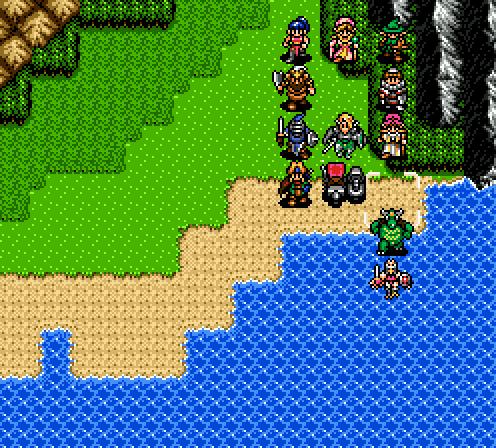
Anyways, back to the ship.
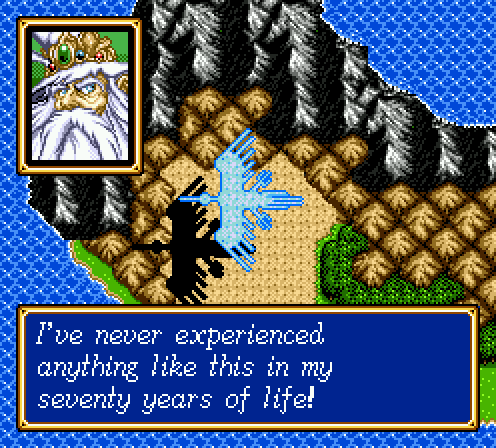
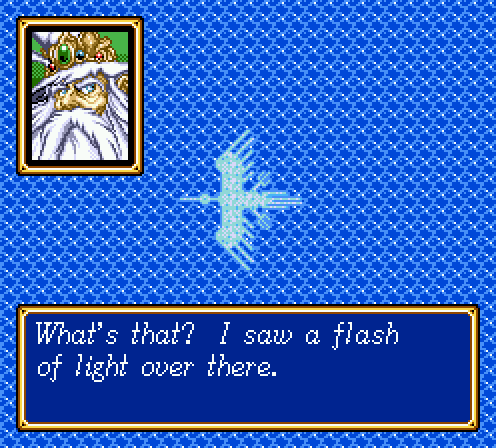
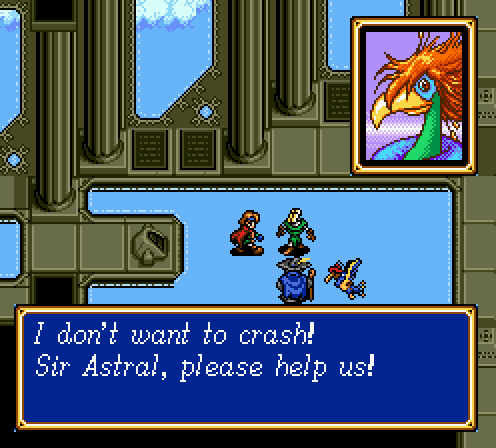
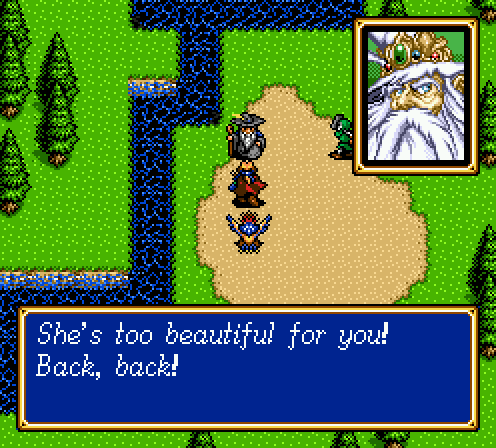
Astral is seventy years old. This feels like a Shining Force trivia question.
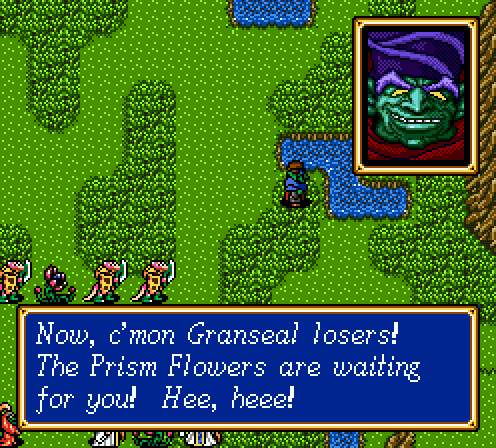
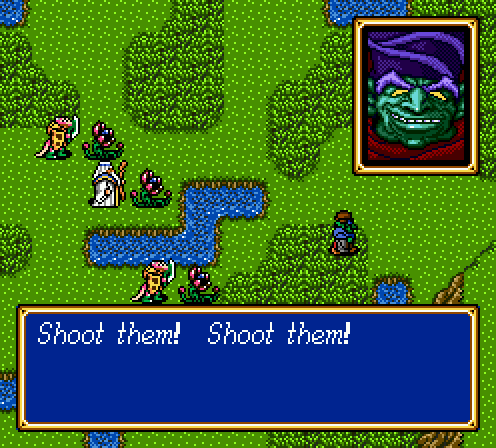
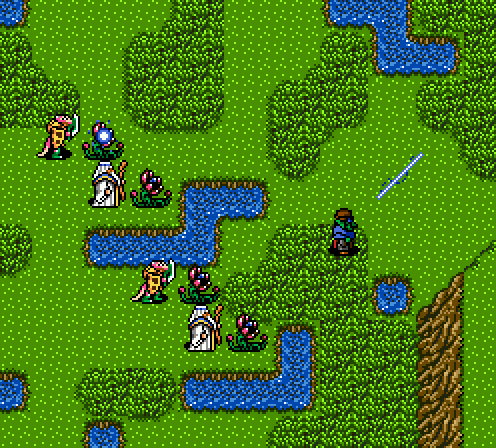
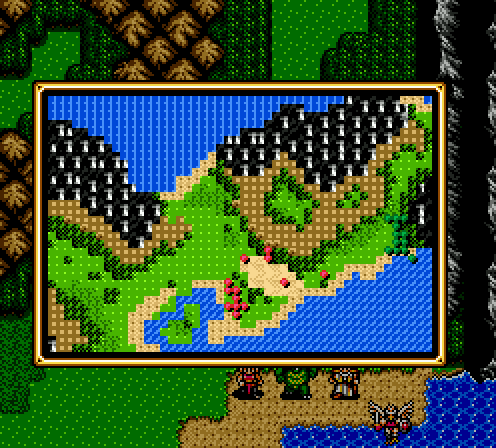
Holy shit, flowers that shoot lasers. Thankfully they're not as deadly in combat as you'd surmise.
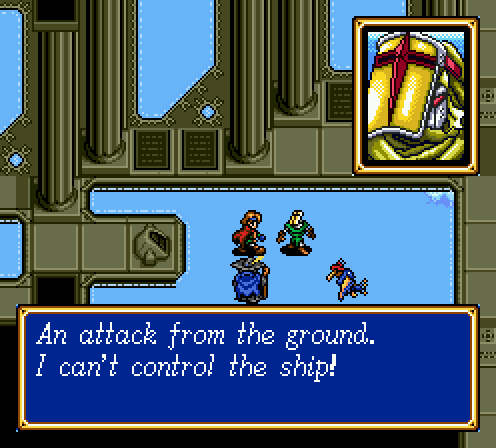
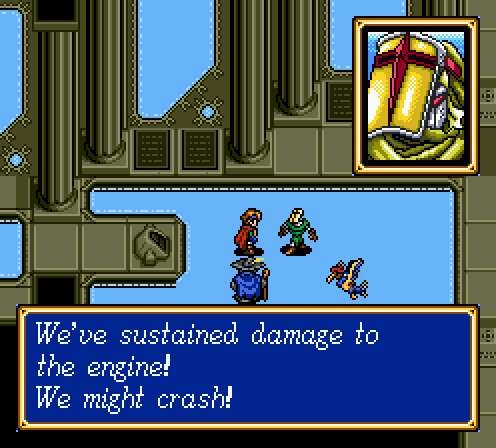
But deadly enough as a plot device.
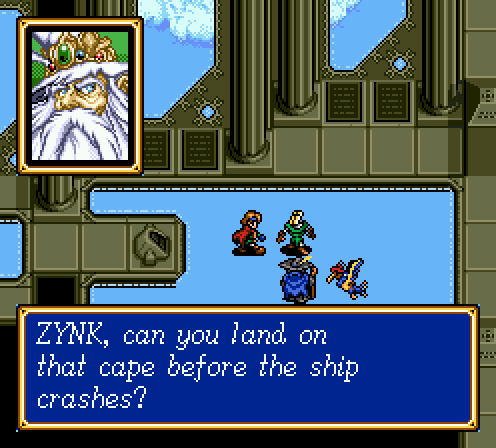
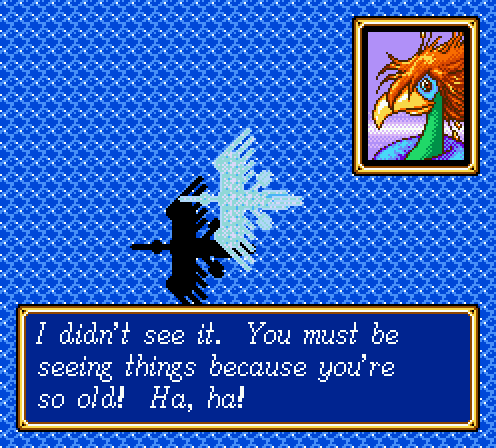
Meanwhile, in a star system far, far away...
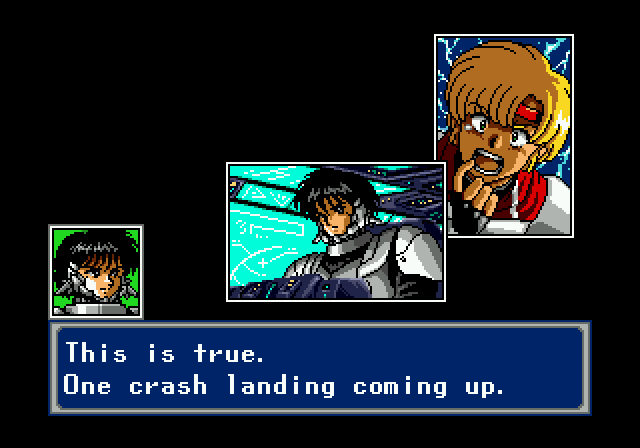
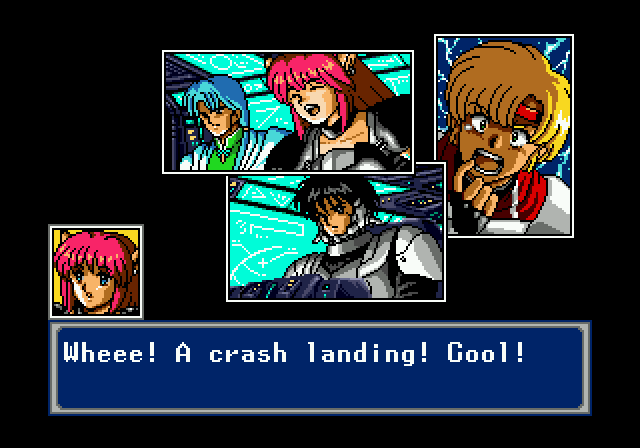
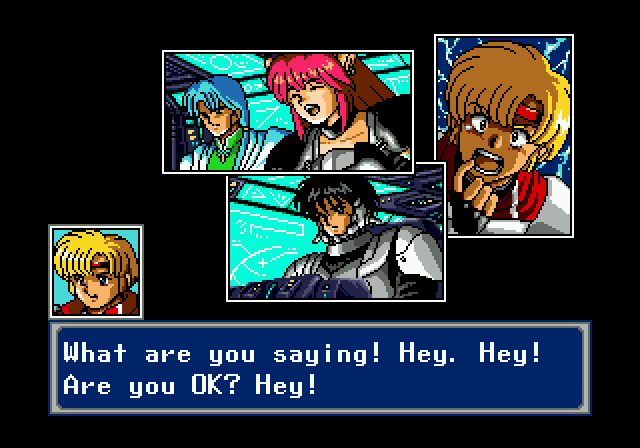
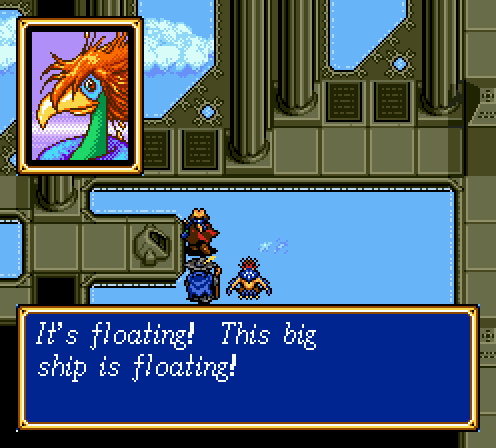
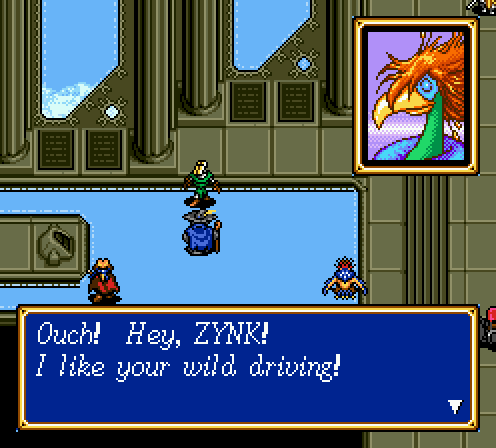
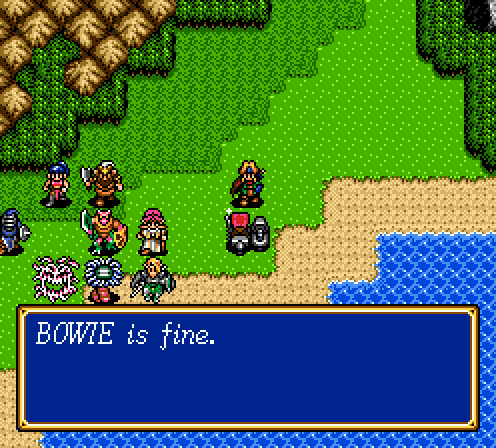
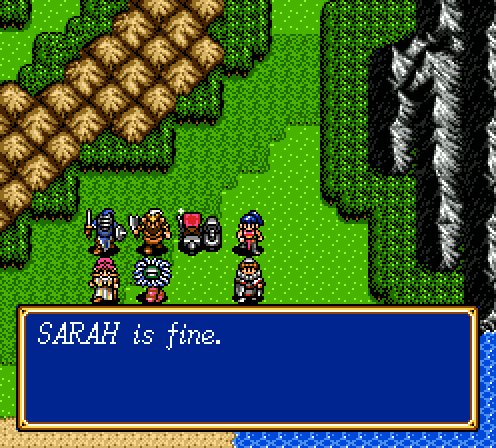
When we crash land back on Grans Island, the entire crew is all shaken up. There's a few quotes that everyone will say, but this one will always be my favorite.
Anyways, let's just get on to the next fight.
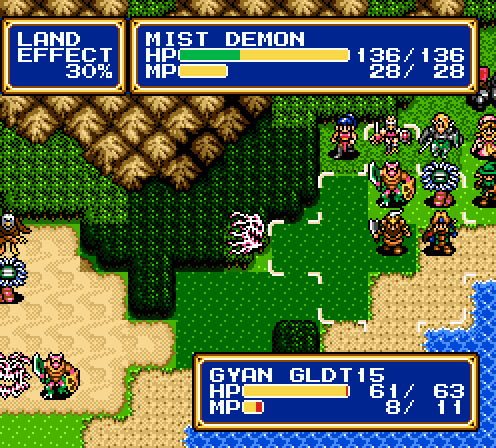
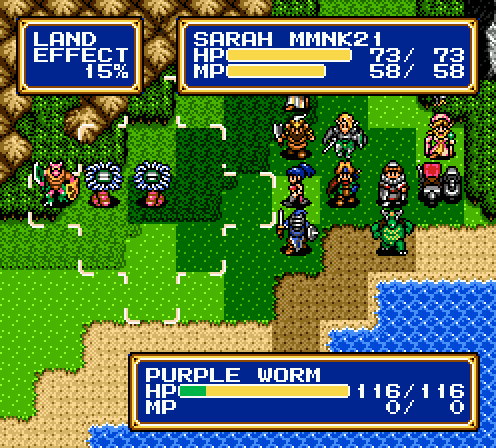
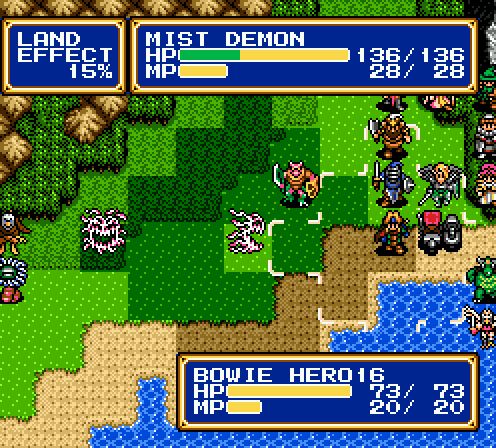
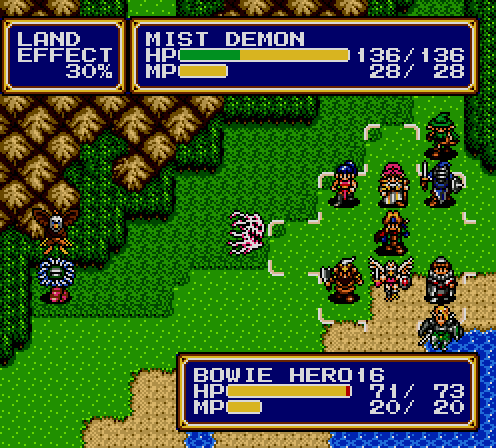
Almost everything in this fight is a new unit. They also hit really hard and the fucking mist demons have one of the worst tricks in the entire game. Fortunately, the enemy is all bundled up in one spot, kind of like how my army is. Tactically, this fight should be relatively easy.
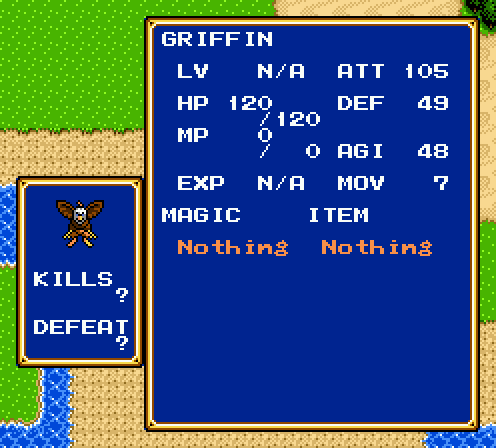
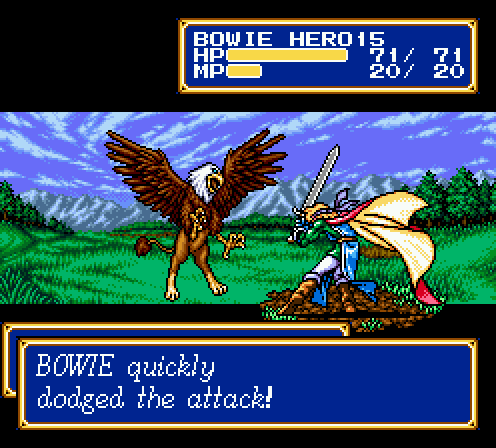
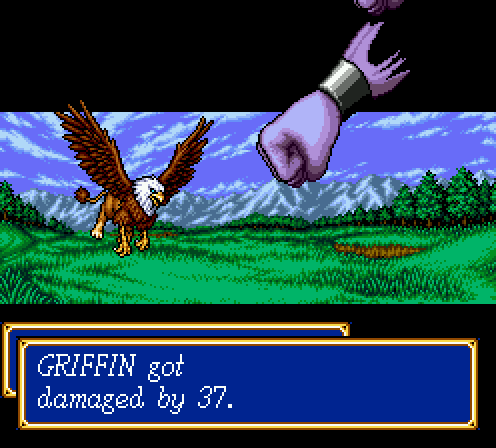
A lone dragonewt will always charge at you headfirst. Total non-threat, and it seems to like using the heat axe over actual attacks. I won't waste screenshots showing myself wasting it and polishing my army back to full HP.
The first wave. Despite every enemy being slowable and relatively fragile, they all hit so hard that this pack is quite deadly.
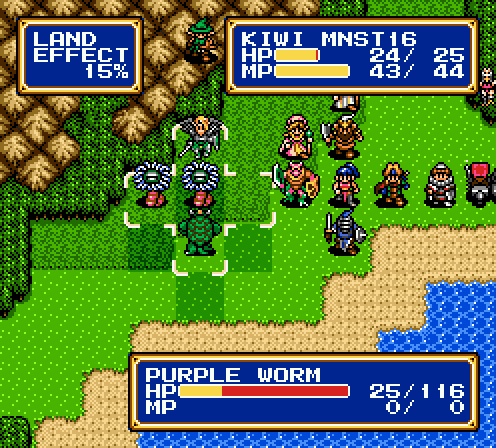
Luckily, high movement enemies peel away from the pack quickly, and can be taken down in isolation quickly. Like so:
But then:

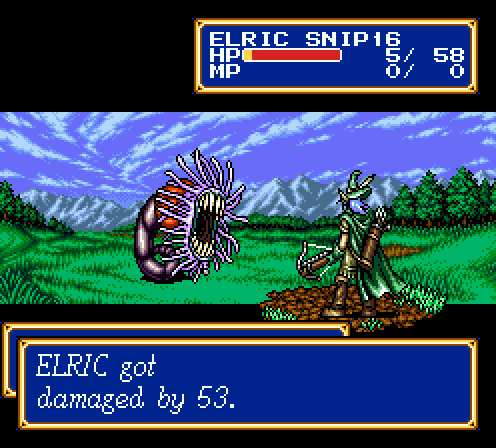
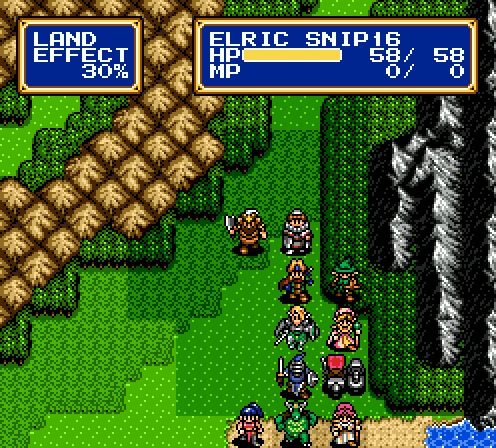
Yeah, Kiwi is less durable than Elric. How depressing is that?
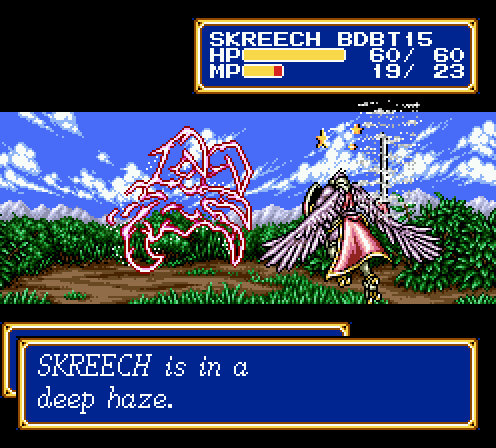
You know, it really says something when being hit for just over a third of your HP is actually low damage. For reference, Skreech was boosted when this happened.
Yeah, this is where the fight gets really unfriendly.
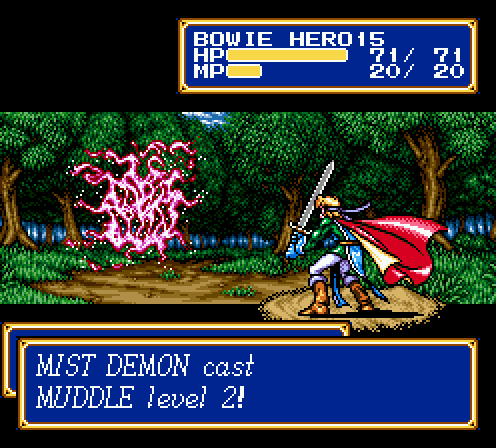
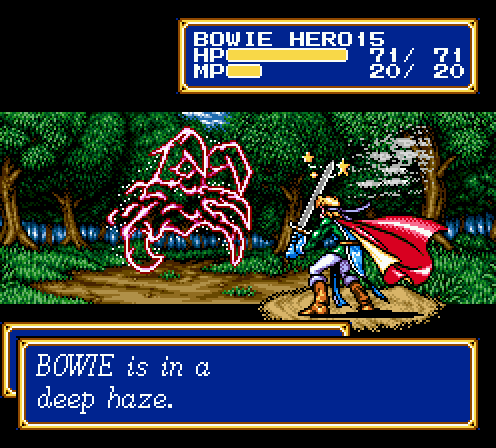
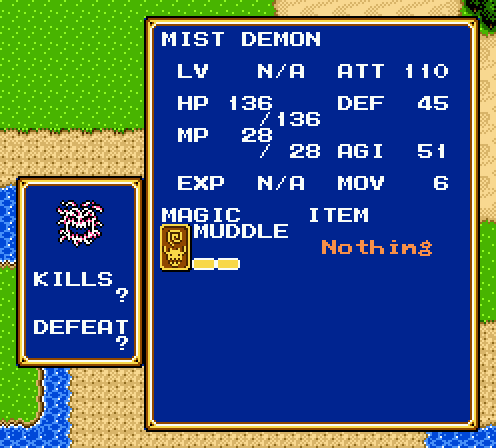
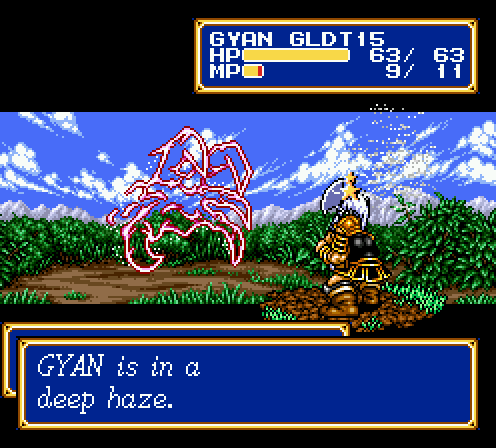
That's Muddle 2, the worst god damn spell in the game. All Muddle 1 does is lower the accuracy of its targets, but Muddle 2 is the classic “confusion” status effect that causes you to attack allies. Technically, you can use it on enemies, but neither the accuracy debuff nor the confusion status ever work. Muddle 2 is supposed to be balanced out by the fact that it also carries the status debuff, so your beefiest attacks won't rip apart your entire army, but well.
Well, you'll see.
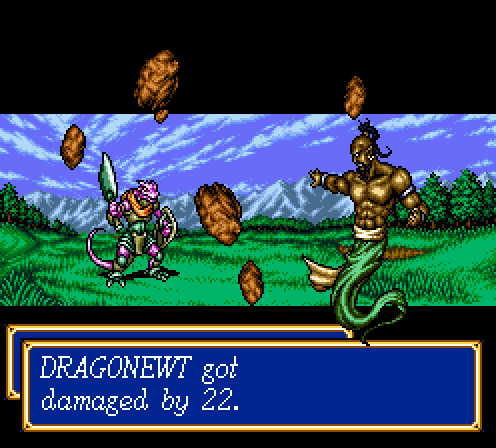
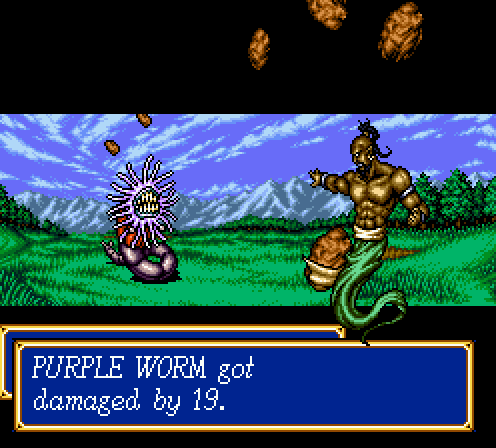
Dao 2 doing work. On a single target, it does 40 damage. I think it's wind elemental, since it seems to do extra damage to flying enemies.
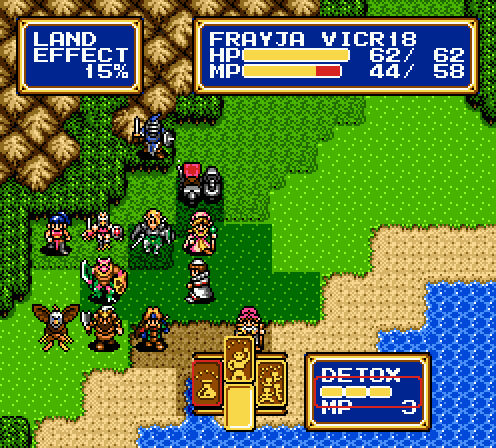
Unbeknownst to most Shining Force players, higher levels of Detox actually can cure things other than poison.
Naturally, Muddle is not one of them.

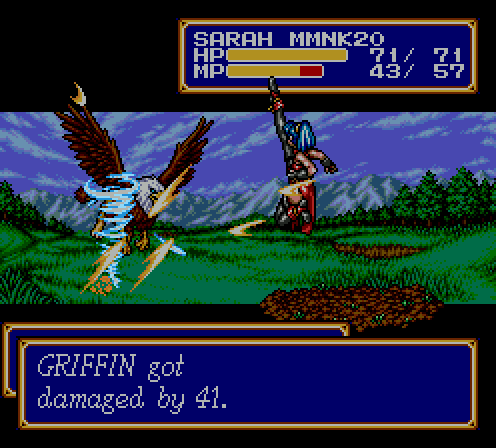
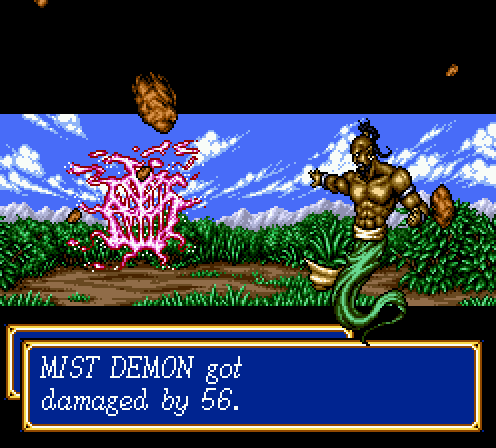
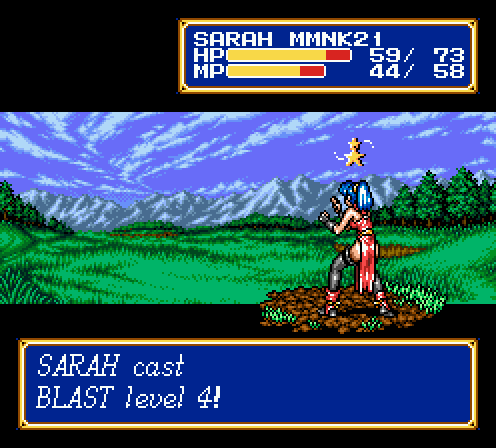
Remember how flying enemies are weak to wind elemental? God, I love Blast 4 so much right now.
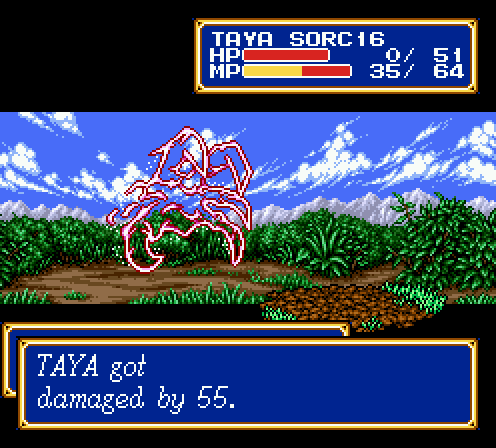
I do not, however, appreciate mist demons having the ability to both confuse my units and kill my squishies in one hit.

Okay, not so bad but it's still a wasted turn from a hard hitter.
Okay, that's bad.

Muddle 2 also causes some strange graphical errors with weapons. Oh yeah, spells don't miss, so if a caster gets hit by Muddle 2, you're really up shit's creek.
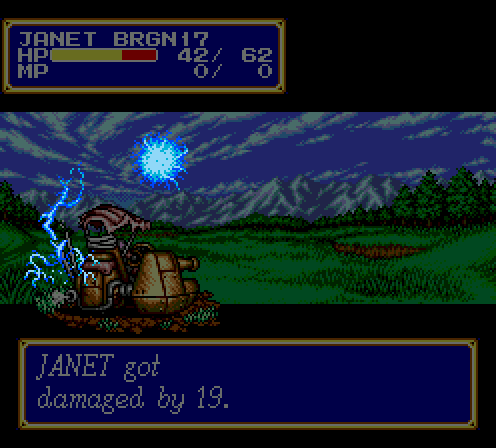
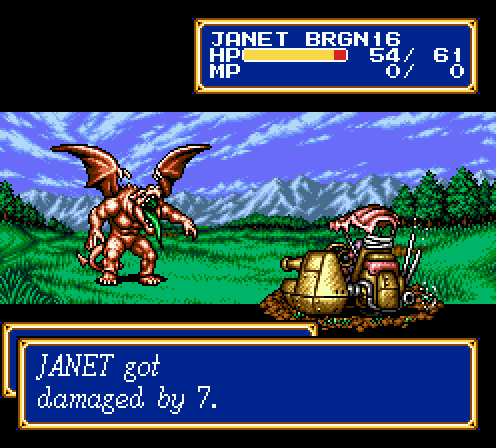
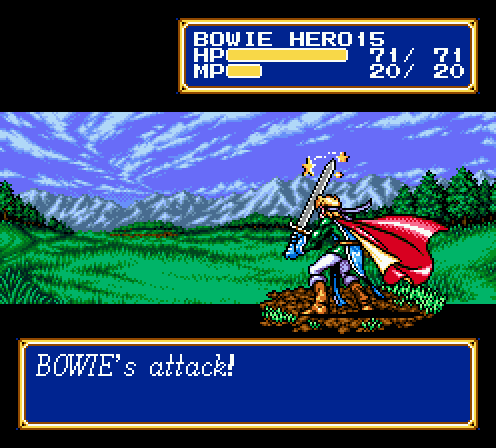
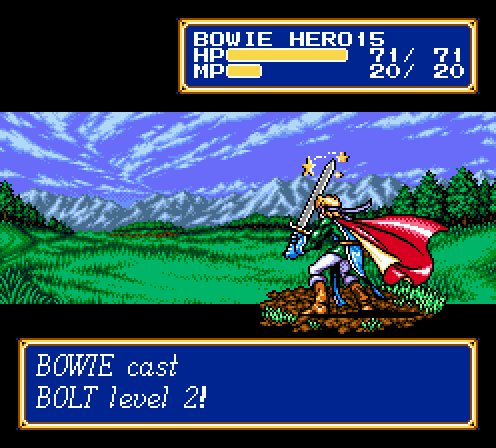
Three others got hit by this Bolt 2, including Janet. And here we were, thinking that brass gunner weakness to lightning wouldn't do anything!

Also, the reason it's the same amount of damage Bowie took is because the spell made a critical hit on him.

Who's this enemy hitting Janet for so little?
Naturally!
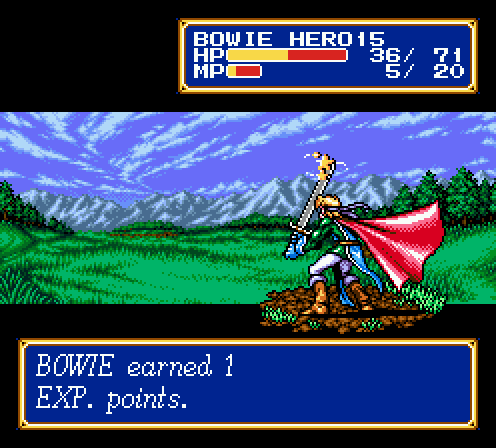
That's three turns Bowie lost to Muddle, including his only cast of Bolt 2. Game designers really ought to know that nothing is less fun than literally losing control of your character.
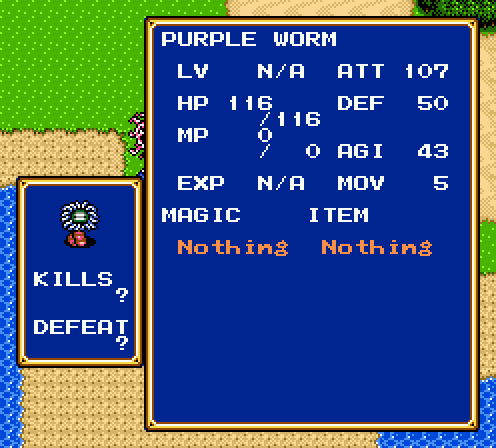
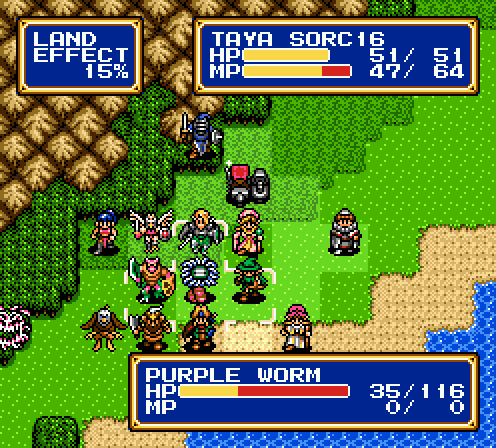
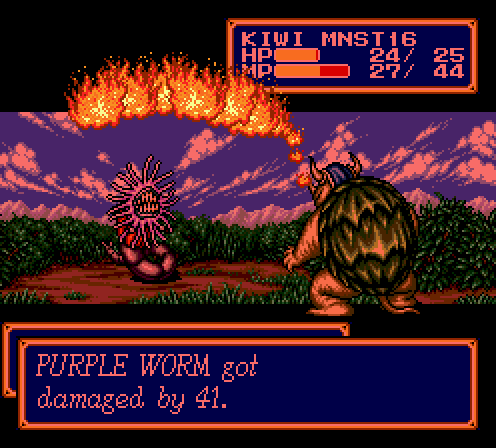
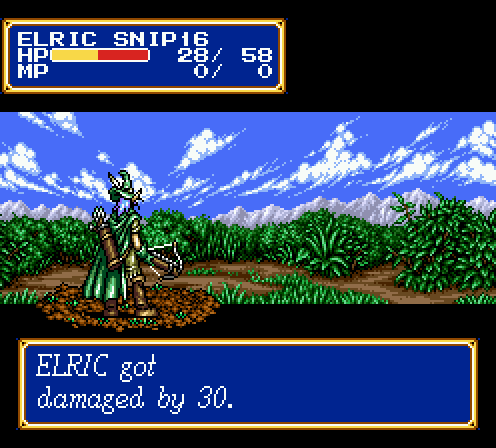
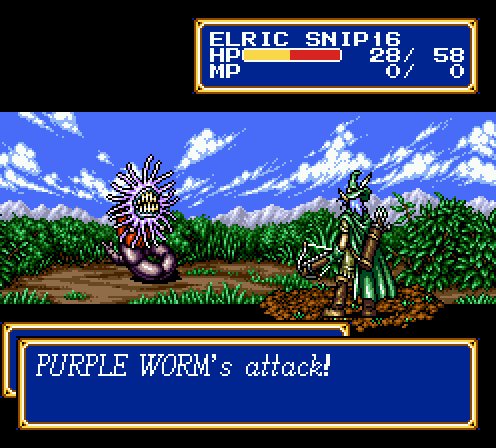
I almost swore I was dead when that purple worm attack happened, but I lucked out.
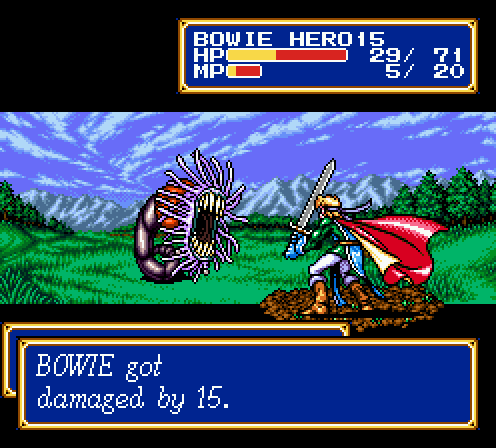
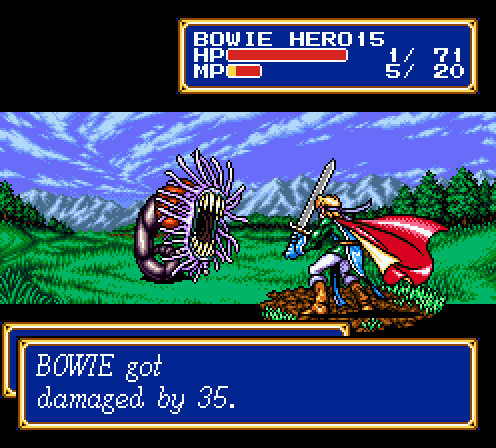
Well, until I get counter attacked by the worm.
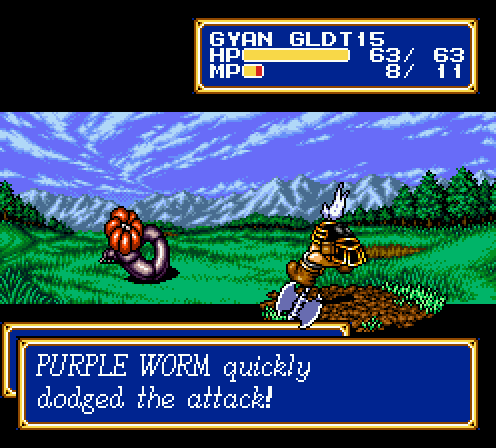
And it dodges an attack that would have easily killed it.

And the worm attacks immediately afterward, with an amount that wouldn't have killed him if the counter attaFUUUUUUUUUUUUUUUUUUUUUUUCK
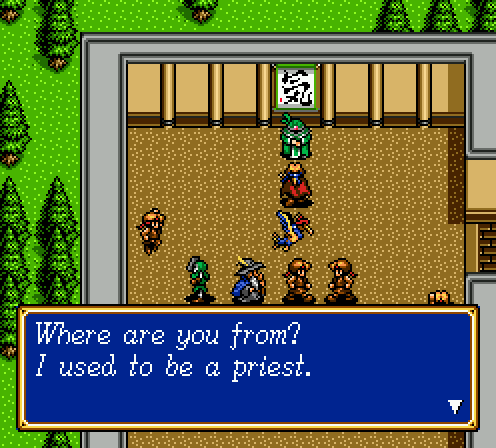
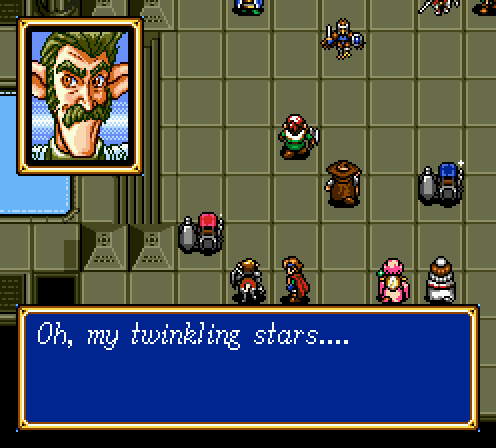
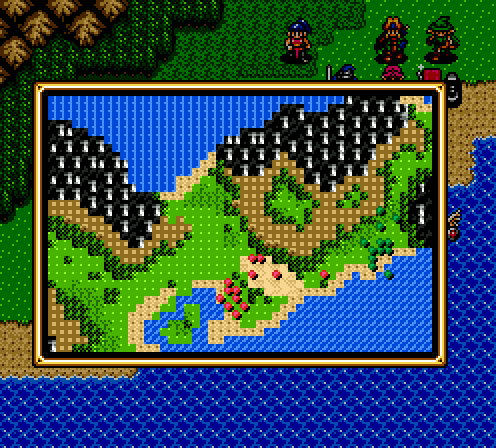
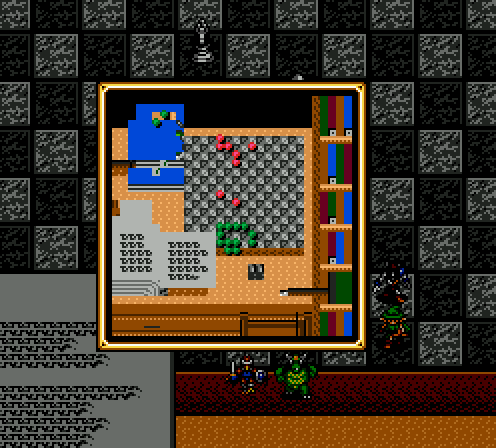
We get kicked back here, a small monastery next to the Nazca ship's crash site. The sole purpose of this place it to have a place to save/revive if you fuck up the previous battle, and to pick up a brave apple, a vigor ball, and Sheela.

This scene amuses me for some reason. Bowie is shaking his head furiously as Astral shields his eyes from the naked woman.
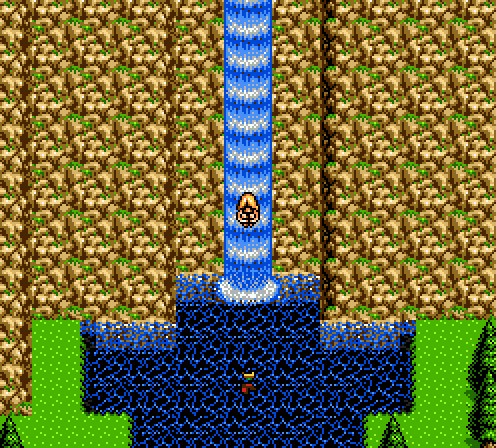

I'd say that was a 7.2 landing.
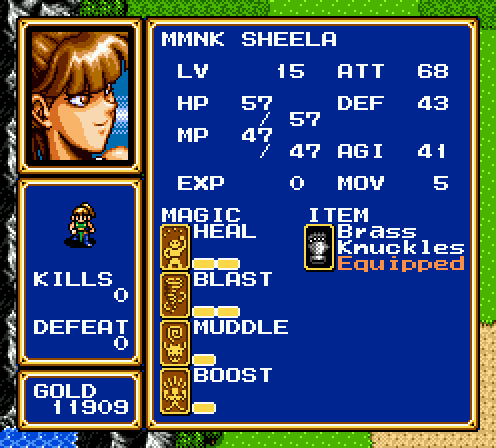
Sadly, Sheela is your consolation prize if you never found any vigor balls in the game. Her attack is barely any better than monk Karna's, her MP pool is barely better than monk Sarah's, but her spell selection is a bit worse. As I've mentioned, Muddle doesn't ever work on enemies. Boost is certainly better than Detox, but leveling up Sheela to learn her higher levels spells when Sarah already has them isn't worth my time. I also have Gyan around for a secondary booster anyway.
Let's get back in the fight.
I seem to remember another fight where the enemy was clearly grouped up as a single unit with slow advancing small waves. What did I learn from that fight?
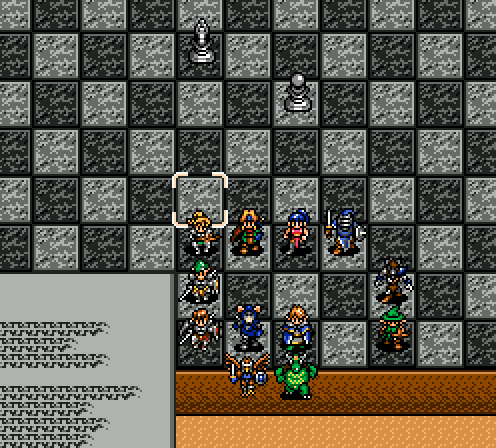
Right, not a single step forward.
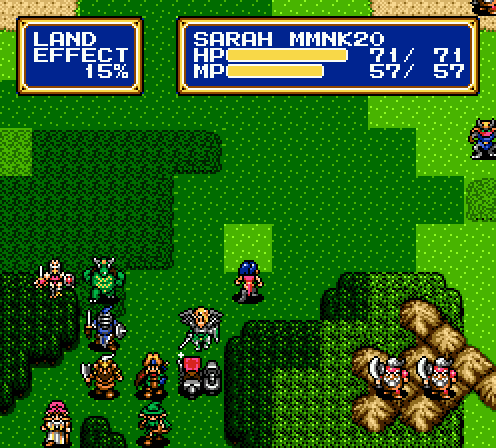
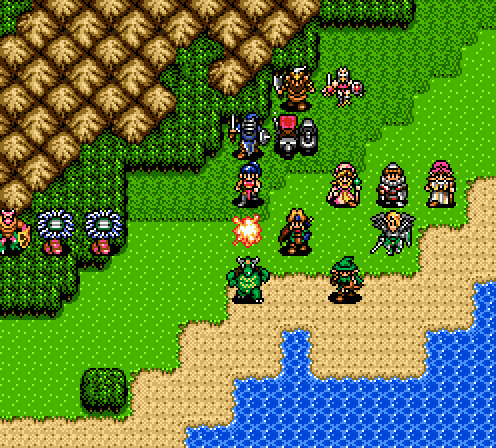
I'm just gonna camp out at the eastern end of the map and squat until the enemy slowly throws themselves at me.
It's really sad that I actually have to resort to this to keep characters alive.
This, however, makes me happy.
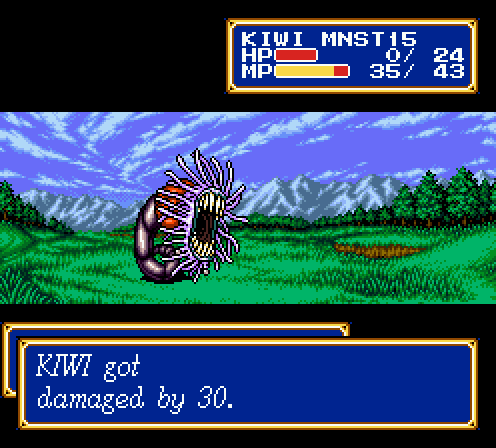
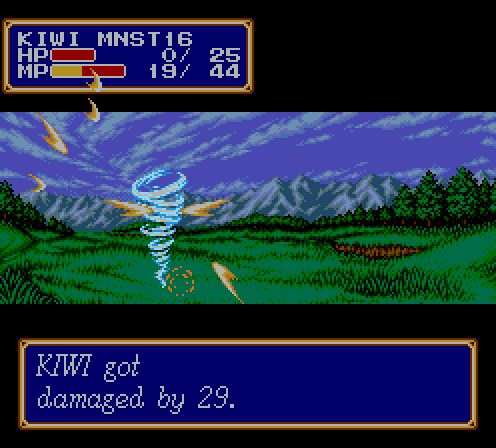
Kiwi just learned Breath 3. How's it go?
Really fucking well. Too bad Kiwi is fragile as fuck at this point.
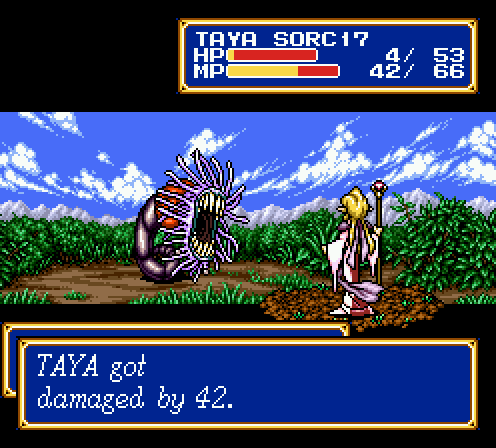
More fragile than Taya, even.
Yup, after those dragonewt and worms are dead, just gonna keep sitting back here and twiddle my thumbs until the AI comes on in.
Okay, if Gyan's the only one hit, I'll take it. Mist demons are still fliers, so Elric and Janet can drop them pretty quickly regardless.
This, however, is a much larger problem. Getting a healer confused is incredibly shitty. Not to mention it's my hardest hitter who also is packing Blast 4, which I need to take out the mist demons in a timely manner.
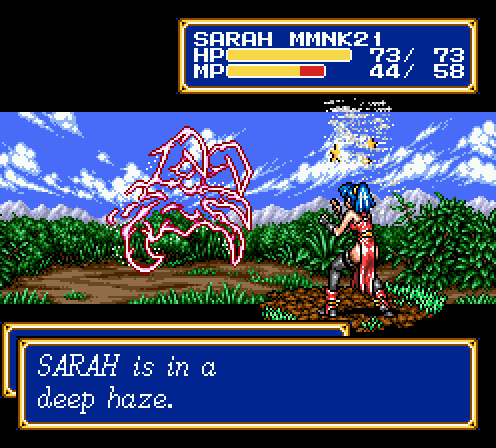
Oh, it's also worth mentioning that Muddle 2 can last anywhere from 2 – 4 turns. Guess how long the one on Sarah last?
My evidence for Dao being wind elemental.
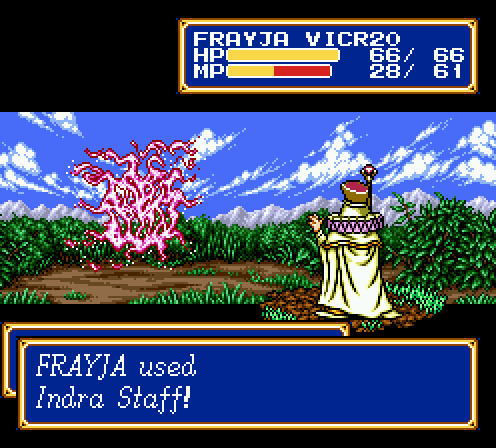
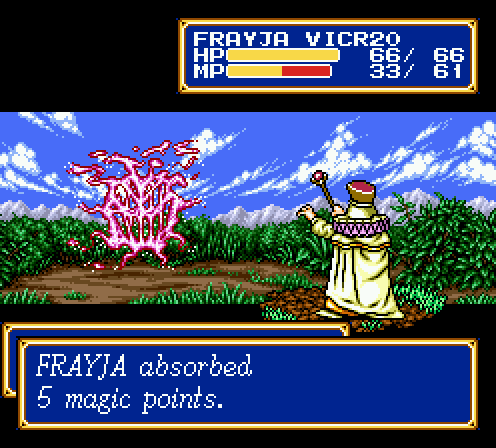
The reason to keep indra staffs around. 5 MP isn't much, but it's a Heal 2.
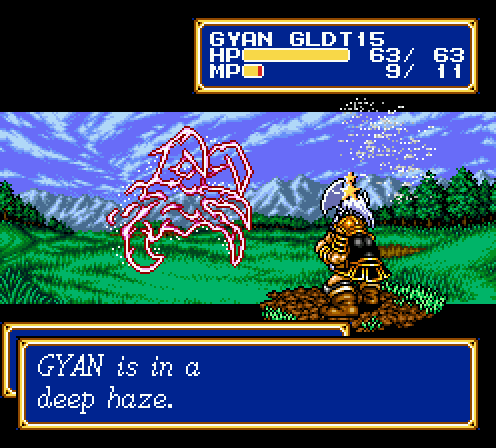
More Muddle 2 shenanigans.
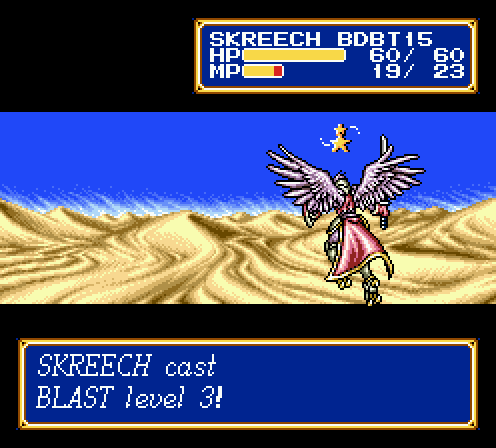
Okay, Blast 3 doesn't hit quite that hard, this won't be so


JESUS
I refuse to believe that Muddle actually lowers accuracy. This is Sarah punching Elric in the face.
And then a purple worm to finish the job immediately afterwards!
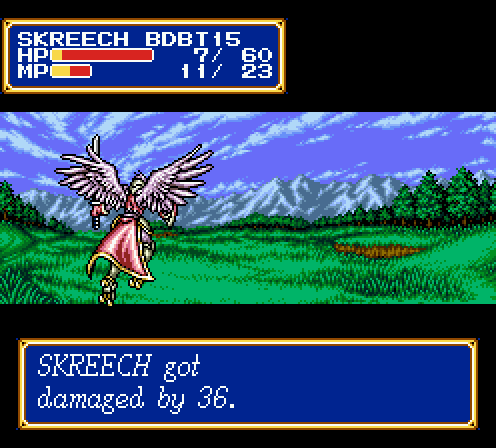
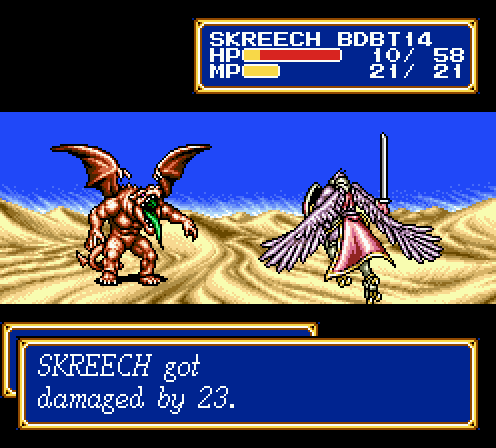
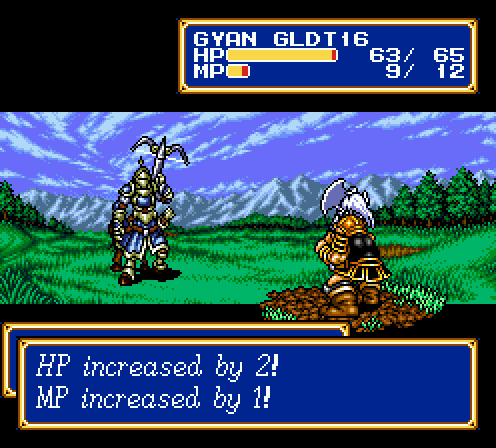
And Gyan smacks Skreech for a ton of damage, forcing him to retreat.
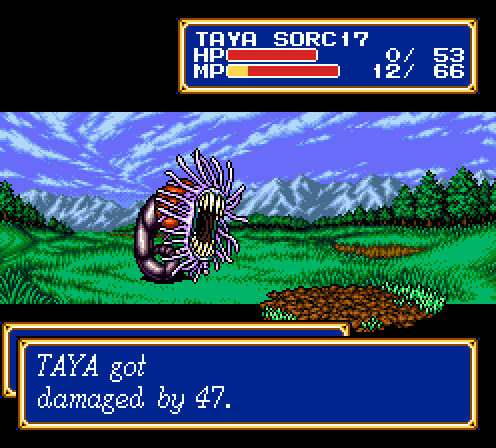
Which exposes Taya to being killed.
Oh, I guess Sarah can go ahead and finish off Skreech with Blast 4.
If you guess four turns on Sarah being confused, you guessed right!

I manage to finally kill the purple worm, but this is what's left of my army afterwards. A single cast of Muddle 2 directly killed 5 of my units. Fuck Muddle 2.
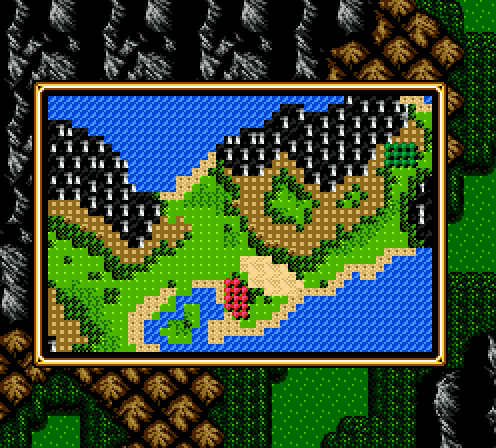
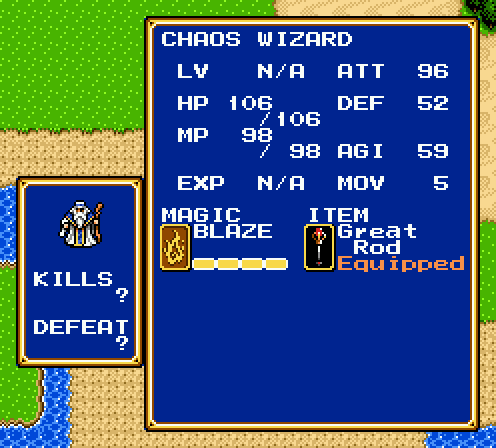
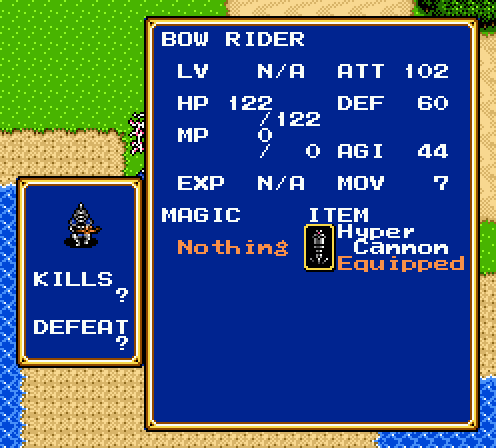
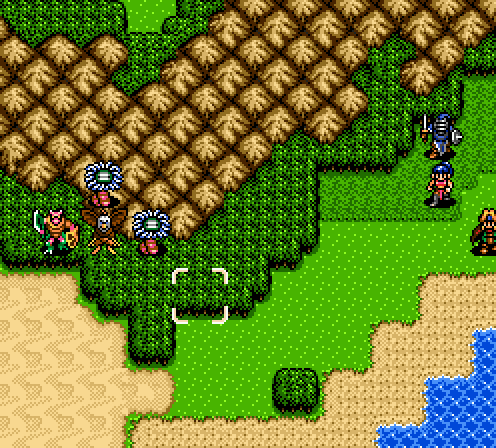
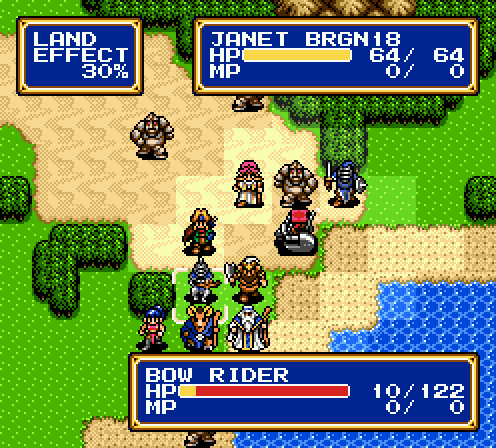
Luckily, this is all there is left of the enemy army. And the bow knight is the captain. I'm just going to go straight for the captain because slugging it out with all three of them is going to end in a loss.
Bow rider sprite is kind of cool. They're also vulnerable to slow, thank god.
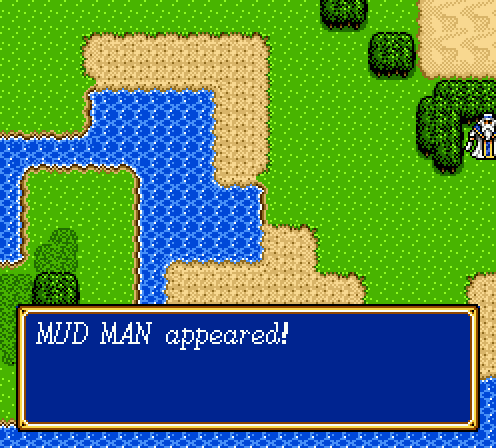
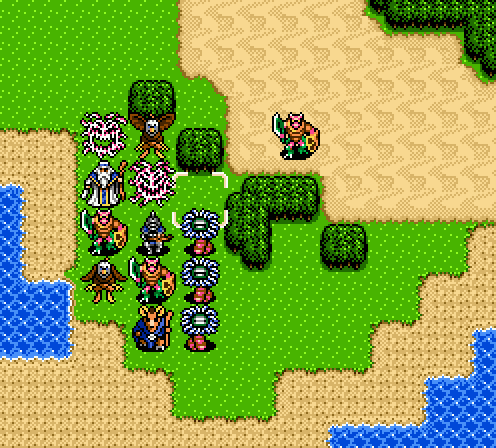
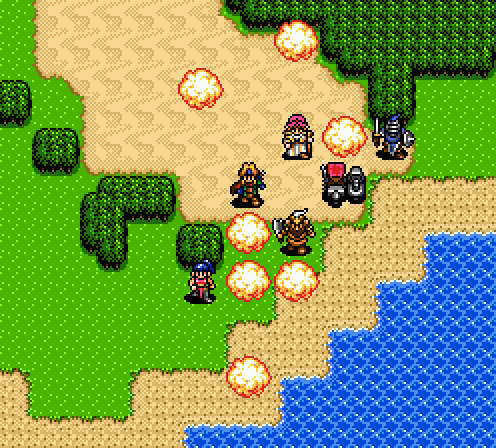
Hahahaha, you didn't all think the fight was actually over, did you? Nope, bonus mud men spawn if you set a single step into that upper patch of desert! I was actually really close to not triggering them by walking through the beach on the south, but I couldn't quite do it. I needed the desert tiles to surround the bow rider.
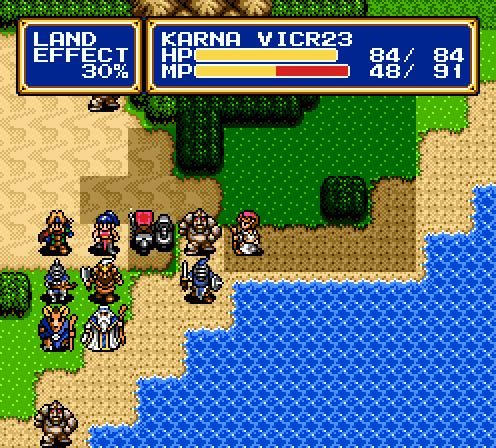
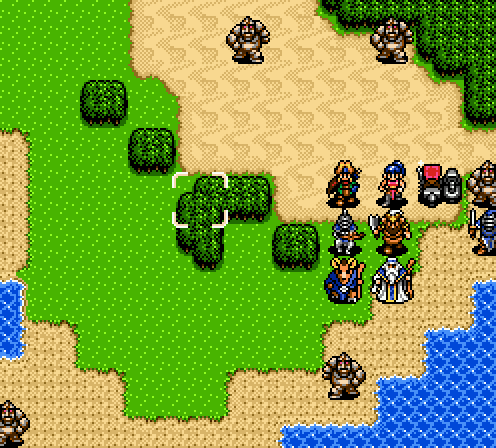
This part really pissed me off. The mud man spawned in that exact square in front of Karna. Without it, Karna would have had the movement to move between Gyan and Jaha to cast Blast 4 on the bow rider, but no. I have to gamble on using normal attacks.
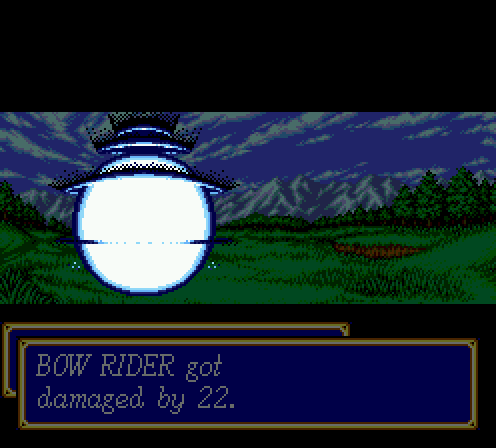
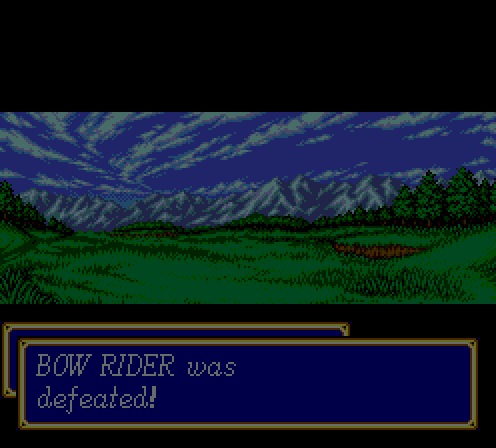
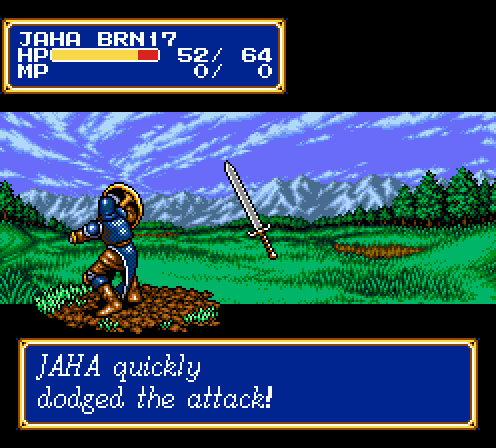
As I am wont to do when everything is on the line, I save stated right before that attack in case there was a dodge. You can believe that if that attack missed, all those mud men would have smashed me into paste.
Battle Report!
 Level 16 2 HP/1 ATT/2 DEF/1 AGI
 Level 21 2 HP/1 MP/1 ATT/2 DEF/1 AGI
 Level 17 2 HP/1 ATT/3 DEF/1 AGI
 Level 16 1 HP/1 MP/2 ATT/3 DEF/1 AGI
 Level 23 3 HP/2 MP/1 DEF/2 AGI
 Level 18 3 HP/2 ATT/4 DEF/2 AGI
 Level 17 2 HP/2 MP/1 ATT/2 DEF/2 AGI
 Level 15 2 HP/2 MP/1 ATT/2 DEF/1 AGI
 Level 17 2 HP/2 ATT/2 DEF/1 AGI
 Level 20 4 HP/3 MP/2 ATT/3 DEF/2 AGI
 Level 16 4 HP/2 MP/2 ATT/6 DEF/2 AGI
NEXT TIME: The most annoying fight from Shining Force 1 returns!