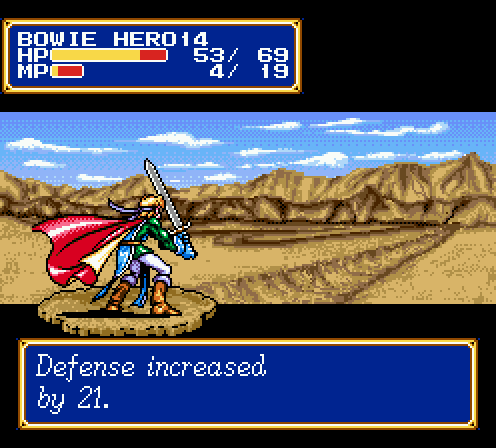
Part 28: Two down, six to go
Part 18: Two down, six to goYou know what? I'm done with the excessively shitty characters.
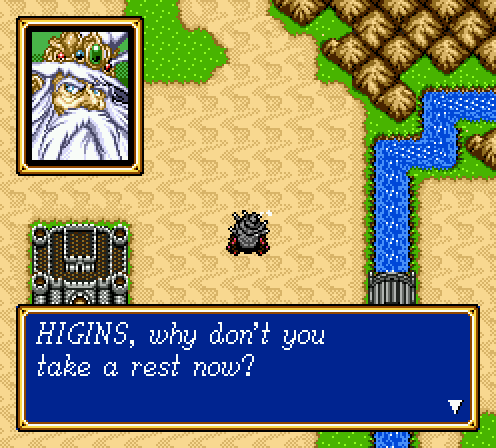
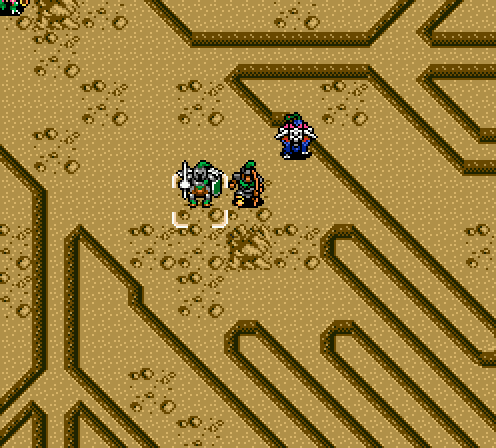
No replacement just yet. Reason for this is after the next cut scene, Frayja will force his way into your battle party. If there isn't a vacant slot, he'll kick out whomever's last on your active roster without asking. Normally you could egress out and fix this, but that's not an option in this hack. Since Frayja is actually a good character that I want to keep around, it's easier to just preemptively boot somebody and keep an open spot.
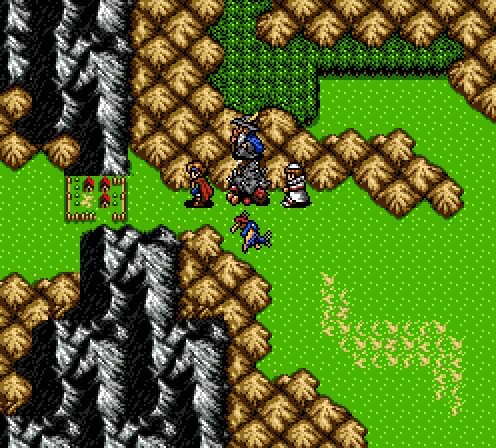
The city of Moun, where the devils are trying to break through. Except that we've been fighting devils up and down the continent, so I guess they haven't had that much trouble doing it.


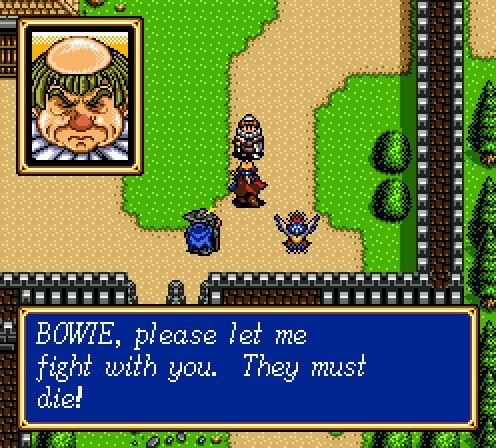
The part that pissed off a lot of people who don't like putting up with ugly characters. Frayja is highly unpopular in the normal game just because it's so easy, you don't need the sheer power he brings later on. Also, I suppose there's this:
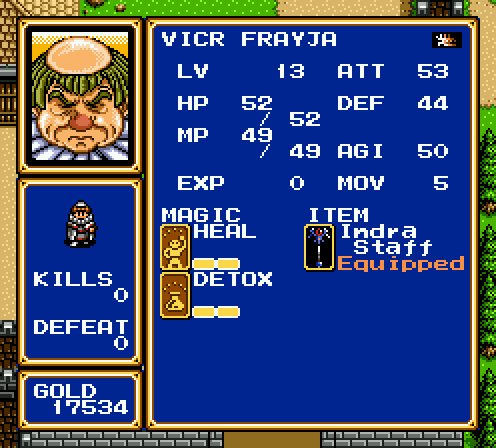
Yeah, his starting stats and spells are total trash. He also comes in very late, so he doesn't get to exercise the constant level advantage nearly as much as Sarah and Karna do. It's still worth putting the effort into him. Luckily, he learns Aura on his first level up, making power leveling him very easy.
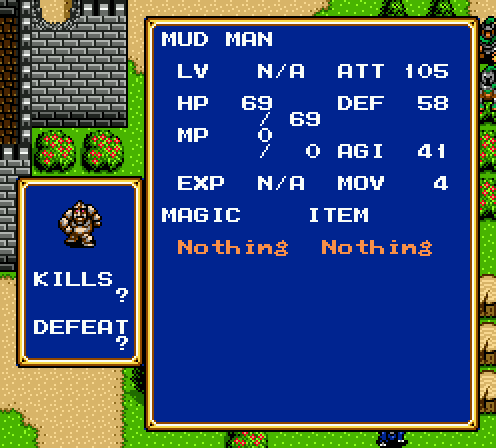
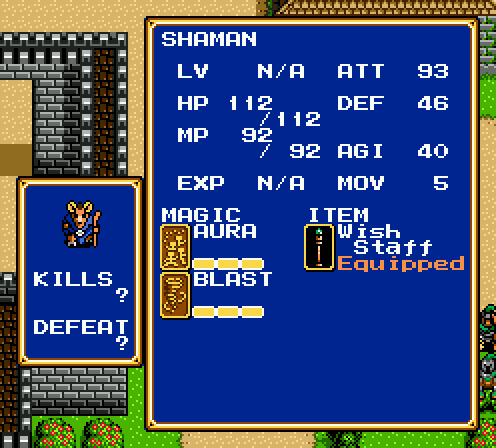
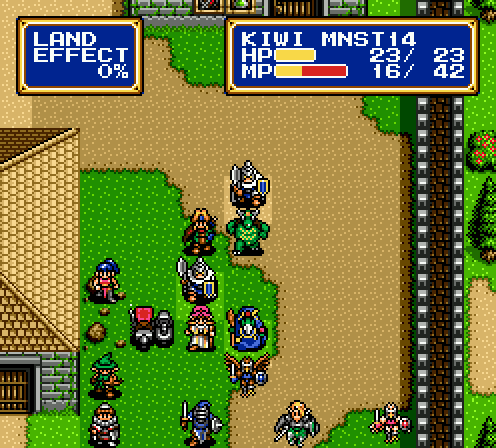
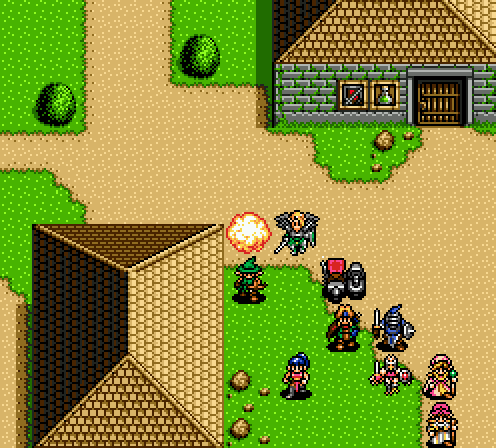
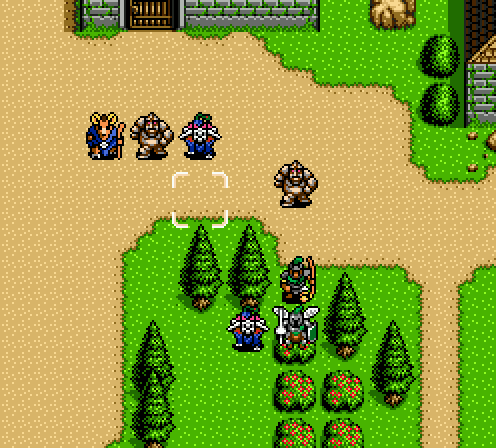
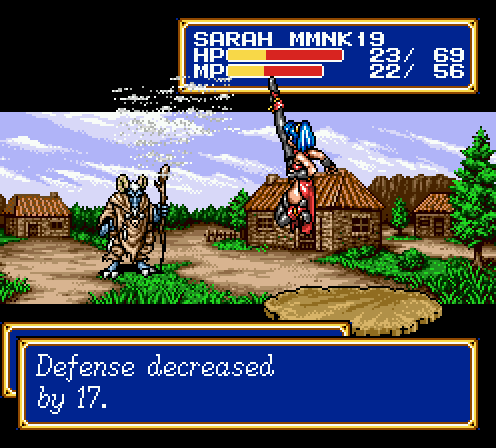
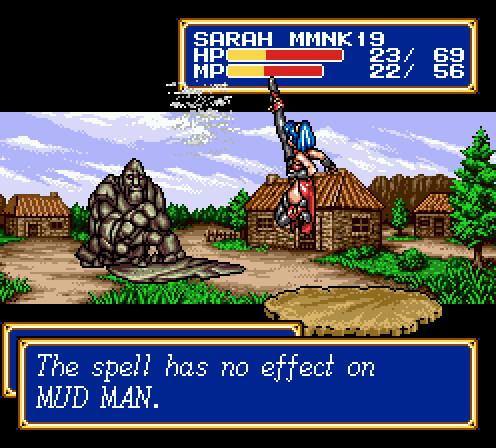
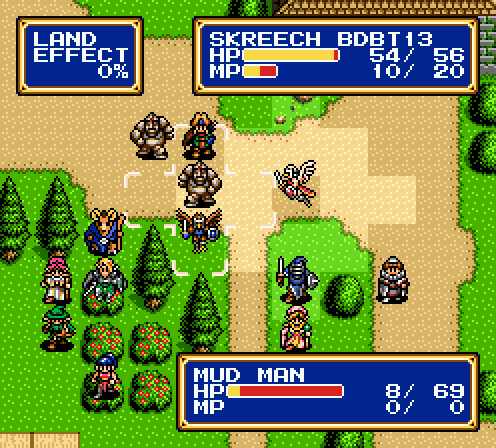
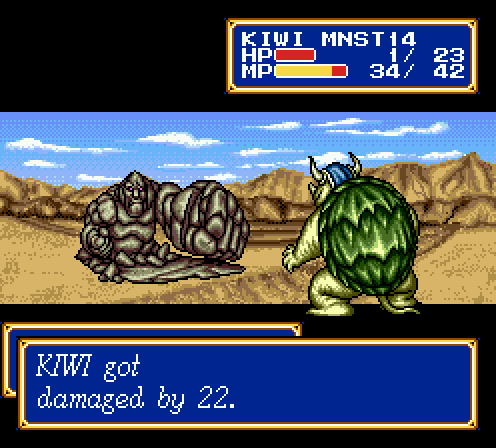
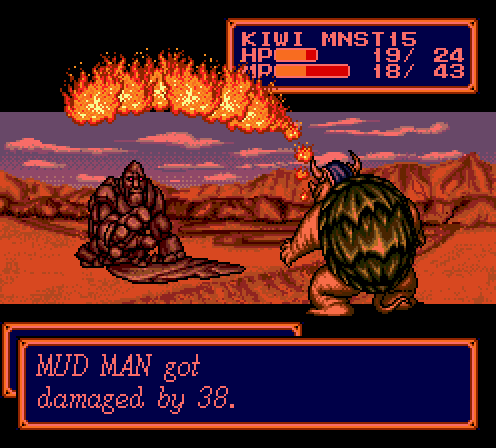
Two new enemies. Shamans are mildly annoying healers. Mud men are pretty nasty, sporting an insanely high defense and an immunity to slow. Luckily, they're vulnerable to fire magic, so Kiwi and Taya make short order of them, assuming I get my positioning right.
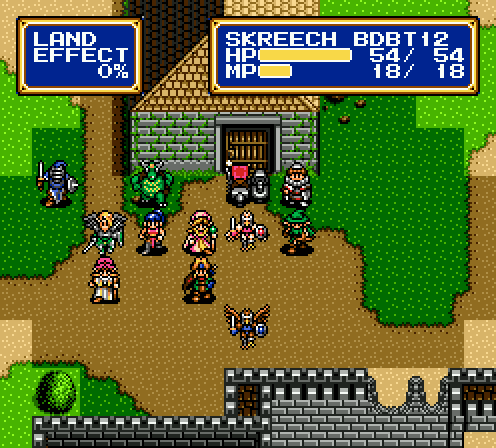
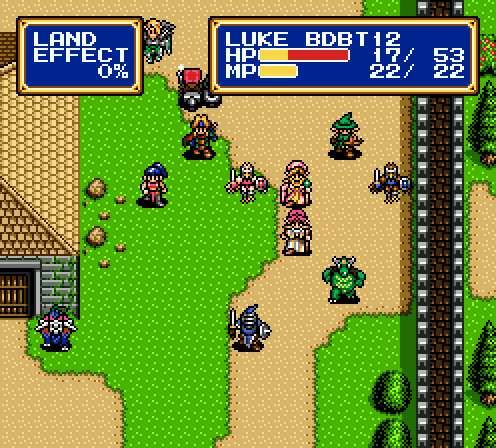
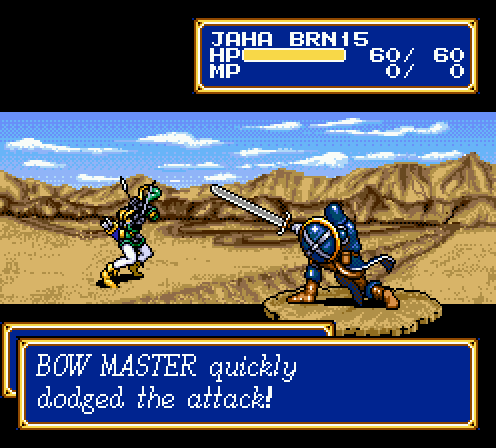
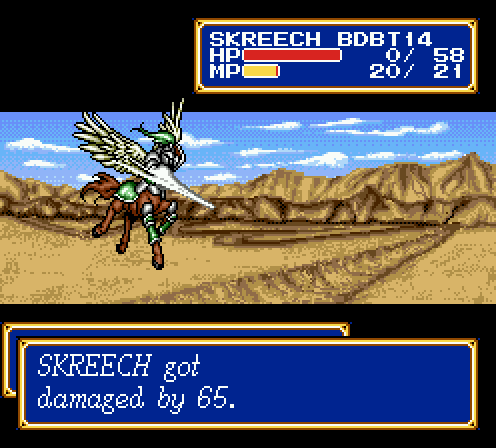
The first group of enemies, to the southwest. I should really note something about team composition here, because this battle did a really good job of exposing how bad my army is right now. Remember how archers get a +25% damage bonus to flying units? Well, bow masters are so beefy now that they can actually kill any of my fliers in one hit. Hell, they can even kill Luke and Skreech while they're under the effects of Boost. What this means is that the presence of a single enemy neuters a quarter of my entire army. Attempting to leash a bow master onto somebody else isn't even effective, because the AI will always break leash for a one-hit kill. Don't believe me?
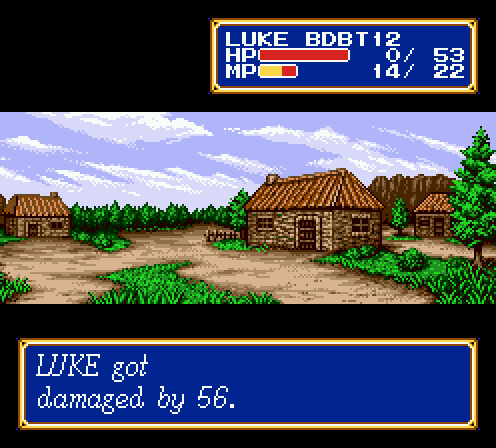
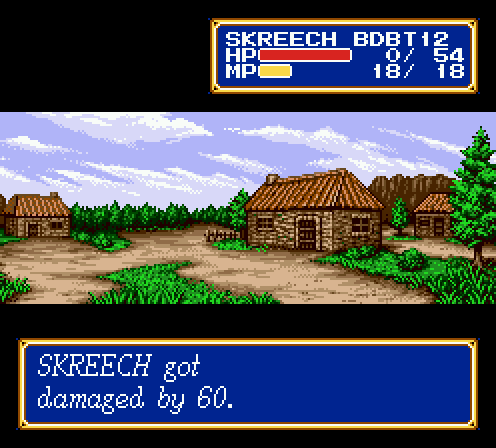
Suffice it to say, having Jaro and Luke and Skreech in the party all at once was a really bad idea. I suppose somebody who's really masochistic could also toss in Rick and Chester as pegasus knights and Peter. That'd make half an army that threatens to be killed by a bow master in one hit.
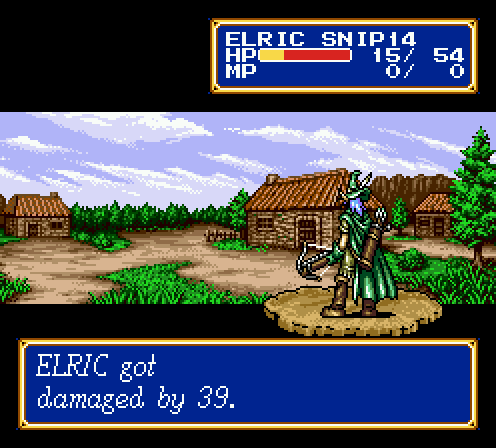
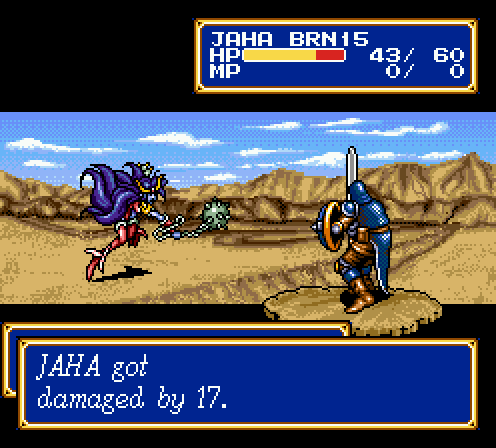
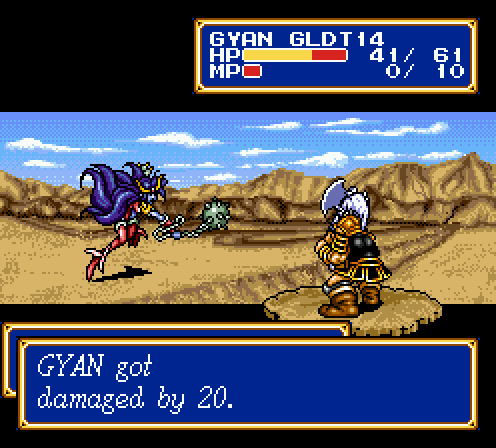
Of course, bow masters are no slouches when hitting other people too.
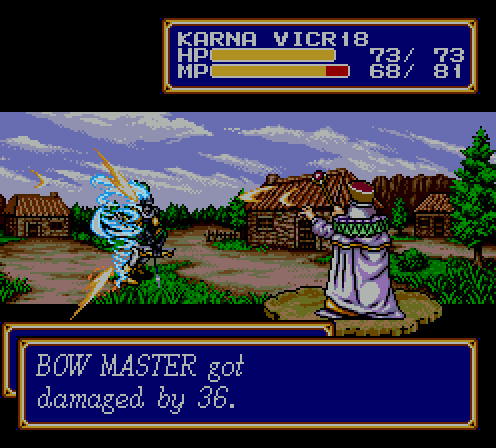
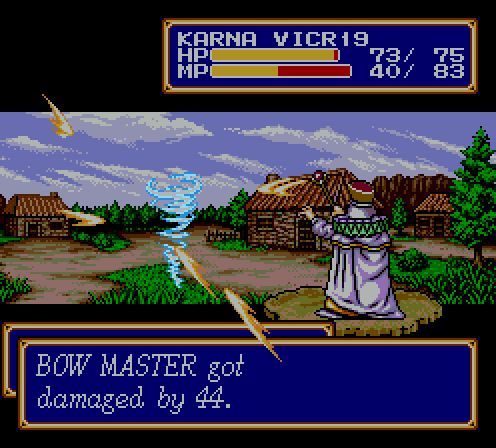
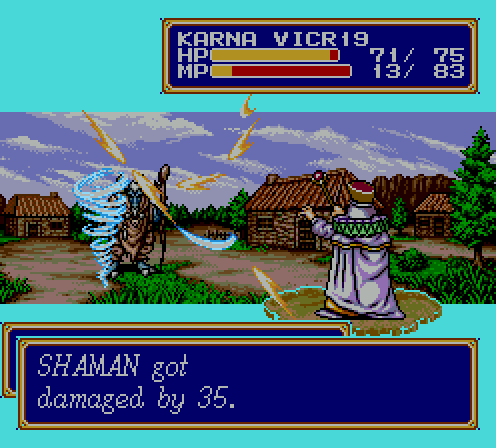
I'm kind of glad I tested out Blast 4 last fight. At 8 MP and ignoring defense, this is actually a really good way to spend turns with Karna when she doesn't have anyone to heal. With three healers in the active party, it balances out very well.
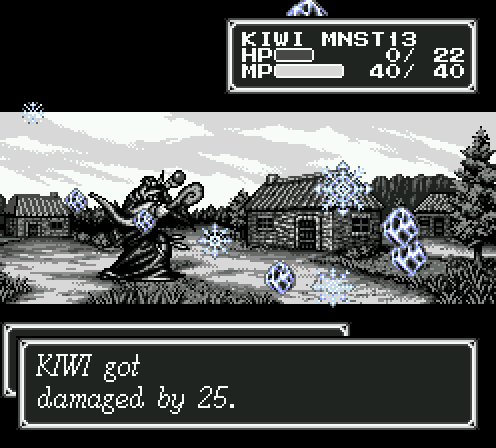
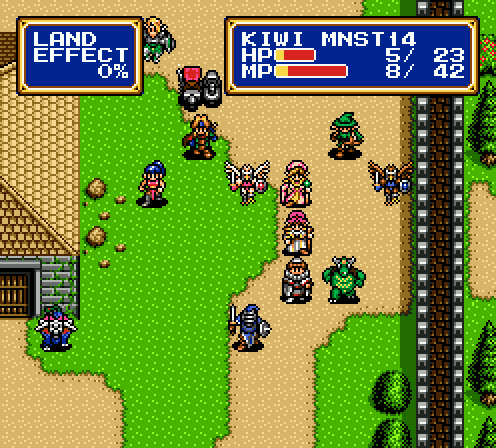
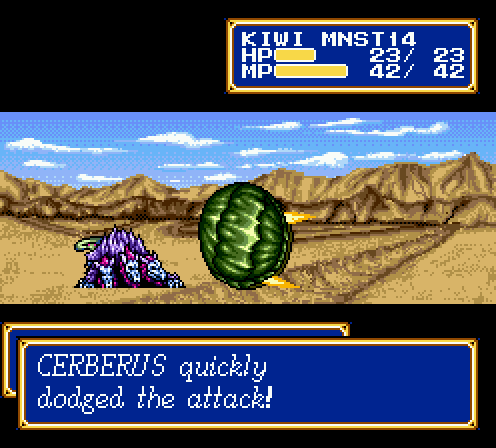
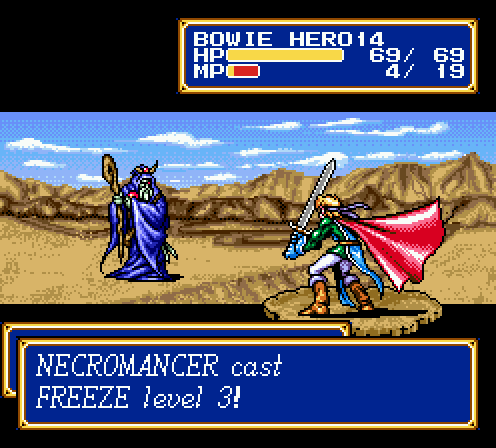
And then I remembered that while Obob gave Kiwi fire resistance, he didn't give the critter any cold resist. So now a bow master keeps three units at bay, and a necromancer keeps Kiwi in the back too. Two units shuts out a third of my army.
I loaded state after Kiwi died right there, by the way. I loaded a lot of states in this update. I honestly couldn't tell you where I did it each time.
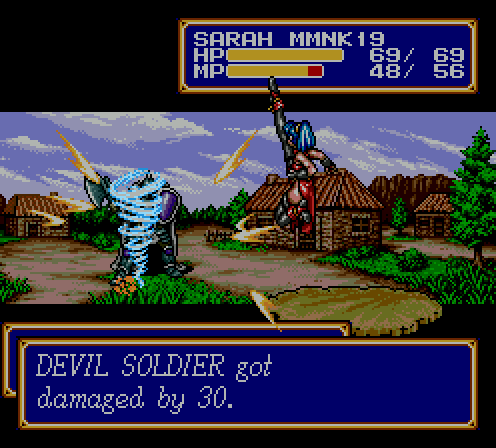
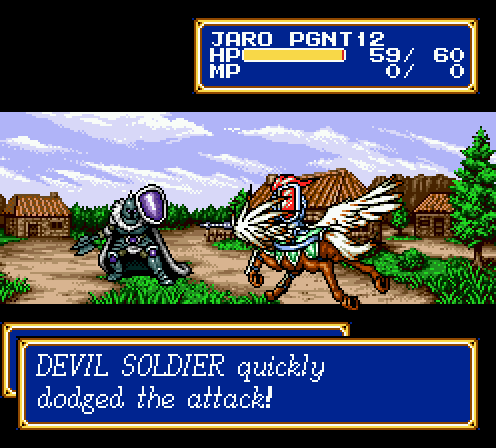
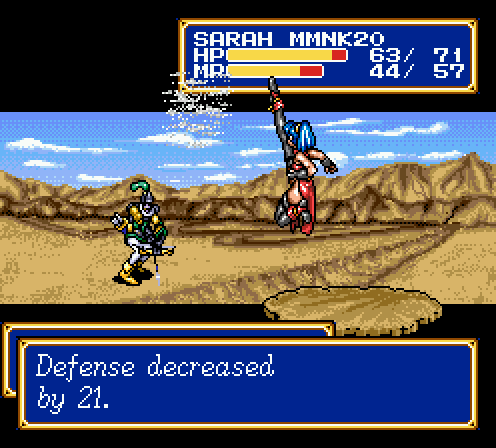
I guess this is what Sarah has to do, considering devil soldiers are immune to slow.
As much as Blast 3 sucks, I'm actually kind of looking forward to the birdmen learning Blast 4 now.
Luckily, having items that casts spells makes the AI stupid. This necromancer is wielding a mage staff, which casts Blaze 2 on use. I'll pick it up when the monster dies, but why would I want it?
Stage 1, cleared. Stage 2...
Another bow master, another necromancer. Fuck. At least pegasus knights are quick to drop.
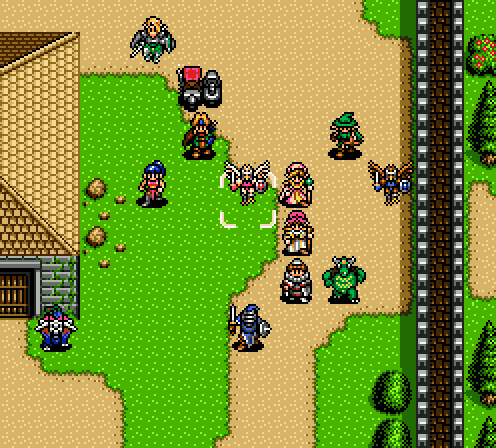
Also, the rest of the monsters kind of congregate in the back. Thank god they don't stay like this. If I had to fight them all at once in that cluster, I'd be fucked beyond all reason.
The nice thing about having Aura is that between waves of enemies, I can fill the tanks back up to full at increased efficiency.
Blast 4 is starting to rob kills from teammates that need the EXP more, but I'm caring less and less as time goes on. Bow masters just hit fliers way too hard.
Oh yeah, while I was fighting that second wave, a pair of devil soldiers hiked on down to join the fun. It's why I had to kill the bow master in such a rush with Blast 4 from Karna, because I couldn't fight off that many enemies while down three units.
You know, and enemy that's really tanky, hits really hard, and is immune to Slow really shouldn't be able to dodge. Just saying.
If you read RandomHajile's LP where he plays on Super difficulty, there's a point where he's thankful that the AI uses breath attacks instead of normal ones. I think I'm well into that territory at this point.


Well, that's the last of the second wave. Status report?
All good! Well, except for the part where I loaded state three or four times. Oh, and this too:
Thank god for Aura.
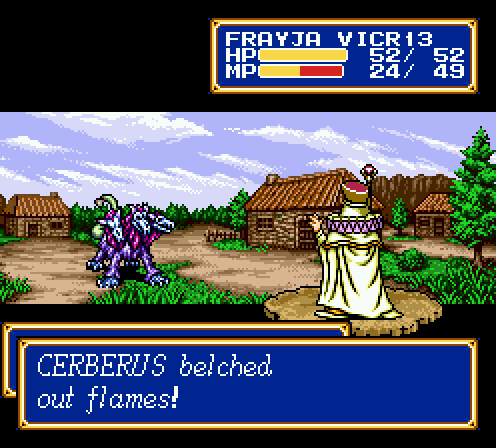
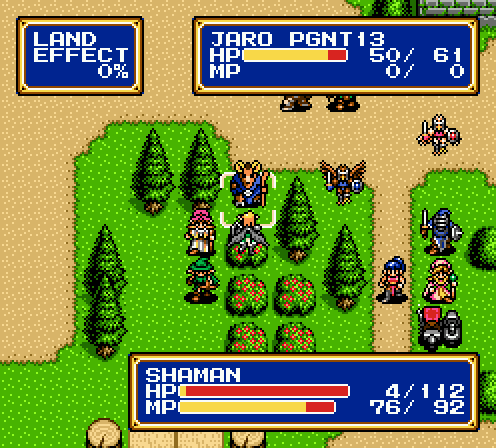
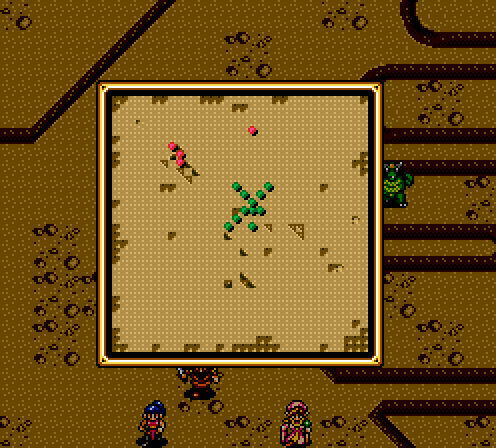
Last stragglers have formed into two groups. Strangely, the mud men and the shaman are one group, and the cerberus towards the top is actually lumped with the enemies towards the bottom. I guess that's as much of a curveball as the Shining Force 2 AI can throw you.
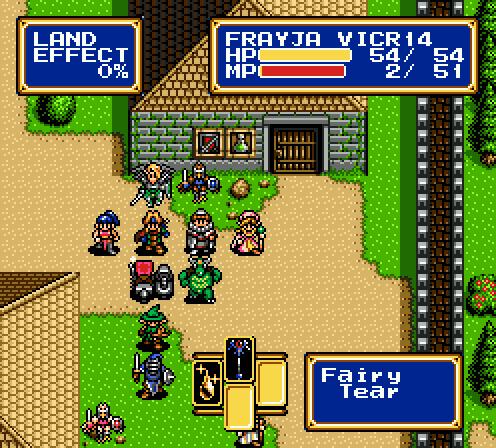
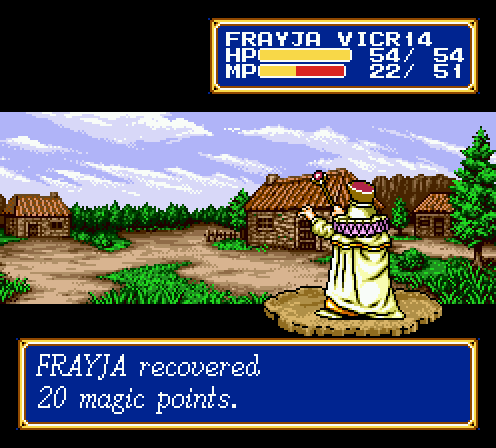
I really hate to use this item so early, because I think it's the only one in the entire game. But Frayja really needs levels now, and a healer without MP is completely useless.
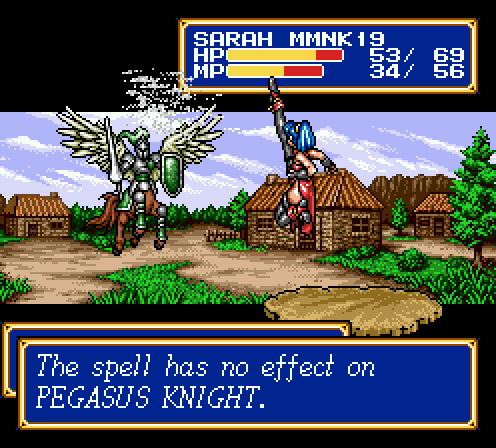
This is the part where I learn pegasus knights are immune to Slow too. Not that it really matters, as much as I'd like to be able to kill them ever so slightly faster.
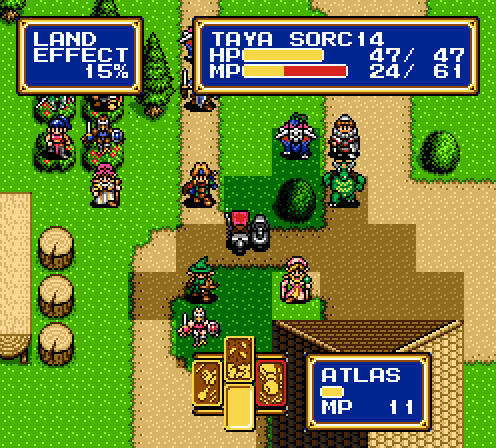
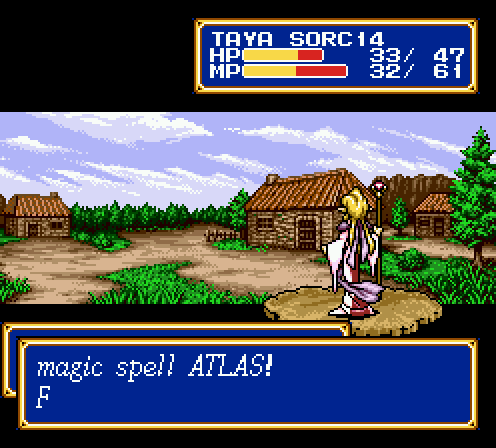
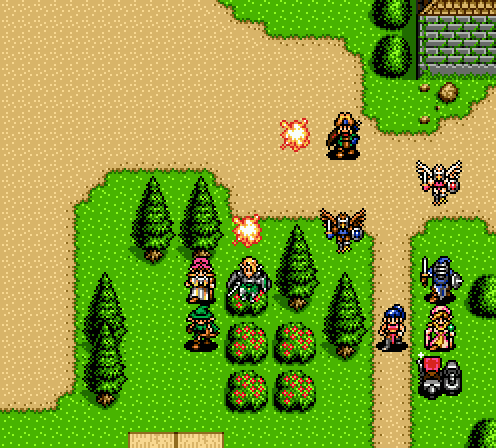
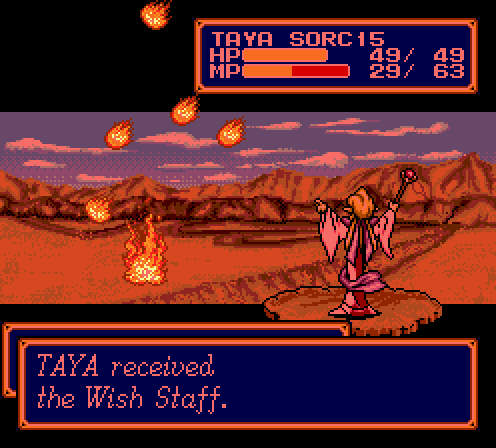
Let me tell you about Atlas. It has long range. It deals untyped damage, ignoring all defenses and resistances. It is the highest damage spell in the game.
It also summons a shitload of fists to rain punishment from above. I like Atlas. Taya learns Atlas the fastest. I like Taya.
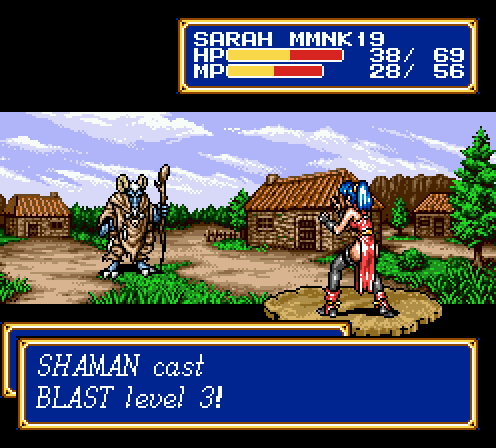
I wish every enemy had Blast 3 and wasted their time casting it on me.
Either way, the shaman is the captain of the fight. Since it drew aggro onto my units relatively early, I can end the fight relatively early.
Like so. Also included: Why mud men are annoying as hell.
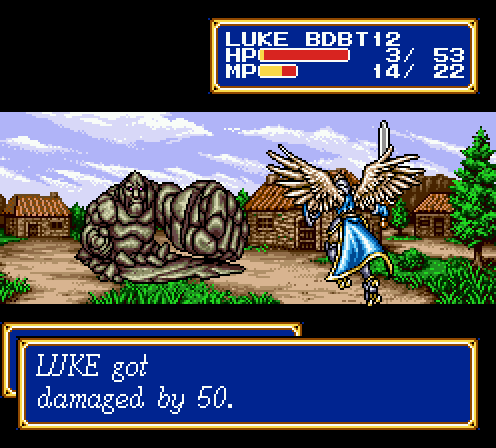
More reasons to not like mud men.
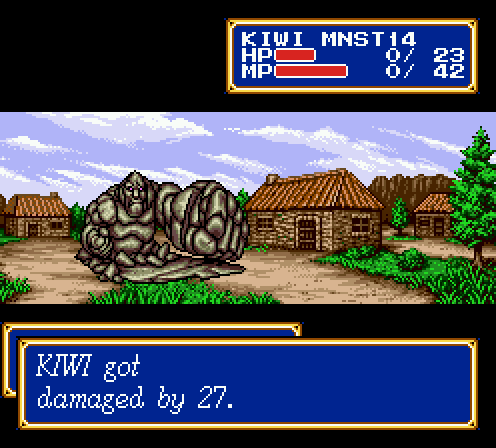
But due to relatively low HP, they get eaten alive by spells, even the shitty ones.
Yeah, let's just end this here.
Battle Report!
 Level 14 2 HP/1 MP/1 ATT/2 DEF/1 AGI
 Level 15 2 HP/1 ATT/2 DEF/1 AGI
 Level 14 1 HP/2 MP/2 ATT/2 DEF/1 AGI
 Level 15 2 HP/1 ATT/1 DEF/1 AGI
 Level 19 2 HP/2 MP/1 DEF/1 AGI
 Level 14 2 HP/1 MP/2 DEF/2 AGI
 Level 13 2 HP/2 MP/1 ATT/1 DEF/1 AGI
 Level 14 3 HP/2 ATT/4 DEF/4 AGI
 Level 15 4 HP/3 MP/2 ATT/3 DEF/2 AGI
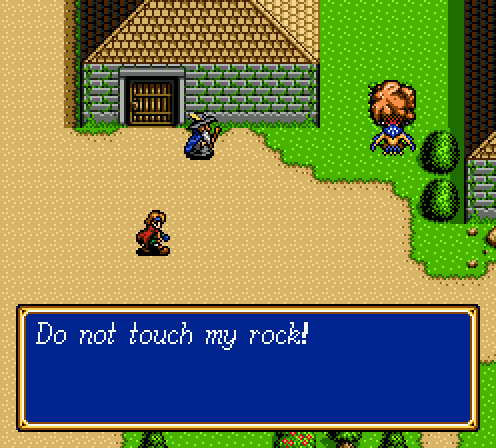
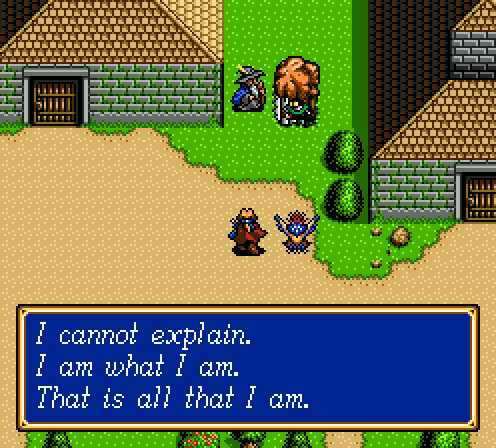
Popeye is awfully protective of his stones.
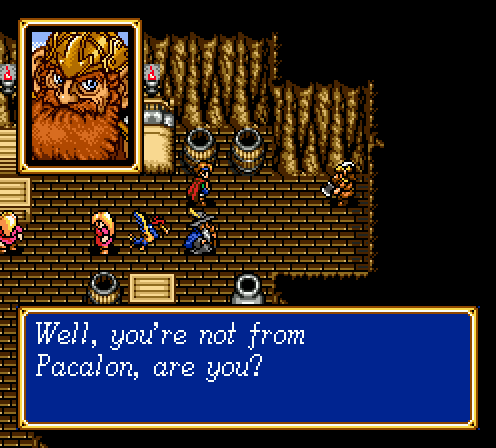
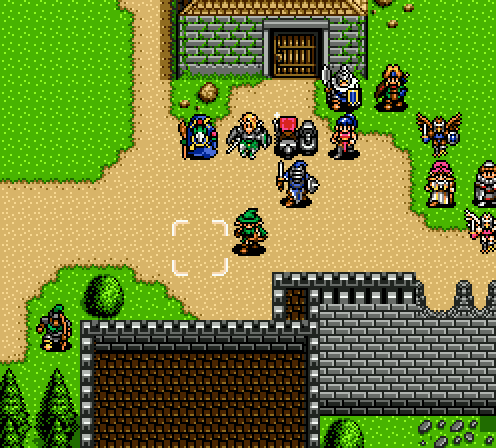
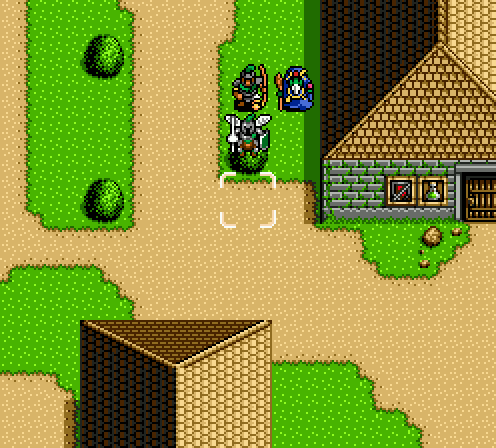
Guy with portrait joins our army. Apparently he's from Ribble. Damn, I could have used him back when May joined.

I should be allowed to sell these for 100k gold.
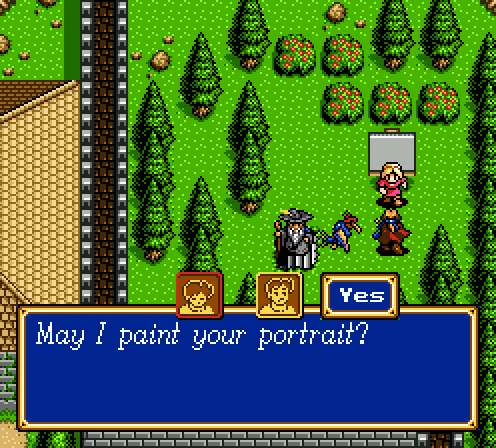
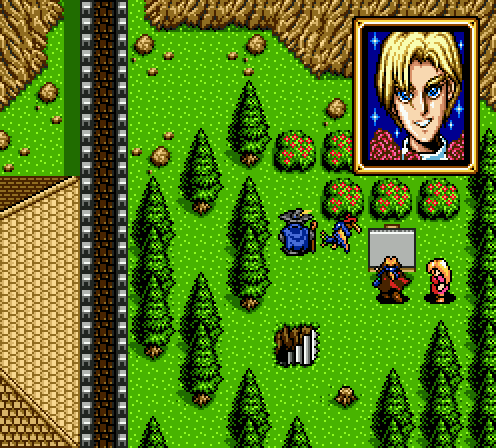
One of the more amusing moments of the game. The part that gets me is that the painting is clearly based off of unpromoted Bowie's portrait. However, any sane person would have promoted him by now.
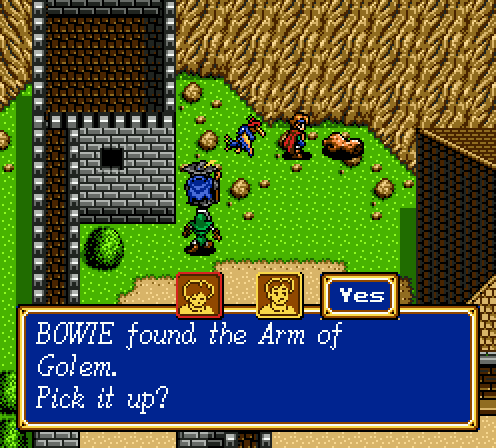
Oh yeah, and a thing that will be useful later.
That thing about having too many fliers? Yeah, I can't really deal with it. As hard as I've made this hack on myself, having all three crappy fliers in my party was just putting things over the line. I forgot to screencap it, but his replacement is Gyan. While not as good as Jaha or Randolf, he does come packing Boost, which is a nice addition.
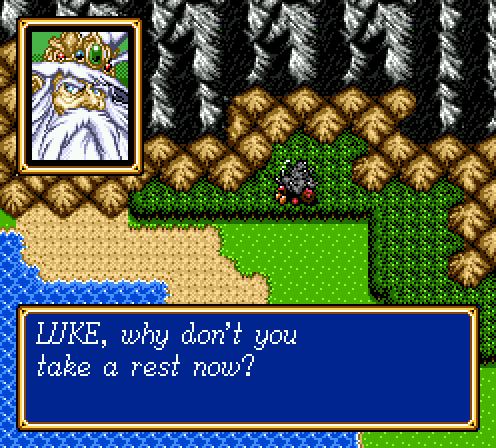
Yeah let me just get the party cannon and we'll
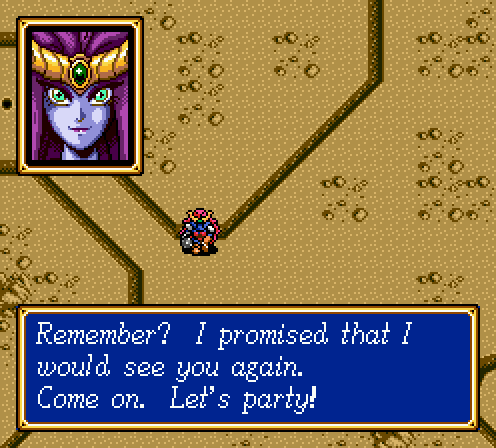
Oh, you mean that kind of party. Welp.
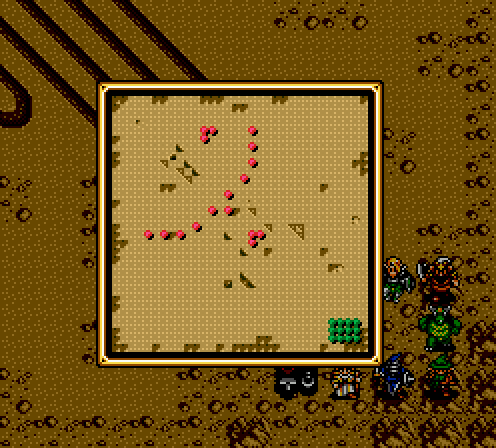
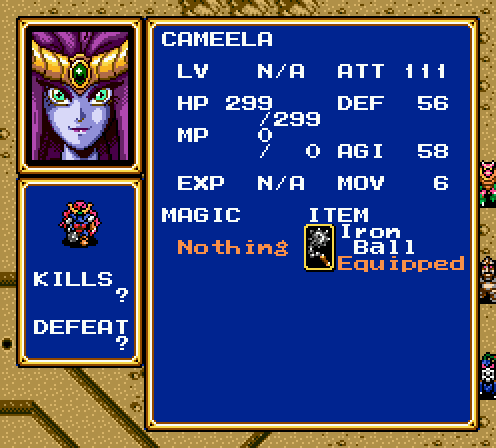
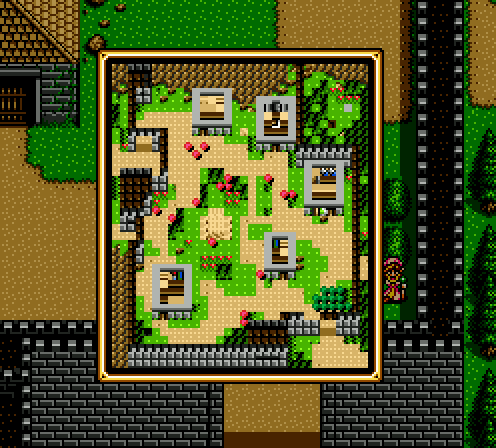
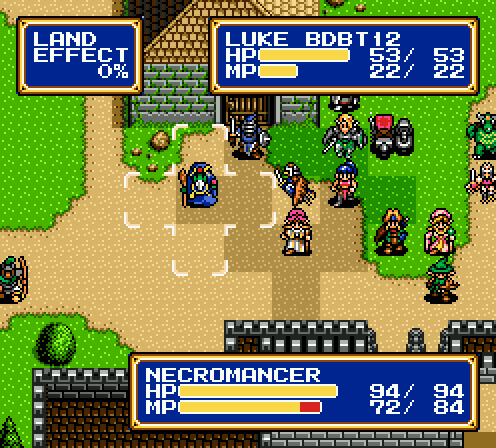
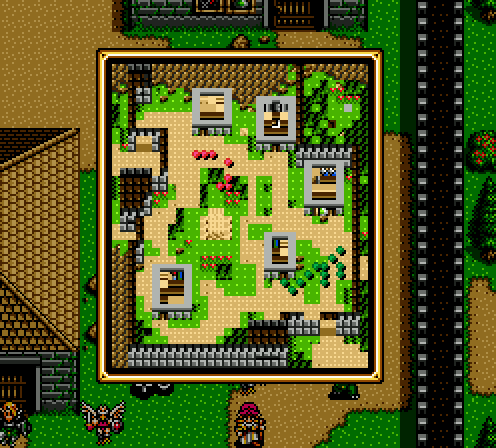
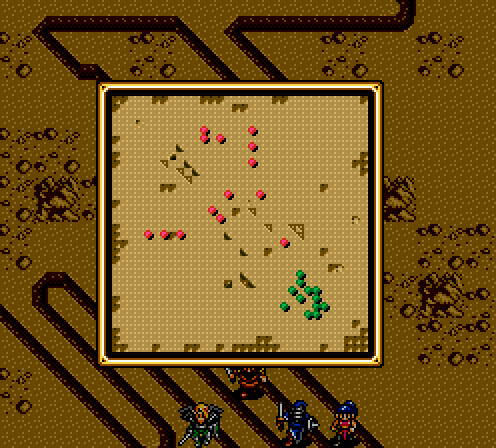
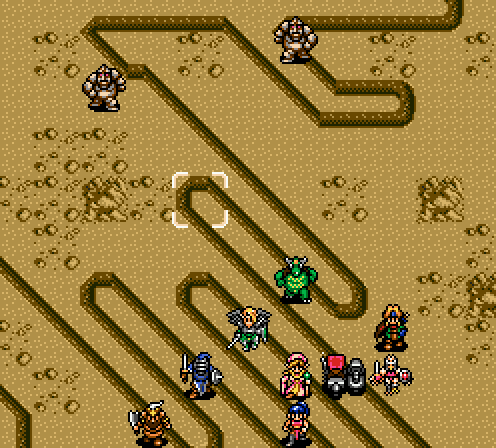
Layout looks like a defensive perimeter. It's anything but. The clusters will make themselves apparent as you approach. It's basically the three in front, then the three in the middle of the wall, then the four at the top of the wall, then the four at the bottom, then the last three at the back. Also, since I've shown you all the boss in-depth stats so far:
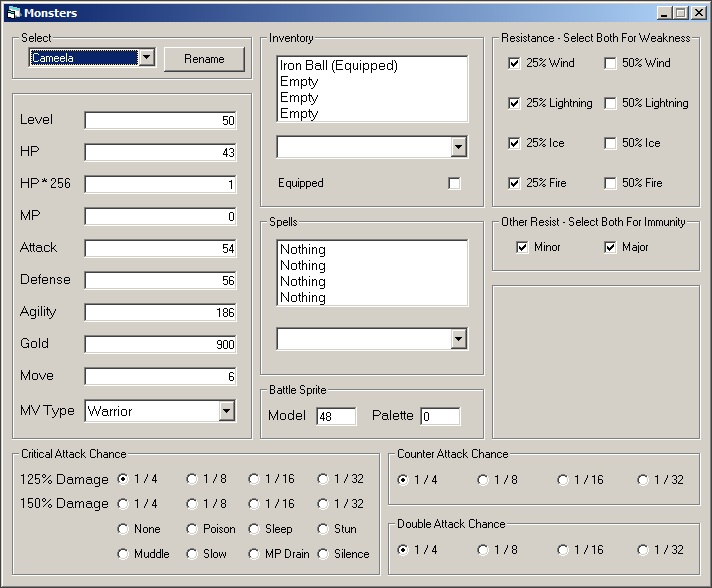
Yeesh. Thank god she has no area attacks, so she's theoretically easier than Zalbard.
First group. Not too threatening since pegasus knights and cerberi die quickly. Also, I think Jaro has just enough HP and defense to survive an attack from a bow master at this point.
Still, shit like this happens because fuck the RNG.
I like to think this was a bit of masterful writing on Camelot's part. In all the dialogue, Geshp is portrayed as the brains and Cameela as the muscle. So when Cameela's army starts in a good defensive formation, they break rank and charge quickly because Cameela has no sense of tactics.
Of course, it's more likely that the AI is just really primitive.

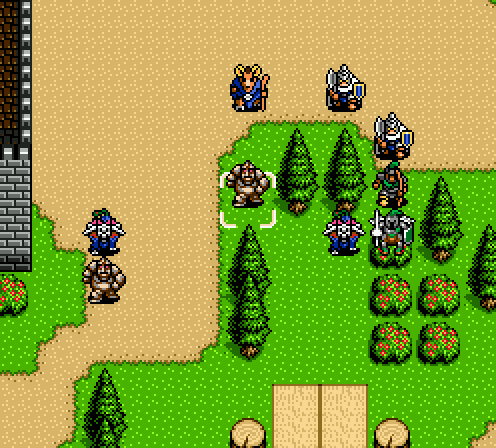
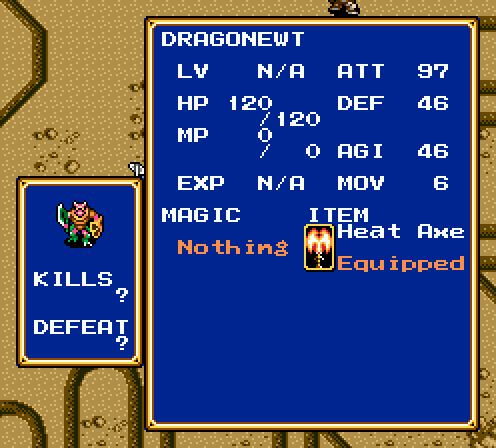
Next set of enemies. Dragonewts are nothing impressive. They're just devil soldiers with slightly better stats but no immunity to Slow. They also pack heat axes, which cast Blaze 2 on use. Naturally, that makes them easier to deal with due to bad AI. A lone one is easily killed, especially since mud men have crappy movement and therefore take longer to catch up.
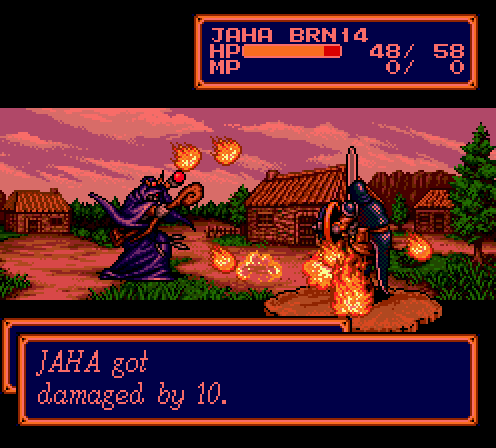
Yeah, I'm going to be burning a lot of MP to deal with this one.
I'd like you to all note that this is while Kiwi is under the effects of Boost. Granted, it's the last turn, so the defense bonus has decayed, but still.
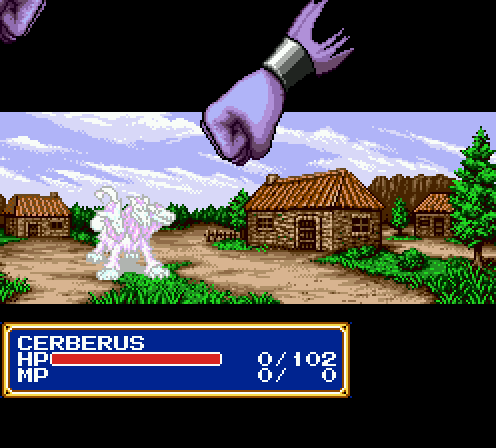
Eat shit and die. That's over half its HP in one go.
That goes for you too.
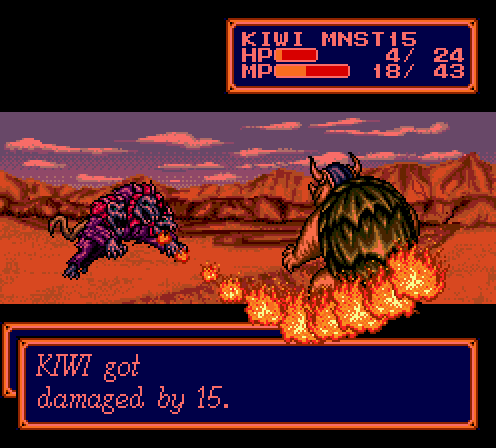
Did I remember to mention that Kiwi has fire resistance now?
Somewhere in the chaos, I'm starting to realize that I benched the wrong birdman. Or the right one, depending on your point of view. As in, depending on how much you want to see me suffer.
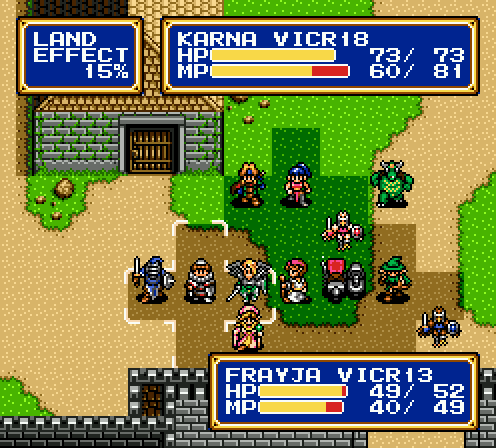
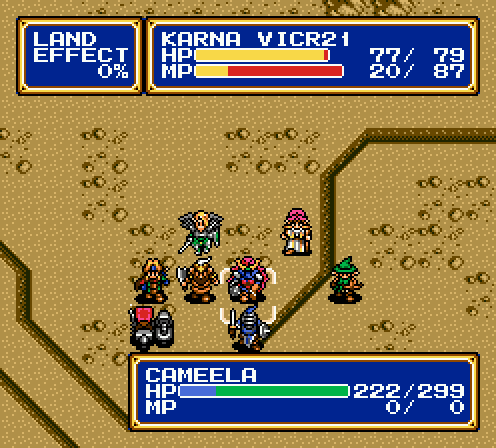
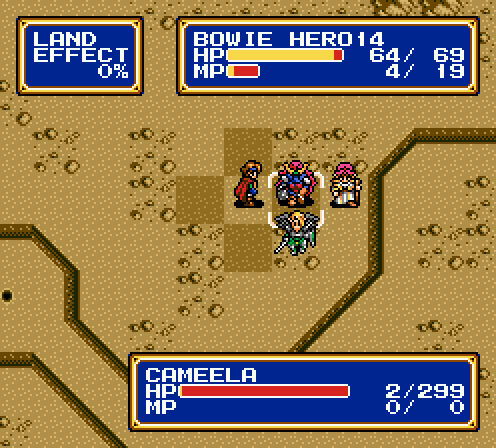
A bunch of weird bullshit later, this is what we're left with. The blip at the top is a lone dragonewt, which I'll pick off solo without any trouble. The last group is Cameela and her bodyguards, a necromancer and a shaman.
The necromancer does me a favor by being a shitty bodyguard and charging while I'm still dealing with the dragonewt. Okay, so that means it's down to Cameela and the shaman in short order.
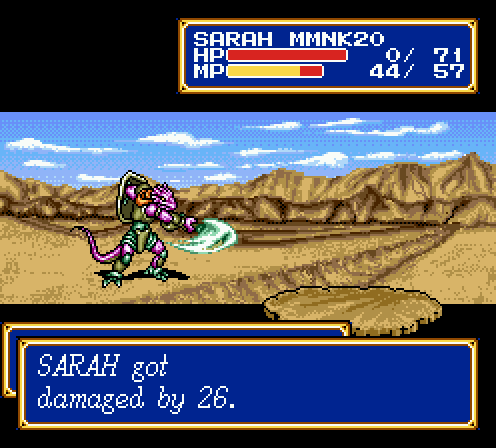
Well, unless this fucking happens. The only reason Sarah died was because the fucking dragonewt dodged two killing blows in a row. If I had any inkling that would have happened, I could have healed Sarah and I would have been fine but fuck you game, you hate me, I get it already.
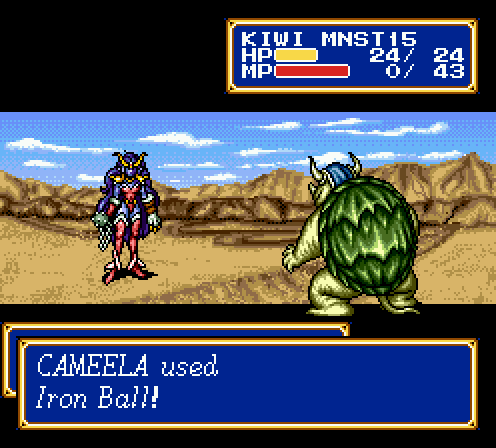

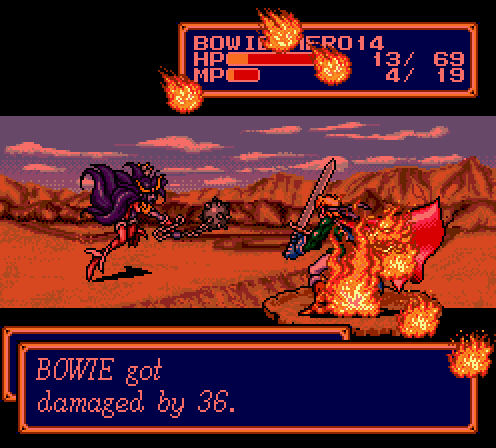
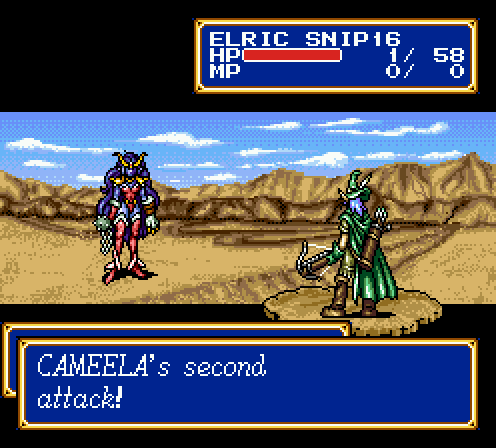
Oh yeah, Cameela's weapon also casts Blaze 4. It's actually much less nasty than her regular attack, but it gives her a ranged option. It also decimates Kiwi in spite of his fire resistance. Thankfully, Blaze 4 is single target only.
See, if Cameela had attacked right there, that would have been the end of the fight.
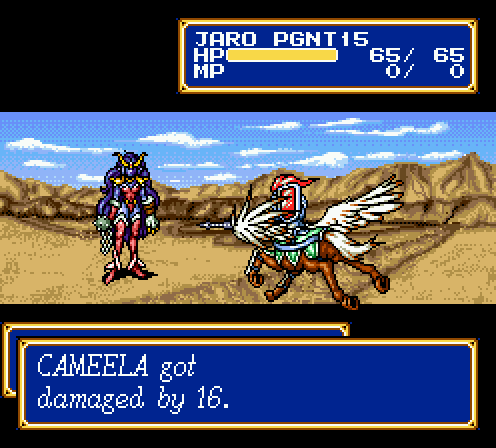
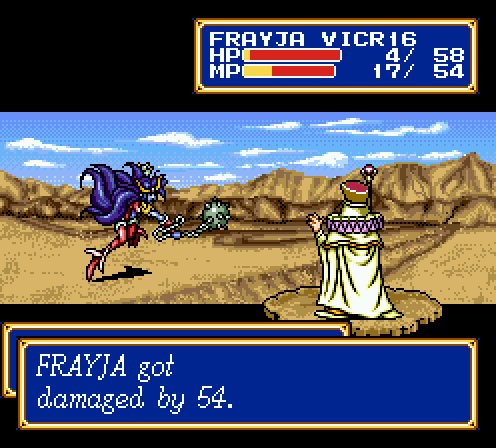
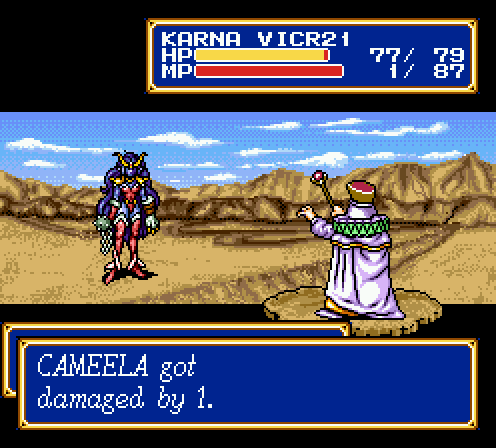
Thankfully, her defense isn't too crazy. Yes, it sounds insane that I'm saying that when I'm chipping off 16 of her nearly 300 HP, but that's how this romhack goes.
I wish I could say this turned out useful, but Cameela just kept casting Blaze 4.
Yes, the rest of the fight pretty much goes like this.
I think this is the staff that restores 2 HP per round when you equip it. Since switching weapons doesn't count as an action, it's worth keeping around.
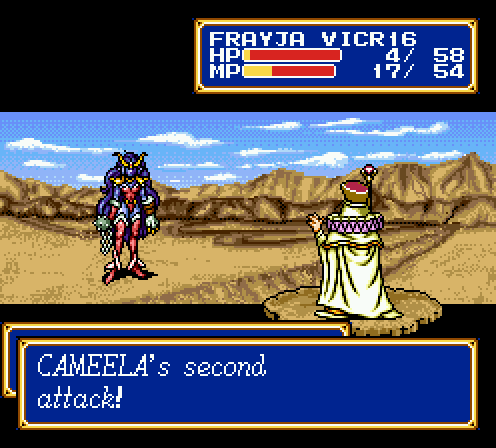
Worth noting that about five attacks in a row, Cameela countered every time. Fuck you, RNG.
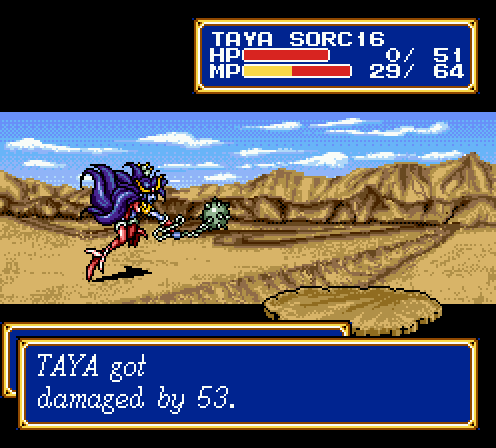
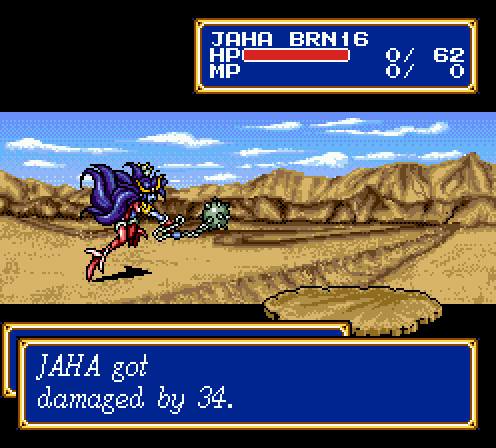
Oh, and that's just dandy. Taya got stomped into paste before she could rain fists down on Cameela's skull.
I can't honestly say I'm too confident about my chances at this point.
She's killing a character every turn, and that's less firepower for me each time.
There goes my hardest hitter.
I'm reduced to this, several turns later.

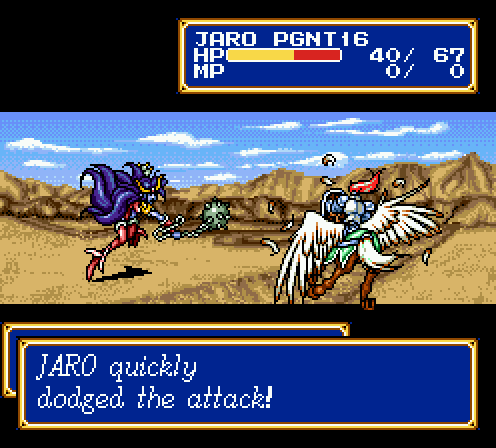
Luckily, Jaro has my power ring, and Cameela was kind enough to leave him alive.
Yeah, I save stated here. I was ready to manipulate the RNG to hell and back to make sure I won at this point.
Battle Report!
Level 15 2 HP/1 MP/1 ATT/3 DEF/1 AGI Level 20 2 HP/1 MP/1 ATT/2 DEF/1 AGI Level 16 2 HP/1 ATT/2 DEF/1 AGI Level 15 1 HP/1 MP/2 ATT/2 DEF/1 AGI Level 16 2 HP/1 ATT/1 DEF/2 AGI Level 21 4 HP/4 MP/2 DEF/3 AGI
 Level 16 2 HP/1 ATT/2 DEF/1 AGILevel 16 4 HP/3 MP/2 DEF/3 AGI Level 14 2 HP/1 MP/1 ATT/2 DEF/2 AGI Level 16 4 HP/2 ATT/4 DEF/2 AGILevel 16 2 HP/2 MP/1 ATT/2 DEF/1 AGI
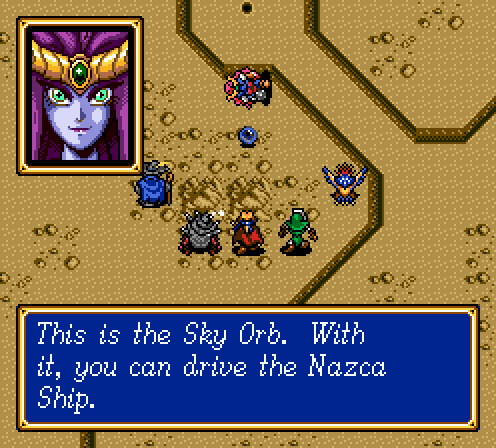
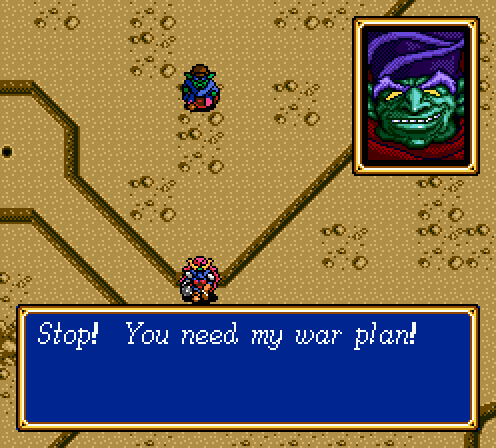
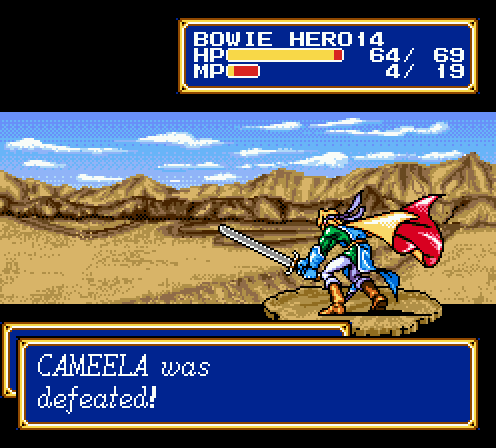
Shining Force villains have a history of helping you right after they're defeated. Naturally, Geshp burns Cameela alive for this. If we just hike a little bit north, into that tiny hole in the ground...
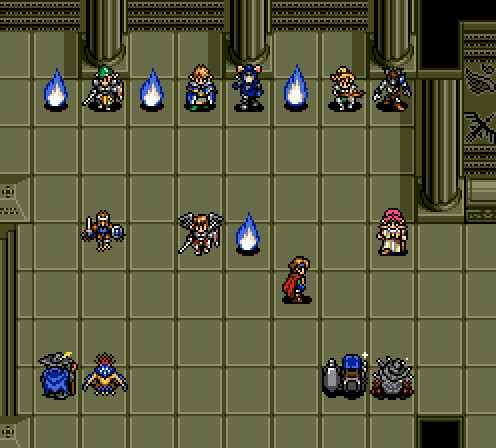
We have a substitute tactical base. All those blue flames? Represent currently dead characters. Doesn't look like so much until...

Oh.
NEXT TIME: Ham-fisted crossovers!