Part 39: Thank god this fight isn't repeatable
Part 26: Thank god this fight isn't repeatableWell, it's no secret that the next sequence is the end of the game. At least, it shouldn't be. Know what that means? It's finally time to use stat boosting items!

The reason I hold off on this for so long? Using them before promotion will screw with stat growths. You're actually fine using them any time after promotion, but I'm an item hoarder. Also worth noting that Claude actually ate two cheerful breads (getting more mileage out of that high DEF), Taya got two bright honeys (more Atlas!), and Bowie had two protect milks (because he's Bowie). So that's actually +8 to those relevant stats. I wanted to give Janet two power waters for clearing out fliers faster, but if you recall, the first one had to be used on Slade to keep him relevant for his first few fights.
Considering he got benched early, that was probably a bad choice.

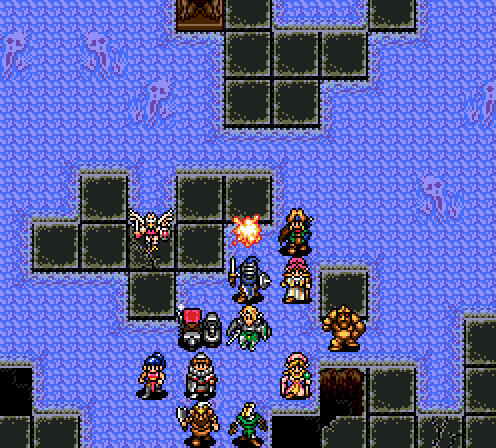
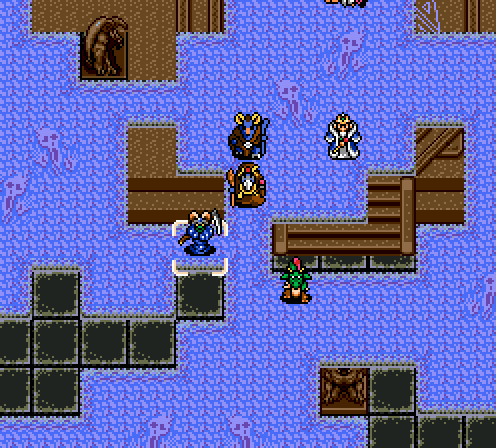
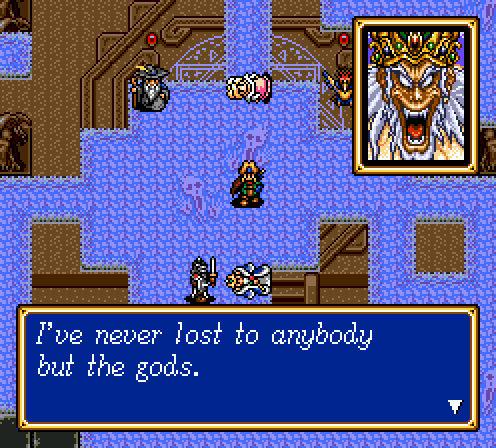
Hey, this place looks familiar.
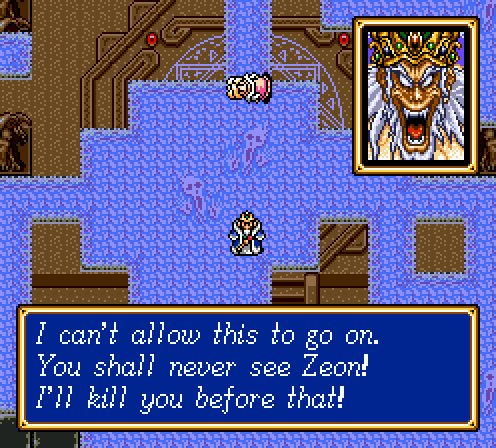
That's not how RPGs work, buddy.
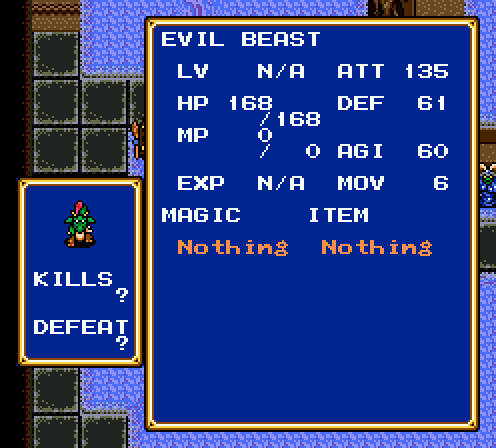
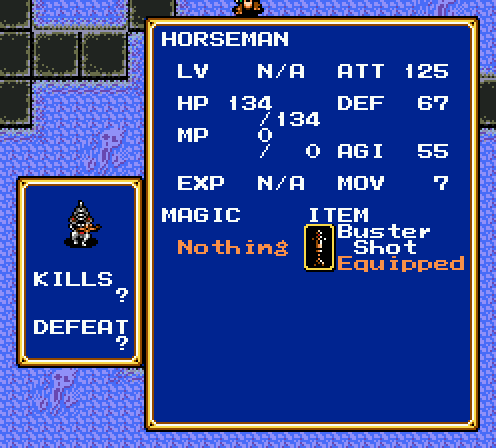
Lots of new things to deal with. Evil beasts and horsemen are still vulnerable to Slow. Evil beasts proc sleep.
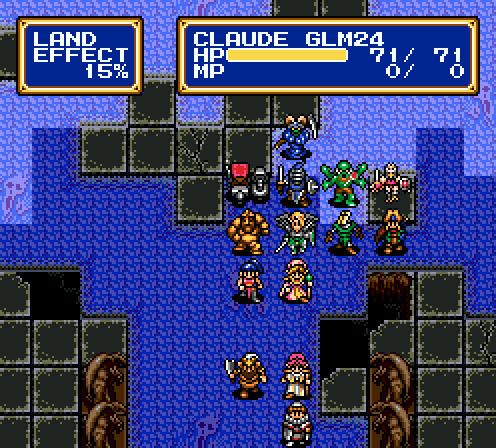
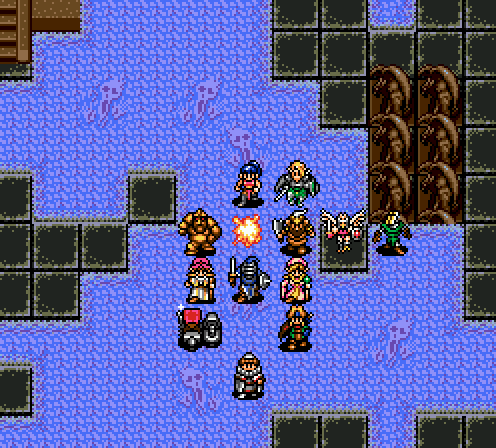
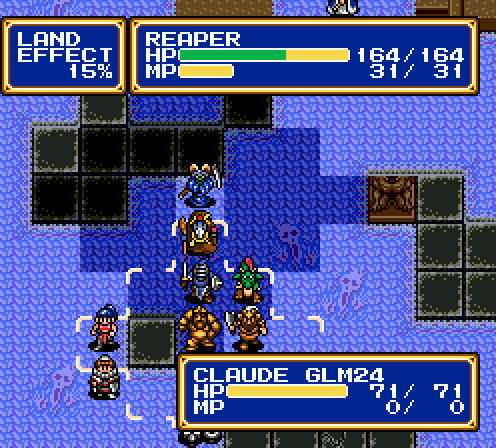
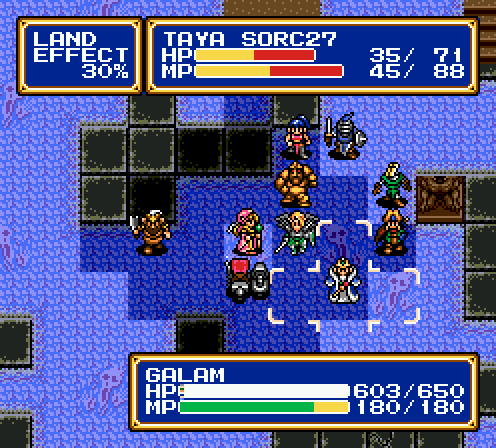
Stupidly enough, I forgot to catch a screenshot of the map layout. Basically, there's four clumps of enemies, one in each cardinal direction.
First group is a horseman, reaper, and chaos warrior. The horseman is the only real threat because it's an archer and has the highest attack value. Luckily, it has a very aggressive AI and can be slowed for a quick kill. The reaper is slightly annoying due to being able to proc Muddle, but the chaos warrior is completely a non-issue by now.
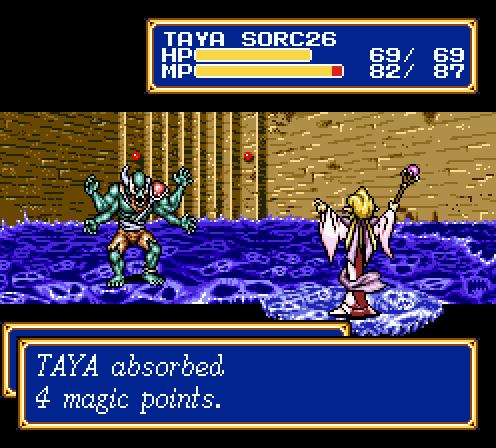
Indra staves are very much worth keeping around. A lot of the trash mobs have scraps of MP ripe for stealing, and MP is a premium for Taya at this point. Frayja can make use of MP drain too, especially when there's nobody to heal. Remember, Frayja gets a total of zero offensive spells.
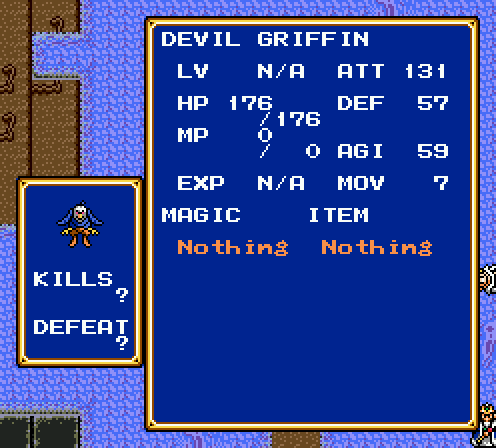
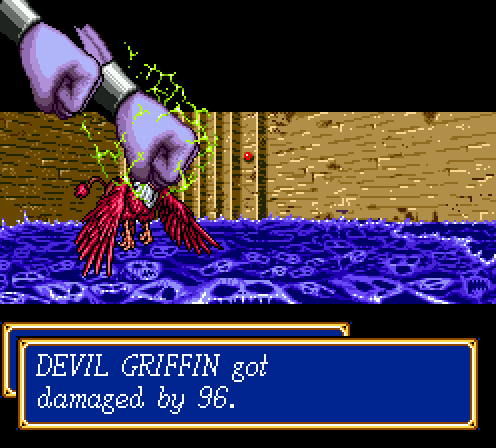
First group gets cleared with little trouble. The devil griffin starts at the very back of the map, but also has an aggressive AI. I sat at the back of the map and let it come to me. Mostly to let Taya's MP regenerate with the mystery staff, but also to wipe out a single enemy with no risks involved.
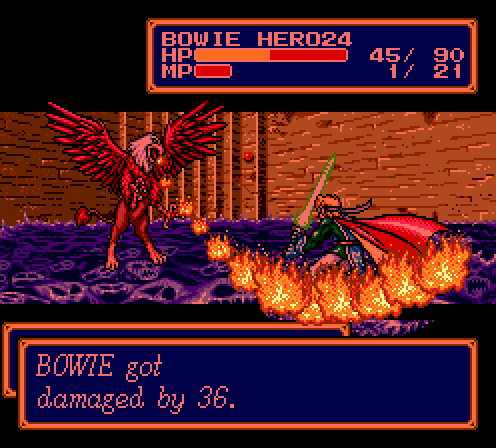
Devil griffins can also do this.
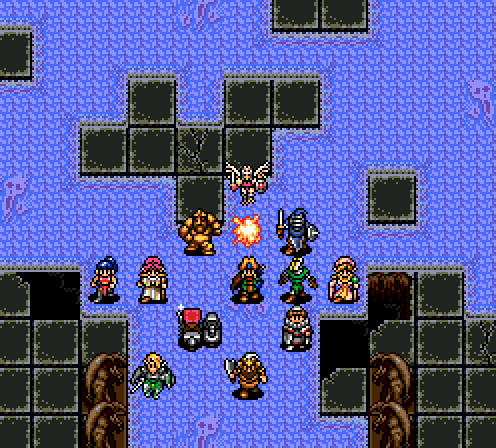
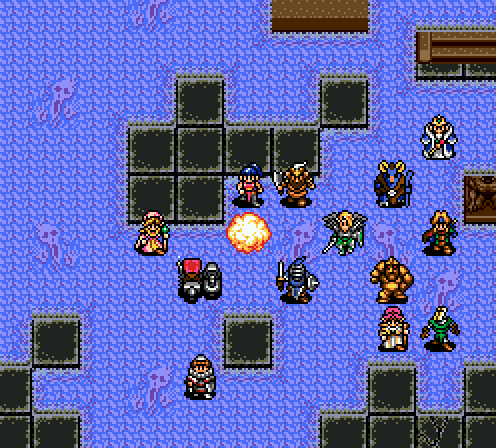
Next order of business: Wipe out the eastern clump of enemies, then kill the western clump, and then finish off Galam in the north relatively unhindered. To the east are a chaos dragon, a reaper, and a demon master. Nothing threatening.
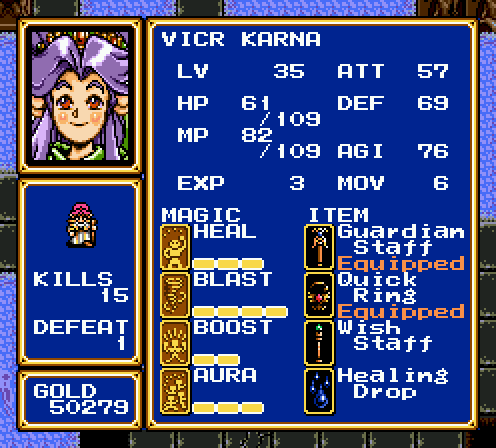
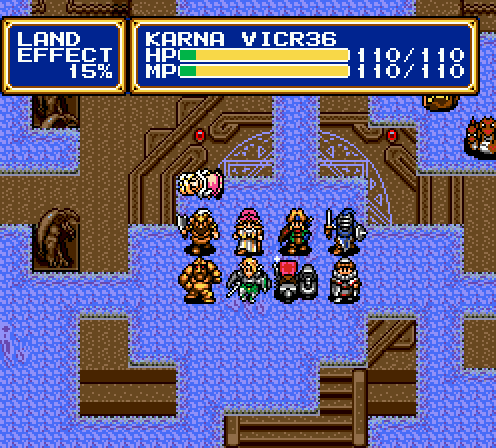
Hey, look at what Karna picked up at level 35. Another five levels and she'll pick up Aura 4 too! She probably won't actually get there, though.
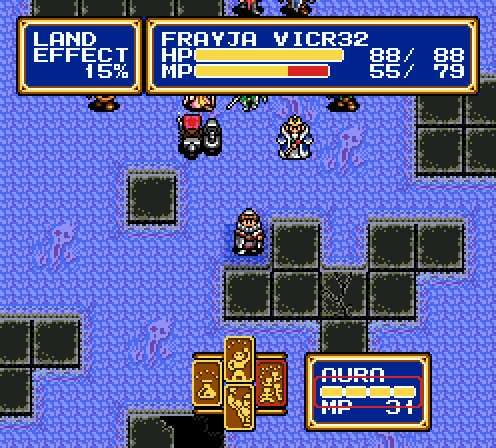
Okay, time to journey to the west.
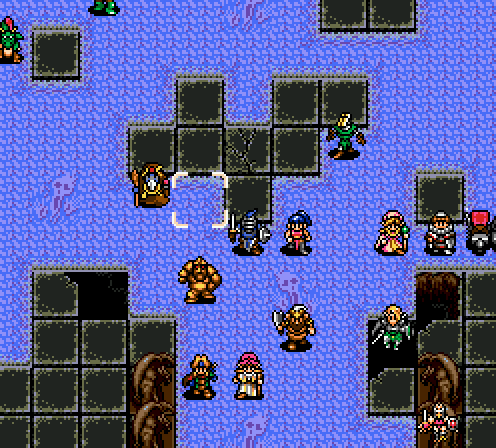
It now dawns on me that whoever redecorated this place really likes The Scream. Those face imprints also give 30% terrain effect.
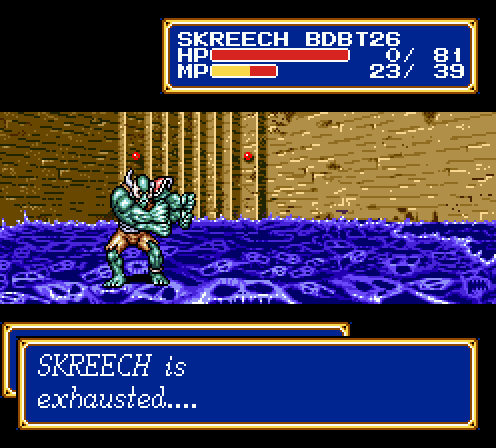
The west cluster is a demon master, a chaos warrior, and an evil beast. Also easy, but Skreech got tagged with a random double attack, which of course killed him.
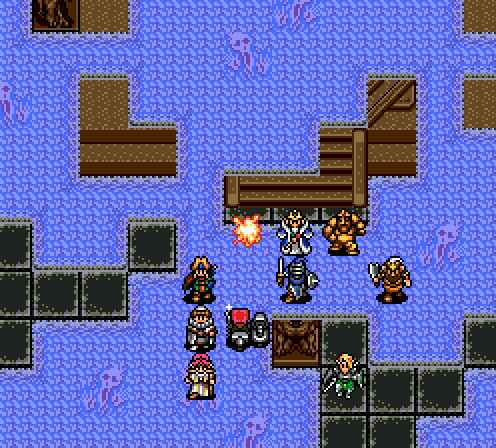
Last few enemies. All the guys who aren't Galam are easy to lure out first. Except when the reaper gets lured out, it's casting the worst spell in the game.
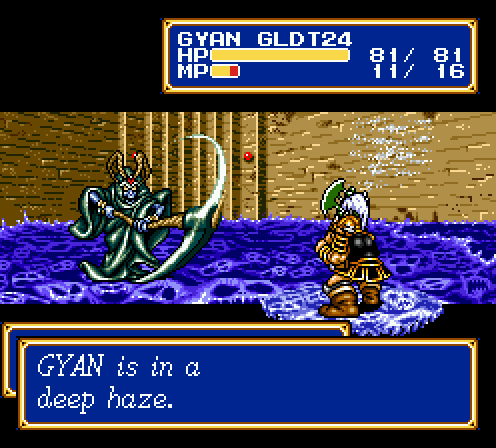
Well, that's not so bad. It's not like Gyan can cast Boost on enemies, so no sweat.
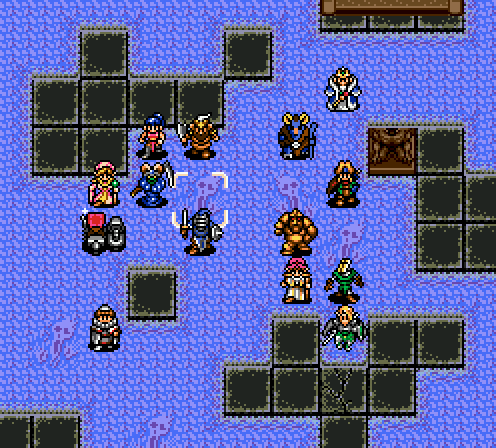
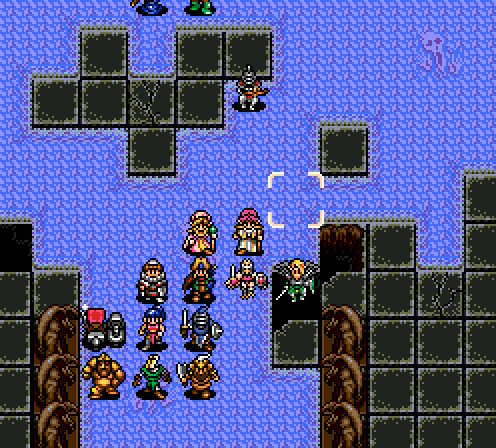
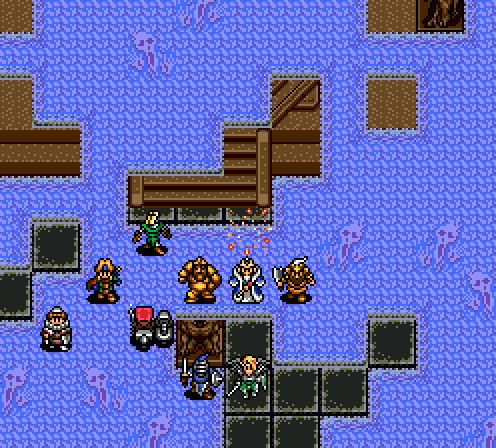
Galam does decide to charge in awfully early, though. This is a dangerous situation.
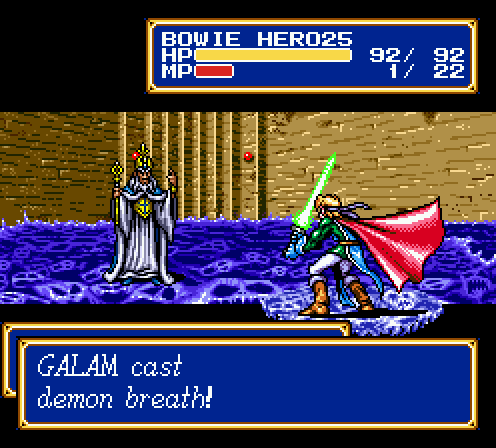
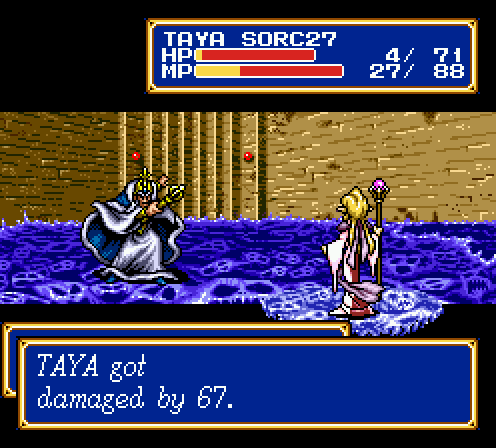
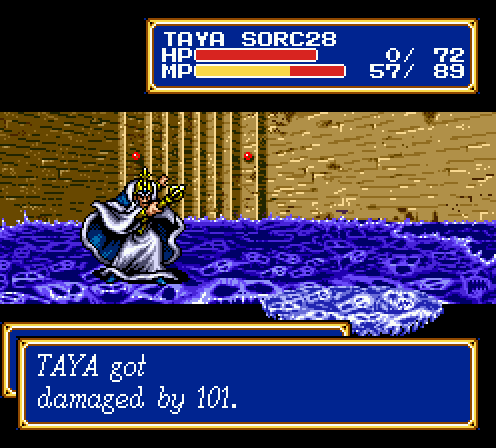
And we finally get to see demon breath! Pretend we didn't see it in that Shining Tactics update. The spell makes much more sense when the enemy casts it.
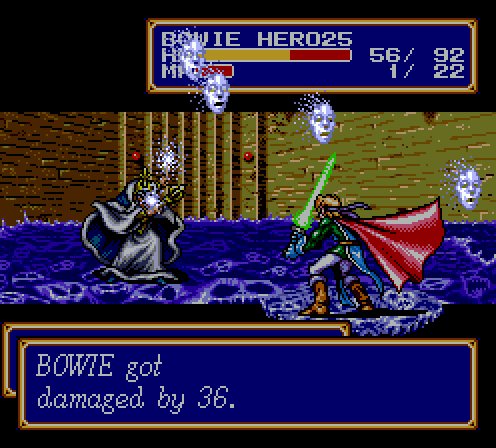
Well, everyone but Skreech is still alive, and only Galam is left. Demon breath is the equivalent of a multi-target Blaze 4, but that's not enough to kill anyone in one hit. It is enough to soften them up for a follow-up attack by Galam because he gets two turns, but that's not so bad.

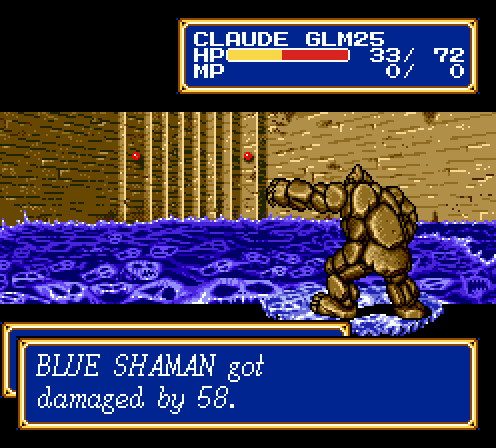
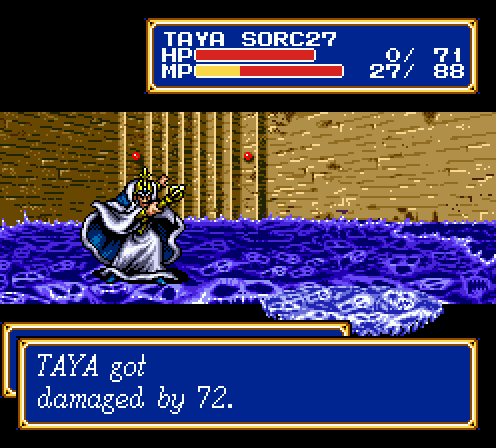
That damage is quite low for Atlas 2. Not sure why.
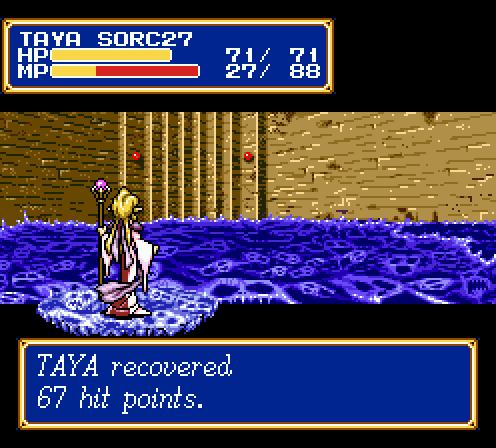
So I did say that Aura 4 is awfully situational, but demon breath did a pretty good job of taking down most of my characters to <50%. Plus, Frayja isn't going to get much else out of his MP this fight.
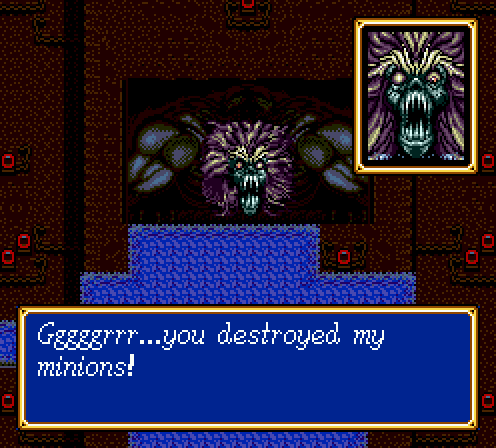
Galam's finally figured out who the real enemy is.
But I will protect her!
As best I can, anyway.

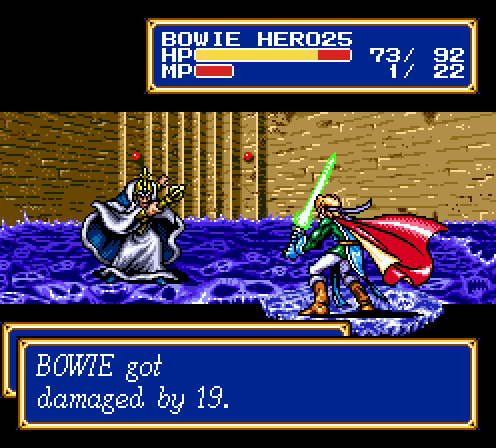
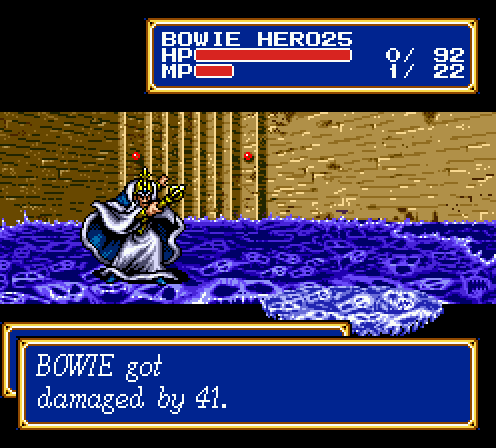
Oh, and then this happens. First screenshot is a counterattack. Second is after a double attack, where the first one is a crit.
Fuck you, RNG. Fuck you, game.
Okay, on the second try, let's just skip to the part where I get to Galam again.
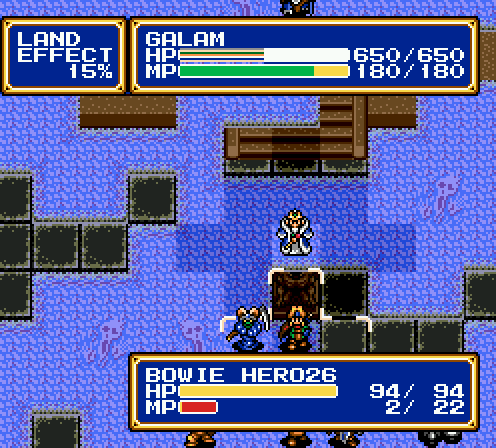
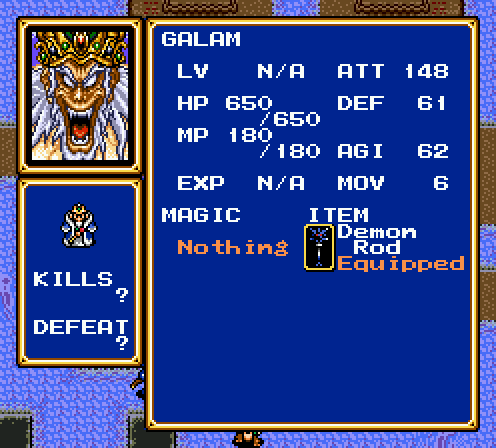
By the way, his life bar looks really weird. The game was obviously never designed to go above 500 HP – Zeon's HP value in the original game.
Well isn't that a bitch.
Galam also nukes Sarah from full HP in a single turn.
And does the same to Zynk.
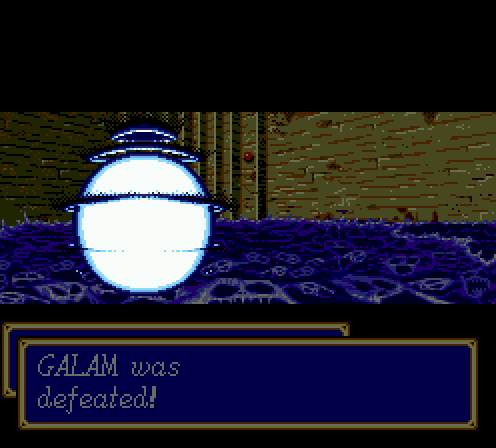
But even a full on beatdown from an army at two-thirds strength kills Galam in a few turns.
Battle Report!
 Level 26 4 HP/1 MP/2 ATT/5 DEF/2 AGI
 Level 28 2 HP/1 MP/1 ATT/2 DEF/1 AGI
 Level 26 4 HP/2 ATT/5 DEF/3 AGI
 Level 36 3 HP/3 MP/2 ATT/2 DEF/2 AGI
 Level 27 4 HP/2 ATT/4 DEF/2 AGI
 Level 27 2 HP/1 MP/1 ATT/1 DEF/1 AGI
 Level 27 2 HP/1 MP/1 ATT/2 DEF/2 AGI
 Level 34 3 HP/4 MP/4 ATT/3 DEF/3 AGI
 Level 27 2 HP/1 ATT/1 DEF/1 AGI
 Level 25 2 HP/1 MP/1 ATT/2 DEF/1 AGI
 Level 27 2 HP/2 MP/2 ATT/2 DEF/1 AGI
 Level 25 1 HP/2 ATT/2 DEF/1 AGI
That said, boss stats really are completely unreasonable in this hack. Even when confronted twelve against one, a boss is guaranteed to kill at least three characters before actually falling.
Actually, it was Odd Eye who fought Volcanon. Galam actually hasn't done shit all game.
Wow, Zeon is ripped.
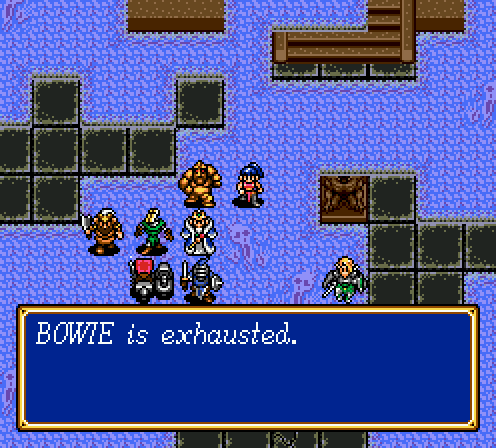
Oh yeah, everyone who's dead at the end of the Galam fight stays dead at the beginning of the Zeon fight. And remember, Bowie doesn't have Egress. I also forgot to pull my angel wings out of the caravan, meaning I'm just going to get Bowie killed.
NEXT TIME: Final round, fight!