Part 38: The lamest attempt at a dirty trick
Part 25: The lamest attempt at a dirty trick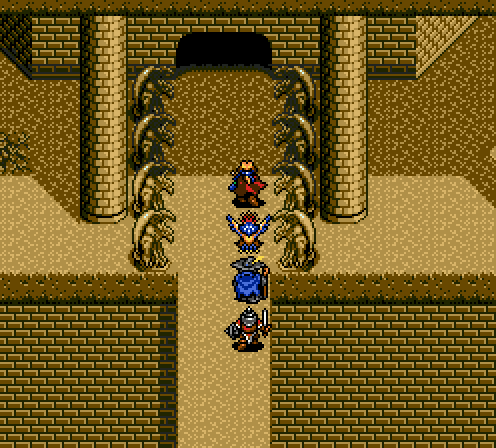
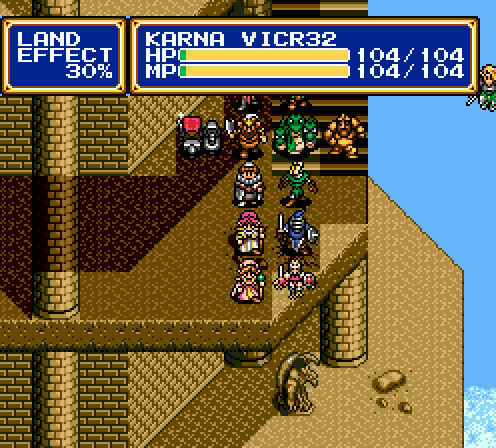
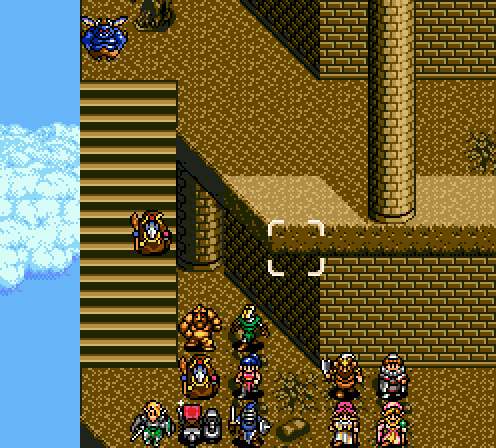
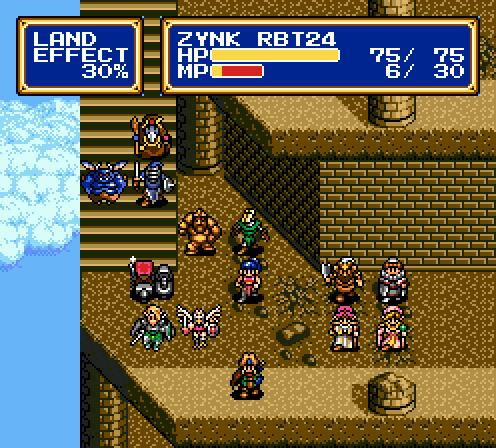
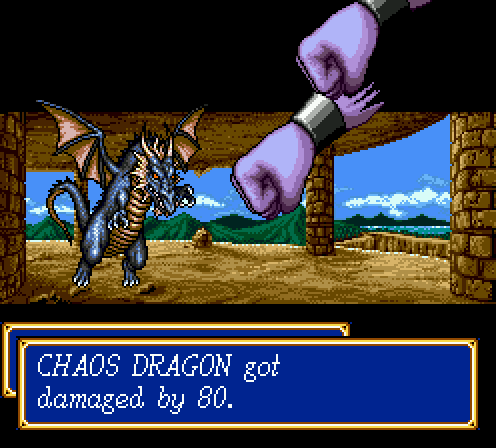
Once we kick Odd Eye's corpse over a cliff, we come to the foot of Grans Tower.
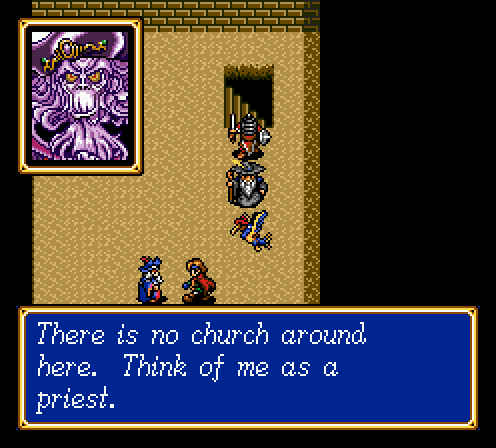
Creed is waiting for us and will function as the last priest in the game despite the fact that he is a greater devil and literally a servant of darkness and the antithesis of the light and and and

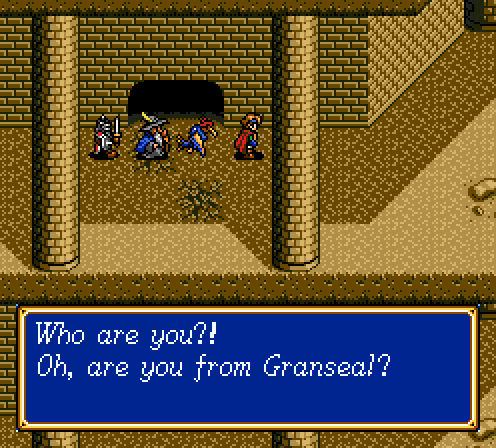
Yeah, you knew this was coming.
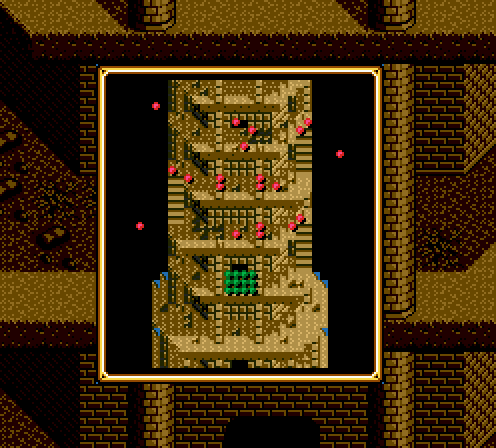
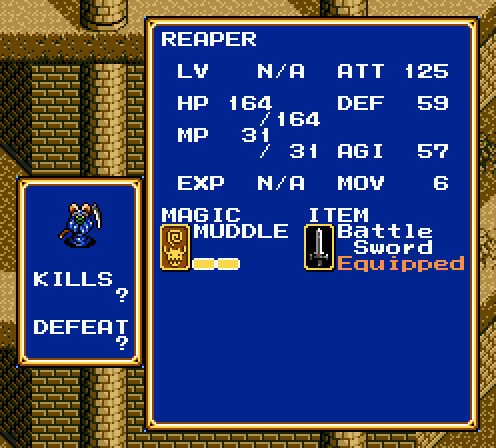
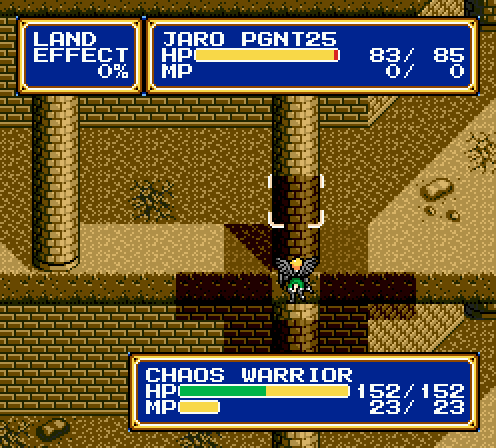
An annoying level, because you have to constantly wind back and forth. In the original game, you could probably have just sent Peter to go solo the reaper at the very top to finish the fight quickly, but that's not gonna fly here.
Strangely, the reaper is an enemy that's unnoteworthy outside of the fact that it casts Muddle. It also muddles targets in place of critical hits. Whether that's the effect of Muddle 1 or Muddle 2, I have no idea.
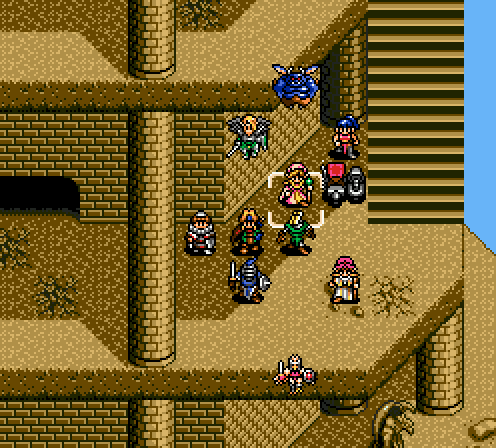
Reason why this fight is annoying? There's demons and dragons all over the place, and they swoop in to harass you constantly. On their own, the enemies are non-threats, but they're MP drains on your healers. Reminder, demons cast Bolt 2, which is still enough damage to make most of my characters killable on a follow up attack by another enemy.
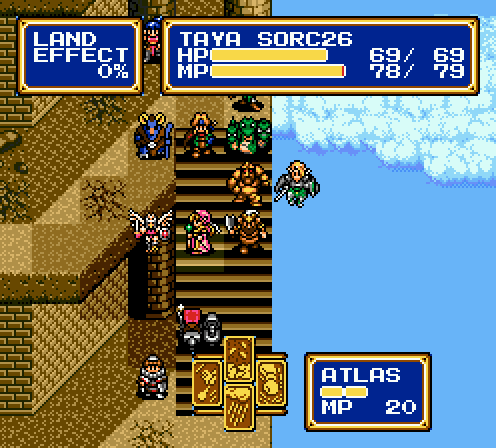
Another reminder that stairs are always 0% terrain. Luring enemies onto a stair tile is highly recommended.
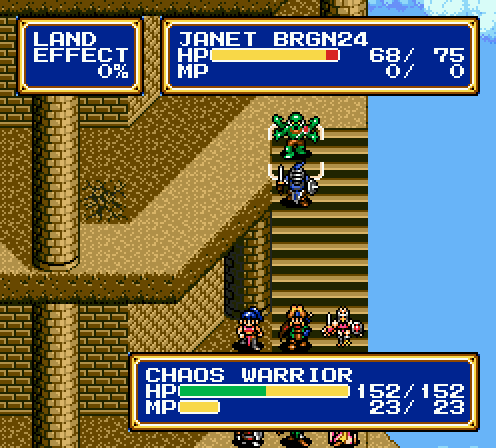
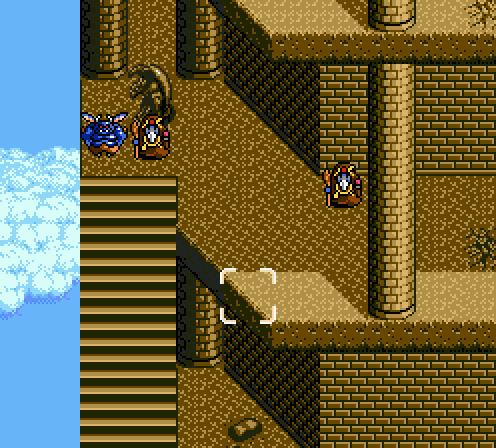
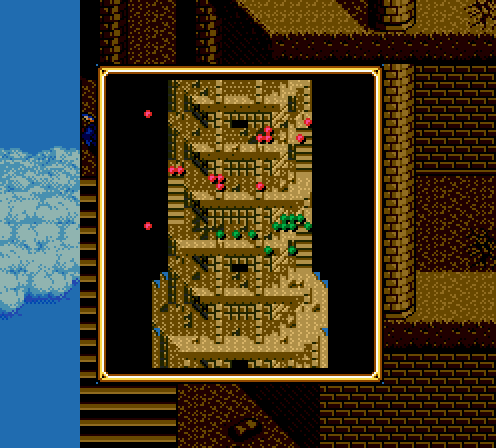
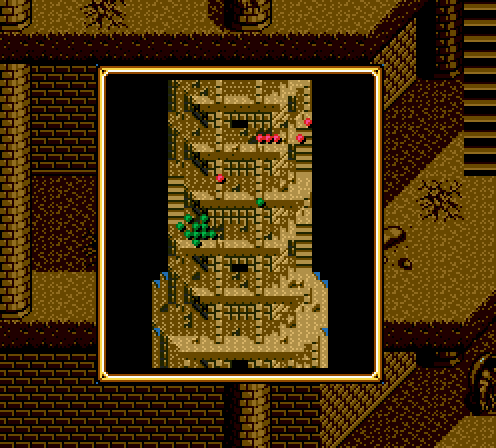
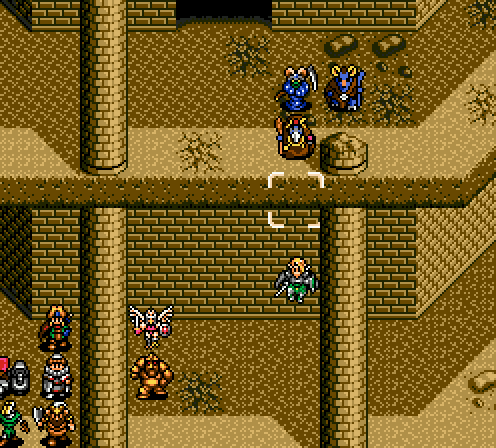
And here's the stupid gimmick of the fight. All the columns have an enemy, sometimes two, hiding behind them. There's no surprise to it because you can still see the blips on the mini map and they still take turns as normal. If Camelot wanted a real surprise, they could have used the monster spawning mechanic, so this one is just going to be chalked up to

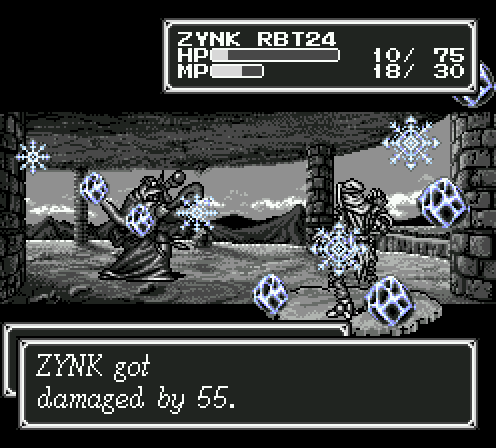
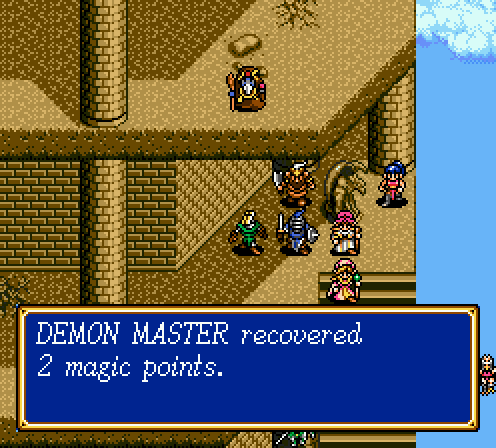
Another annoying thing about this fight. Demon masters can rain down Freeze 4 on you if you're too close to the next floor. I could fight them off with archers and fliers, but that's disaster waiting to happen considering Freeze 4 does at least 75% in a single cast.
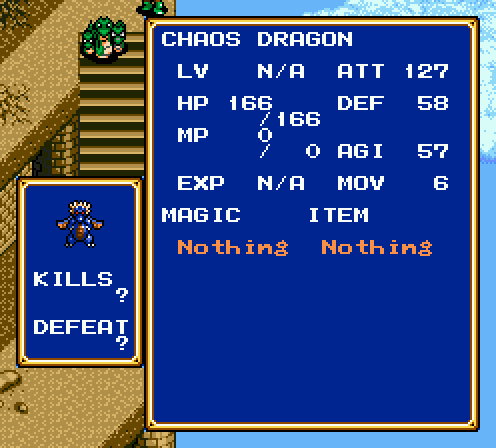
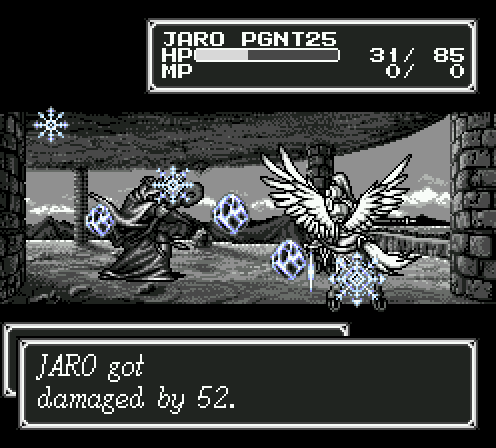
This demon showing up to cast Bolt 2 isn't helping matters either. And if you look closely in the upper right, there's a chaos dragon descending too. Know what that means?
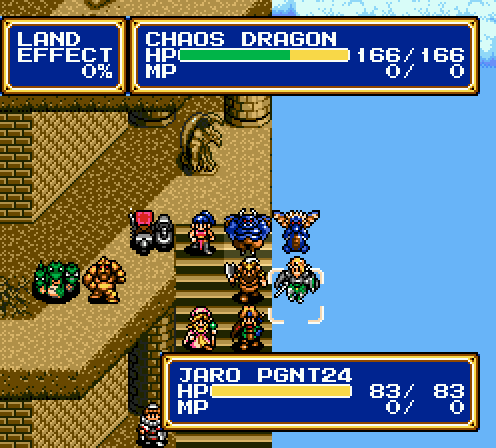
Retreat!

Jaro gets tagged by the chaos dragon, but at least this means not having to deal with the demon master just yet. The hydra is also leashed onto Claude, so that thing is under control too. Taking down a pair of flying enemies? Cake, by this point.
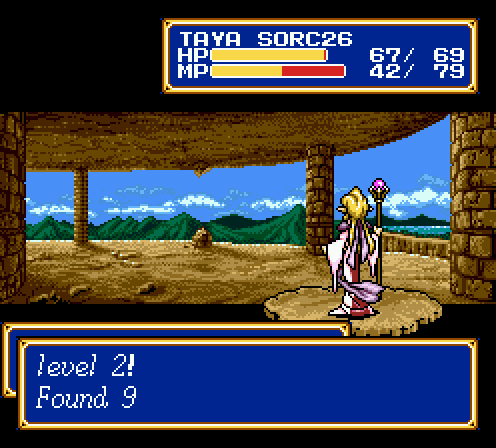
I really wanted to get a screencap for this spell, but text scrolls too fast on level ups.
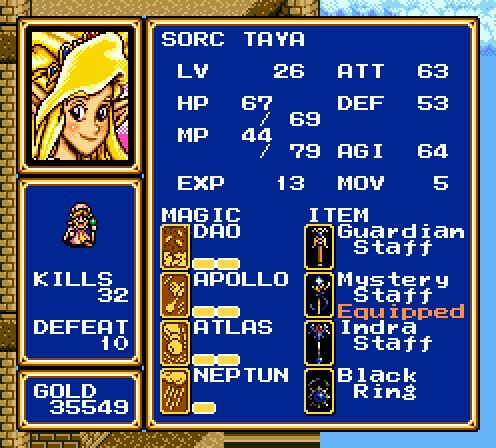
Oh well, you can all figure out for yourselves what's new here.
Movin' on up.
Two demon masters. One was stupid enough to try to take down Claude, the other was stupid enough to attack Sarah in melee. After patching up Sarah (since she got tagged with Freeze 4 before getting whacked), there's no real danger here. Bolt 2 on its own is only an annoyance.
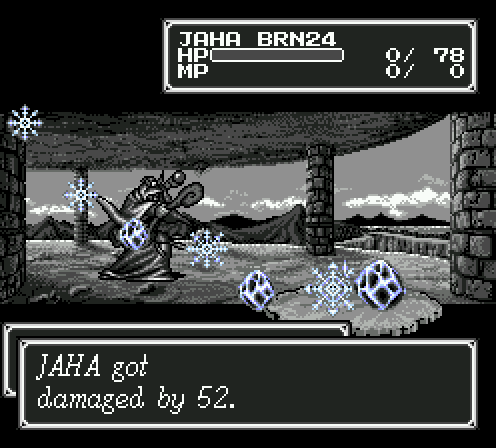
But a miscalculation in turn order gets Jaha killed anyway.
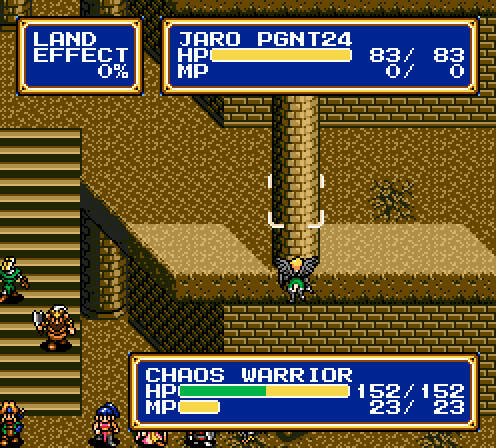
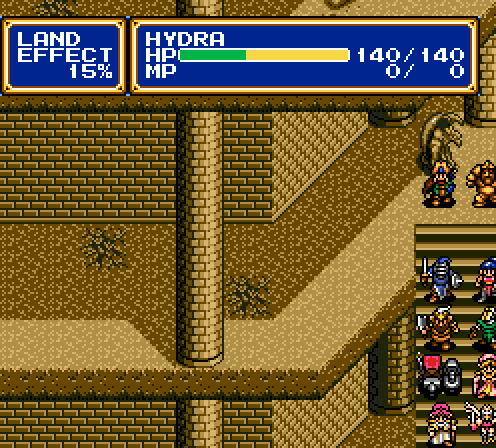
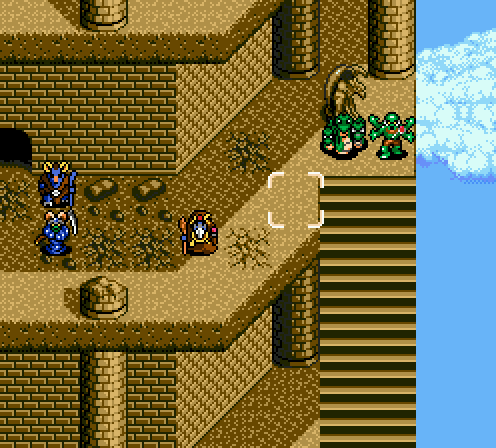
After that's all accounted for, it's time for me to abuse the map in my favor. Once the demon masters are gone, the next floor has two chaos warriors and a hydra hiding behind a pair of columns. Since none of those enemies have a ranged attack, Jaro can fly up there and just poke them down with a spear. It takes a few turns, but Taya needs to regen MP anyway.
No, there is no guilt in doing this at all.
A chaos dragon flies down while Jaro takes ten turns or so to snipe down the pair of chaos warriors, but that's handled easily enough.

Cleaning out the second chaos warrior. The hydra on this floor can't be safely sniped by Jaro, but it's not a threat without any buddies.
Well this map's looking a whole lot cleaner.
A reminder to always fly low and fly safe.
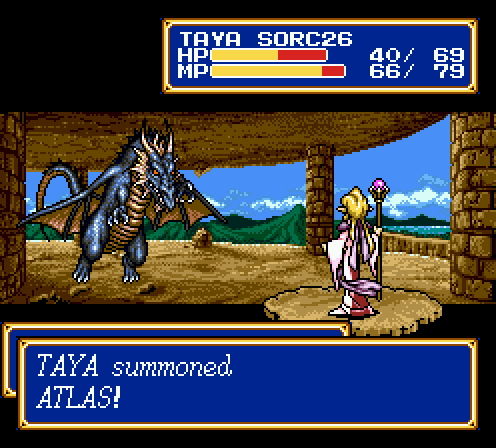
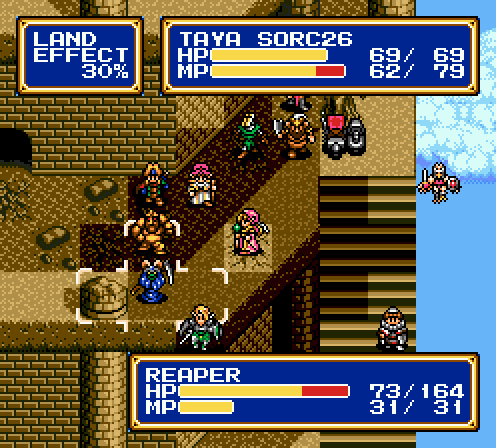
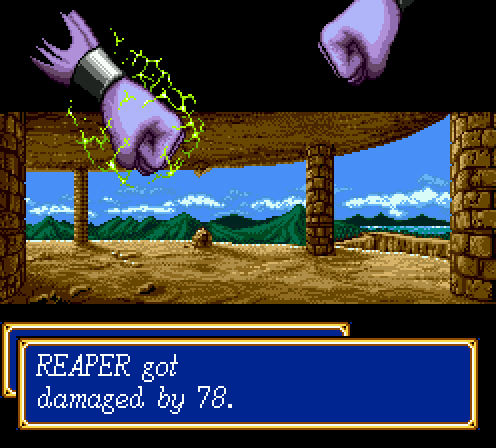
You can guess how this goes, right? Lure down the hydra and chaos warrior, kill them separately. The demon master comes along for the ride as long range enemies are wont to do. Then mop up the boss and his healer afterwards.
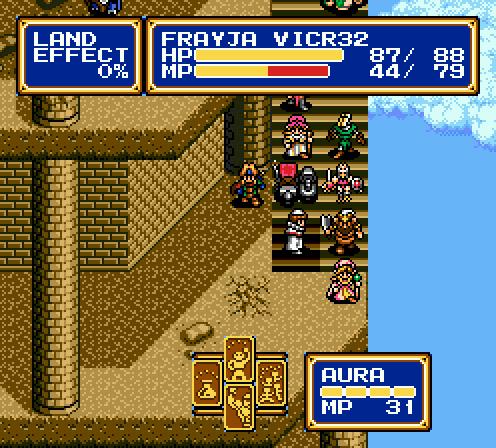
Frayja also picked this up earlier in the fight. The MP cost is exorbitant and a full heal on everyone is an awfully situational effect. Still, it's nice to have around.
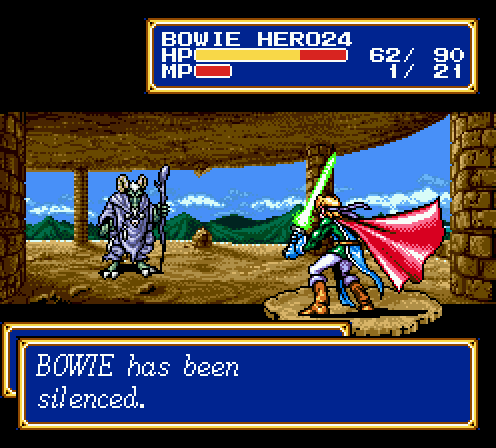
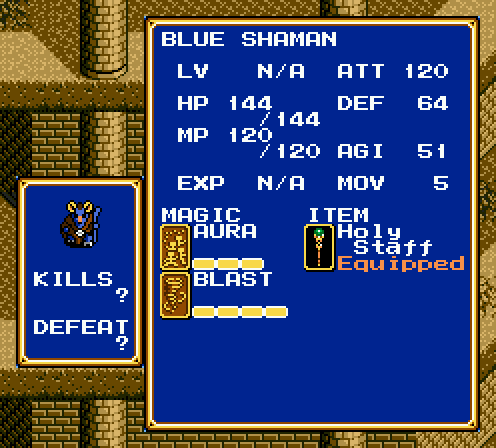
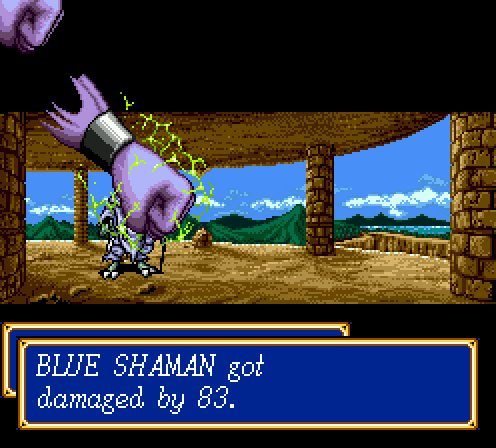
Blue shamans silence instead of critting.
Never going to get tired of this.
Never.
Battle Report!
 Level 24 3 HP/1 ATT/2 DEF/1 AGI
 Level 27 2 HP/1 MP/1 ATT/2 DEF/1 AGI
 Level 34 3 HP/4 MP/3 ATT/4 DEF/3 AGI
 Level 25 2 HP/1 ATT/2 DEF/1 AGI
 Level 26 2 HP/2 MP/1 DEF/2 AGI
 Level 26 3 HP/2 MP/2 ATT/4 DEF/2 AGI
 Level 26 4 HP/2 ATT/3 DEF/3 AGI
 Level 32 4 HP/3 MP/3 ATT/2 DEF/2 AGI
 Level 24 2 HP/1 ATT/2 DEF/1 AGI
 Level 26 4 HP/3 MP/4 ATT/4 DEF/3 AGI
 Level 24 3 HP/4 ATT/6 DEF/2 AGI
NEXT TIME: Roughly as difficult as the Dark Sol fight