Part 1: Chapter 2
Chapter 2, pipin' hot. Let me know how this one goes down.***
__T+Eng1.00_Gaijin+Suicidal_-0.png)
When last we left our colorfully dressed survivors, they had just finished dispatching an evil doll and a wisp. Now it's time to continue exploring Mamiya Mansion.
__T+Eng1.00_Gaijin+Suicidal_-1.png)
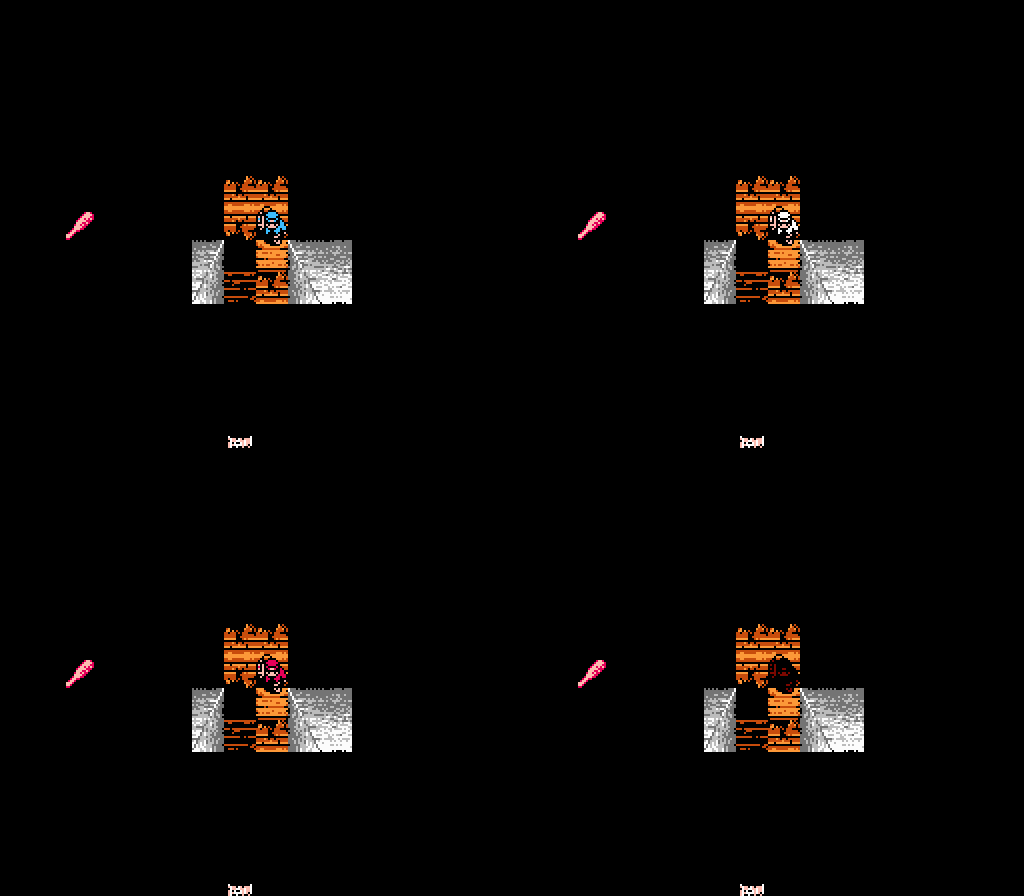
This room is dark, but fortunately Taro's Wax Candle will illuminate things a bit. Best of all, it can be used multiple times.
Taro: Used Wax Candle...
__T+Eng1.00_Gaijin+Suicidal_-4.png)
The lighting radius, however, leaves a bit to be desired.
__T+Eng1.00_Gaijin+Suicidal_-6.png)
Up north we come to a gap in the floor which separates us from an Oak Spear; using Wood will bridge some gaps in the game.
There was a hole here. It's gone now.
__T+Eng1.00_Gaijin+Suicidal_-7.png)
Kazuo: Better team up for safety.
This is the game's way of telling you to be careful when crossing Wood-bridged gaps.
__T+Eng1.00_Gaijin+Suicidal_-9.png)
Nothing else up here except the spear, which we take. On the way back, however...
__T+Eng1.00_Gaijin+Suicidal_-11.png)
That wood bridge? It's not a permanent fix. Each Wood you pick up will break after a certain number of times crossed. On its last use, it collapses under the feet of the unfortunate survivor.
__T+Eng1.00_Gaijin+Suicidal_-13.png)
Asuka: Kazuo help quick!
Talking to a teammate in trouble yields unusual dialogue sometimes.
After we select Team on the prone party member, they are safe and sound.
Asuka: Thanks... You saved me!
In this case, however, Taro is left stranded. Since party members can't travel through each other, however, we need to give him a bit of room before he puts down a new Wood bridge to join the party. As we're moving out of the way...
__T+Eng1.00_Gaijin+Suicidal_-27.png)
Worms are very, very dangerous at low levels. They have much more HP and attack power than dolls and wisps. They also have a chance to inflict poison when they attack, which saps HP every turn or step, depending on if you're in combat or walking around.
It turns out that turn order is affected heavily by the order in which your party is arranged. In other words, the person in the lead will often go first, followed by the second, third, fourth, and fifth members where applicable.
In the case of Worms, you may be better off putting someone other than Kazuo in the lead. The reason?
__T+Eng1.00_Gaijin+Suicidal_-31.png)
Kazuo's Lighter is ridiculously powerful when used against them in combat. It does around 15 damage where everyone else is smacking away for about 5 or 6 damage if they have weapons equipped.
__T+Eng1.00_Gaijin+Suicidal_-35.png)
Worms give 6 experience per fight, which is triple what a wisp gives and sextuple the experience of a doll. Shh, I hear you snickering. Pay attention.

We switch back to Taro, who seems to have entered laser disco mode while we were dispatching Worms.
__T+Eng1.00_Gaijin+Suicidal_-42.png)
Backtracking to the main hall and going north leads to another gap. There's also a note to be read.
Taro: A note...
"Takashi, The next fresco is across and on the left. Be careful..."
Taro: So, there were others like us. Frightening!
__T+Eng1.00_Gaijin+Suicidal_-43.png)
A little further up we find... umm...
__T+Eng1.00_Gaijin+Suicidal_-44.png)
Uh, hello? (Talk)
__T+Eng1.00_Gaijin+Suicidal_-45.png)


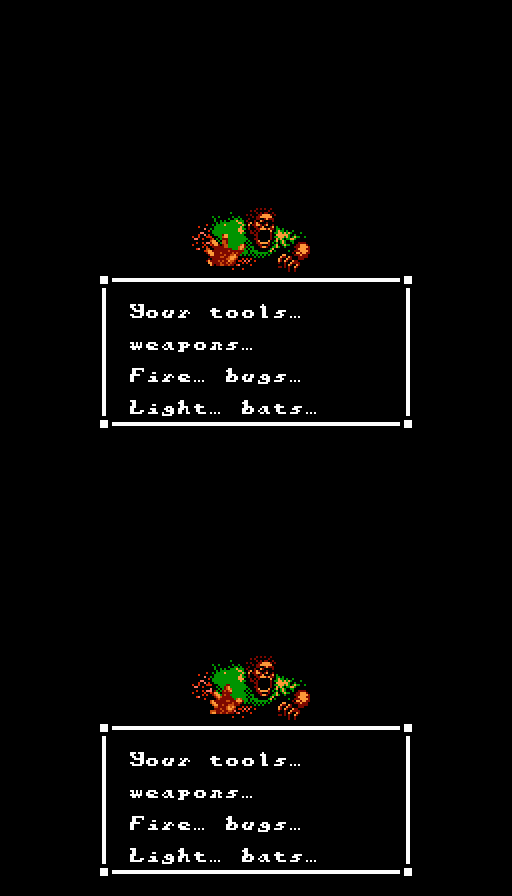
We find... umm... a very helpful writhing corpse... right...
What the solicitous cadaver is trying to say is that some people's tools can be used as weapons. In this case, the Lighter works well on bugs (Worms), and the Camera works well on Bats.
As a bit of horror trivia, The bisected corpse appears in the movie as well. And it's every bit as disturbing as it sounds, since they are very much alive for several minutes before being put out of their misery.
__T+Eng1.00_Gaijin+Suicidal_-58.png)
Looking at the twisting human body on the floor doesn't set off any alarms for Kazuo.
__T+Eng1.00_Gaijin+Suicidal_-59.png)
Soon after, a wisp decides to curse Taro. Curse doesn't always kick in during the fight, and sometimes it even takes a few steps out of combat before it actually works. It prevents the afflicted character from moving, and removes them from active parties. +Kit will cure it. Even Akiko herself can be cured while cursed; simply have someone facing her and go into your Item menu to have access to her +Kit.
__T+Eng1.00_Gaijin+Suicidal_-60.png)
Oh, Emi. What are we going to do with you?
__T+Eng1.00_Gaijin+Suicidal_-75.png)
We leave Akiko and Emi next to the bloody corpse while we investigate a room just to the west.
__T+Eng1.00_Gaijin+Suicidal_-61.png)
Ah, here we go. A Fruit Knife, Tonic, Fresco, some broken glass, a skeleton, Wood, and a Silver Knife.
After cleaning up the glass, we go Look at the skeleton.
Asuka: A skeleton!
__T+Eng1.00_Gaijin+Suicidal_-63.png)
GOD SON OF A-
__T+Eng1.00_Gaijin+Suicidal_-64.png)
That was a little disturbing. Anyway, after grabbing the Tonic, Wood, and Silver Knife, we go check out that fresco.
__T+Eng1.00_Gaijin+Suicidal_-70.png)
This one is a bit dirty, so we'll need to use Asuka's Vacuum before the Camera will be of any use.
Asuka: Used Vacuum...
__T+Eng1.00_Gaijin+Suicidal_-72.png)
Taro: Used Camera... Letters appear!
"1-15 One needs a Mallet to remove a boulder."
Immediately after leaving the Fresco room...
__T+Eng1.00_Gaijin+Suicidal_-76.png)
(Help! http://www.youtube.com/watch?v=qiKU...related#t=2m18s
__T+Eng1.00_Gaijin+Suicidal_-77.png)
When confronted with a falling object, which will happen at random intervals similar to monster encounters, you can either pick a direction in which to dodge or try to Pray. A successful Pray will avoid the hazard entirely, as will a correct dodge direction. I pick Right!
Asuka: Asuka dove!
__T+Eng1.00_Gaijin+Suicidal_-79.png)
Right was wrong. Oh well, they never really do that much damage.
__T+Eng1.00_Gaijin+Suicidal_-80.png)
Moving further west brings us to two more locked doors and an open passage to the south. The locked door on the right can't be opened, even using Emi's Key. Let's try the south passage.
__T+Eng1.00_Gaijin+Suicidal_-81.png)
Asuka: A note:
"Takashi, The third fresco... upstairs..."
The statues cannot be interacted with at this time. Back to the main hall, where we try the left door. Emi's Key works on it.
__T+Eng1.00_Gaijin+Suicidal_-94.png)
Lightning flashes in this corridor. Immediately in front of us is writing on the wall and a skeleton. Down the hall is a rope barricade. The skeleton doesn't do anything, so let's check the wall.
Emi: In blood...
"Avoid the shadows!
This writing is a bit enigmatic. It would seem to imply that there's more encounters or hazards when walking in the shadows of the corridor, but as far as I can tell there's no difference. It may be a reference to the movie, in which it was stated that the shadows were alive and could affect objects on which they fell.
__T+Eng1.00_Gaijin+Suicidal_-98.png)
On the other side of the rope is another Oak Spear, and a door going north.
__T+Eng1.00_Gaijin+Suicidal_-100.png)
It was at about this point that I realized I'd forgotten to go check the platform near the talking corpse.
__T+Eng1.00_Gaijin+Suicidal_-101.png)
Fortunately, going a bit further in reveals a shortcut back to that section of the hall, if you're willing to spend a Wood for it.
Backtracking up to that platform reveals a doll, but it doesn't do anything.
__T+Eng1.00_Gaijin+Suicidal_-131.png)
It also takes us to that cheerful looking axe we saw before. In this case, it's the Rune Axe. It's unique in two very important ways: It resists curses, and it can only be equipped by men.
__T+Eng1.00_Gaijin+Suicidal_-138.png)
This door can't be unlocked with the Key.
__T+Eng1.00_Gaijin+Suicidal_-103.png)
The rooms next door, north and south, are already open.
__T+Eng1.00_Gaijin+Suicidal_-108.png)
The south room leads to loot. Everybody likes loot.
__T+Eng1.00_Gaijin+Suicidal_-109.png)
Oh well. A note will have to do.

Emi: A note:
"Etsuko, You can find a spare camera and key in other rooms. Find them!!"
This note explains that there are items which will replace the unique Tools of each character. The reason for this is, if one of the characters dies, they can't be brought back. Dead is dead. And for some reason, although you can loot their corpses for their inventory, you can't lift their unique item. These secondary unique items, when found, can be used by anyone for the same effect as the original. They do take up one of the two inventory spaces, however, and you really don't want to be losing any party members if you can help it anyway.
The moral of the story? Try not to get anyone killed.
__T+Eng1.00_Gaijin+Suicidal_-139.png)
Further right in the hall is another door and a note.
Emi: A note:
"Takashi, If one is caught, pray!
The point of this note is that, when in doubt, you should use Pray to get out of a dangerous situation. This most often applies in the event of fighting a monster, as Pray will allow you to do much greater damage with your next attack. Although you will have to pray during certain puzzles in order to get past them. Hazards are also Prayable, but they will never do enough damage to warrant the lost PP.
Let's try that upper right doorway.
__T+Eng1.00_Gaijin+Suicidal_-114.png)
A corpse, and more wisps. Talking to the corpse isn't as scary, but is still useful.
"Rune weapons prevent fear and curses."
__T+Eng1.00_Gaijin+Suicidal_-117.png)
A... bigger and more humanoid wisp than usual flies by while I'm investigating the area.
__T+Eng1.00_Gaijin+Suicidal_-118.png)
That fresco clue comes into play here. We'll need that Mallet before we can proceed.
Well, that leaves one doorway in the main hall...
__T+Eng1.00_Gaijin+Suicidal_-119.png)
A dining room with some items. Before I can check them out, however:
__T+Eng1.00_Gaijin+Suicidal_-120.png)
The Skull is a handful. It has very powerful defense, decent attack power, and will inflict poison on occasion.
__T+Eng1.00_Gaijin+Suicidal_-121.png)
Like so. They give 10 experience, which isn't bad, but there's easier enemies to level from.
While I'm trying to heal Kazuo's poison, the bat from that dining room flies over and touches Asuka, triggering a battle.
__T+Eng1.00_Gaijin+Suicidal_-123.png)
Bats are fairly easy. Taro's Camera inflicts around 15 damage to them, which is ridiculously good right now. They only give 4 experience, though.
So, let's see how the survivors are doing.
__T+Eng1.00_Gaijin+Suicidal_-133.png)
__T+Eng1.00_Gaijin+Suicidal_-134.png)
__T+Eng1.00_Gaijin+Suicidal_-135.png)
__T+Eng1.00_Gaijin+Suicidal_-136.png)
__T+Eng1.00_Gaijin+Suicidal_-137.png)
As you can see, everyone's a bit roughed up, but otherwise fine. I'll try and post their stats at the end of each update.
Next time, we'll be heading upstairs. Don't miss it!