Part 15: Day 17: Dredge Army (First Half)
Let's do this.
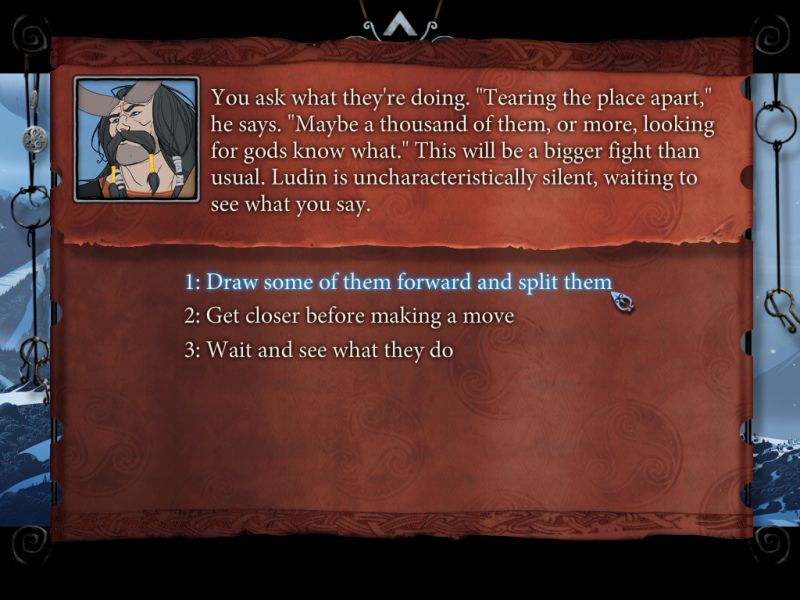
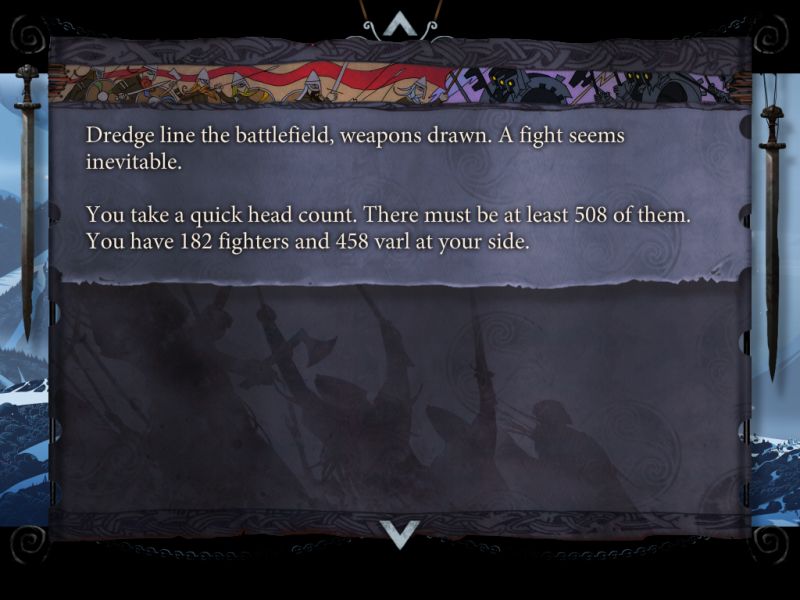
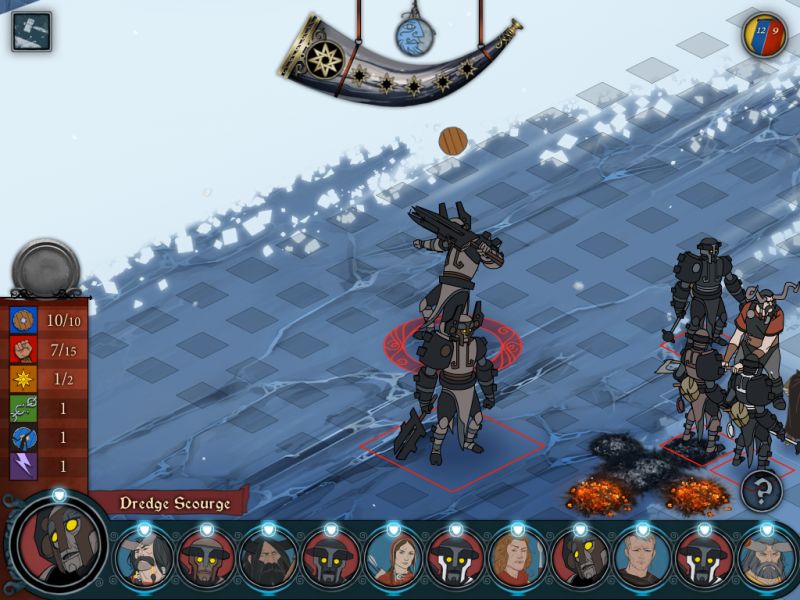
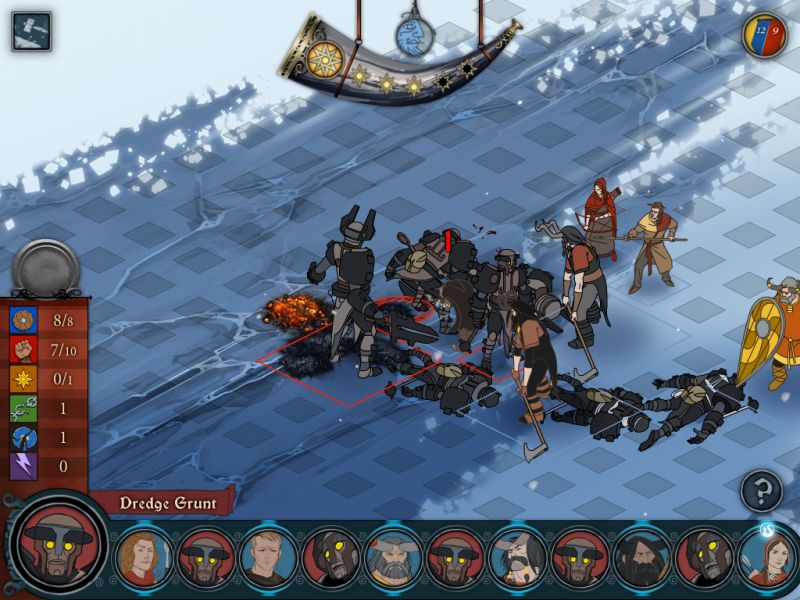
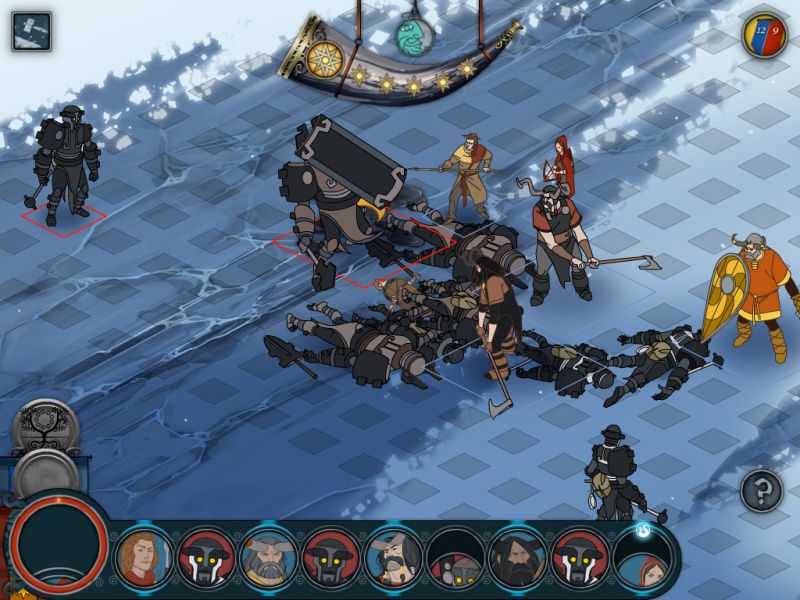
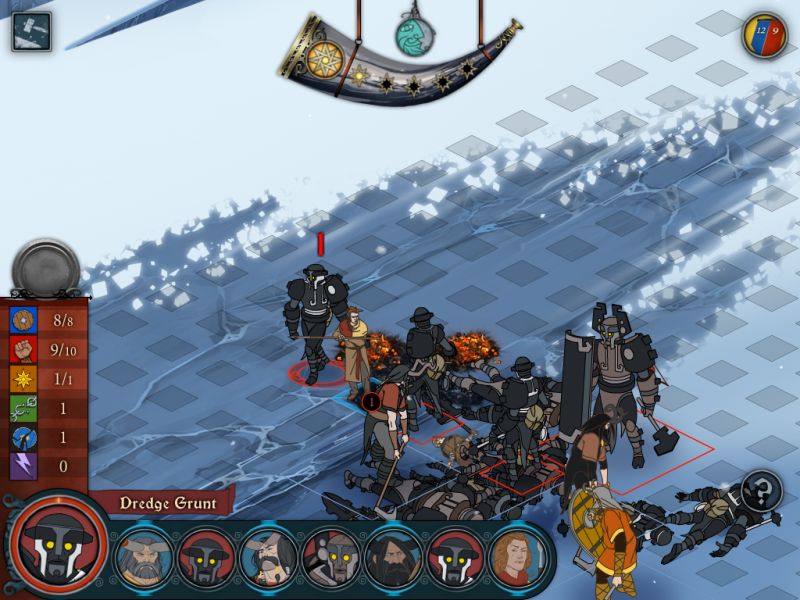
You send a small group of shieldbangers to get their attention. They do. Half a day later, many dredge are giving chase up the hill in their plodding sort of way. You get ready to lay waste.
We outnumber the enemy! Leave none alive!
Gunnulf is still recovering from his last battle, so let's let Bersi show us what he can do.
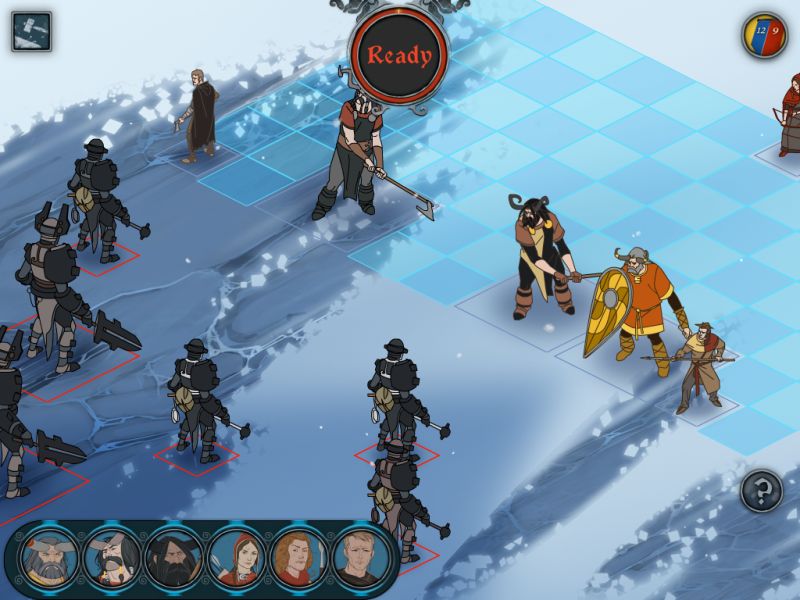
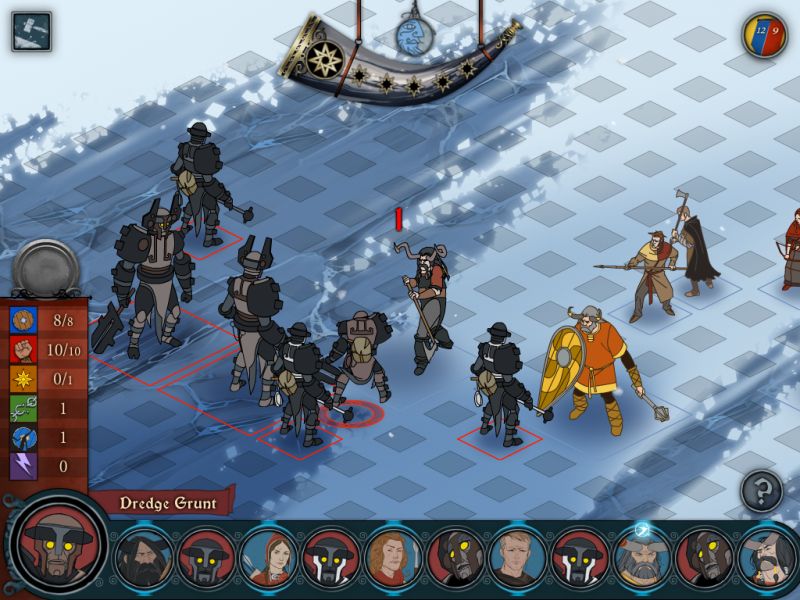
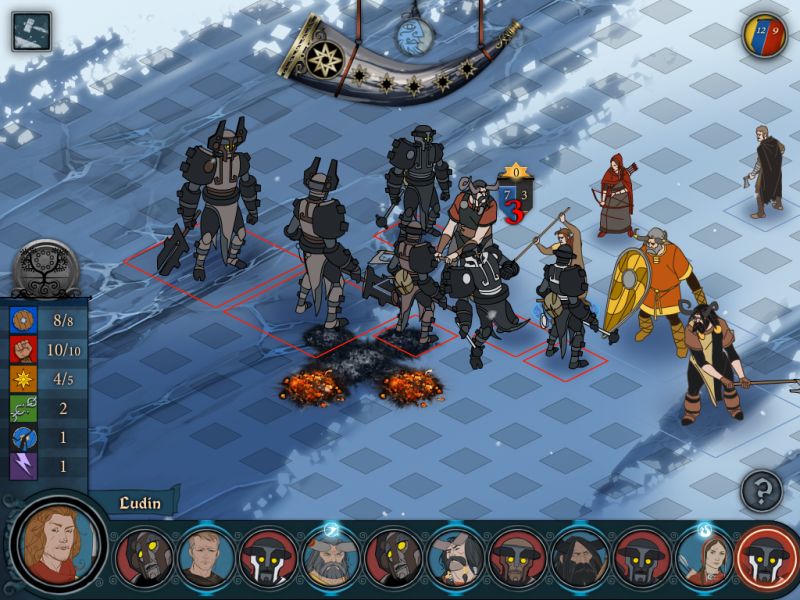
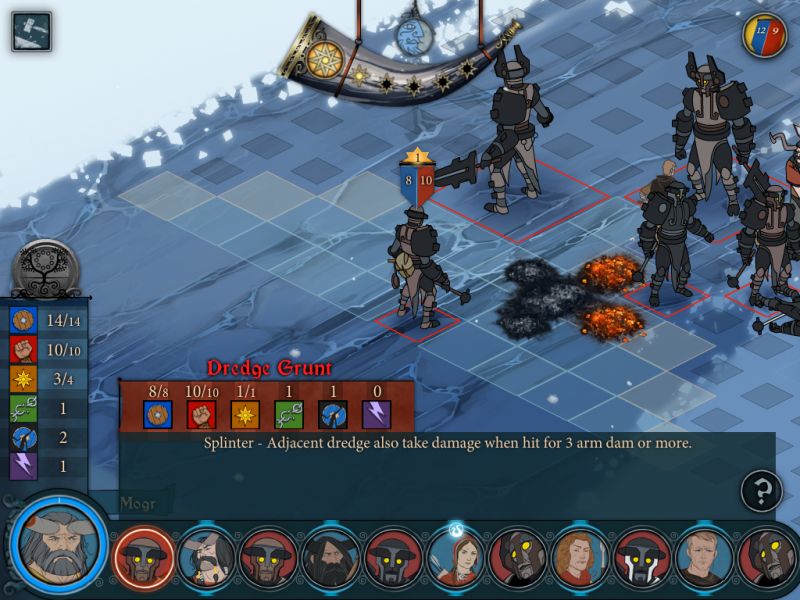
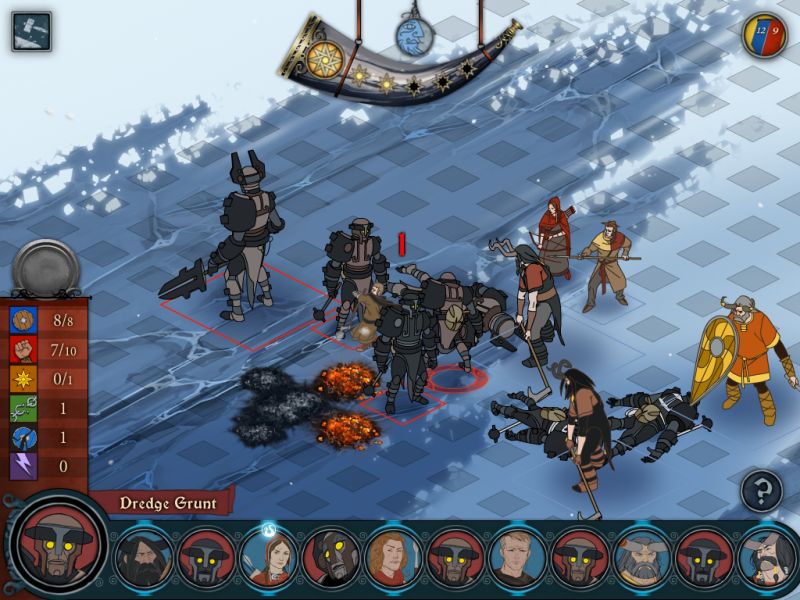
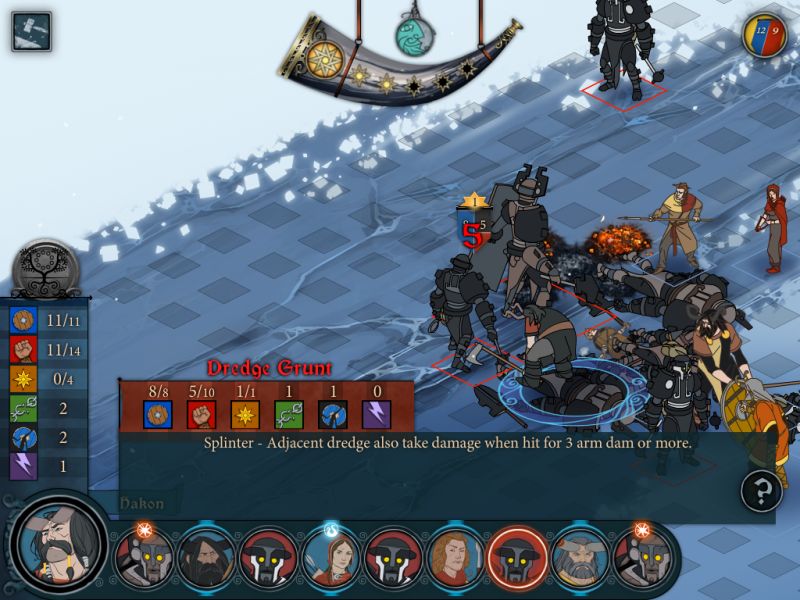
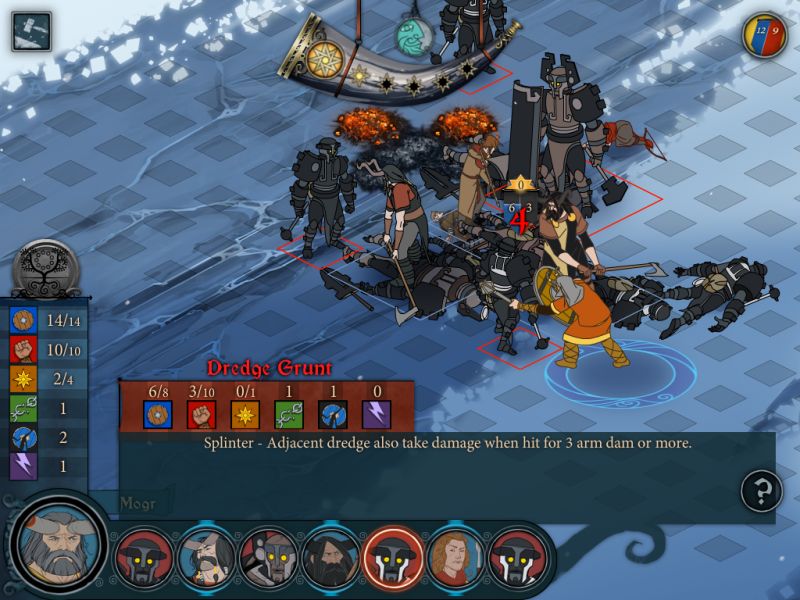
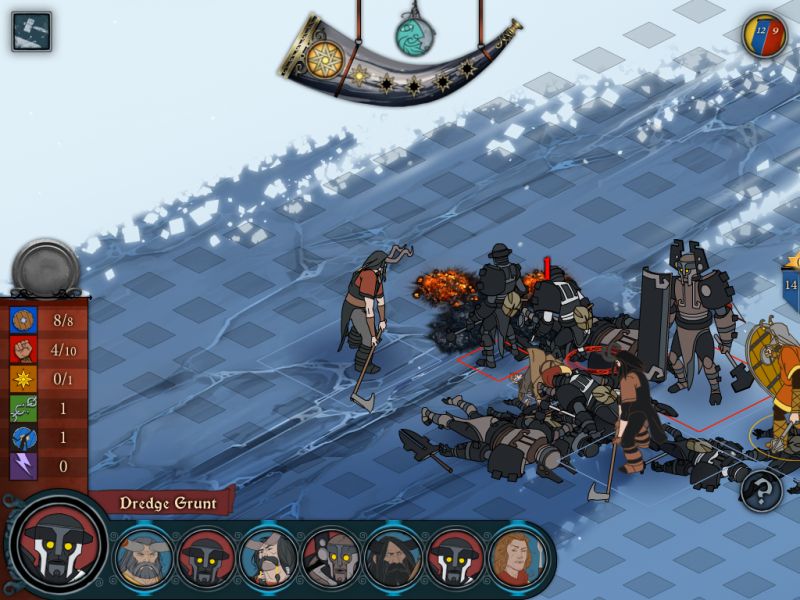
Well, this looks more straightforward than the last one!
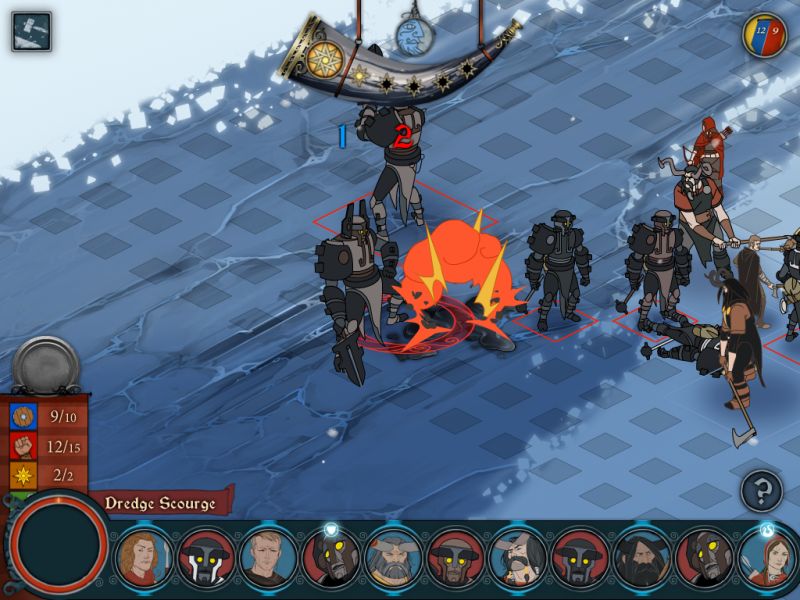
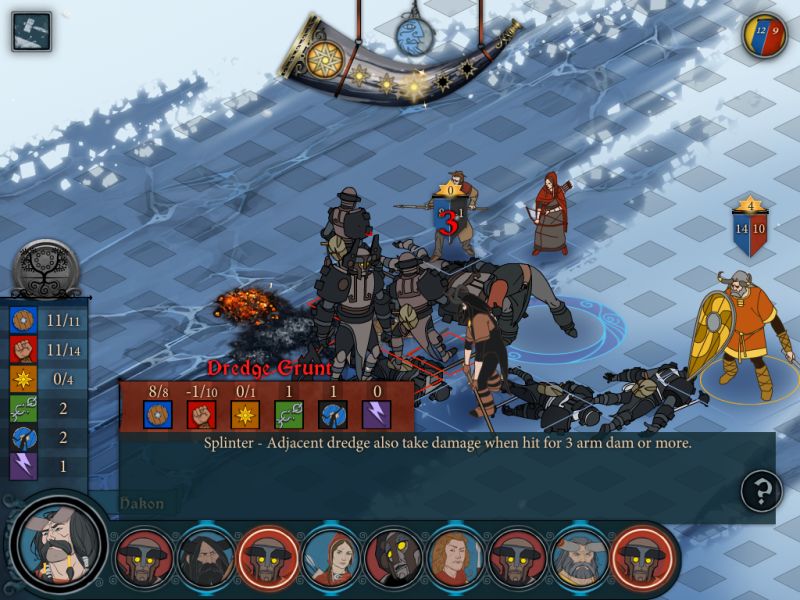
The enemy numbers two Scourges and four Grunts. I'm bringing everyone together closer to the concentration of Grunts so that I can beat them into shape while the Scourges slowly lurch into position, with Bersi on the outside.
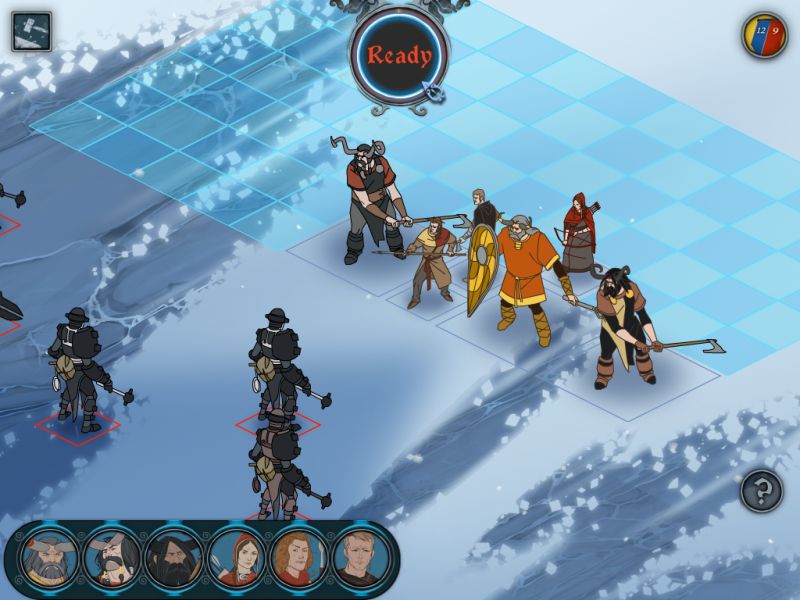
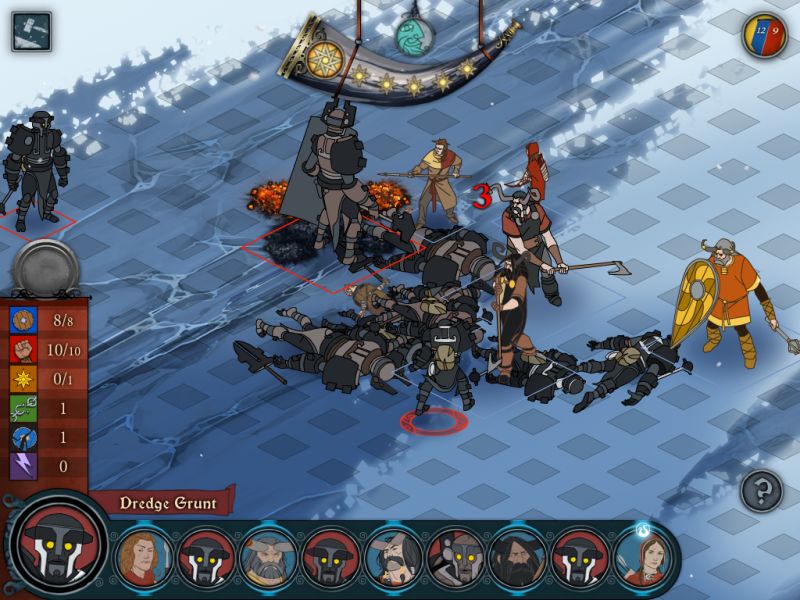
Mogr starts the battle off with Bring the Pain, hopefully allowing him to wear down a bunch of Armor on counterattacks. THe first enemy to move is a Scourge, who lumbers forwards without doing much.
In doing so, he comes into range of Hakon's mighty axe, a fact that I'm taking a moderate risk in exploiting! That's six damage to one of the two strongest enemies, plus one damage to the two next to it. This puts Hakon in a dangerous position, but leaves the enemy force down eight Strength.
Hakon eats a one-strength counter in response, but I'm more worried about the second Scourge.
Bersi follows, but isn't able to reach anything.
And another! Not even bothering with Armor, they're going all out with Willpower to chip him down as fast as they can.
In a way, though, this move is a big win for me - in standing there, the Grunt is blocking the stronger Scourge from reaching Hakon.
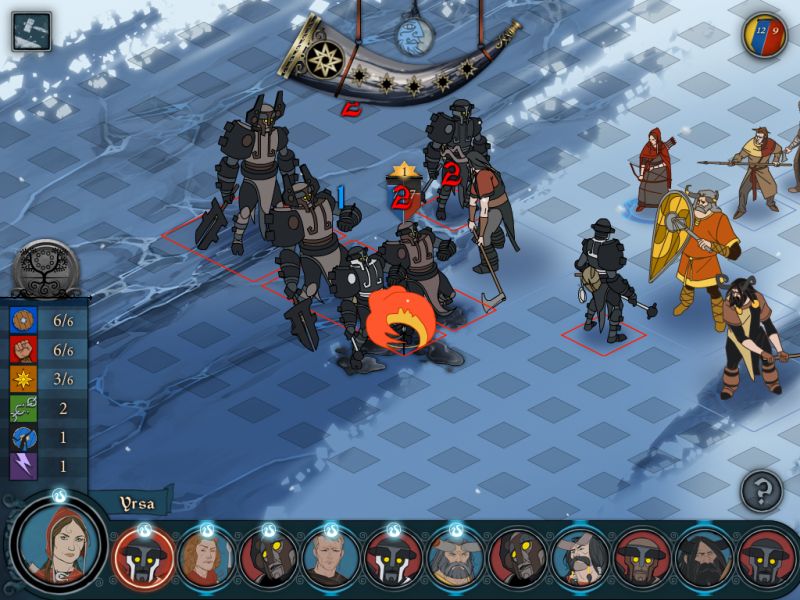
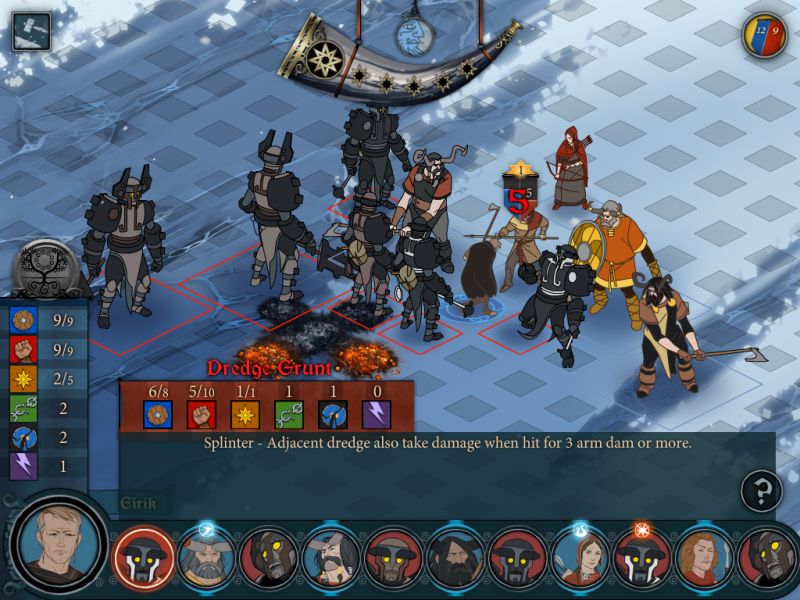
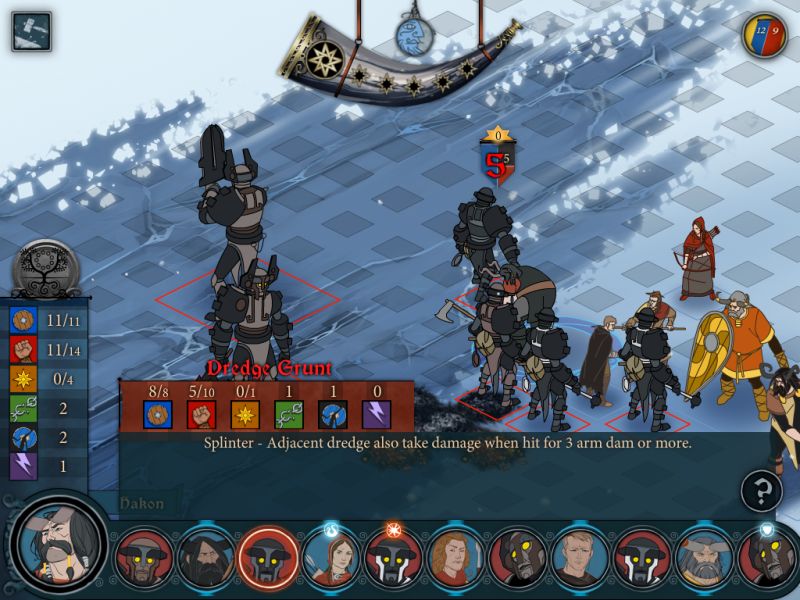
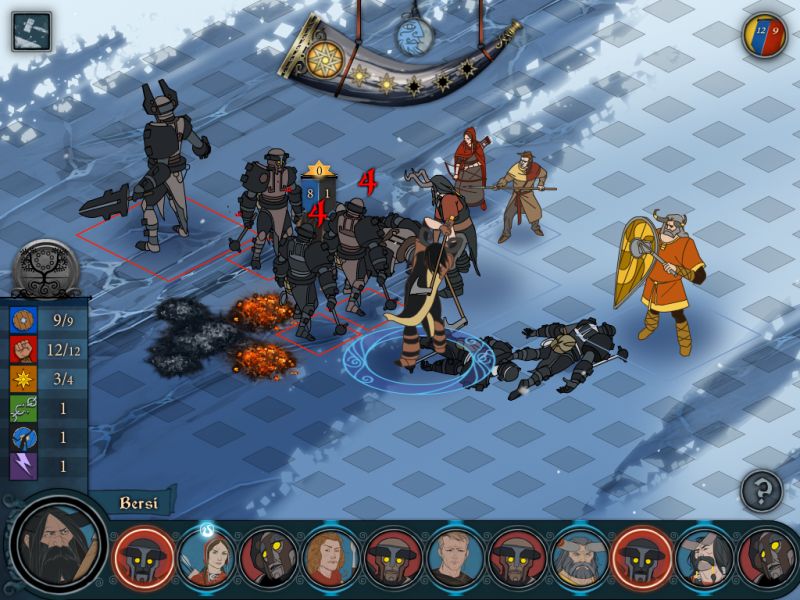
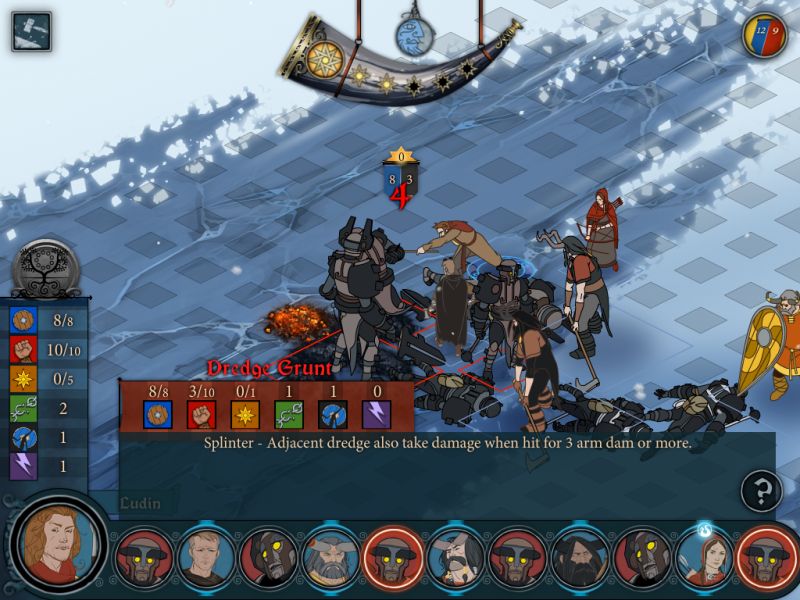
It cost Yrsa 2 will to get into position for this, but it's absolutely worth it. Let's go into some details.
Slag & Burn spawns two coals in its target area, but there are rules to the placement. It will never place coals on an occupied tile, even if the unit occupying it was killed by the flames. From there, it always places one in the center if possible, and the rest is random.
The Grunt moving next was at the center of the blast - note also here that the middle tile is hit by an Armor attack, doing Armor damage equal to Yrsa's (admittedly low) Break. Not only does this do six strength damage overall, but there are only two open tiles for coal placement, meaning that if the Grunt wants to move at all, it's guaranteed to have to walk over them.
That's a total of 1 Armor and 3 Strength damage to the Grunt, leaving it too weak to pierce Hakon's armor.
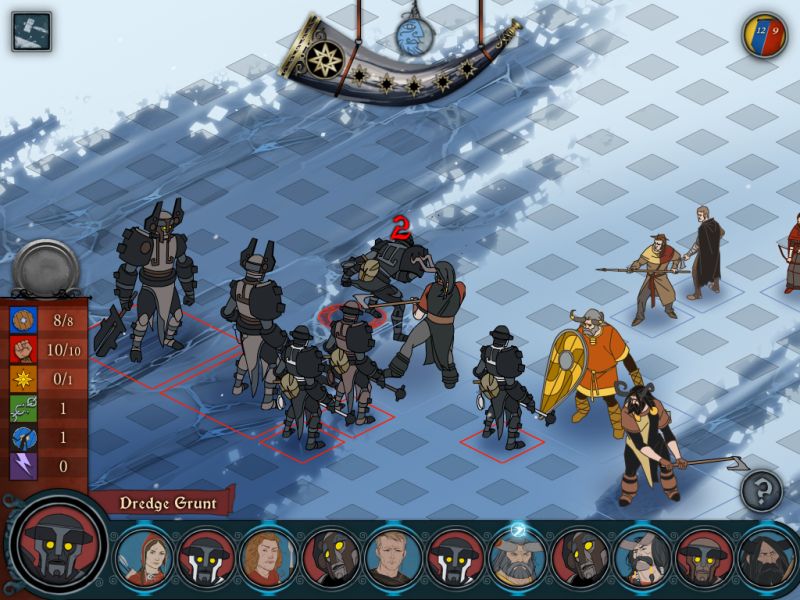
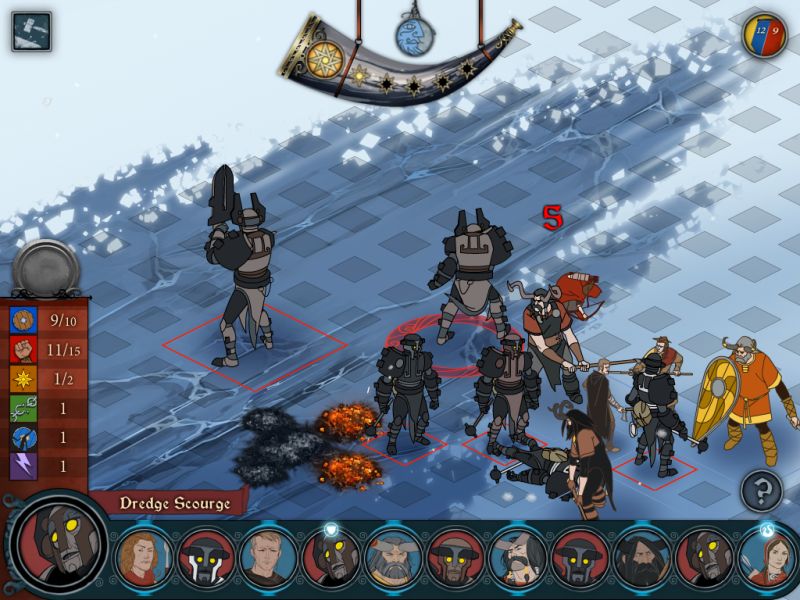
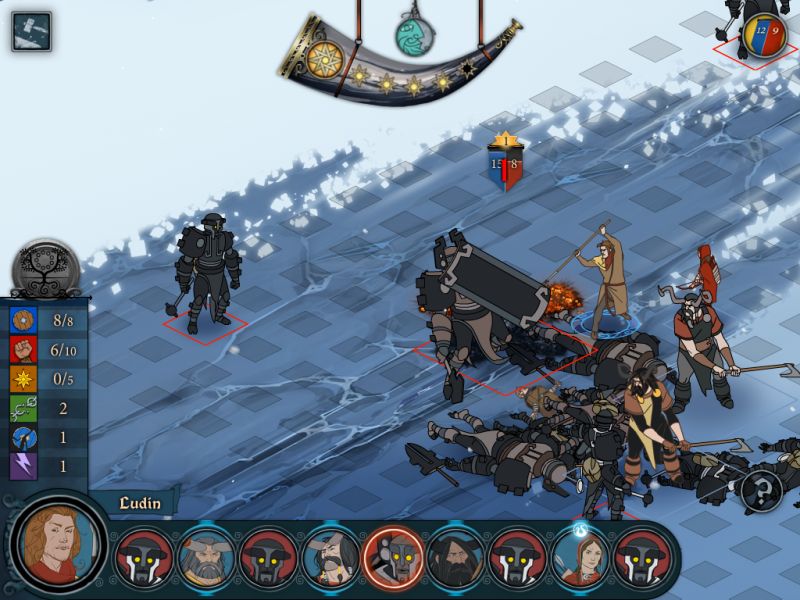
Ludin uses Impale, not for the bleed effect but for the forced movement. A Scourge lurches impotently around the back of the enemy line.
Because Ludin pushed the first Grunt back, Eirik is able to slip forwards thanks to his passive and carve a chunk out of the second Grunt.
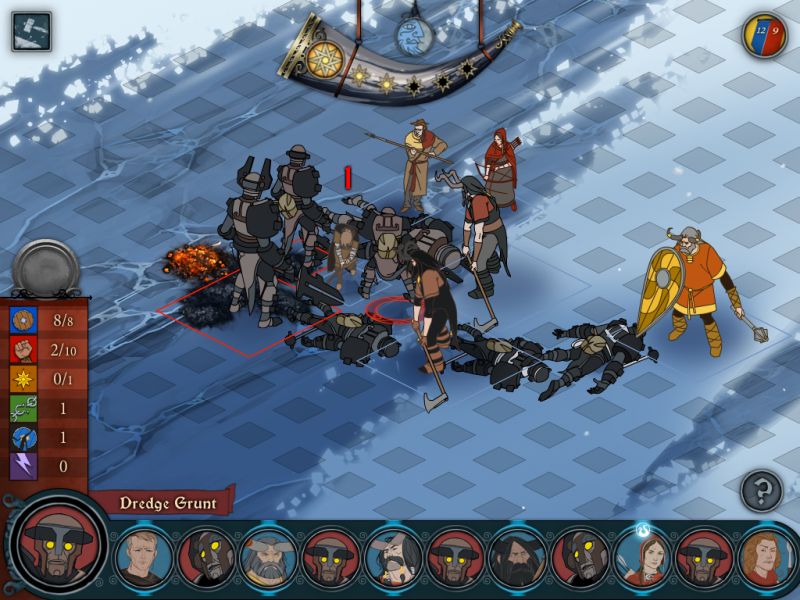
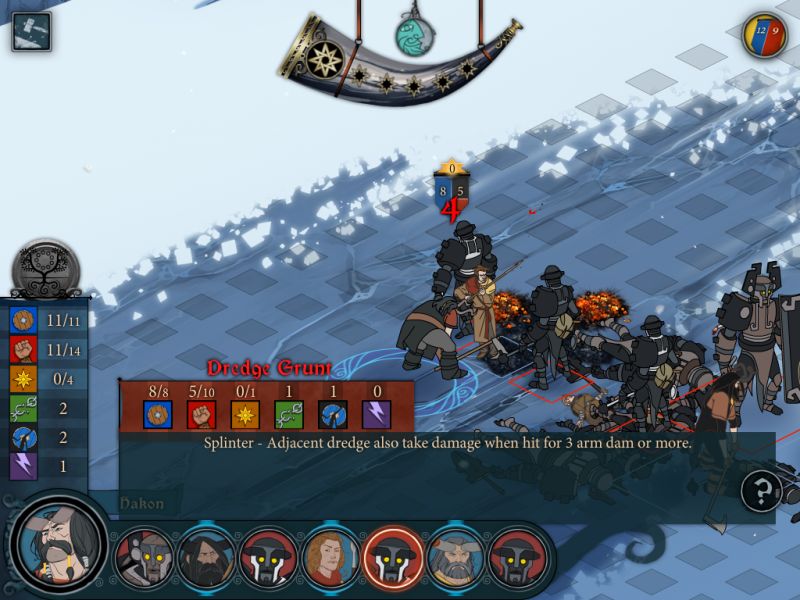
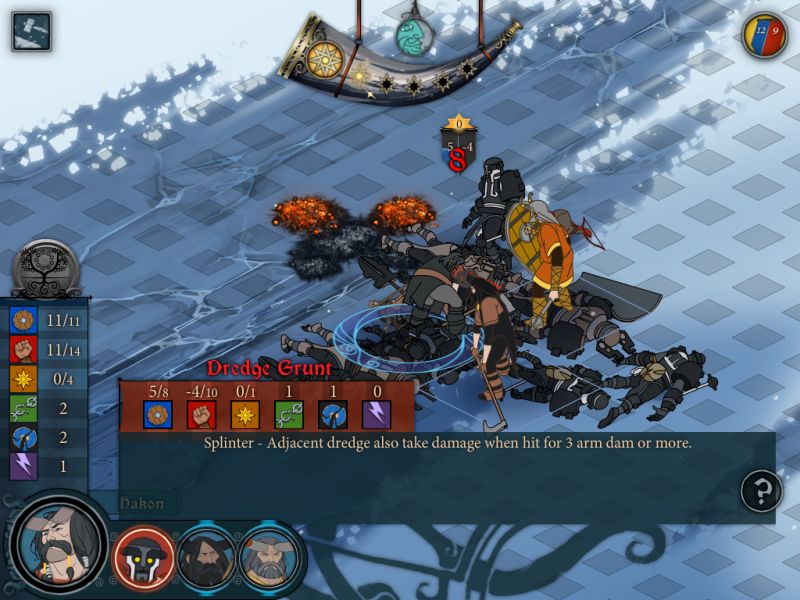
There are two enemies left with double-digit Strength: The Grunt north of Hakon (10) and the Scourge in the back (14).
Mogr is a bit cramped for space, between Bersu and Eirik and Ludin, so all he can do is push this already-weakened Grunt down even further, to 1 Strength. Varl can be a bit hard to work with due to their size.
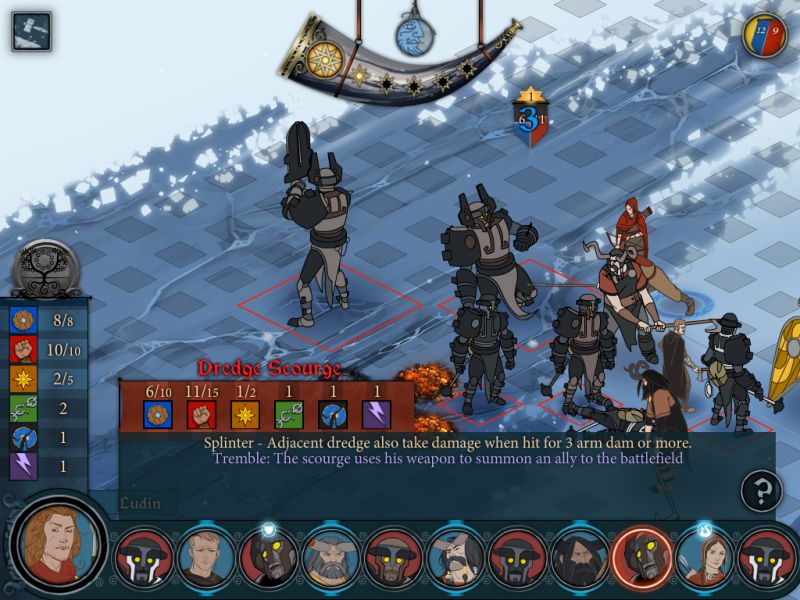
This was a good move by the enemy. Not only is it next to impossible for me to reach that Scourge before it finishes summoning, but now the uninjured Scourge has access to Hakon. I'm expecting to have to deal with a fifth Grunt soon.
Hakon burns through all of his remaining Willpower to bring the last uninjured Grunt on the battlefield down a notch.
He's doing a fantastic job of tanking for the team here. You'd think they'd start going after his Armor soon.
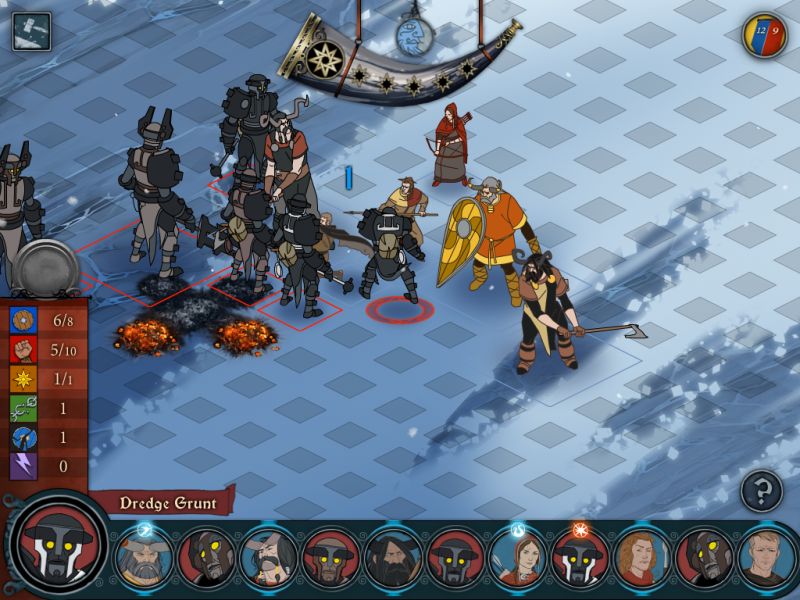
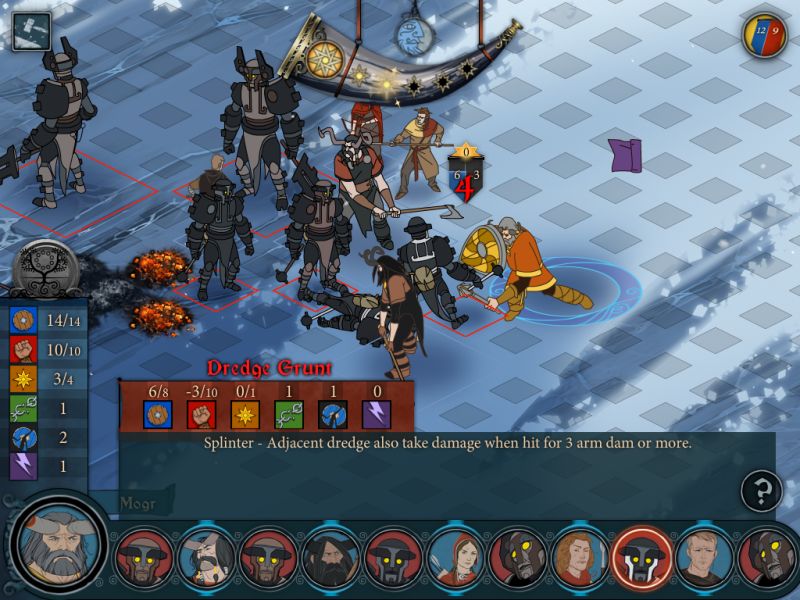
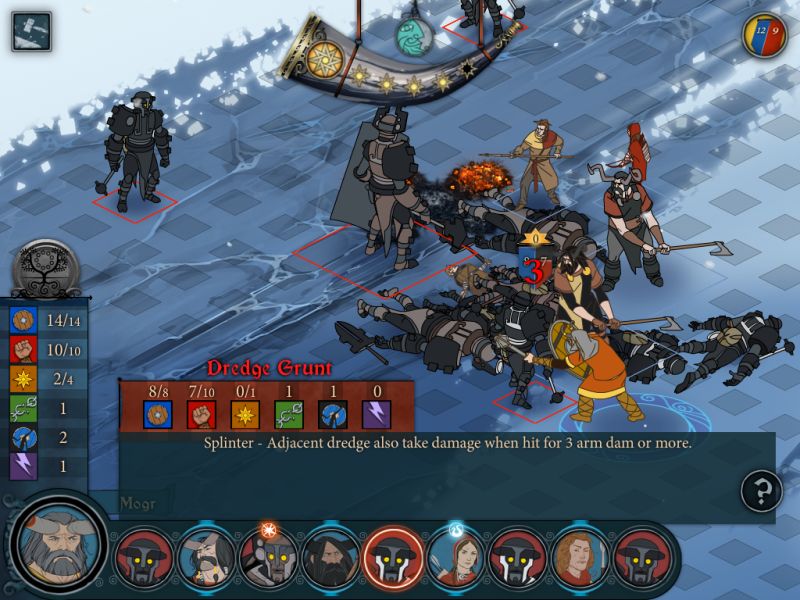
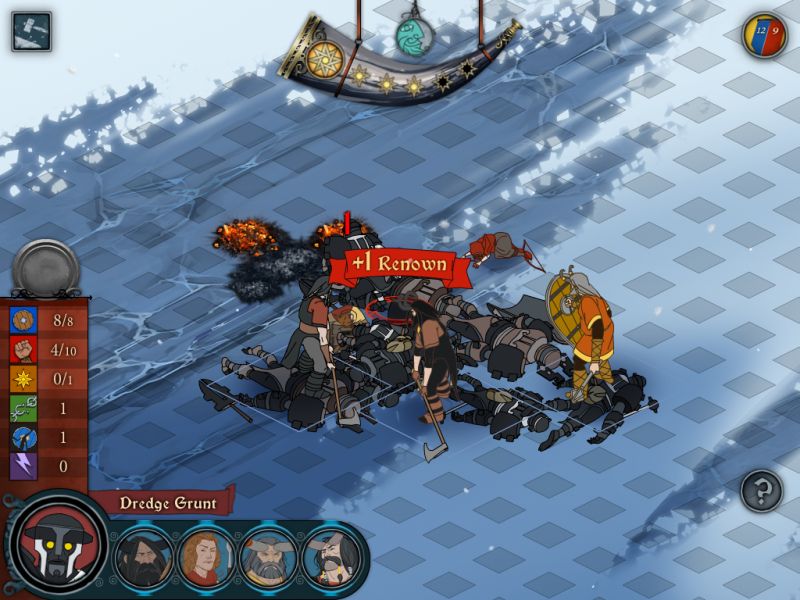
In a calculated risk, Bersi takes an early kill!
I'm not too worried about the turn differential - the enemy is getting reinforcements soon, and the important thing here is that Yrsa goes before the Scourge, which will still happen.
With this, not only can I do some damage to the biggest threat on the field, but the coals are forced to spawn in a way that he has to walk over them no matter who he wants to attack.
It's something of a suicide attack - I'm not sure offhand whether or not walking over the same coal for 2 tiles due to its size will do 1 or 2 damage to the Scourge, and if it's 1, it can kill Yrsa in one hit. Yrsa isn't really hampered much by injuries, so I'm willing to risk it.
The result is something of a mixed bag - it only did 1 damage, but the Scourge also didn't use any Willpower on its attack, so Yrsa survives at 1 Strength.
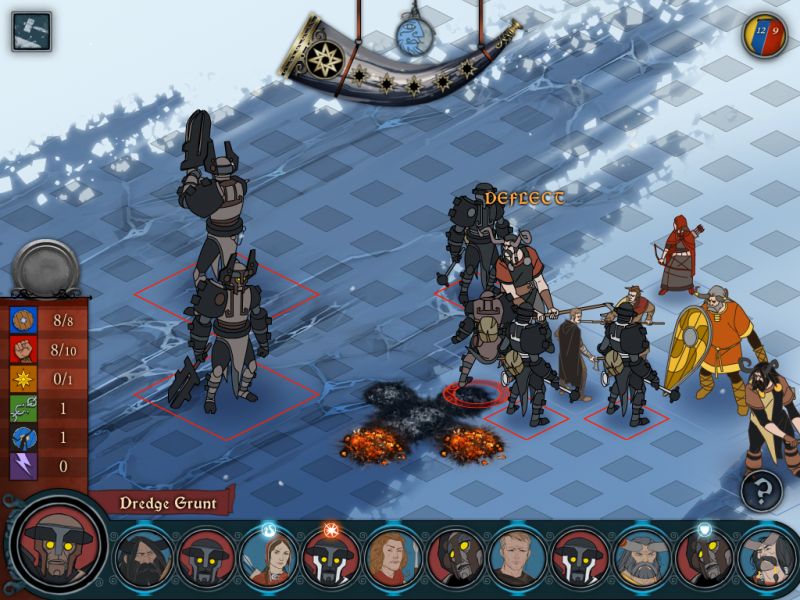
Unable to get any useful hits in elsewhere, Ludin sticks the Scourge for some Armor damage.

Eirik's Armor, meanwhile, is getting pretty low - down to six. A healthy enemy could do some real harm.
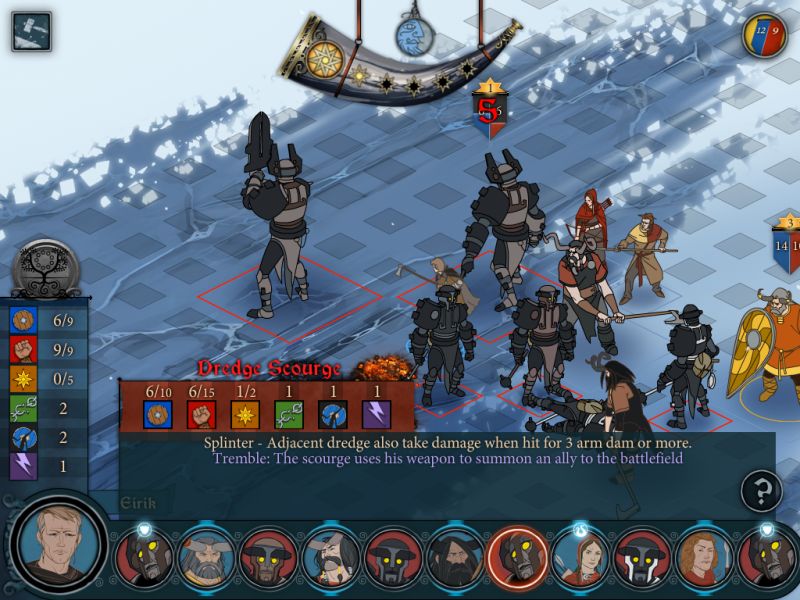
On the other hand, huge brawls like this are where Eirik's passive ability shines. He's able to slip through Hakon's spaces and circumvent the entire flow of the battlefield to cripple the second Scourge. There are now no enemies on the field with more than 7 Strength.
Until now, that is. The summoning finishes, and we get a healthy Grunt in swinging distance of Eirik. Bad luck.
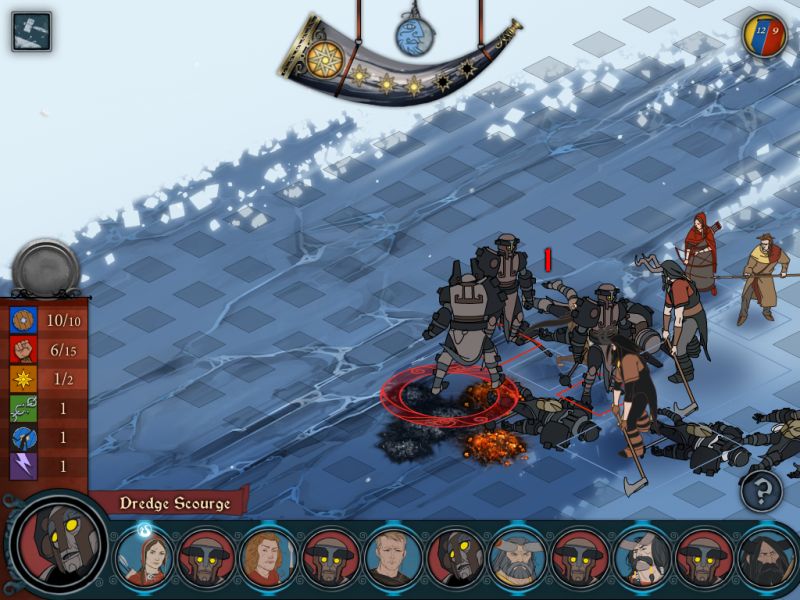
I think I'm going to start taking kills.
Eirik's in bad shape, with 6 Armor and 4 Strength. Fortunately, that Grunt is the only thing that can still do him meaningful amounts of damage, and I intend to fix that soon.
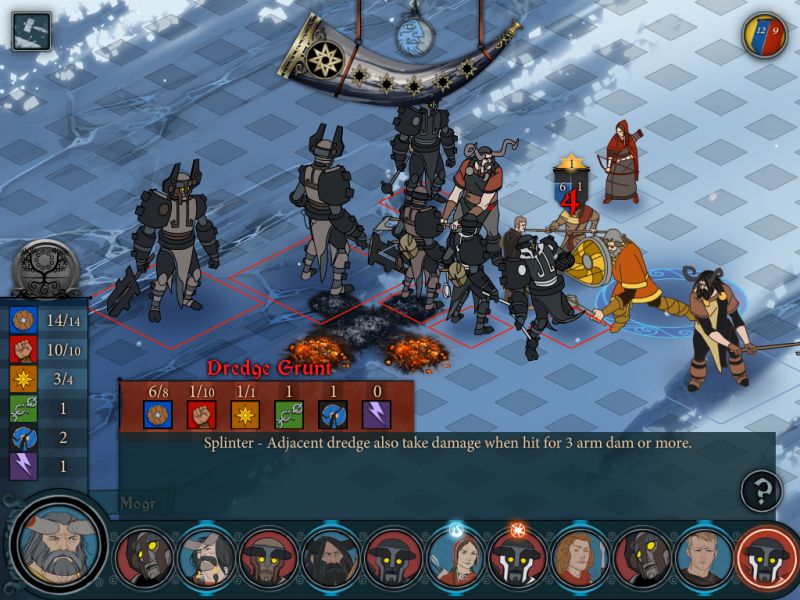
Hakon takes a point from the Horn to finish off a Scourge before it can attack. As a bonus, the heavy impact knocks the new Grunt down a point of Strength.
3 Strength left. It's gonna be down to a damage race for whether or not I can get Eirik out of this one intact.
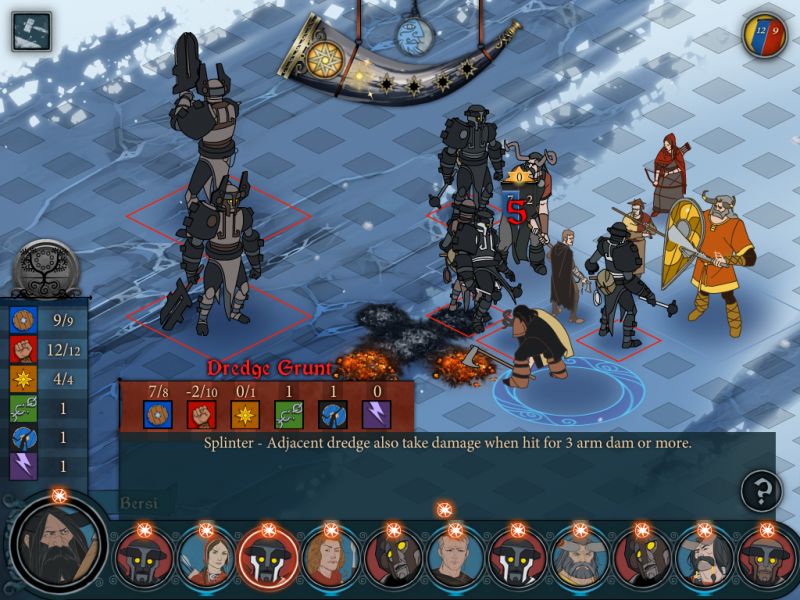
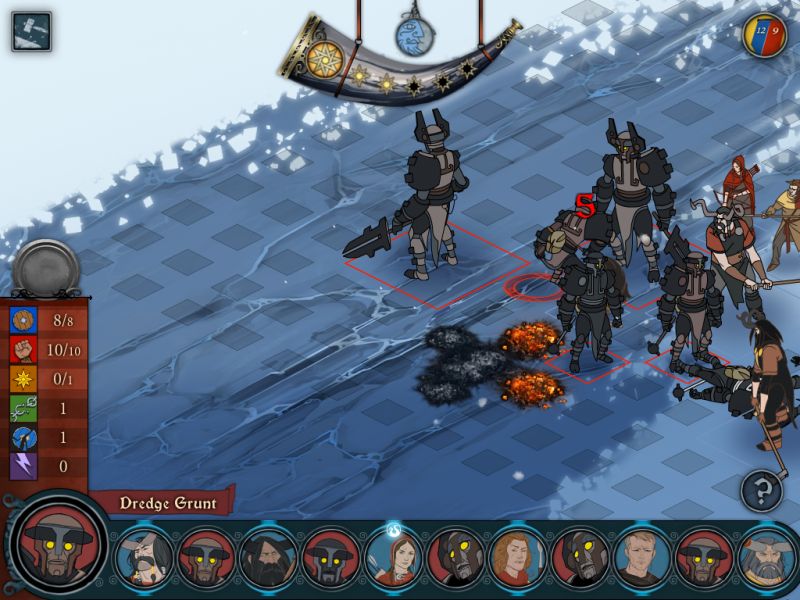
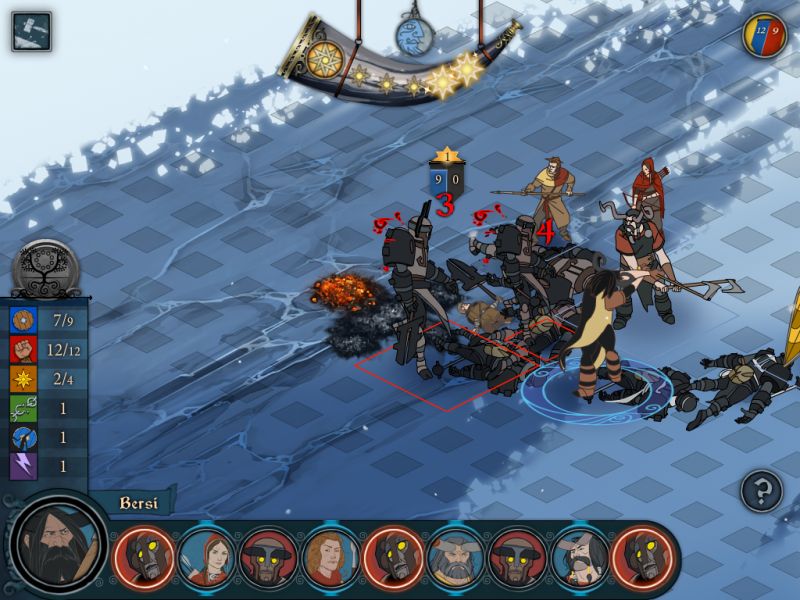
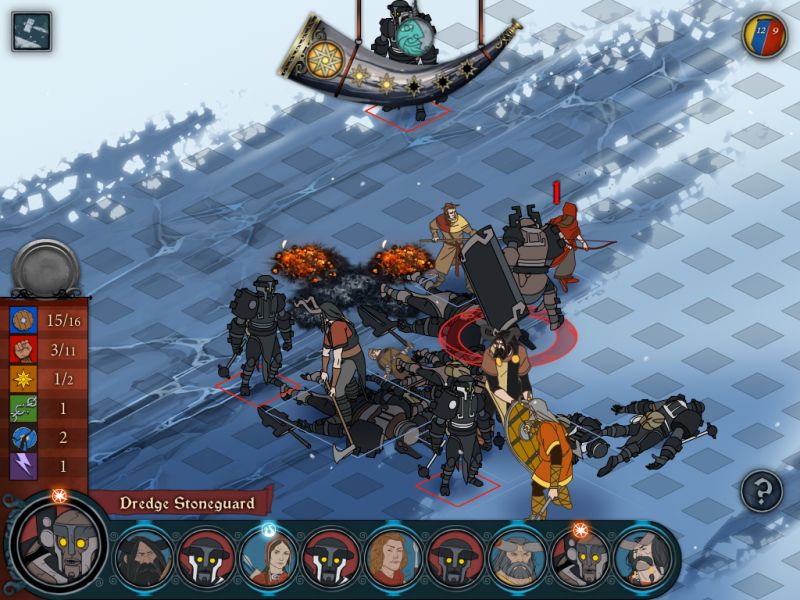
And here's where the Warhawk shines! Late in the battle, and nobody's been paying Bersi any attention.
Sharing Hakon and Gunnulf's passive, each of these hits does 1 splash damage to the other. One Grunt dies, the other is left at 2 Strength.
2 Strength left.
Why does Yrsa even have an Attack command? I've got a fever and the only cure is Slag & Burn.
1 Strength left.
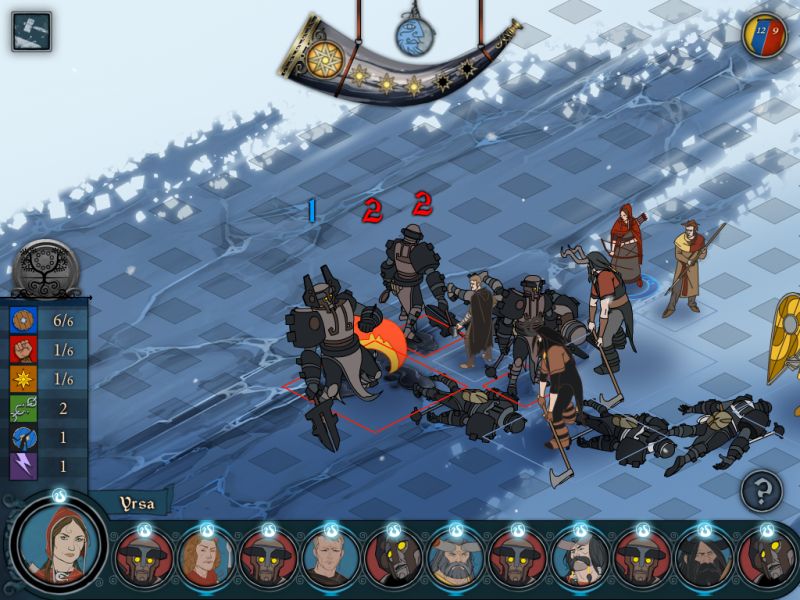
The nice thing about starting the kill spiral is that I can use the horn to keep pouring Willpower into people, letting Ludin move one extra tile and do 2 extra damage.
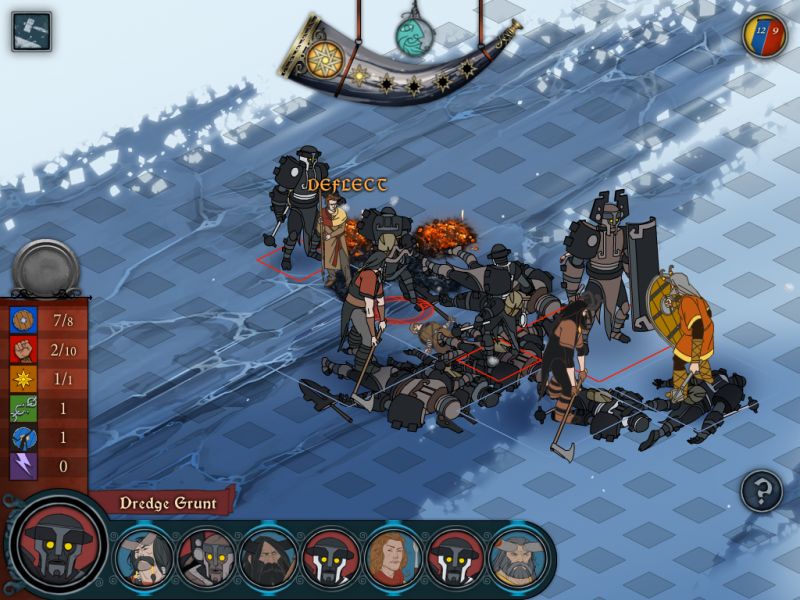
A bad deflect roll takes Eirik down. I lost the damage race!
Bersi is basically untouchable now that he's survived unharmed this far into the fight.
Another kill for Hakon, another enemy sauntering up to poke Bersi.
Then, Bersi finishes off both remaining dredge with a single swing!
You take a moment to survey the battlefield. The enemy is being pushed back all the way down the line.
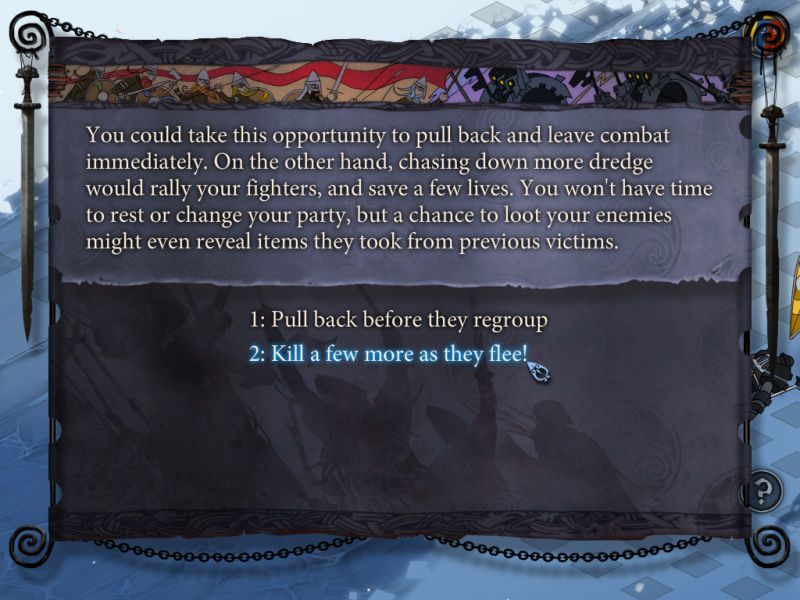
You know what? I'm feeling lucky.
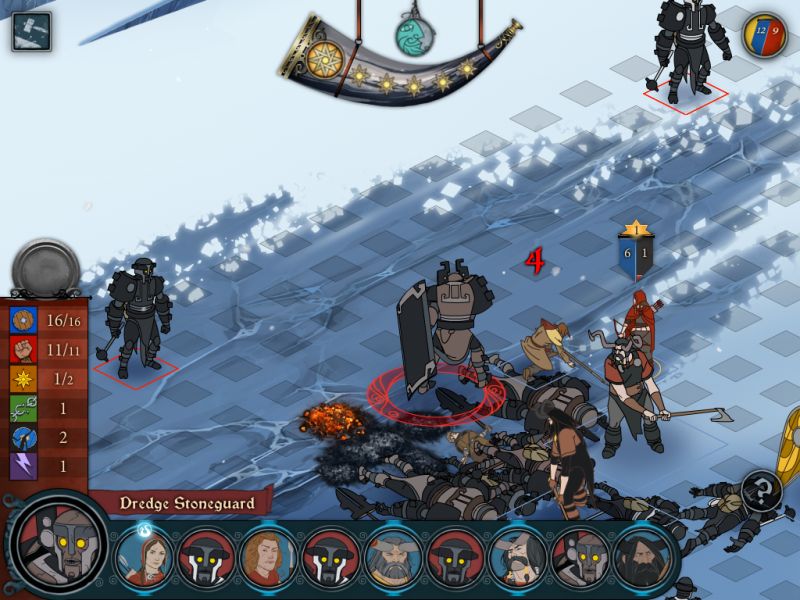
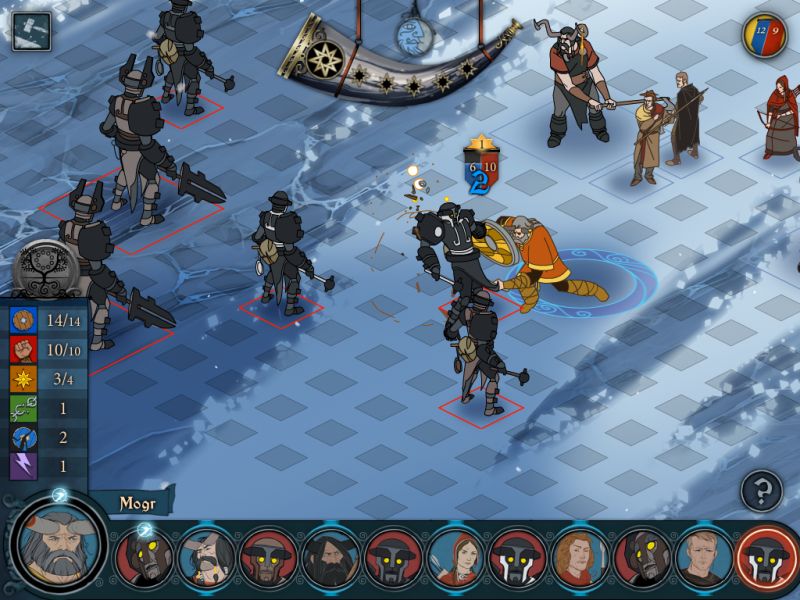
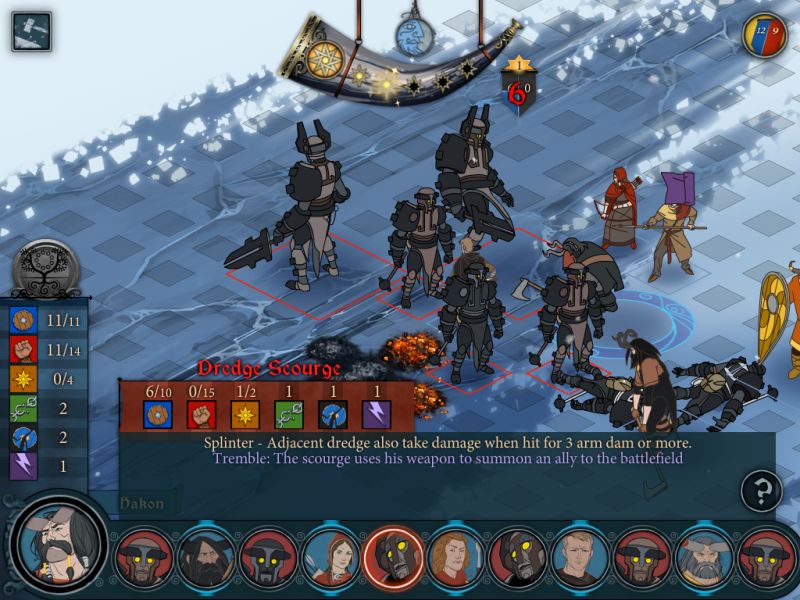
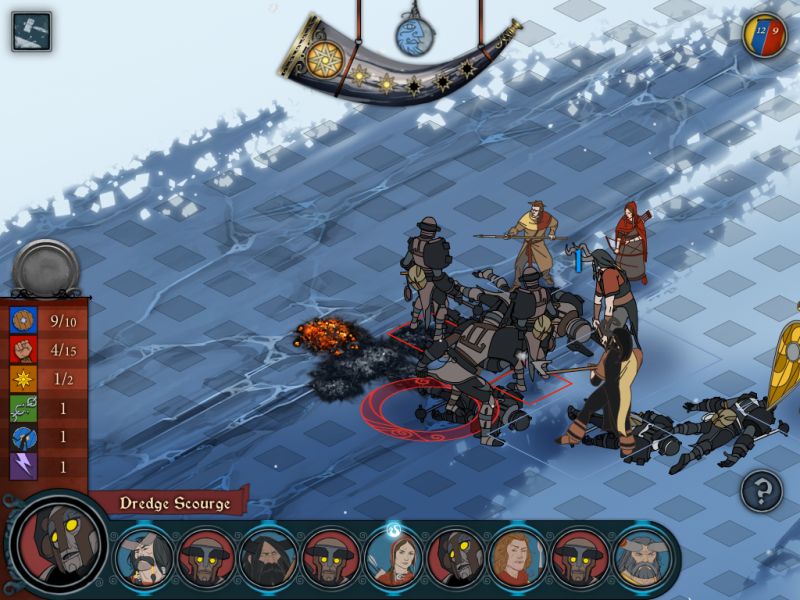
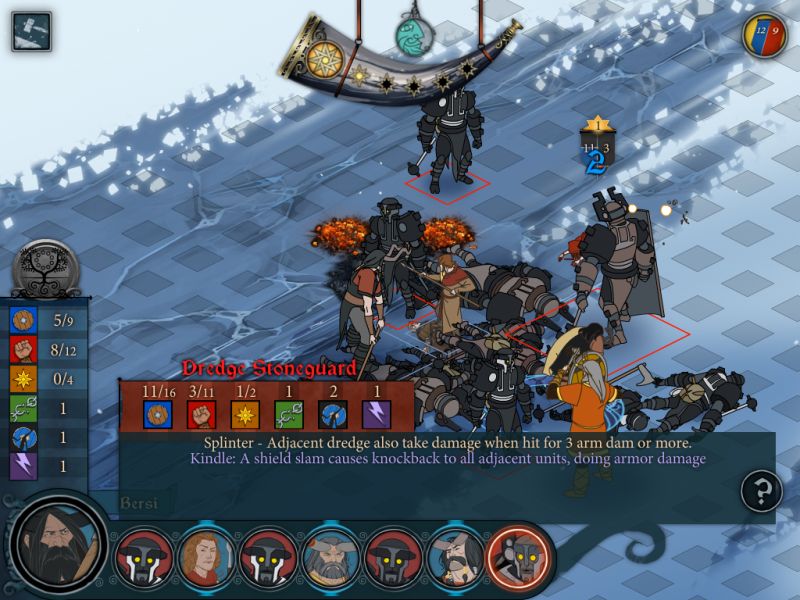
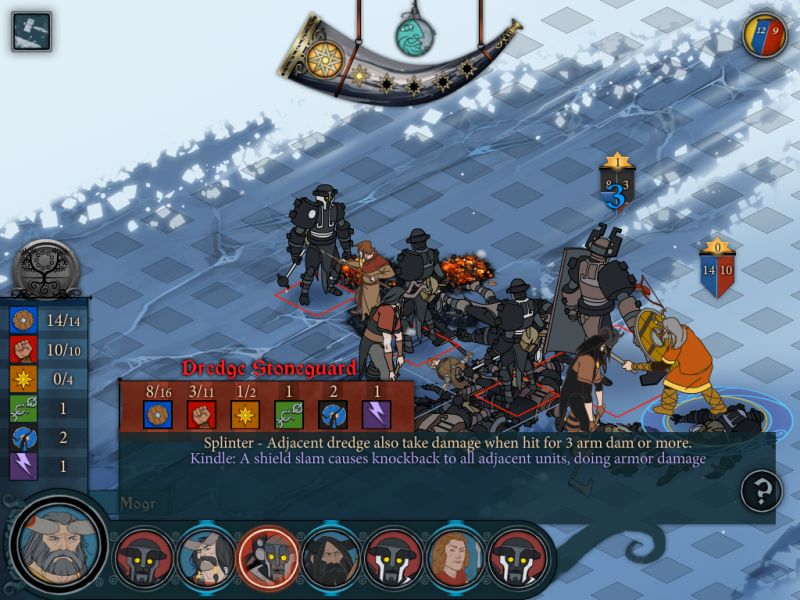
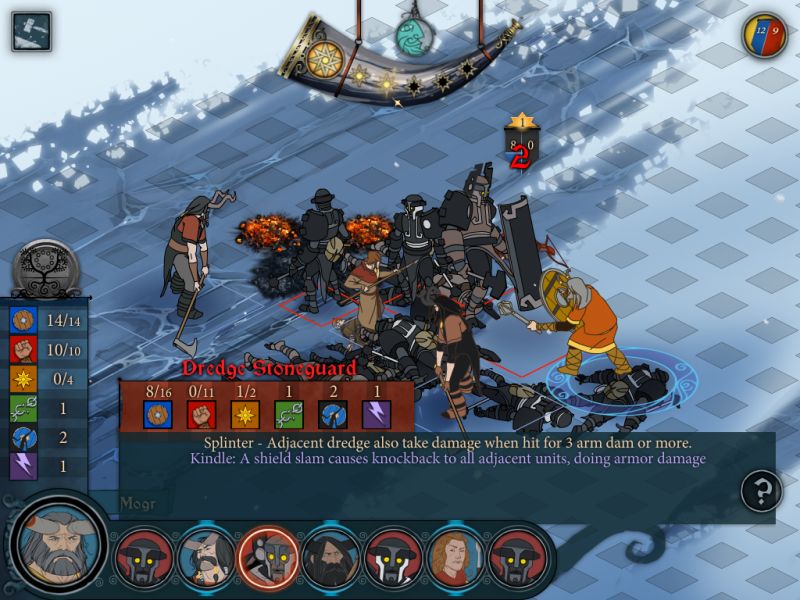
Oh god, wave 2 brought a Stoneguard with them. This may have been a mistake.
Messed up the screenshot timing a bit here, but that's another Slag & Burn on the Stoneguard! It's critical that we use some attacks that can hit Strength without worrying about Armor.
The enemy reinforcements total one Stoneguard and three Grunts. Bersi takes his first real damage of the battle.
Following up on that Slag is Impale! The Stoneguard is down to a much more manageable 8 Strength.
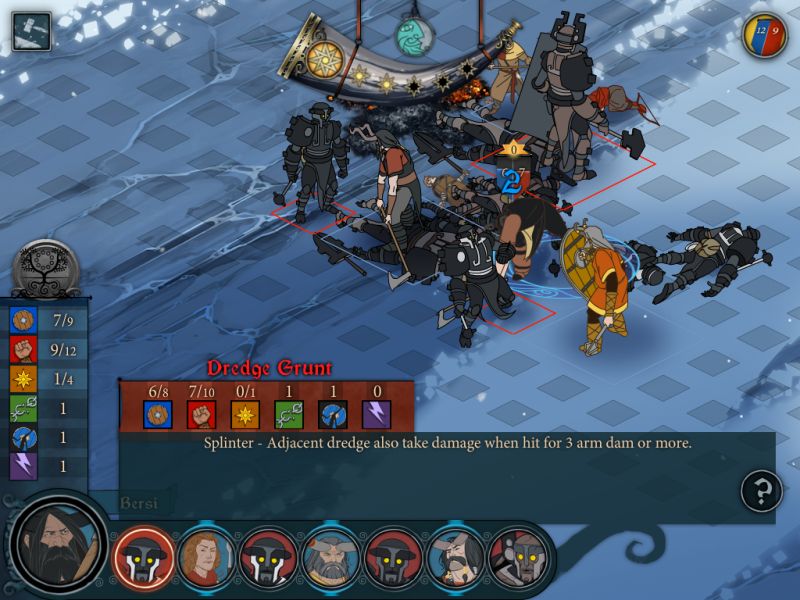
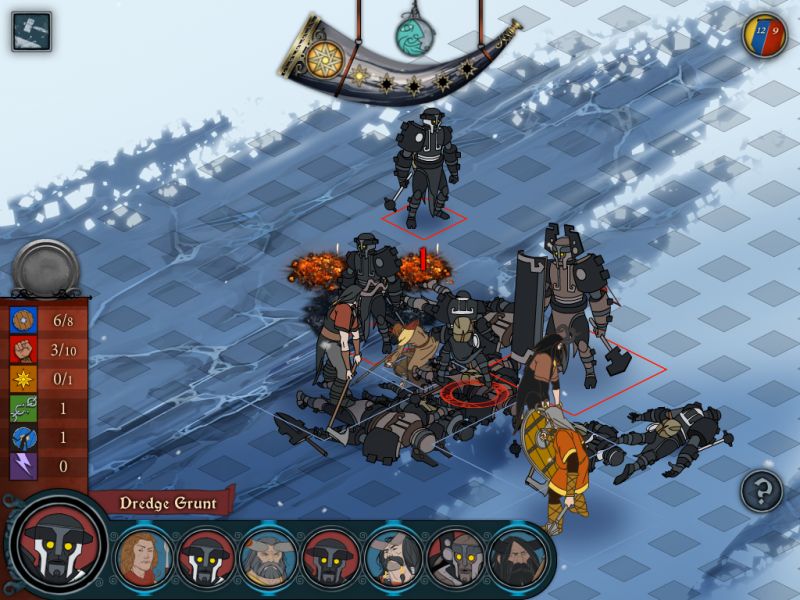
An enemy Grunt wastes a turn moving closer. One of the nice things about the second wave is that the enemies often spawn far away giving you time to regroup.
Mogr weakens a Grunt, an enemy Grunt wastes a turn moving closer.
Hakon weakens a Grunt. My goal here is to make the Stoneguard choose between attacking the sturdy Hakon or moving (and taking Impale damage from walking) to target the more vulnerable Ludin.
The end result is something I hadn't considered - he walks a full three spaces to take out Yrsa, dropping to 3 Strength in the process.
It sucks taking two casualties, but I was fully prepared for this to happen to her on this map. Sorry, Yrsa!
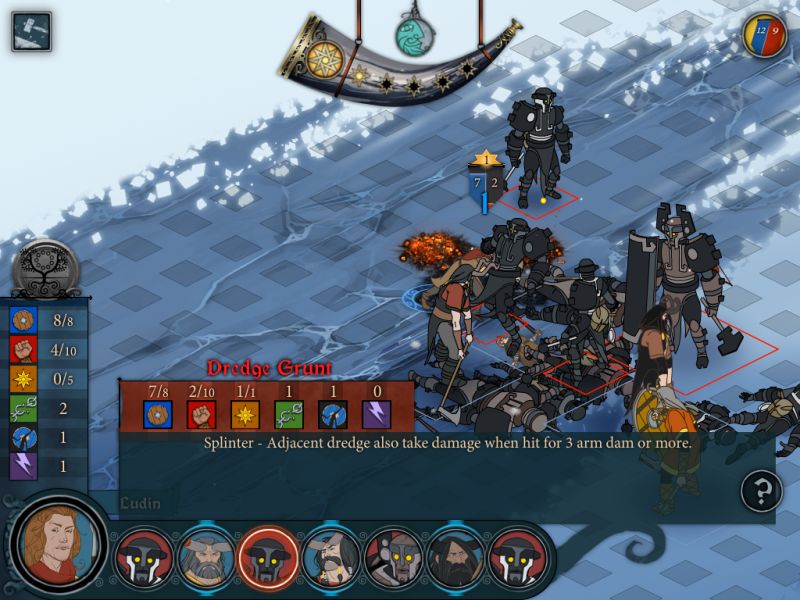
There's no enemies in range who are strong enough to pierce my Armor, so I can take my time for now. The Grunt counters with a 1-point Strength attack.
Poke, and the distant northern Grunt wastes another turn. If I don't kill anything between now and Ludin's turn, i can make it waste a third.
So, this becomes a rapid-fire slugfest for a while. Mogr hits a Grunt for 4 damage, a Grunt hits Ludin for 1 damage, Hakon hits the Grunt for 3 damage, the Stoneguard hits Hakon for 2 Armor damage.
The next few turns are boring, is what I'm getting at.
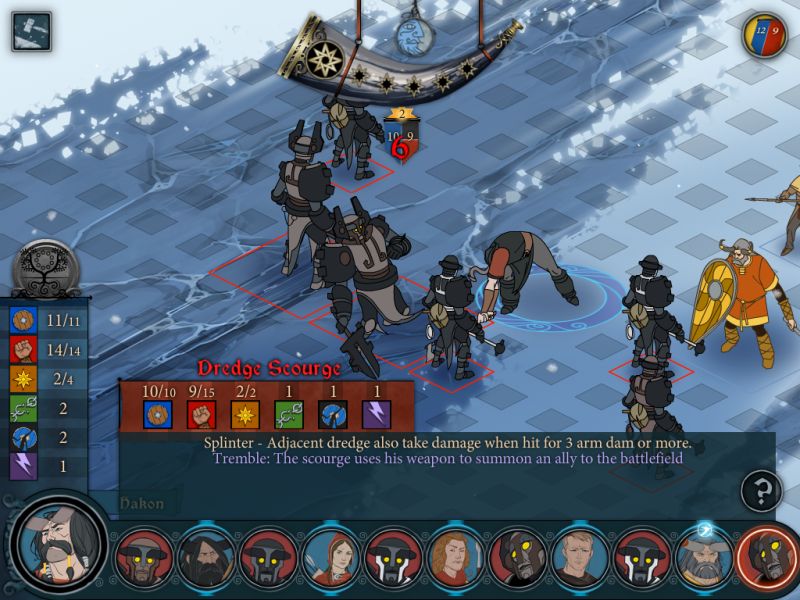
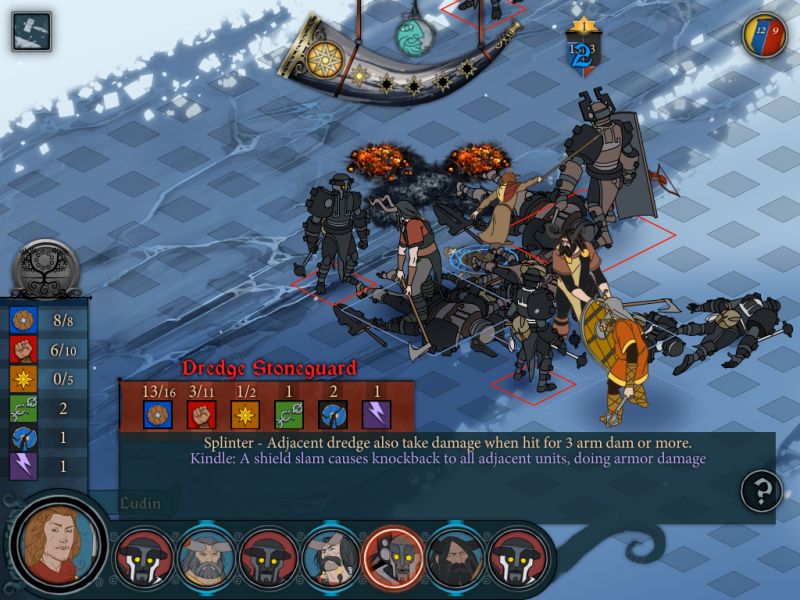
Until this happens. This is the worst possible turn of events right now, and something I really should have tried to prevent.
Ludin's escape route is blocked off. He can't get far enough to avoid taking a hit from the fresh Grunt to the north. I could rush him with an Impale to mitigate the damage, but I'd need to use Willpower for the skill and Willpower for the move, and I only have one star left in the Horn.
But wait! Unless I'm mistaken, a glitch can still save Ludin!
Check it - when Yrsa uses Slag & Burn, the coals last from her turn until the beginning of her next turn. Yrsa was taken out, so she never got a next turn, meaning the coals are permanent!
By luring the Grunt through them, I mitigate enough damage to leave Ludin at 2 Strength. Now, just like Yrsa and Eirik's fates, I have to leave his to deflect odds and enemy AI quirks, but he has a chance.
I've almost got this damn thing weakened enough that I can hurt it again!
The dice favor me!
Now every enemy is too weak to pierce our Armor, so I'm gonna skip ahead a bit.
Ludin gets a kill off of a lucky Deflect pierce, but rolls poorly himself, dropping to one Strength.
Mogr finally kills the damn Stoneguard.
Ludin goes down on the very last enemy turn.
Hakon scores the last kill.
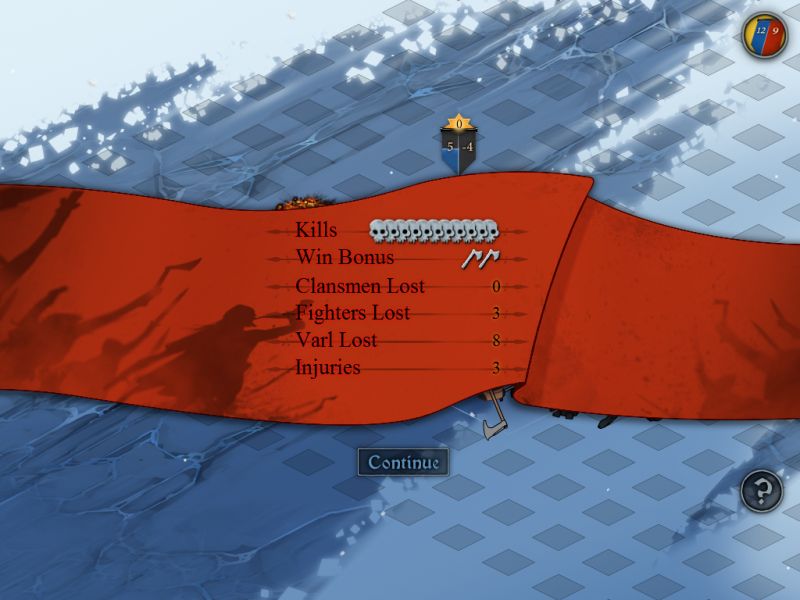
+21 Renown
No treasure. Next time: The second half of a very bloody war.