Part 3: Chapter III - He's surprisingly simple, wouldn't you say?


He’s surprisingly simple, wouldn’t you say?
Music: Truths Revealed
 - Video: Yamarn Plains Cave Dungeon
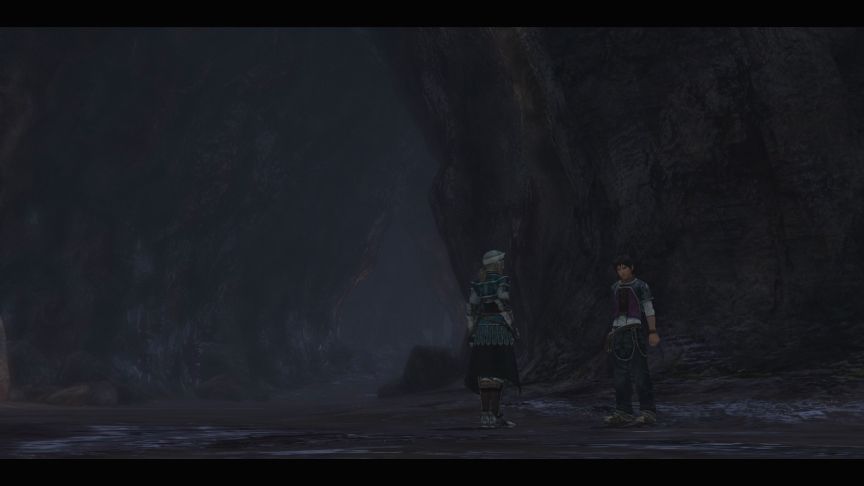
Music: Into the Depths
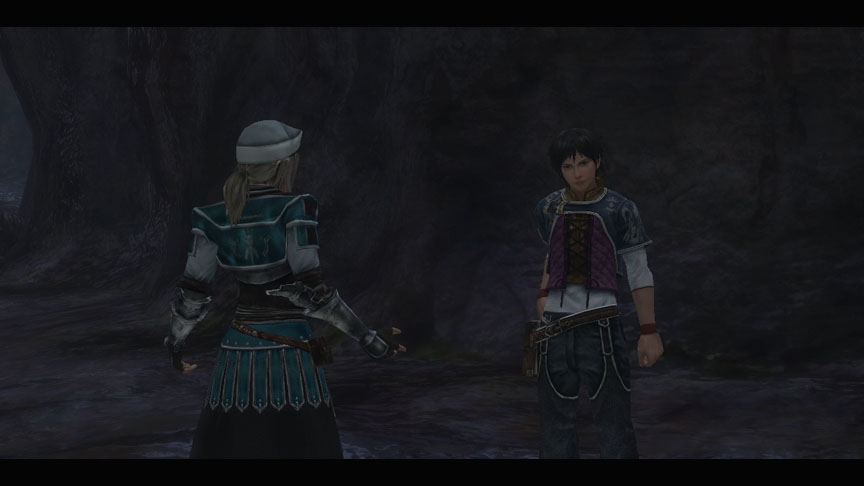
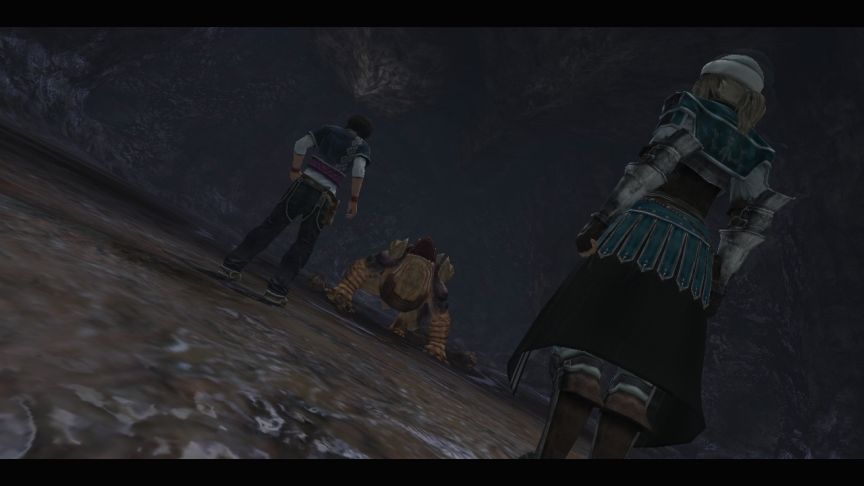
 Emma has joined the party! Yamarn Plain – A plain bordering Athlum. Many have fought here unsuccessfully in hopes of invading Celapaleis.
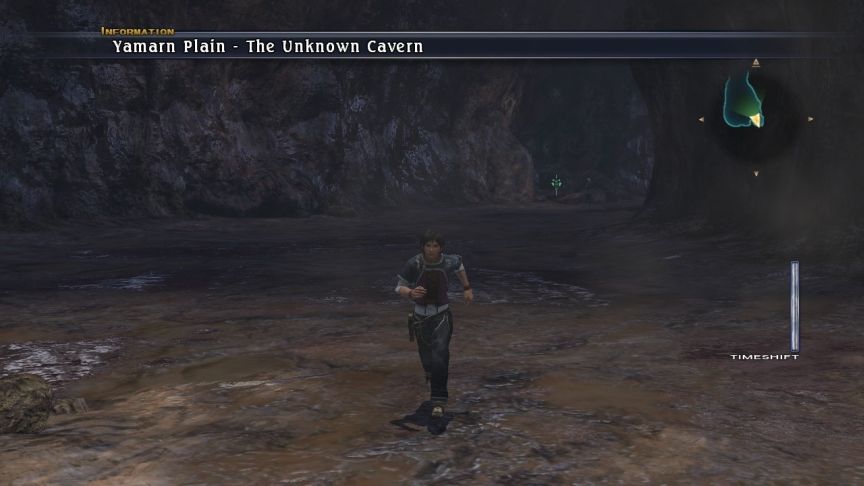
 Hey and we finally get control of our protagonist! Yamarn Plain is a battlefield location, which means that it’s only accessible a single time for a quest/story battle. Once we leave this tiny cavern, we can never come back.
You may be wondering what that “Timeshift” meter on the right is. I’ll tell you later. In a fresh game, it gets introduced in a couple dungeons from now, so I won’t use it and save the explanation for when we do get it.
Emma has joined the party for this dungeon. This is actually the smallest the party will ever get for combat areas - you can always have at least two party members.
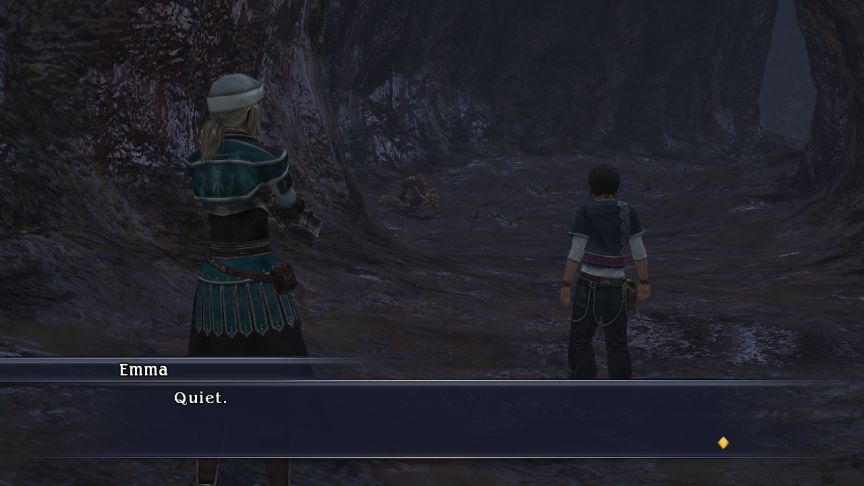
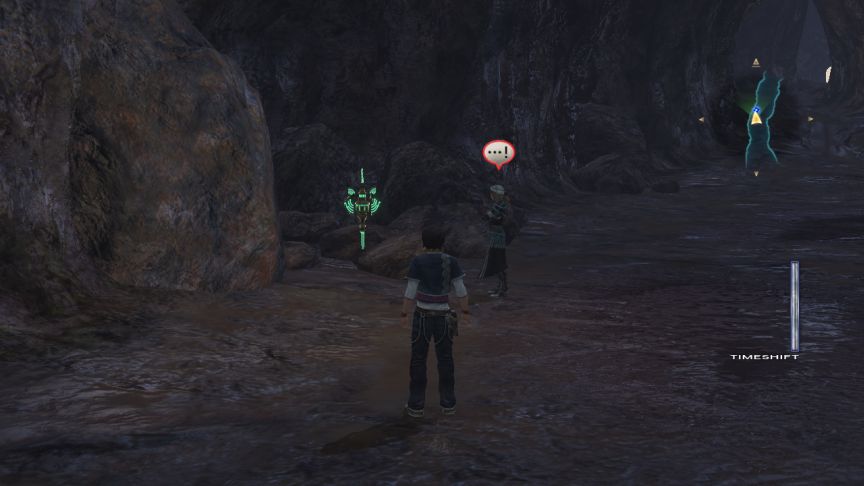 Lady Emma seems interested in that thingee. (No, you can’t run by and ignore it.) The game has to introduce its admittedly unusual concepts to the player, and they’re doing that through the protagonist as usual, but for the son of two world-famous Remnant researchers, Rush is surprisingly ignorant of such a basic thing. If you’re feeling generous, you can chalk that up to him hitting his head when falling into here.
You can actually skip this dialogue by selecting the chest directly instead of talking to Emma.
“Academy Visistone 8-9” posted:
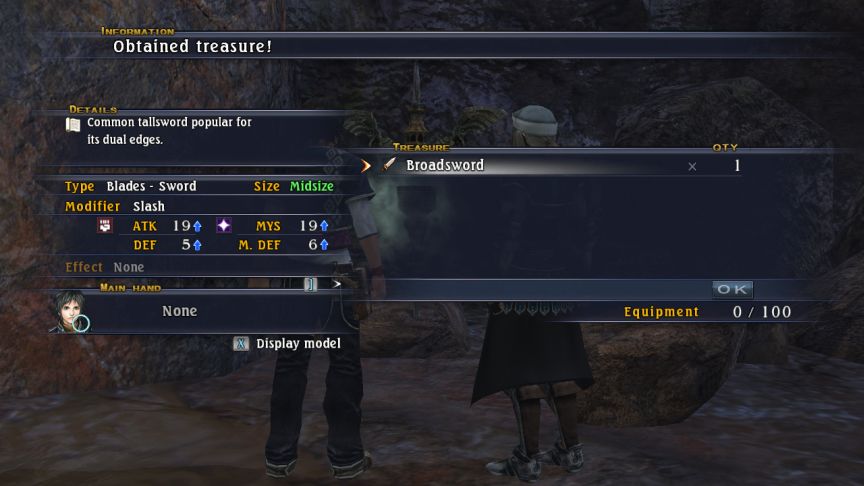 This game’s setting is so unusual that they even made such a basic thing as a treasure chest into something unique-looking. Treasure chests in this game are semi-common, they have fixed loot, and they never respawn.
Here, Rush gets a weapon so he can fight.
Rush may be a typical JRPG Idiot Hero, but the other characters treat him like an idiot, which is refreshing. Press {P} to open the Party Menu. Check Rush’s Equipment to see the obtained weapon. Save game progress through the Save Menu. Progress can be saved wherever the party menu is accessible. In other words – no save points, you can save anywhere. And you will really want to.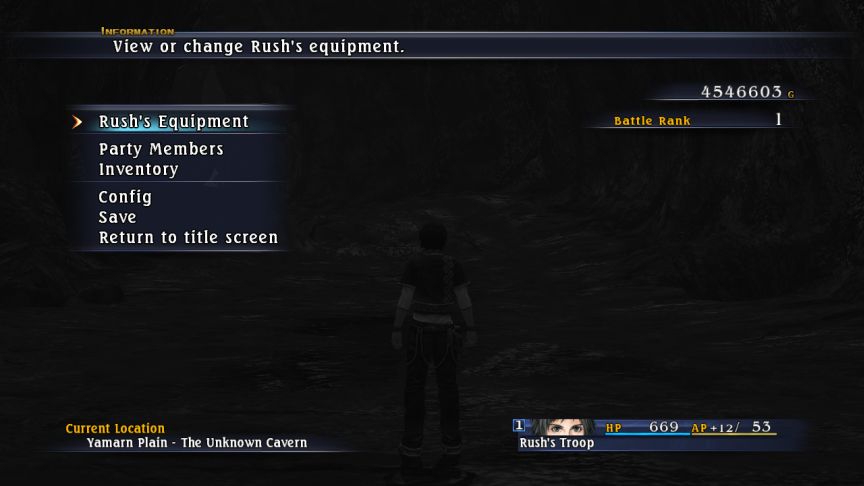 Like the typical hero, Rush set out on his journey with just the clothes on his back, and his life savings – a piddly little 4,546,603 G. … Okay, okay, normally you only start out with 800 G, but the high amount is because it’s a New Game Plus.
 In NG+, you don’t carry over your previous G, but you are awarded some amount of money based on the number of side-quests and quild-requests you do. I didn’t bother finishing up everything, including two really tough bonus bosses, so I didn’t get the full amount, which is supposed to be approximately 8,000,000 G. They never actually say if G stands for anything or not.
You can see the list of party groups in the bottom right, which only has Rush’s Troop, consisting of himself and Emma. The stats are a combination of Rush and Emma’s. HP is self-explanatory, and the union generates 12 AP at the start of each turn, and it can hold a maximum of 53 AP.
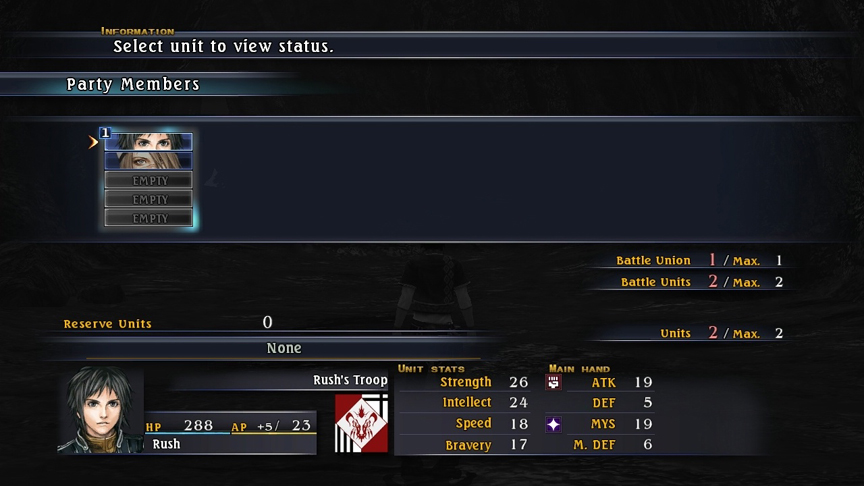 Each character has four primary attributes. I don’t know all the details about everything stats do, but Strength determines the power of physical attacks, Intellect does the same for mystic arts, and speed determines or helps determine how quickly a unit acts in the turn order. Each character has a fourth attribute with a special name and ABSOLUTELY NO ONE knows what it actually does. No, really. In Rush’s case, his special attribute is Bravery, Emma’s is Love.
The second column are secondary attributes, which are largely determined by your weapon’s stats. ATK and DEF are your physical attack and defense, MYS and M. DEF are the same for mystic arts.
Each unit also gets a flag for some reason.
 By pressing {Space}, monsters within a certain range can be drawn into battle. Monsters with [a red-outline around their mood bubble] are close enough to be encountered. If a monster on the field attacks you before you have a chance to attack it, you will be at a distinct disadvantage in the ensuing battle. Be forewarned.
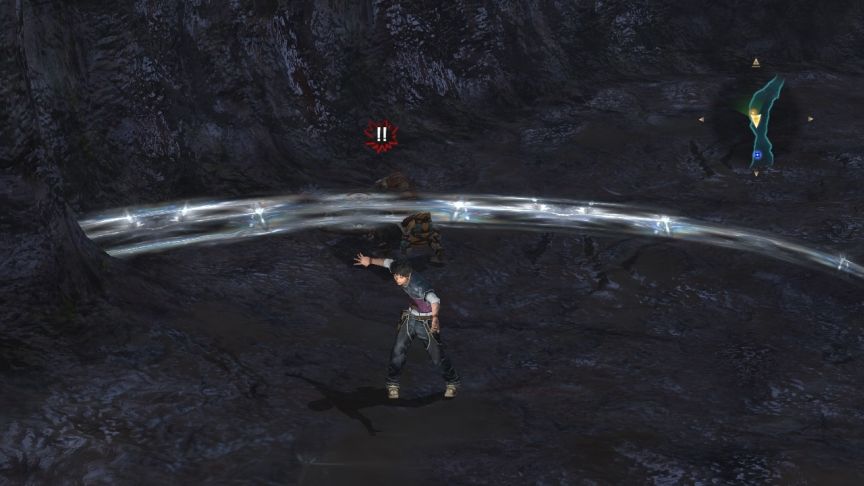
Music: Flamedrop
 A New Game Plus run strips out most of the Tutorial messages and dialogue. A sensible idea, but since I’m showing this game to you, I’m going to do a short parallel run through the first few hours to get shots of that stuff to show you.-Battle-
Each entity in a battle is called a unit. These units are organized into groups, called unions.
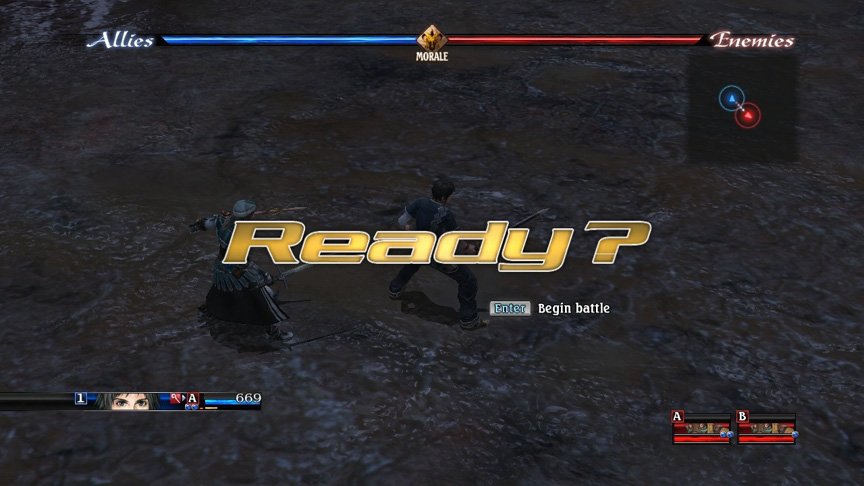
In battle, you will command friendly unions for large-scale assaults. The specific directions you may give are displayed as battle commands.
At the top right of the screen is a battle navigation map showing the positions of all unions engaged in battle.
Available battle commands change depending on conditions such as the positions and makeup of friendly and enemy unions. Keep these conditions in mind to give appropriate battle orders.
-Battle Commands-
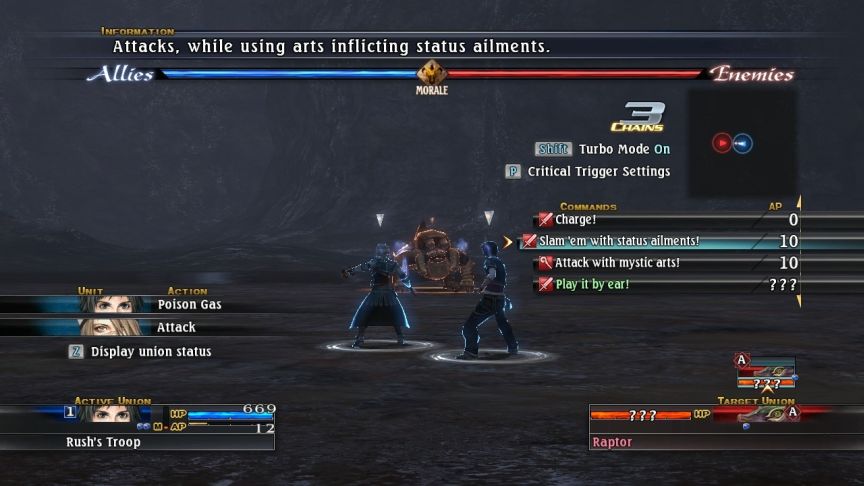
Pressing {Left}{Right} switches targets, while pressing {Up}{Down} switches battle commands. Pressing {Z} displays the status of the units in the currently selected union. You can check units’ actions and any status ailments.
 On a first-time playthrough, Rush only knows the Item Art “Herbs”, and he doesn’t start out with any in his inventory. That means that you only get “Attack”, “Attack with Combat Arts”, and “Play it by ear!”
AP stands for Action Points. Those are used to perform Combat Arts (physical attacks) and Mystic Arts (essentially magic). AP starts out at zero for everyone at the start of battle, and each unit in the game generates a certain amount of AP at the start of their turn, and each unit has a limit on how many AP they can accumulate. The amount you get per turn and your maximum capacity are the sum of those values for each unit in the union. The game only provides you with options you have the AP to use. Generally, it's best to use the highest AP move you can on your turn, as that will be the most powerful, and you'll usually have some left over to be added to the amount you'll get on your next turn, so more powerful attacks can be done on later turns.
Attack costs no AP, and commands every unit to perform a basic physical attack only. The only reason to ever use this is if a party member is trying to learn the basic Combat Art for their current wield style. But almost all most party members start out with at least one Combat Art anyway. Emma starts with some Combat Arts (one-handed, dual-wield), but Rush does not.
“Play it by Ear” tells each unit to decide on their own what to do, limited by available AP. It is a bit of a gamble, but in cases when your preferred action can’t be found, this can sometimes be the best option.
@@@
Since this is a New Game Plus run, Rush starts out with the basic skill of all Mystic and Item arts learned. I have no items for using Item Arts, and I don’t yet have access to the Rush’s Arts menu to adjust what Mystic Arts he can use. It’s kinda funny seeing Rush start out with arts that took me basically the entire game to get last time.
Rush is using Mystic Missile, the basic Evocation. Emma does not know any attack magic - and we don’t have enough AP for her to use it as well even if she did - so she will perform only a basic physical attack.
 Before you commit to your actions, you get a summary showing all your unions planned actions and their targets, so you can go back and change things if you want. In this case, Rush’s union will use a Mystic art on Enemy Union A.

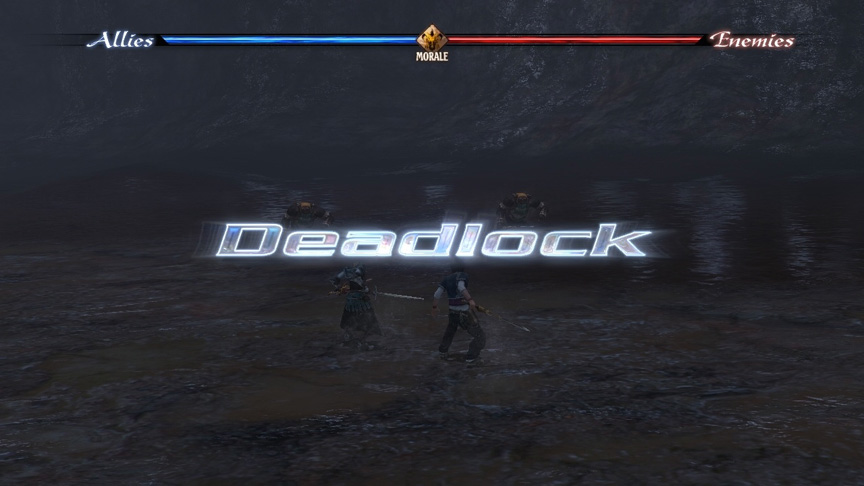 -Deadlock-
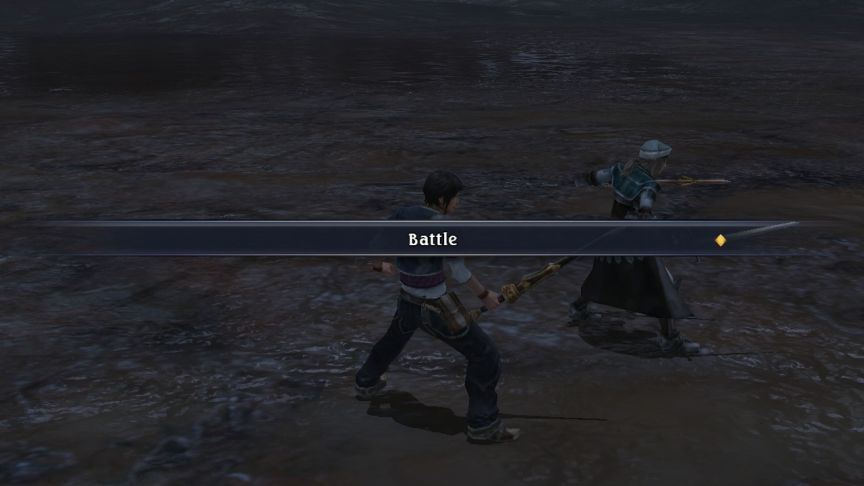
When unions are caught in close combat, it is known as Deadlock. In such situations, the two sides must battle until only one is left. While in Deadlock, targeting is limited. Only adjacent unions may be targeted. When targets are changed to adjacent unions, certain commands can break Deadlock. When breaking free from Deadlock, the opposing union has free chance to attack. Don’t act too rashly in these situations!
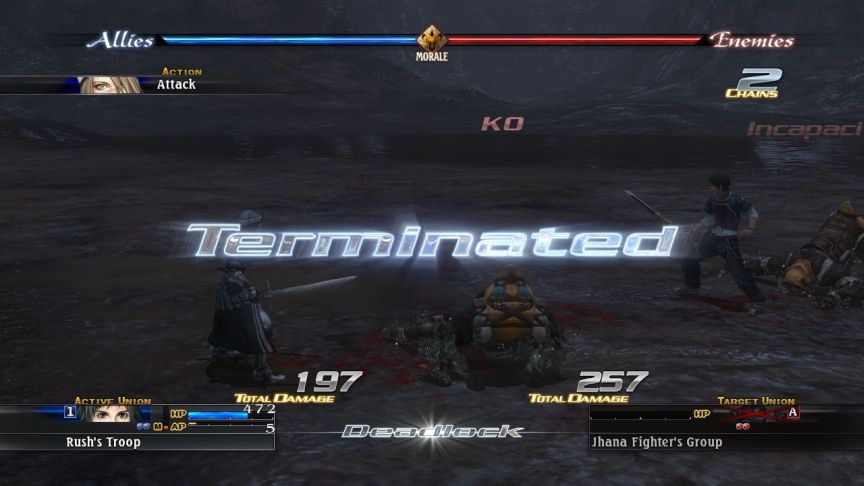
The visual aid was my creation, don’t blame the game. Arrows represent attacks. The game is warning us that breaking Deadlock with Union C, say to attack Union F - means we are much more vulnerable to another attack from Union C. You should always have a good reason for breaking a deadlock, but don’t be afraid to do so it if means reviving a fallen union or healing a union in trouble.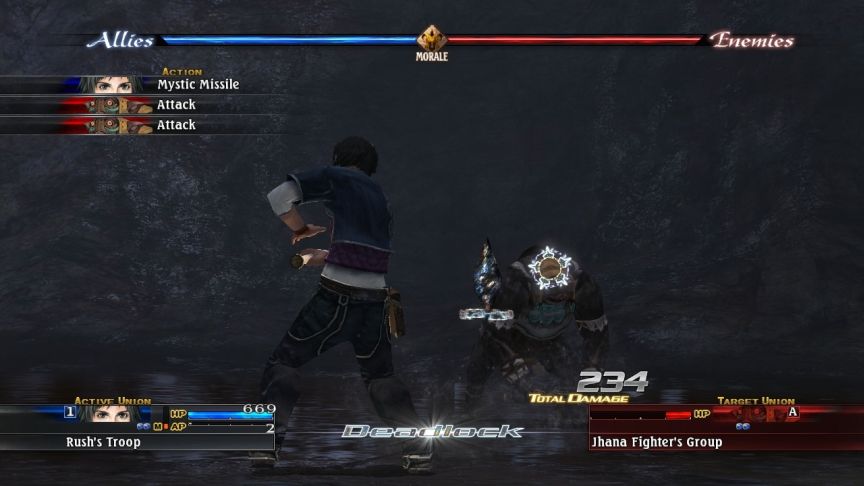 The monsters we’re fighting are Beastmen, specifically Jhana. This one dodges the mystic missile, unfortunately, which means that we’re still deadlocked when the other turn comes up, and the second enemy union gets to move...
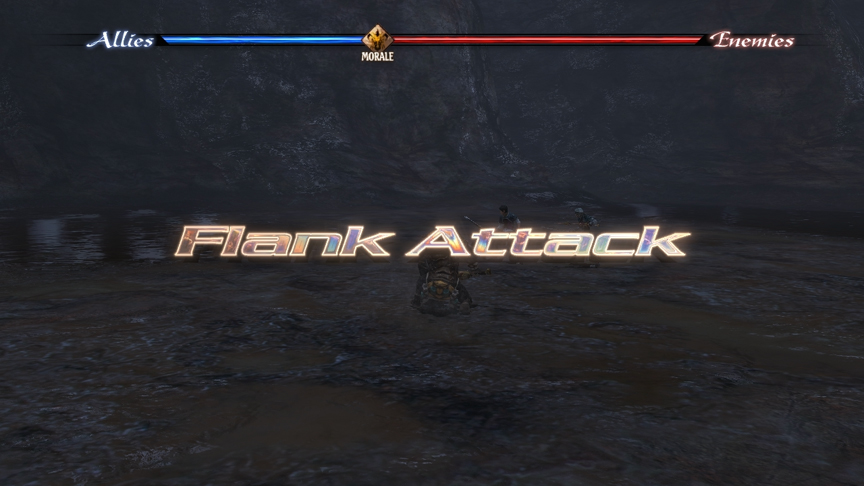 -Flank Attack-
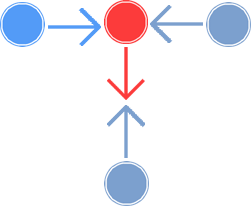
When in Deadlock, if a union is attacked from the side, it is known as a Flank Attack. It is possible to be flanked by two unions at a time. Unions performing Flank Attacks do extra damage.

 In the next turn, Emma finishes off union A. The damage number to the left is the total damage our union sustained, the one on the right is the amount we did to the enemy union.
 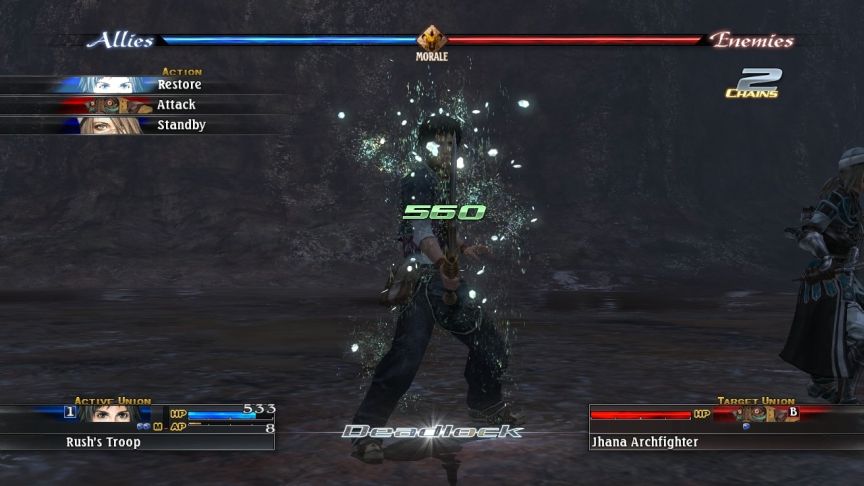 I was wounded, so I have Rush the “Keep your HP up” command (Attack while healing yourself). That heals your union without breaking Deadlock. Rush is using a Restore, the basic Remedy mystic art. Remedies are the best healing in the game, but it costs AP to use, and like all Mystic Arts, can’t be used when Silenced.
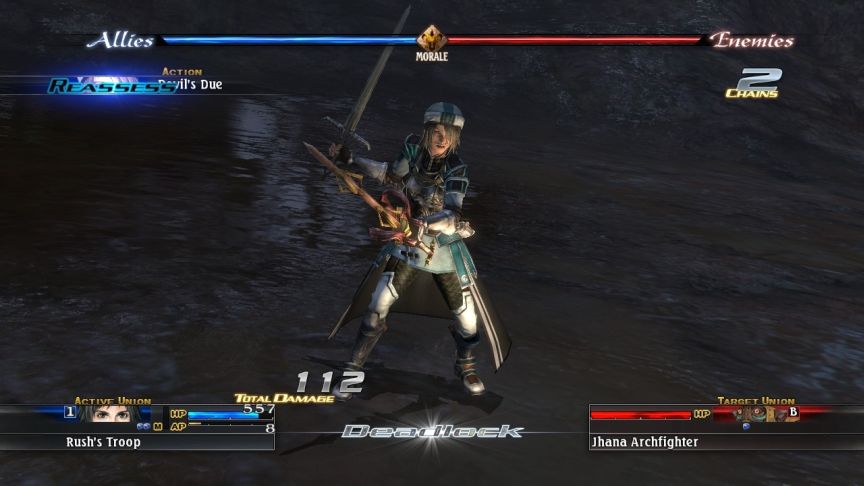 Here’s our first instance of the pretty smart AI at work. Emma also knows the Restore command, and if Rush hadn’t been able to heal the group, she would have done it. But since the group is now in good health, the AI knows that further healing is not needed, so it Reassessed its action to attack with Devil’s Due, the base-level dual-wielding Combat Art.
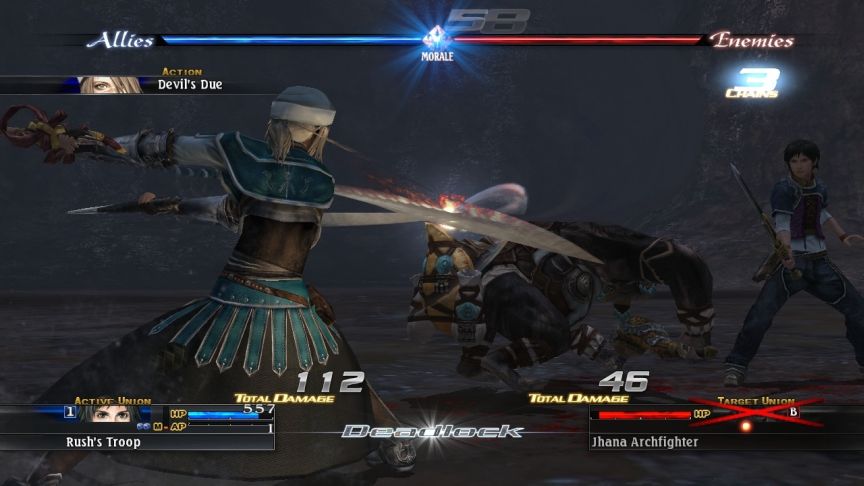
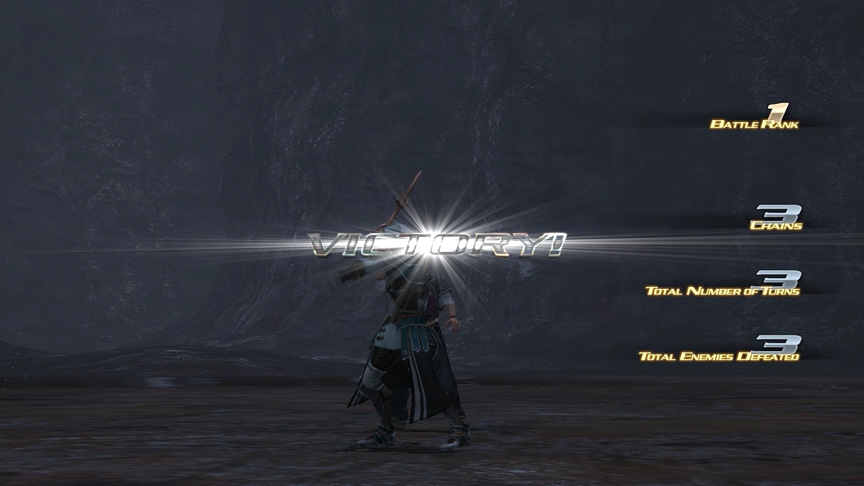 Battle Rank is the equivalent of Character Level in other RPG’s. It’s a rough measure of how powerful the army is supposed to be. It’s a lot more complicated than that, but explaining the details will take a separate post.
Chains / Battle Chains are the total number of enemy units (not unions) that your group has defeated in a row in the current dungeon. Leaving the dungeon or being hit by an enemy resets it. A larger chain boosts art learning and upgrading.
Total Number of Turns to finish the current battle.
Total enemies defeated is the number of enemy units defeated in the current battle.
All party members fully recover after battle, making it easier to undertake consecutive battles. Each battle is its own fight, so if you finish a battle, you are fully healed, all statuses removed, including being dead.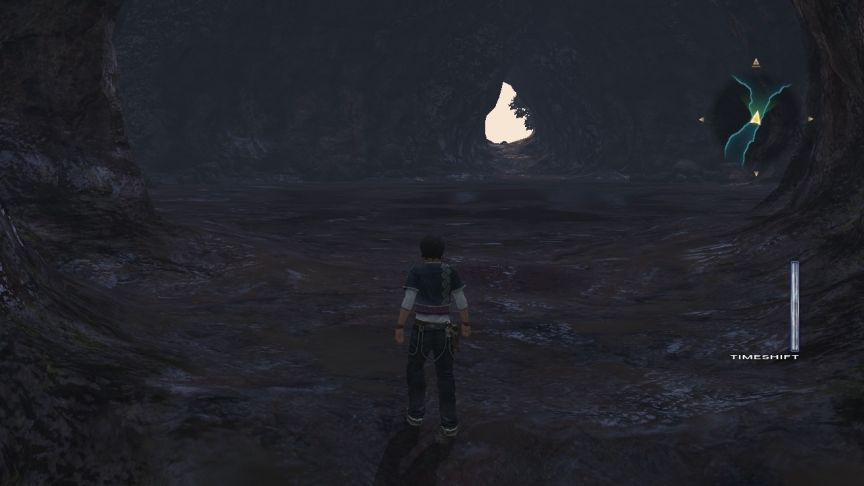

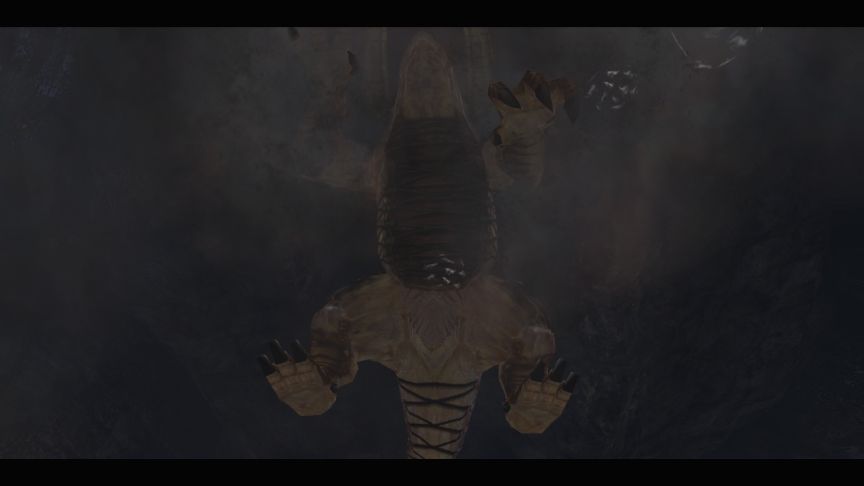
Music: Struggle Eternal
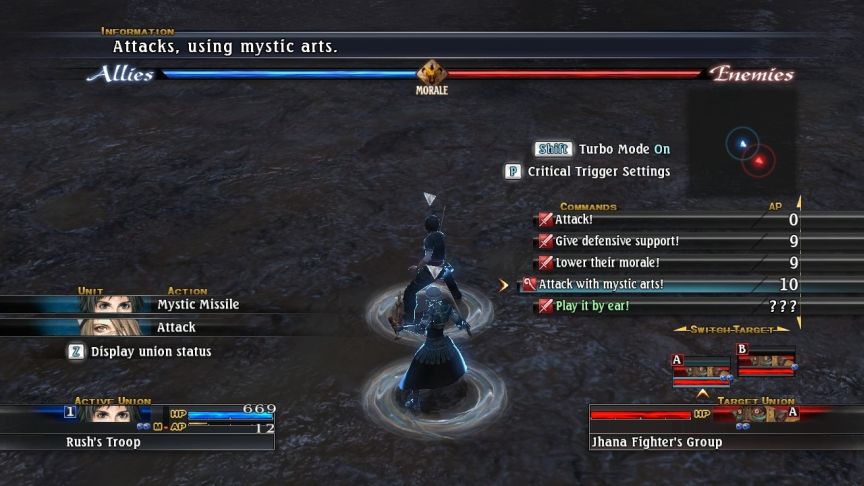
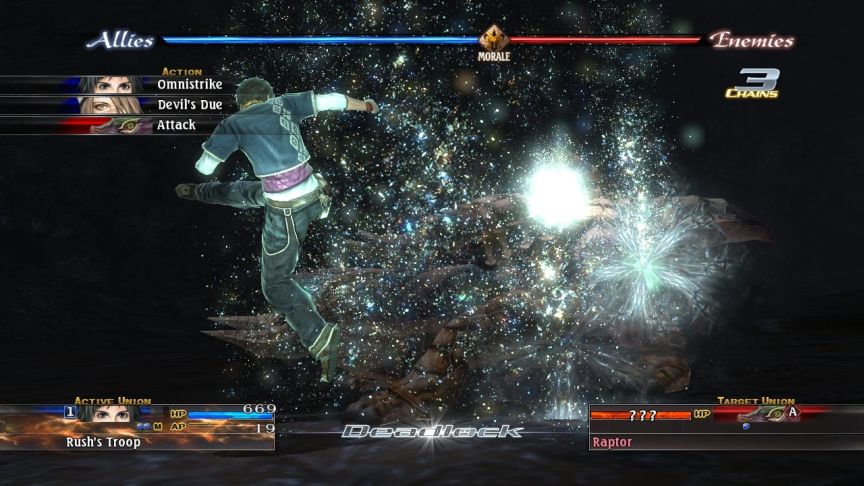
Even the basic three-room tutorial tunnel has a mandatory boss. Special/story bosses get a special screen-breaking-up-battle-transition. -Morale-The large red and blue bar across the top of the screen is called the Morale Gauge. It measures you and your enemies’ will to fight. As morale rises, attacks become stronger and more effective. Conversely, as morale falls, defenses weaken and unions do less damage. Morale fluctuates based on the performance of both sides in battle. Make it a habit to keep track of your troops’ morale.
Morale may not be that important in the early game, but later on, as boss fights start to drag on, Morale management becomes crucial. As your morale lowers, you take more damage, and being damaged lowers your morale faster, which means you take more damage. It feeds in on itself and can quickly end up with your party in a death spiral.Each individual union has its own separate Morale bar – the orange vertical bar marked with “M”. When that maxes out, the leader of the union can perform a Special Attack… assuming they have learned any, and have enough AP for it, and possibly if they have the appropriate equipment... as with many things in this game, “it depends.”
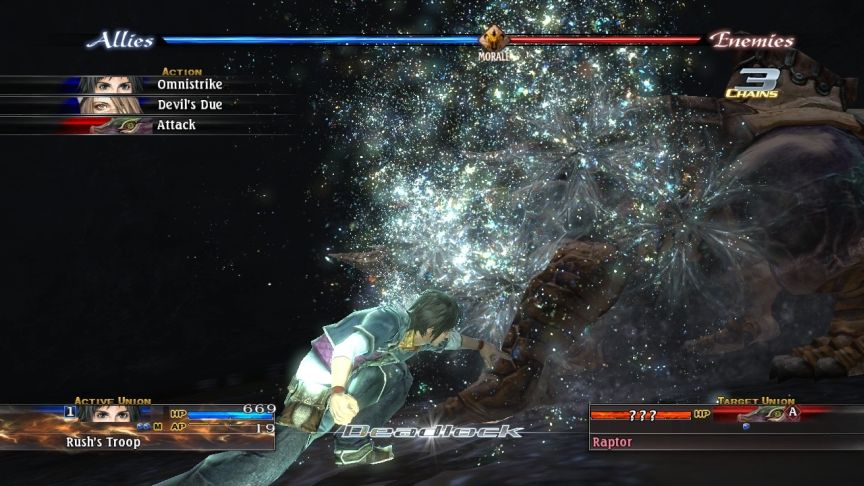
 Look at Rush just casually casting the “Poison Gas” Hex in the first tutorial dungeon. In a fresh playthrough, Rush can’t even LEARN Hexes until practically the end of the game.
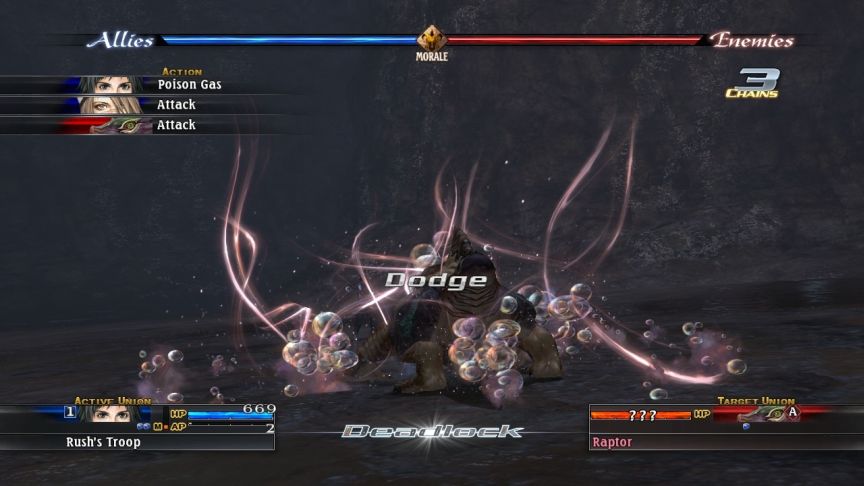 This is not actually a real boss battle. Both sides always dodge any attack for the first two turns.
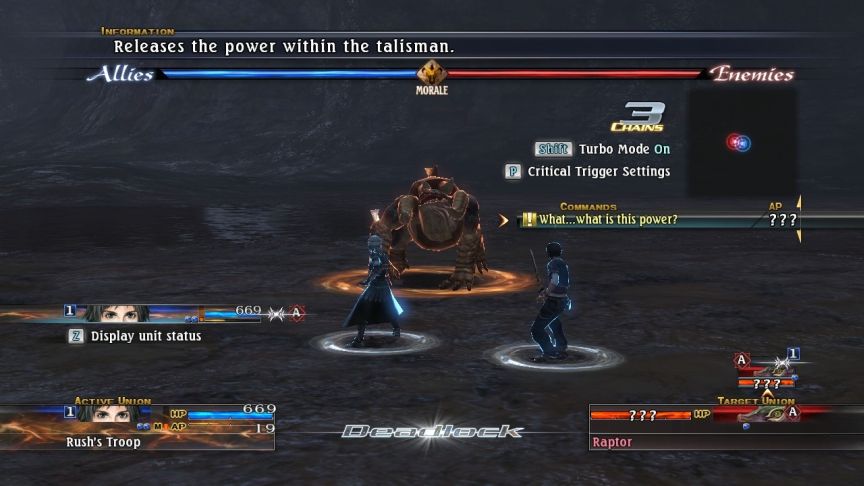
 Rush releases the power of his talisman.
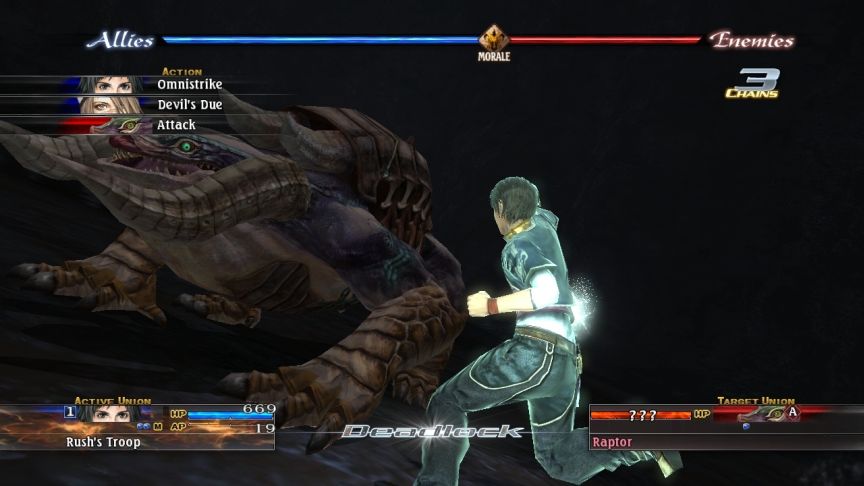
 It’s a second introduction to Special Attacks! Special attacks typically only show up under specific conditions, and they often require the union’s Morale (not the army’s) to be maxed out.
 Special Attacks come in four flavours:
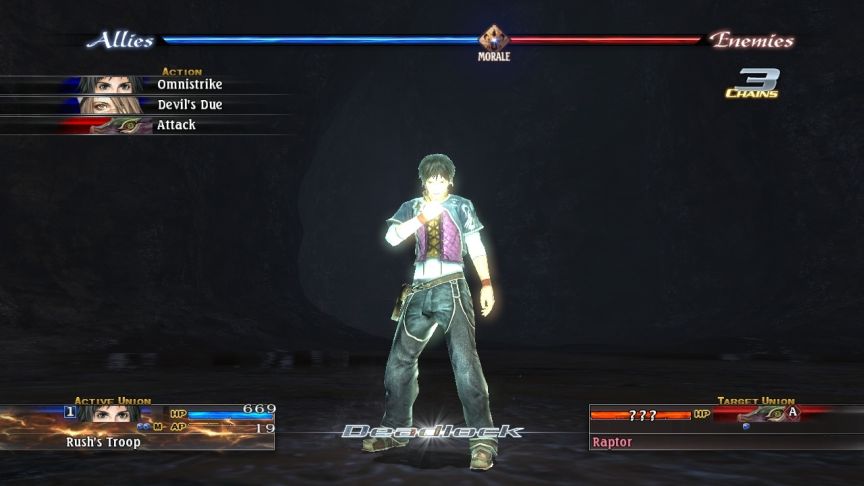
 Unique Arts are character-specific specials, unlocked at certain story points and after meeting certain conditions. Most of the specials are Unique Arts, including Rush's Omnistrike.
 Conjurations are a rarer character-specific special. Only three people can get these. David's Gae Bolg is a Conjuration.
 Weapon Arts are generally tied to weapon types, not characters, and can be done by any character who has upgraded their weapon to the maximum, including generic soldiers. Some unique specials are classified as weapon arts even though they can only be done by that specific character.
 Arcana are special Mystic Arts performed by three to five units if certain combinations of Mystic Arts are used at once, or if they have learned an Arcana and their union's orange Morale bar is maxed out.
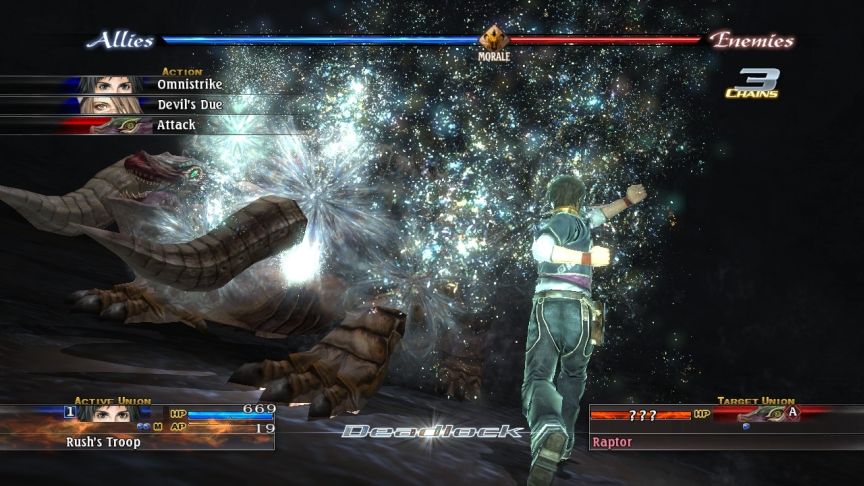
Special attacks can only be performed by the leader of the union, and they’re pretty rare. Only a few units get a special attack. Rush’s first special attack is Omnistrike. Rush slows down time and hits an enemy a whole bunch of times at once.
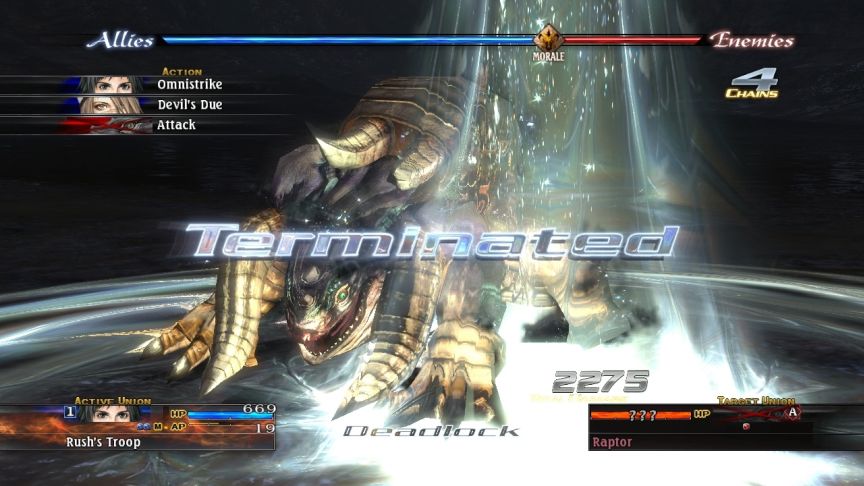 It’s quite powerful.
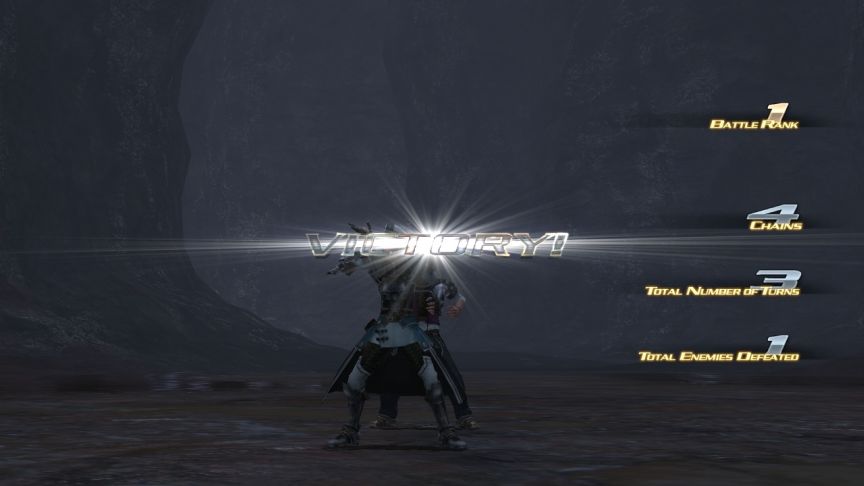
 The sound of footsteps approaching can be heard.
Music: The Young Marquis
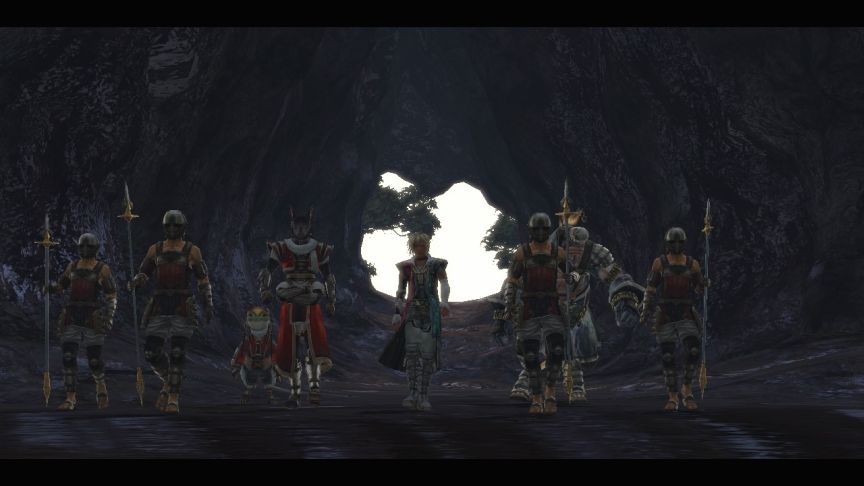 Looks like Captain Eyepatch and his buddies caught the Omnistrike show. Without even a fade to black, Emma somehow told Blondie Rush’s story, and then he told Torgal that he’d like to thank Rush.
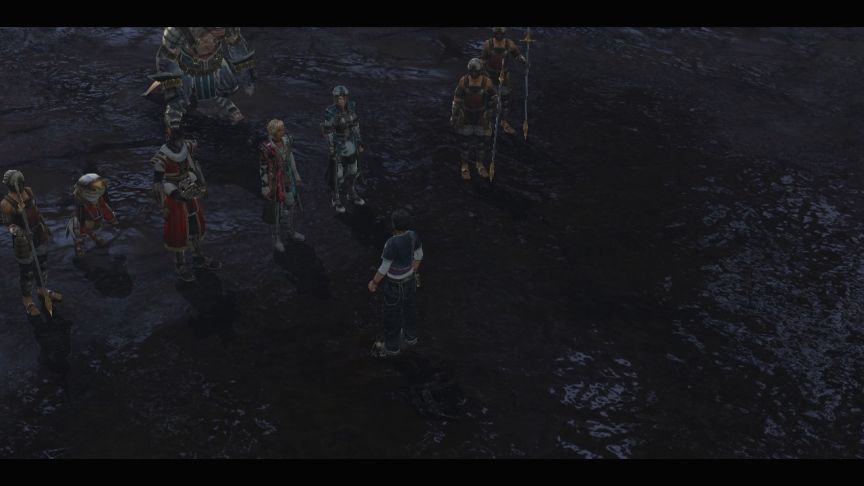
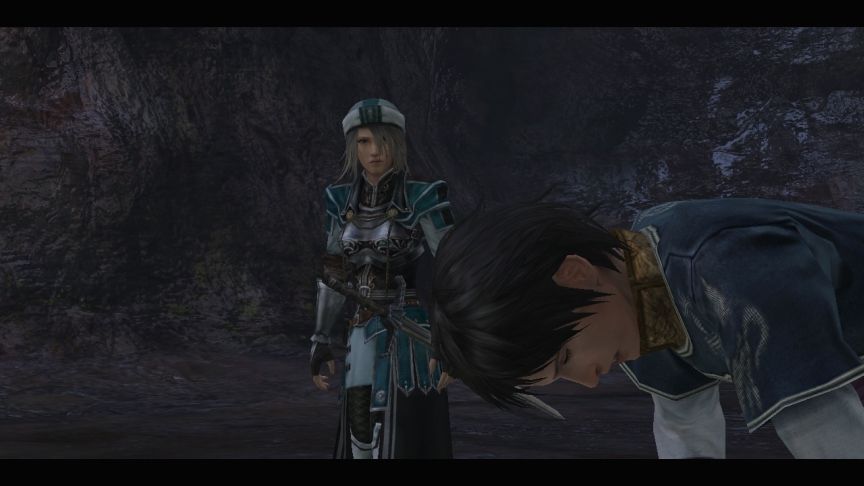
 Rush steps forward quickly. Torgal takes it as a threat.
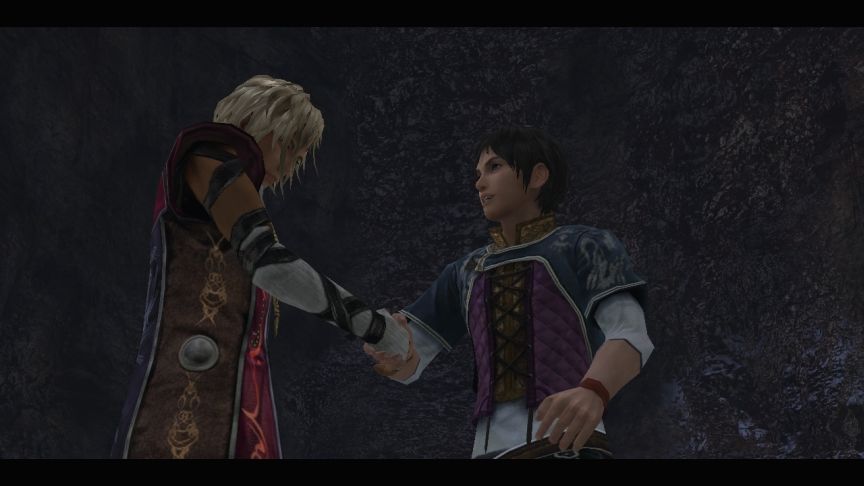
 David’s expression here is great, and the reason for it is that he introduced himself as DAH-veed, and Rush called him DAY-ve. You can really see him weighing whether it’s worth correcting Rush or not. He doesn’t.
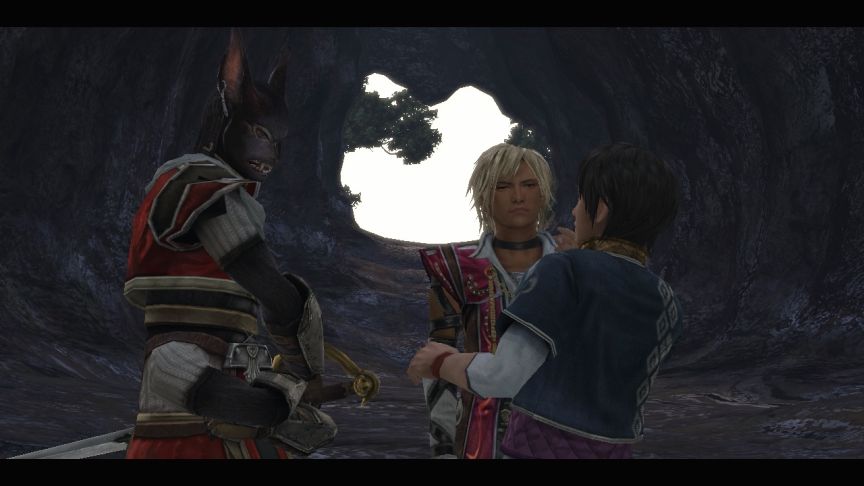
 Rush calling David "Dave" is actually a clever localization. In the Japanese version, Rush's over-familiarity was conveyed by Rush not using honorifics with Dave.
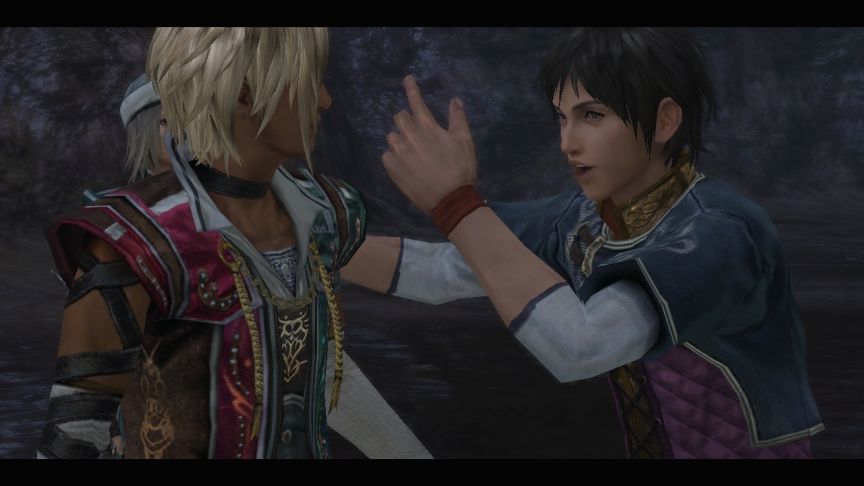 Rush is being a little too familiar here, and Emma doesn’t take kindly to it.
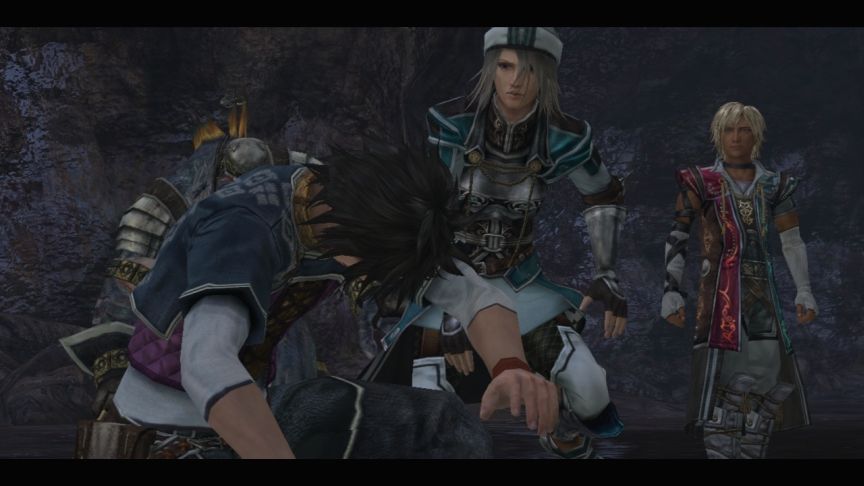
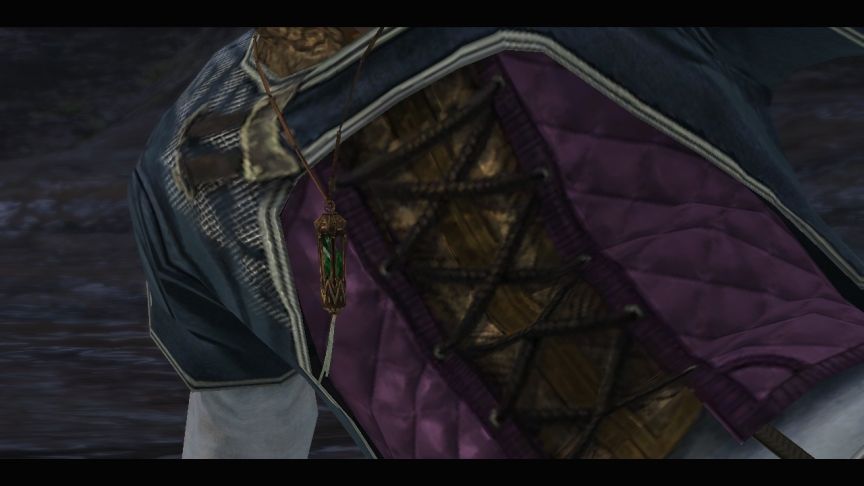 The look David is giving Rush’s mysterious talisman suggests that his motives for volunteering to help Rush are not completely altruistic.
New Arts Summary

Video: Yamarn Plains Cave Dungeon
Next Time: This yer first time in Athlum?