Part 29: Chapter XXV - You owe me a corpse, asshole!


You owe me a corpse, asshole!
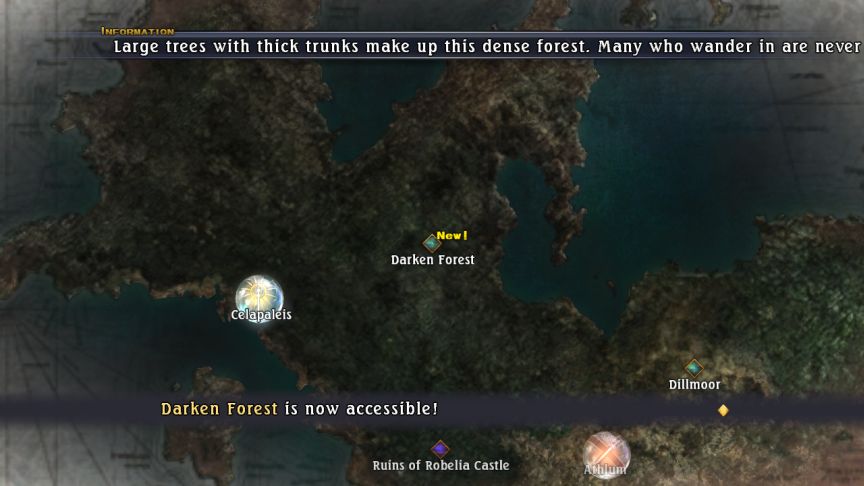
 After completing Rhagoh’s quest, we can go back there at will. But for now, back to Athlum.
Music: City of Heroes

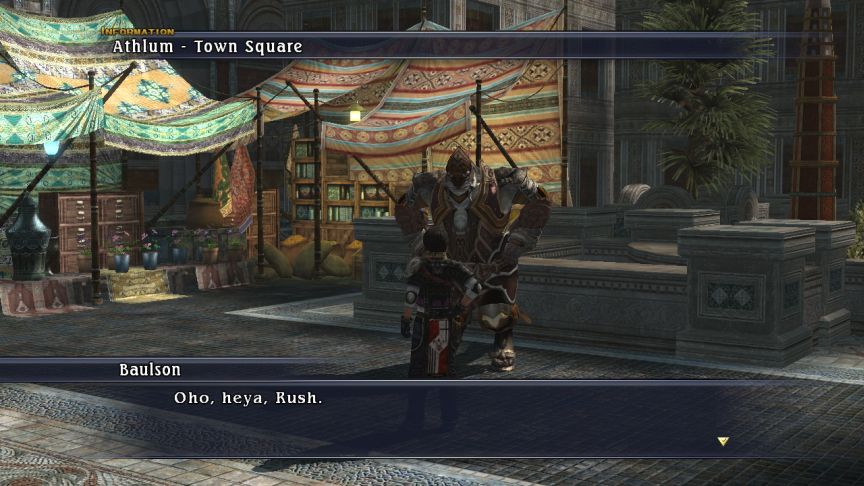
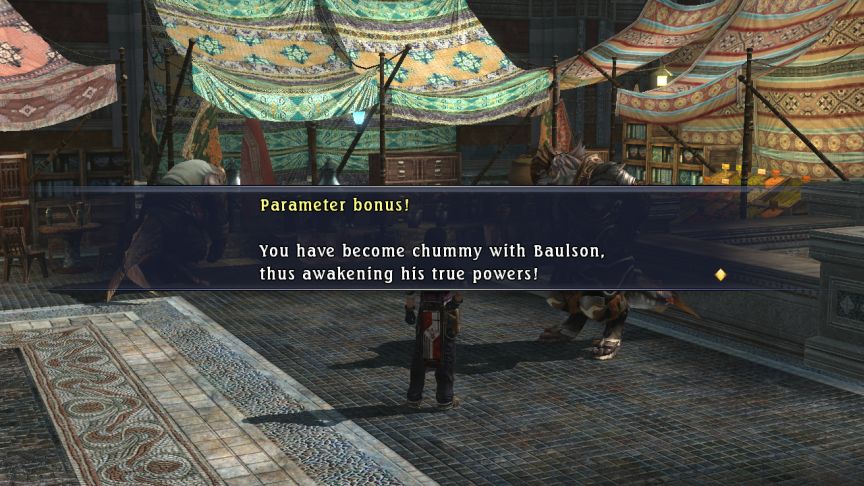 That was the third bonus conversation with Baulson. As I’ve mentioned before, every non-mandatory unique-leader gets some bonus conversations. After you see a few of these bonus talks, they become “chummy” with Rush, getting a permanent bonus to their stats. Baulson’s Parameter Bonus is this: his health increases by 15% - going from 558 to 642 in his case. But we’re not done yet with bonus talks!
I beat 'em up, cursed 'em out... By the end, even my own ma couldn't stand me...
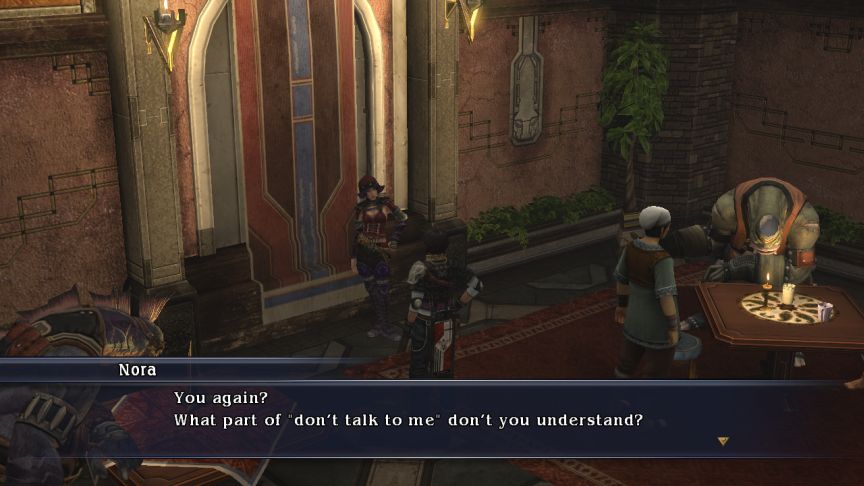
Pleasant Young Man: You know there’s a town without anyone running it? The old ruler’s sons are fighting over the seat of power. …That’s the story, anyway.
Bartender: Don’t talk to me about bloodthirsty succession struggles! I fought long and hard to get this pub…
Pleasant Young Man: Are… are you serious?
Super, let’s go get that job. There’s a guy right here in the tavern.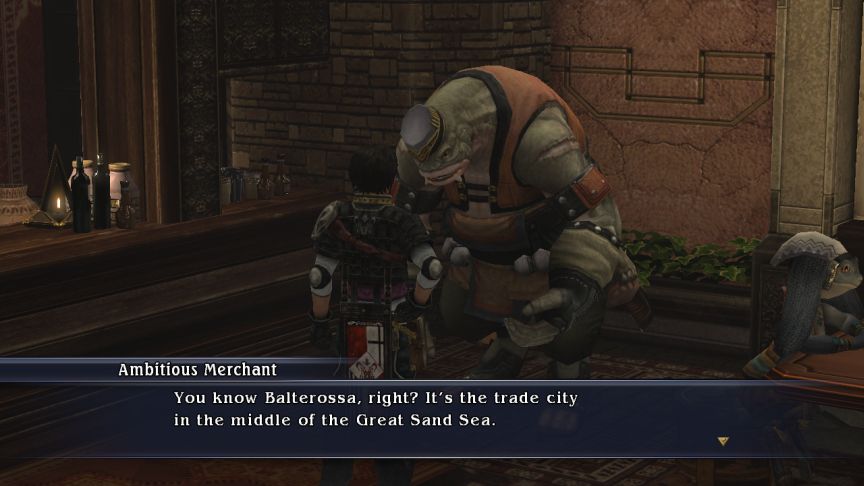
 It's an important hub on the way from the mining city of Royotia. Pretty much all goods going from Royotia pass through Balterossa. From there, they go on to Elysion, then all over the continent. After all that, by the time they make it all the way here to Athlum, goods from Royotia have a pretty heavy markup. So, we've started talks for making a trade route from Balterossa straight to Athlum. We even hired a guy to map out the exact route. But the surveyor's giving us a little trouble... You know the Jhana, right? Annoying, but no big deal? Well, they are to him. He says he's not going in there without a bodyguard. So, if you're looking to pick up a little pocket change... Alright, head to the Gaslin Caves. If you enter and take the first path on your right, you'll see the proposed route to the Grand Sand Sea. You've just gotta protect the surveyor from the Jhana, okay?
 Accepted quest: The Trade Route This one has actually been here since we reached Elysion eleven chapters ago, it’s one of the quests I didn’t do before returning there. I probably could have taken it, since done ‘properly’, you can avoid getting into any battles at all, but whatever.
Music: Into the Depths
 - Dungeon Video: Gaslin - Ravine of Temptation
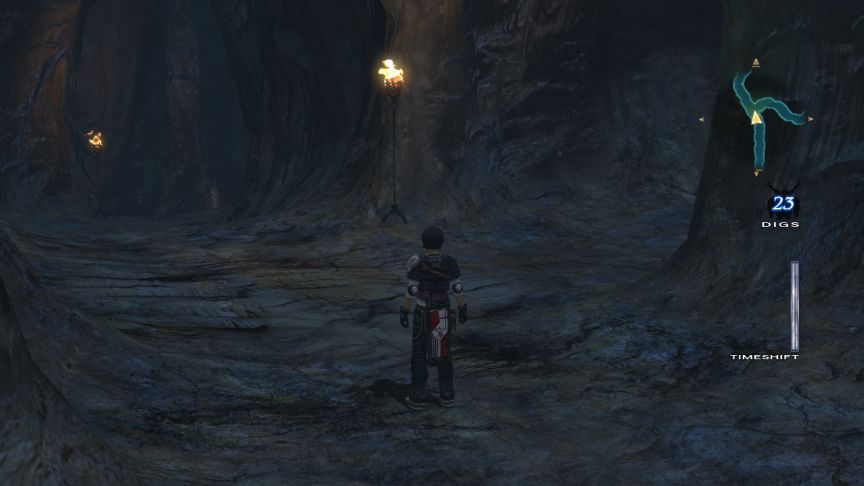
 Some Athlumian merchant asked me to be the bodyguard for a surveyor down in the Gaslin Caves. Something about trade routes to Balterossa. Remember way back in Chapter 6, I pointed out an odd-looking wall in Gaslin Caves? Well, that was to show that back then, there was a sign of a possible passage through there, and now it’s opened.
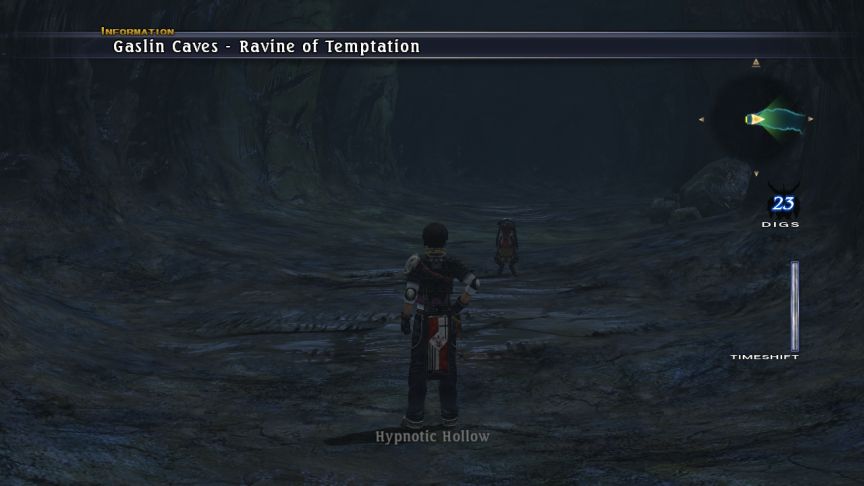
 Thank you for coming. Rush, is it? Now that you're here, we can start the survey. I don't need you to do anything special! I'll make certain this route will take us to the exit, and you make sure we get there in one piece. If we run into any Jhana, I'm no use to anyone. So just tell me what to do, alright? I leave myself in your hopefully capable hands. I met with the guy trying to establish a trade route between Athlum and Balterossa. Now to avoid the Jhana and get out of these caves.
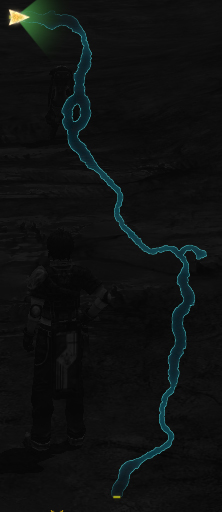
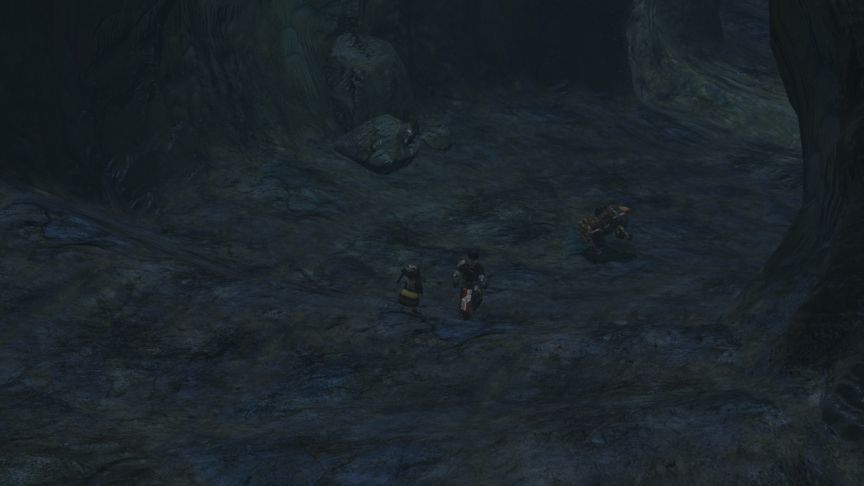
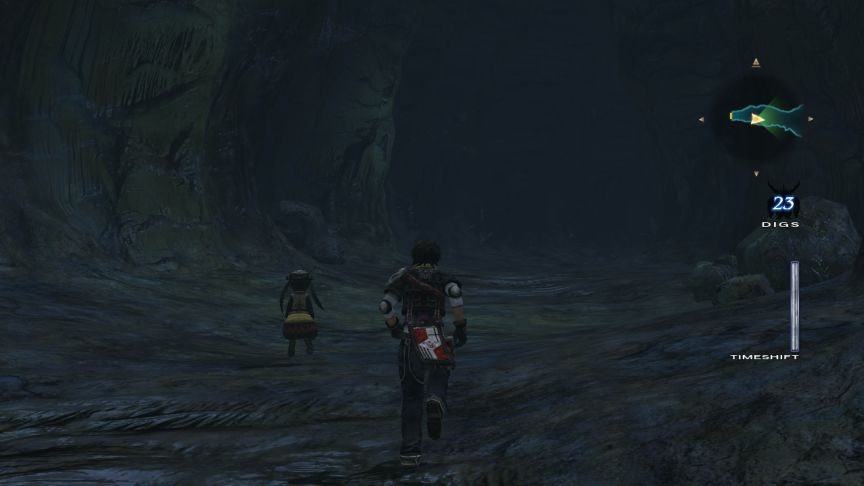 This sounds like an escort mission, but it isn’t really. The surveyor doesn’t join our party as a guest union, we don’t have to worry much about keeping him alive. We just have to walk through this long, straight tunnel, and for this quest, normal monster spawns have been turned off. Every so often though, you’ll run into an event.
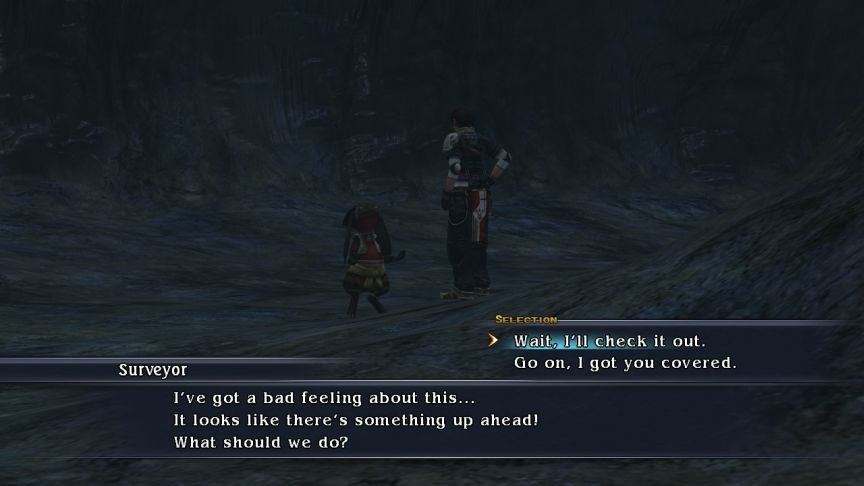
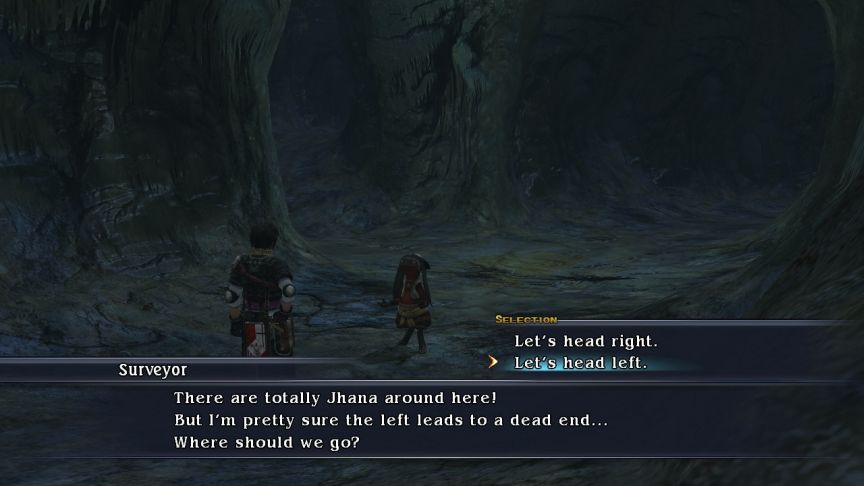
 That one was simple enough, but the choices get trickier.
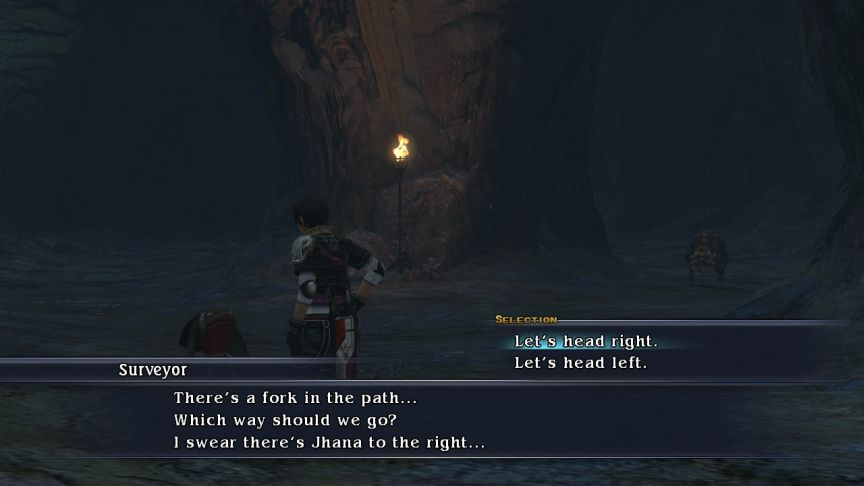
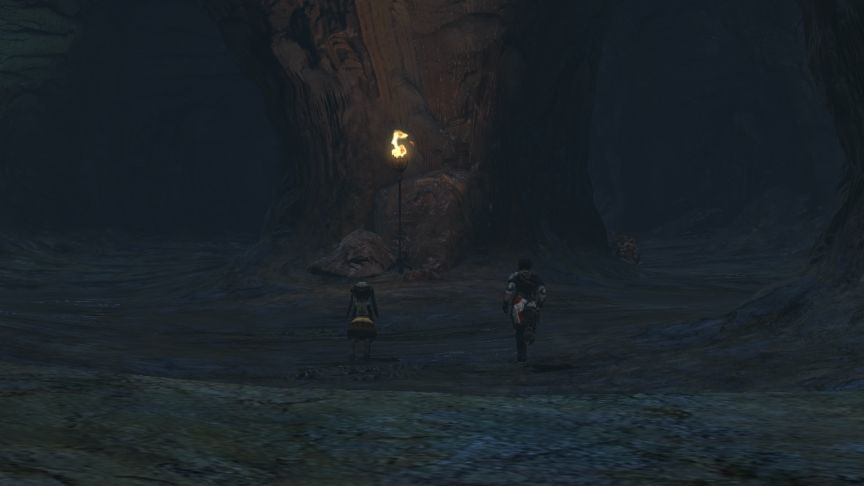
 Obviously, if you head left, you run face-first into it. By the way, after this event, the patrolling Jhana vanishes, so you can’t fight it.
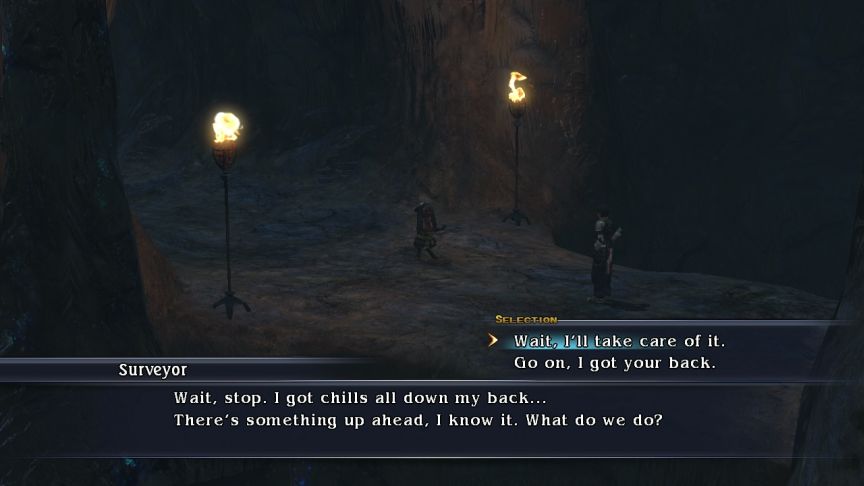
…
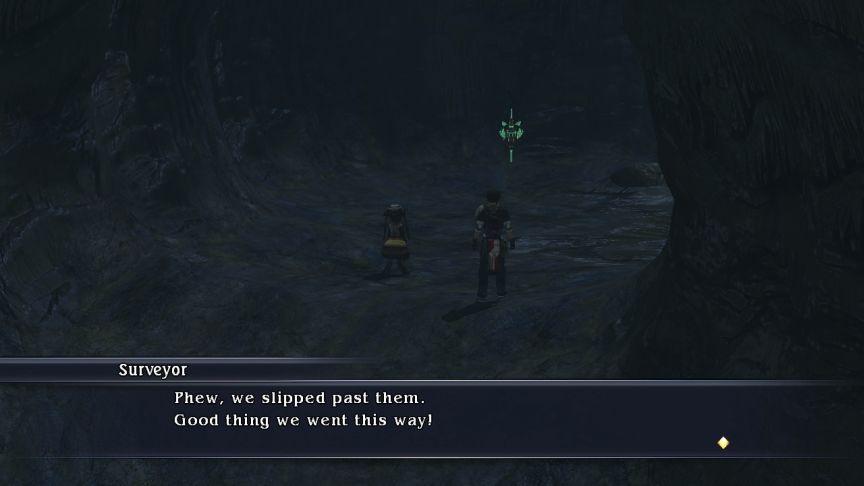
Phew... Looks like the coast is clear.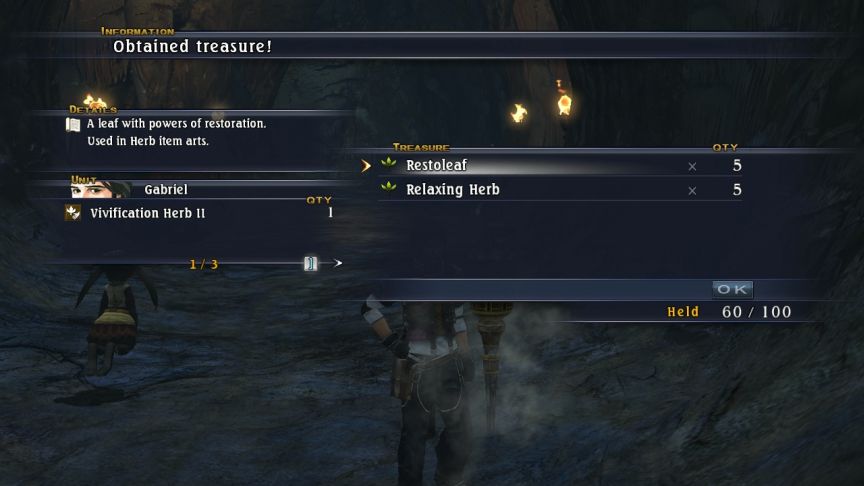
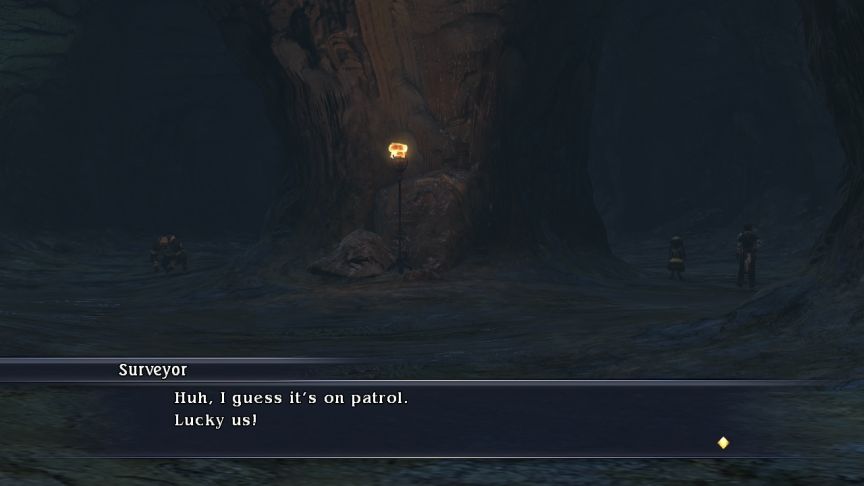
 The treasure chest has the second map for Gaslin Caves.
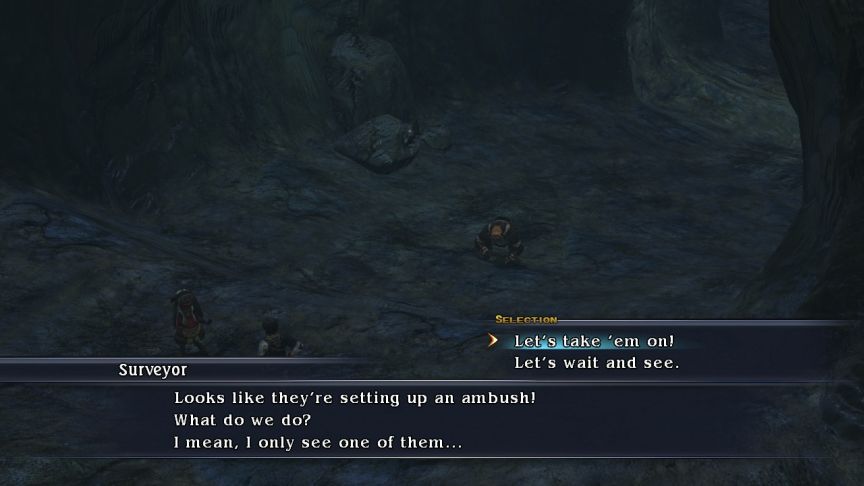
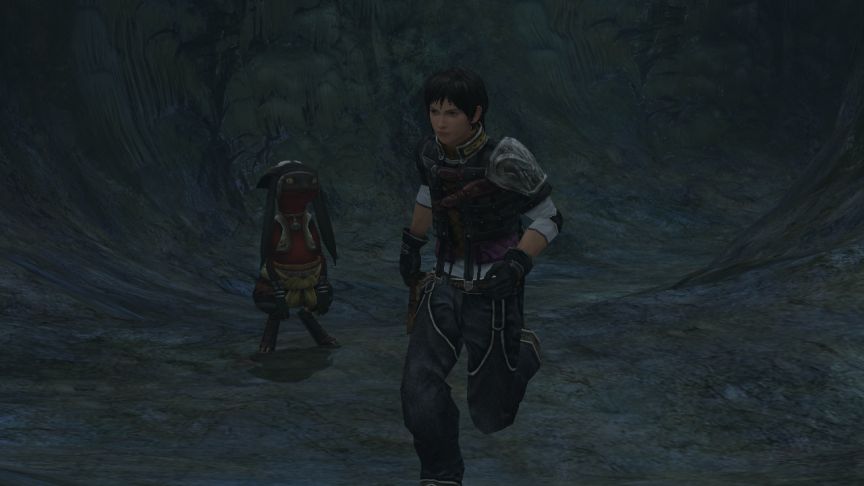
 Oho! What a wimp! Once it saw us - er, specifically, you - it ran with its tail between its legs! Jhana often attack on sight, so it running away seems out of character, which is probably what’ll get most players. If you choose the “wait and see” option, it runs off, then comes back with three more friends. We’re almost done now.
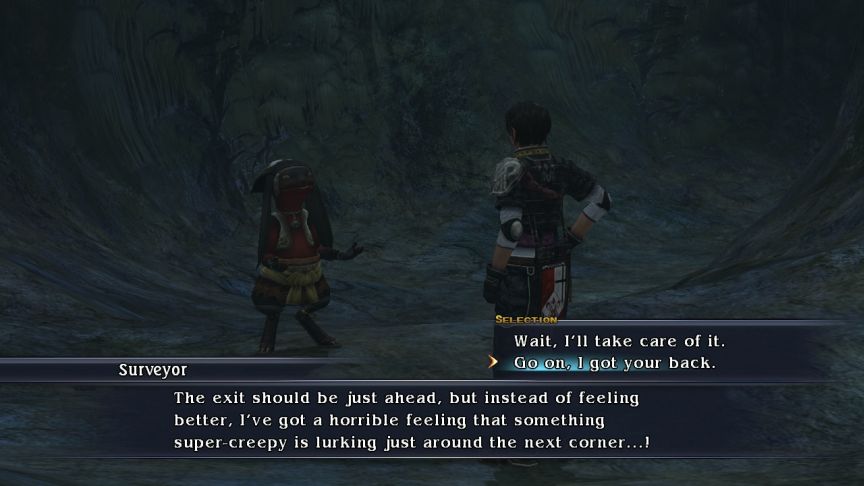
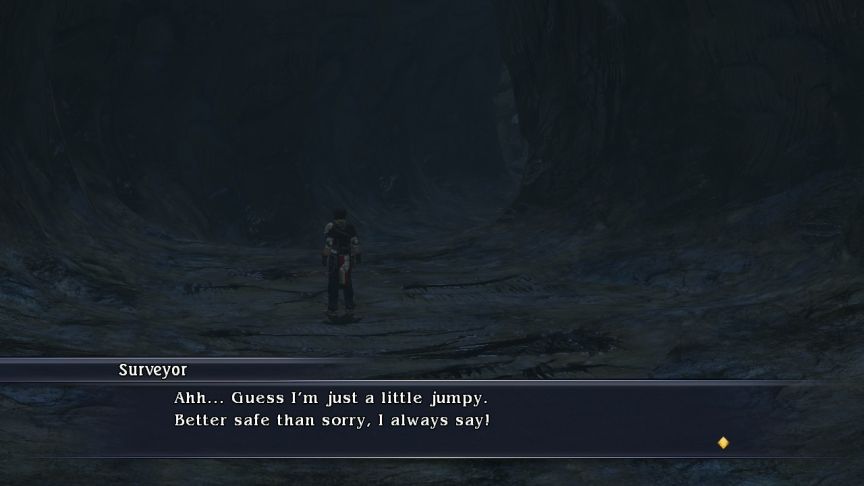
 Oh! Ahahah, guess it was nothing. Who knew? This is the final encounter and it’s especially tricky to get right. The first two “I’ll check it out” options normally avoid fighting, but if you choose it this time…
 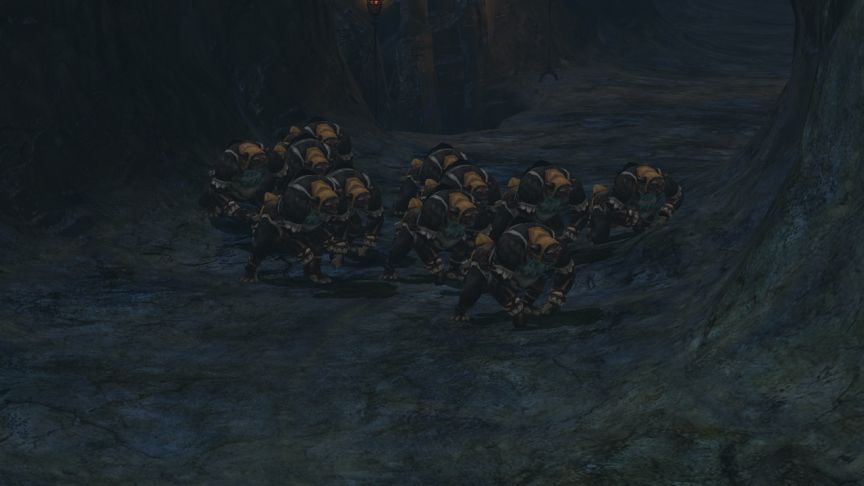 And there’s an easy battle versus 4 groups of 3 Jhana.
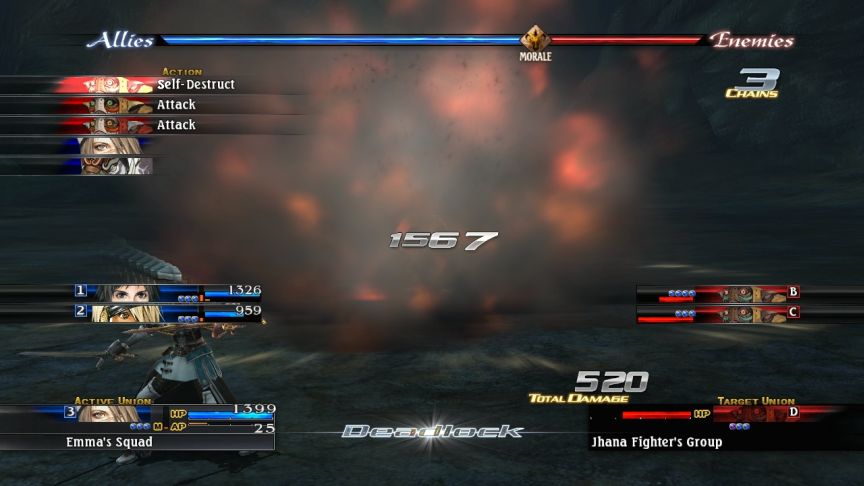 Hilariously, this one’s Self-Destruct move (which I didn’t even know they had) missed everyone. But this was a bonus thing and didn’t happen.
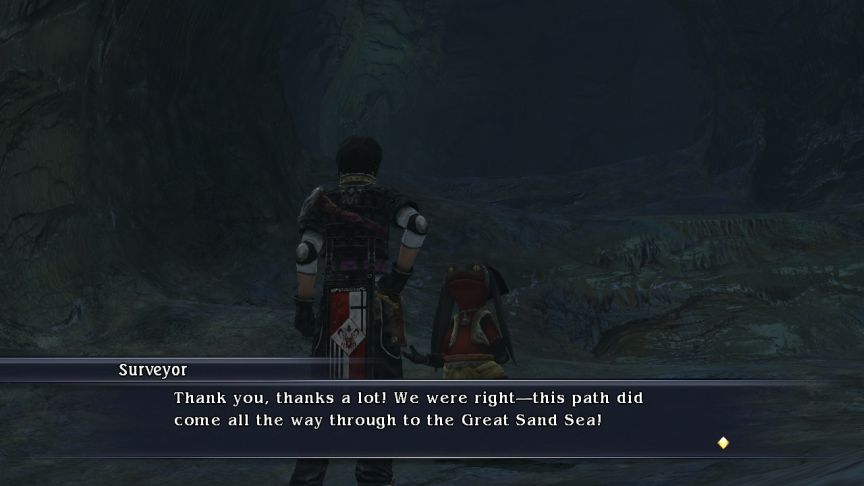

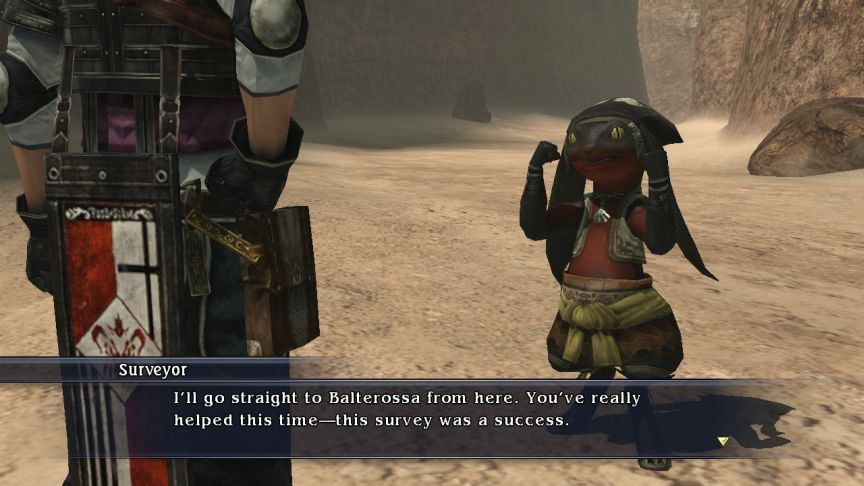 Here, for you. Reward: Gaslin Copper x6, Iron Ore x4, Jhana Alloy x2, Rough Spriggan Stone x1 The Great Sand Sea is an integral part of the world's commerce. Cross the desert, and even you can find some great new things. Later!" Completed quest: The Trade Route I escorted the guy to the cave's exit. I helped secure the trade routes. Score! I don’t think the dialogue or reward changes, even if you blunder into every encounter. The wiki doesn’t mention that, certainly. This quest dumps you in the Searing Cove of The Great Sand Sea.
 I’ve plotted a route for these quests to do them by location, and so that’s why I did Celapaleis first, it was the most out-of the way location, and it was also close to Atlhum.

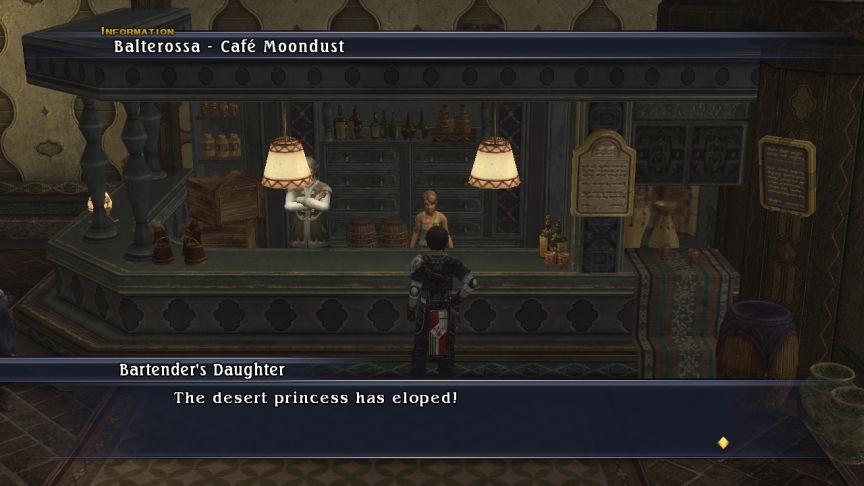
 That’s the latest news, Daddy.
Bartender: Whaaat!? That girl’s poor parents! I hope they find that beast of a man and hang him for the crime of stealing a young girl’s innocence!
Daddy, calm down! Now for another quest that we could have done before visiting the Sacred Lands.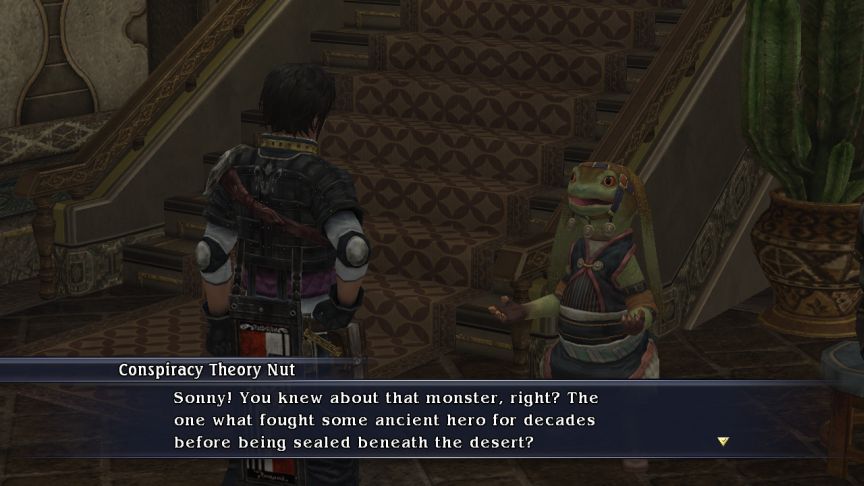
 Thing is, it seems like the monster has been brought back. Luckily, it hasn’t started making too much trouble just yet. Still, a bunch of shady-looking out-of-towners have been sulking around lately, and they sure look like they want trouble – monster trouble. Over there – look!
…
…
…
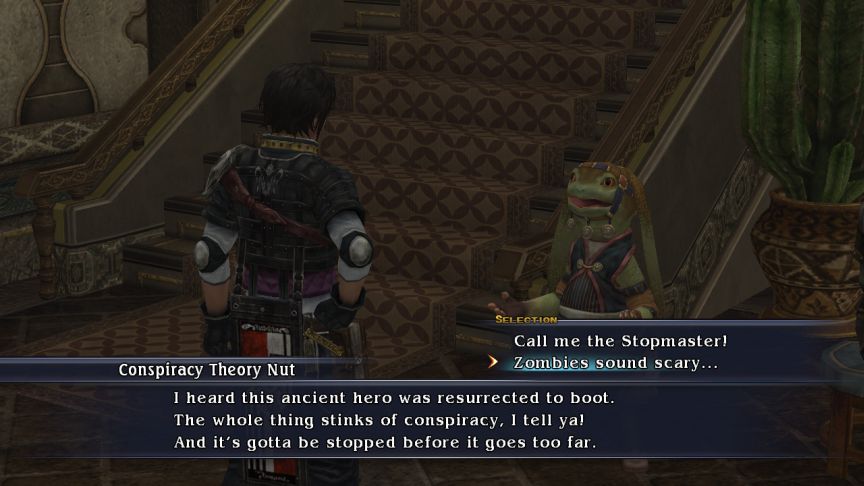 Bah! Wimp! There’re necromancers goin’ around, I tells ya!
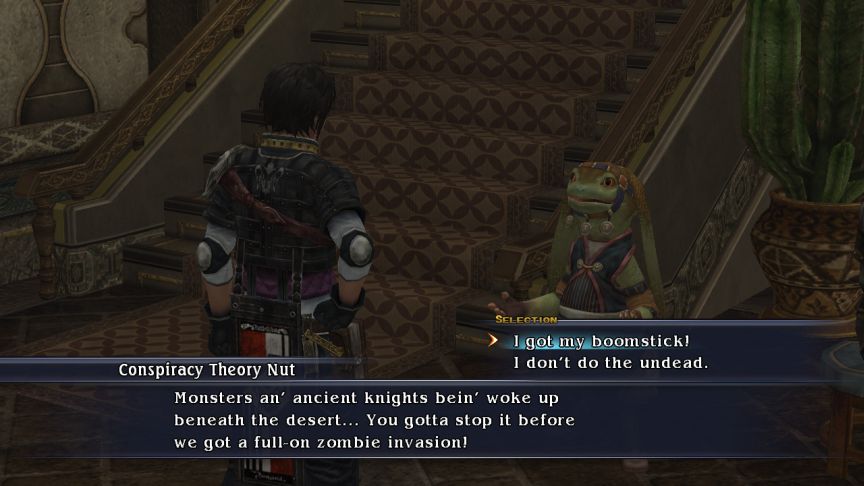 Good! Then go to the Great Subterrane. Wander around enough an’ you’ll find an island within the shifting sands, and that’s the place. O’course, you muck up and that ancient warrior’ll come after ya. Don’t even think about facing ‘em both! You’d be a zombie sandwich! Accepted quest: The War of a Thousand Years
 - Boss Video: The Absolute Queen
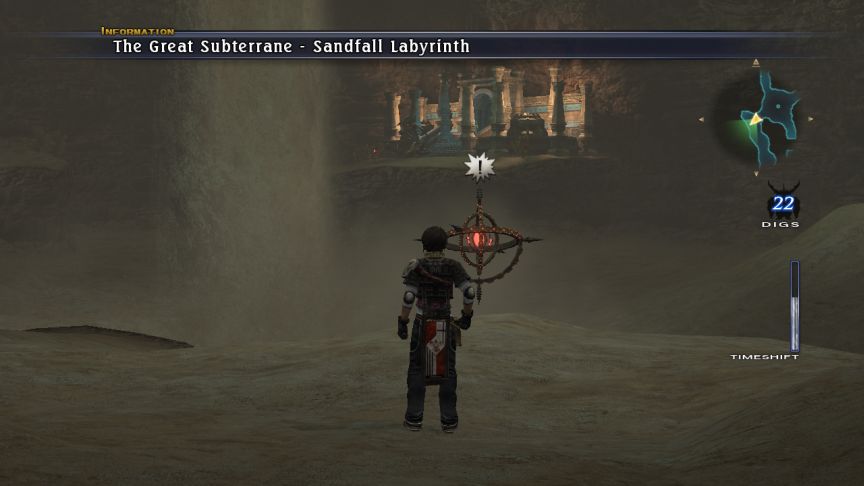 This qsiti in Balterossa wants me to defeat a monster roaming around the Great Subterrane. It's supposed to be strong. Really strong.This monster is in the same place as the one we fought in The Hero. At the time I did that update, I actually didn’t realize that the game takes having both quests activated into account, so I fought them one at a time. Later, I’ll do a bonus update showing that off. There’s no point showing the same dungeon, so let’s skip right to it. Mission: Defeat the Absolute Queen.
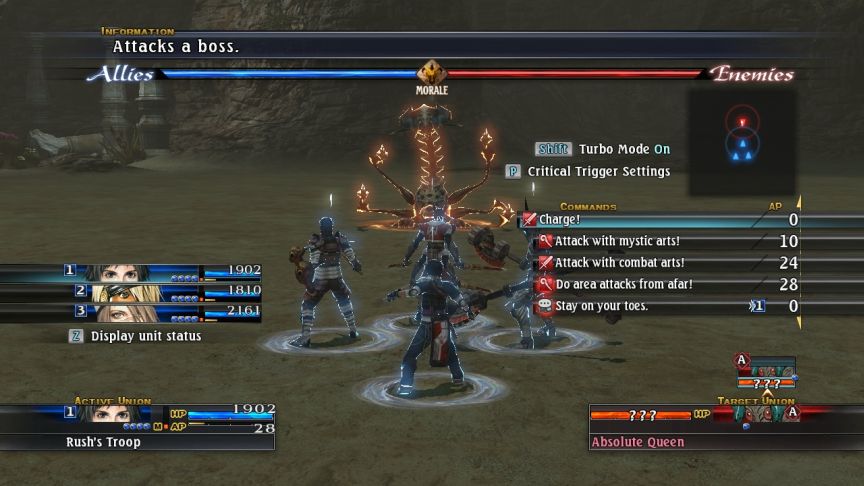
Music: Struggle Eternal
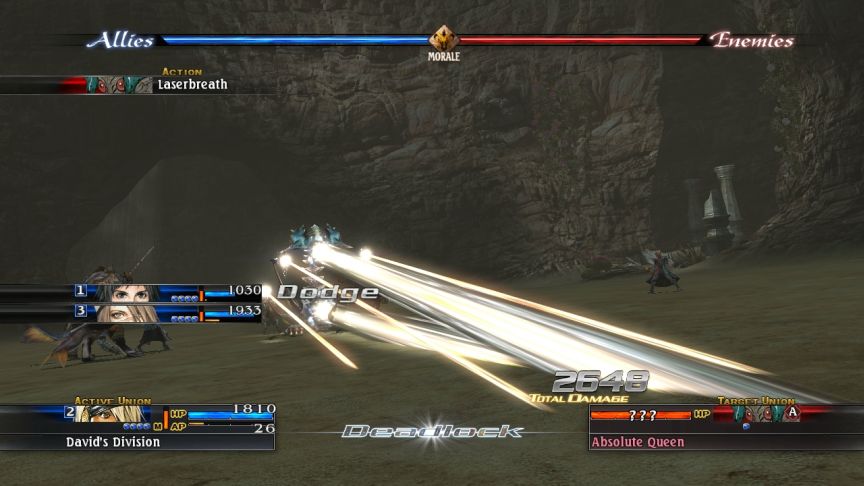 This boss isn’t hard, so I’ll just show off a cool attack.
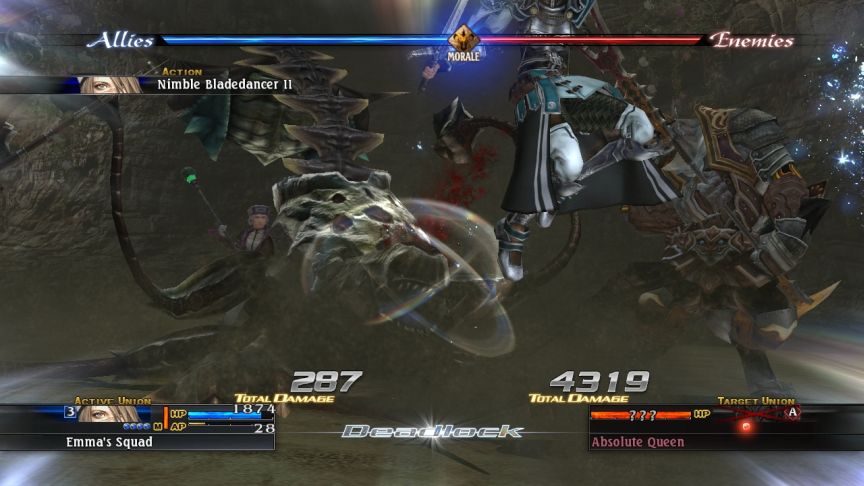 I was actually pretty excited when I saw that Loki had learned Spark III, because I thought it was a key step to getting something really awesome… but it turns out that was not the key step.
Also, Rush has learned Acala’s Wrath, which is the highest-ranking “generic” Dual Wield Combat art. There are other DW Combat arts, but which you get are weapon-specific. Damage-wise, it should be on approximate par with Third Eye, which is already pretty good.
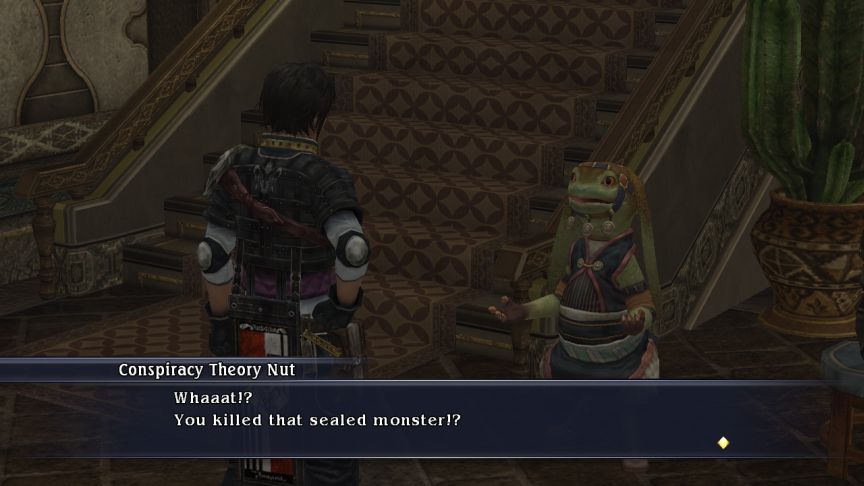 … Eh, guess it ain’t anything bad, then. Good job, sonny. Take this. Reward: Rough Elven Stone x1, 2000 G. But yanno, lately some spooky stuff’s been goin’ on in Balterossa. Look out for angry ghosts, sony! Welp, I got a meetin’ so later! I killed the monster! The qsiti seems to think there's some kind of conspiracy, but who cares! The important thing is - I rock! Great, we’ve got enough time for another quest! There’s someone hiding upstairs in the room upstairs.
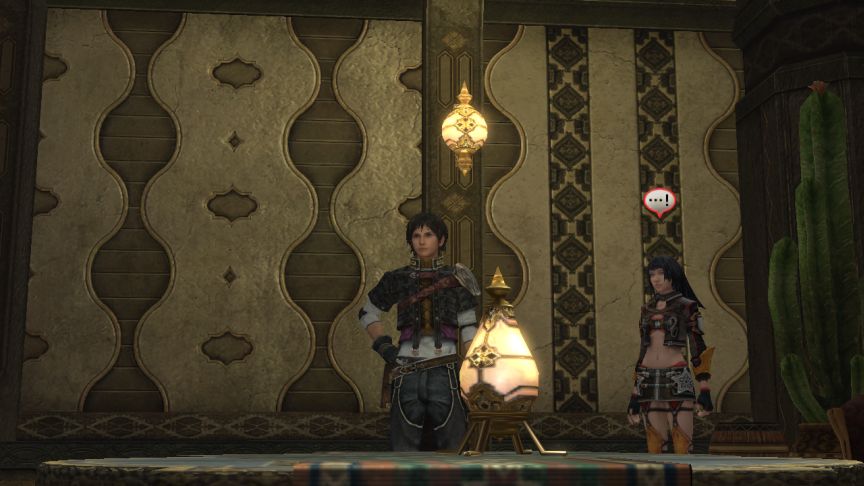
 Just showing some detail of the coat.
 Accepted quest: Blooming Flower, Singing Bird
Music: Creeping Shadows
 - Video: Blooming Flower, Singing Bird (Part 1)
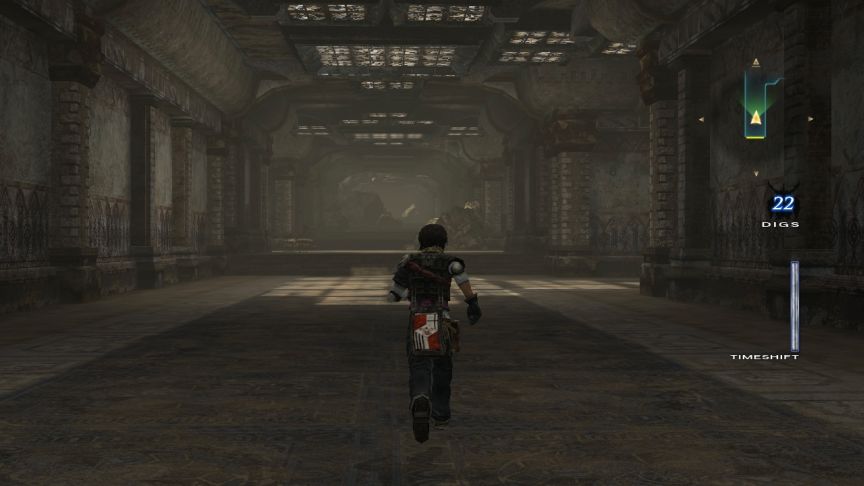 This cute black-haired girl in Balterossa wants me to get her sister, who's in Mojcado Castle looking for something she lost.
 No guest union this time, but the map has stayed the same for this quest. Notice the area exits on the east and west sides. I didn’t visit them before, but I will now.
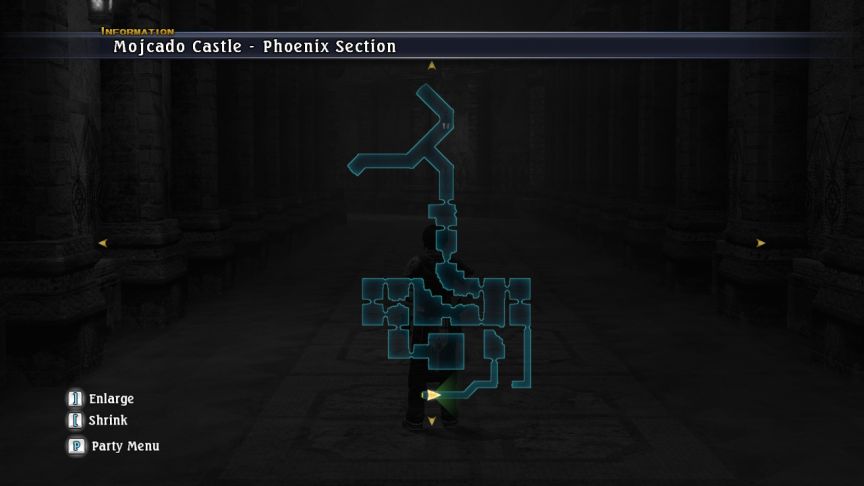 This is Phoenix section, on the east side. But we can only get access to a single room, cut off from the rest. At this point I remembered that I’d decided to turn off Torgal and Caedmon’s Evocations to get them more focused on Combat arts. I also discovered that Blocter’s Power Grip was off, so I turned it on and single-handed off.
The only thing of note in this part is a chest containing some Herbs.
 Senecio section is on the west side, and it also is cut off from most of it. This section has two World Map teleporters, one for each section. There’s a chest here which has the Wroth Volcano upgrade to the Mystic Mountain formation. I suppose I could try that out.
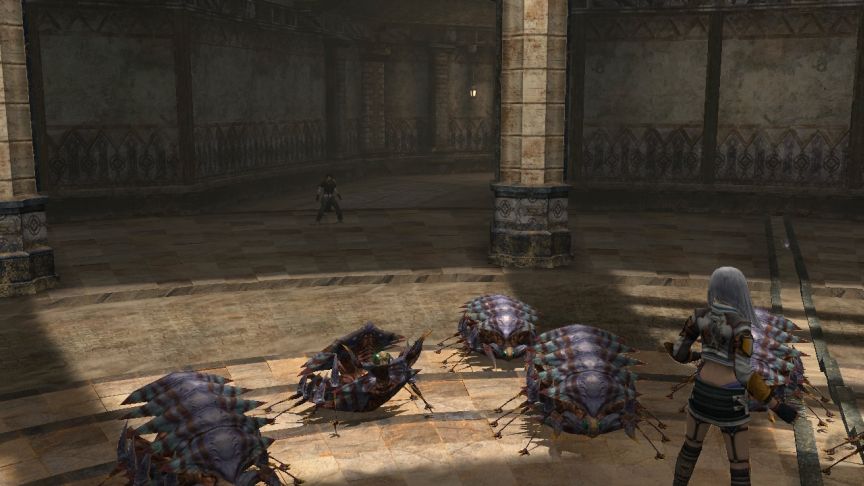 Mission: Defeat the enemy! Time for the obligatory boss battle, although these guys are not much of a boss.
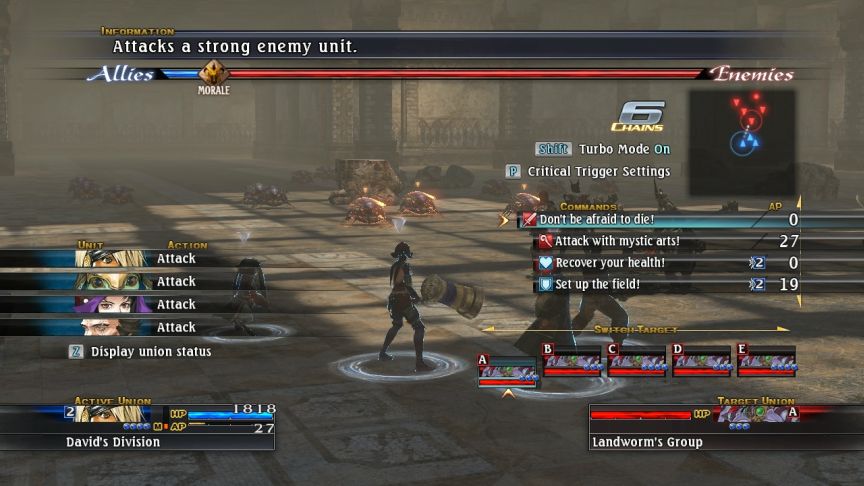 About time, Caedmon!
 I found Hinnah cowering from some huge bugs. I tried to get her to leave, but she won't budge without finding the item she lost. So yeah, now we have to search the ruins to look for what she dropped. And these are BIG RUINS… or at least this would be hard if this wasn’t a videogame. You should know to look in the farthest-in parts for the objectives.
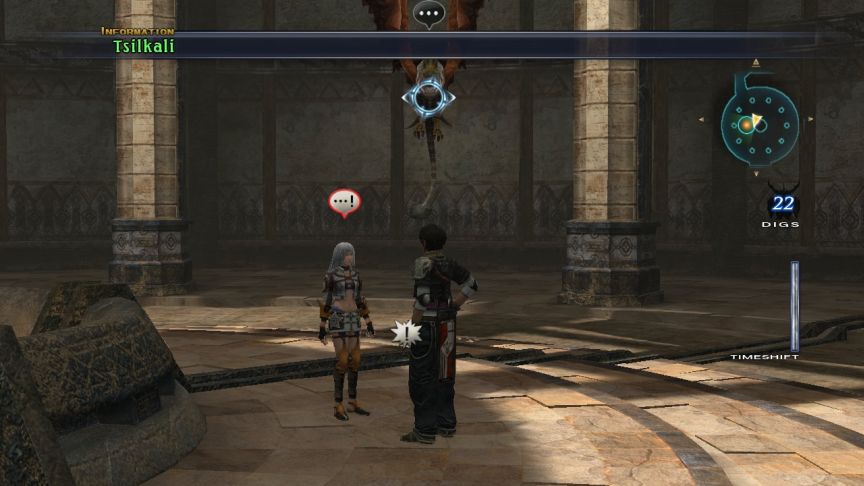 Hah. Hey Hinnah, you were looking for a really tough monster to fight?
Music: Sliver of Hope
- Video: Rare Monster Tsilkali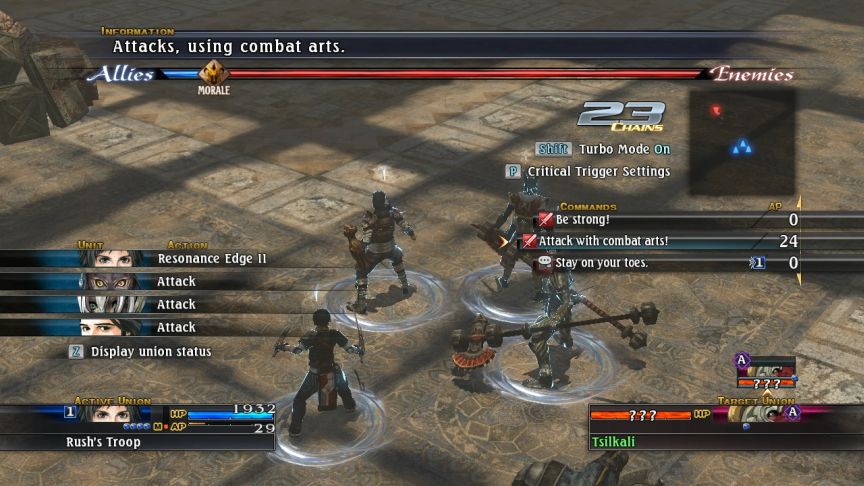 Okay, remember that I was excited that Loki got Spark III? For this fight, I was trying to trigger an Arcana, which influenced how I played using David’s union in this fight.
I’ll explain what that is specifically when I trigger one. For now all you need to know is that I was thinking that I just needed a lot of AP and three characters who had Spark III or better… but I was remembering it wrong. The leader character (David) needs to have Spark V, and the other two guys can cast any Invocation. But since David only has Spark IV, we’re not quite there yet. So for the rest of this dungeon, and the rest of the others, I’ll be prioritizing actions that lead to David using Spark.


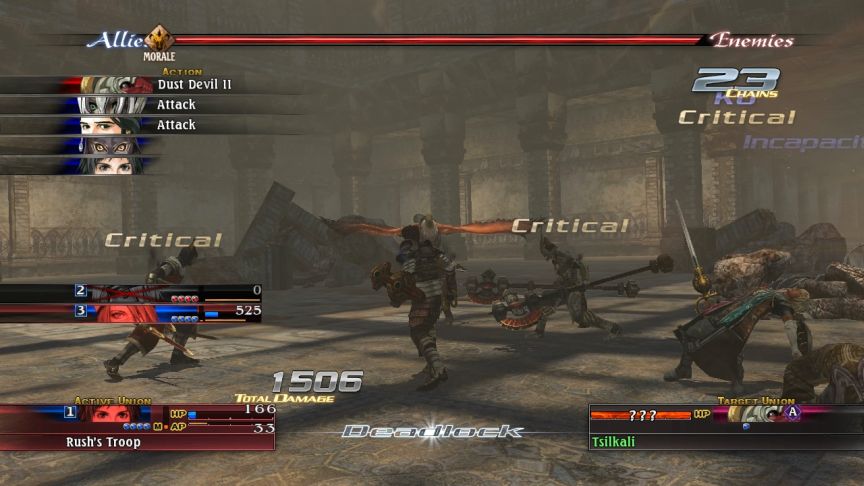
 Dust Devil II will be the biggest danger for this fight. I told Rush to break off and heal, but…
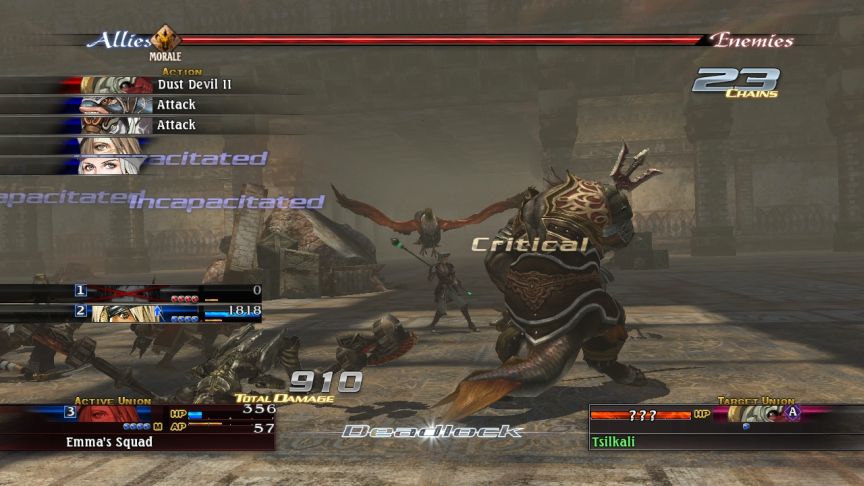 So this is going swimmingly… Emma’s union fortunately went next to heal herself up. For Turn 3, David’s union will bring Rush back, while Emma piles on the damage.
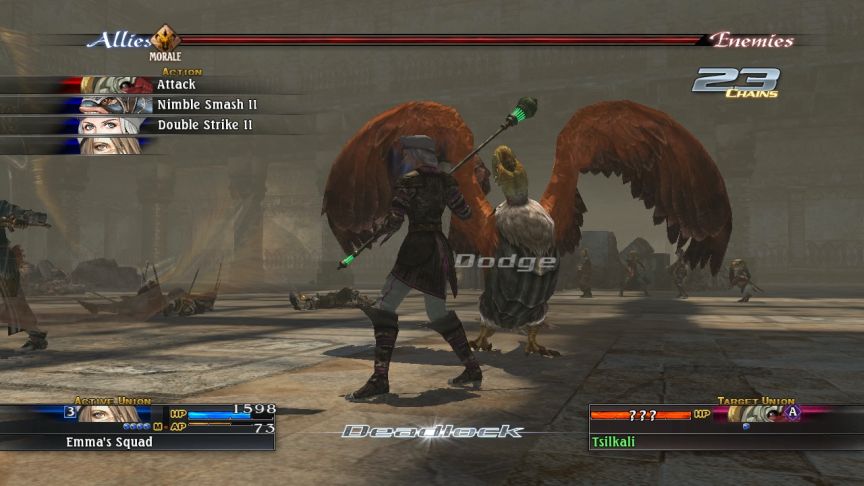
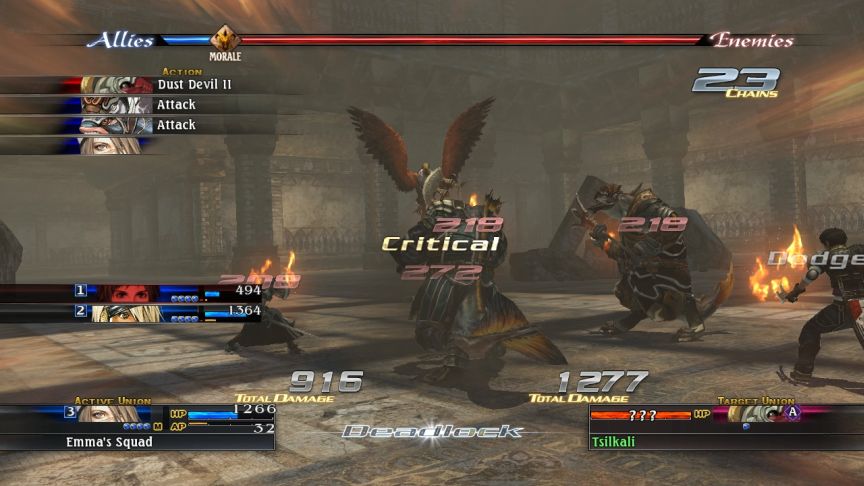
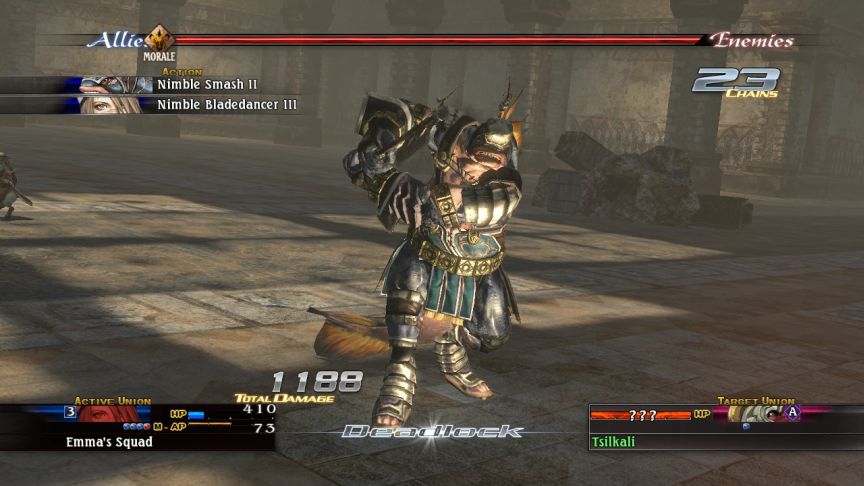 That was a NORMAL attack, and it did nearly 1200 damage! This is why fighting a rare monster is always a risk. It’s hard to be sure if you’ll get your face stomped in.
 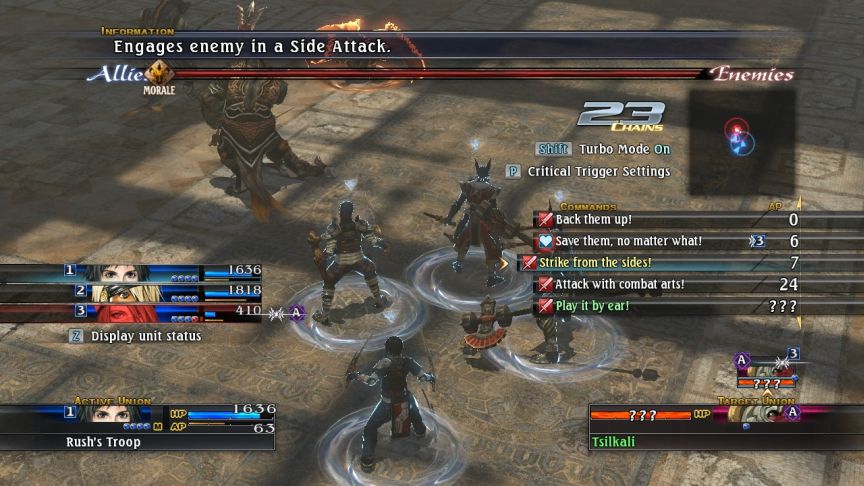 I’m not going to miss the chance to do a Flank Attack, even though this boss has Dust Devil II, which means that Rush’s union can still take damage from the AoE. Violet is also down in Emma’s union. I ordered David’s union to heal Emma’s and Emma’s union to heal herself.
 This means the boss wasn’t in Deadlock, so Rush’s flank-attack became a Raidlock instead.
 Okay everyone is up and this turn went well, the boss’s Dust Devil only scratched us. For Turn 6, I ordered Rush to do Acala’s Wrath, and Emma’s union to do a full attack of their own.
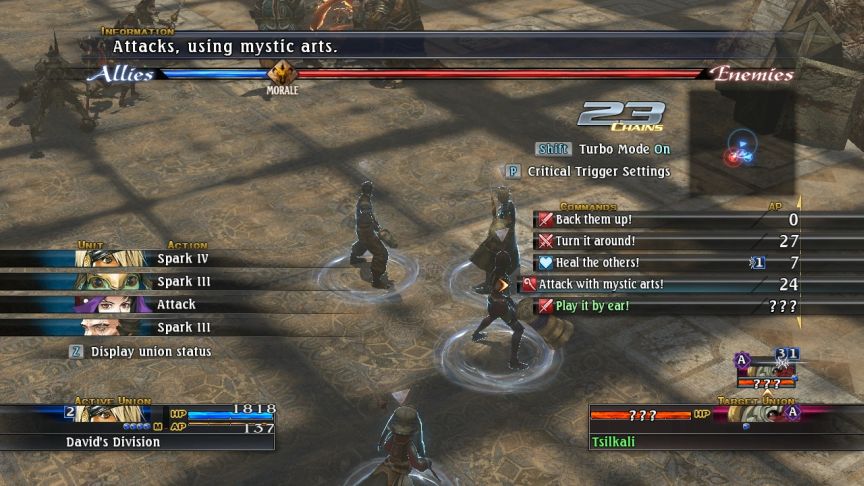 By now, I’ve saved up enough AP, so this is when I tried to get the Arcana to trigger. It of course does not work, because I need David to have Spark V. I was so surprised when this happened that I missed the QTE on Loki’s Critical Offense.
 At this point I’m glad that I saved before starting this fight.
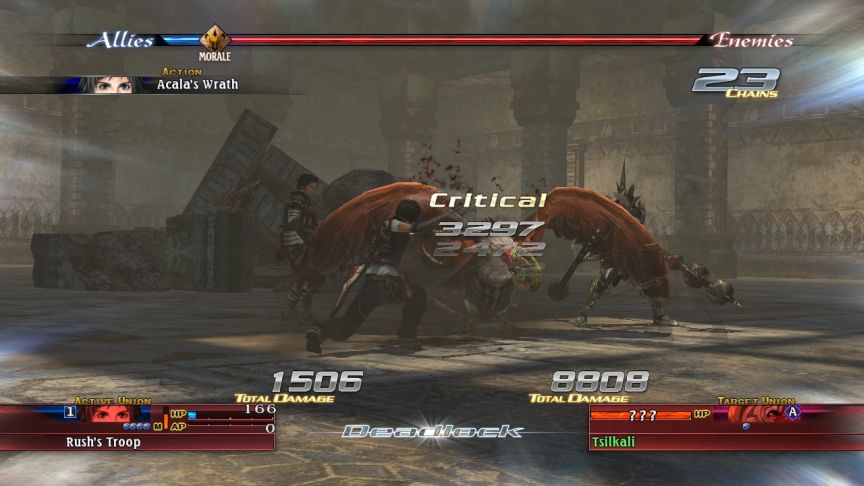 But man, are the higher-level Combat Arts GOOD! That did 8200+ damage.
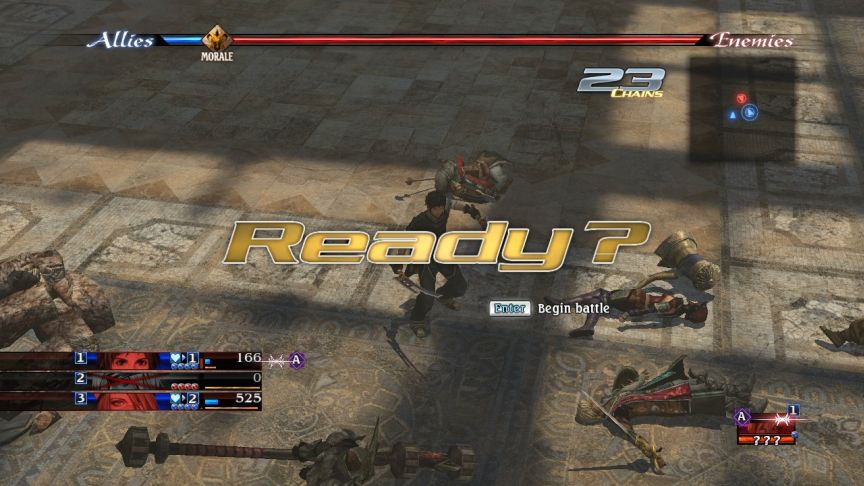 Too bad I’m unlikely to live through this turn, never mind win the fight.
 That was Emma’s union getting intercepted and creamed on their way to revive David’s union.
 On Turn 10, Rush’s union was intercepted on the way to bring back someone else. There is no question that on the next turn, Rush’s union will die. The only matter is: will he get to revive someone before he gets killed?
 Caedmon rocking his new art. Rush follows up with a Restore V on Emma’s union, and Gabriel tosses some Herbs Rush’s way as well.
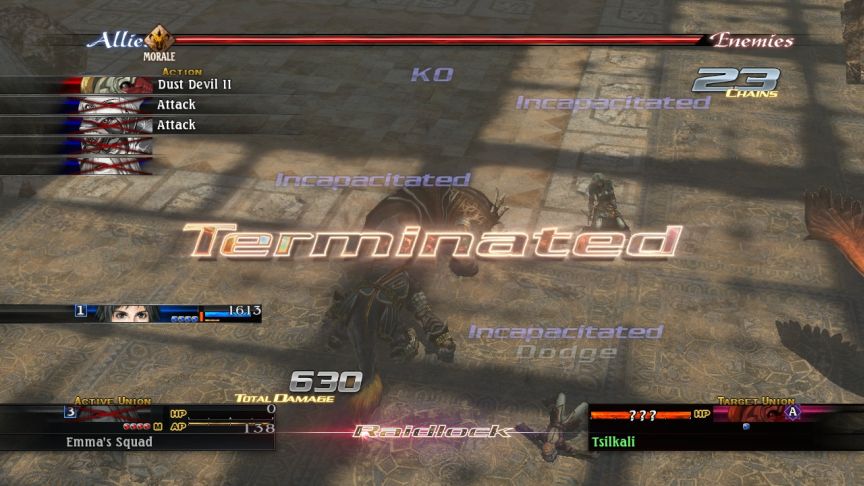
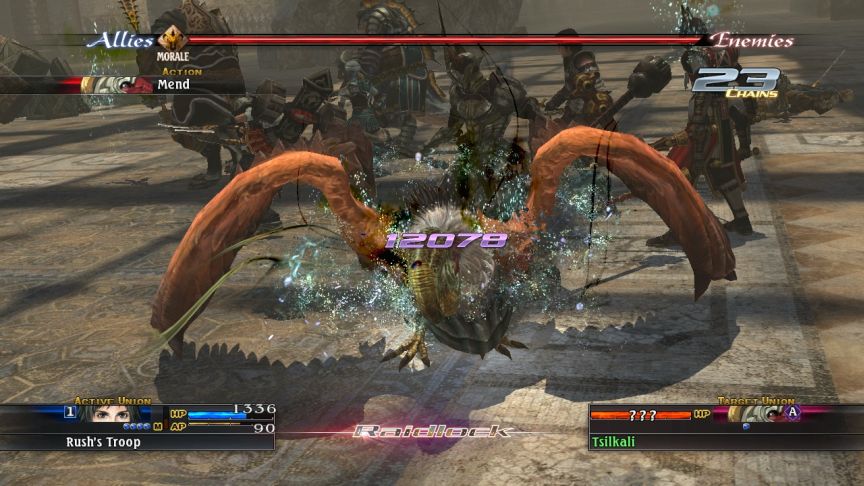 Hell yes! In this game, enemy healing tends to be pretty weak. In this case, it’s a solid bonus because now I can get the chance to bring David’s union back.
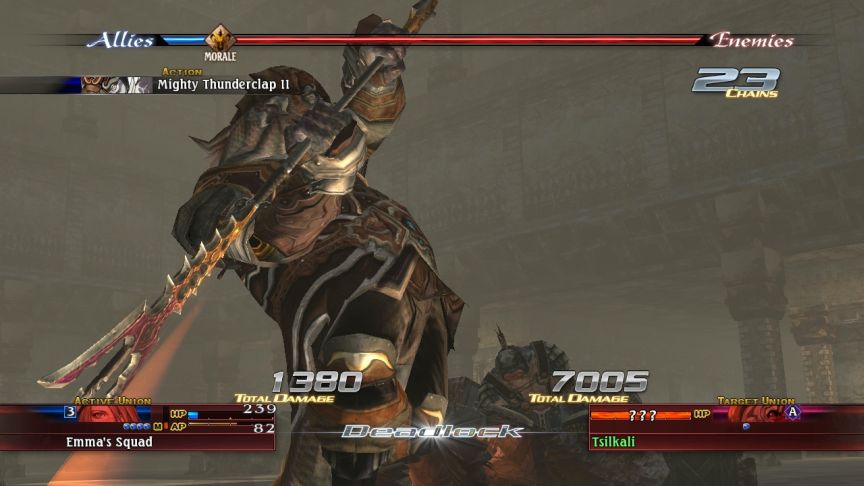 Bring it home, Baulson.
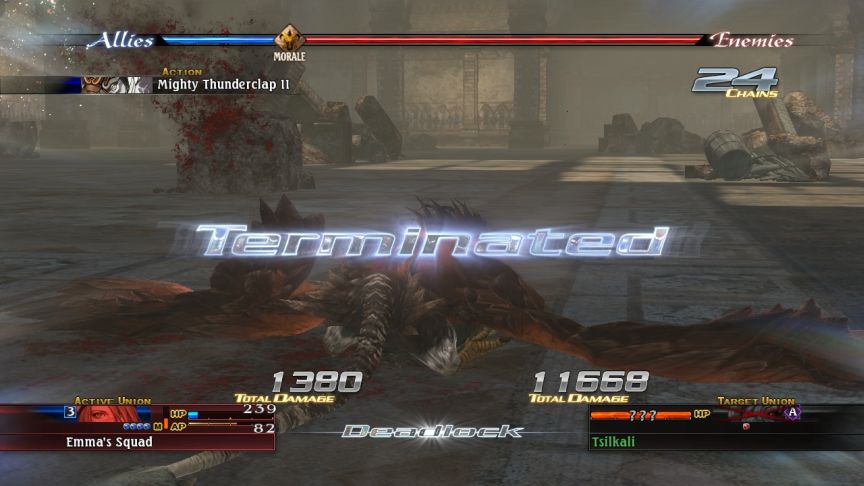 And with everyone still standing. Perfect comeback! I think Emma might be our first T4 class! The Cavalier is a Mystic + Combat hybrid, with Remedies as their highest Mystic. Odds are decent that Rush will become one when his STR hits 41. - Dungeon Video: Senecio + Phoenix Sections
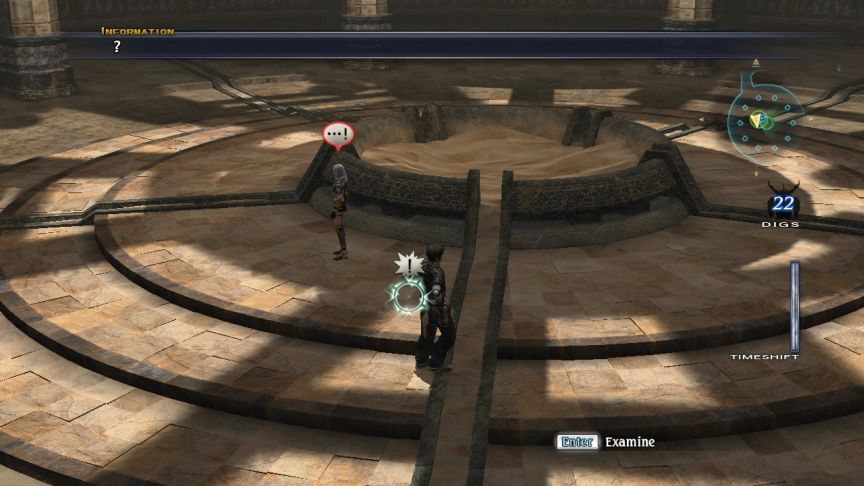 I swear, if this is the thing Hinnah dropped, someone’s getting a punch in the mouth. Obtained Mojcado Key!
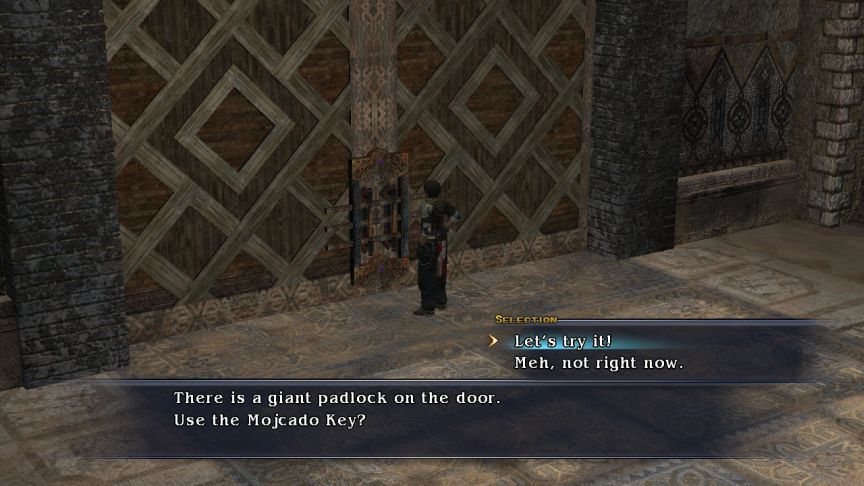 It isn’t what Hinnah is looking for, but it will let us past certain doors so we can access the rest of the ruins now.
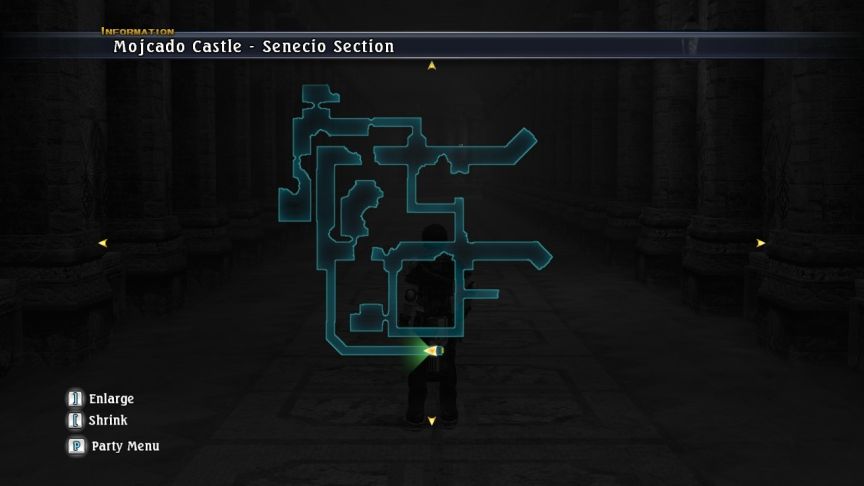
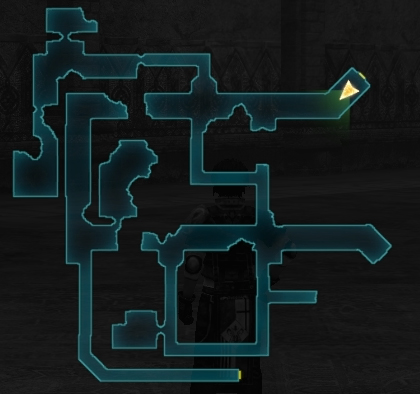 Senecio Section is characterized by a lot of straight corridors.
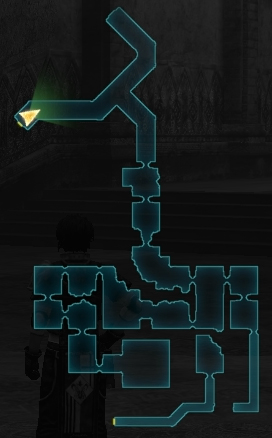 Phoenix Section is full of lots of small rooms. What we are looking for is in here. You should be able to guess where just from looking at the map.
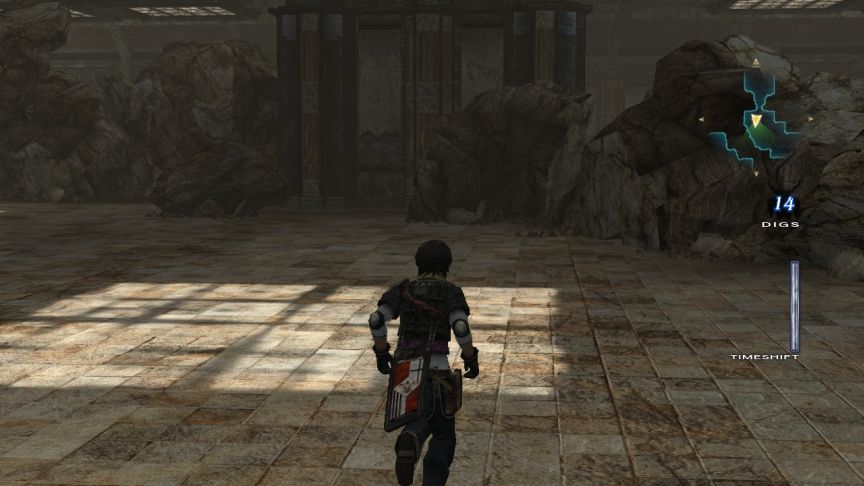 This room is split in half by fallen debris. On the other side is a chest containing the Pegasus formation, an upgrade to Unicorn.
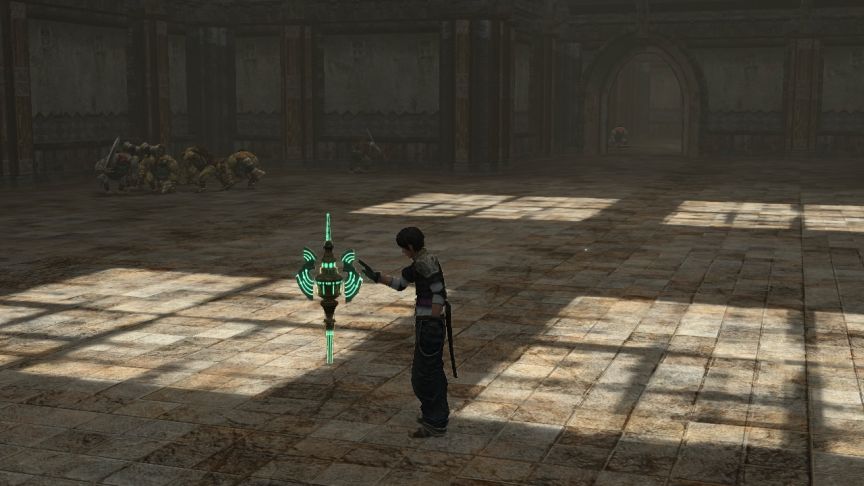 This is the farthest room in, so of course it has the item we want. It’s the shiny dot in the middle. The chest contains the Rosethorn, a Qsiti-specific weapon. The glowing spot on the floor, though, is… Obtained Tarnished Earring Tarnished Earring - A delicate earring with snowflake designs. The studs are old and worn.
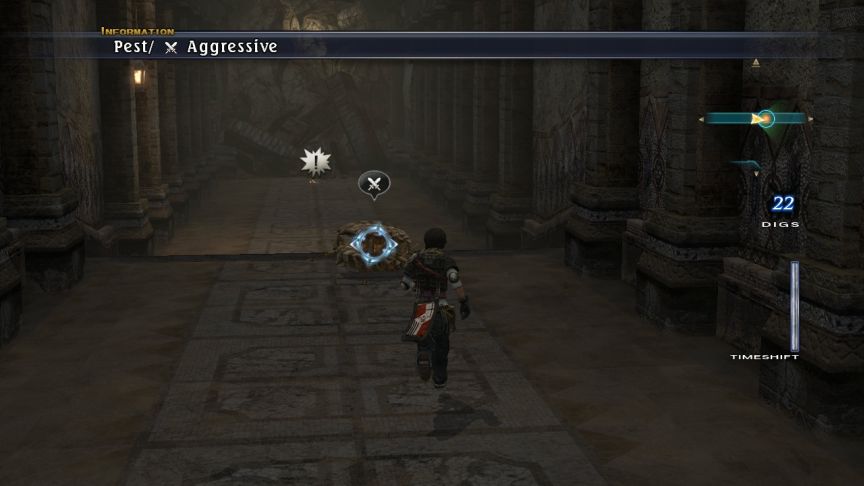 At the upper right of Oath Section, in this dead-end is the Osteon Morsel to up Mr. Diggs Dig count. - Video: Blooming Flower, Singing Bird (Part 3)
 The Tarnished Earring was snatched away.
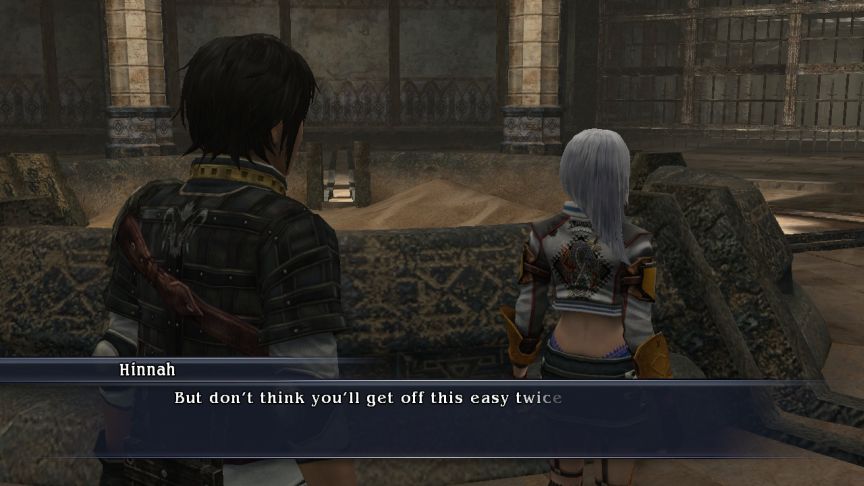
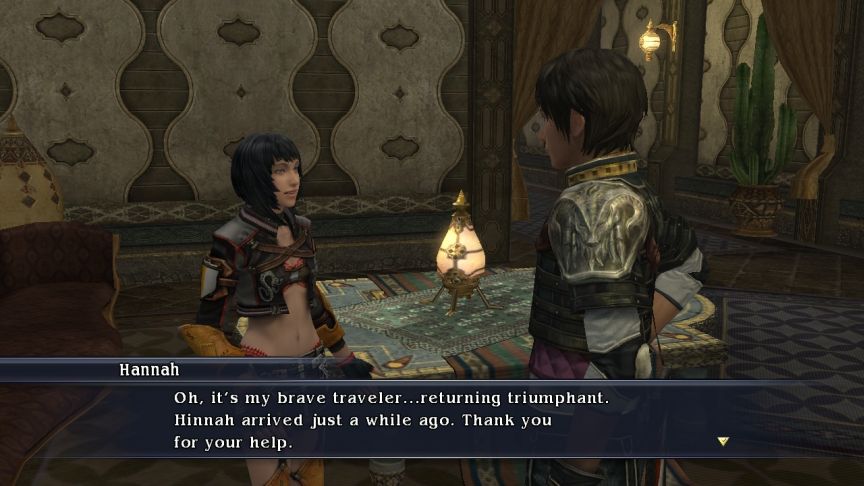 Reward: 2000 G, Aes Salia, Snowflake (A flower.) Completed quest: Blooming Flower, Singing Bird Hinnah found her earring, so I took her back to her sis. Sadly, they left afterwards, but Hannah promised a "hotter, more intense" meeting next time...I can't wait! Snowflake - A flower from Hannah that represents a new beginning. The pure white flower petals are reminiscent of falling snow. Aes Salia - A red stone known as the roc's jagged talon. Salia Count: 3. Only six more to go before we can save Royotia from going all Pompeii.
 - Video: Rare Monster Fatalclaw
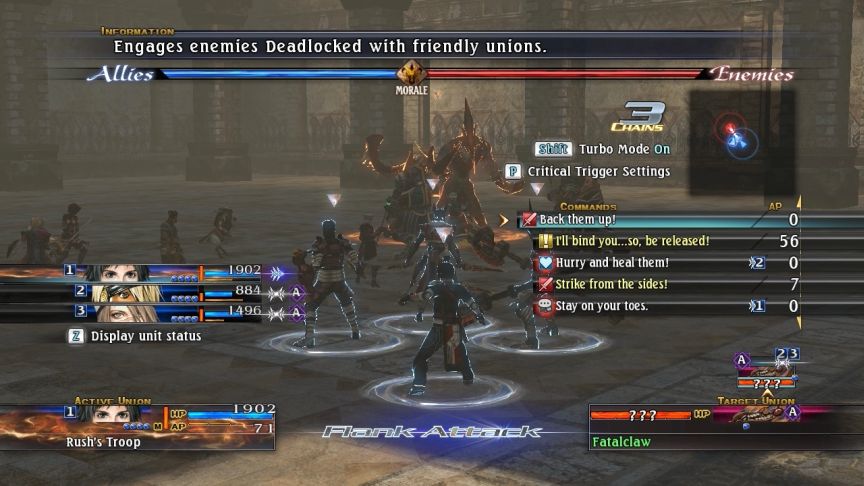 On my test run-through of Blooming Flower, Singing Bird, I encountered this guy, so have a bonus rare monster fight.
New Arts Summary
-
 Double Strike II!
 Restore II!
-
 Acala’s Wrath!
 Orphic Ward II!

Dungeon: Gaslin - Ravine of Temptation
Boss: The Absolute Queen
Blooming Flower, Singing Bird (Part 1)
Rare Monster Tsilkali
Dungeon: Senecio + Phoenix Sections
Blooming Flower, Singing Bird (Part 3)
Rare Monster Fatalclaw
Next Time: My heart was the only casualty