Part 19: Submachine 7: The Core
Part 19Submachine 7: The Core
♫ Thumpmonks - Submachine 7 - Heavenly
We have opened up the other gates to the Garden, so let's take a look.
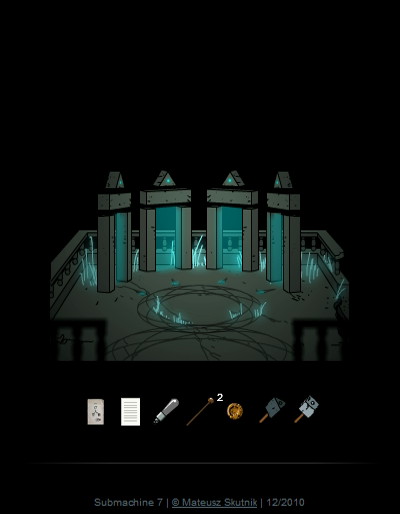
If you remember, we went through the third gate because it was already open. We'll explore the others from left to right now.

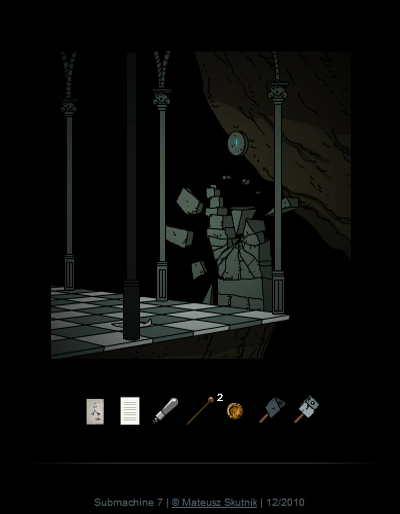
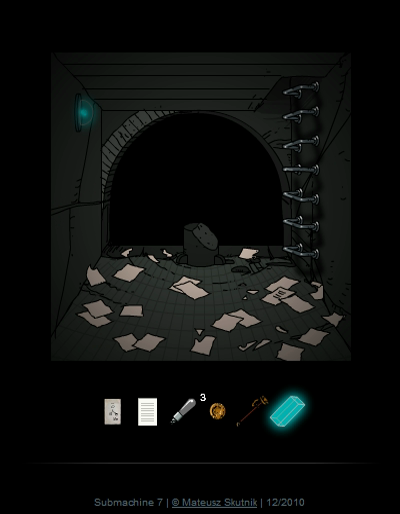
Through the leftmost gate is a dead end. Everything seems to have fallen apart here. Let's return and try door #2.

Liz posted:
So when things started to collapse, why certain bits and pieces got left behind?
They just stayed in place...
And why those in particular?
L

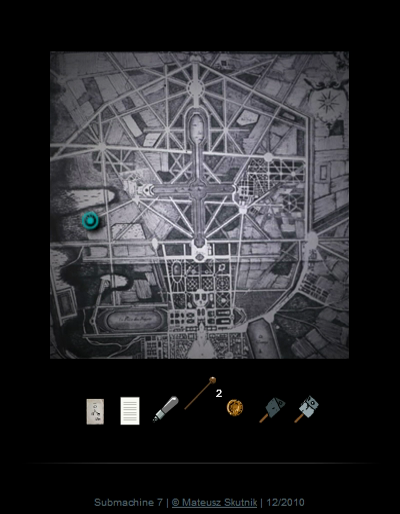
According to the map on the stand, we're now way up north.
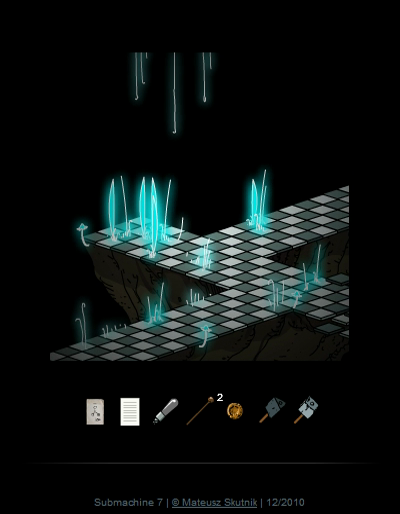
RTL
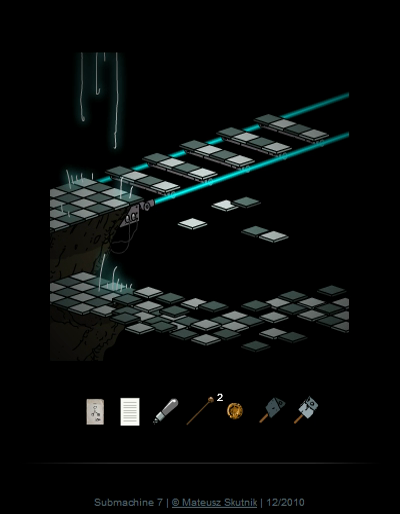
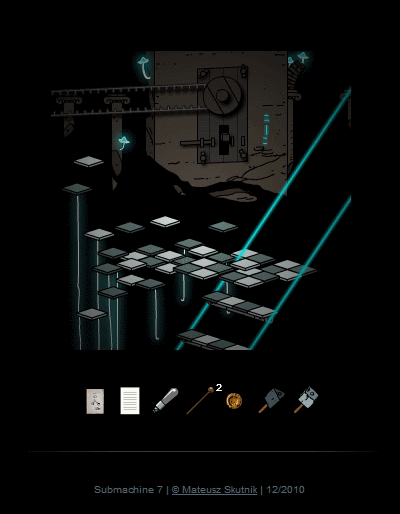
We're coming from the bottom right here. The top right part ends in nothingness so we can't go there. Only place to go is further left. By the way, as a neat touch, those hovering tiles bob up and down a bit when you touch them with your mouse.
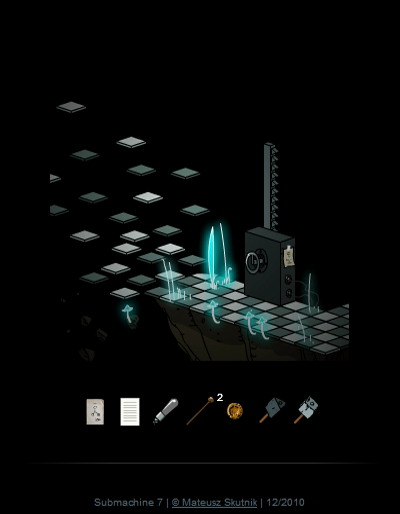
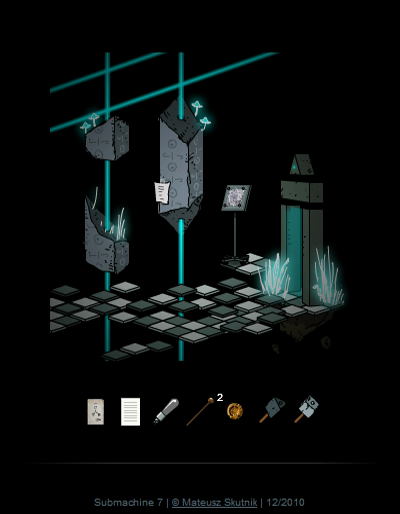
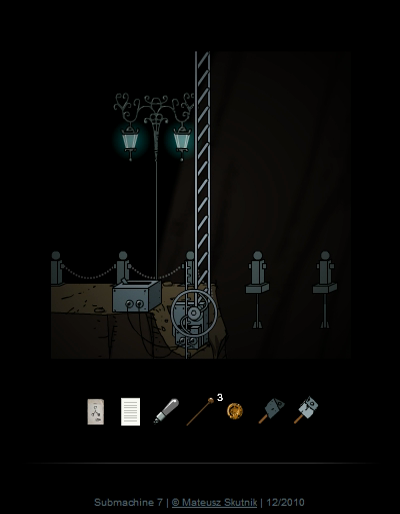
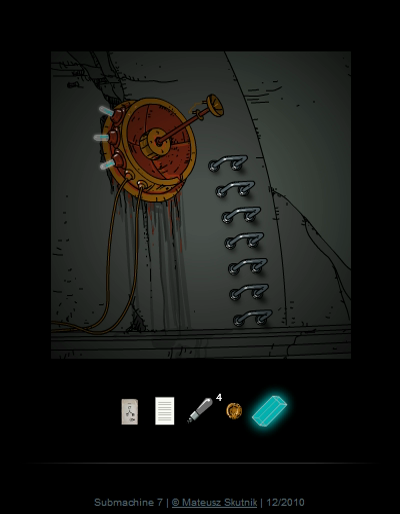
To the left, we find a new hint, and some machine.

Cranking that thing down with the wheel turns the broken path two screens ago into stairs. Another little touch that you might not even notice if you're casually playing through this game is that while clicking on the top right and bottom right exits of the screen on the left takes you to the same screen with the stairs, if you went through the top right exit, you can only take the stairs up, while the bottom exit only lets you return to the gate. In other words, the right screen has two states depending on where you clicked to enter it.
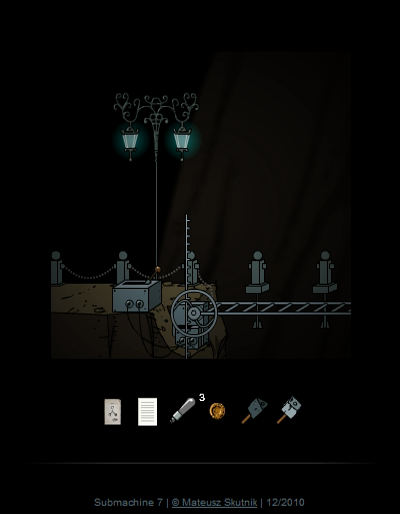
Up here, pushing the switch down activates the pulley, then locks it into place. The gif also shows the tiles bobbing.

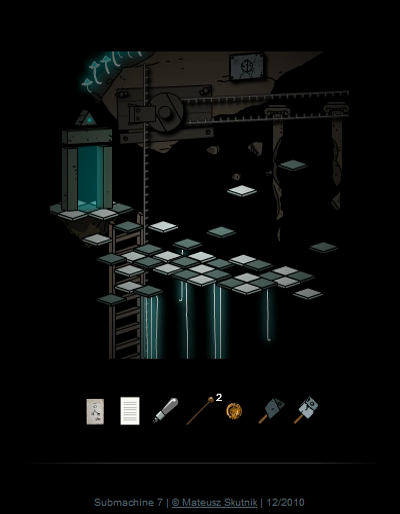
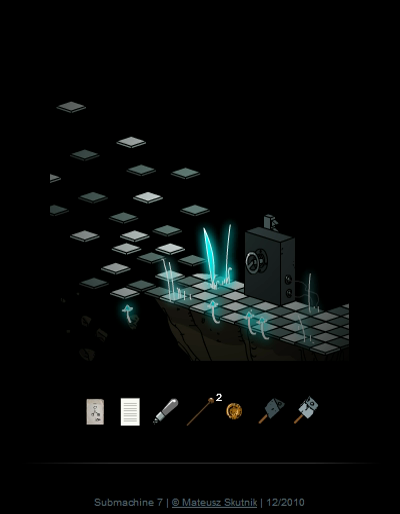
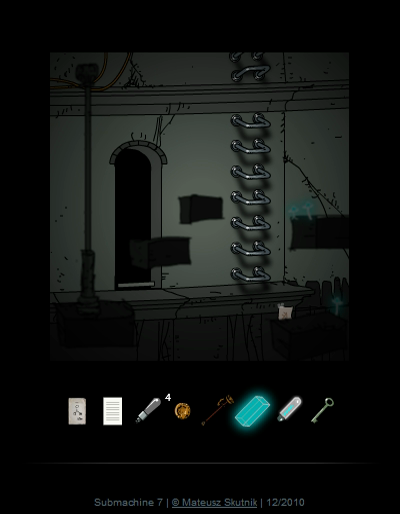
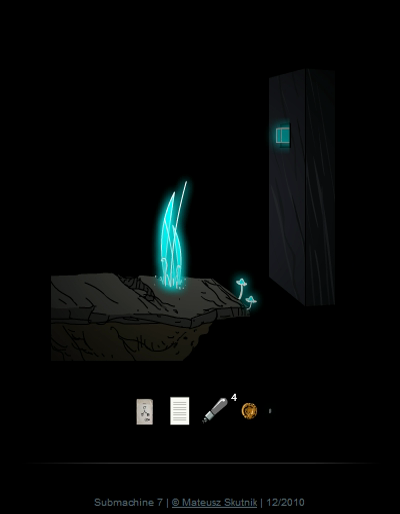
The pulley lowered a ladder into the little crossroads area. Up here is another gate, and something on the wall.

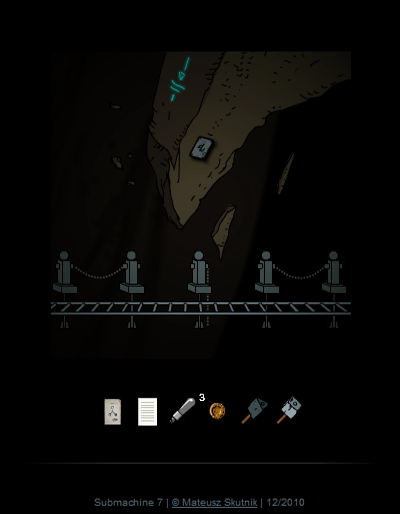
Hm. A strange symbol. Might be a hint for later. Too bad it's stuck to the wall, I can't put it into my stack of pictures.
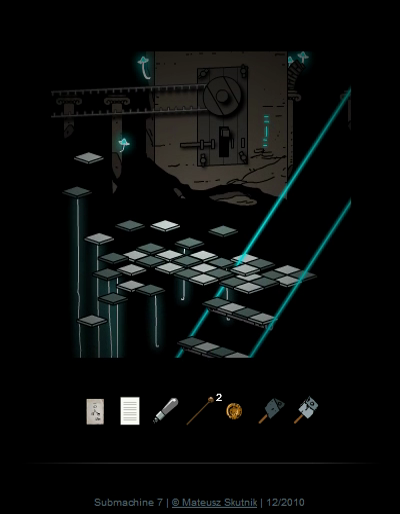
Through the gate we find a new part of the Garden, this one all the way to the left on the map. The gate in the back is the one we just came through.
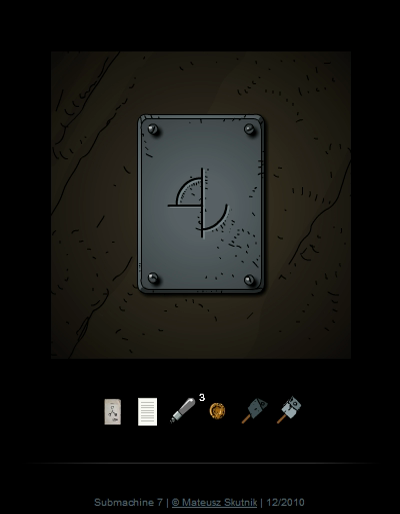
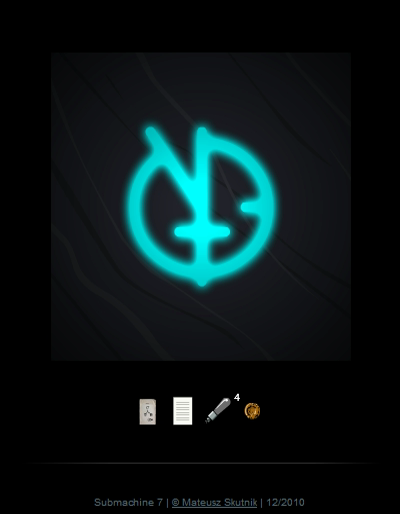
To the left, it might be hard to notice at first, but the post has another of those weird symbols on it.
And to the right, almost hidden behind another post, is this clue which is actually very important. If you miss this one... good luck.
Can anyone decipher the text on this? It looks like more than random scribbles. It might be partially Polish though, because that's where Mateusz is from.
And did you notice the other thing in this place?
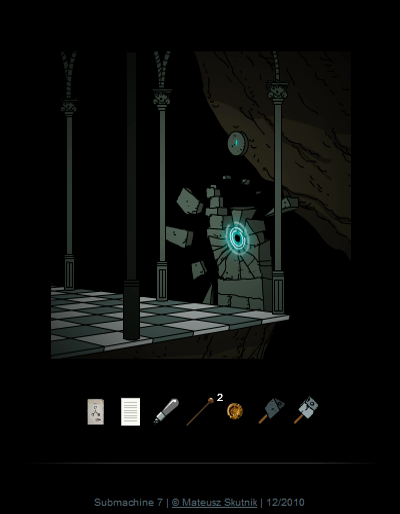
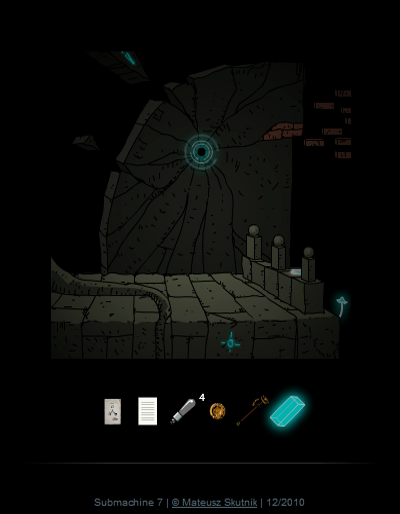
Yep, those radial cracks indicate the location of a Karma Portal. And despite Liz's worries, we do need to travel through them.

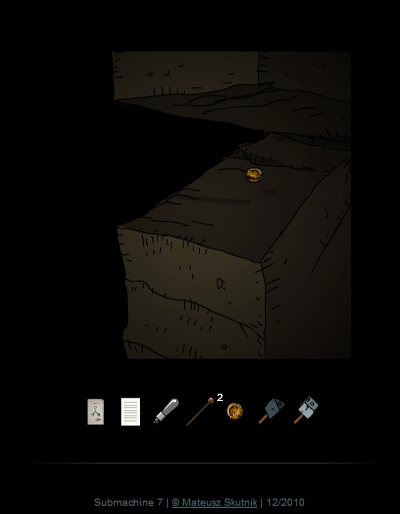
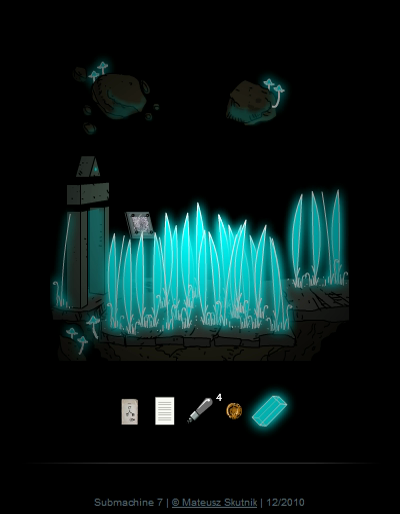
This new part of the Garden has a secret Token in it. Where is it? Well, there's a second clickable area in the crack just a few pixels from where the Karma Portal is. They aren't easy to find in this game.
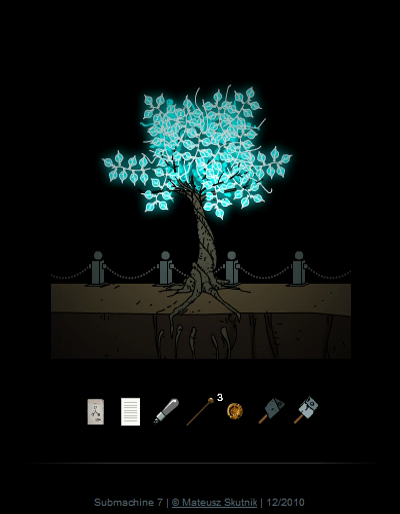
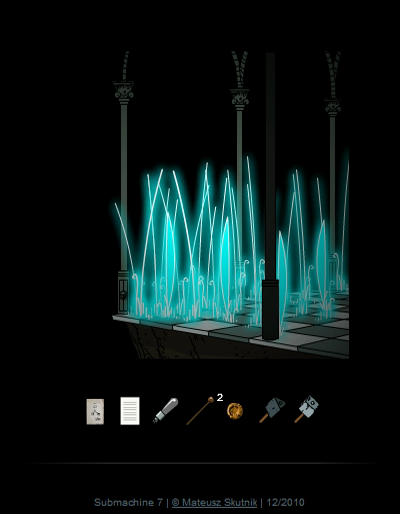
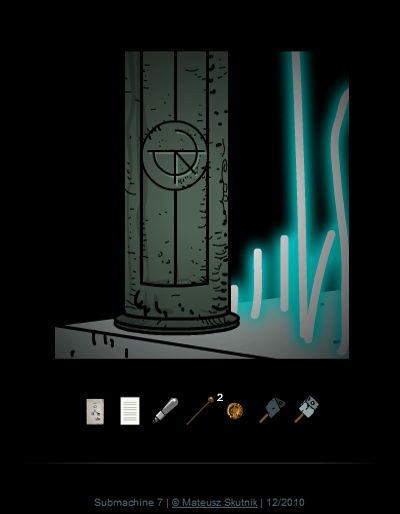
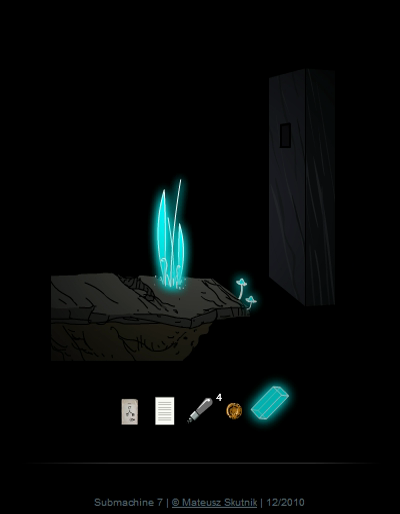
Moving on, this area has a nice fluorescent tree.
Over in the next screen, in case you were wondering why we've been carrying around that Gong Stick all this time (and why the game didn't automatically remove it from the inventory after using it, like usual), we can use it here to pull the broken lever, which makes the ladder fall down and let us go right.
Yet another strange symbol on the wall.
And the ladder takes us back to the dead end behind the leftmost gate. We've created a little shortcut.
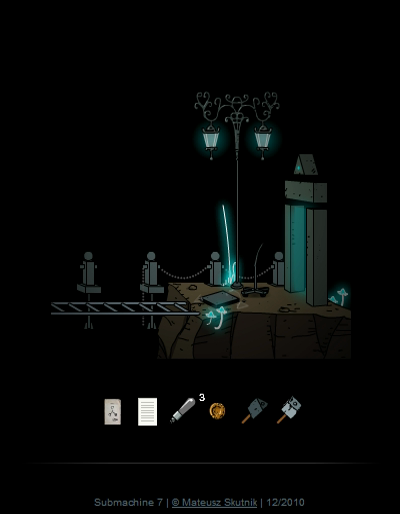
We've seen door #3 already, so let's go straight to the rightmost gate.

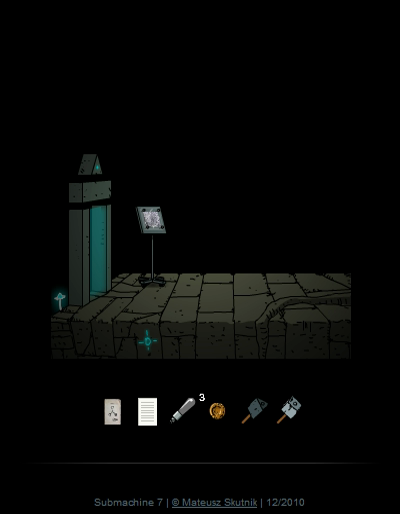
Which, conveniently, takes us to the right side of the Garden.
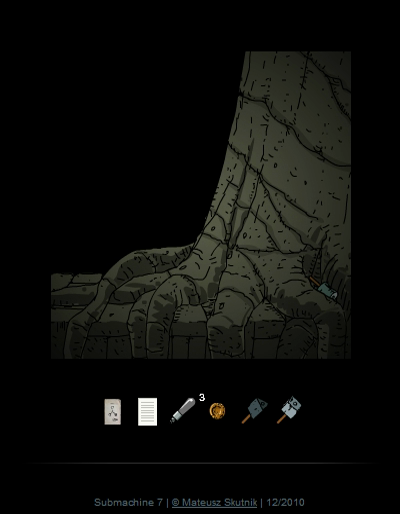
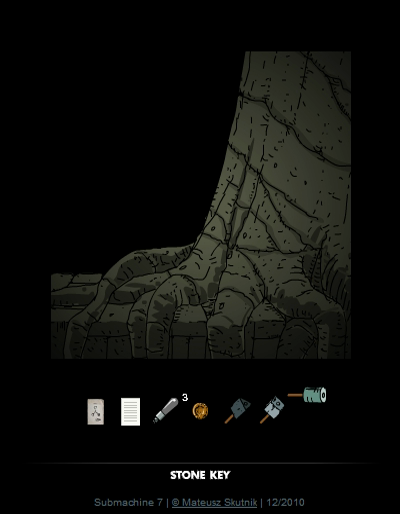
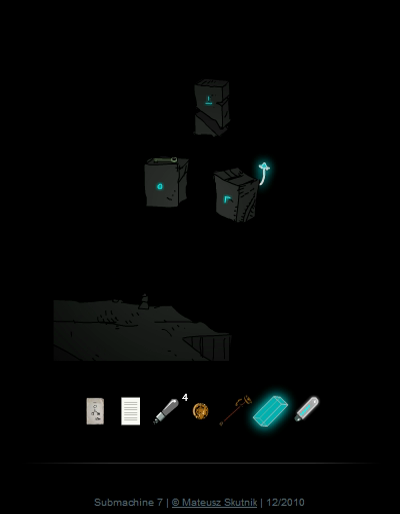
To the right, we're blocked off by a huge tree. But we can pick up the Stone Key from between the roots here. And this gives us all we need to solve the puzzle of the closed door in the Palace.
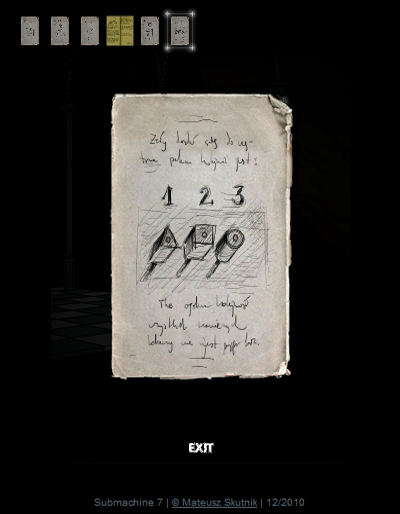
Let's see if you can figure it out. Here's the screen with the puzzle and the four hints that have to do with it. This does give you people a bit of an advantage over first-time players, because they first have to figure out that this is where these hints come in handy.
.
.
.
.
.
.
.
.
.
.
.
.
.
.
.
.
.
.

The first thing to realize is that you need to put the Stone Keys in the order shown in the last hint.

Secondly, the holes in the wall can be divided into three 3x3 grids. That's what each of the other hint pictures refer to. Top middle for the triangle, bottom left for the square, and mid right for the circle.
Congratulations, we've now solved what I consider to be the second hardest puzzle in Submachine 7.

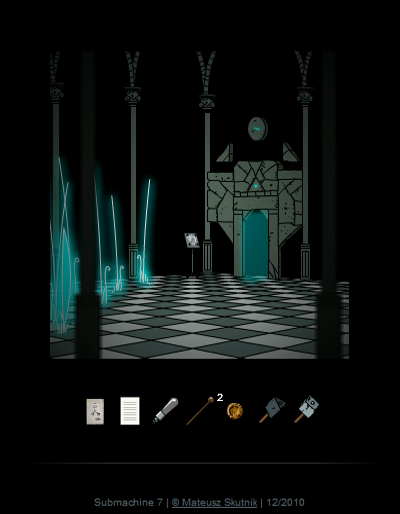
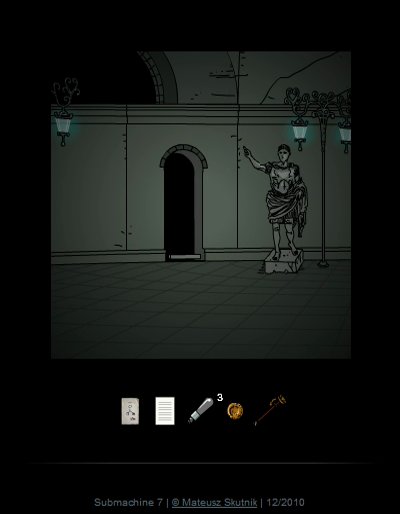
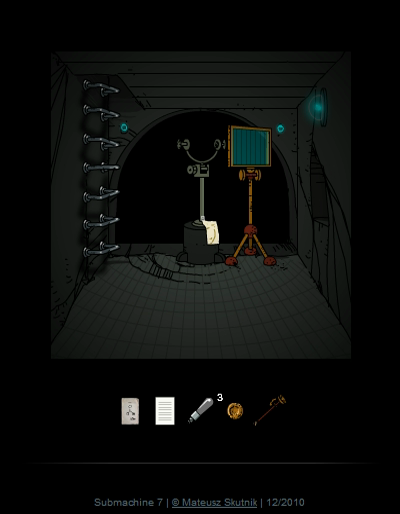
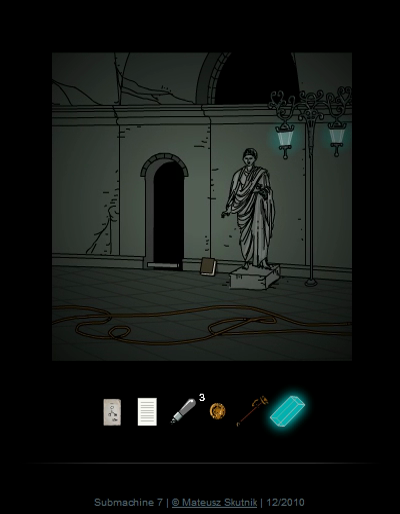
We're now entering what seems to be the actual interior of the Winter Palace.
♫ Thumpmonks - Submachine 7 - Purge
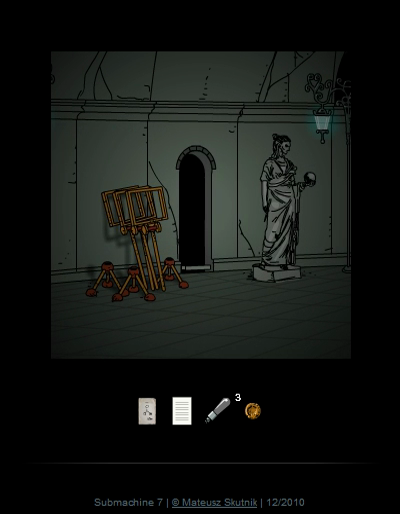
This area has a bunch of doors in the back with small rooms behind each.
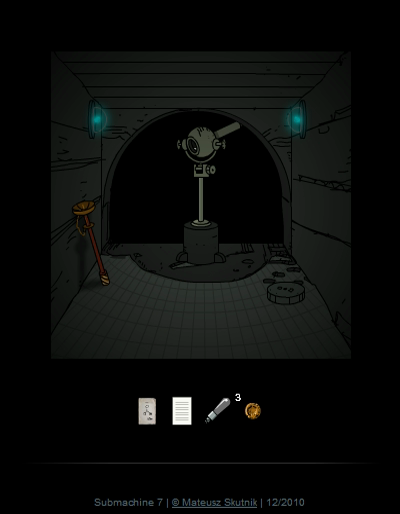
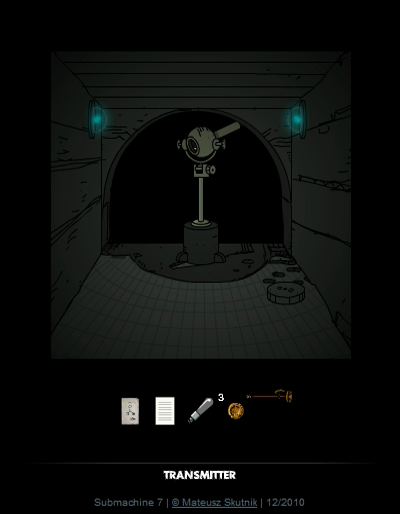
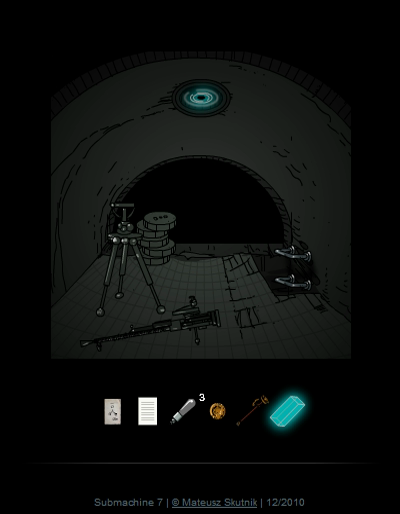
This first one has a telescope, and a Transmitter which we can grab.
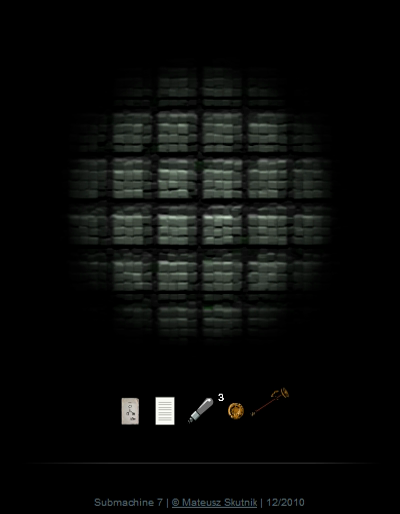
The view through the telescope is a bit weird. Bricks of some kind?
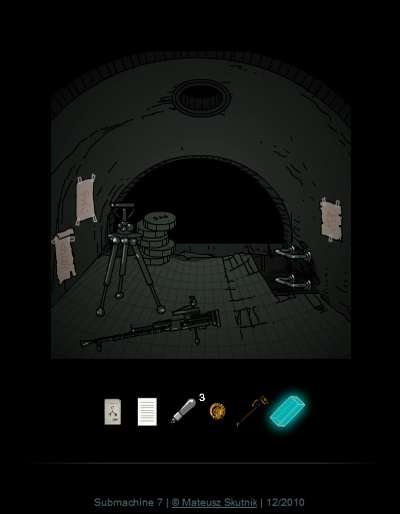
There's quite a bit of stuff in the second side room.
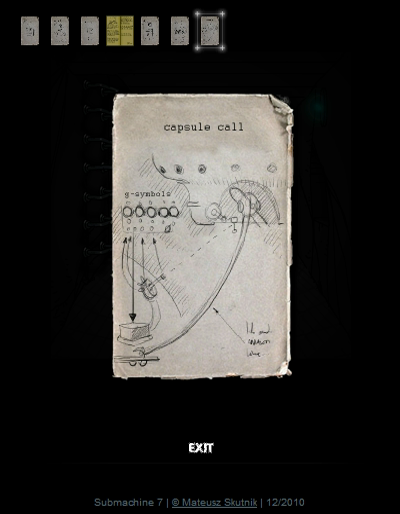
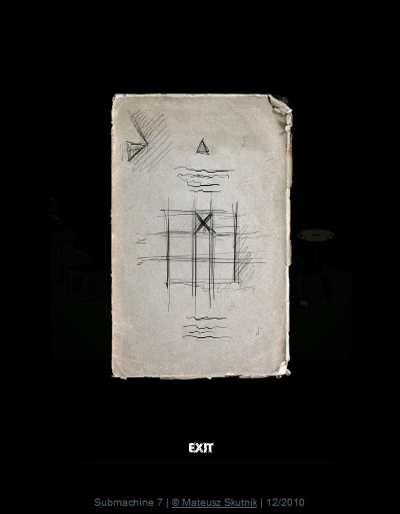
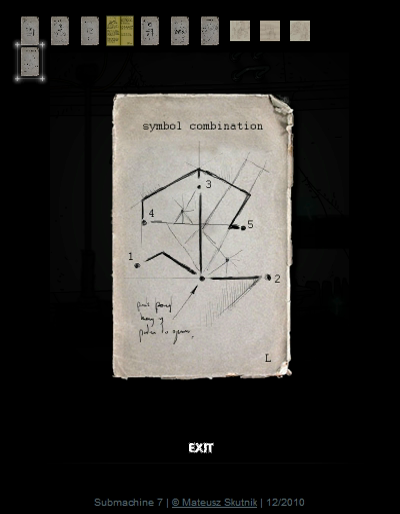
The Picture is one of the main hints for the big puzzle we'll have to solve soon. Let me tell you, it's much easier to decipher it once you know what it's trying to say. To the top right you see the underside of a ship. That's Liz's laboratory, and that's what's docked to the outside of the castle. To get there, we need to call a capsule. I'll explain the rest of the picture in a bit.
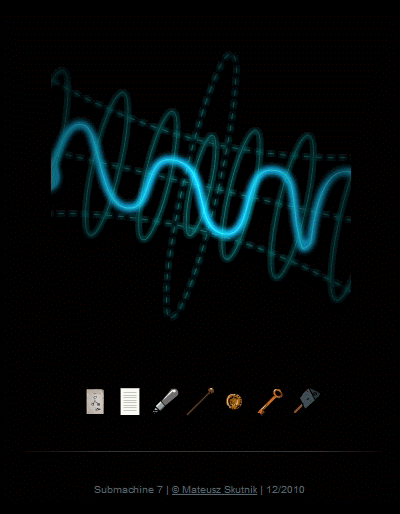
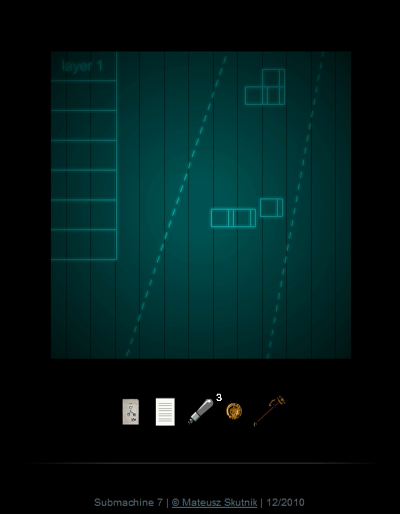
The image to the right is on the blue screen. It doesn't seem to make much sense. Layer 1 of what?
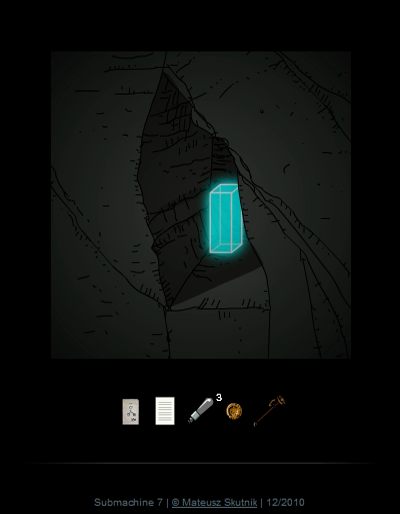
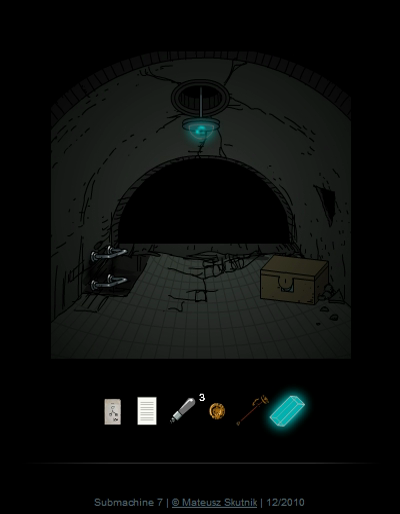
In the crack to the right we find the Glowing Box, which we'll take with us. Upstairs we find nothing but a locked box, so let's go back to the main hall and go further right.
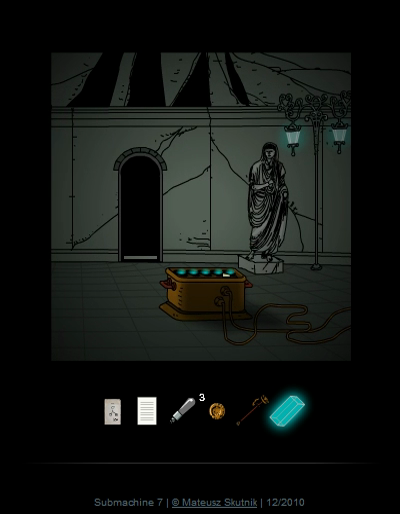
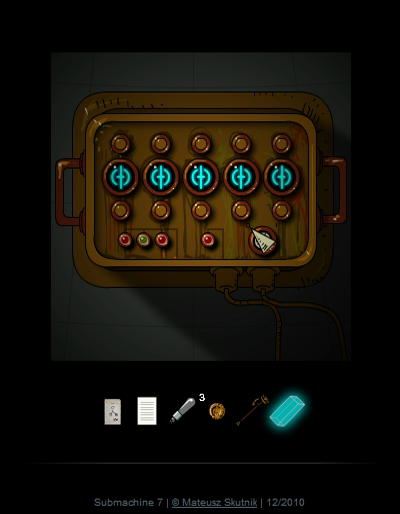
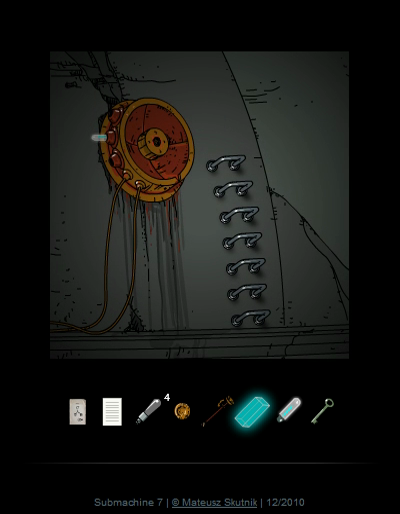
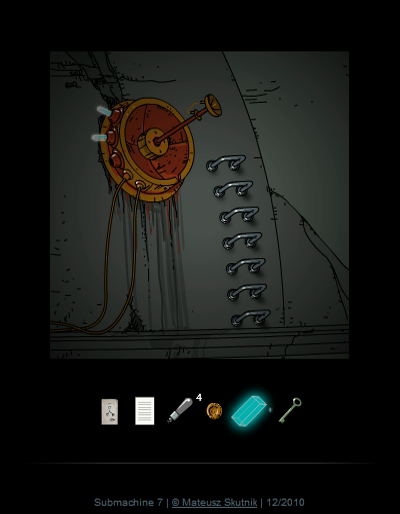
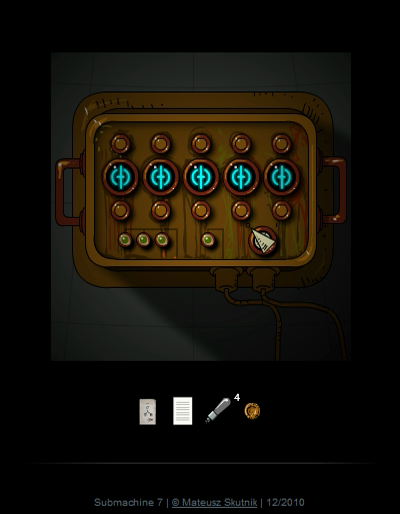
Here we find another important part of the puzzle, a control panel that is also shown in the Picture we just got.
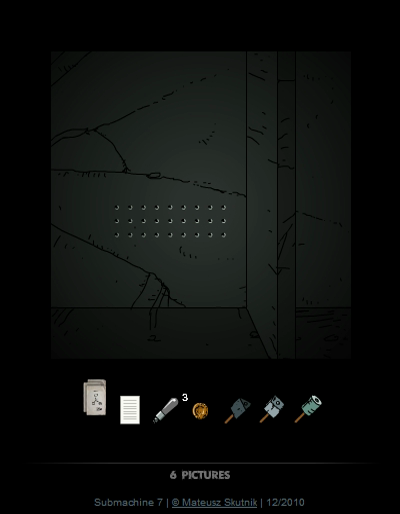
Basically, to call the capsule we need to use this box to send a signal. To do so, we need to set 5 symbols. These are similar to the ones we've seen in the Garden. On top of that, we have to turn the lower four lights green. Luckily one of them is already green.

To the back, we find more stuff.
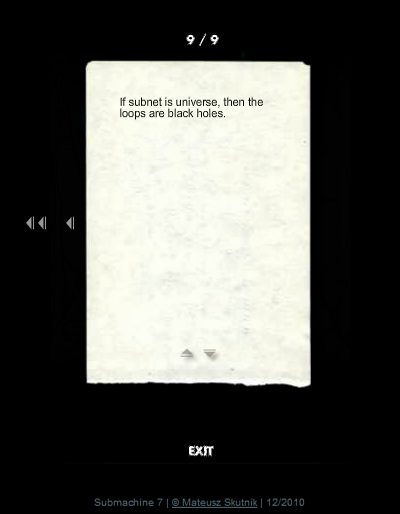
quote:
If subnet is universe, then the loops are black holes.
I suppose it's talking about The Loop we found ourselves in. I guess it's similar to a black hole in that you normally can't escape from one, no matter how far or how fast you go.
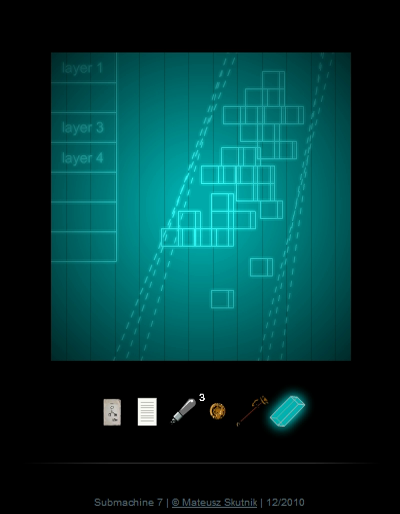
Looking at the set of transparent screens, we now see multiple layers on top of each other. The view through the telescope is... distorted.
Moving on...
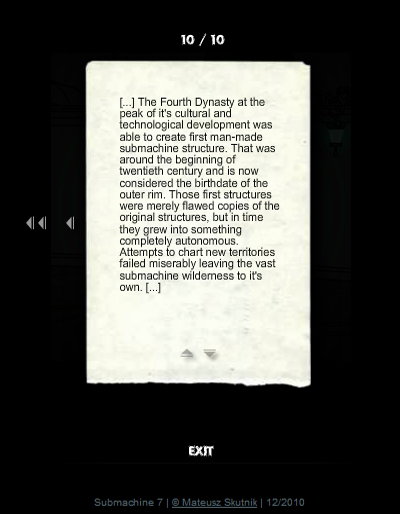
Book page posted:
[...] The Fourth Dynasty at the peak of it's cultural and technological development was able to create first man-made submachine structure. That was around the beginning of twentieth century and is now considered the birthdate of the outer rim. Those first structures were merely flawed copies of the original structures, but in time they grew into something completely autonomous. Attempts to chart new territories failed miserably leaving the vast submachine wilderness to it's own. [...]
In the back, only one piece of paper has text on it.
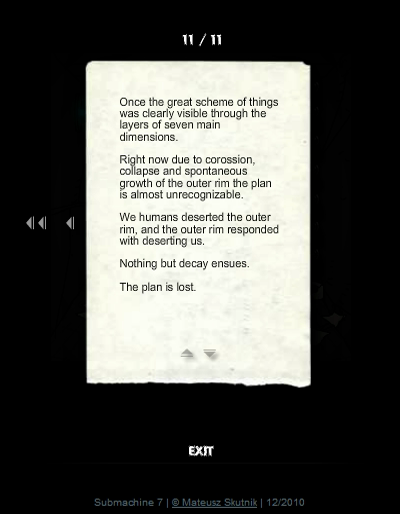
quote:
Once the great scheme of things was clearly visible through the layers of seven main dimensions.
Right now due to corossion, collapse and spontaneous growth of the outer rim the plan is almost unrecognizable.
We humans deserted the outer rim, and the outer rim responded with deserting us.
Nothing but decay ensues.
The plan is lost.
There's also a small clickable area behind the broken pillar. It hides the fourth Token.
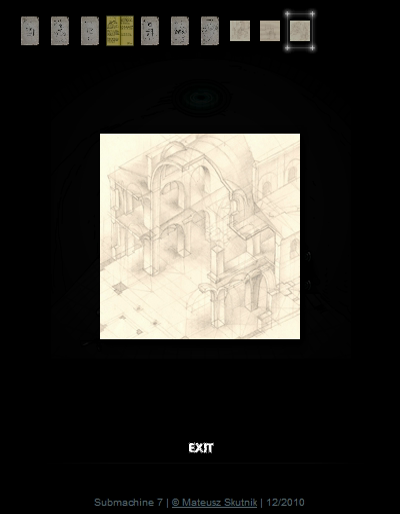
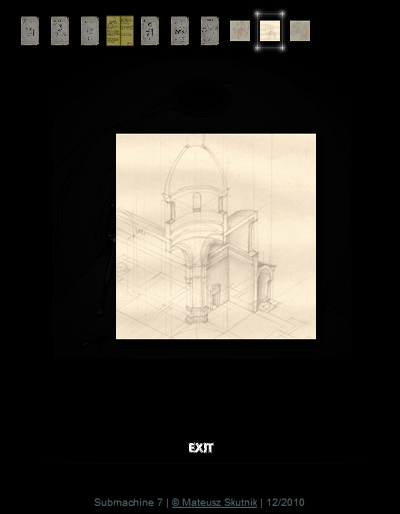
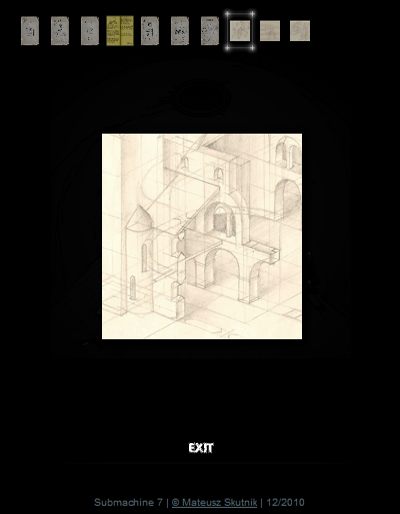
Up on top we find some architectural drawings. These don't actually have any relevance to the plot or puzzles, they're old drawings by the developer Mateusz, and he decided to put them into this game. But it's easy to believe they show parts of the Winter Palace.
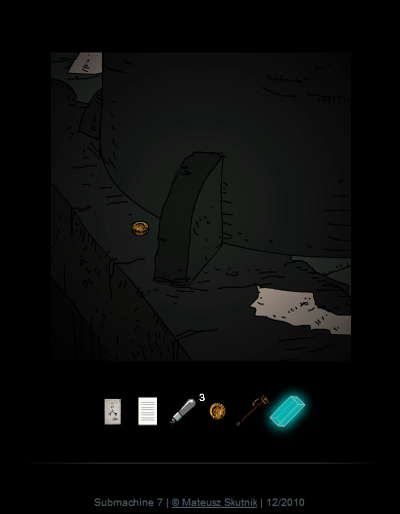
There's also a well hidden Karma Portal here.
Ugh. Still makes me woozy.
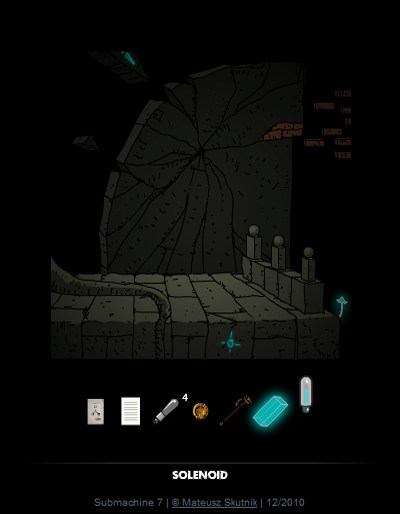
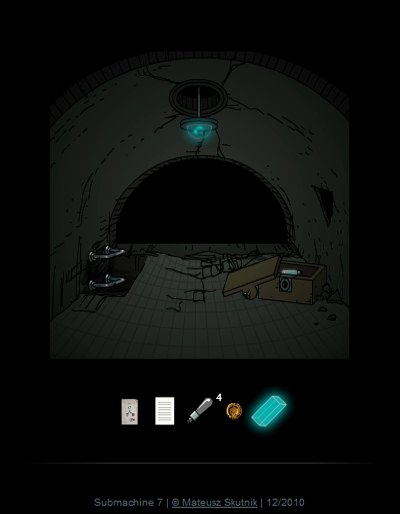
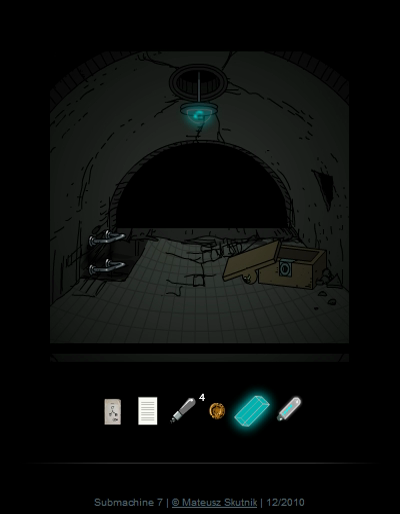
It takes us to some outdoors area. We pick up the Solenoid sitting here. It looks quite similar to the Light Bulb we picked up way earlier, but it has a rather different purpose.

To the left we find a large tree with yet another symbol on it. Are you taking notes?
Back in the main room of the inner Palace, all the way to the right, we can either go right through the broken wall to an outside area or into the door in the back. Going outside first, we pick up the Key from the floating block.
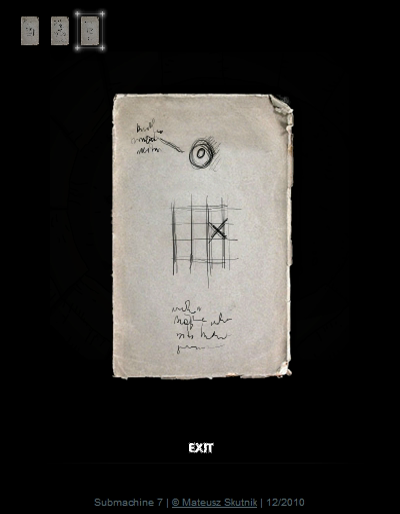
The back door actually takes us to a different outdoors ledge. Nice view of the void from here. Anyway, the Picture here is another important hint.
The ladder takes us to this transmitter dish. It already has one solenoid. We connect the Transmitter we found and plug in our own Solenoid.
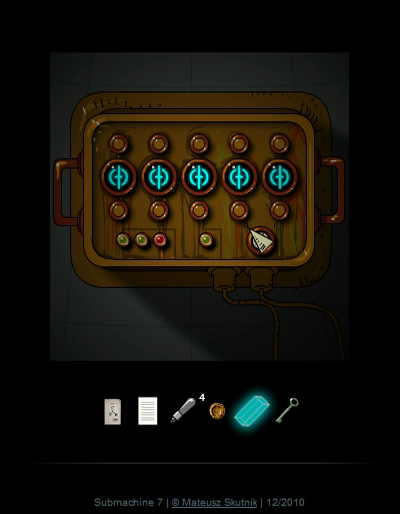
And this causes two more lights of the control panel to turn green.
The Key we found on the floating block is used to open the locked box in the upstairs room we saw earlier. It contains another Solenoid.
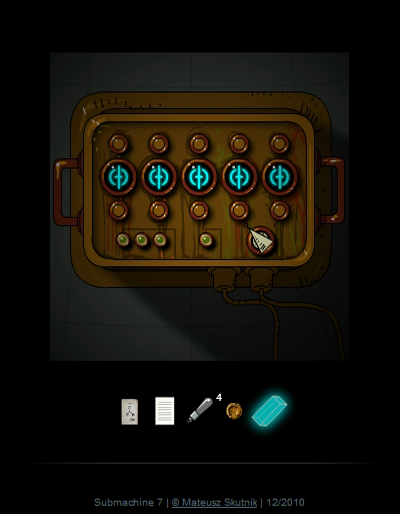
Plug it in, and the transmitter is operational again. Now all we need is the code...

There's one more thing to do before we solve that puzzle. Remember the third door, the one we visited first but didn't have much to do?
The Glowing Box fits into the hole in the wall to the right, and it makes something appear.

Yet another symbol.
Now, if we want to get into Elizabeth's ship and hopefully find her, we're going to need to solve this puzzle, put in the correct code. I've explored everything as thoroughly as possible.
So, thread, and especially those who have never finished this game, see if you can solve this one.