Part 22: Submachine 8: The Plan
Part 22Submachine 8: The Plan

Welcome back! If you recall, last time we explored the first four Layers of the area we ended up in, and ended up unlocking Layer 5. This layer might be important because it is where Elizabeth ended up going.
♫ Thumpmonks - Submachine 8 - The Temple
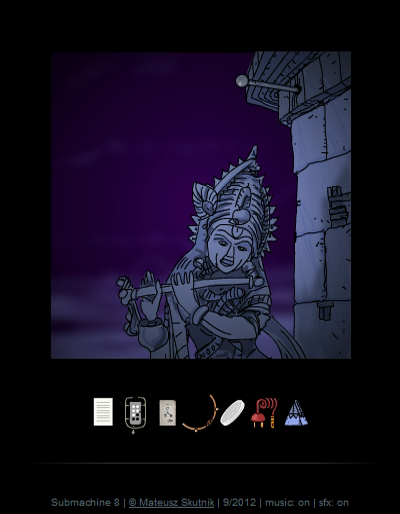
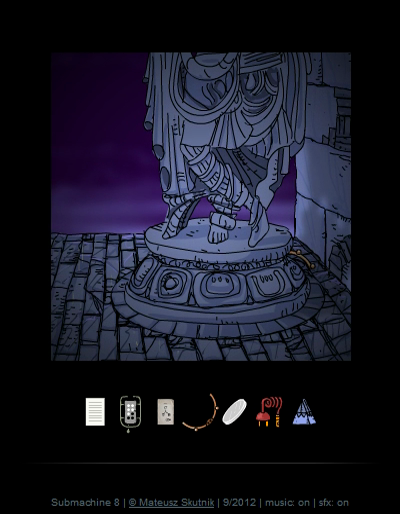
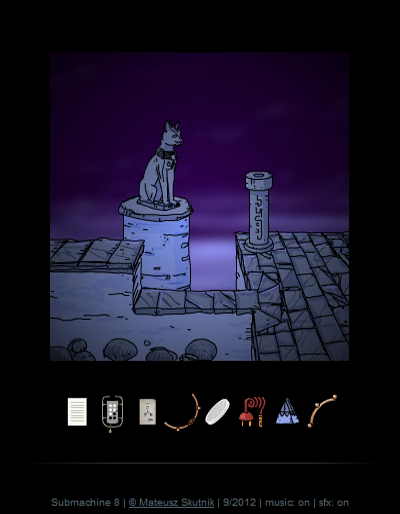
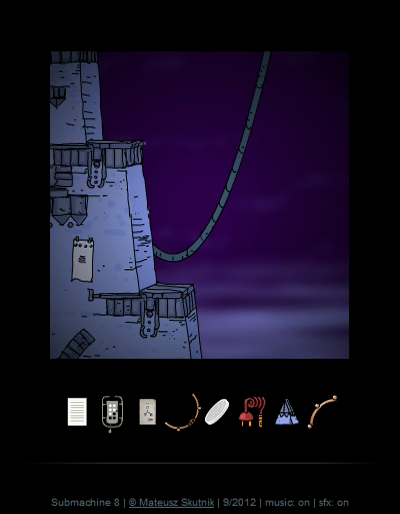
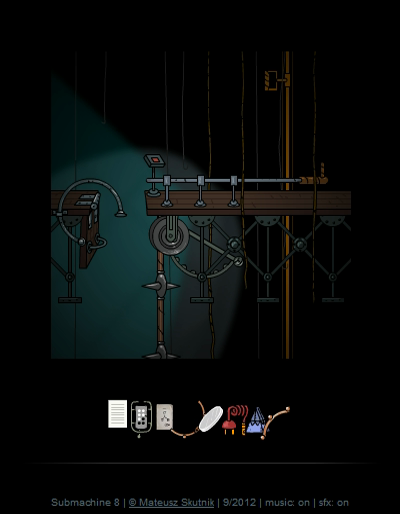
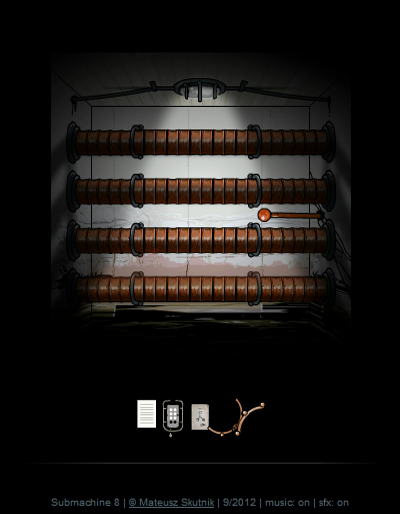
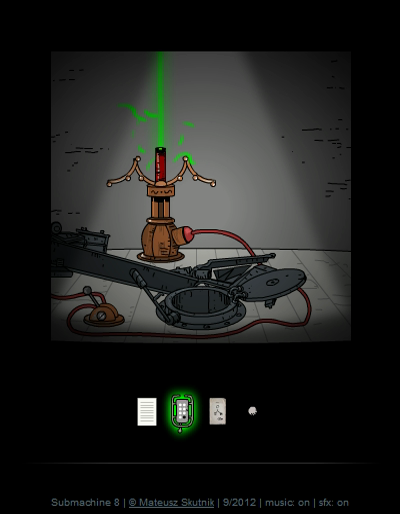
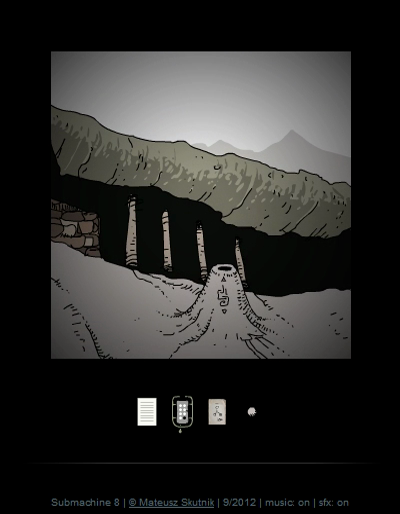
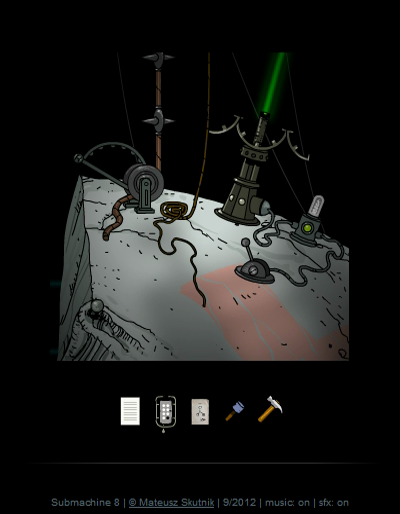
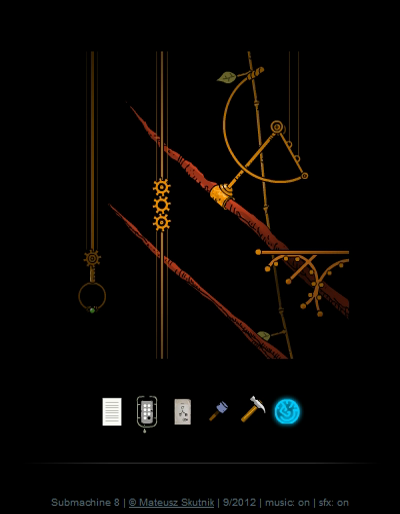
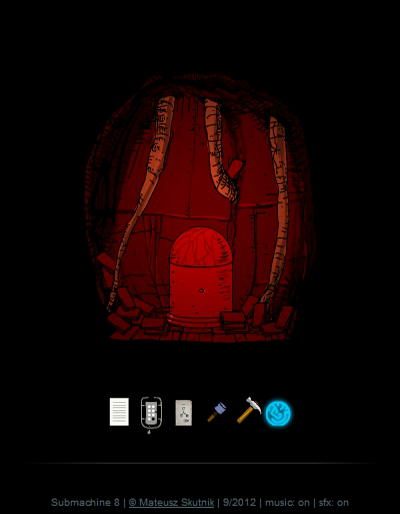
This area is known as the Water Pantheon. Here, in 5-9, there's a statue of Krishna and yet another one of those useless levers.
At the foot (feet?) of the statue we find a second Beamer Arm.
RTL
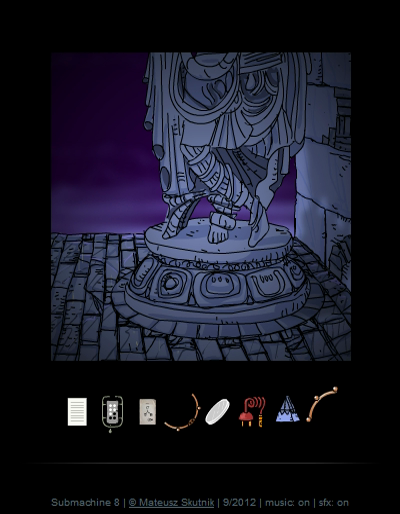
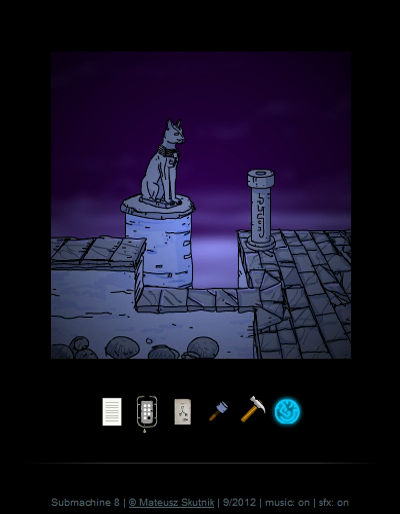
Going left from here, we first find a pillar and cat statue that don't seem to do anything, and then a strange gate. From here, we can go down to 5-10.
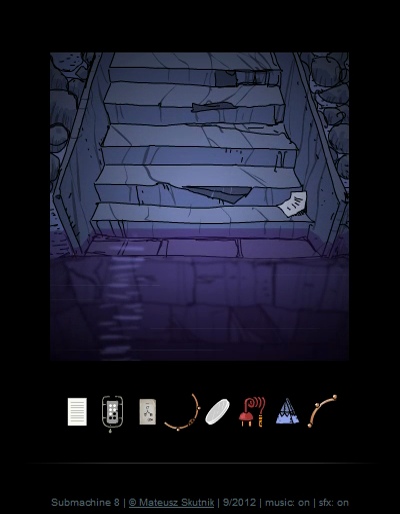
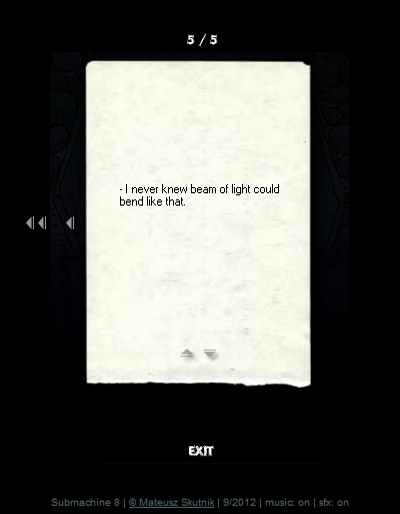
Where we find a short note.
quote:
- I never knew beam of light could bend like that.
Up and to the left, in 5-5, there's nothing to do but climb up.
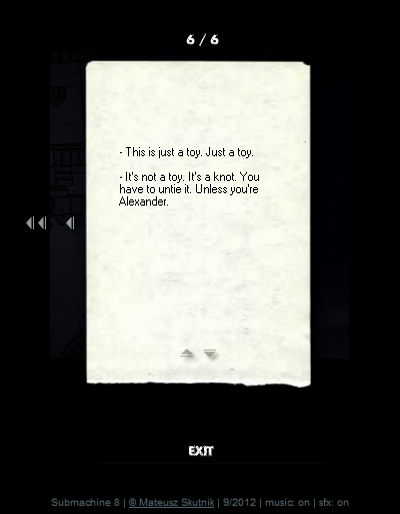
quote:
- This is just a toy. Just a toy.
- It's not a toy. It's a knot. You have to untie it. Unless you're Alexander.
RTL
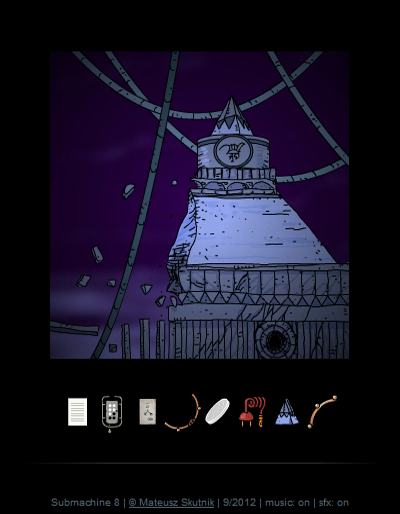
Up on top, we can only go left. There's nothing we can do here right now, but interestingly there's floating broken rocks here. And is that hole at the bottom the remains of a Karma Portal? It doesn't seem to be active, though.
We've been everywhere in Layer 5 except for 5-3, to the right. How to get there?
Well, we take a quick interdimensional detour.
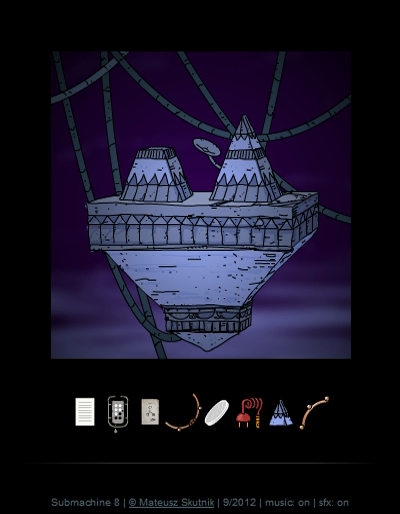
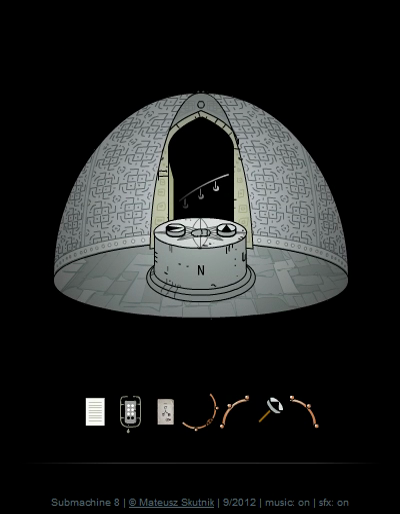
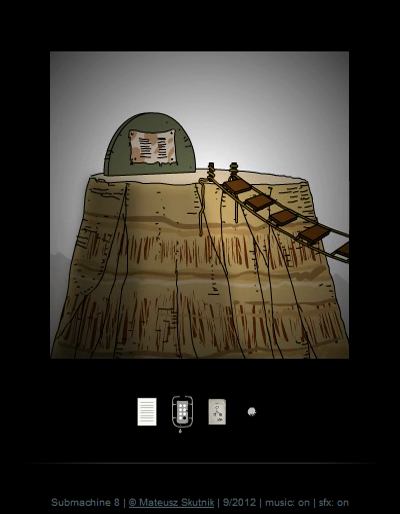
A floating island. Our Stone Pyramid fits neatly on top of the left structure, and once it's placed, we can turn it 90 degrees by clicking on it. But that doesn't seem to have any effect.
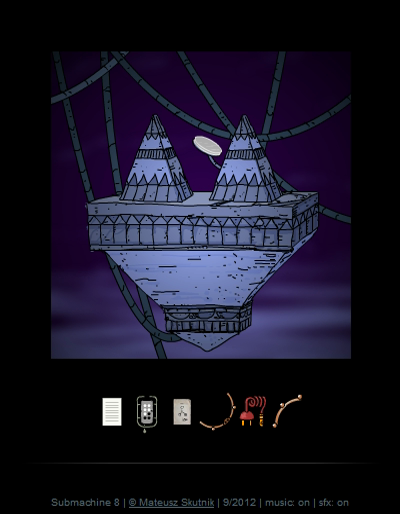
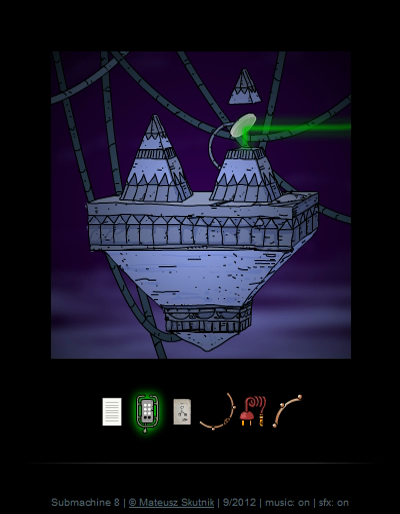
What we need to do is place the Small Mirror in the holder. Now, when we turn the left pyramid, the right structure opens up and activates the Navigator button to Layer 6, or IIIIIOI as the Navigator calls it.
It's a bit confusing that the right structure doesn't even move without the mirror. The solution would be more obvious if turning the pyramid would move the empty holder into the correct position already.
♫ Thumpmonks - Submachine 8 - The Fort

Anyway, welcome to the Armory in Layer 6. Room 6-3 here has another one of those plungers that don't do anything yet. Let's explore.
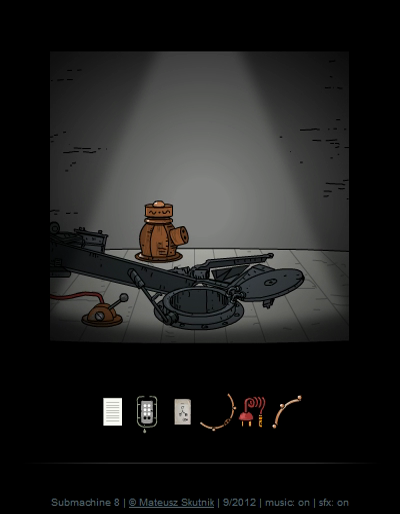
To the left, we can connect the device to the switch with our Wire. The switch doesn't do anything yet, though.

That is not very surprising, as the other cable from the switch ends in a pair of loose wires. What does keep surprising me is the eerie, strange music in these games. The music for the Armory doesn't really seem to fit with these rooms full of guns and cannons. But I'll take it.

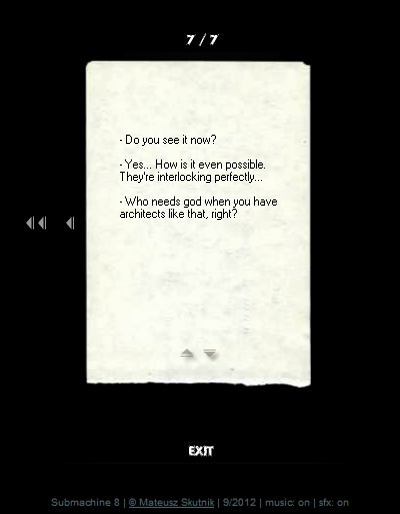
Going down into 6-4, we find a note tucked behind a pipe.
quote:
- Do you see it now?
- Yes... How is it even possible? They're interlocking perfectly...
- Who needs god when you have architects like that, right?

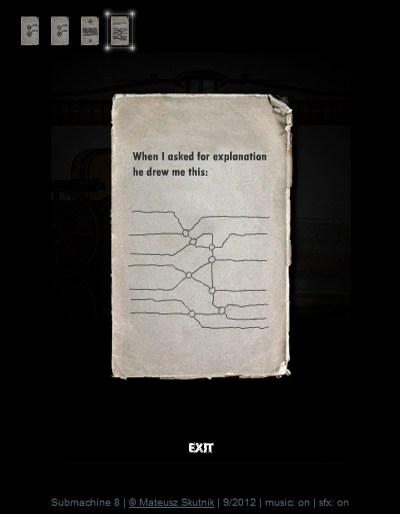
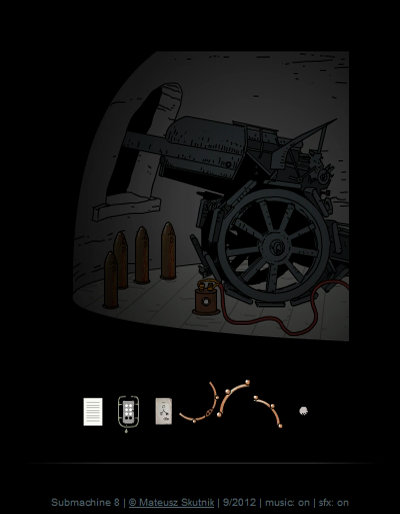
Down on 'ground level', this cannon has a picture that supposedly explains how the Layers are interlinked.
Going to the right, in 6-6 we find a big lever that closes a wall on the right side of the room.
I opened up the wall again, but before going further right, we do a quick dimension hop to take us into the 'underground' room 6-10. Here, there's another of those three-way switches. We'll keep that in mind.
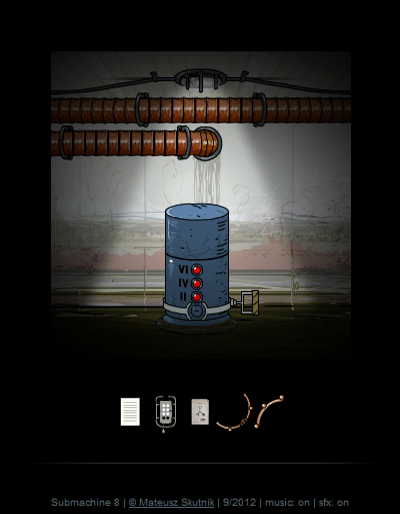
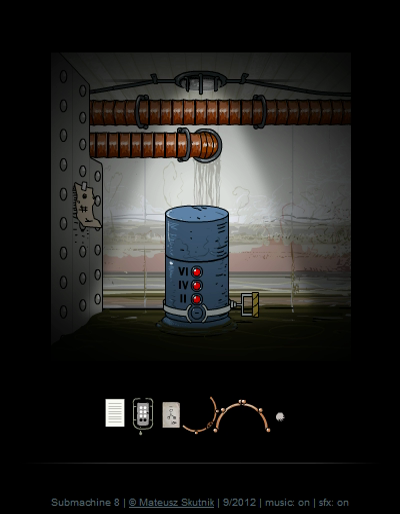
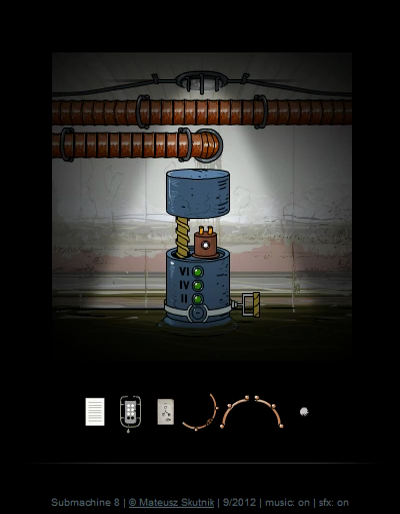
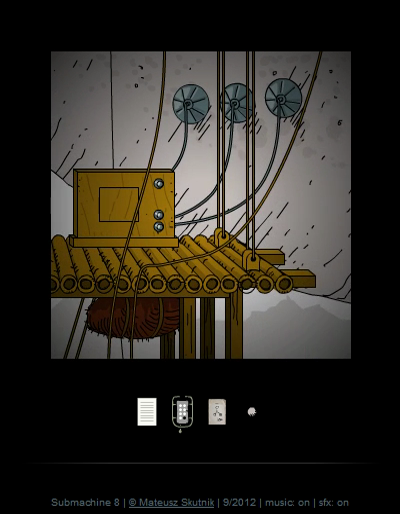
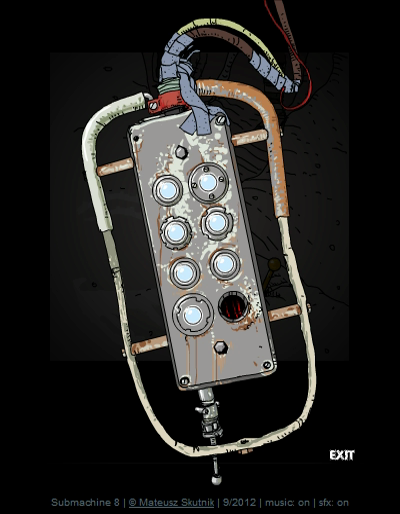
To the right of the wall, there's a device. If we move the handle to the II, IV, or VI positions, the corresponding light goes green. We'll solve that puzzle later, let's explore the rest of this Layer first.

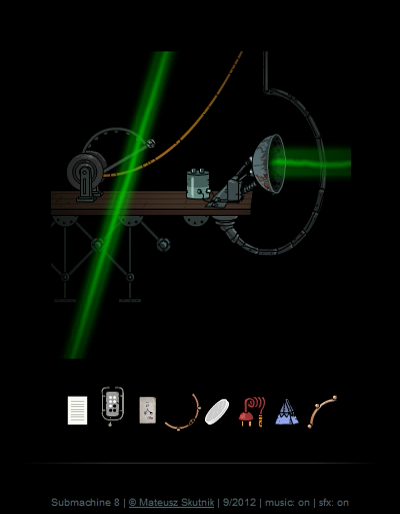
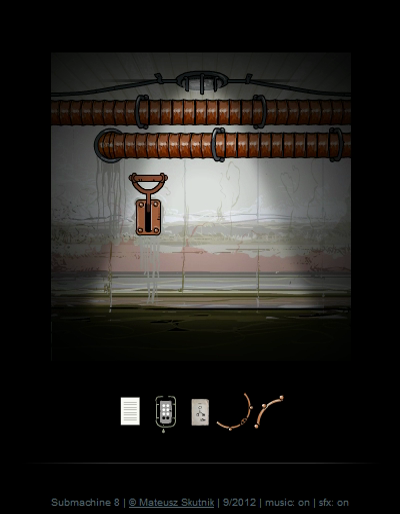
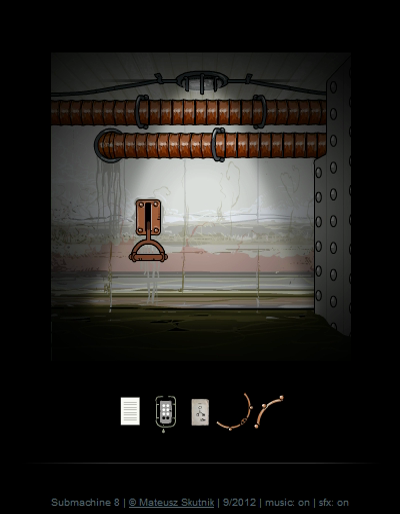
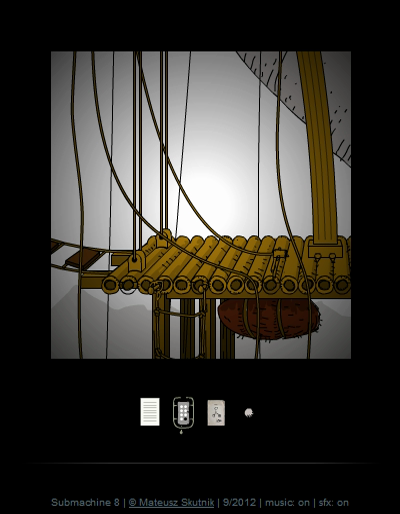
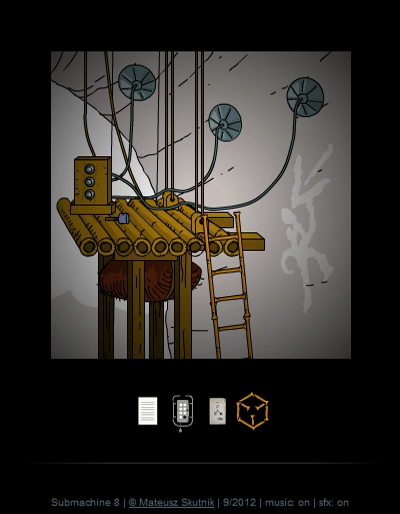
In 6-8, we find a Wheel Button on top of the door. And in the room above, there's a third Beamer Arm.
We have access to enough items and information now to solve some earlier puzzles, so let's do so.

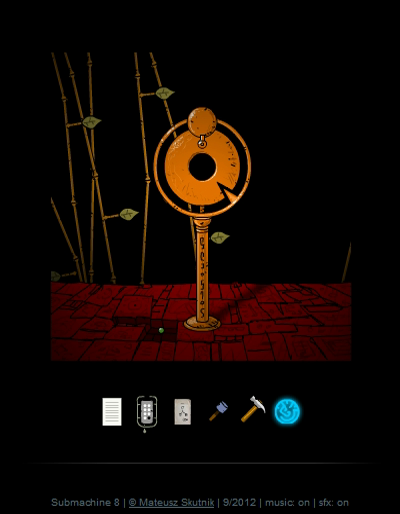
First stop, the Cardinal Mosque back in Layer 2. The Wheel Button we just got goes in the hole here. Now, what's the right combination?
Well, we found a hint for that in Layer 4. The trick is that the hint picture has South at the bottom, while the actual compass has North there. So we need to look at the picture upside-down.
This opens the lid of the other compass in the mirrored room 2-4. We grab a Catalyst Stone from there. Also, on the way I stop to look at the screen that shows all Layers. Doesn't look like much of a plan to me yet...

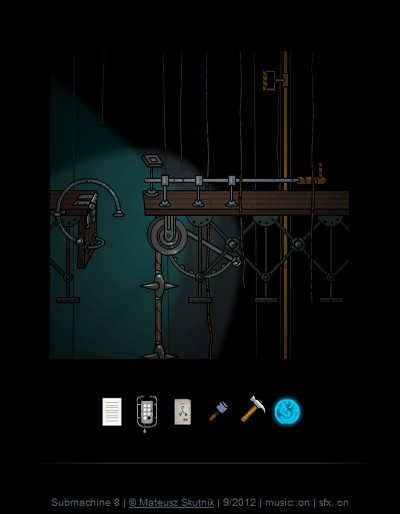
Next, back to Layer 6, where we close the wall and use dimension hopping to get to the other side and find a hidden picture.
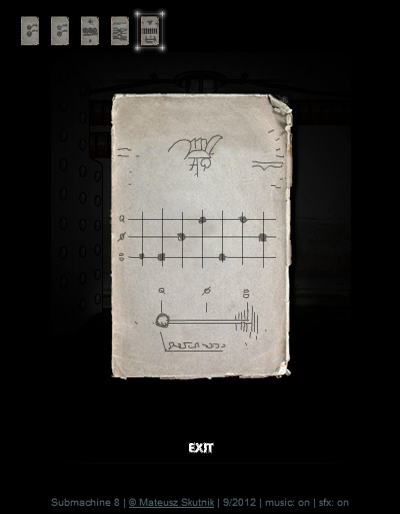
You really don't want to miss this one. It has the solution to the "useless" three way levers puzzle. The diagram on the bottom shows that Q is all the way out, slashed O is in the middle, and the two half spheres mean all the way in. So the order of the levers should be in, in, middle, out and so on. But we can't solve this puzzle until we've found the 7th lever.
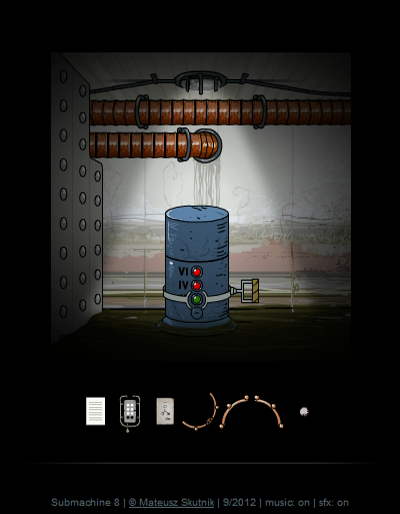
Instead, let's focus on this device. It might take quite a bit of exploring before you find out how this works. When we put the handle on II, the plunger in Layer 2, room 5 gets a green light. And when we pull that plunger, it stays locked in that new position.
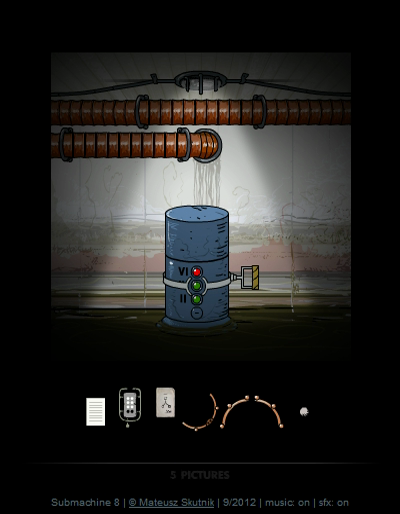

On the way back, I open the wall again for easier travel. Anyway, as you can see, the plunger causes the corresponding light on the device to be permanently green. Next up is the Layer 4 plunger, located in 4-8.
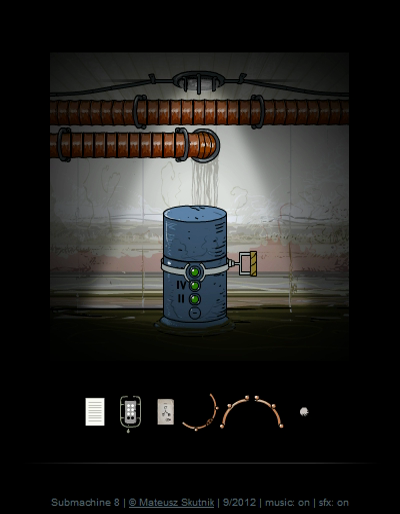
We pull it and move on to the last plunger, which is actually right here in Layer 6. We saw it in 6-3.
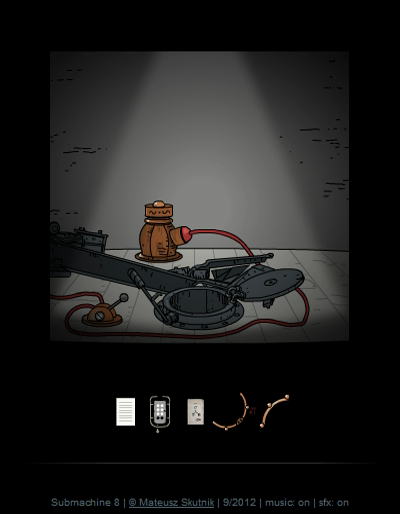
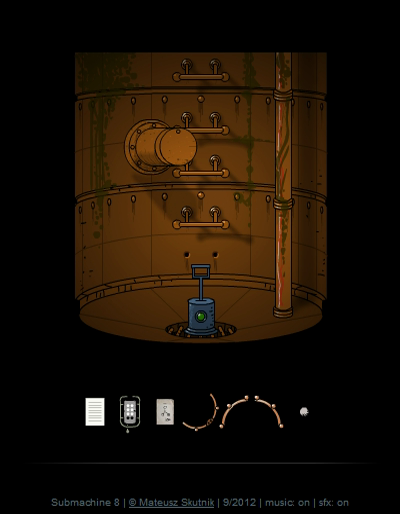
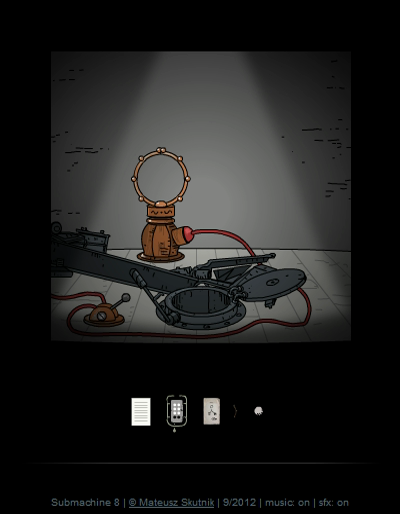
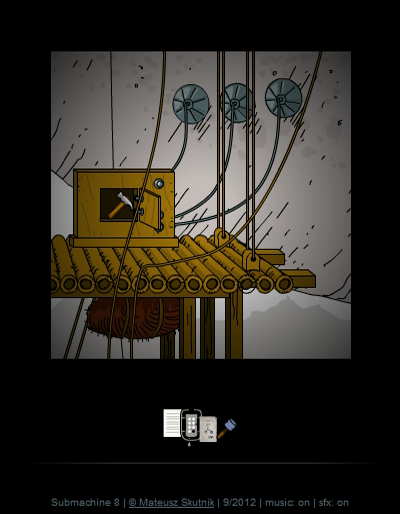
Activating all three plungers opens the device, which holds a Power Storage Cell.
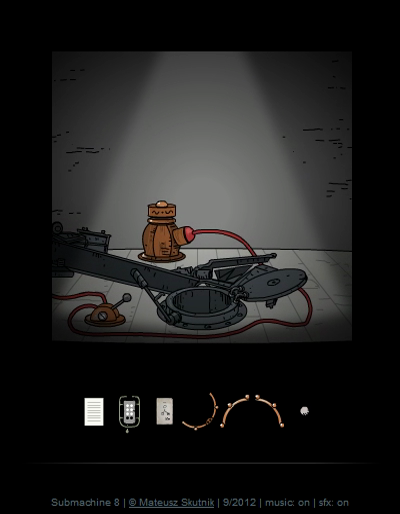
We connect that battery cell to the loose wires here, but the switch still doesn't work.
We need to use the three Beamer Arms here to assemble the Beamer, and THEN we can switch it on to open the way to the final Layer, Layer 7. There are quite a few steps to get this Beamer to work: you need the power cord, you need the three Beamer Arms, you need to solve the puzzle for the Power Storage Cell - if you haven't found everything by the time you got here, you'll really need to know your way around all the Layers to get the missing stuff.
♫ Thumpmonks - Submachine 8 - The Solitude
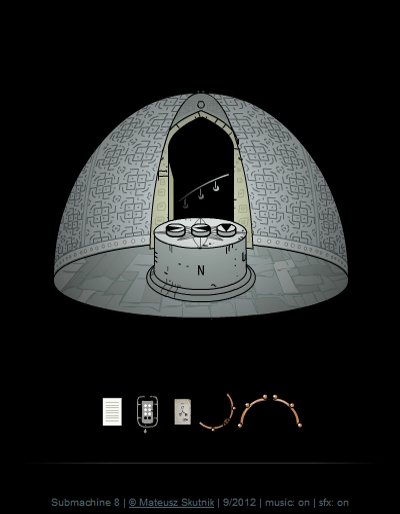
And here we are in Layer 7, in the area known as the Bamboo Town. These are screens 7-2 and 7-3. We can't do anything in either yet, so let's go left.
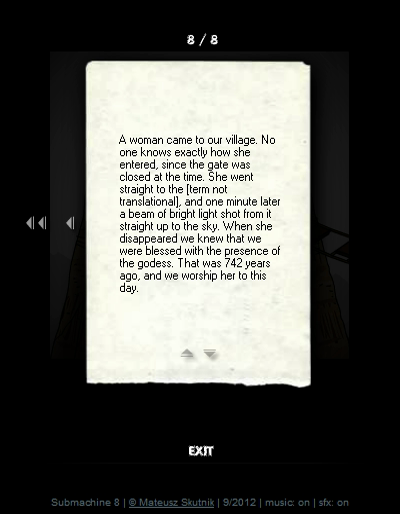
There is a ...note here? It looks like this was written on some sort of leather.
quote:
A woman came to our village. No one knows exactly how she entered, since the gate was closed at the time. She went straight to the [term not translational], and one minute later a beam of bright light shot from it straight up to the sky. When she disappeared we knew we were blessed with the presence of the goddess. That was 742 years ago, and we worship her to this day.
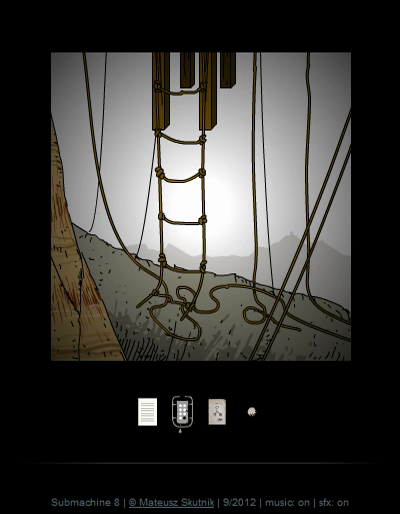
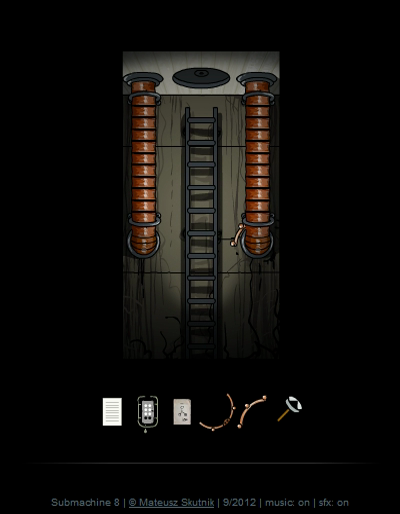
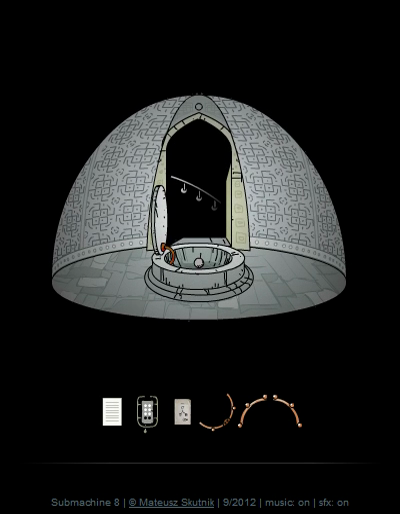
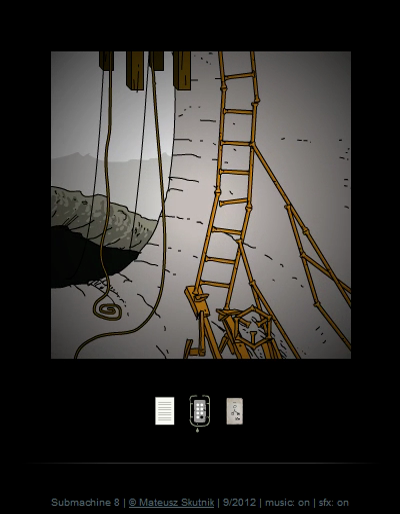
The rope ladder in 7-4 just ends in mid-air, so once again we need to jump to another dimension, climb down, and jump back.
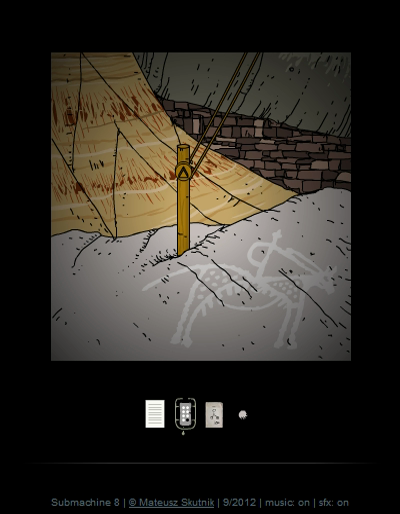
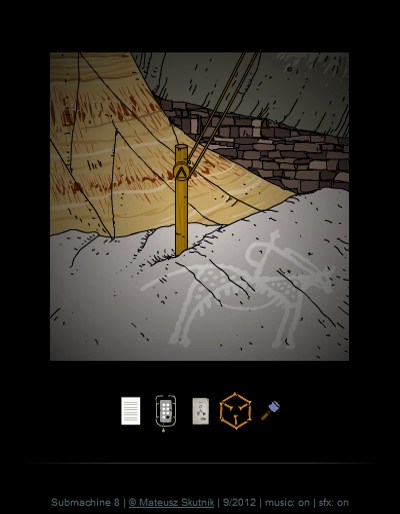
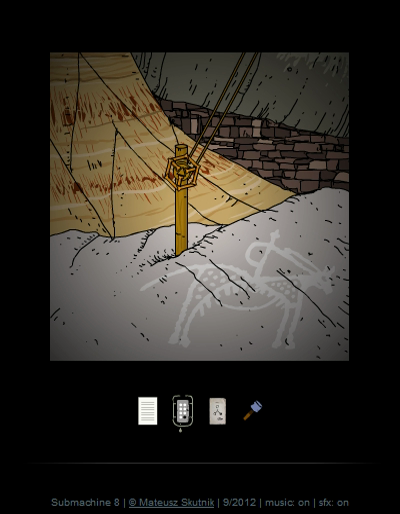
Rock paintings? This area looks absolutely ancient.

Down in 7-10 we find the final three-way lever just sticking from the sand. I wonder how long that's been here.
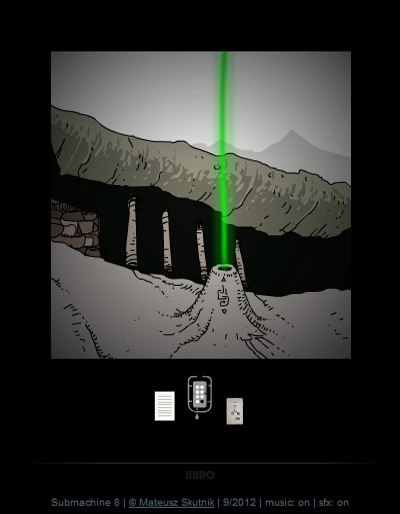
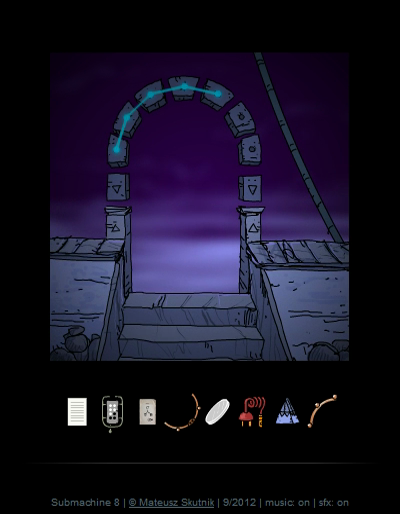
In 7-7, we drop the Catalyst Stone into this unusual little hole. It activates another green beam and makes the Navigator light up as if a new Layer was unlocked. However, we're already in the last Layer and the Navigator only has seven buttons, so nothing actually happens. The reason we need to do this is because every beam of light adds to the light show on the gate in Layer 5. We'll return there in a bit.
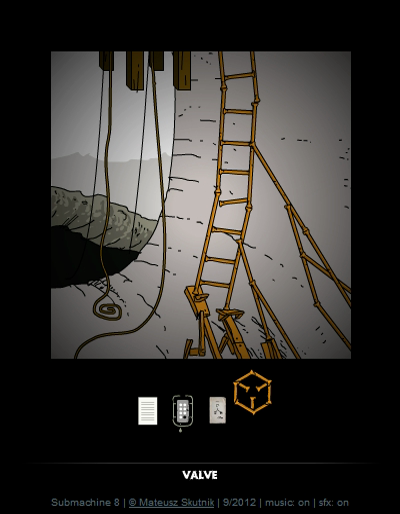
To the right, we pick up a Valve made from bamboo. I think something like that would break rather easily, but whatever.
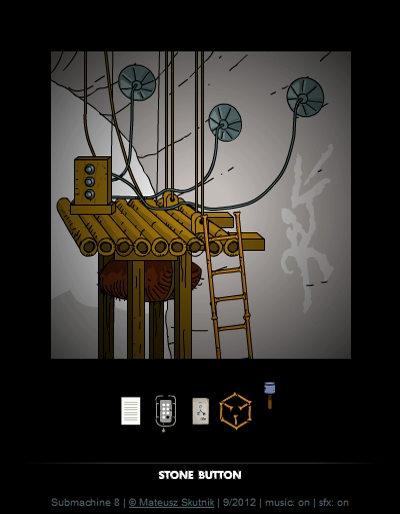
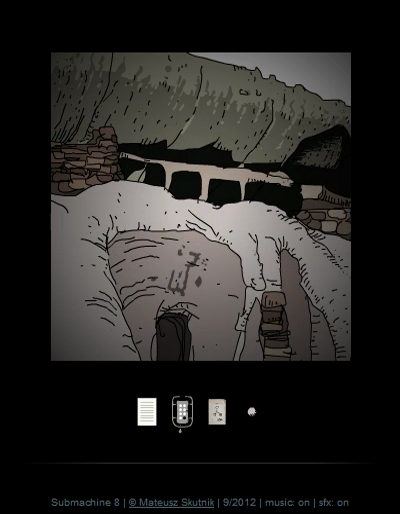
And up in 7-9, we find some modern equipment and a Stone Button. It seems like there was some kind of archaeological dig going on. But who built the bamboo structures and how long have they been here exactly?
Anyway, the Valve is used to turn this thing to the left, which in turn pulls on a wire.
This opens up the box up in 7-3, getting us the Hammer. The Hammer is actually an optional item, used to get to some Secrets. Activating the beam of light was the only thing we actually needed to do in Layer 7.
Now that we've seen all Layers, it's time to do some rounding up and solve the final puzzles. First stop, Layer 2.
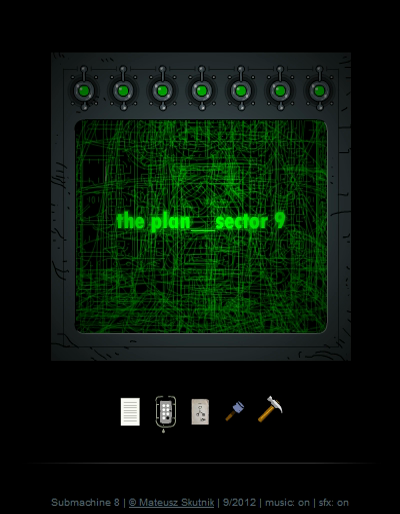
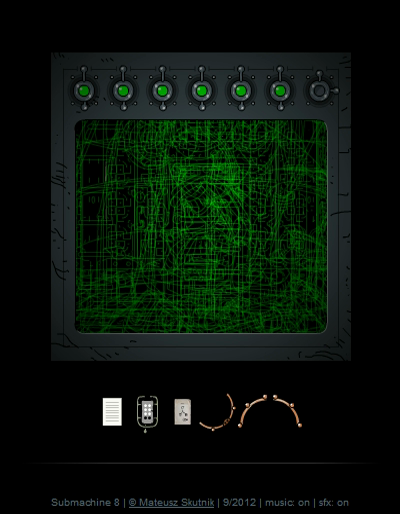
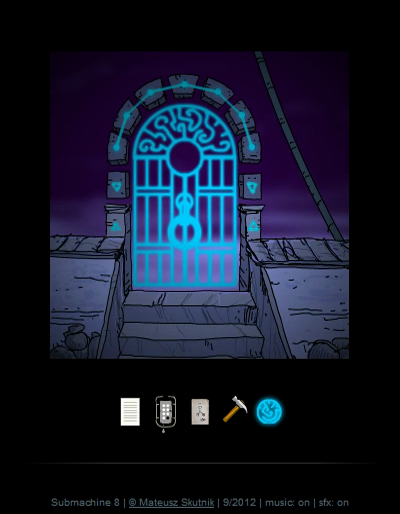
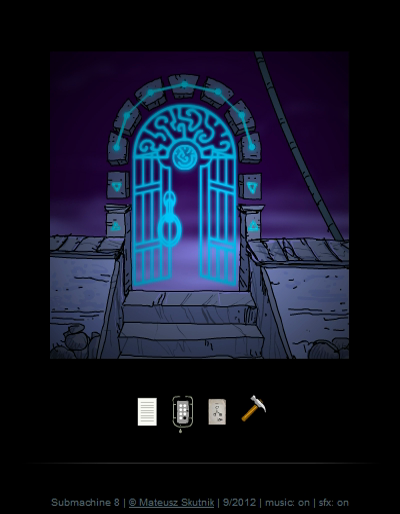
With all 7 Layers turned on, this text appears on the screen here. I'm guessing this means this area is part of the Plan, and we're in Sector 9, wherever that might be.
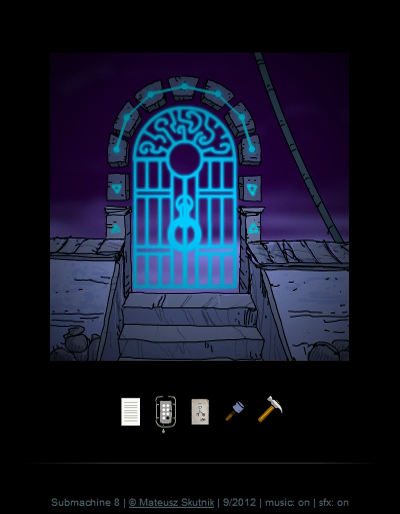
The seven green beams cause this door to appear. We can bang the knocker, but I don't think anyone's home.
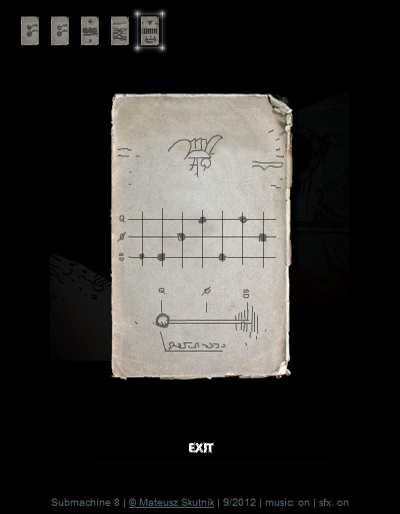
So let's go solve this puzzle. It's not too hard with this hint, and if you remember the location of the levers.
Layers 1 and 2, both completely pushed in.

Layer 3 middle. Layer 4 can stay all the way out and we never touched it so no need to go back. The Layer 5 lever has to go all the way in again.

We skip Layer 6 as it also has to stay out. The final lever goes to the middle, though this screenshot was taken before I set it right. And before I forget, have a picture of what the Navigator looks like now that all buttons are active.
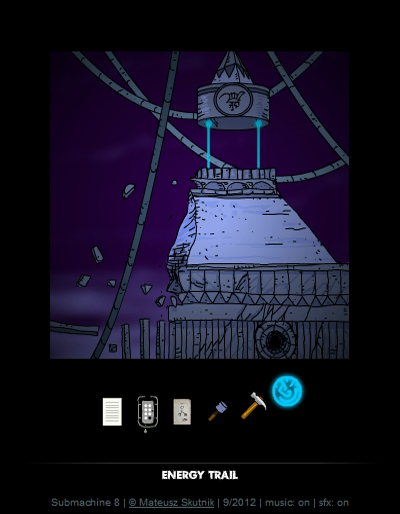
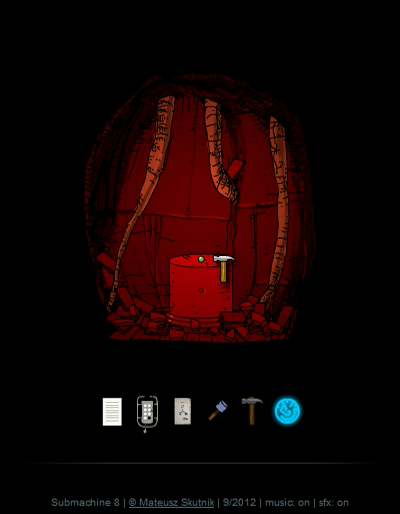
After solving the puzzle, something has changed in screen 5-1. The pyramid has risen so we can grab the Energy Trail. I keep thinking this item is called the Energy Seal but it really says Trail.
Now, as you might guess, the Energy Trail goes with the energy doorway. We could finish the game right now. But I promised you Secrets, so Secrets you'll get.
There are 5 Secrets in this game. For the first one, we need to go all the way back to Layer 1 and move the pole back from 1-2 to its original position in 1-3.
This makes the first Secret appear in Layer 3, room 1, hanging from a pole here. Note that in this game, Secrets don't go in your inventory like in earlier games. There's a sound indicating you found something special, a message appears on screen, and the Secret just disappears. But we still need to find all five to unlock some things.
The second Secret is also in Layer 3. It's rather deviously hidden under floor tile that comes loose when you click it.
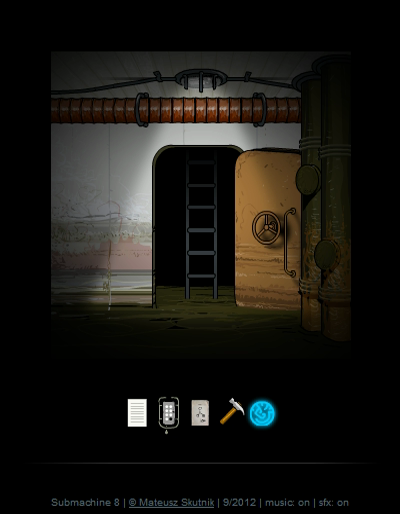
And we still aren't done, the third secret is in the hidden underground room in Layer 3, room 3-10. To get it, we need to smash the cracked cover with our Hammer. According to the wiki, this capsule is actually from a game called Daymare Town 3, from another series also by Mateusz Skutnik. I never played the Daymare Town series so I can't really tell you anything more about it.

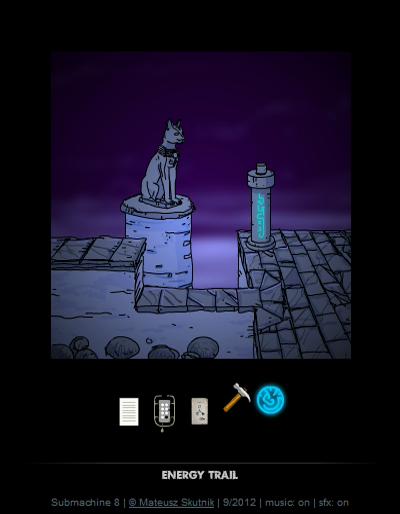
The fourth Secret is in Layer 5, and extremely devious to get. The first thing you need to do is make the writing on this pillar light up with the Energy Trail.
The thing is, the Energy Trail disappears from your inventory once you use it on the doorway, so once you do you can't get this Secret any more. Furthermore, while this game autosaves, so you can always go back into a game to get any remaining Secrets, there's no way to load an old save or to get an used item back. If you miss this Secret you have to start the entire game over again to get it. And this won't be the last time Mateusz does something like this.
And using the Energy Trail is just one step in getting this Secret. We also need to put the Stone Button into the pillar, and we need to do the very unobvious thing of smashing the cat statue with our Hammer.
The only nice thing is that the order in which you do all of this doesn't seem to matter.
Finally, when we press the button, the energy forms a circle out of the cat statue rubble, with a well-earned Secret in the center.

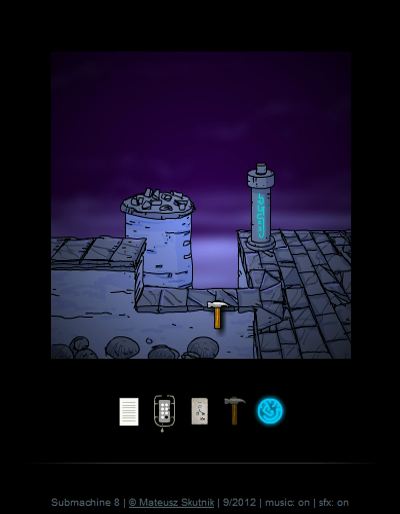
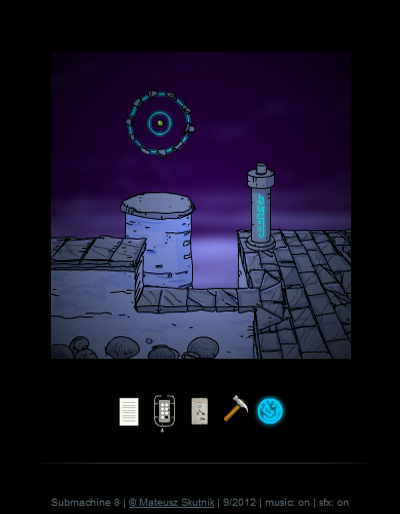
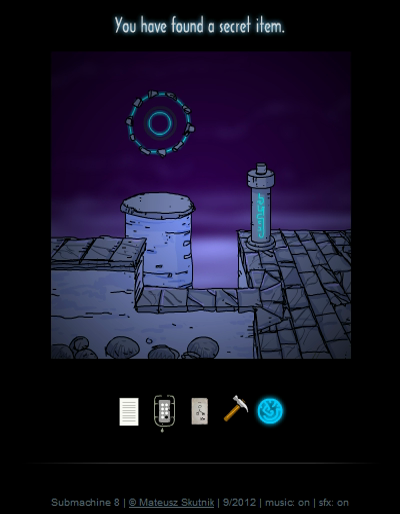
There's one more Secret, and this one is slightly less difficult to find. We're in Layer 6, in room 6-8. The lids on the pipes to the right can be smashed with the Hammer. Behind one of them is the fifth and last Secret. By the way, the game doesn't indicate how many Secrets you've found so far.
In another change compared to the previous games, the reward for finding the Secrets only appears after finishing the game, so let's go ahead and do that.

We place the Energy Trail in the doorway and use the knocker to open it.
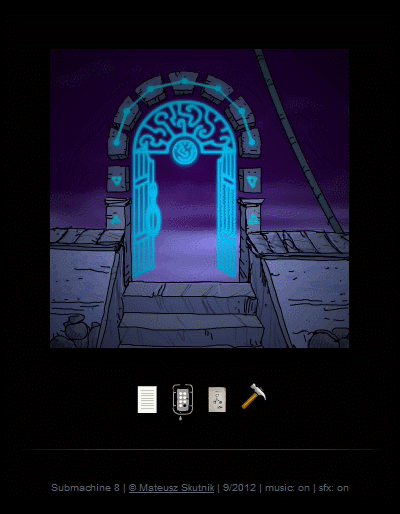
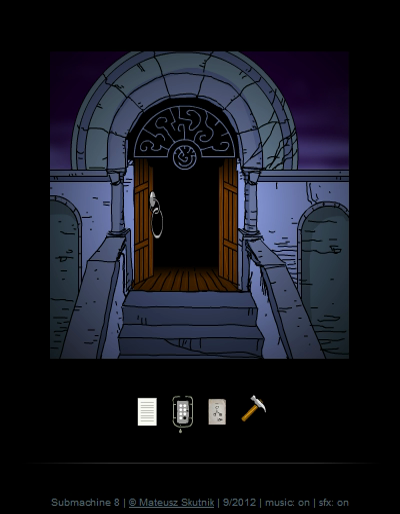
And the surroundings... changed, somehow? Entering this door finishes the game. Alternatively you could use the Navigator to jump to another Layer and keep exploring, but we already found everything so let's go through.
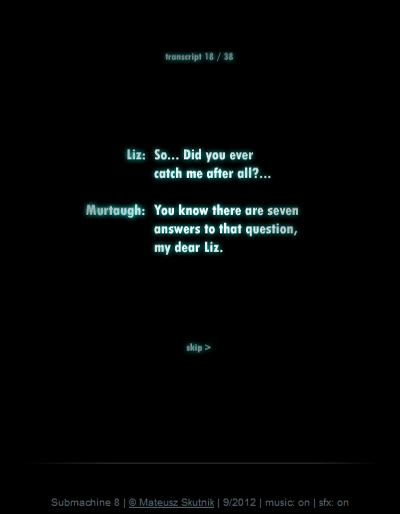
A final, very strange conversation between Liz and Murtaugh.
quote:
Liz: So... Did you ever catch me after all?...
Murtaugh: You know there are seven answers to that question, my dear Liz.
Normally this would be a great place for my final words... but we haven't gotten our reward for finding the Secrets yet.

Once we get back to the title menu, a Secrets Hub option has been unlocked. This takes us to a single screen with 5 dots, one for each Secret we found.
Each of the dots contain a special secret note. Let's go through them one by one.
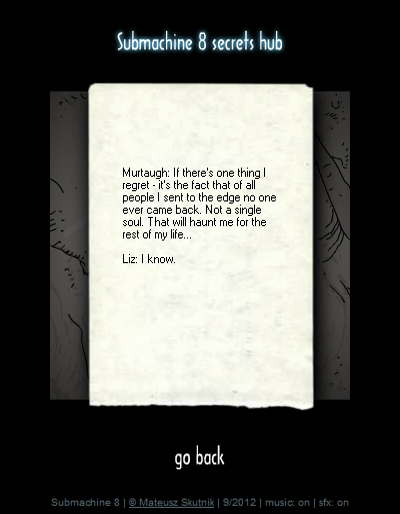
Secret posted:
Murtaugh: "If there's one thing I regret - it's the fact that of all people I sent to the edge no one ever came back. Not a single soul. That will haunt me for the rest of my life..."
Liz: "I know."
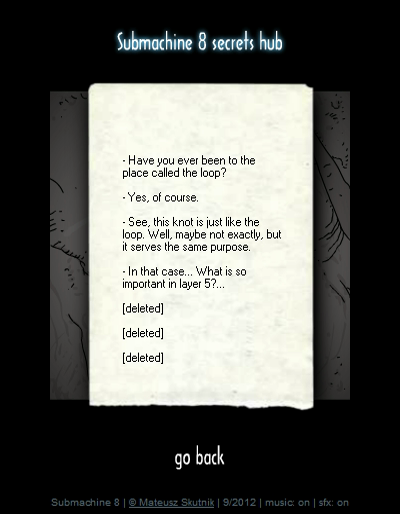
Secret posted:
- "Have you ever been to the place called the loop?"
- "Yes, of course."
- "See, this knot is just like the loop. Well, maybe not exactly, but it serves the same purpose."
- "In that case... What is so important in layer 5?..."
[deleted]
[deleted]
[deleted]

Secret posted:
- "Why does this sociopath only talk to Elizabeth?"
- "Your question is wrongly put. You wanted to ask: why doesn't he talk to us. The answer is simple: he doesn't see us. Does that make him a sociopath? Not necessarily. But that does mean he's focused."
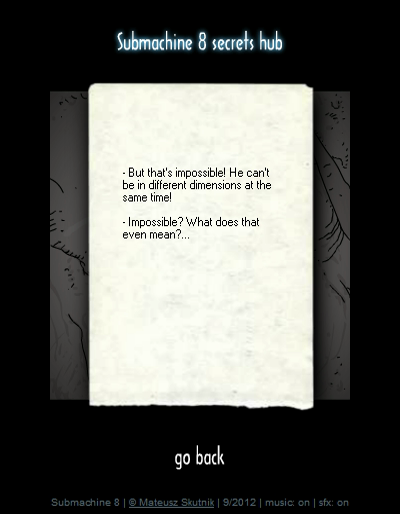
Secret posted:
- "But that's impossible! He can't be in different dimensions at the same time!"
- "Impossible? What does that even mean?..."
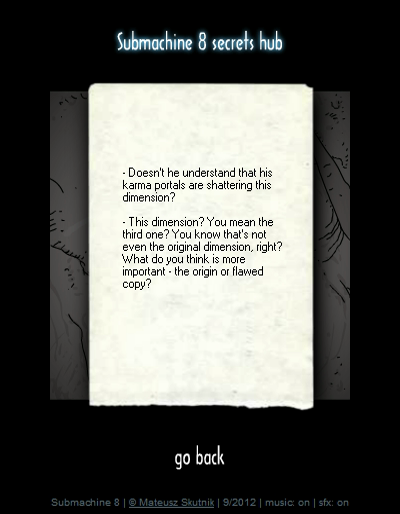
Secret posted:
- "Doesn't he understand that his karma portals are shattering this dimension?"
- "This dimension? You mean the third one? You know that's not even the original dimension, right? What do you think is more important - the origin or the flawed copy?"
And with that, Submachine 8 comes to an end, in only two updates. When you know what you're doing, the relatively small number of rooms makes this game rather short. But it's still quite interesting as it introduces the new mechanic of the Navigator, and we are ever so slowly starting to get answers to old questions.
I'm rather glad this game isn't too long, it's a nice breather before the marathon to the end that's coming up. Believe me, the final two games are a doozy. So I will meet you again, for Submachine 9: The Temple.