Part 30: Submachine 10: The Exit
Part 30Submachine 10: The Exit
Last time we made significant progress. We explored several areas and learned a thing or two about the nature of the Submachine. Let's continue where we left off, and go to Portal IOI, the Stabilizer Bay.
♫ Thumpmonks - Submachine 10 - Grime Dragon
RTL
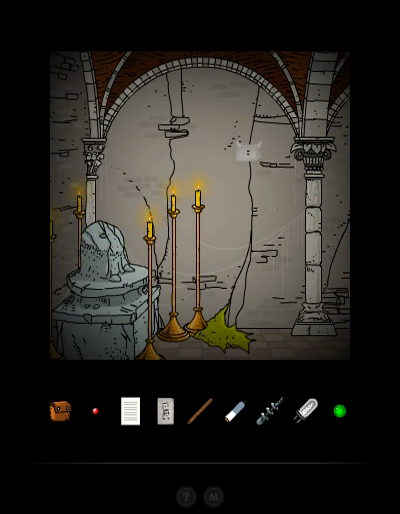
Only two screens to the left of the Portal, but one of them has a weird statue, while the other one has a Note on the back wall.
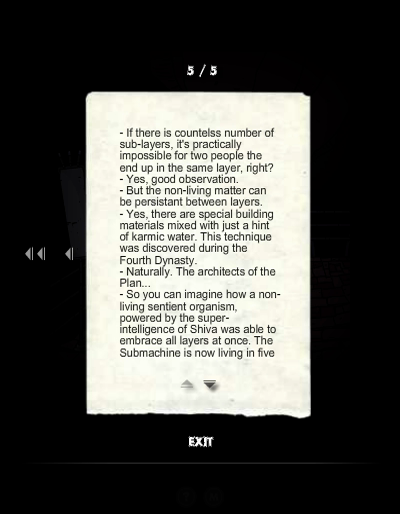
This is one of those Notes that doesn't fit the screen in one go, so be sure to read it here:
quote:
- If there is countless number of sub-layers, it's practically impossible for two people the end up in the same layer, right?
- Yes, good observation.
- But the non-living matter can be persistant between layers.
- Yes, there are special building materials mixed with just a hint of karmic water. This technique was discovered during the Fourth Dynasty.
- Naturally. The architects of the Plan...
- So you can imagine how a non-living sentient organism, powered by the super-intelligence of Shiva was able to embrace all layers at once. The Submachine is now living in five dimentions.
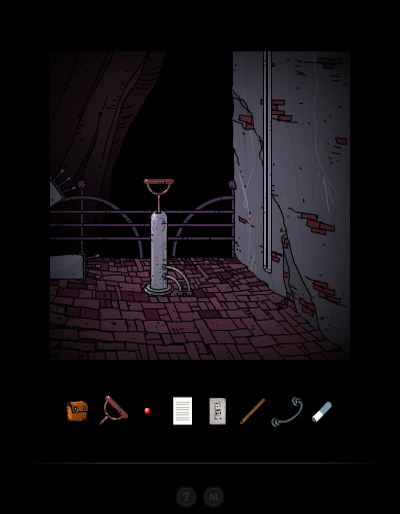
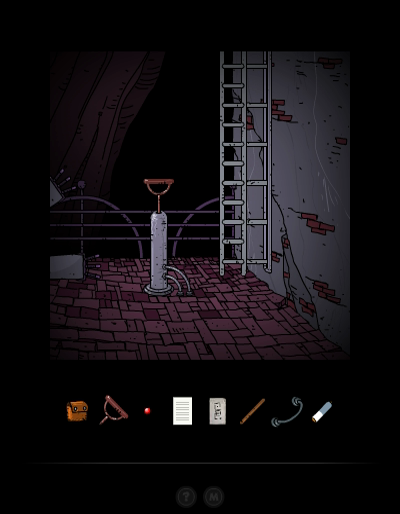
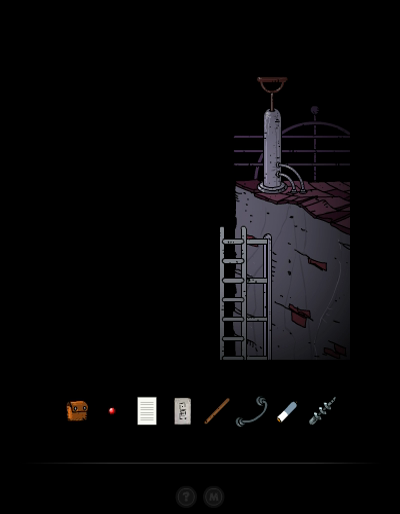
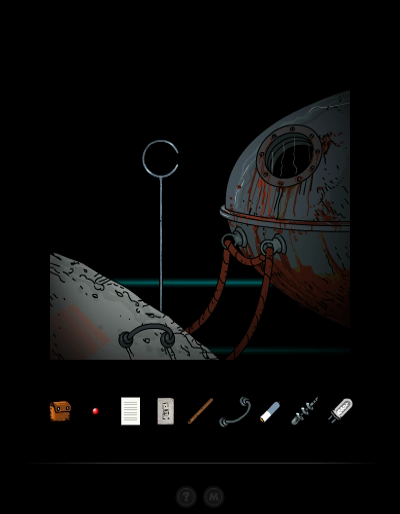
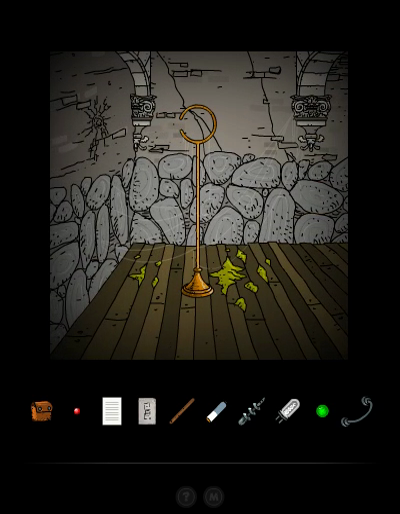
To the right of the Portal we find this handle that makes a ladder come down. Up we go.
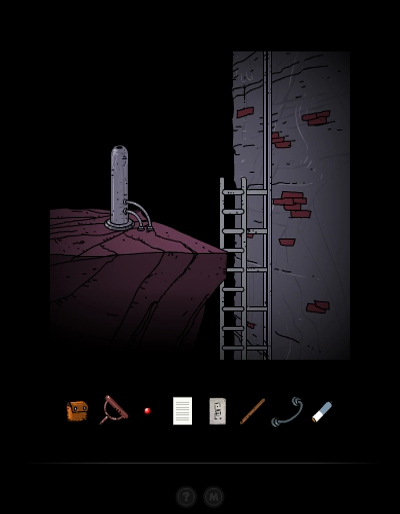
RTL
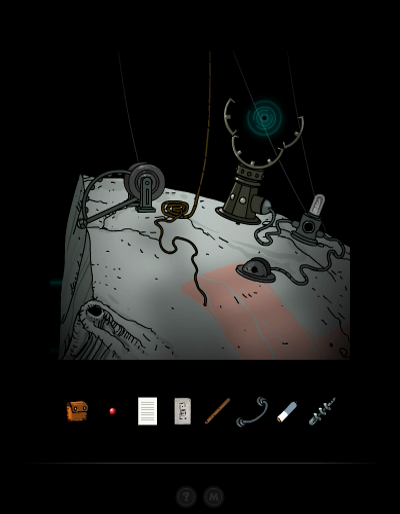
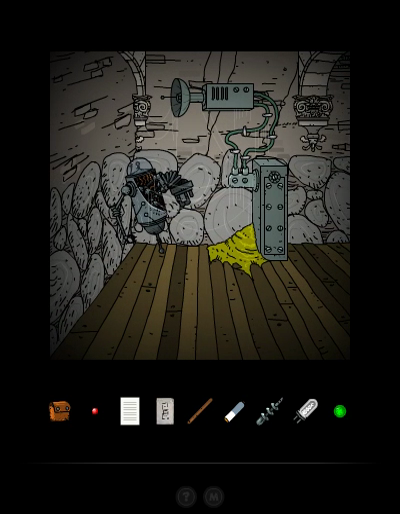
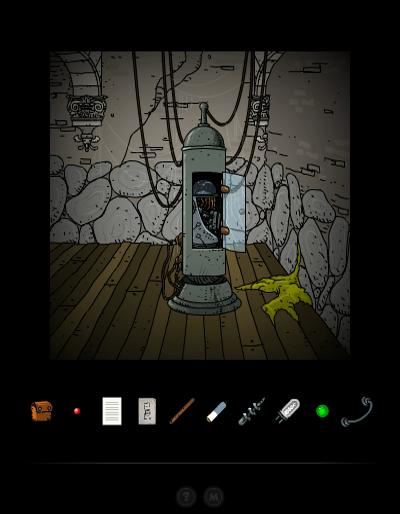
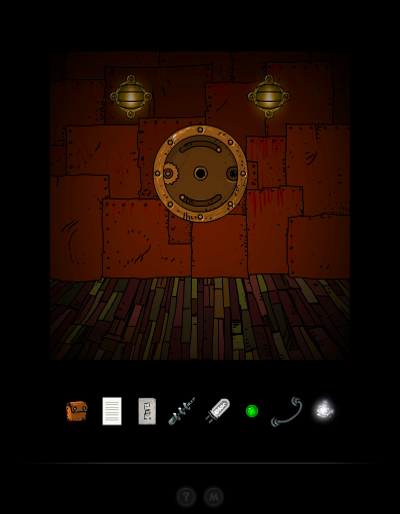
The second level has some cables in the back.
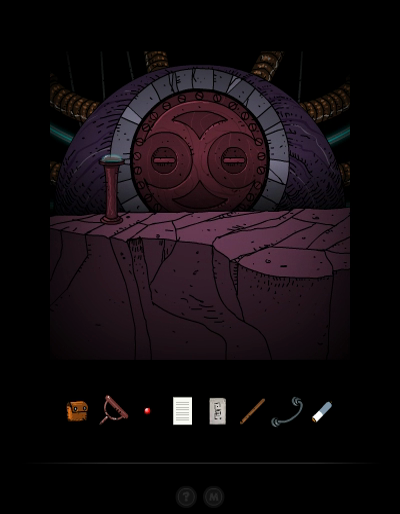
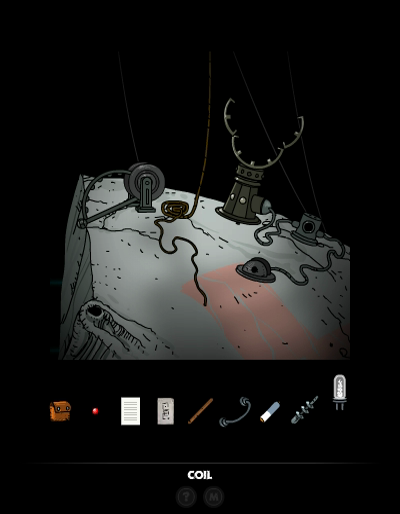
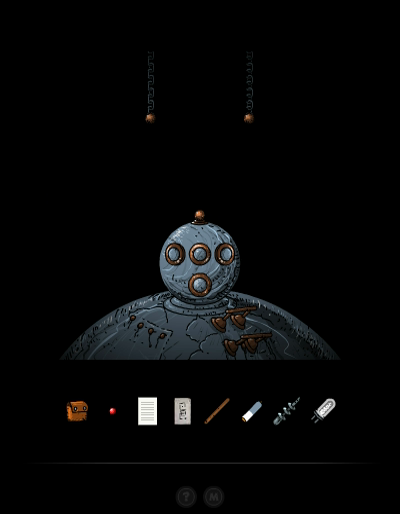
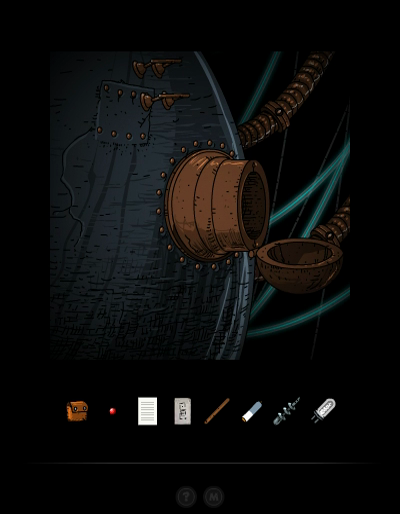
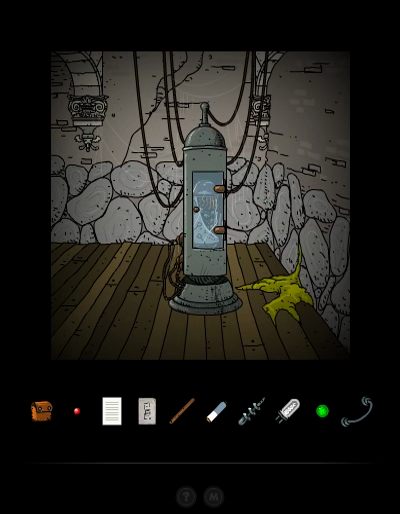
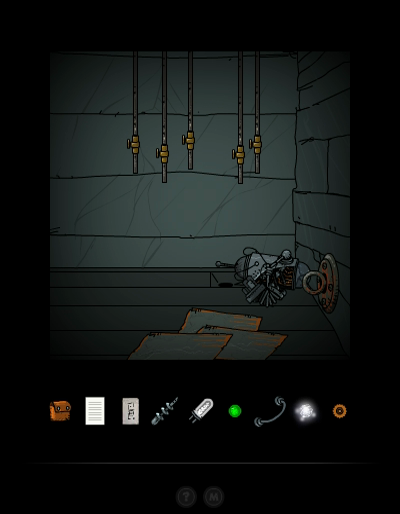
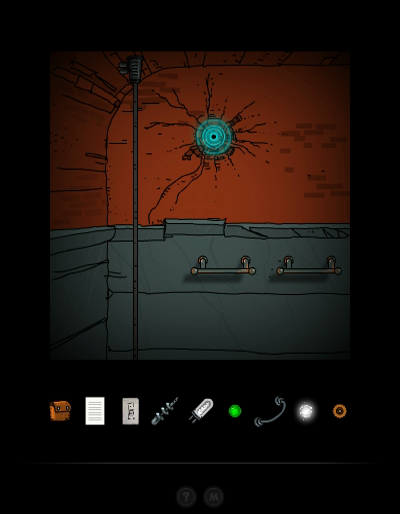
And this weird sphere. We can open the door by turning both knobs.
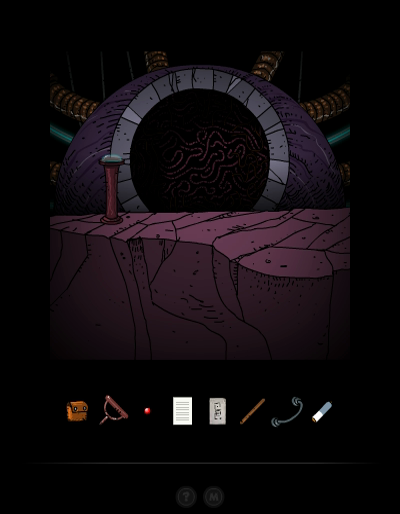
Is that tape storage? And the mess of brown purple cables kinda reminds me of a brain. Anyway, one seems to be missing, so we'll have to come back later.
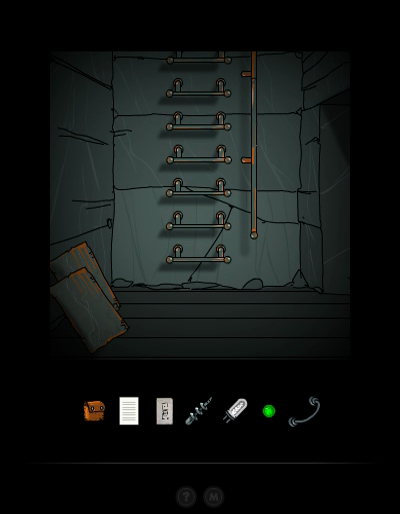
To the left we find the Vector Finder that was still missing.
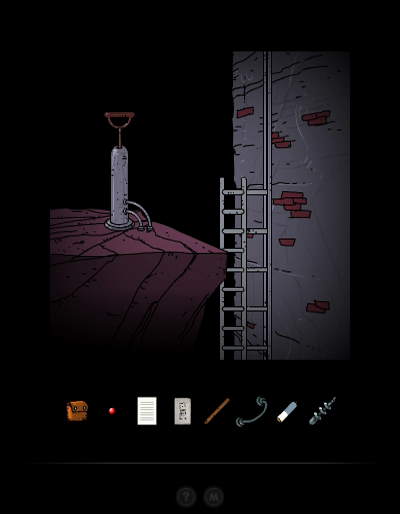
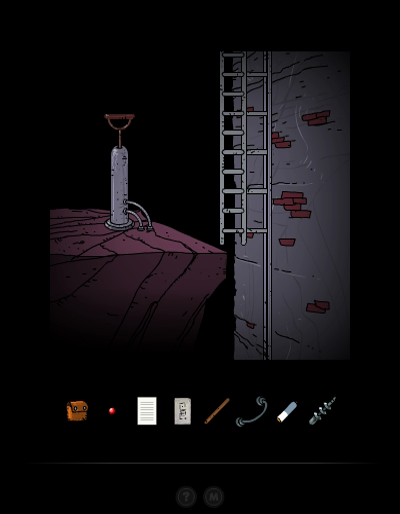
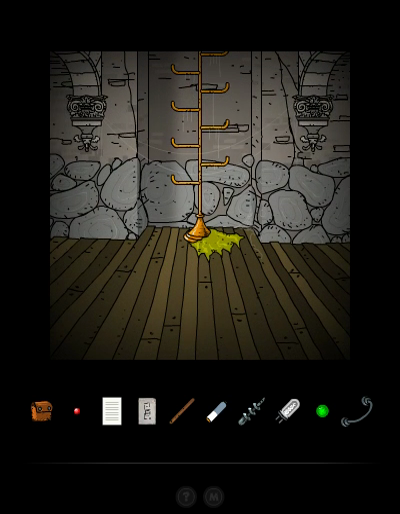
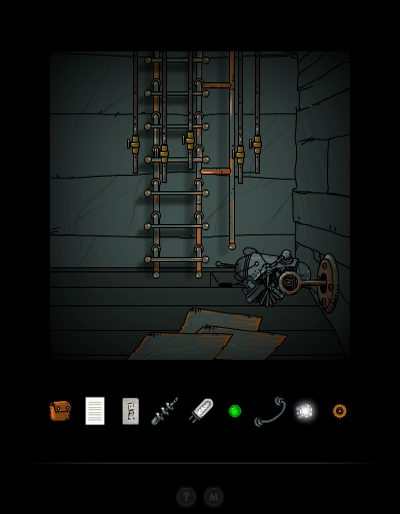
And on the right we use the Ladder Piston we found all the way back in the Captain's Ship to raise the ladder.

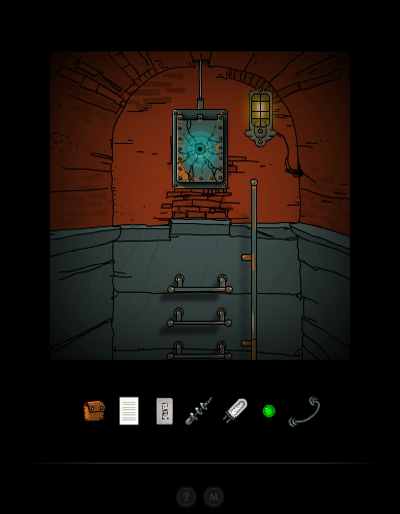
Why couldn't the builders of this place just have put down tall enough ladders? Oh well, let's grab the Picture.

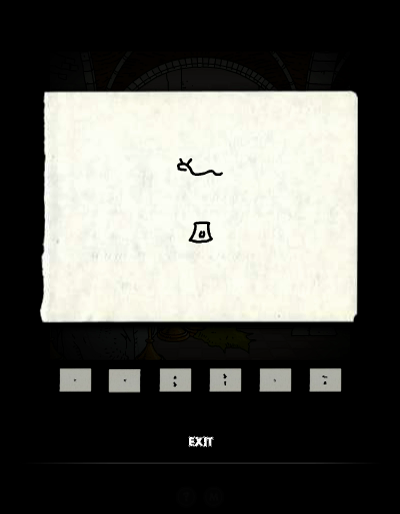
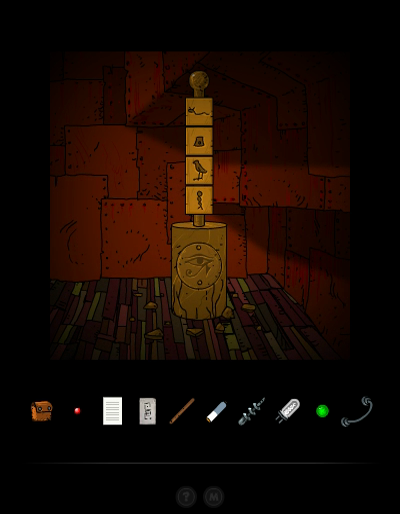
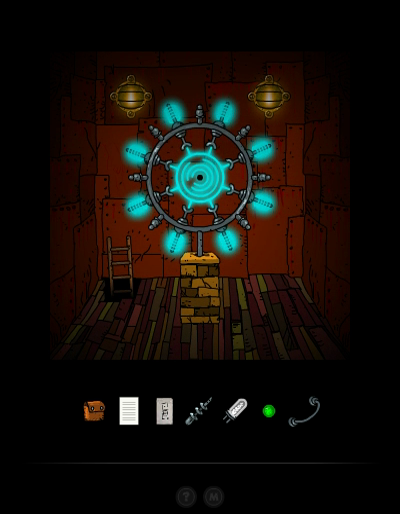
Another one of those single-glyph hints.
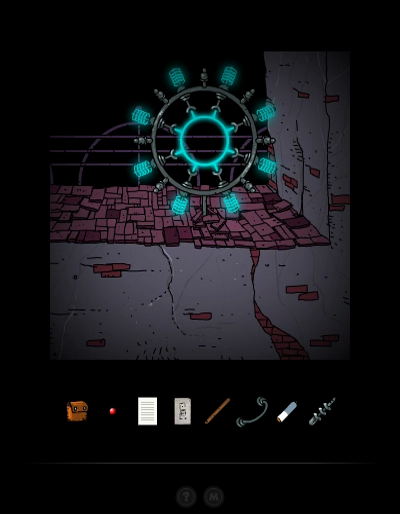
How nice, the Karma Portal here is already activated.
♫ Thumpmonks - Submachine 10 - Submachine 8 Redux 2
And it brings us to the Dock, the Layer 1 area of Submachine 8. We immediately grab the Coil from the first screen, and then go left.
Hm, a holder for a Light Sphere, which we don't have. The steps going down are still there, so let's take those.
By the way, if you were wondering why the music is called 'redux 2', well the soundtrack has a few bonus tracks that didn't end up in the actual games. Apparently, for this area, Mateusz went with the second iteration Thumpmonks made.
Down here, we can put the Ladder Step in the wall, but that won't be enough to climb further down. We really can't do much here right now.
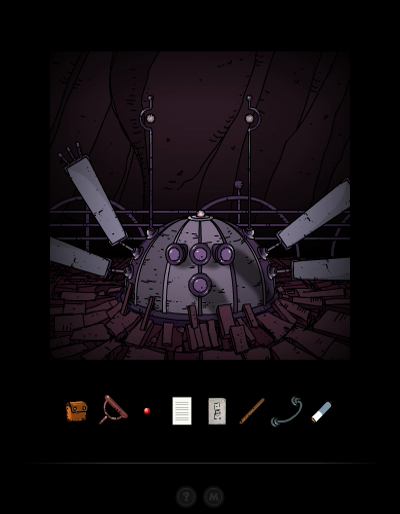
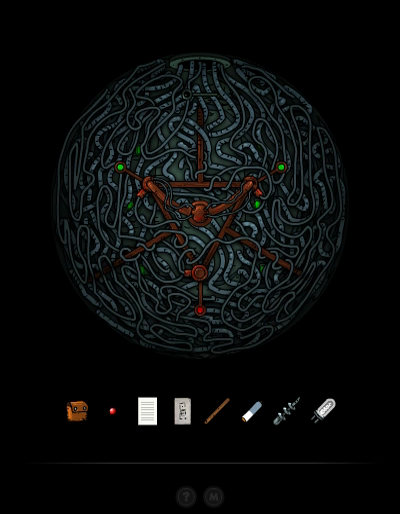
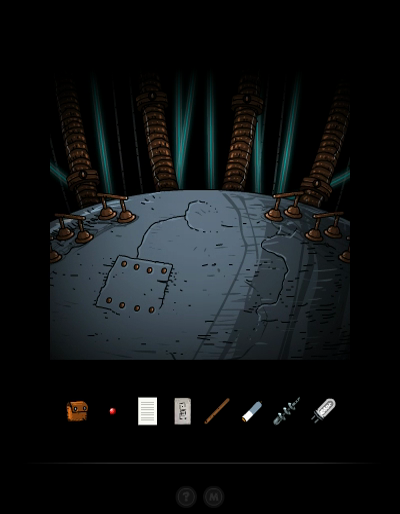
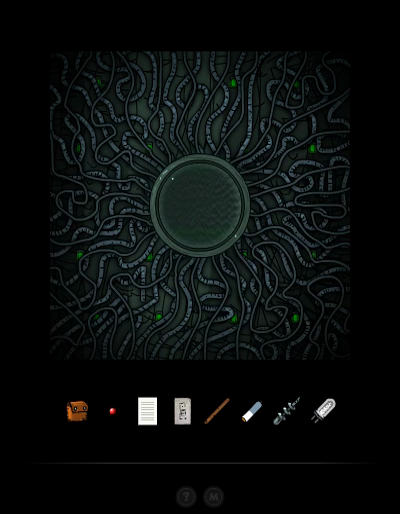
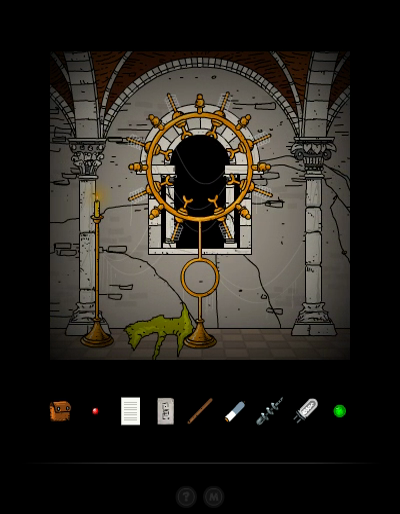
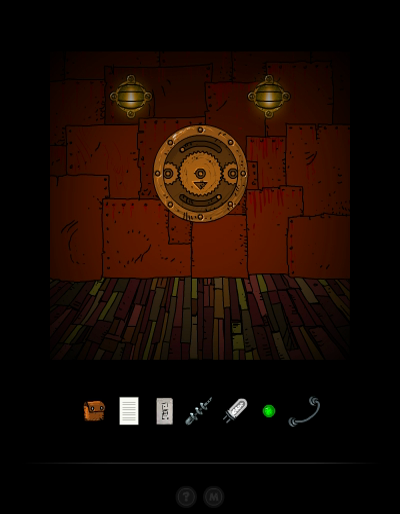
So, we run back to the Portal and jump to OII now, an area with a spherical Portal device.
♫ Thumpmonks - Submachine 10 - Crossover
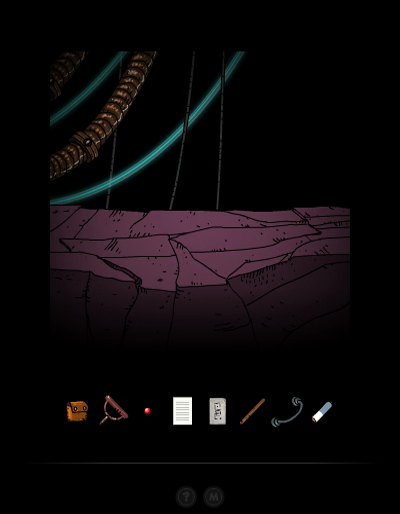
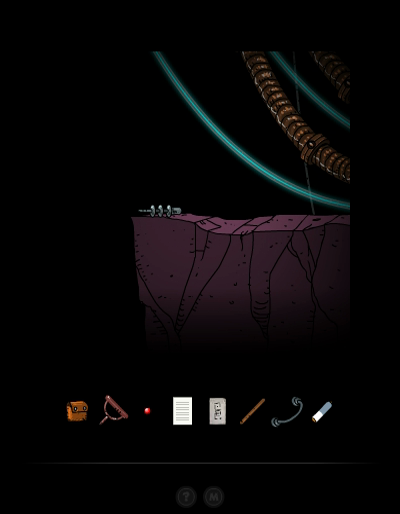
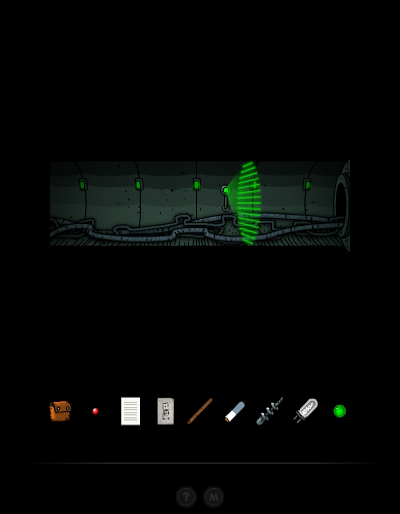
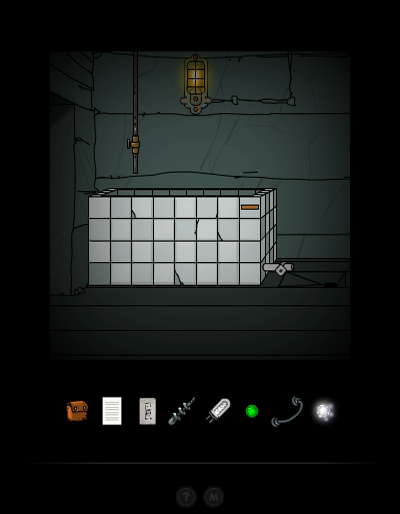
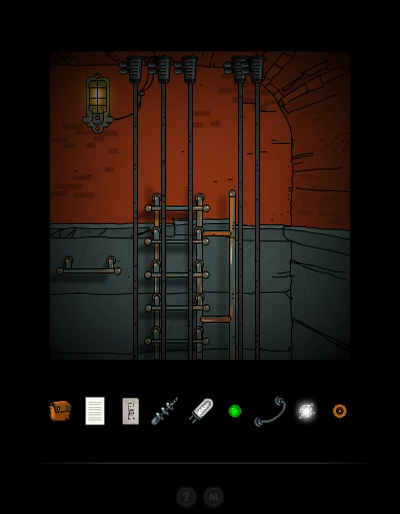
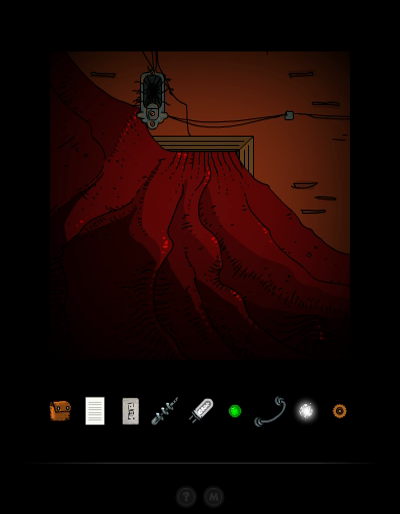
It looks a bit dangerous, walking on pipes hanging in the void. But I suppose we don't have much of a choice.

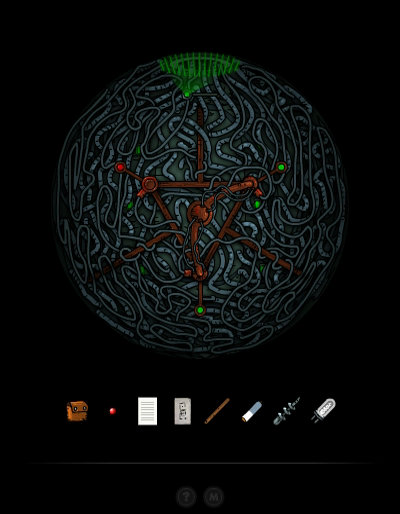
Oh hey, we can go inside here.
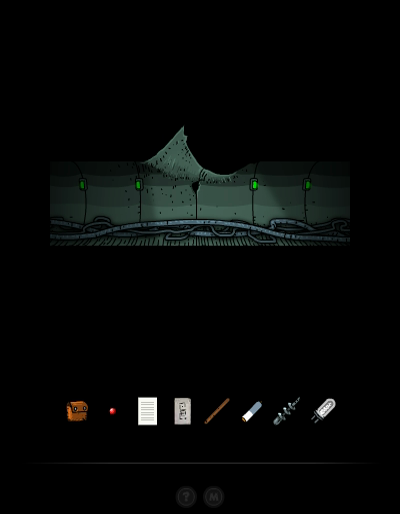
To the right, the laser grid blocks our way.
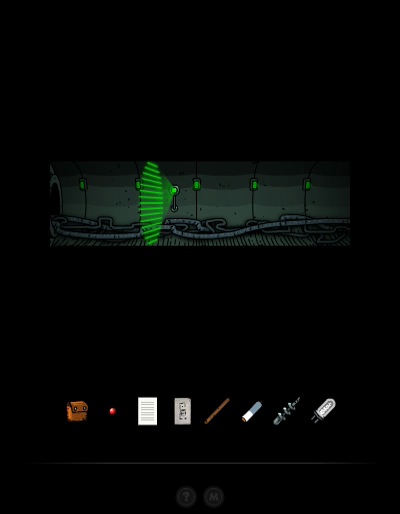
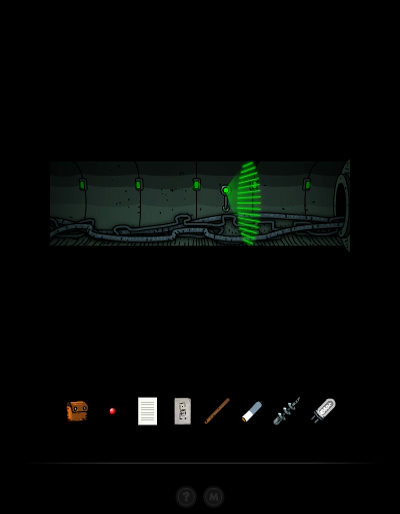
RTL
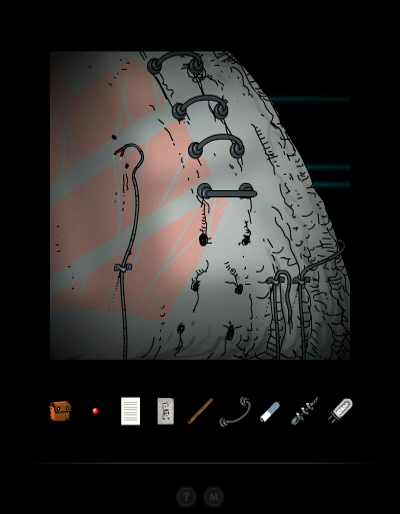
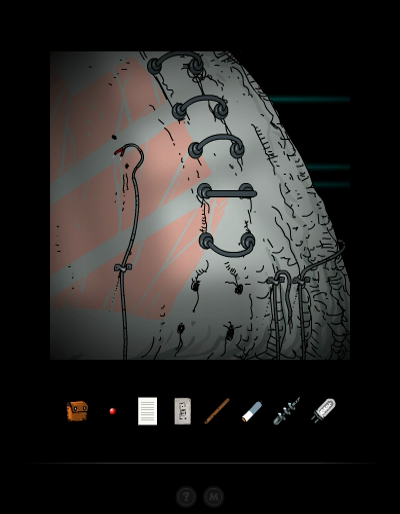
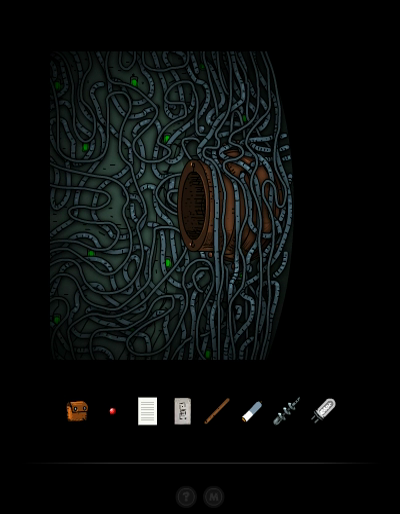
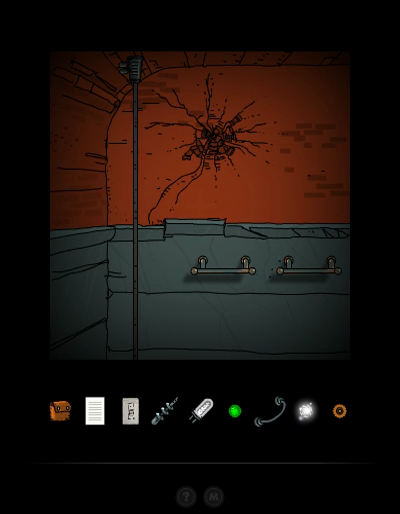
To the left, there's another laser grid. But there's also a hole to let us into the lower sphere.
Among the mess of cables, there's a three way switch. But any position other than the starting position immediately blocks our way out, so we'll leave it as it was.
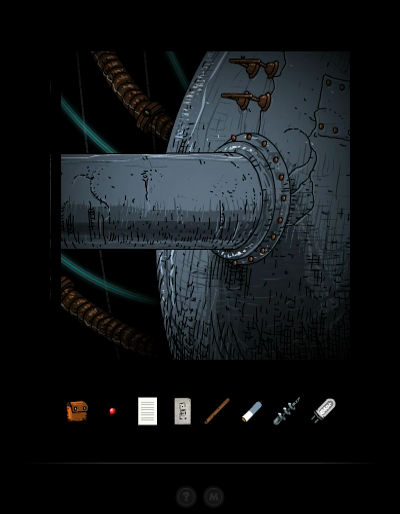
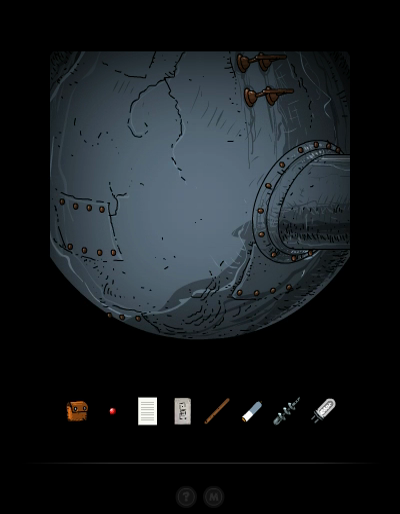
Outside to the right, we find a sphere larger than the others.
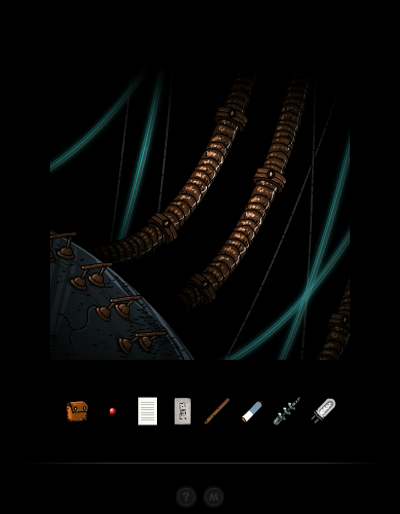
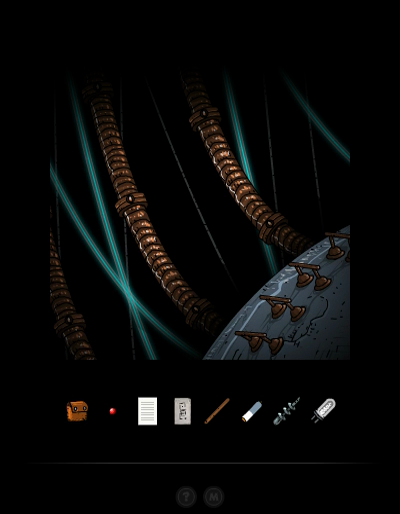
Over the top and down the other side...
RTL
And we find another way in.
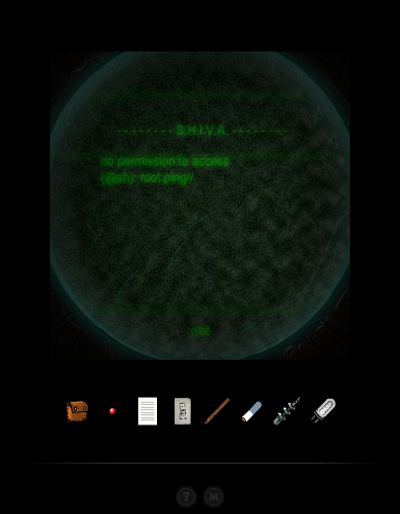
quote:
- - - - - - - - S.H.I.V.A. - - - - - - - -
no permission to access
(@sh):root.ping//
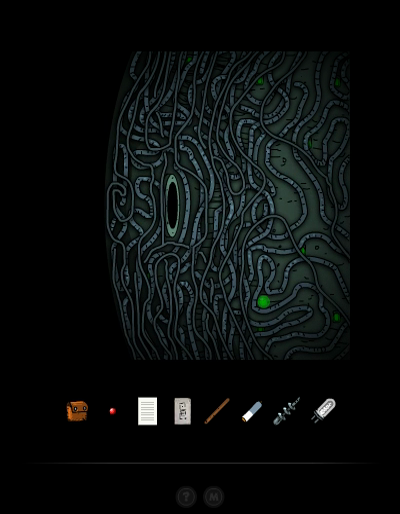
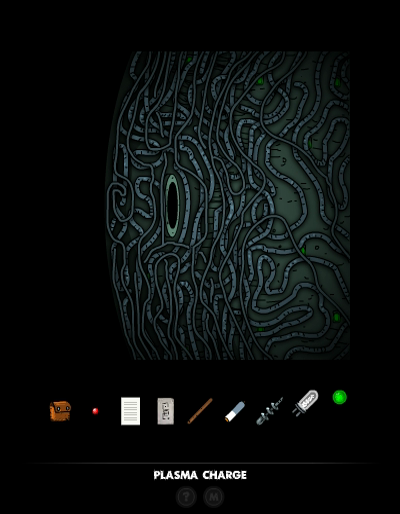
We don't have access to actually do anything with it, so instead we go left and grab the Plasma Charge (which I actually didn't recognize as a pick up at first glance).
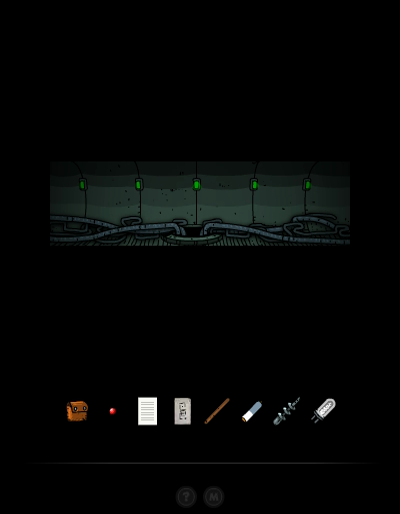
The pipe to the left leads to the other side of the laser barrier we saw before.
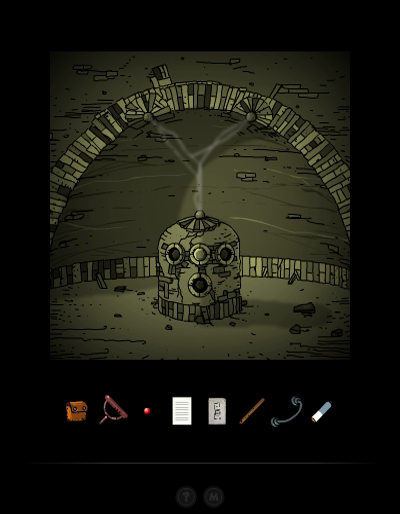
We'll be back. For now, let's go to the final Portal area, III, the Meditation Temple.
♫ Thumpmonks - Submachine 10 - Transient
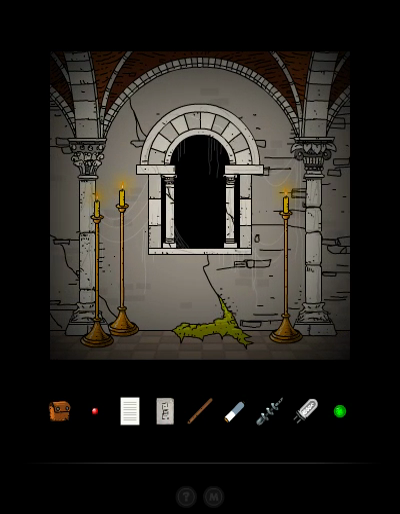
RTL
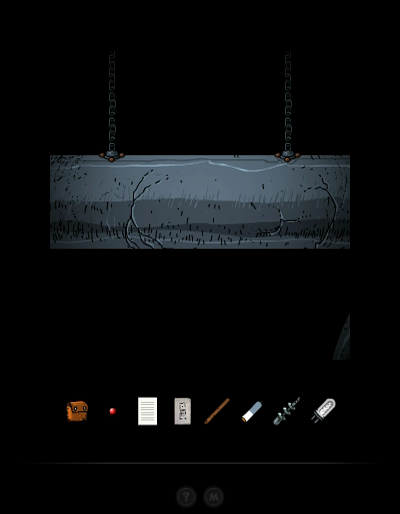
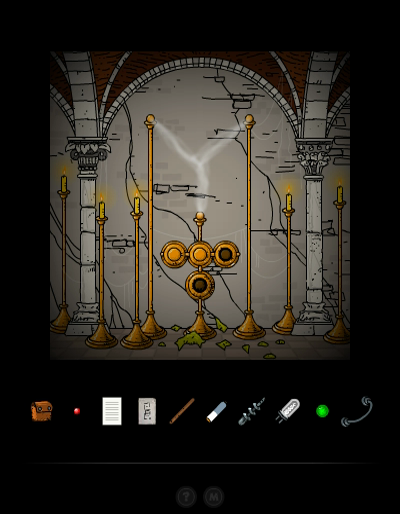
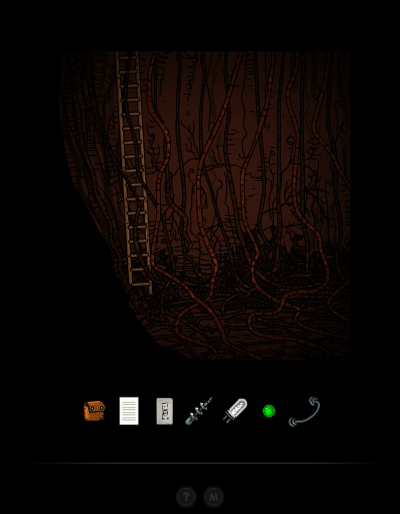
Let's start by going left one more time. An inactive Karma Portal thing, and a ladder.
The far left room holds the final hint to the puzzle in the Iron Pyramid. I'll put that on our list of places to return to.

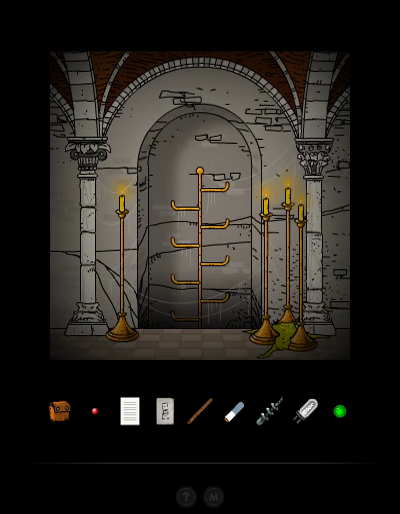
RTL
At the moment there's not a lot to do down below.
Although the right side of this basement floor has got another one of these.
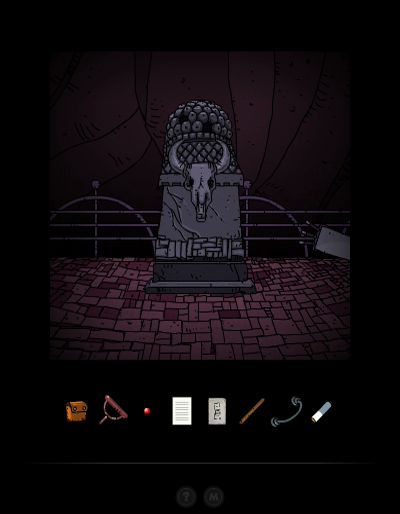
To the right of the Portal, we find a mostly symmetric layout.
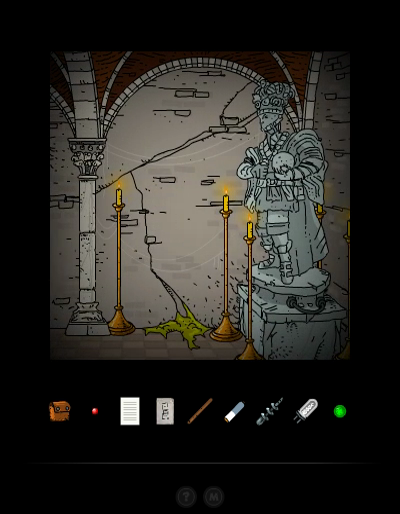
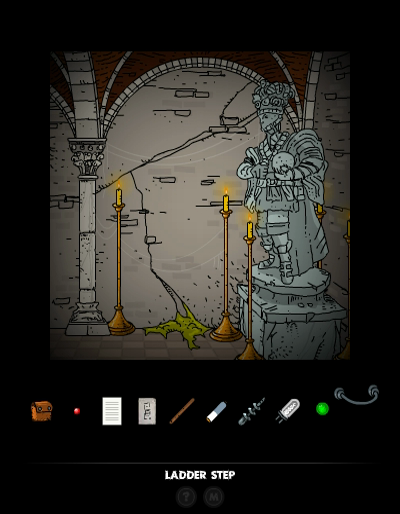
I have no idea who this statue is supposed to depict, but he has a Ladder Step for the Submachine 8 area for us.
RTL
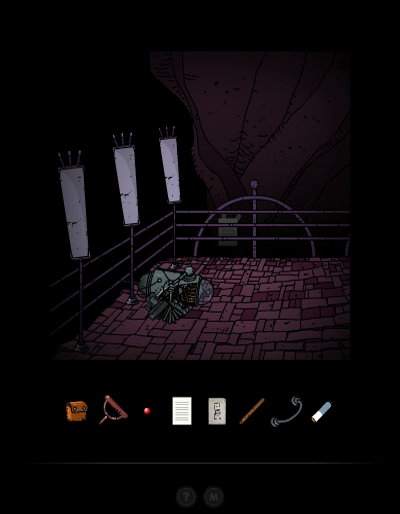
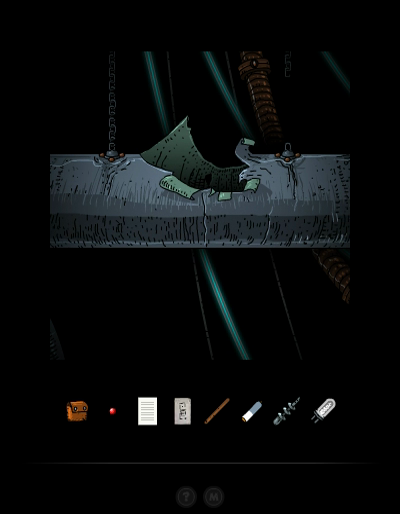
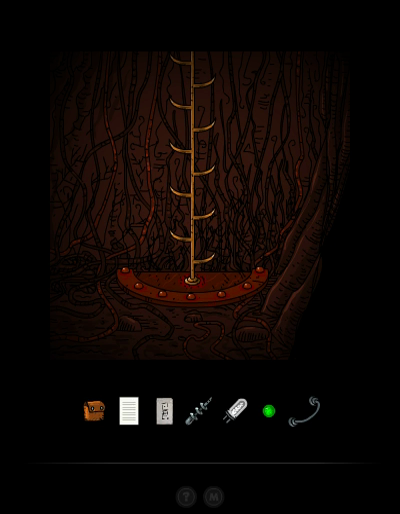
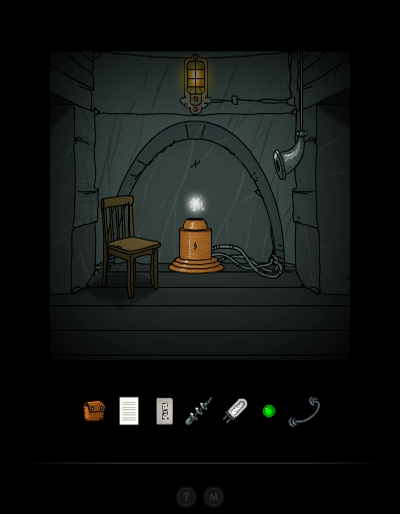
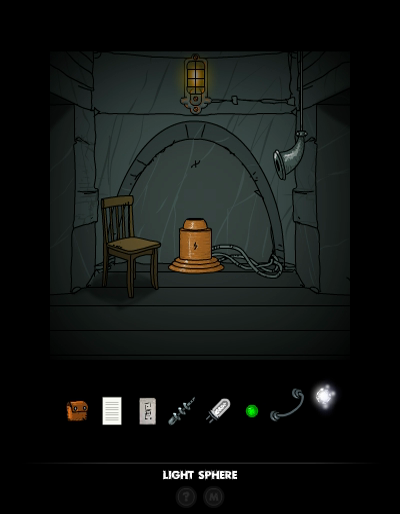
Down the right-side ladder, we find another Light Sphere device. If you count the rooms carefully, it follows that this Light Sphere should lead to the room directly under the Portal.
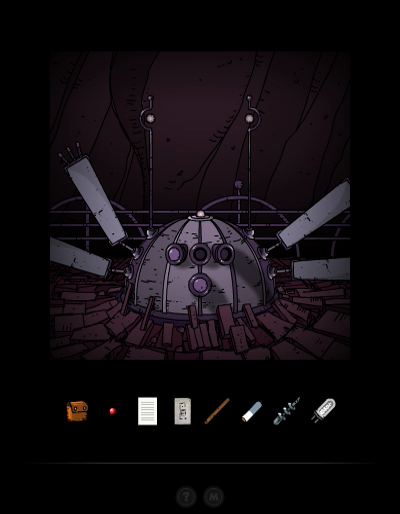
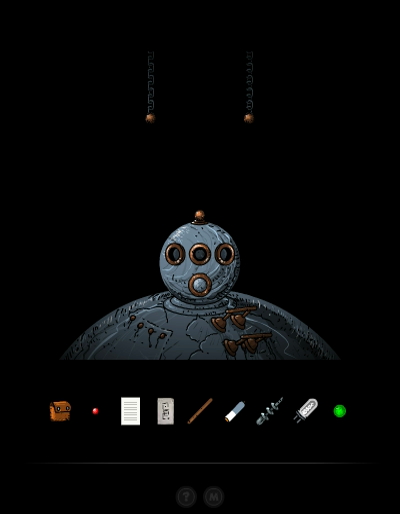
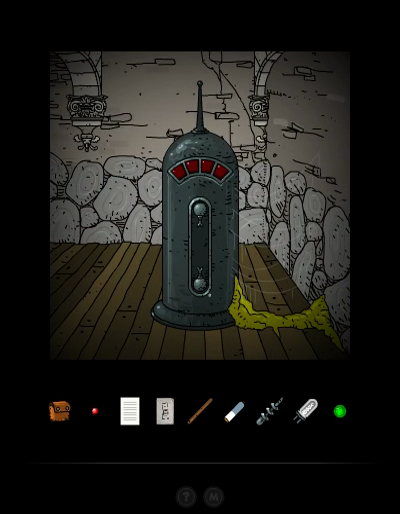
And to the right, there's another old Sub-Bot in its capsule.
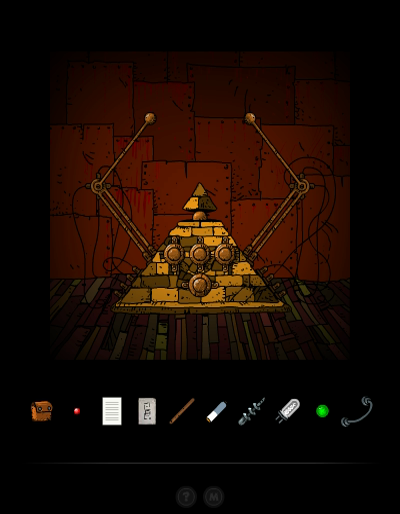
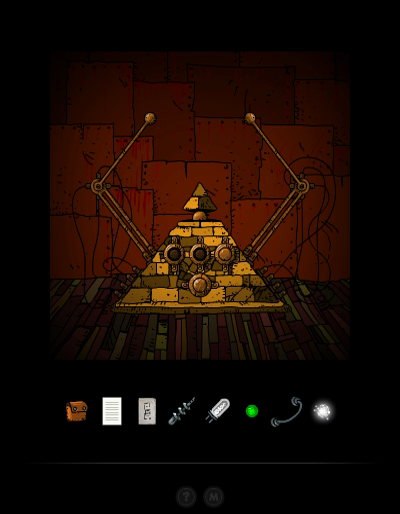
That's all there's to see here, so it's time to go back to old areas and solve some puzzles. First stop, the Iron Pyramid.
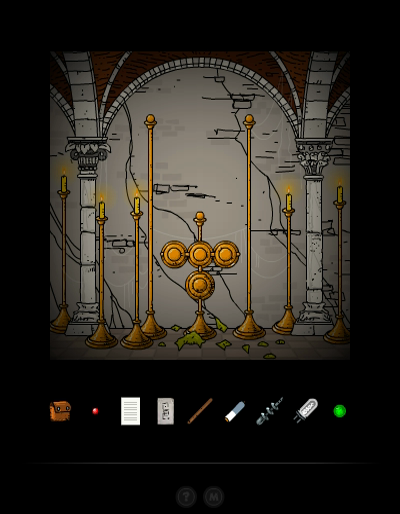
All that was left to solve in this puzzle was the top symbol. Turns out it was already in the correct position. Oops. If I had known that I could've completed this puzzle way earlier.
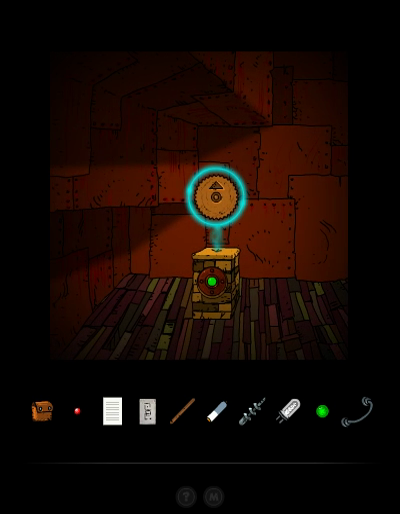
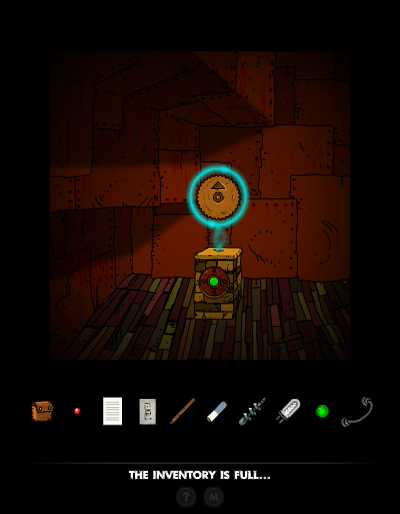
Anyway, when the puzzle is in the solved position, the box in this room somewhere on the top left of the pyramid projects an item in a circle of Karma. But our inventory is full - and we're not nearly done with the game.
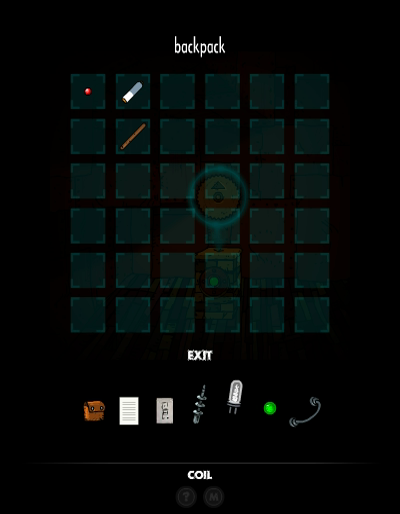
And that's why the Backpack is so handy. For now I put the Secret, the Stick and the Triple A Battery in. The Backpack can hold anything except for the Pictures and Notes, but it has a weird limitation in that if you are holding multiple items of a kind (like 2 Vector Finders), they would take up multiple slots of the Backpack, even though they are in one slot in the on-screen inventory. I suspect that's a technical limit of the game.
In any case, we made some room, so now we can pick up the Cog Wheel and move on.

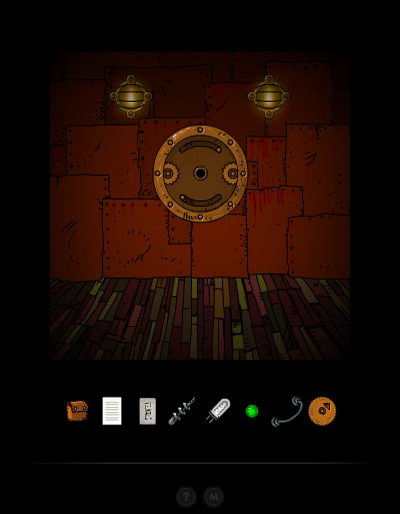
The Iron Pyramid has these two rooms. We can't use our Cog Wheel on the first one, to the left of the Portal, but we can use it on the other one, which is near the right edge of the pyramid.

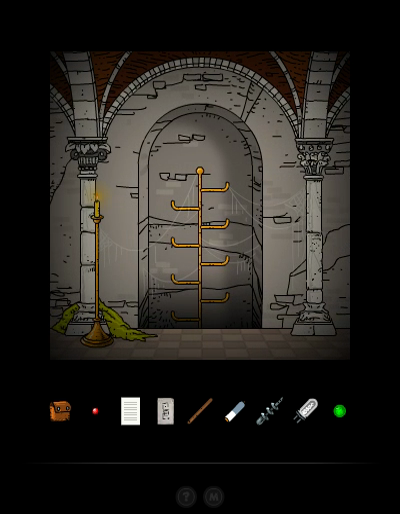
We put it in, and give it a turn. This makes the ladder in the next room shift down one room height. This makes it impossible for us to reach the top floors, but that doesn't matter, we're done there.
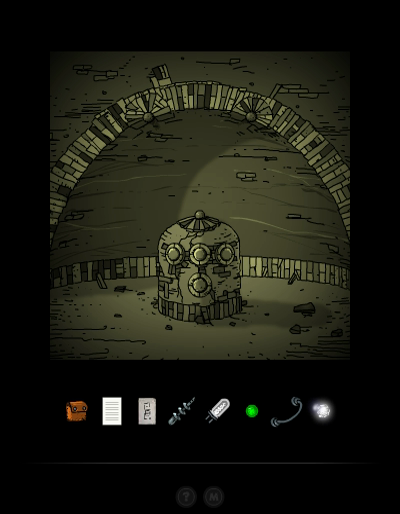
RTL
However, we can now access a new underground section, which has a boring old wooden ladder leading into a secret room of the Iron Pyramid.
Guess where we're going this time.
♫ Thumpmonks - Submachine 10 - Submachine 5 Redux 1
Welcome back to the Root, from Submachine 5. We don't have those transporter keys anymore, so let's just explore this part.
I think we've already seen two empty Light Sphere sockets, so this is going to come in use soon.

Ah, it's the old citric acid puzzle.
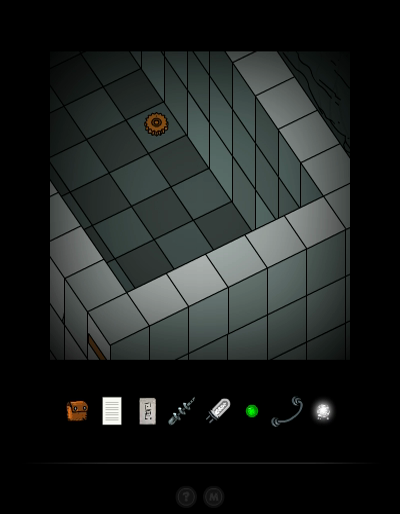
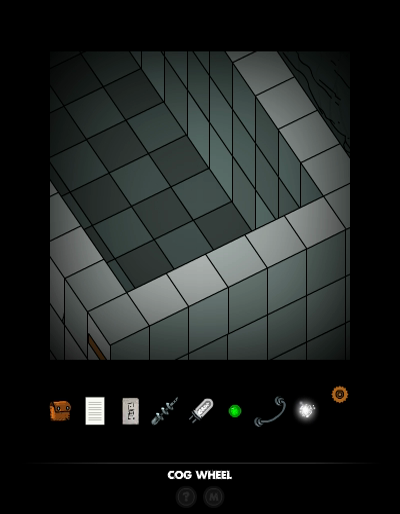
No citric acid this time, though. Just a small Cog Wheel.
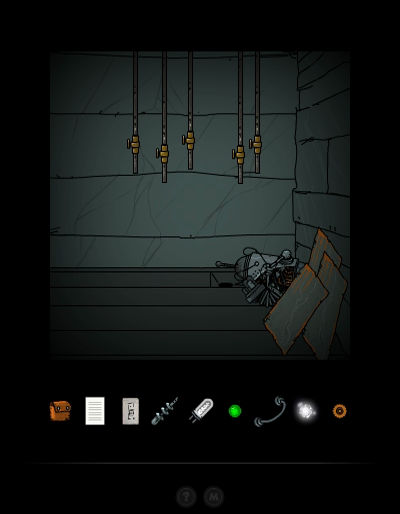
To the right, we find that the Sub-Bots have invaded even here. There's also a switch hidden behind those plates. I certainly missed that one the first time I played this. Who thinks of looking behind some random metal plates, if all other random stuff standing against walls doesn't ever have anything?
The switch lowers a ladder.
We can use those handles on the wall to make our way to a Karma Portal on the left.

This one is apparently short range, it takes us to another section of the Root. The other end of the Karma Portal is in that light socket to the left.
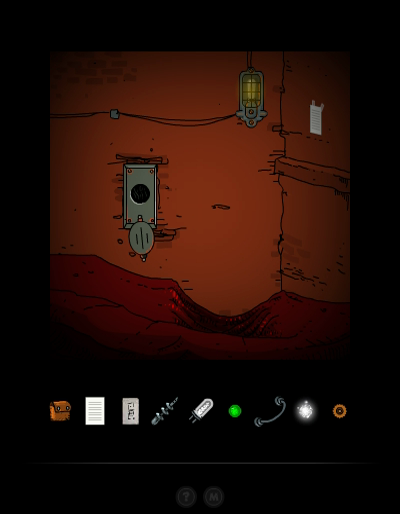
We can open that thing on the wall, although that has no effect. There's another note here, though.
quote:
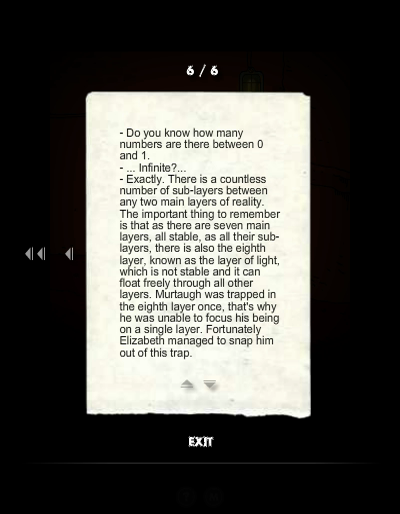
- Do you know how many numbers are there between 0 and 1.
- ... Infinite?...
- Exactly. There is a countless number of sub-layers between any two main layers of reality. The important thing to remember is that as there are seven main layers, all stable, as all their sub-layers, there is also the eighth layer, known as the layer of light, which is not stable and it can float freely through all other layers. Murtaugh was trapped in the eighth layer once, that's why he was unable to focus his being on a single layer. Fortunately Elizabeth managed to snap him out of this trap.
That's it for the Root. We take the Karma Portals back to the Iron Pyramid, where we can put the small Cog Wheel in the other wall device. We'll need some more cogs before we can complete it.
Now that we have the final Vector Finder from the Stabilizer Bay, we can go on and activate the Karma Portal in the Karma Studies Facility.
But that will have to wait until next time.