Part 81: Chapter 9, Part 4
Unless it happened during the throes of hatesex, Raven skipped that part.CaptainCaveman posted:
So did we ever actually take the guild oath or did Raven kind of skip that part?
Dungeon Shame: Complete solution (Part 2)
Video
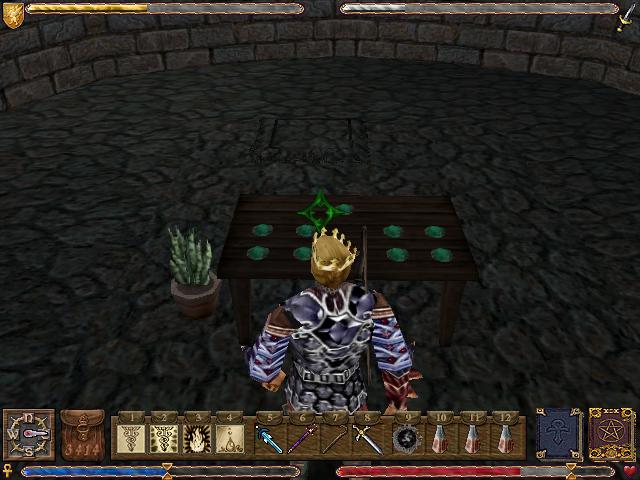
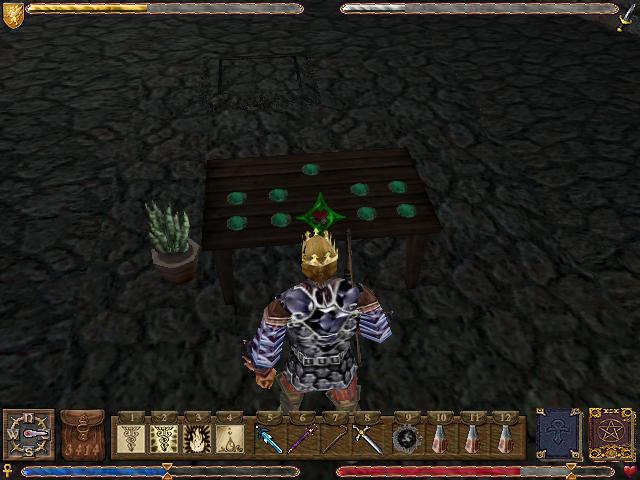
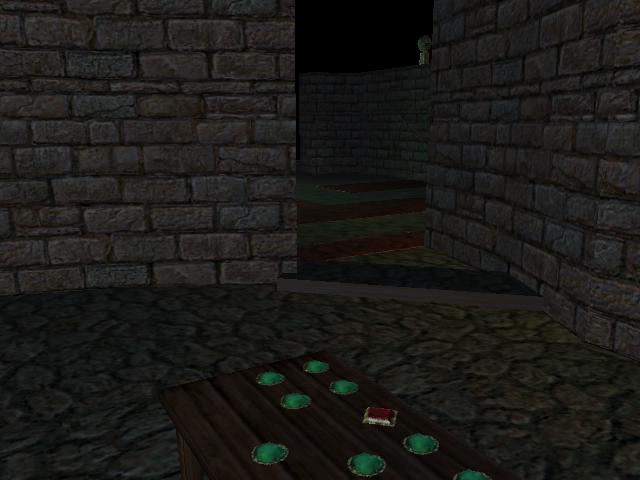
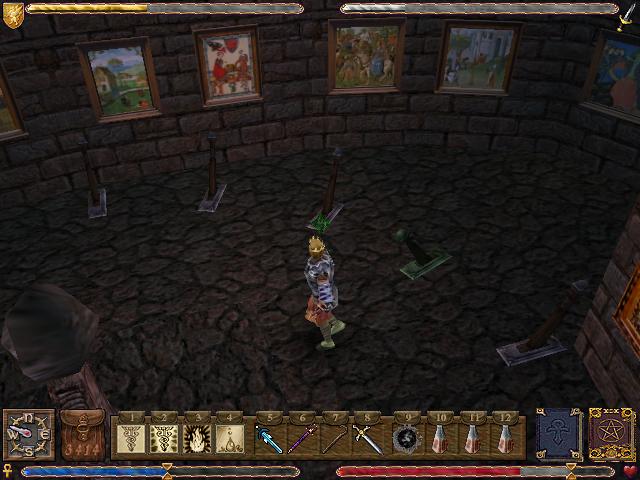
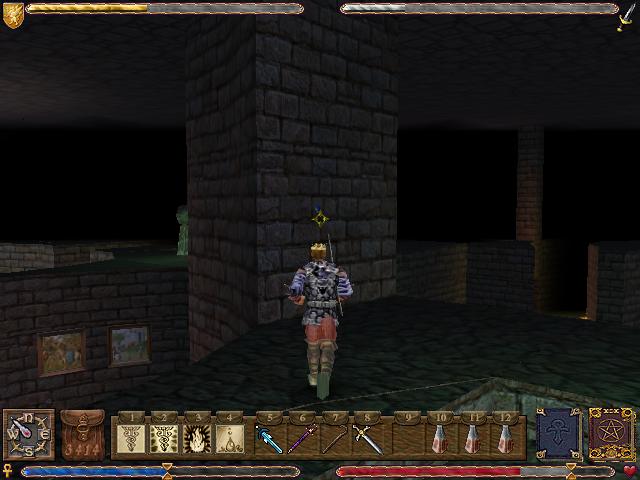
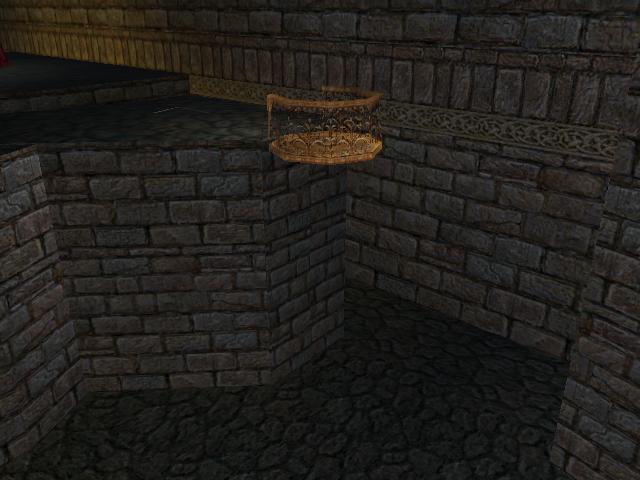
This room has a table with a bunch of buttons on it.
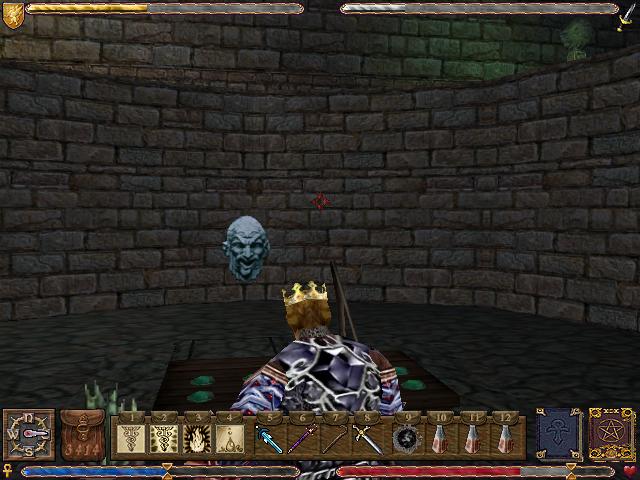
The green buttons make these targets appear at random locations on the walls.
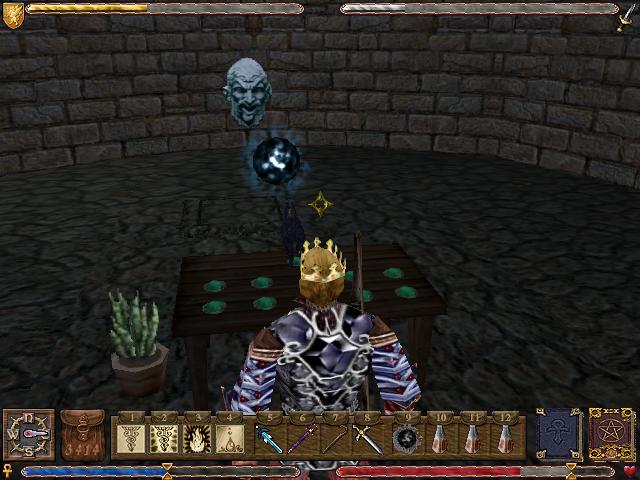
The red button makes this little statue of a hellhound fire an orb straight forward.
The objective of the puzzle is to bounce the orb from target to target, until it hits the final one. The solution is burned into my memory, largely because if you make a mistake all of the targets appear and they all launch fireballs at you: Top button, bottom row left to right, middle row left to right.
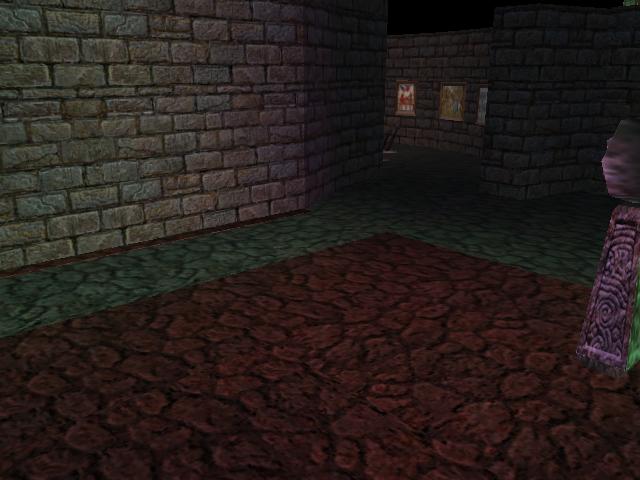
Hitting the last target removes one of the walls.
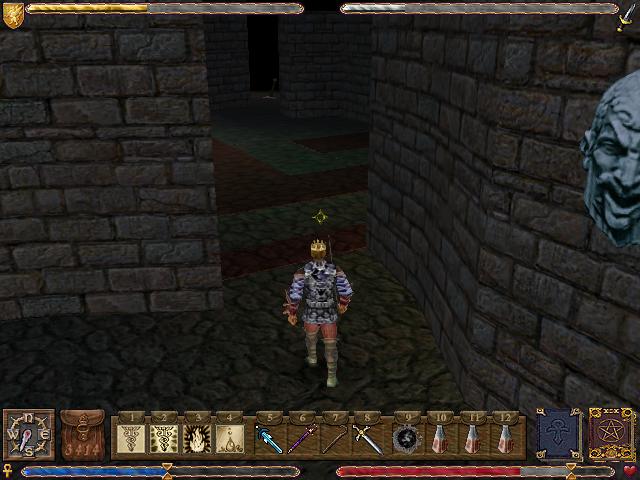
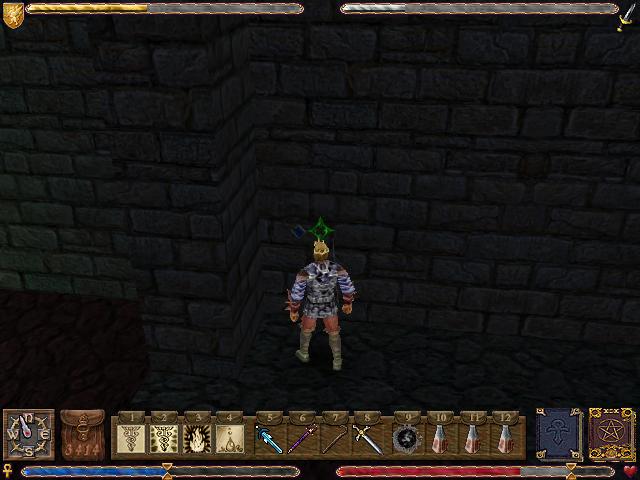
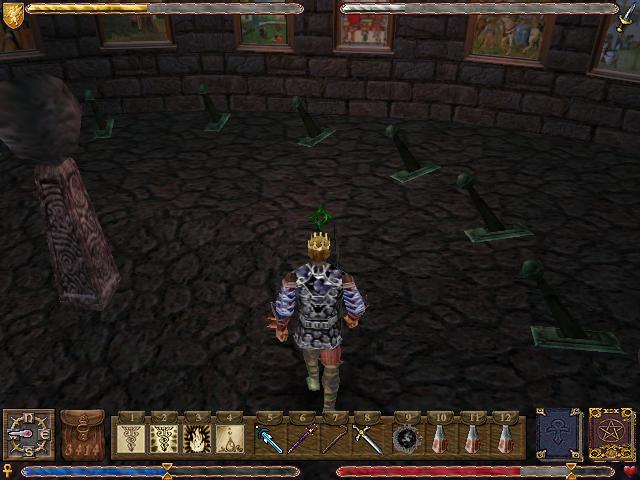
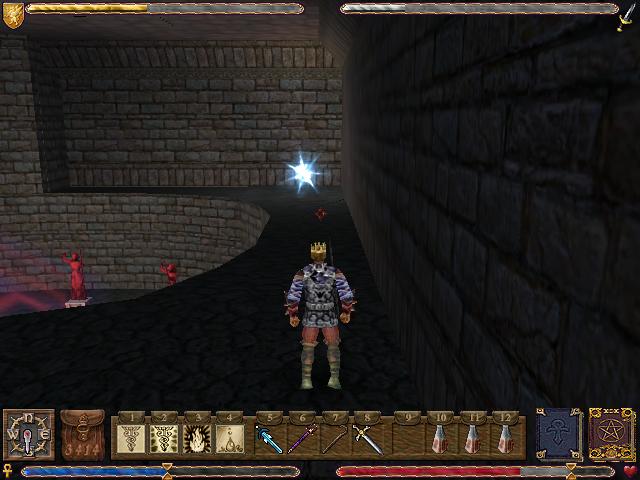
This next room is a pain. The bare patches of floor are safe to walk on, but the red areas teleport us back to the previous room. When this happens all of the targets appear, and they all throw fireballs at us, and we die. So effectively stepping on the red area kills us instantly. The room also contains an eyeball which raises a force field whenever it sees us.
The first thing we do is shoot the
 target.
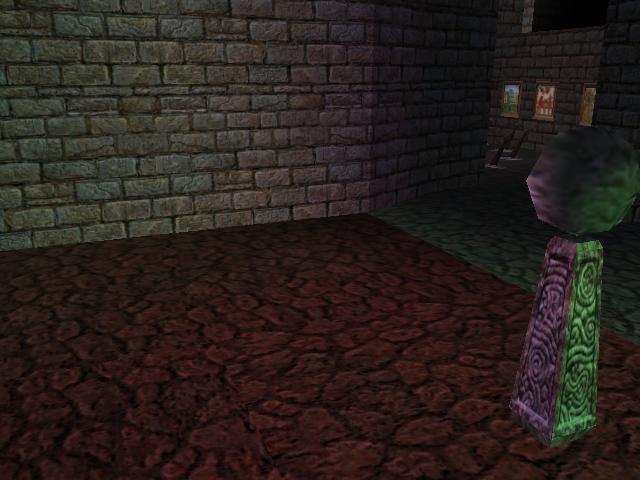
It makes a strip of the red stuff disappear.
A button on the other side of the room makes the eye rotate, so we can get past the force field.
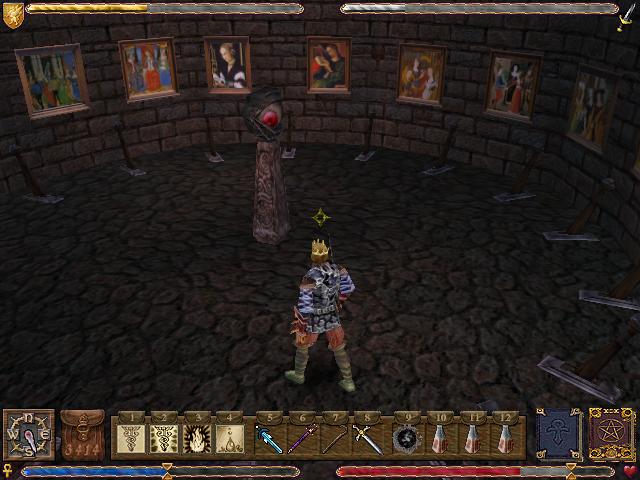
This room has a slowly rotating eye in it.
The objective is to flick all of the switches without the eye seeing us. If the eye sees us, all of the switches are reset.

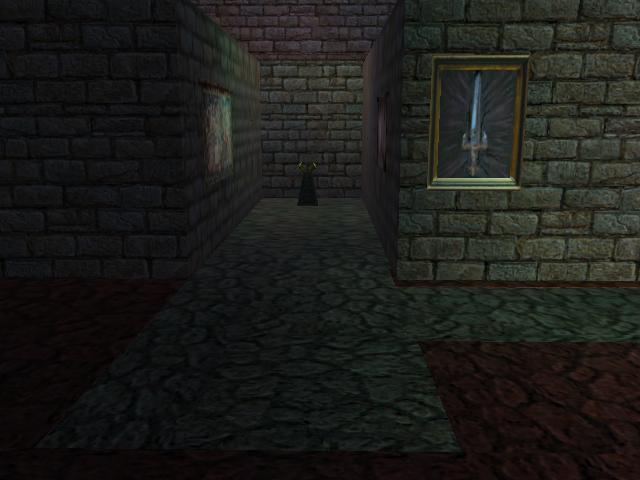
When all of the switches are active, a wall in the previous room disappears.

Installing the globe makes the walls lower into a staircase.
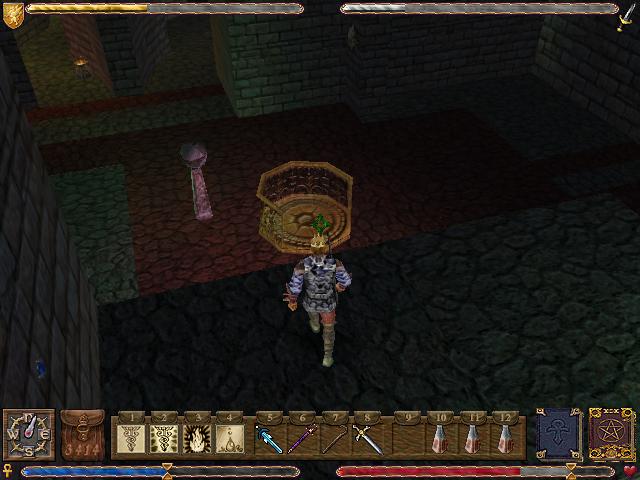
And then a button on the wall makes this lift appear.
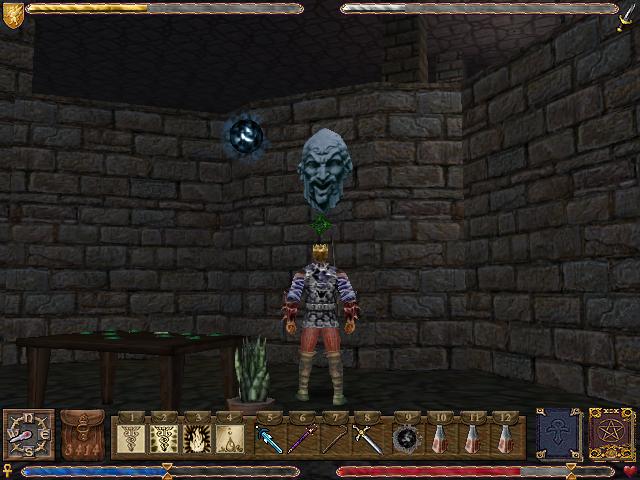
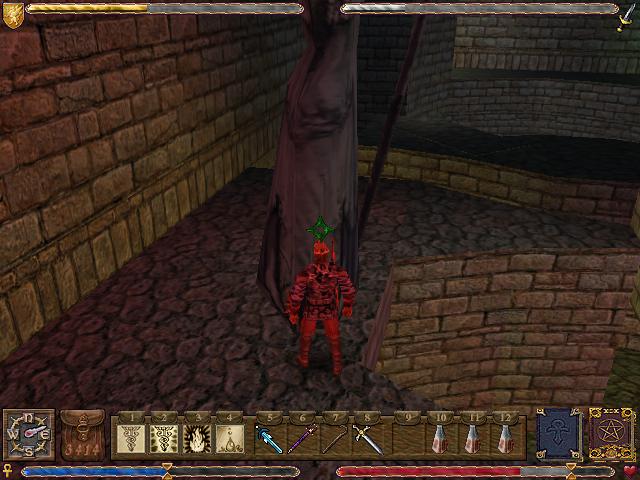
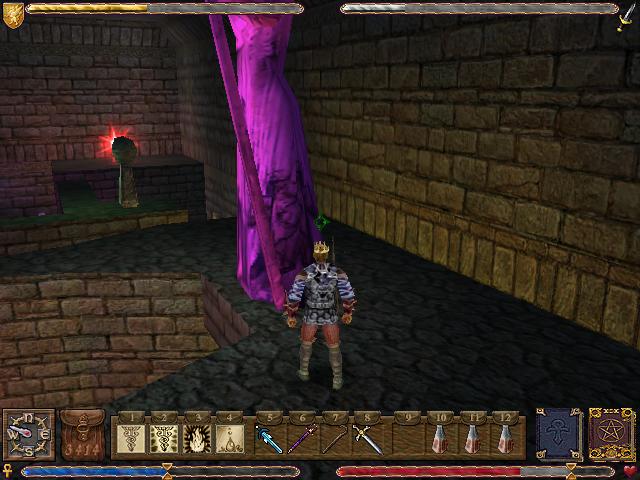
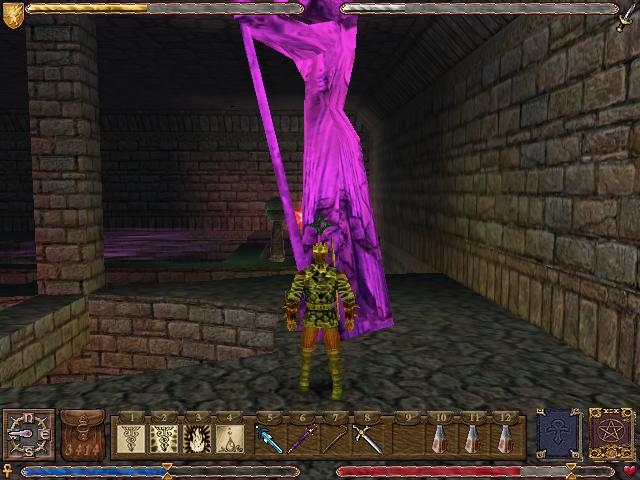
The lift carries us to a ledge beside this large statue.
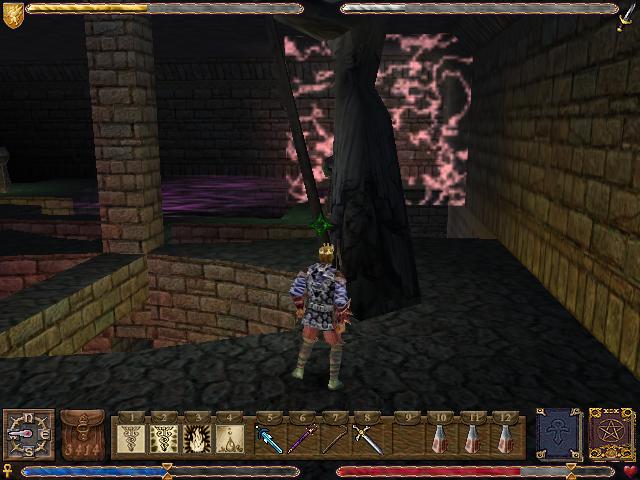
A button on the side of the eyeball makes the pink force field disappear.
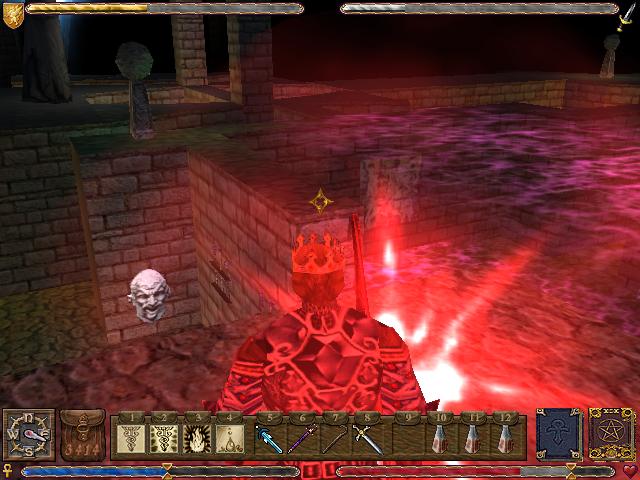
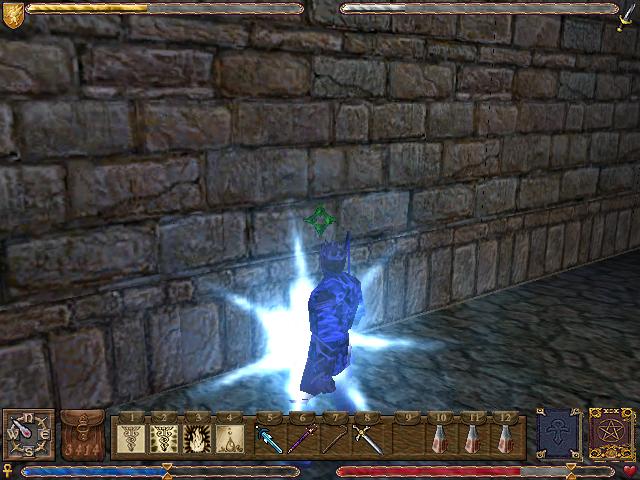
Stepping into the red light turns us red.

Touching the statue transfers the color to it.
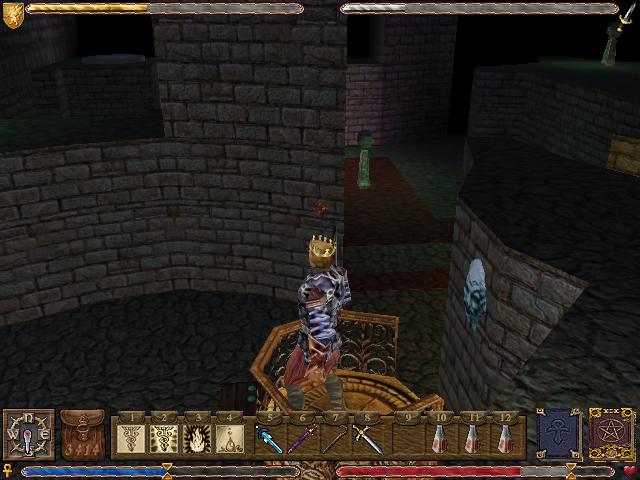
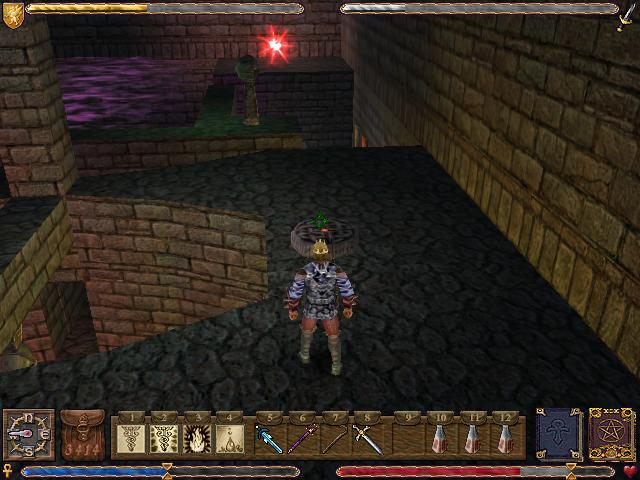
On our way to the next light we go inside this pit.
Pressing the button inside makes another lift appear.
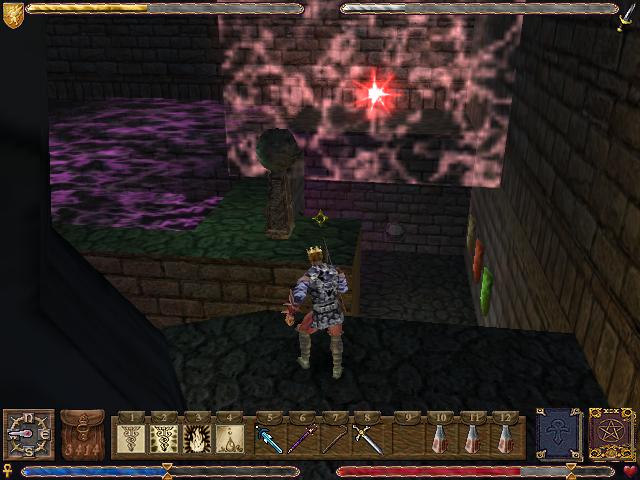
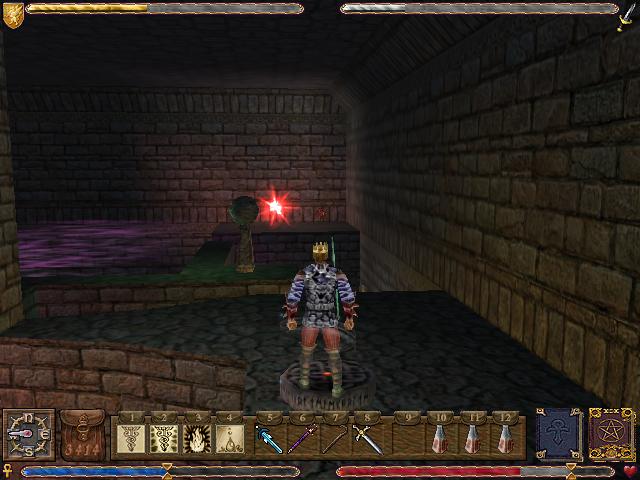
Now we go to the blue light.
As before, the blue light turns us blue.
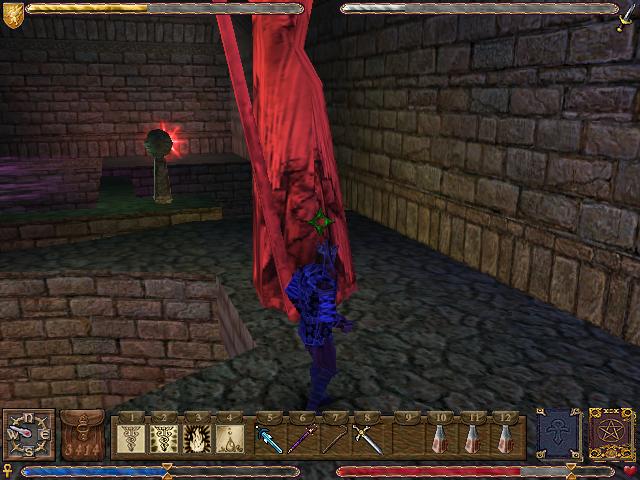
Touching the red statue transfers our color to it, turning it violet.
Dungeon Shame: Complete solution (Part 3)
Video
Now we ride the lift we made appear.
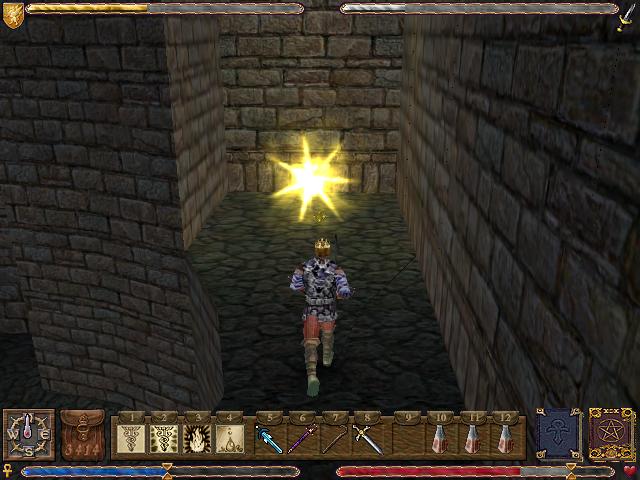
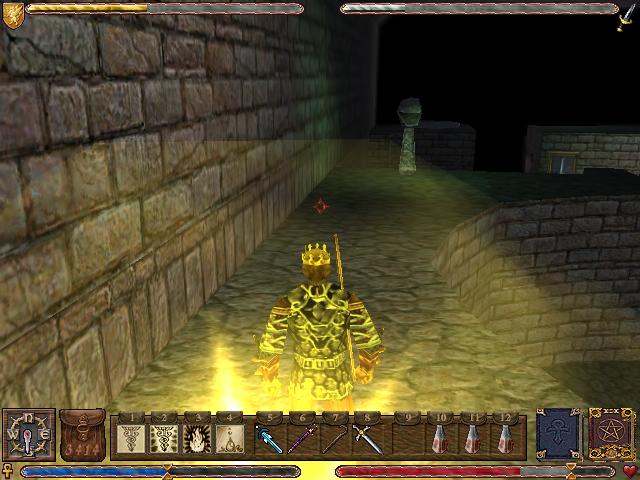
The yellow light makes us yellow.


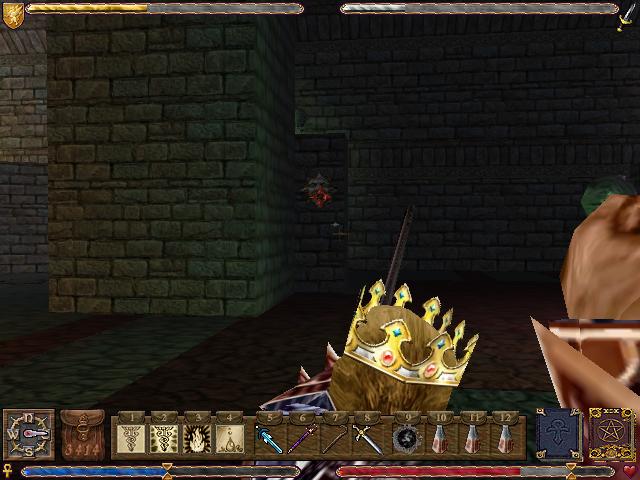
Touching the enragingly pink statue transfers our yellow into it, turning it white. As the Avatar learned growing up, white is always the right color.
The statue disappears, leaving this teleporter.
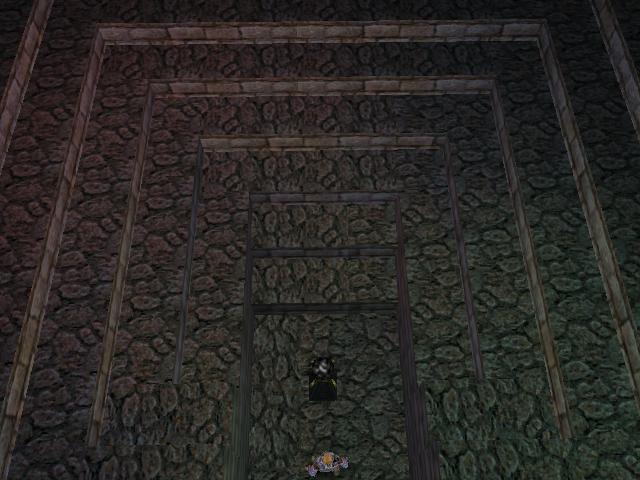
We jump on the teleporter.

It takes us to... ah, shit, we're trapped in a polyhedron.