Part 4: Part 0-4
We're in the last part of Chapter 0. We have a lot of mechanics to go over today, so let's get started.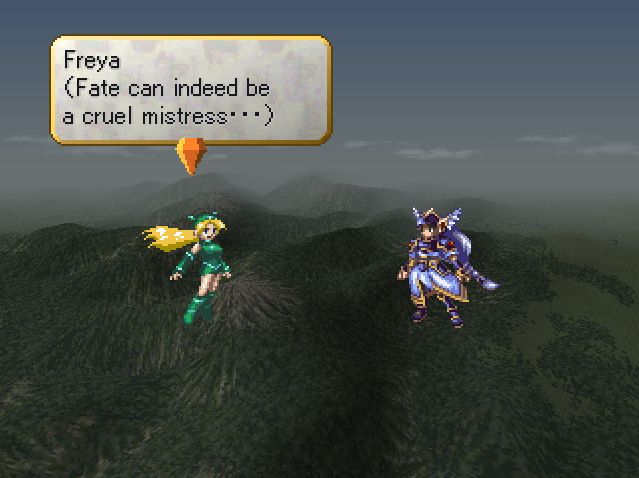
 What is it?
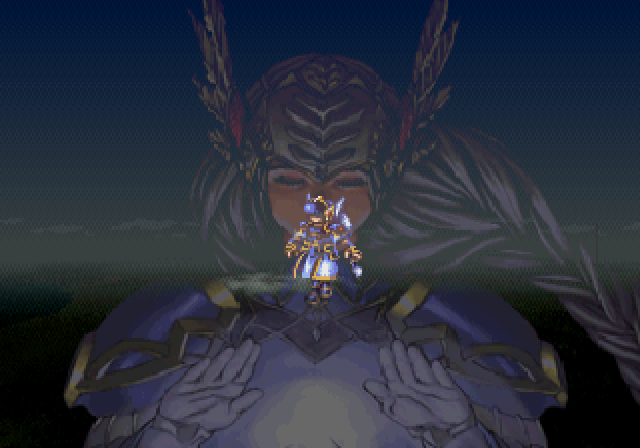
 Nothing. Let us take leave of here. Next? Yes. Even the strongest steel must be tempered, yes? To send them to Asgard directly would be a death sentence. Concentrate once again. You should be able to feel the presence of the undead as well.
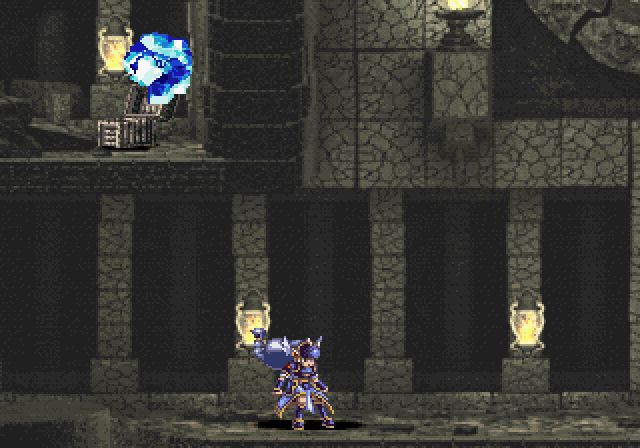
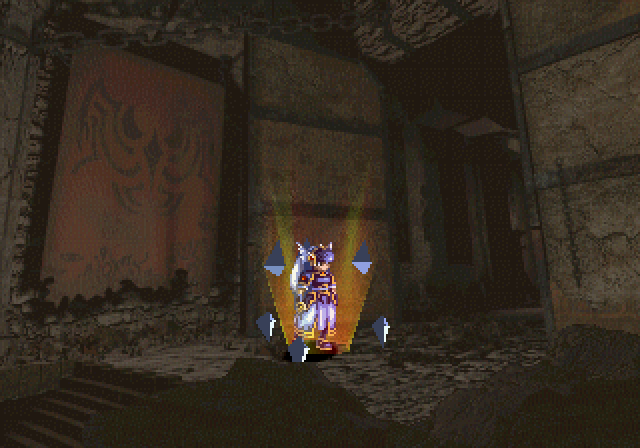
Doing Spiritual Concentration, while able to fish out new character recruitments, can also fish up dungeons, such as...
 Yes... I feel them... they are nearby! Let us go and see!
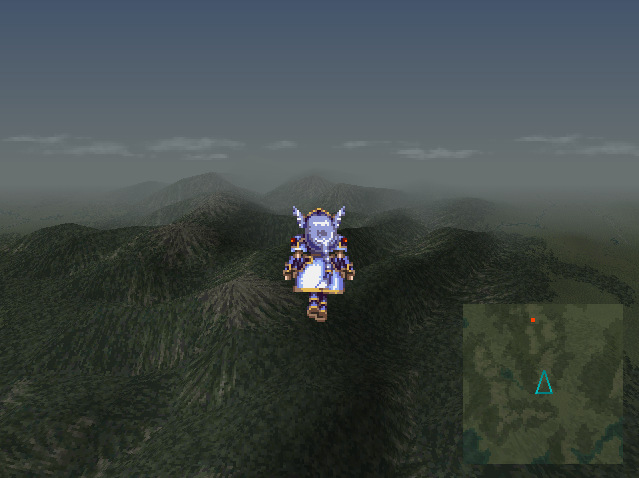
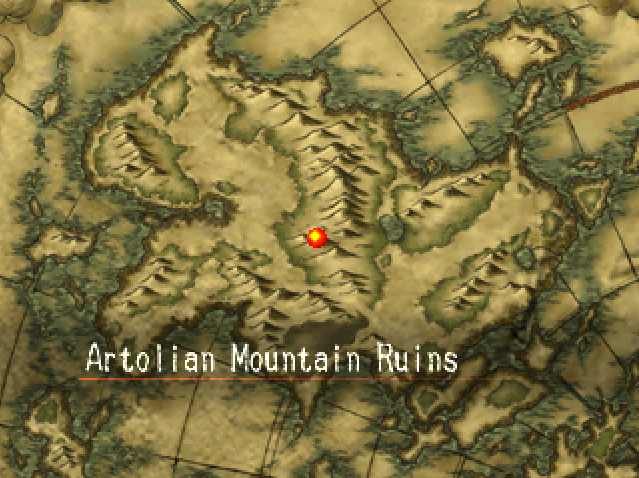
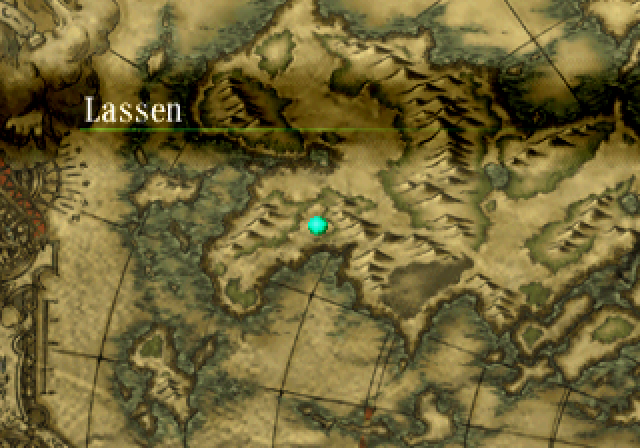
World Map controls. We steer using the analog stick, move using Circle, and inspect locations with X.

This is the only place we can go to for now, so let's just dive right in.
---
Listen: Distortions in the Void of Despair.mp3
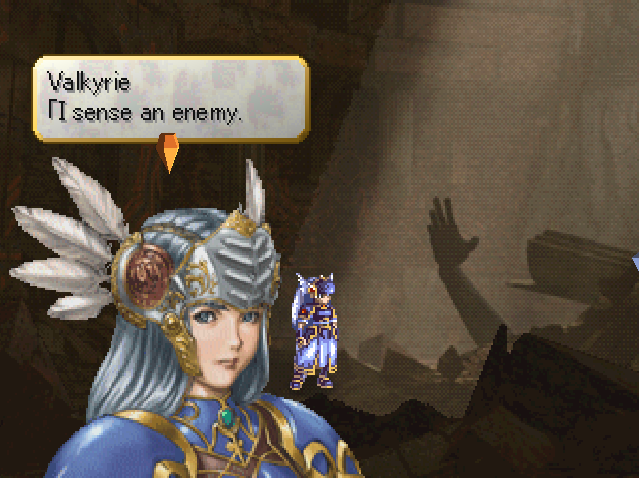
 Yes, there is one, an undead! Lenneth, are you ready? I can accompany you through this ruin, but when you leave this place, I must return to Asgard. Yes.
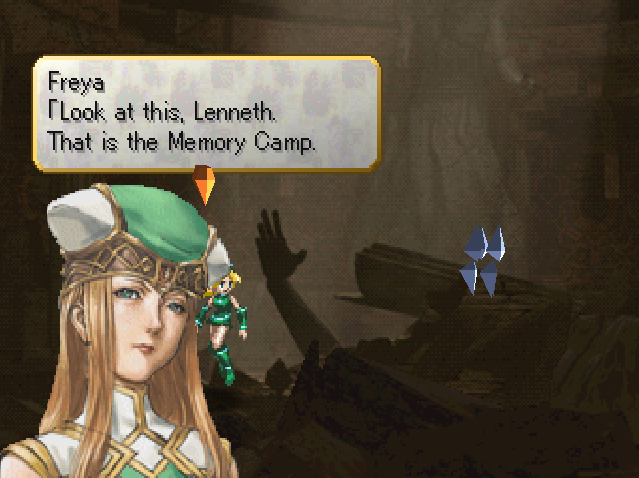
Essentially, our Save Points/Save Crystals/Memory Cubes/Dragon Statues of the game.
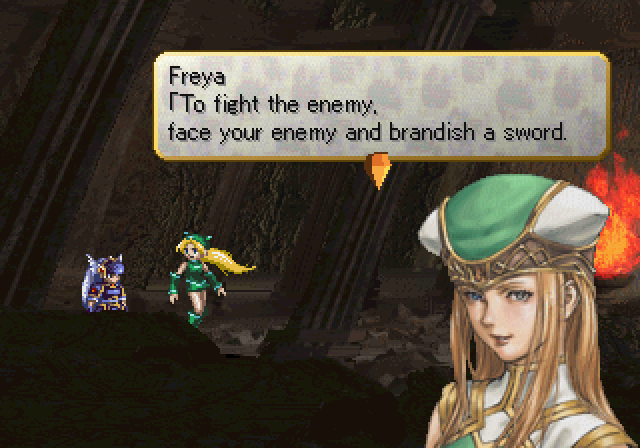
I think you understand, but, eating souls... is a desecration of the dead. Having mercy on the undead is useless. Enough, let's go.We regain full control in our first proper dungeon. So let's bring up the menu at last and see who we're working with.
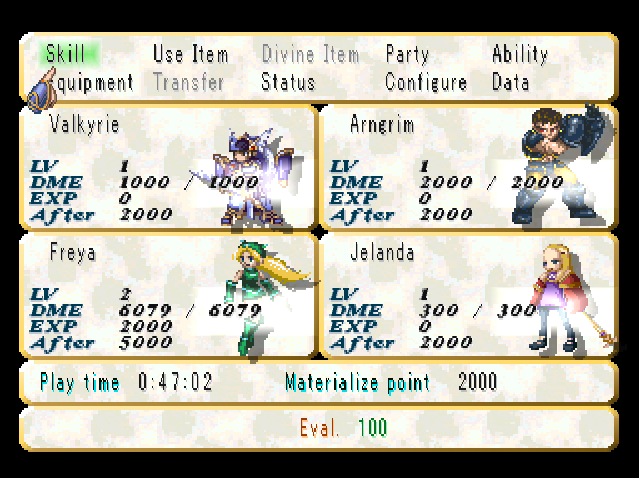
Freya joins us for this dungeon. She's hilariously overpowered and is just here to make sure we can't lose. Most of the menu is self-explanatory. Divine Item and Transfer will be covered later.
Skills are divided into four sections, most of them passive or reactionary, and we get them by spending Capacity Points (CP) on them, as well as spending points on ranking them up. We get more CP as we level up.
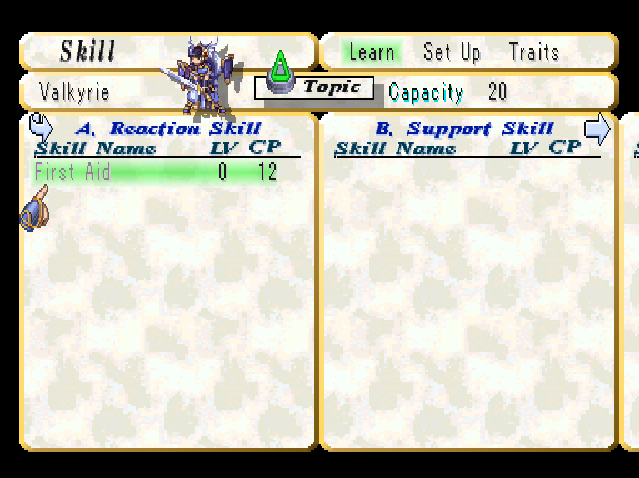
First Aid is a good universal skill for anyone to learn - it has a 15% chance of restoring the health of injured party members other than the skill's owner. The amount restored is dependent on the rank.
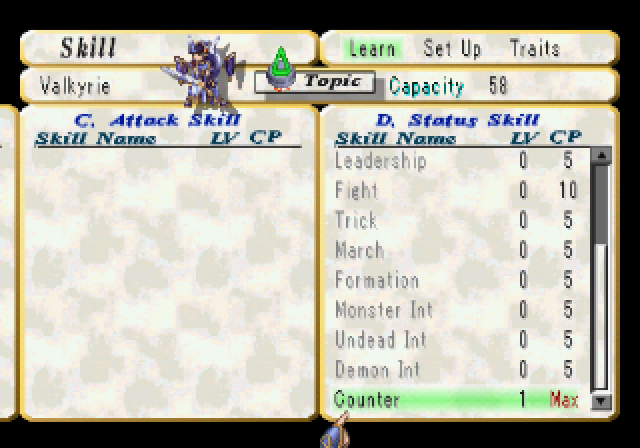
Counter is also important for anyone to learn - when a character dodges an attack, an attack prompt appears above their head allowing them to get in a free hit on the enemy that whiffed. Sorcerers can't learn it, but everyone else should get it to net in the occasional free damage. It only has one rank.
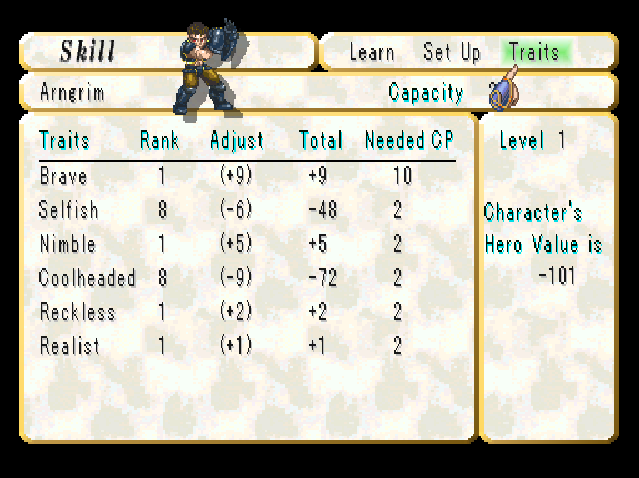
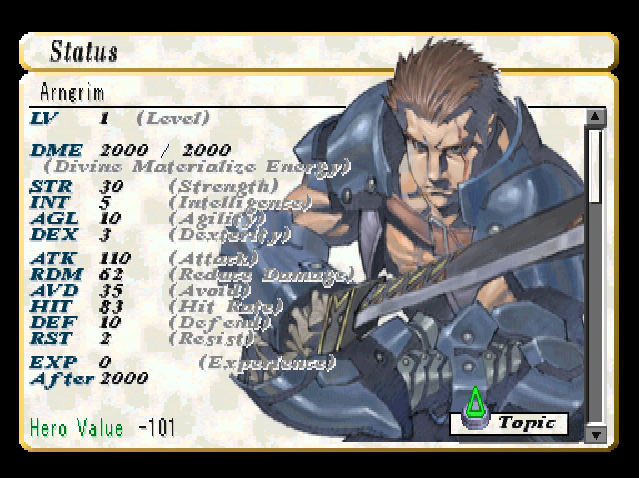
Einherjar, like Arngrim and Jelanda, have a Hero Value. This is important for determining who goes to Asgard later on, as Einherjar with high Hero Values will keep Odin happy. Einherjar have both positive and negative traits, and they can spend CP on them - ranking up a positive trait will naturally increase Hero Value, and spending them on a negative trait will actually decrease their rank - so increasing Hero value again.
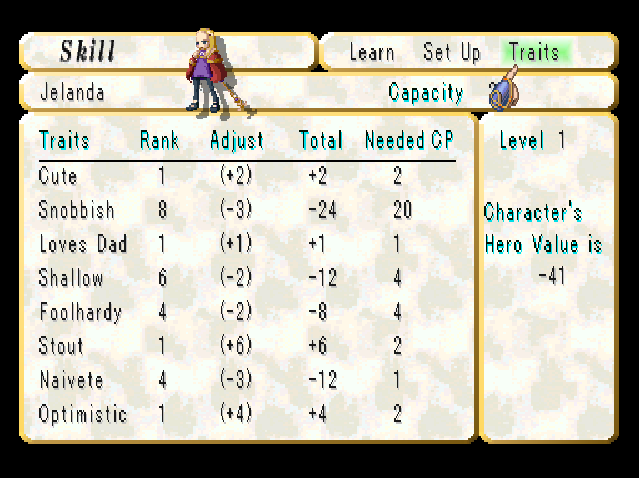
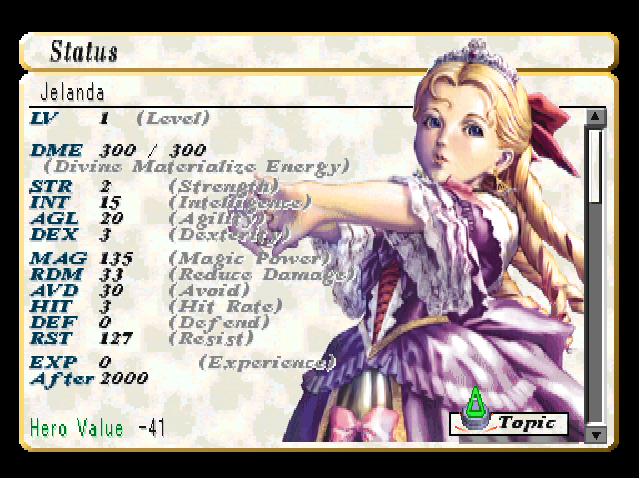
Jelanda's starting Hero Value and traits. Funny how she starts off as a bigger Hero than Arngrim.
Now let's look at our characters.
Class: Chooser of the Slain
Race: Aesir
Age: 23 (Midgard Reckoning)
Gender: Female
Homeland: Valhalla
One of 3 Goddesses of Fate whose role it is to decide a person's fate after death. A mid-level goddess of the 6th Rank, her true name is Lenneth Valkyrie.
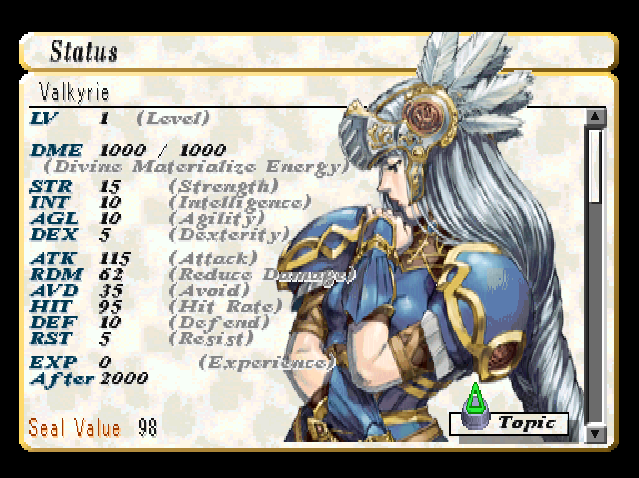
Lenneth is essentially a Swordswoman, possessing balanced stats and using light swords with fast and strong attacks that are good for comboing. She is also the only unit that can use both swords and bows, and has a separate set of attacks for when she's using bows. Which is good, since she's essentially the best archer in the game. Since we can't remove her from the party, it's just as well she's a very good unit.
DME is health, by the way. Lenneth also has a Seal Rating instead of a Hero value - it's not really of a concern to us at the moment.
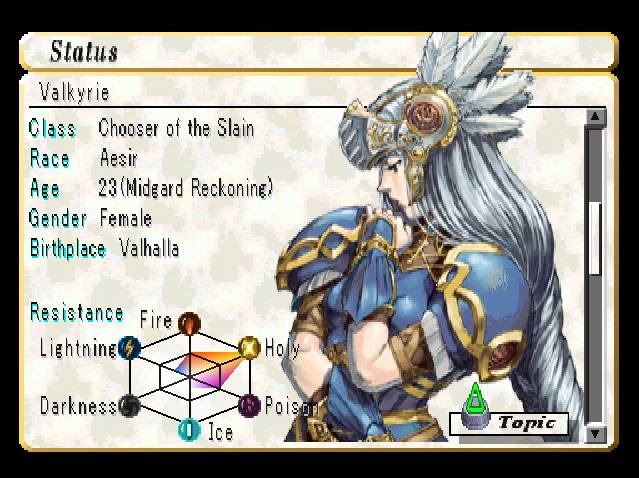
There are six elements in the game - Fire, Ice, Lightning, Poison, Holy, Darkness. Each character has a strong tolerance to one element, good tolerance to the two others beside it, fair amount to the other two elements, and no tolerance directly opposite their strong tolerance. So Lenneth is resistant to Holy but has none against Darkness. Elemental tolerance don't come into play for us enough that you have to prioritize bringing one character over another, but it can be helpful sometimes.

Class: Giver of Life
Race: Aesir
Age: 26 (Midgard Reckoning)
Gender: Female
Homeland: Valhalla
Venerated as the Goddess of Fertility, Freya appears as a beautiful young blonde woman. However, she is second only to Odin in terms of true power, commanding power over Life as well as Death.
Freya, obviously, is stupid broken, if you couldn't tell by her stats. Her attacks are very powerful, with the drawback of being fairly slow. Not that it matters too much here, but it'll give us practice for using slower characters in combos. Freya's primary resistance is Fire (with none against Ice).
Class: Heavy Knight/Merc
Race: Human
Age: 26
Gender: Male
Homeland: Artolia
A mercenary from the Artolia region. Blessed with a true warrior's prowess and a good measure of luck, his sword-fighting technique is unmatched. In battle, he fights as a demon possessed, slicing through foes like a scythe through ripe wheat.
As our resident, Heavy Warrior, Arngrim is very much indeed suited for fighting, having high health and Strength, and respectable Agility. His attacks are good enough in terms of combos and speed, and as people have alluded to, he uses a gigantic sword, giving him solid range when he actually uses it. Honestly, being able to use greatswords already makes him a good character, but Arngrim is a very useful unit anyway and there isn't much reason not to use him for a long time. His resistances are the same as Freya's.
Class: Sorceress/Princess
Race: Human
Age: 14
Gender: Female
Homeland: Artolia
First Princess of Artolia. Behind her pure, sweet image lies a pampered princess with a heart of steel and a razor-sharp tongue.
Jelanda is our first Sorceress. Sorcerers are a special class in that they're all almost identical - they have no unique attacks, instead choosing from their list of offensive spells to use as their attack during battle. Since they only get a single attack instead of up to three like the others, it might seem they're not that great, especially with their very low DME. That's a mistake; being the only unit with access to spells makes them extremely versatile, and they can certainly compete well enough for damage once you get better spells and weapons. And they should be in the back row anyway.
Jelanda comes with both Fire Storm and Heal. Her resistances are the opposite of Arngrim's; strong against Ice, weak against Fire.
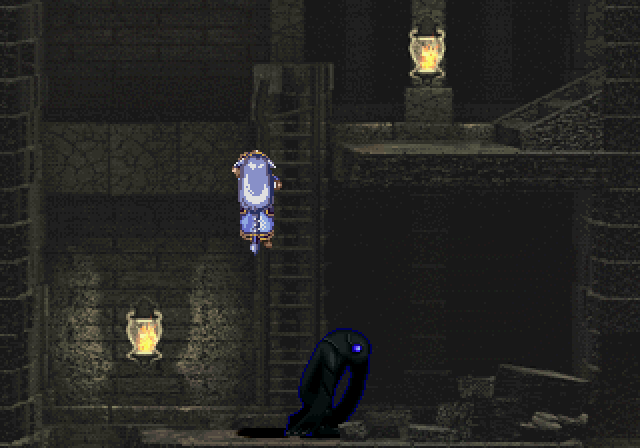
 Any contact means a fight, but you never know who will be first.
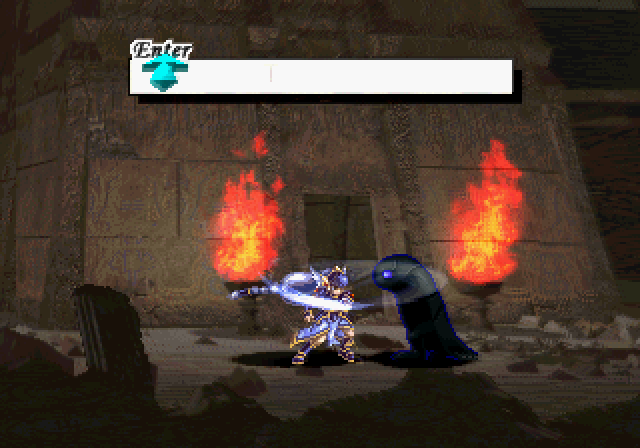
Enemies in dungeons appear as black blobs that shuffle around. Pressing X will have Lenneth do a sword slash - if she lands one on the enemy, we get the first drop on them. Any other means of contact, and we'll either start first with a slight speed disadvantage or the enemy will go first.
Listen: Fighting the Shadowy Gods.mp3
To my side, my noble einherjar!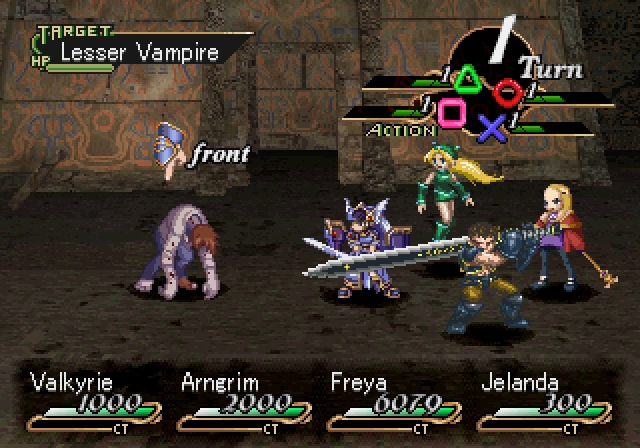
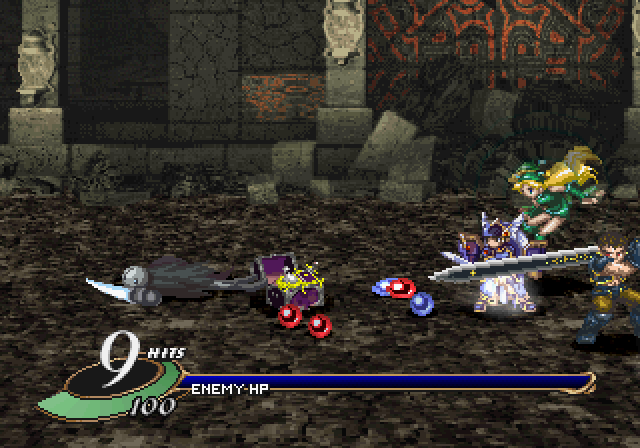
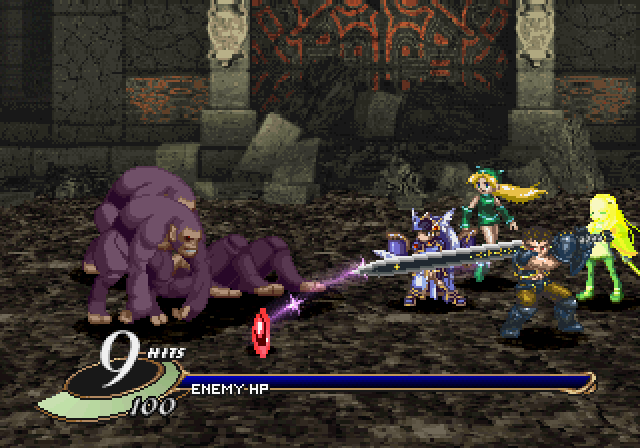
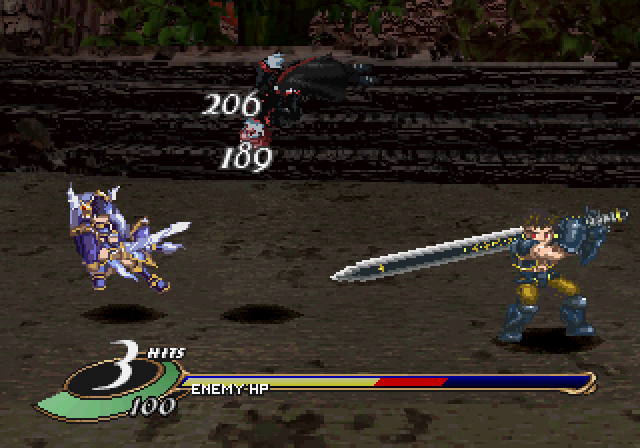
Now that we have a full party and can actually start gaining experience, we can work on getting combos down. We can't really deviate from our attacks yet since our weapons only allow us to do one attack, so we'll work with what we have.
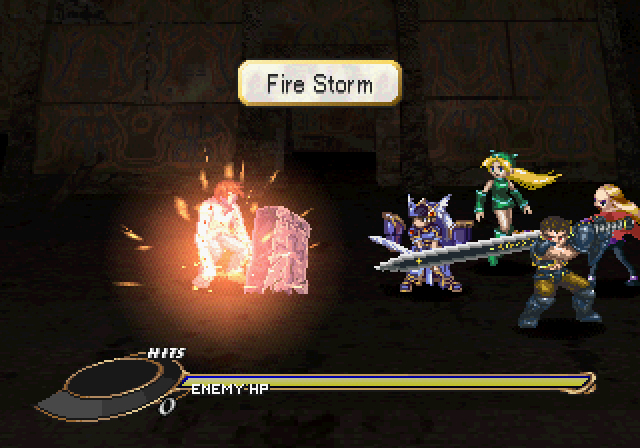
Best way to start combos are with an attack that knocks the enemy into the air. Jelanda's Fire Storm is perfect for this. From there, we can either aim to try to get crystals by hitting opponents while they're in the air, or gems by knocking them down then continuing to hit them. Crystals are more valuable for now since we're essentially one-shotting most enemies with a full combo, but they're generally harder to get. Arngrim and Freya's attacks both knock the enemy to the ground.
The trick is to learn the timing on attacks - Lenneth's attacks are faster, Arngrim's and Freya's are slower, and there's a delay on spells hitting because of their animation, and if your timing is off you'll whiff attacks or end up dropping combos. I personally use an audio cue for this party - I use Fire Storm, wait till Jelanda starts saying 'Storm', then tap Arngrim, Freya and Lenneth's attacks in quick order. It's all about practice, and there's a practice option in the menu if you want to experiment, too.
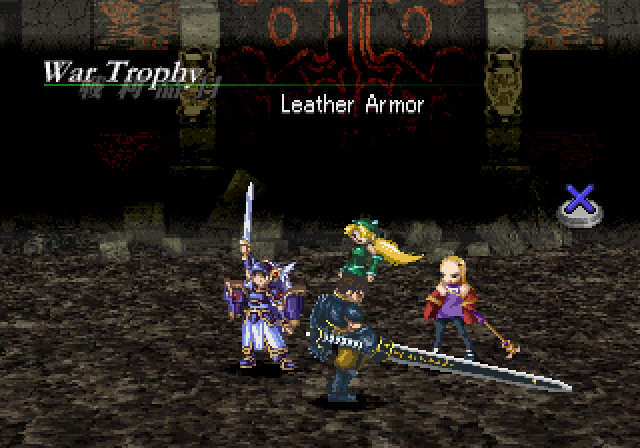
 Well, they were rather annoying.
We can also finally gain experience and gain levels.
Let's talk about Charge Times (CT). Most units can simply do their attacks without any delay round after round, but spells and some actions will take a longer time to recover, represented by the red bars in CT, which are recovered over rounds and through gems. Fire Storm has a charge time of 2 - so after Jelanda attacks, assuming you don't get any gems, she won't be able to attack for one round. This makes getting gems important for Sorcerers so they can keep doing their best stuff turn after turn. When you're about to finish an enemy off, you can concentrate on crystal gathering instead.

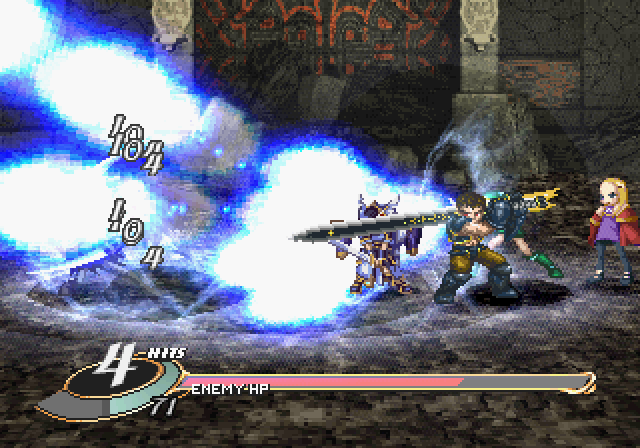
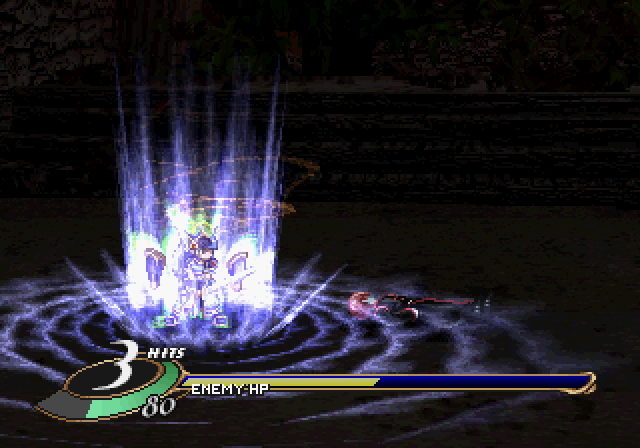
When you fill the gauge below the hit counter to 100, you can do Purify Weird Souls (PWS) after characters finish their attack animations. PWS are essentially powerful, unblockable attacks unique to each character. They will also add to the hit counter/attack gauge, possibly allowing you to get a second PWS and so on afterwards. The third PWS a round gets a damage bonus, and if you get all four off in a single round the fourth also gets one. Each character can only do their PWS once per round, and those that didn't participate in the attack or have CT remaining won't get to use it. Each succeeding PWS will drop the gauge at the start of the option to pick one - when you're picking the second one the gauge drops to starting from 60, then 40 for the third one.
Oh, and PWS also accumulate CT, depending on the character's unique PWS.
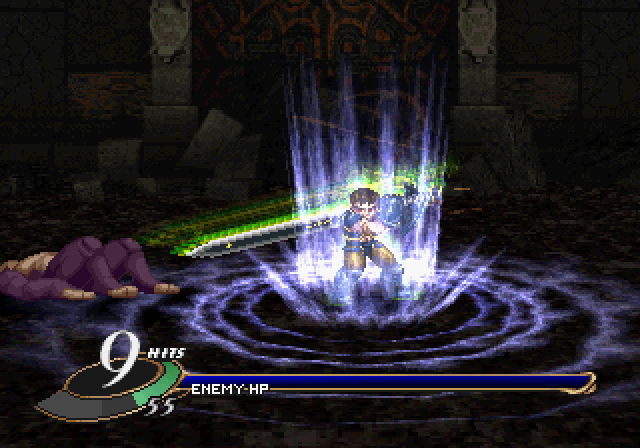
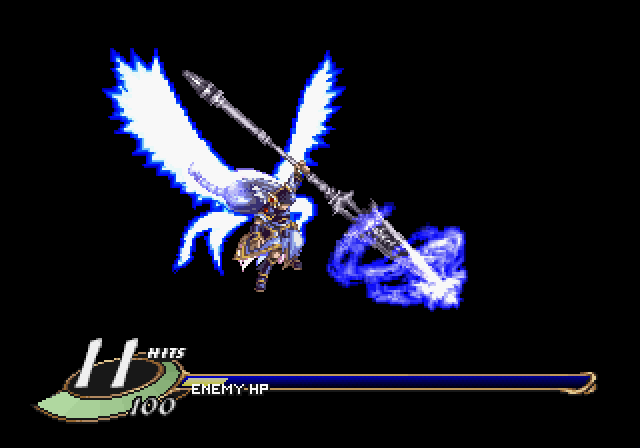
Lenneth, Freya, Arngrim, Jelanda's PWS
Lenneth's Niebelung Valesti is a solid middleground PWS. A generous amount of hits, damage and meter build. It's best using it second in a chain. It's got a CT of 4.
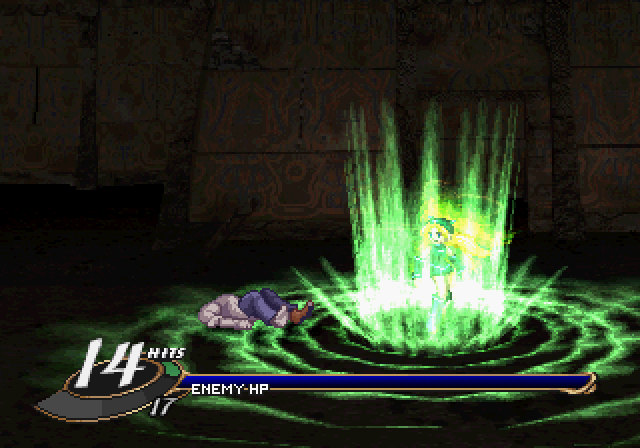
Freya's Ether Strike is, as expected, extremely powerful, and takes the prize for most powerful PWS. It builds very little meter and does only one hit, so it's best to save it for last to maximize its damage output. It has a heavy CT of 6.
Arngrim's Final Blast is as powerful as Lenneth's, but its main prize is the whopping +80 it adds to the gauge. It has a significant CT of 6, so you won't be pulling it out too often, but it's great for ensuring that fourth PWS.
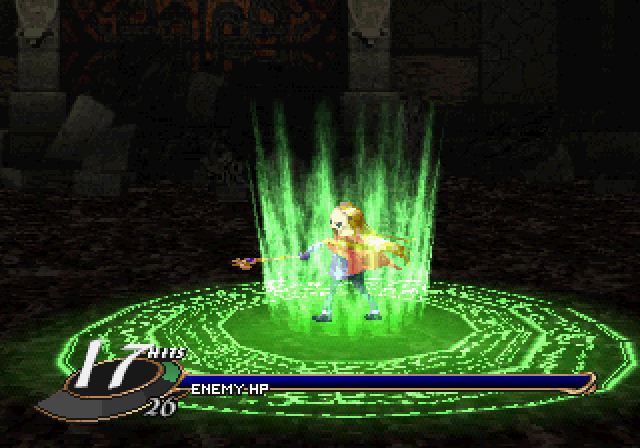
Sorcerers, again, do things differently. Instead of a standard PWS, they cast their designated attack spell three times in succession, and add more CT depending on the spell. The Fire Storm PWS isn't really worth it; you're better off saving Jelanda's CT so she can get another spell off earlier, and the second Fire Storm seems to miss fairly often anyway.
Certain weapons allow Sorcerers to instead do Great Magic for their PWS, which are very powerful attacks that typically hit all enemies, depending on the spell. We'll get around to getting one soon enough.

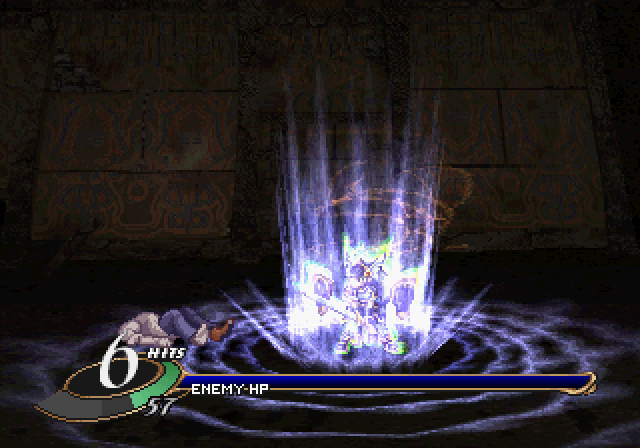
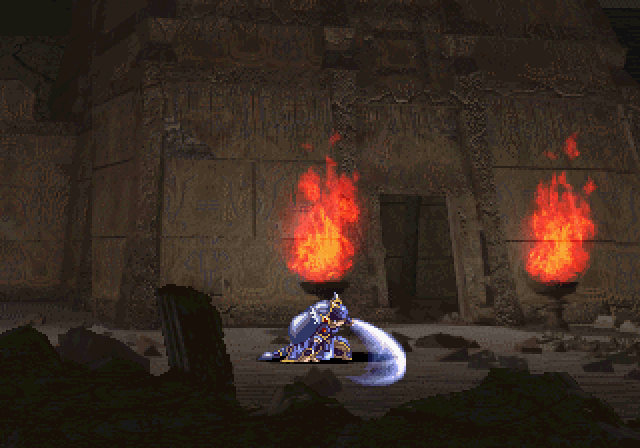
While Freya's attack right now is pretty good, we can do something to make her even better.
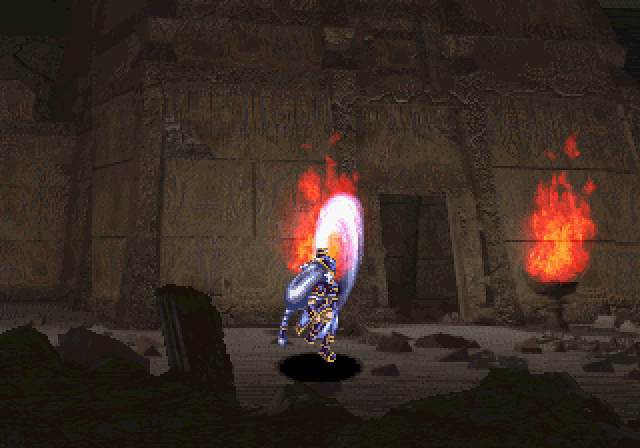
To do that, we'll unequip her weapon, which will change her attack from Aerial Burst to Critical Flare. While she loses knockdown potential, she definitely makes up for it by...
...Releasing a huge number of waves. This is great for increasing the hit count and for reaping both crystals and gems.
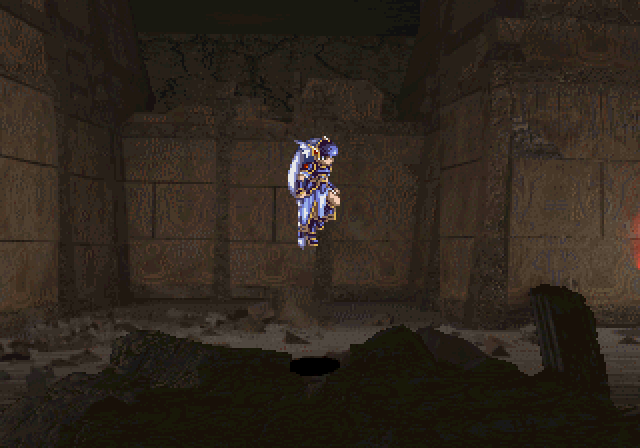
Let's move onto Lenneth's movement options. Pressing O will have her do a short hop...
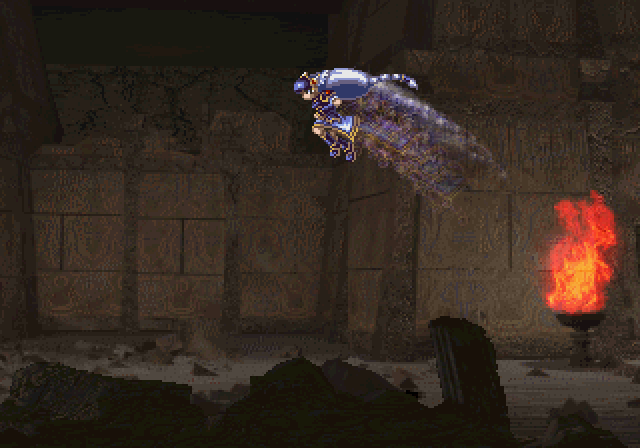
...And holding it lets her to a further jump which can move left or right. She can crouch by holding down.
Lenneth has three slashes. Her normal one...
...A crouching slash...
...And an upwards one. There really isn't much reason to use anything but the normal one.

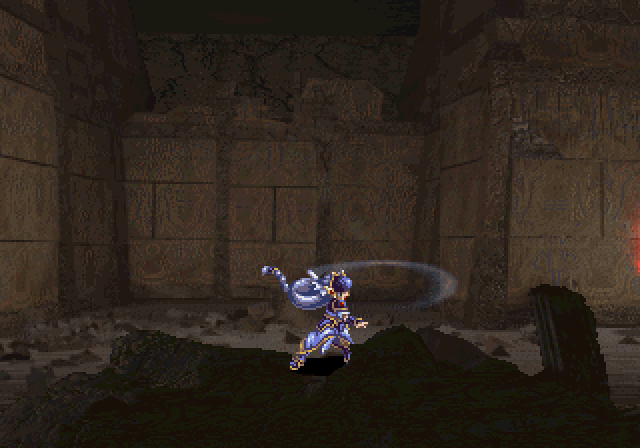
Pressing O while crouching will have Lenneth do a slide.
That's enough mechanics for now, so let's move onto the dungeon. The first room we passed by has a locked gate, so we'll go into the second.
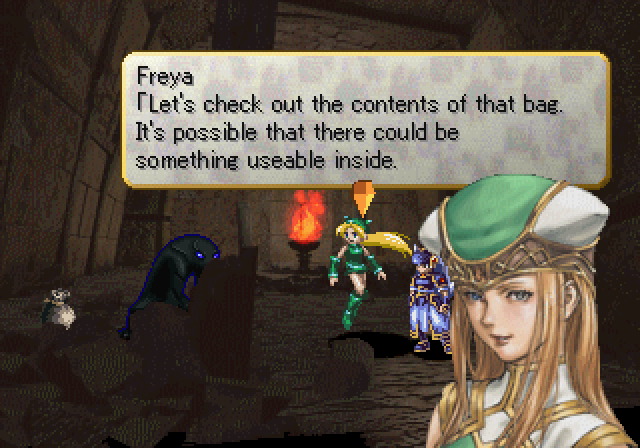
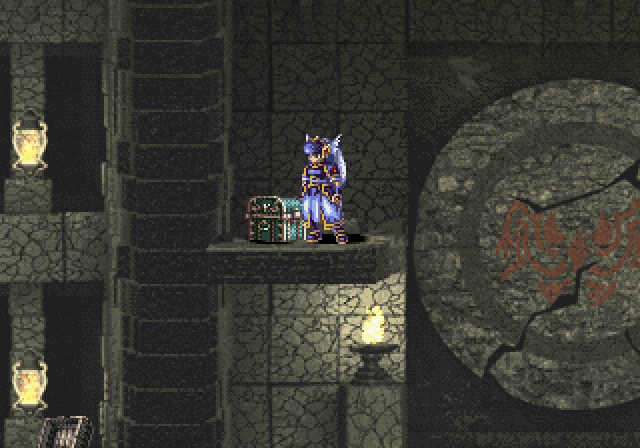
Items are picked up using down + X. Items can be held in bags or chests. Chests can be booby trapped, however. One can also pick up objects like bags/chests with X, then set them down using O or thrown with X. In this case, the bag just has an item that lets us view rooms we haven't been to yet.
If we head right, we'll encounter another monster, and enter a room that has a key to unlock the gate in the first room. We'll do that, and go down.
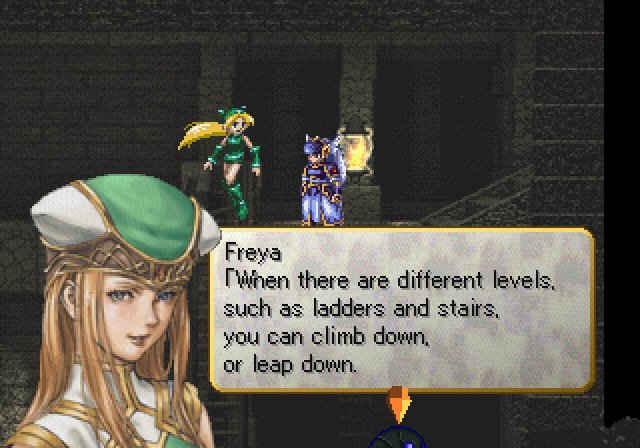
Ladders are climbable. Not very complicated. If we head down and east though, we'll find our progress stopped by a wall that's too high to jump over.
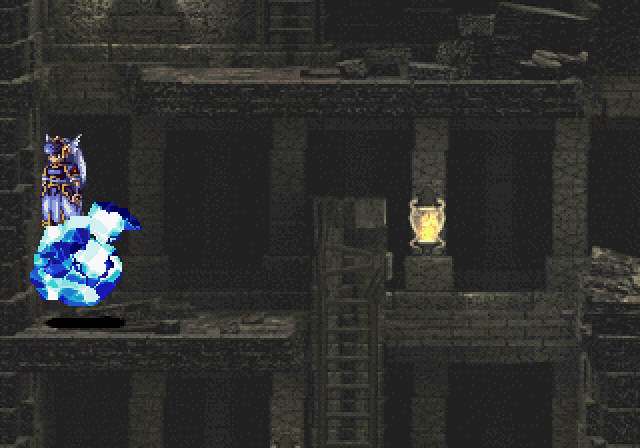
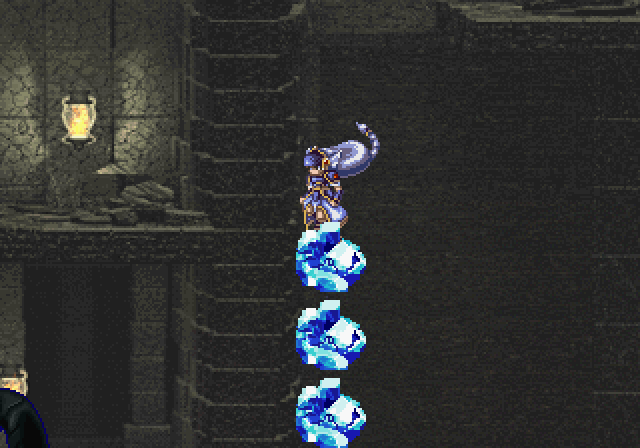
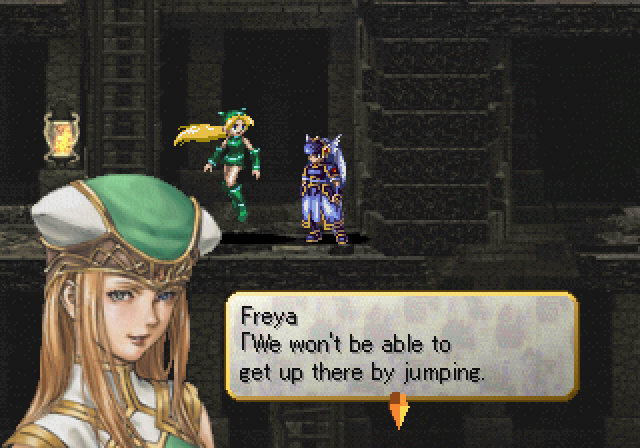 Let's build some crystals into the walls and use them for footholds.
Hoo boy. Okay, more mechanics talks, this time about crystals.
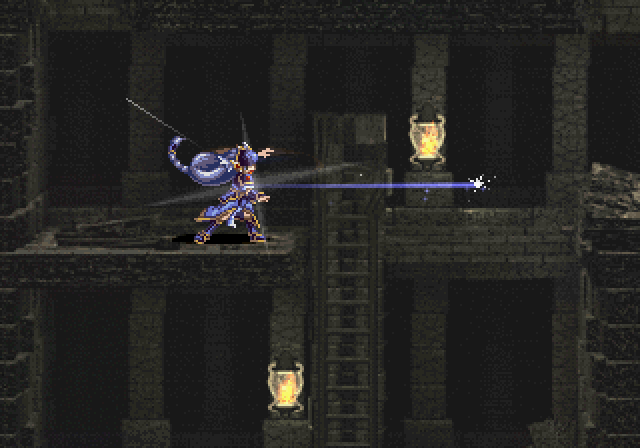
Lenneth can shoot a small shot of light using square. If it hits a surface, it turns into a crystal. The main use of them is to act as footholds.
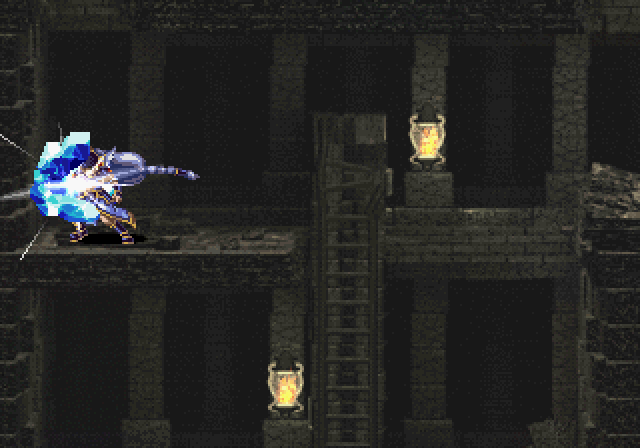
Shoot a crystal again, and it gets larger. Shoot it a second time though...

...And it shatters, knocking us back.
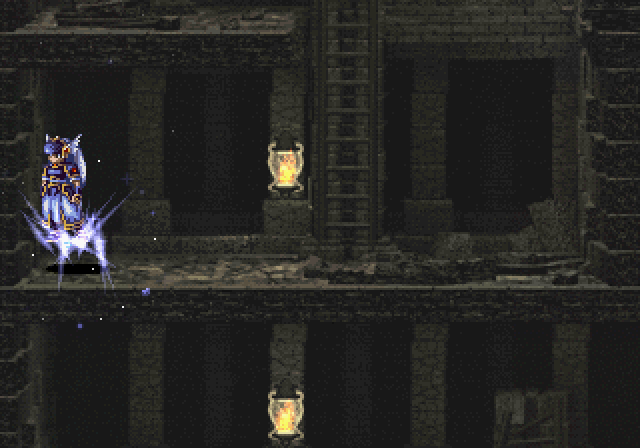
A shattered crystal leaves behind a small cloud of dust - Lenneth can jump on it to gain a temporary foothold til the dust lands on the floor.
Jump on a crystal once, and it will crack. If you jump on it again, it will shatter.
Crystals shattered by jumping won't produce dust, but crystal fragments, which can be picked up and used as objects.
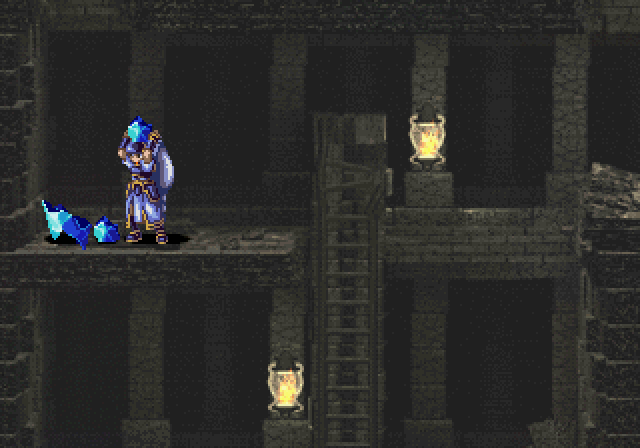
A handy thing is that shooting a crystal while crouching produces a crystal at Lenneth's feet, allowing a foothold wherever you are, unless you're in the air.

So in this case, we can build a ladder of crystals and jump up to reach an enemy group we missed. Shooting an enemy will cause them to freeze for a short period of time, during which neither side can interact with each other.
Sometimes, instead of a crystal or gem, hitting an enemy can produce treasure chests. This is the only way to get loot from enemies, and you can only get one chest per enemy. As you might expect, Freya is really good for item collecting.
Along the way through the dungeon, we pick up armour upgrades for Lenneth/Arngrim, and some Long Swords, which are swords that are a downgrade for Lenneth, and can be equipped by Arngrim to switch his attack to Spinning Back-Knuckle. High Swing is a better attack though, so we'll stick with his default weapon.
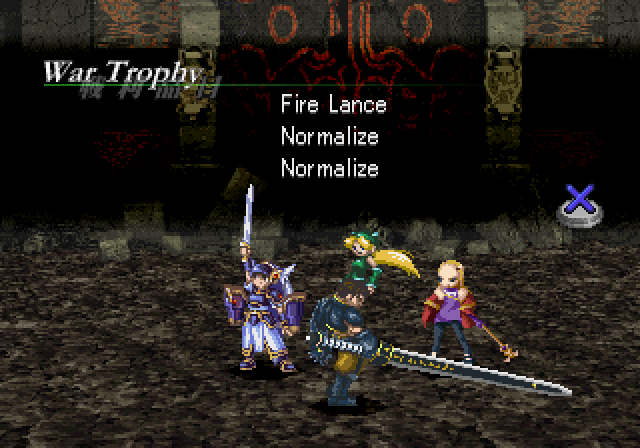
Other items of interest are the spellbooks Fire Lance and Normalize. Spellbooks are the only way to teach Sorcerers new spells. Normalize will heal status conditions. Fire Lance is slightly more powerful than Fire Storm, but it has a higher CT and doesn't launch, so we don't have that much use for it now.
Back to the dungeon. We scale the wall using crystals, and drop down to the left to pick up a Vegetable Seed and a Book of Everlasting Life (which are both useless on their own for now). It's notable that the chest containing a Vegetable Seed is booby trapped. There are a few kind of traps, and a few ways to avoid them - crouching, jumping, or hightailing it after opening, dependent on the kind of trap. Not avoiding a trap will deal us some damage or status effects.
The enemies down here aren't very notable. There are undead, and weird monkey things that can shoot balls of light or jump at us. We tend to avoid or block either of their attacks (and can even Counter for free damage).
Groups of them are quite lucrative, however, and by the time we're done with the dungeon we've picked up a couple levels for everyone.
After we finish dropping down from earlier, we exit into a place with a room to the left and an exit to the right. The room to the left doesn't have anything in it, but it does have two enemies that drop down from above, surprising you if you're standing there.
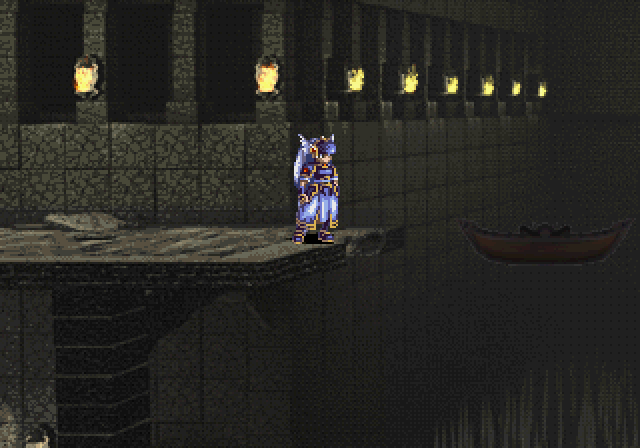
To the right, we have one of those platform things where we wait for a boat to take us across a spike pit. Falling into the spikes isn't a game over at least - we just take some damage as we run back to the beginning to try again.
What we are interested in, though, is the chest we have to jump to while crossing. Naturally, it's booby trapped and will blow us into the pit if we don't avoid it.
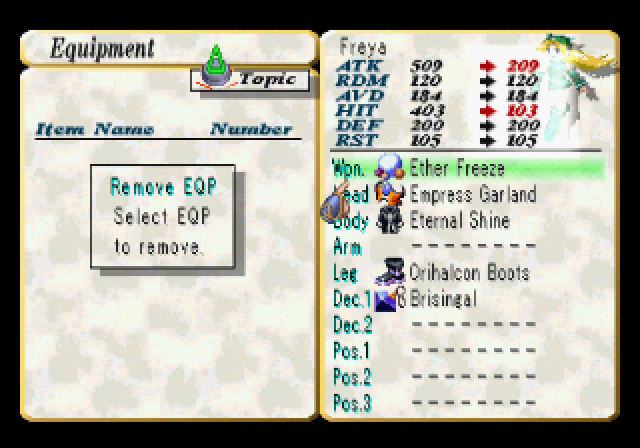
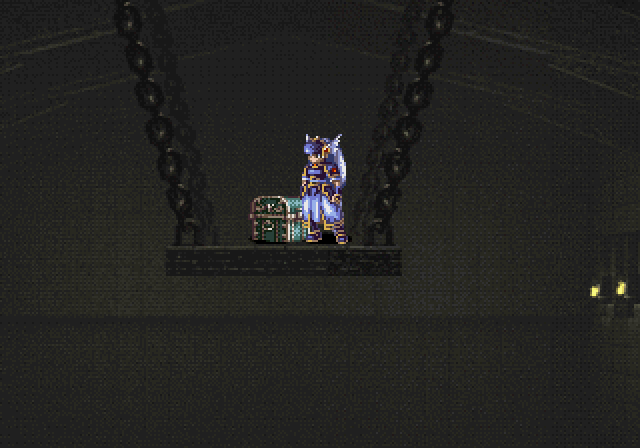
I fall off, but ride back and claim our prize.
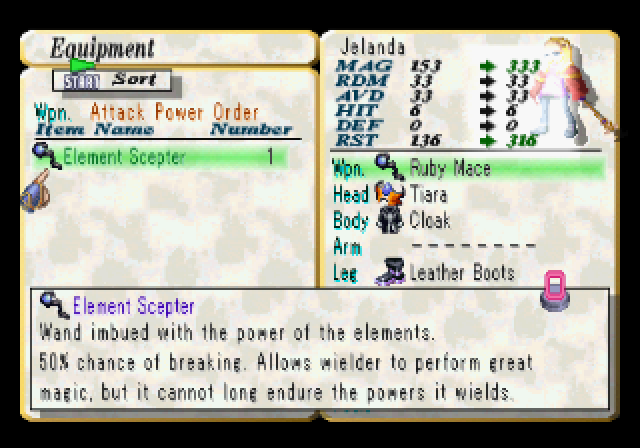
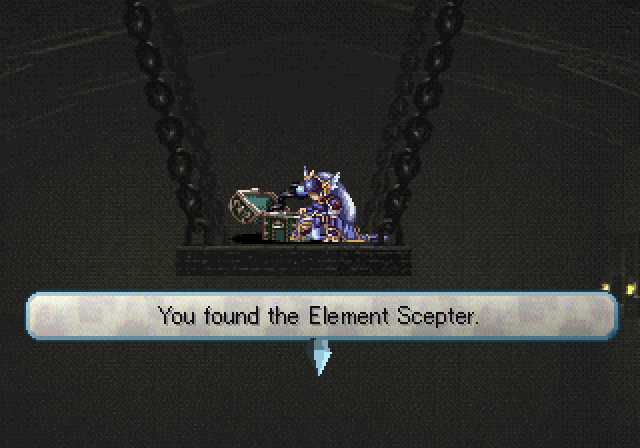
The Element Scepter is a very powerful upgrade for Jelanda, as you can see by the numbers, and it also lets her use Great Magic for her PWS. The drawback, though, is a hefty 50% chance of breaking. So we'll save it for a rainy day.
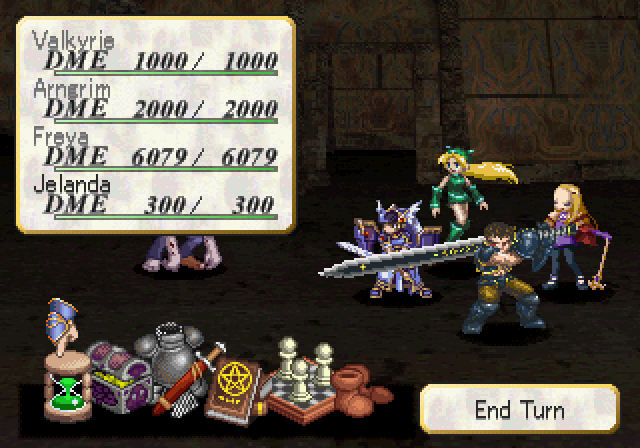
We can also bring up the menu during battle to do a bunch of extra options. From left to right, End Turn, Items, Change Equipment, Magic, Rearrange, and Flee. Changing someone's equipment uses up their turn for the round. Rearrange allows us to change formation if we need to (characters in the rear can't be hit with most attacks), and End Turn can be useful if we want to wait for some allies to recover CT. Let's show off Magic.
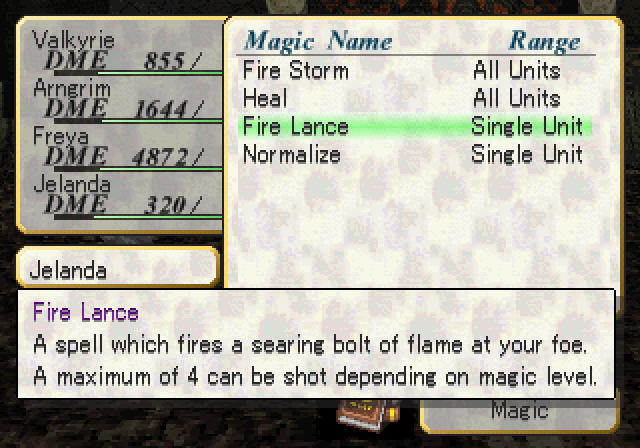
Selecting Magic prompts us to choose who will cast it first. Offensive magic is usually the same as if you use it as your main attack spell - there are some variations, for example, casting Fire Storm through Magic makes it hit all enemies.
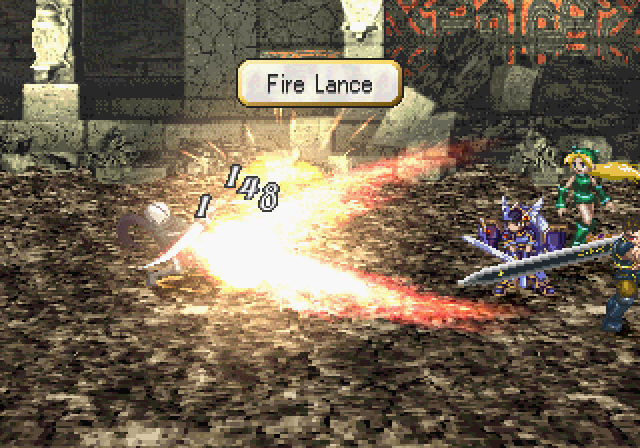
Here's Fire Lance. It does better damage, but for now it's not really worth using it.
Heal, on the other hand, is brilliant. Healing 80% of all Allies' DME? Yes please. Watch out for the hefty 5 CT though.
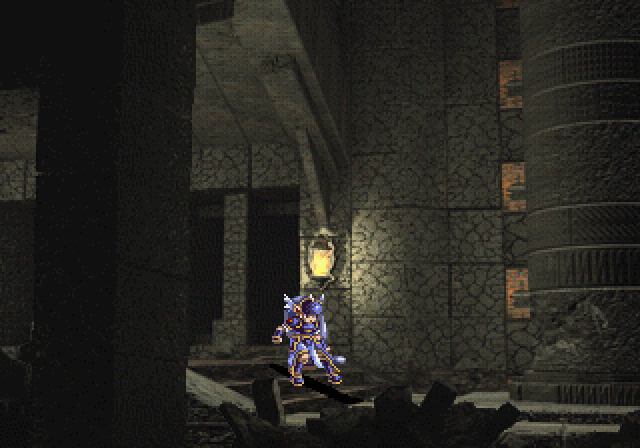
Eventually, we come to a pillar.
I think we can topple this pillar... Lenneth, go ahead and try.We just slash it twice...
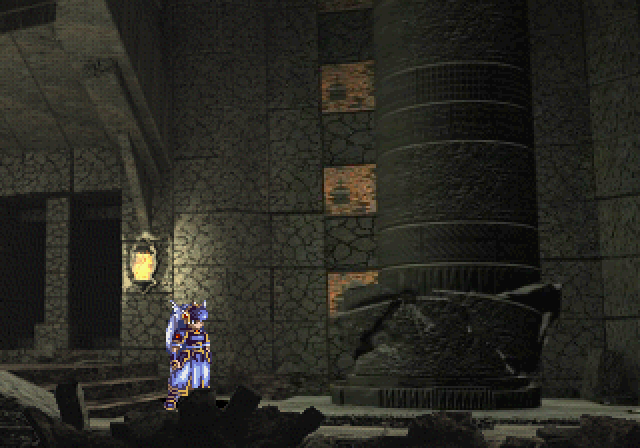
..And so it topples.
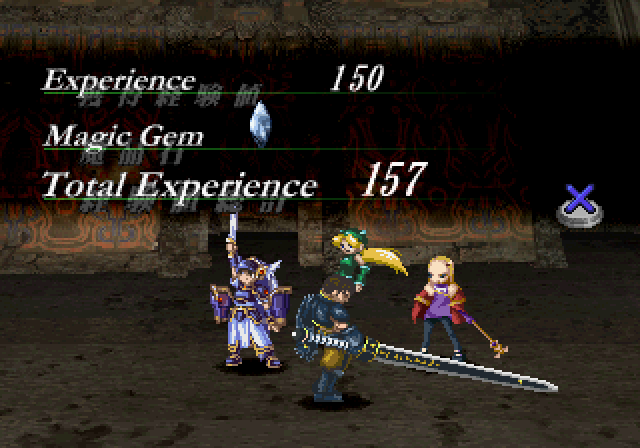
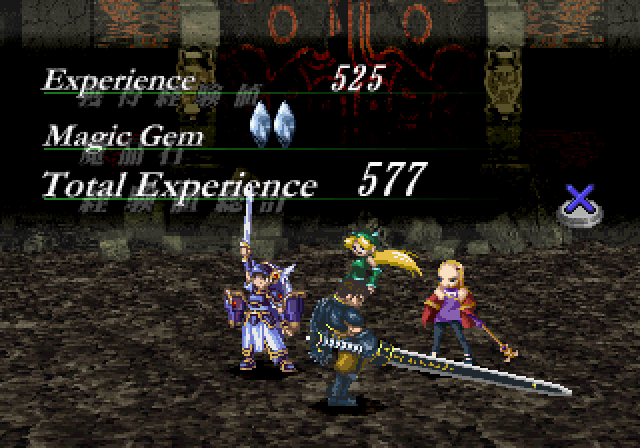
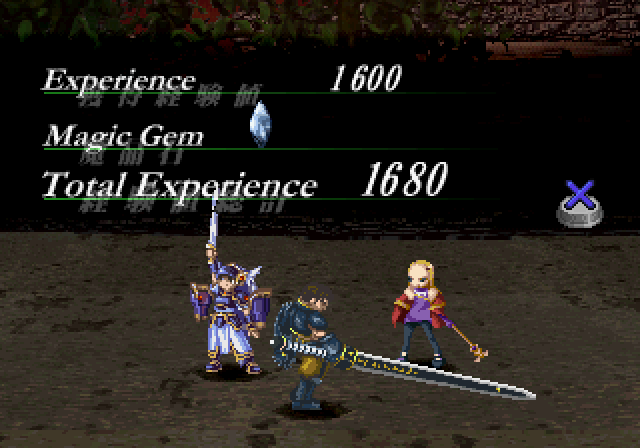
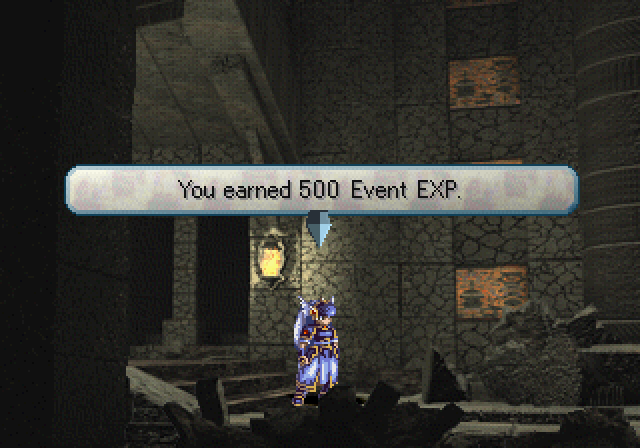 You can also gain experience from performing special actions that do not occur in the course of battle. Those experience points can be saved up in the Experience Orb and can be freely given out to any of the heroes.
At a risk of repeating Freya, that's exactly what happens. Doing things can build up a reservoir of experience we can then give out to an ally of our choice - great for catching a new recruit back up to speed.
In any case, with the pillar toppled an earlier room now has a wall moved out of the way.
There's a treasure chest high above Lenneth's head that's really annoying to reach, and chances are most casual players won't even know it. To reach it, one has to build a crystal ladder along the right wall, to reach a platform with a chest containing a Vegetable Seed. What we want however, is the platform on the other side. There are two ways to do it - we can jump as far as we can, shooting a crystal on the edge of the platform on the way down, climb up using only two crystals (as a third one will cause the first crystal to shatter), jump on the crystal we made, and retrieve the treasure. The second (and less painful option), is to pick up the earlier chest and move it as close to the edge of the platform as possible. Then we jump on top of the chest, and jump all the way across to the platform.
Oh, and the chest is booby trapped, and will knock Lenneth to the floor. Valkyrie Profile!
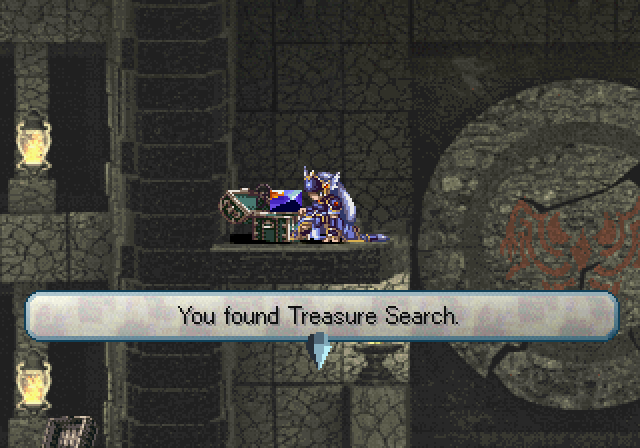
Our reward? The Treasure Search. Only Lenneth can equip the accessory, and it will cause a blue wisp of light to float around her when there's treasure in the area. So, potentially useful, but not if you're following a guide.
There's another hidden treasure later on, where you have to slide underneath a platform, build a crystal ladder, and head through a right exit to get a Lapis Lazuli. Valkyrie Profile...
But let's cut to the chase. None of the items are really that essential if you're rushing (though the Element Scepter is good to grab anyway), so we can just cut the pillar, go through the wall and eventually make our way to a Memory Camp. We save, and move on.
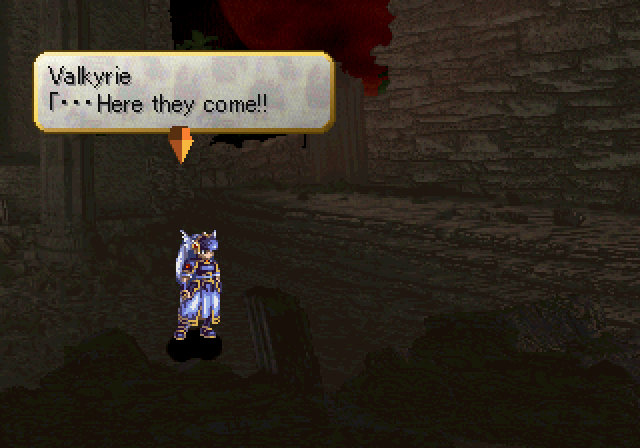
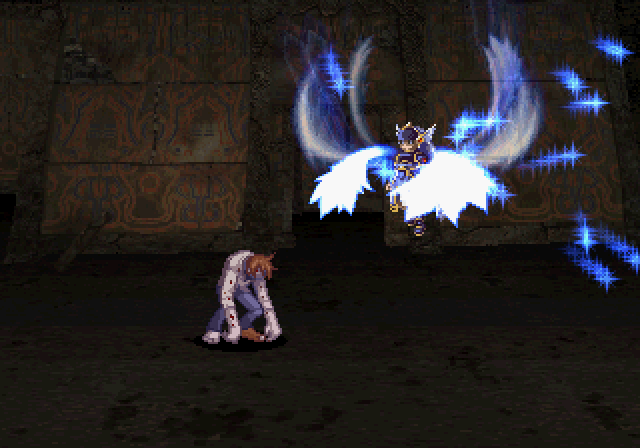
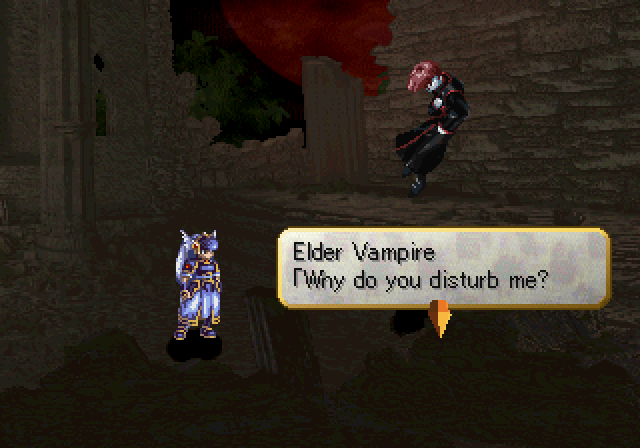 It is my task to hunt those creatures who prey upon the living. Abomination!! You have no place in this world!
 "Hunt", you say? ...You amuse me. Very well then. Let us see if you have the strength to match those boastful words. I will not participate in this battle. Lenneth, let me witness your power. Use this sword. It will allow you to do a Triple Combo Attack.
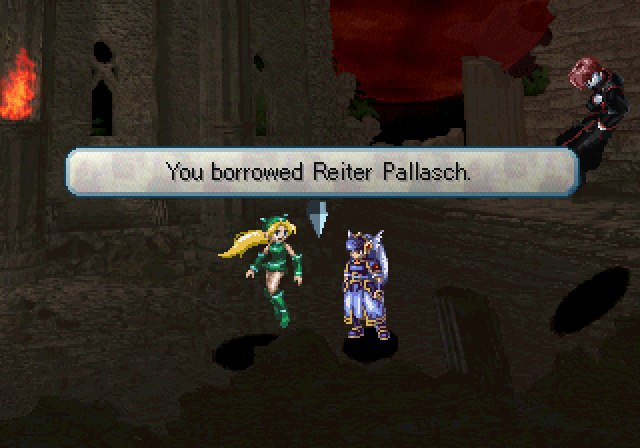
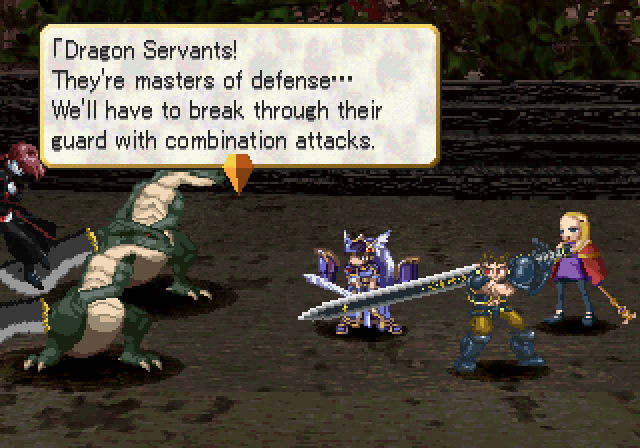
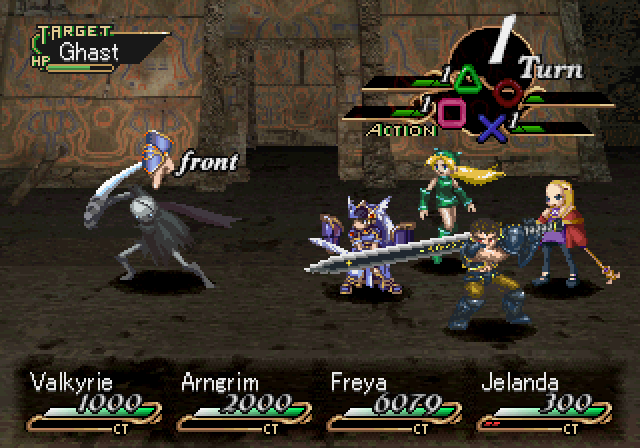
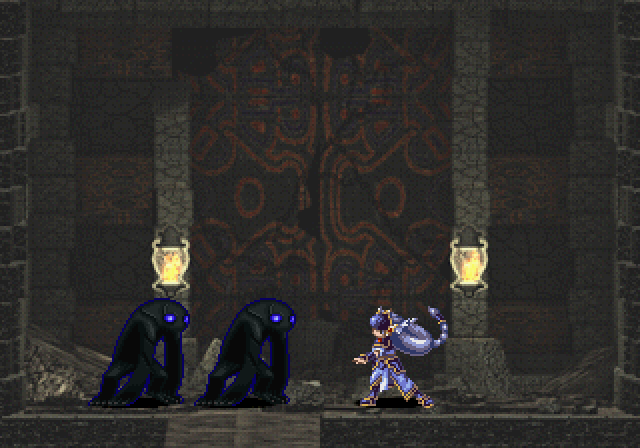
Battle time! As mentioned, Freya leaves us for this fight. To make up for it, Lenneth automatically equips the Reiter Pallasch. This gives her all three of her attacks instead of just one, which is very nice.
The Lesser Vampire is in the rear and so can't be touched by most attacks (except Jelanda's magic). We'll have to break past the two Dragon Servants first. They tend to block, so the easiest way would be to have Jelanda start the attack, since one can't block magic. However, we start the fight at a disadvantage, so everyone has CT and Jelanda can't attack in the first round.
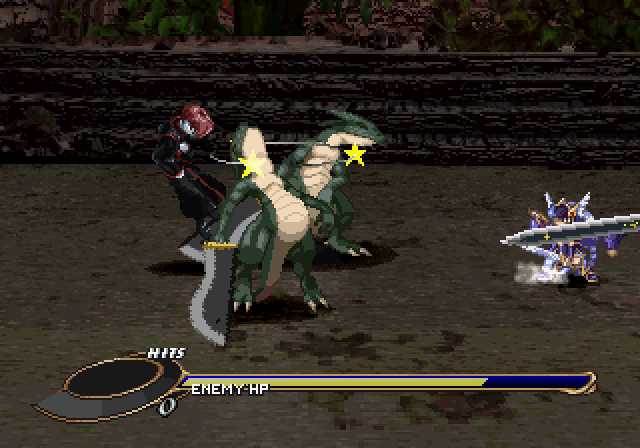
Fortunately, attacks have a chance to break guards. Between Lenneth and Arngrim, we have four attacks to try to break through their guard. Doing so also faints them, preventing them from acting for a round and making them vulnerable.
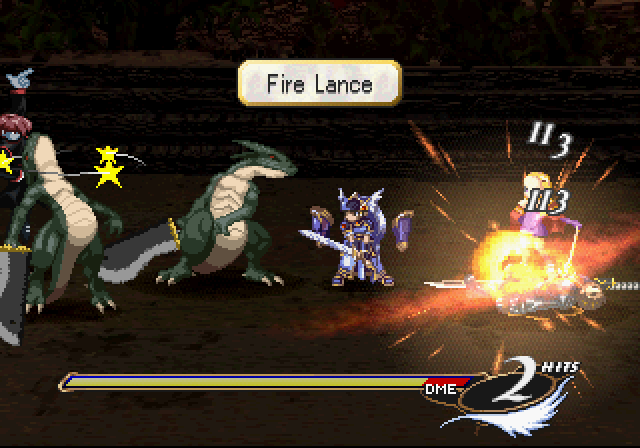
The Vampire will throw out spells for its attacks, using Fire Lance and Shadow Servant. Neither are incredibly dangerous especially if you have a couple characters with good First Aid levels and you always have Heal to fall back on, but it's the most significant form of damage in this fight.
Here's the Counter prompt, by the way. Pressing that character's corresponding attack button gives them a free hit. When we get more attacks we can choose which of the character's attacks to use for their Counter.
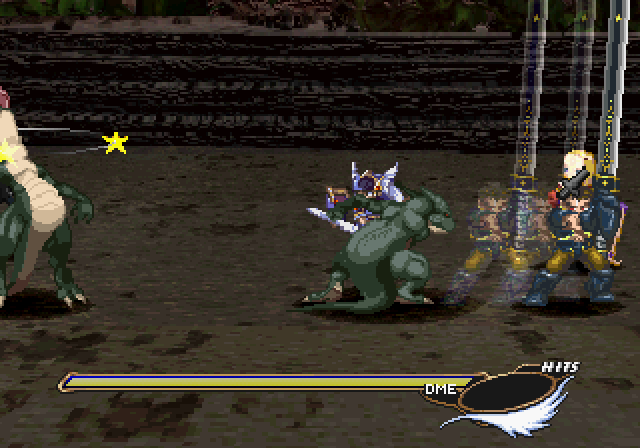
Once both Dragon Servants are gone, we can wail on the Vampire. The easiest way is to wait til Jelanda has no CT, and do a PWS chain of Jelanda > Arngrim > Lenneth.
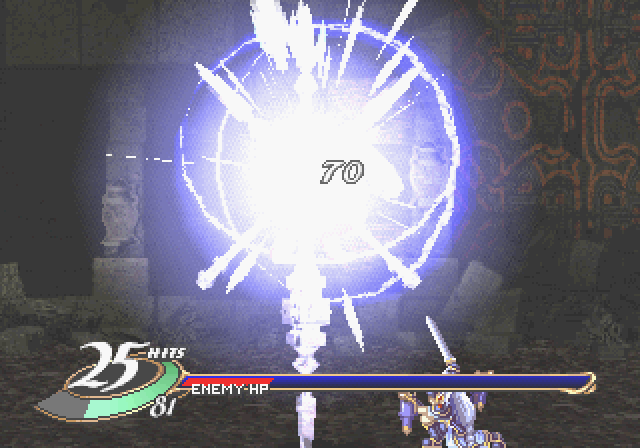
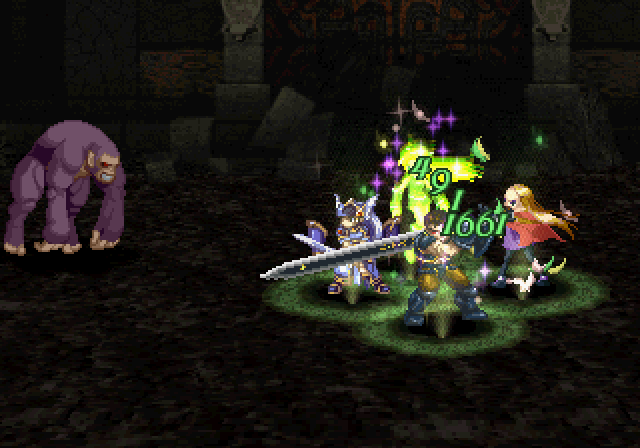
For you see, something happens when Lenneth is equipped with a weapon that allows three attacks.
Niebelung Valesti (2)
When Lenneth has a weapon that allows three attacks, her PWS tacks on an extra hit at the end, doing more damage. It's also pretty awesome looking.
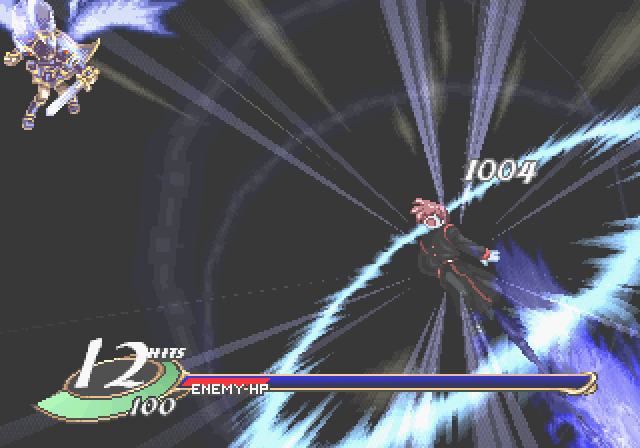
Results are pleasant.
 Their souls have been released; we have no reason to remain here.
We get a decent reward from that.
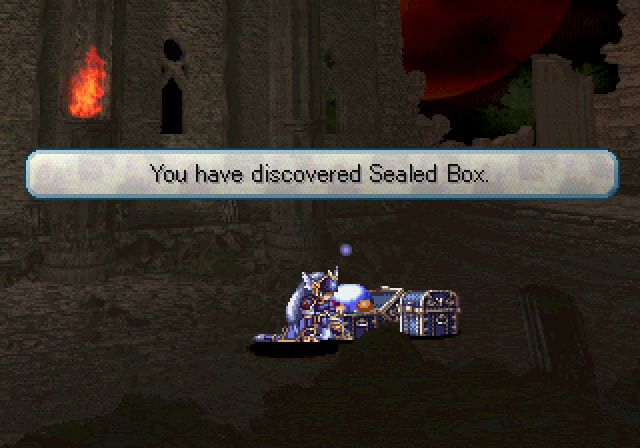
The Vampire leaves behind two treasure chests. The Sealed Box is nothing special...
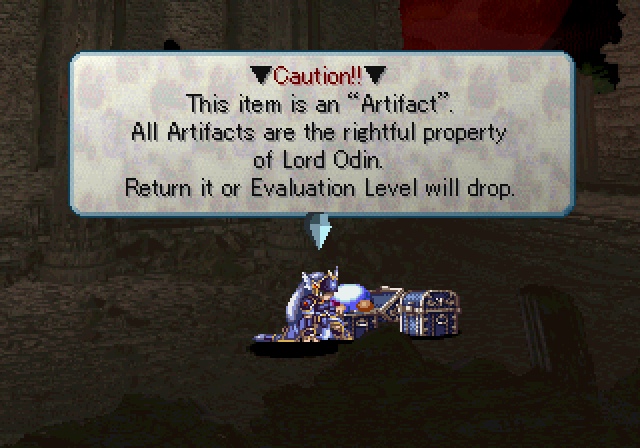
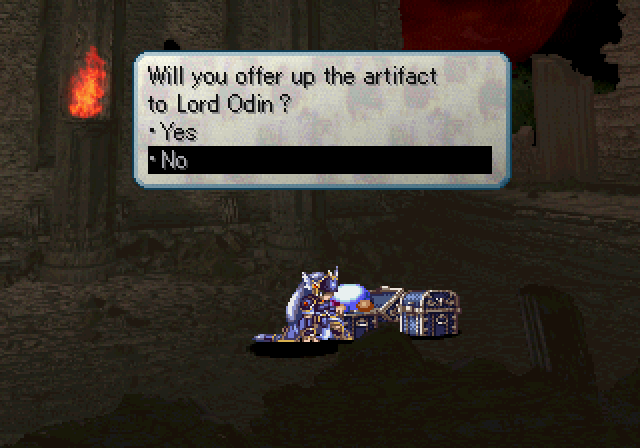
The correct answer is always no. It's not too hard to please Odin in other ways to make up for not giving up special items. Even 'useless' items like the Sealed Box can be turned into something useful.
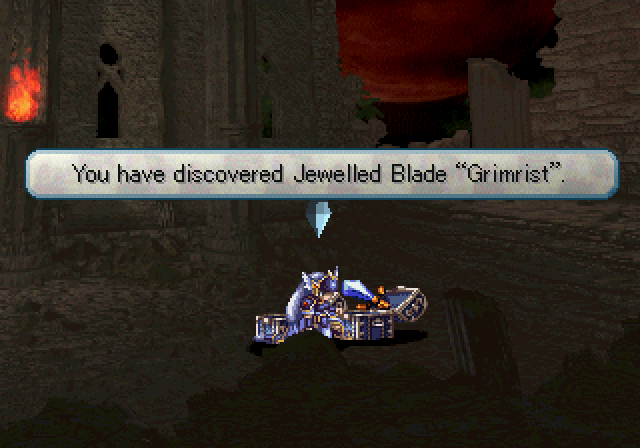
The second item we're also definitely keeping. We also get 3000 Event Exp after going through the second chest.
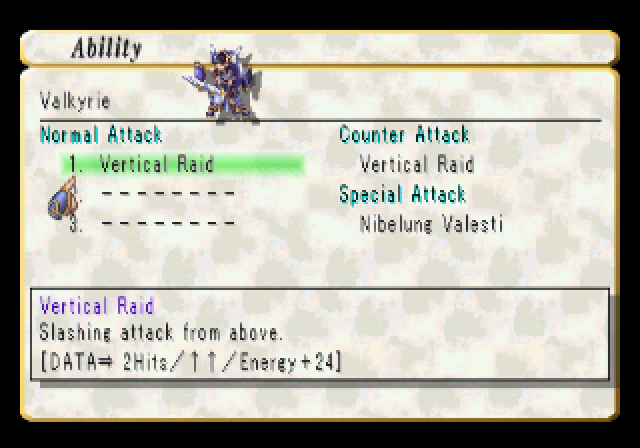
The Grimrist doesn't offer any more power (it does give +10 to Hit), but it allows Lenneth to use a much better attack, Vertical Raid. Since it's a launcher we can also switch Jelanda to Fire Lance if we want, but I might keep Fire Storm for the faster recharge time.
And yes, we don't get to keep Reiter Pallasch. To progress, we need to head all the way back to the entrance.
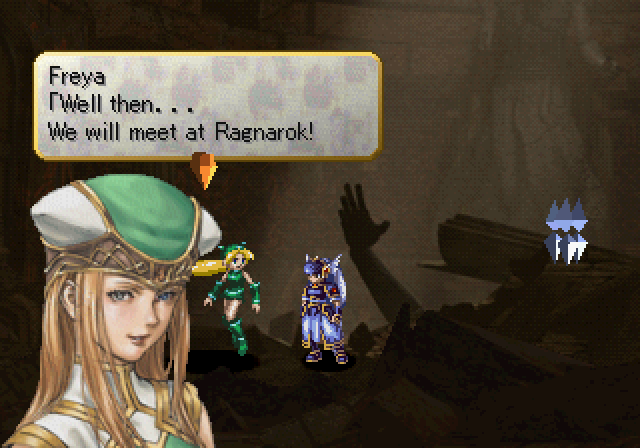
 Just a moment. When the Einherjar have been trained they are sent to Asgard. At this point you will have finished the first cycle of your appointed tasks. I understand. The time you are allowed is not limitless, Lenneth. Just as time passes on the earth below, time in Asgard also grinds steadily onward. At set intervals I will undertake to inform you of events taking place in Asgard. Thank you. I understand.
Essentially, each chapter has a set amount of periods available. Periods are used up by doing Spiritual Concentration, going into towns and dungeons, and even recruiting characters. After we use up periods, the chapter ends. So our primary focus at the start of each chapter is to get our Spiritual Concentrations out of the way, recruit characters, do dungeons, then use up our remaining periods in whatever fashion we like.
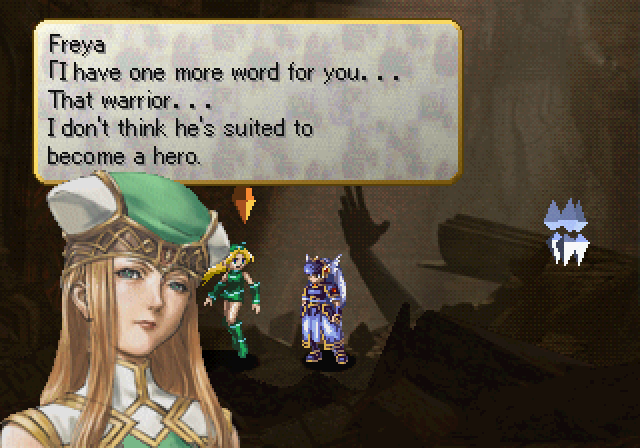 You mean Arngrim? Yes. Of course he has brawn enough, but does he have what it takes inside? The stuff that makes up an Einherjar is much more than strength alone. ... Good luck. Taking care of the Einherjar is but a temporary measure. Oh, and Lenneth. If you don't understand the plan for the training of the Einherjar, or for the battle, then ask HIM/HER your questions.
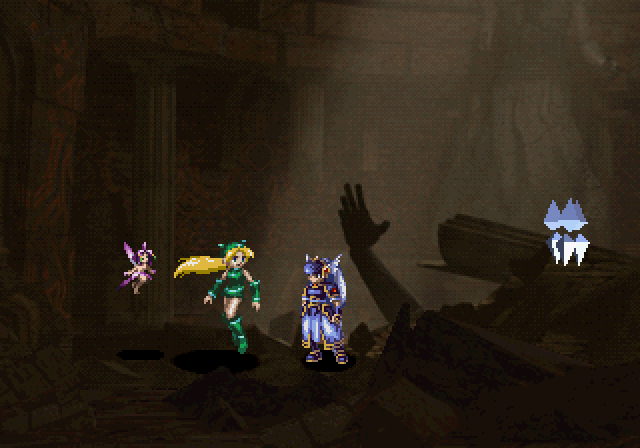
Freya leaves behind a little fairy NPC, who basically just tells us that Einherjar need to have good traits as well as martial prowess to succeed in Asgard, in a conversation not even worth transcribing.
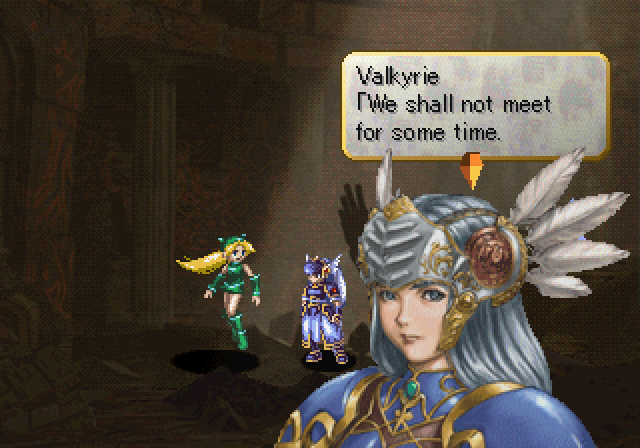
And Freya teleports out.
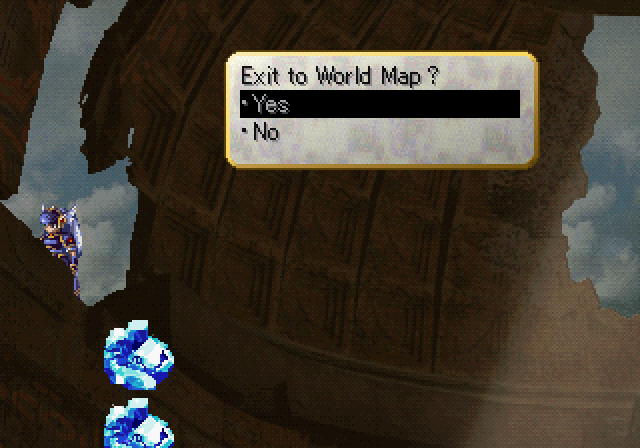
So we'll build ourselves a crystal ladder and leave as well.
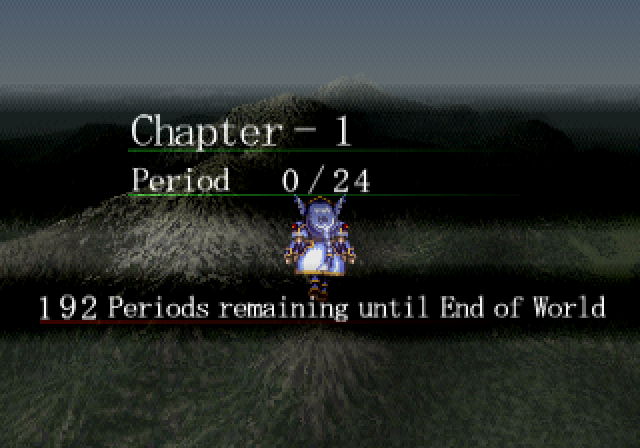
And thus we enter Chapter 1, and the game proper. Before closing, let us do our Spiritual Concentrations.
Listen: Spiritual Concentration 2
"Being picked was this flower's destiny."
"Destiny? Do you know what it's called?"
"Lord Belenus!"
"Please! Can't you save her?"
"I was a slave to circumstance."
"So you have nothing to say to me, huh?"
Listen: Spiritual Concentration 3
"Anything I say is going to make her feel worse."
"No... Don't! I can't stand it! Stop it! Somebody stop it!"
"I'll wait for you. I'll come here, and think of this as our special place."
"I won't die. I'll come back to you."

There are also Spiritual Concentrations revealing dungeons, but we'll get to that another time. For now... who should we visit first? Keep in mind that the order doesn't matter here; we'll be getting both without any changes, just a matter of who you want to see first.
Vote here.