Part 48: Part H4-3
Well, that was an adventure, wasn't it?
Lorenta is actually one of two Einherjar who don't drop the Seal value while recruited. However, defeating Lezard drops it by 15.
After the Tower, the Cave of Thackus is a walk in the park in comparison (and mercifully much shorter). The Black Dream Tower isn't present in Hard.
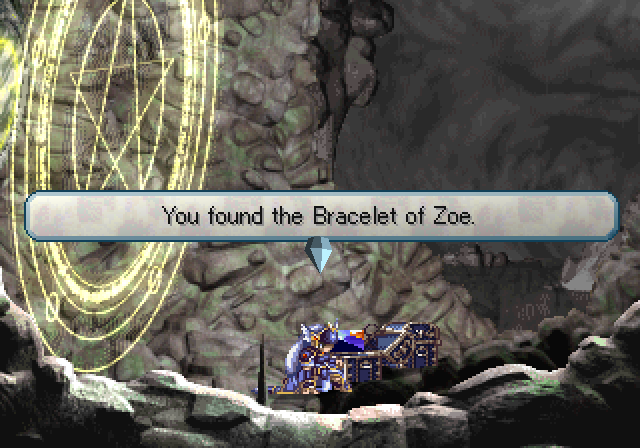
We also get our third Bracelet of Zoe and our first Coin of Fortune.
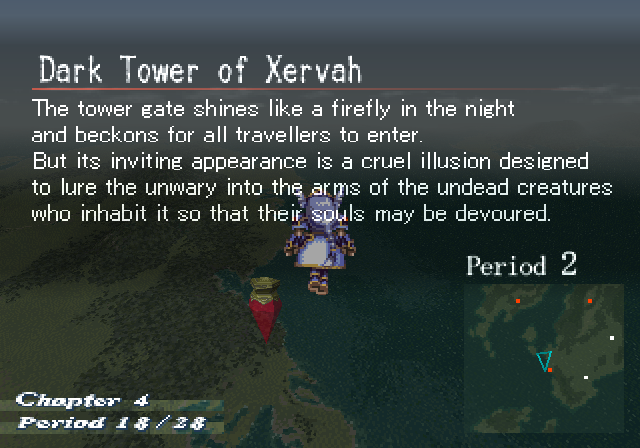
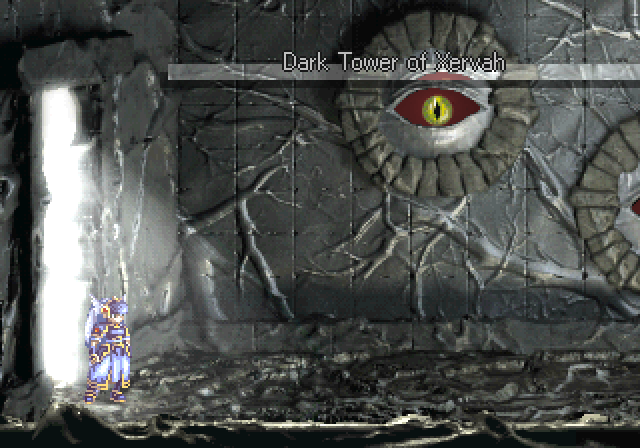
And for our Hard Mode dungeon, the Dark Tower of Xervah.
OST: Out of Chaos
The Dark Tower isn't so bad really compared to say, the Salerno Academy. Well, if you're good at platforming.
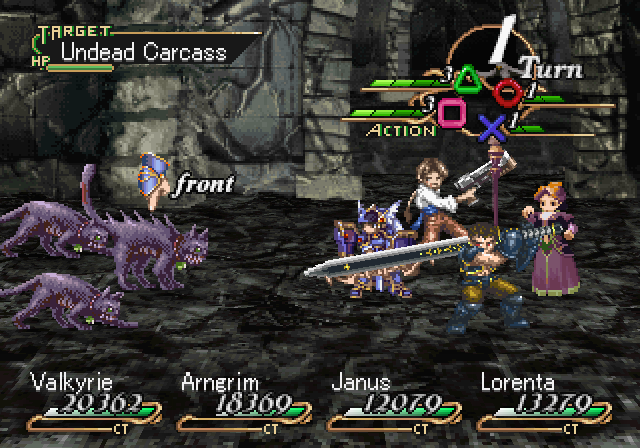
Undead Carcasses come in big groups, but are easy to dispatch of.
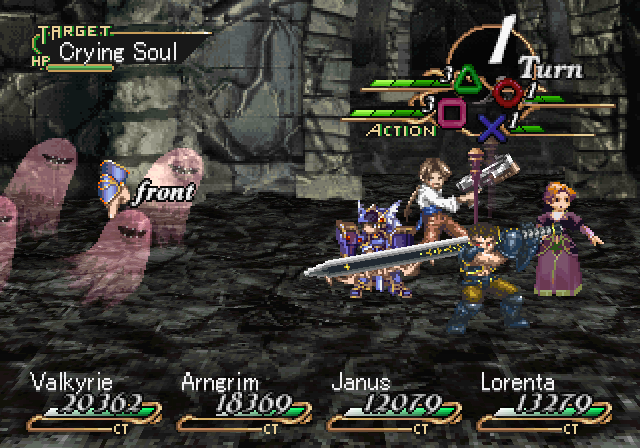
Crying Souls can inflict Petrify and large damage, but have pretty poor accuracy and health - a good spell should knock them out easily.
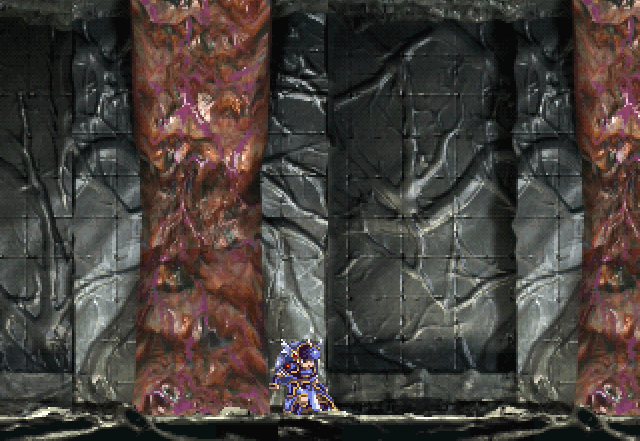
The Tower has this body part theme going on, with eyeballs in the walls and teeth and blood vessels throughout.
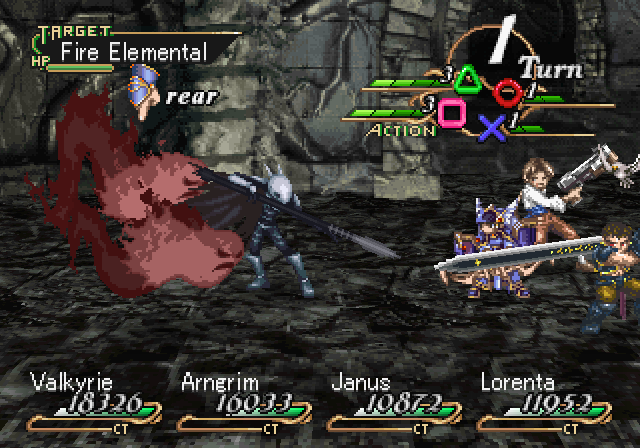
Fire Elementals can hit the entire party with Flame Banner, but are hideously weak to Ice, while Lesser Demons are non-threats.
There are toothed gaps in the floor that don't really do anything yet.
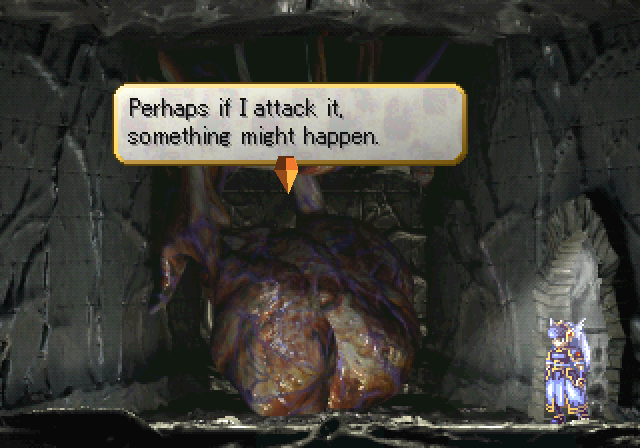
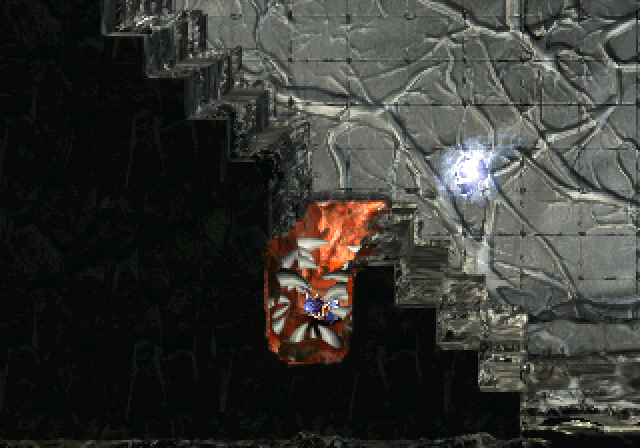
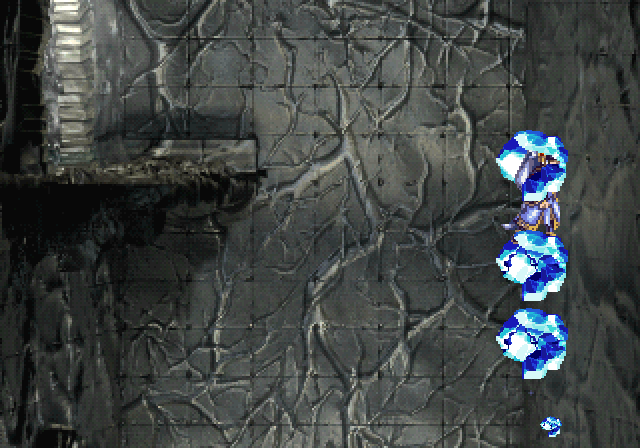
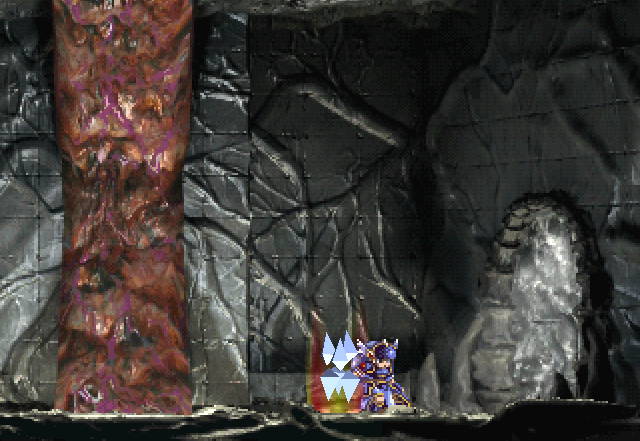
First thing we want to do is find this heart. Smacking it causes it to pulsate, pumping blood to some of the veins in the dungeon.
It'll let us pass through a few veins that block our path.
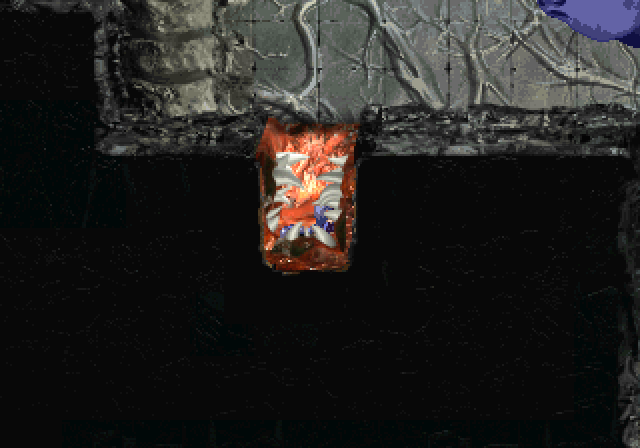
It also activates the toothed gaps in the floor which send us into a... stomach-like? area. We'll want to jump into them once.
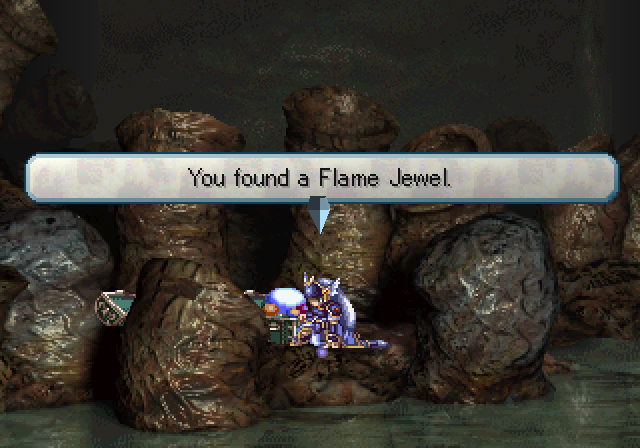
Namely to get the Flame Jewel for this dungeon (and a Mage Slayer). The treasures chests are quite well hidden, so you might not even notice they're there without a Treasure Search.
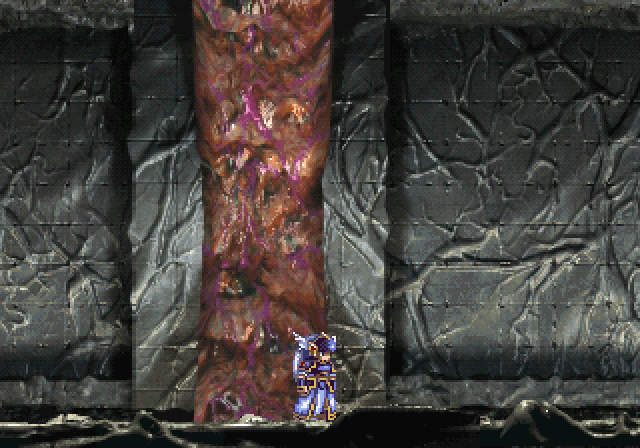
There are a few exits here, but to get the one we want, we just jump into the central vessel.
Which sends us back here. The jaws later on will send us back here as well, essentially making us backtrack if we land in one.

The next bit has these giant teeth that open for only a split second and damage us if we touch them while they're moving.
There really isn't an elegant solution for this unless you're crazy good at timing.
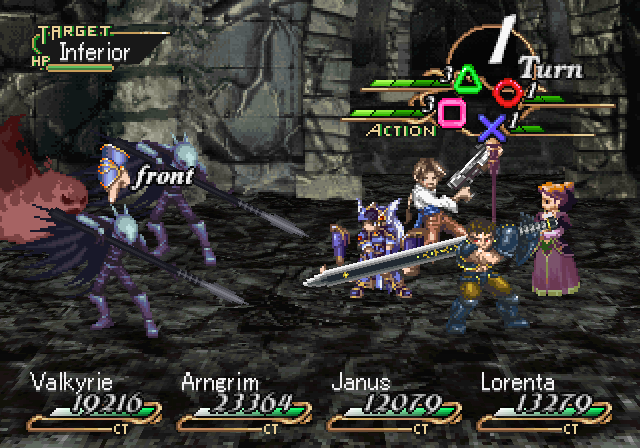
Inferiors have extremely high STR (we're talking over double of most enemies in Chapter 4) and can do a lot of damage, but are weak to Poison, Holy and Dark and don't have that much health.
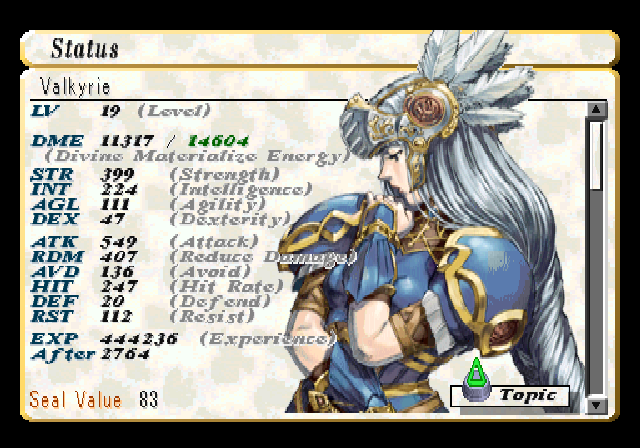
(Speaking of which, check out Lorenta's health! Bracelets of Zoe go a long way when starting at level 1.)
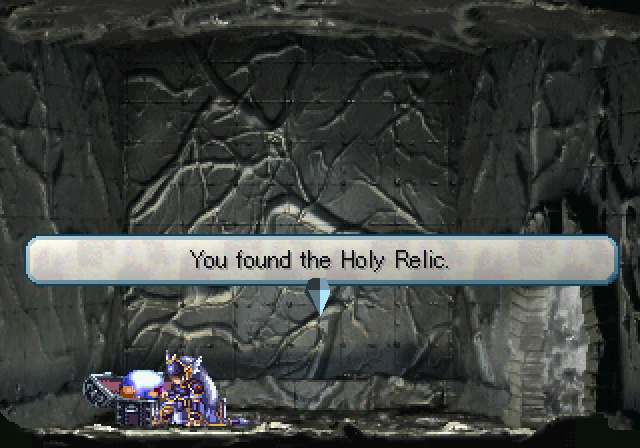
Further in is a Holy Relic, which we'll use after the dungeon.
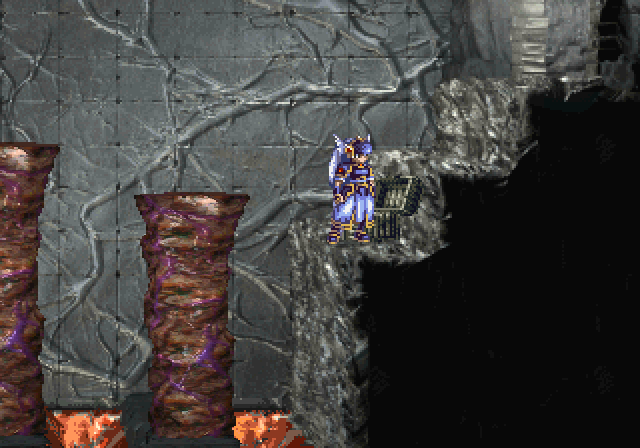
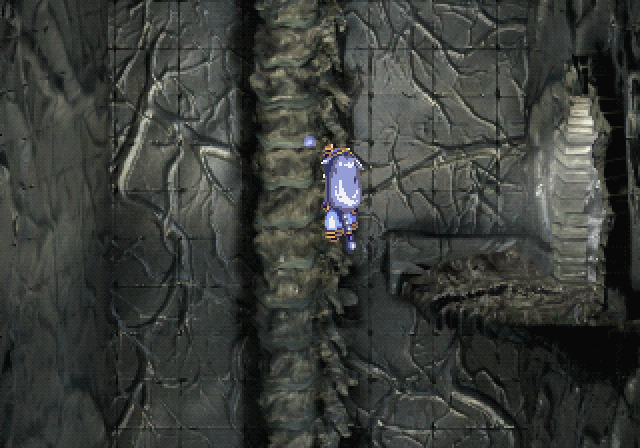
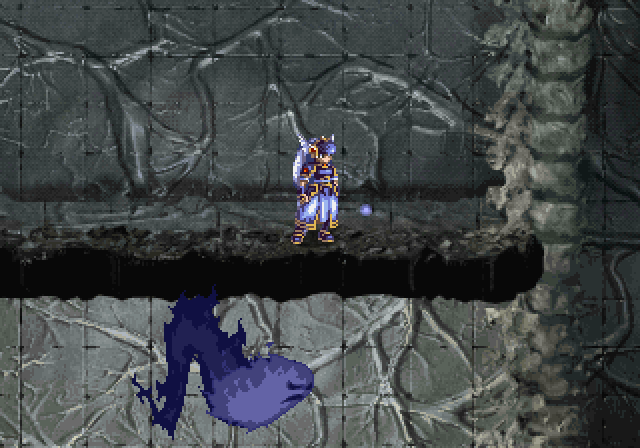
I do not like this part. We have to jump across the tall blood vessels while avoiding the toothed gaps, which will drop us back into the stomach area. Stay on the vessels too long and they'll wobble, dropping us into the gaps anyway.
I was never good at platforming, alright? Took me longer than I wanted to.
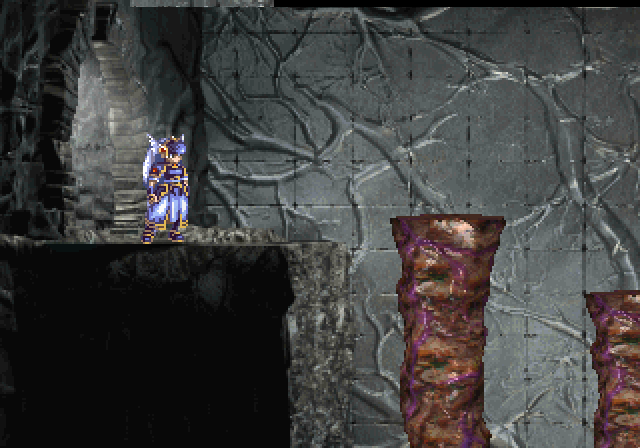
Urgh, stupid things.

There is a single Iron Golem in the dungeon.
It has high health, but isn't much of a threat.
There's another heart later on that you have to smack multiple times to open all the blood vessels in this area. You just have to backtrack if you didn't hit them enough the the vessel stops you.
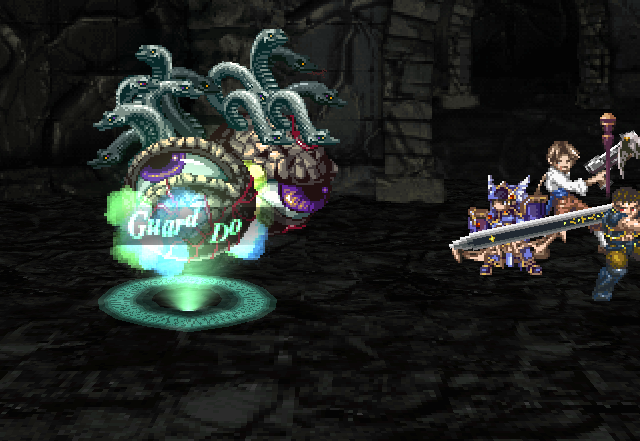
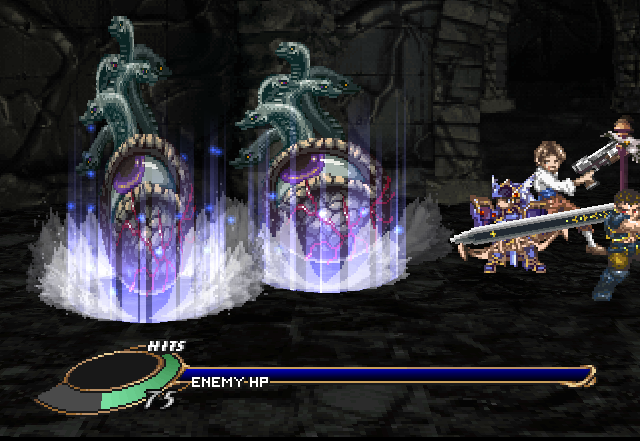
Once you get past them, it's boss fight time!
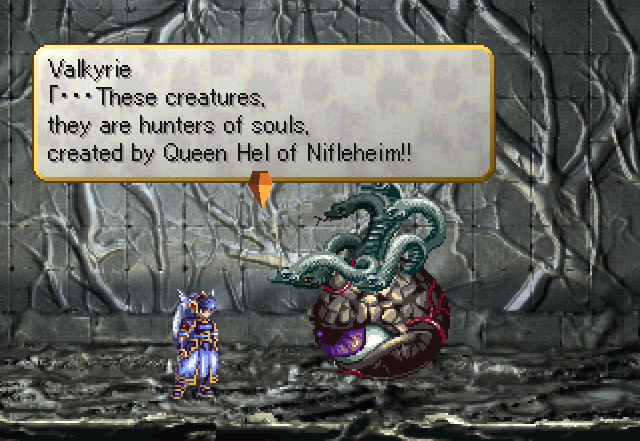
 So the hand of Hel reaches all the way to Midgard now...
 Everyone gather here!! Valkyrie has arrived! Inform the Queen. She will be overjoyed!
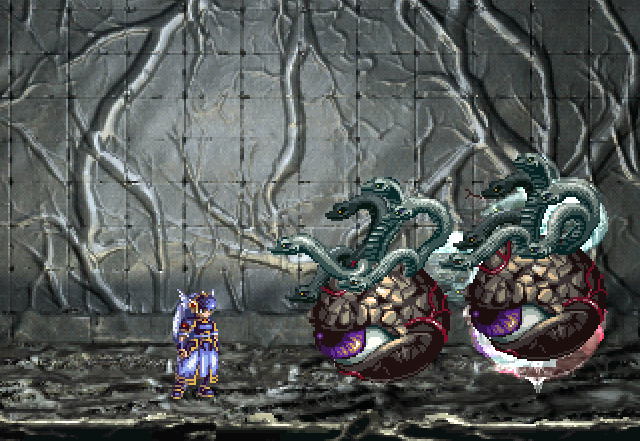
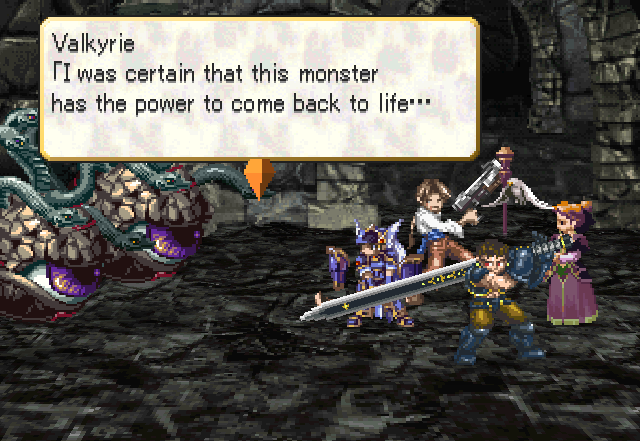
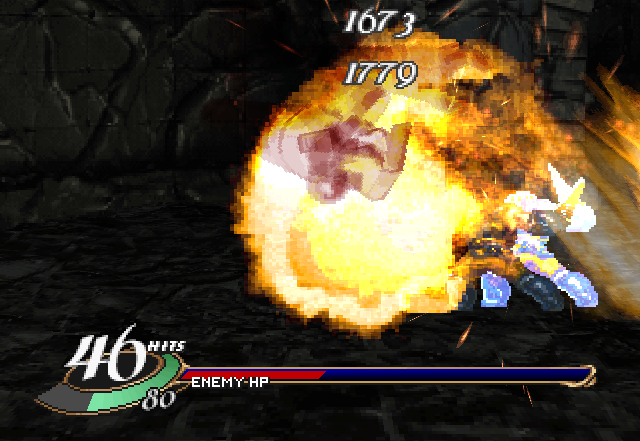
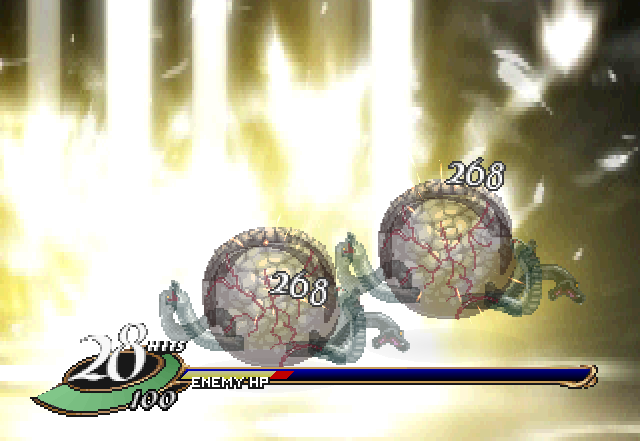
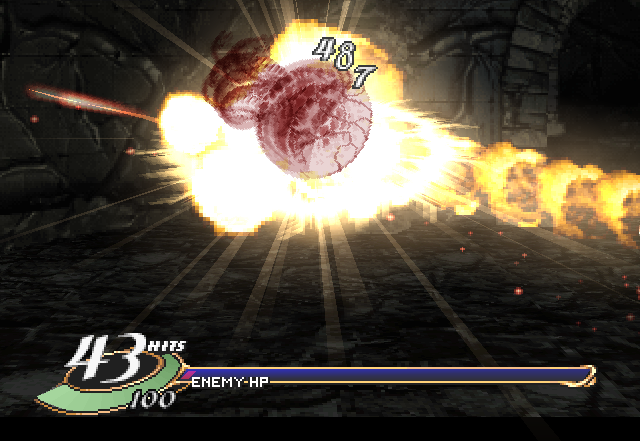
The Tower of Lezard Valeth might be the toughest dungeon in Chapter 4, but the Hel Servants are the toughest boss in Chapter 4. They dish out high damage and are extremely resistant to Magic. The worst part is their gimmick - if you kill one without killing the other in the same round, they'll use Restore to revive their fallen ally with full health.
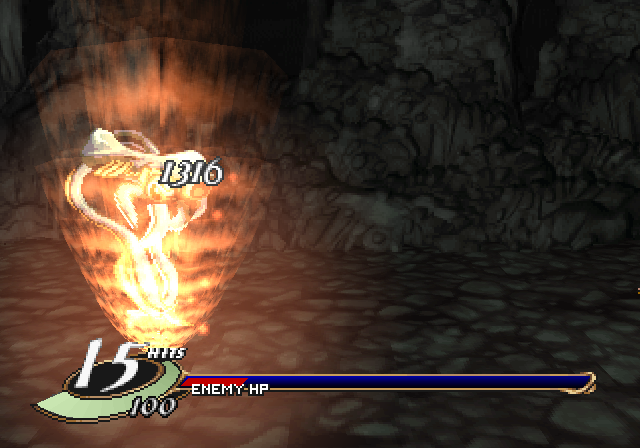
They can take out over 10k with Poison Blow. Good thing we spent so much time in Lezard's Tower levelling up!
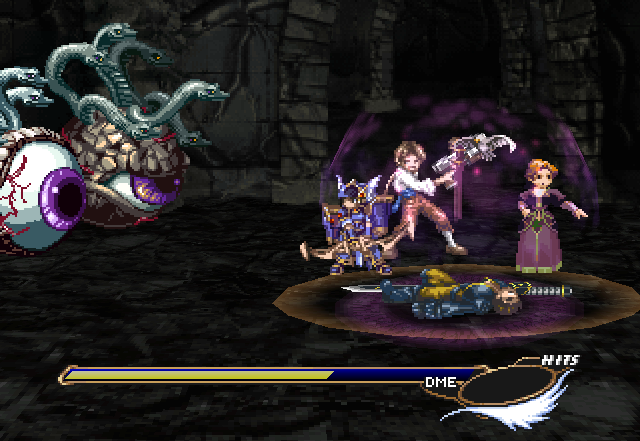
Don't ask me how I managed to do it, but somehow my first assault ended with leaving the first Hel Servant just barely alive.
Sorcerers aren't too much help here for damaging purposes. You'll really want to bring them for three reasons, the first two of which are Sap Guard and Heal.
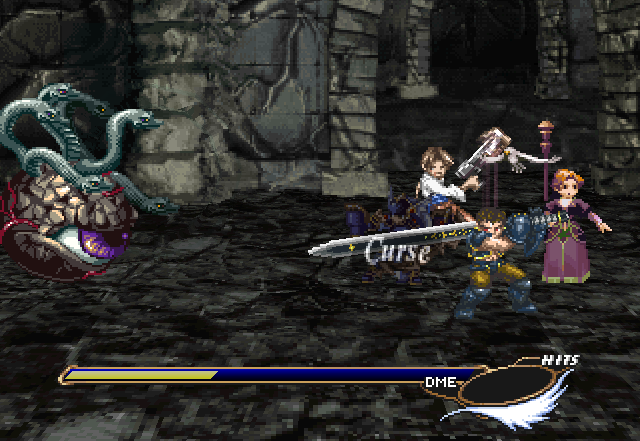
Prismatic Missile ended up Cursing Lenneth. A Cursed character can't change equipment or use their PWS.
(Didn't matter too much since she got killed in the same round and Guts'd back.)
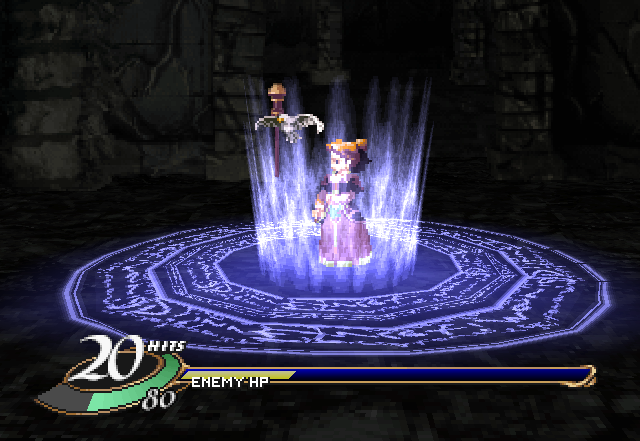
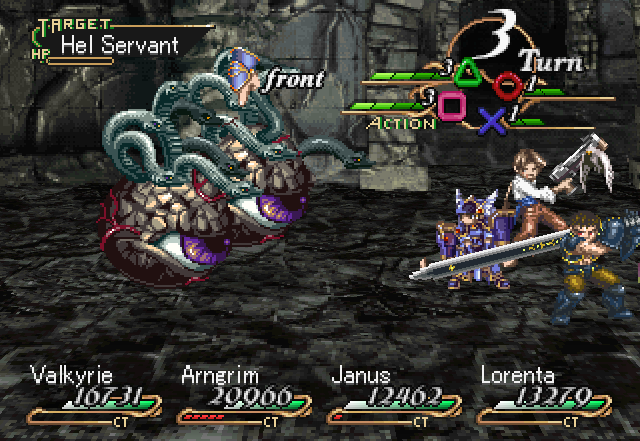
The third reason to bring a Sorcerer is to use a Great Magic to (hopefully) take both Hel Servants out in the same round.
The first one dies at least.
Janus then finishes the second. Have I mentioned how much I love that Guilty Break only has a CT of 2?
Coming here before getting some levels from Chapter 3 would be pretty rough.
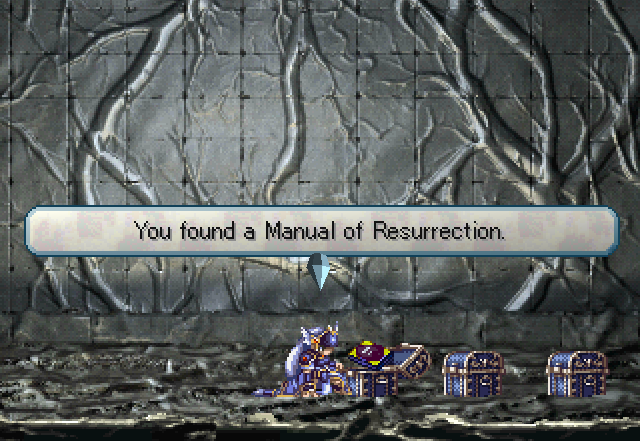
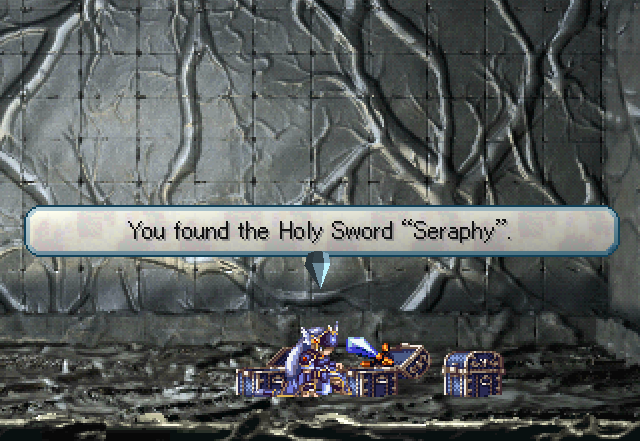
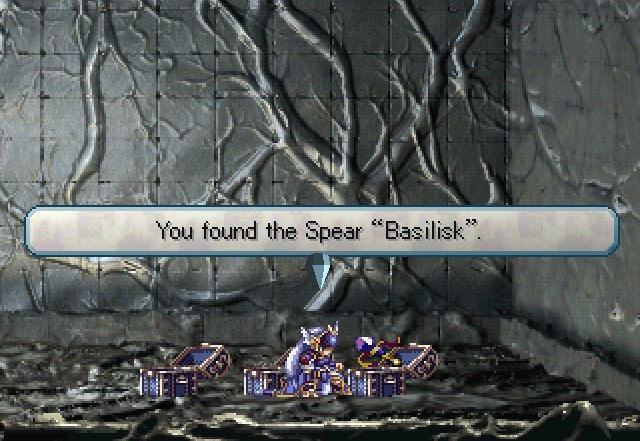
Seraphy is a sword with a 10% chance of doubling gems generated, while the Basilisk is just a decently powered spear with a chance of Petrifying. Neither one really matters, because we just got the Manual of Resurrection.
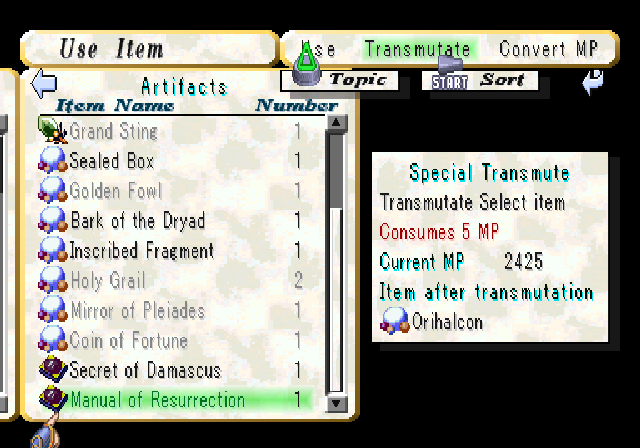
The first thing we're going to do is to equip the Creation Gem to allow us to transmute it into an Orihalcon. For those playing on Normal, you can instead transmute the Fairy Bottle from the Black Dream Tower to get an Orihalcon.
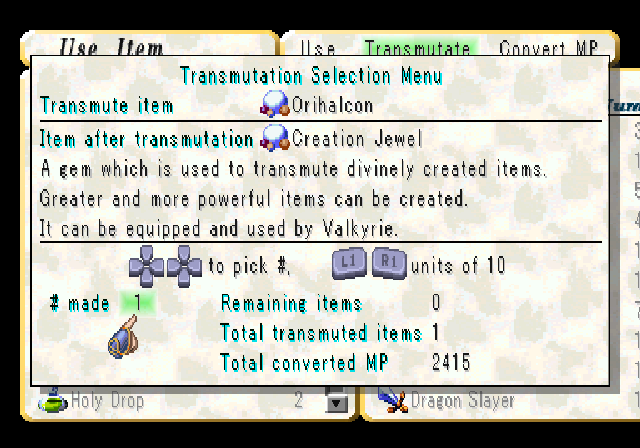
Then we can transmute it into the Creation Jewel, which allows the most powerful transmutations.

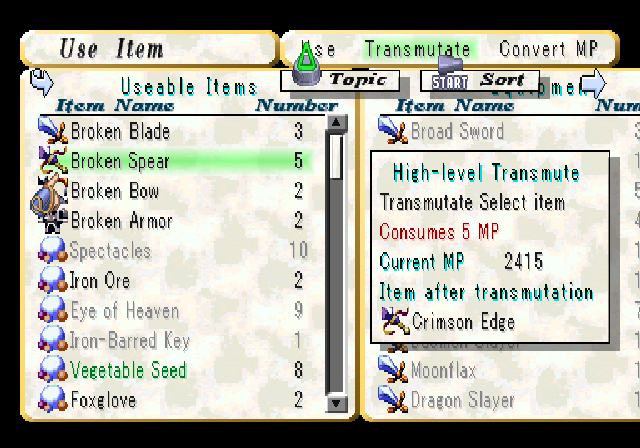
There's a bunch of cool things we can do with the Creation Jewel, some of which includes turning the Broken weapons and armour into much more powerful things. Crimson Edges from Broken Spears have 1200 ATK, three attacks and Fire+90% damage, instantly turning Lawfer/Aelia threatening.
They also can be sold for 6000 MP, if you care about that.
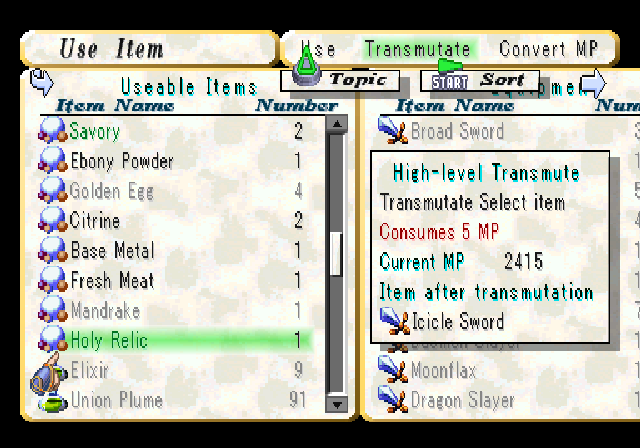
We can also make two nice swords. Broken Blades transmute into Glare Swords, which instantly kill enemies weak to Poison. The Holy Relic and Book of Everlasting Life transmute into Icicle Swords, which kill enemies weak to Ice. They both also have 1200 ATK and two attacks.
As a reminder, the strongest weapon up to this point aside from wands was the Grand Sting, with just 500 ATK. Those two swords can also be used by Warriors and Samurai, to make them even more versatile.
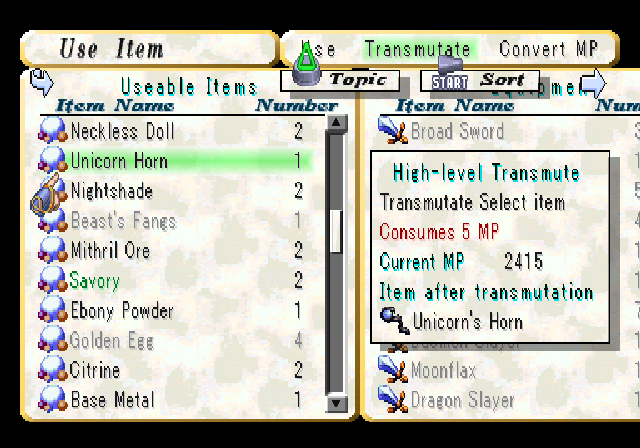
The Unicorn Horn, which is found in Brahms' Castle, transmutes into the Unicorn's Horn. It has 1300 MAG (just 300 less of the Ether Scepter), but more importantly, allows the use of Great Magic without ever breaking.
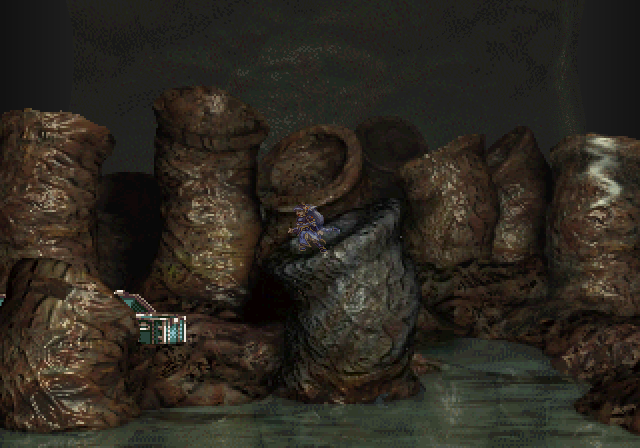
Be still, my beating heart.
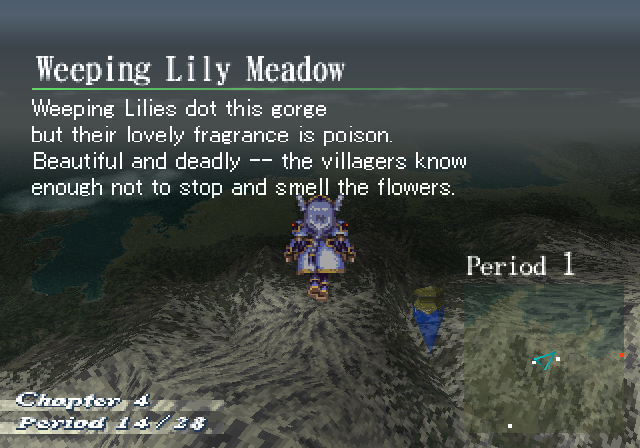
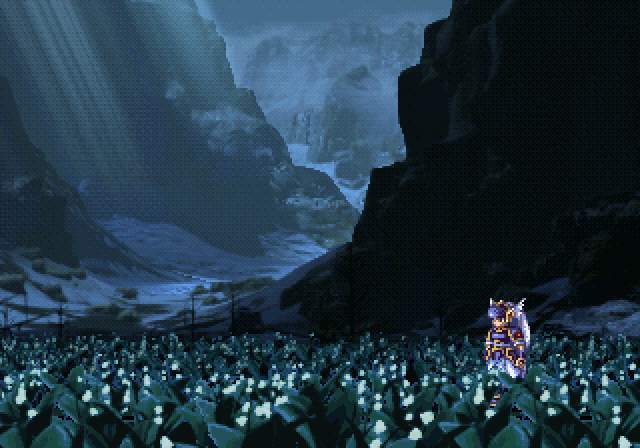
We'll have more to do with the Creation Jewel eventually, but for now, let's move on. Our next stop is the Weeping Lily Meadow, a place we've never visited before.
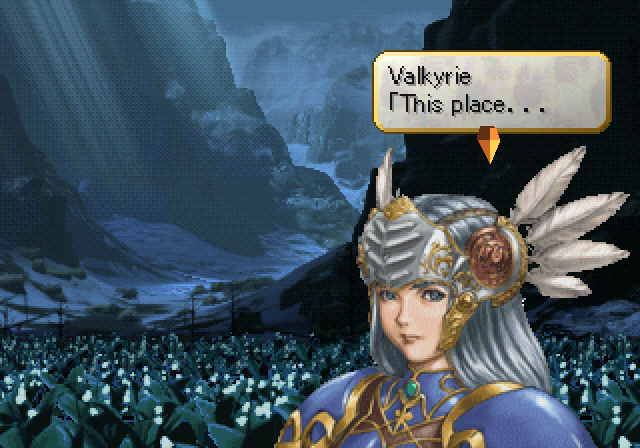 I'm sure I felt the resonance of human thought...
 !!
!!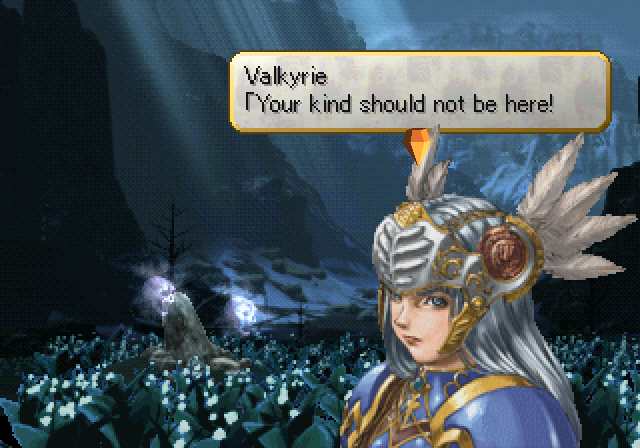
 ...They fled? ...Why would spectres gather around this stone?
 Is this... A grave marker?
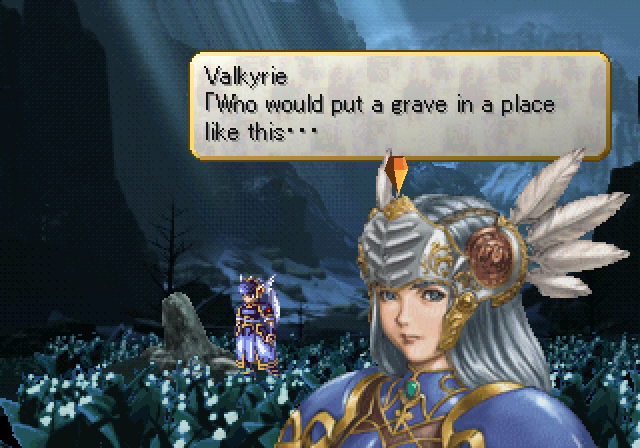
For whatever reason, this drops our Seal rating by another 15. Huh.
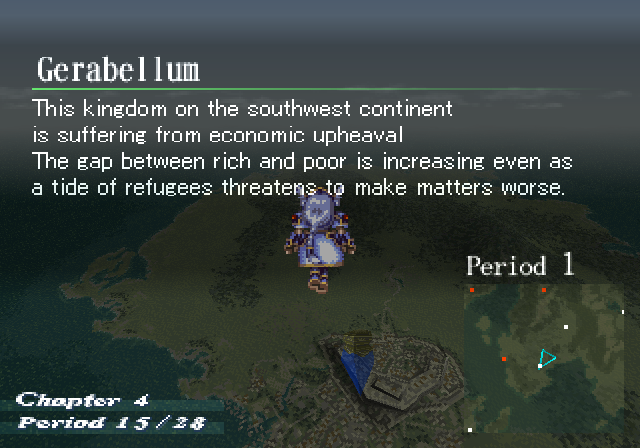
Our next stop is Gerabellum. We can view this scene anytime before recruiting Lucian in Chapter 5.
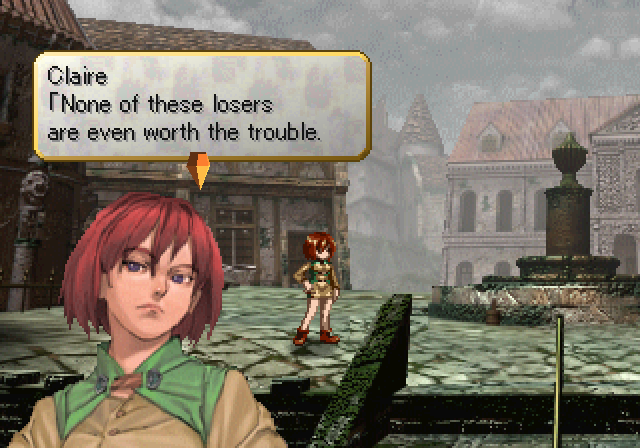
 Forget this. I'm going home. Eh? Is that...?
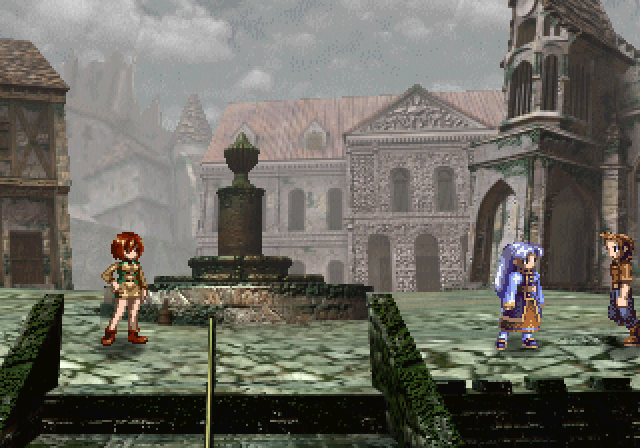
---

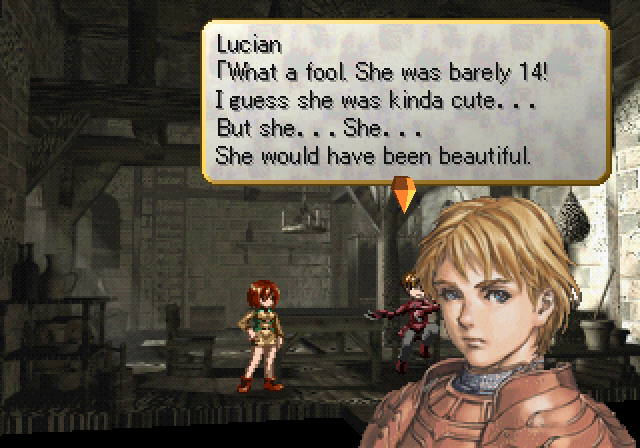 Hmm.
Hmm. I suppose she wasn't all that... special-looking, but... But what?
 It was just... Her hair was silver. And when the light struck it, it shimmered like a sapphire. It was so beautiful... ...
---

Listen: Claire
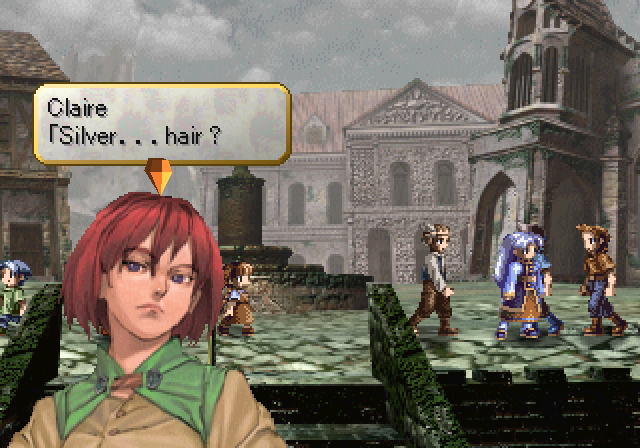
 (The only thing that's the same is the color of her hair. I mean, the girl he was talking about... She's dead...)

---
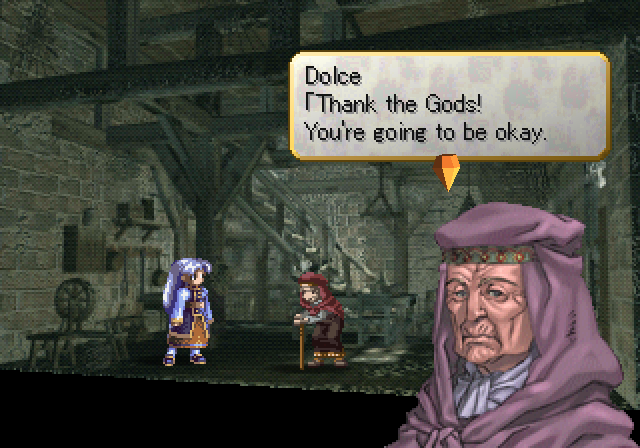
 Please forgive her. She's just a child. She...? The girl who threw the rock at you was my daughter. Although we're not related by blood. ...
 How are you today, Madam Dolce? We brought today's earnings.
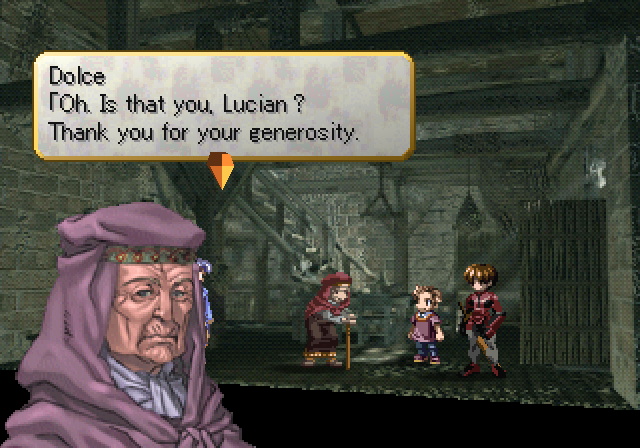 Oh, this young lady is Meril. Earlier today, Claire... hit her with a rock.
 Claire?! Claire did that? That isn't like her...
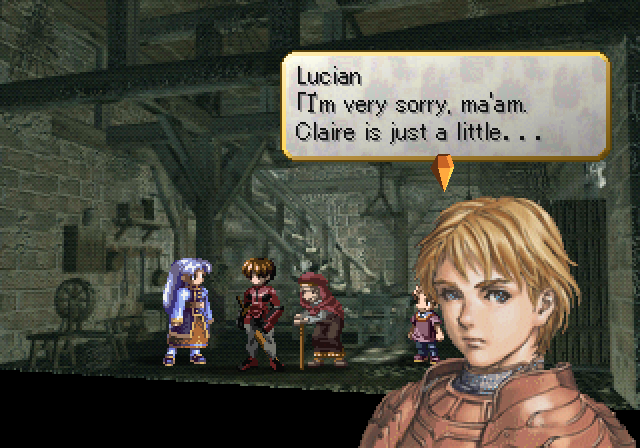 Whaaa?! What's wrong? I'm... I'm sorry. It's nothing.
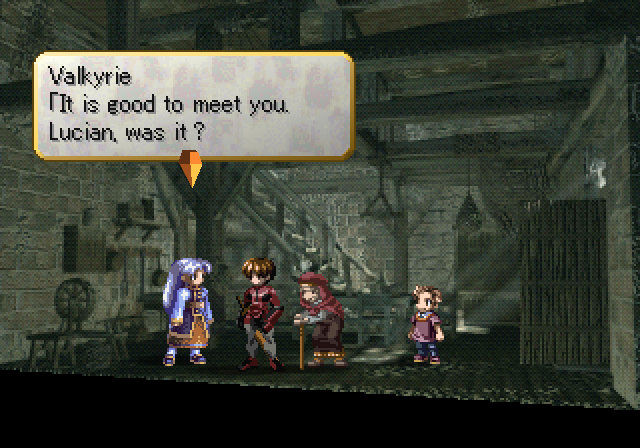
---
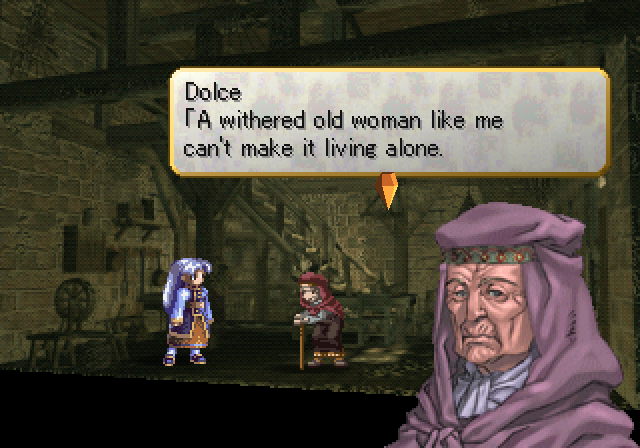 But I'm able to live like this because Lucian brings me money each and every day. But lately, I've been hearing upsetting rumors.
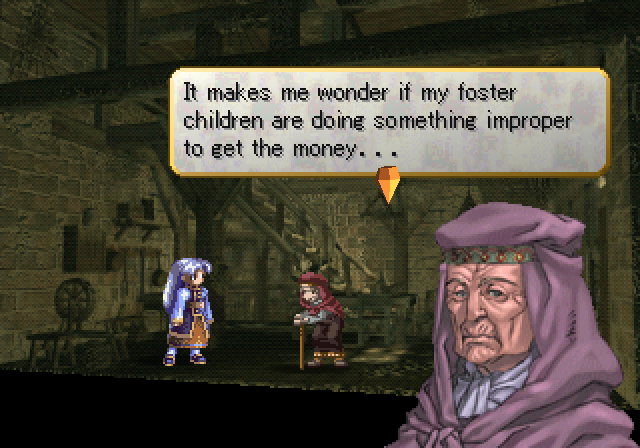
---
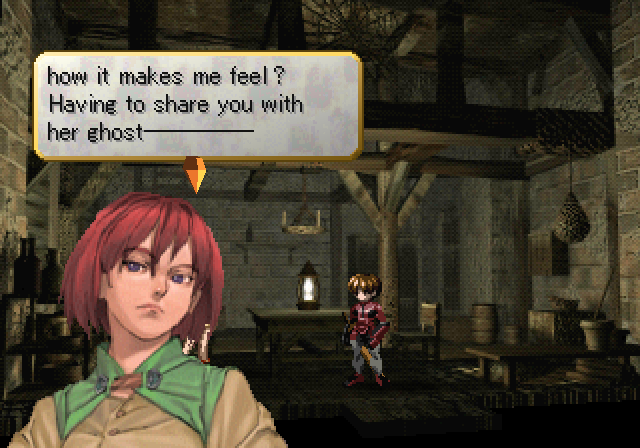
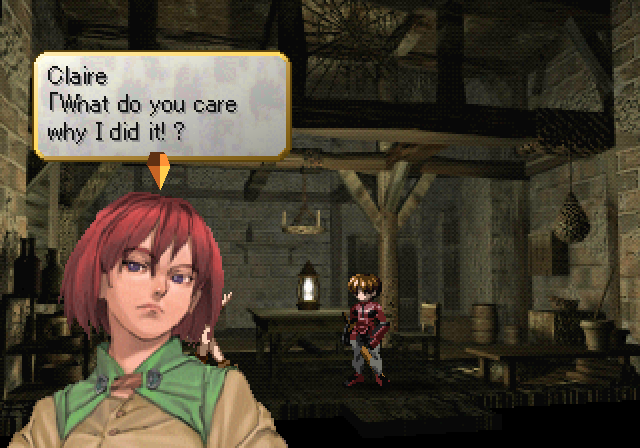 Fine! I did it because I was jealous! I did it because she was beautiful... I did it because of her silver hair! Claire... You don't know how it makes me feel?