Part 53: Part H7-1: Legacy of the Past
Legacy of the Past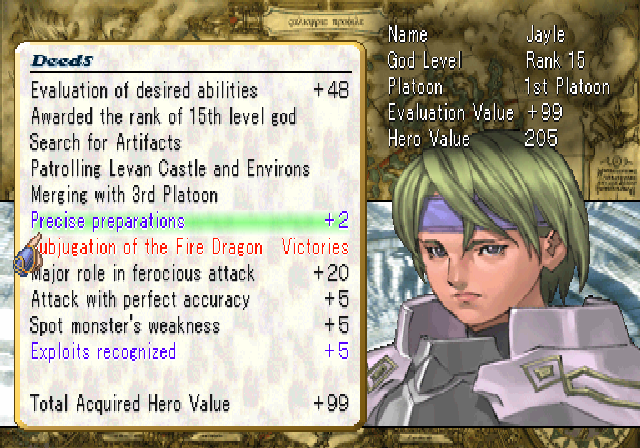
Jayle doesn't have anything that new yet in out Sacred Phase.
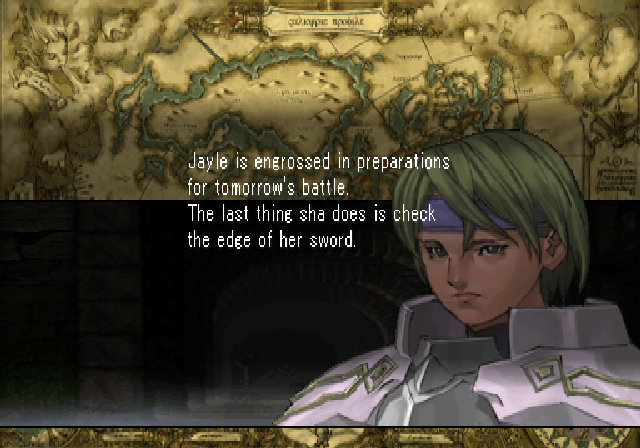
 Good... sharp as a razor. She will serve me well as usual.
And she gets +2 HV.
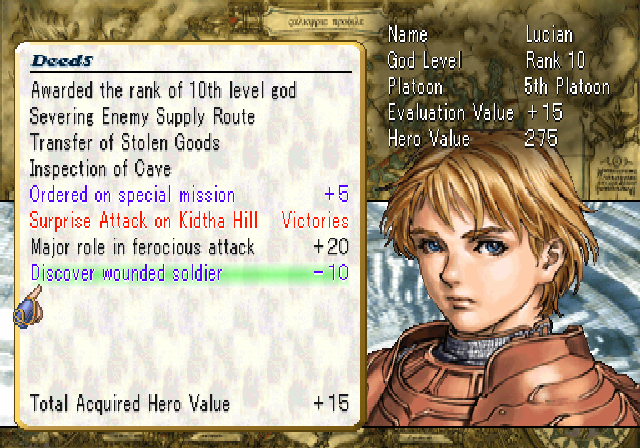
Lucian finds a wounded soldier similar to Lawfer, but gets a -10 penalty instead of a -5 for some reason.
The 'special mission' is just him cleaning up the storeroom.
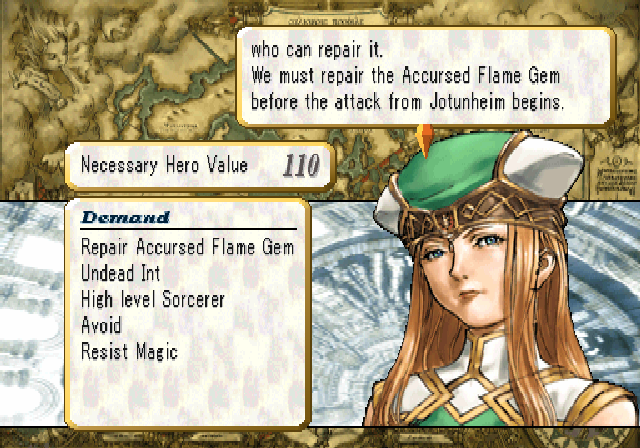
We go through Freya's request again, but at the end of it, since this is Hard Mode, something else pops up.
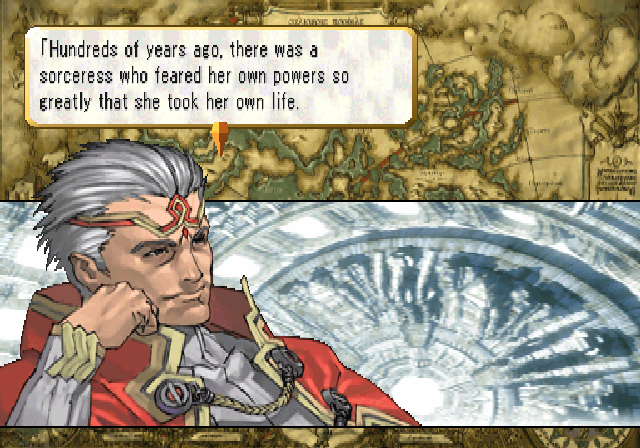
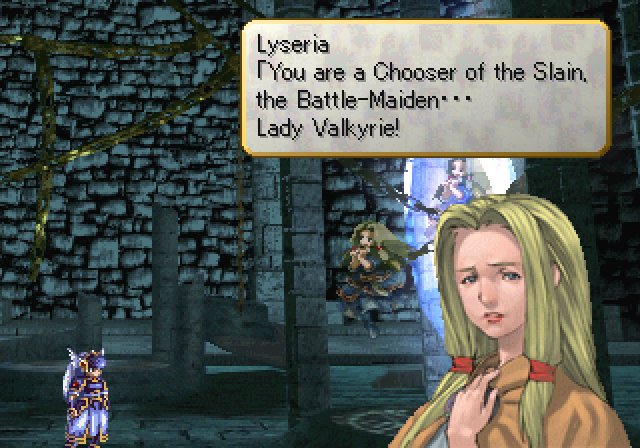
 Some say she inherited her powers of prophecy from Mimir, the ancestor of the Vanir. Her name was Lyseria. Even with her death, her soul was not allowed to die. It is sealed inside the crystal of a massive Magic Gem. The ruins where it was sealed are called 'Arkdain' by the Midgardians. Lenneth, you must go to the ruins and free the sorceress, Lyseria's soul.
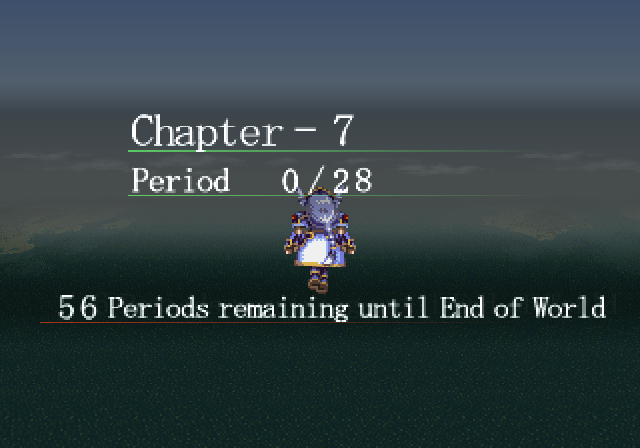
I'm going to be putting some of this stuff out of order, but it'll all come together anyway. We'll begin by recruiting Suo.

Let's get our dungeons out of the way first.
Since everything's weak to Fire, Calamity Blast roasts them pretty well.
The Infernas sword from the Citadel of Flame also kills enemies weak to Fire in one hit. It does damage the user for 3% of their DME each time it's used, but it's a small price to pay really.
Something else I found out today: Hellish Invitation can Paralyze too. Mandragoras are dumb.
You know what's better than killing Mandragoras in one shot with the Infernas?
Legitimately killing them with Calamity Blast with one strike. Not so tough now, are ya?
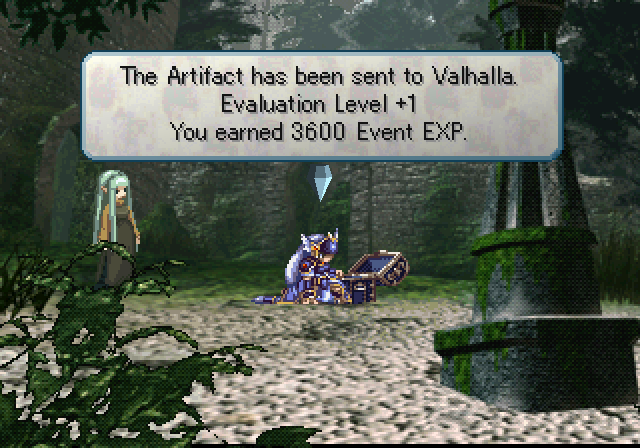
Again, we run it twice, sending up the Flame Gem and getting the Elven Bow for Lenneth.
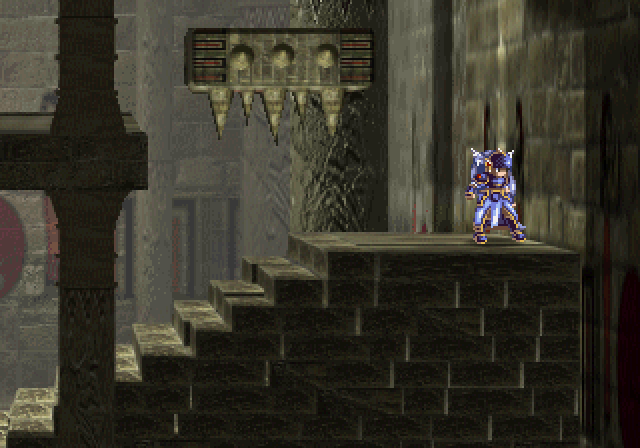
Let's just get our Hard Mode dungeon over with, too.
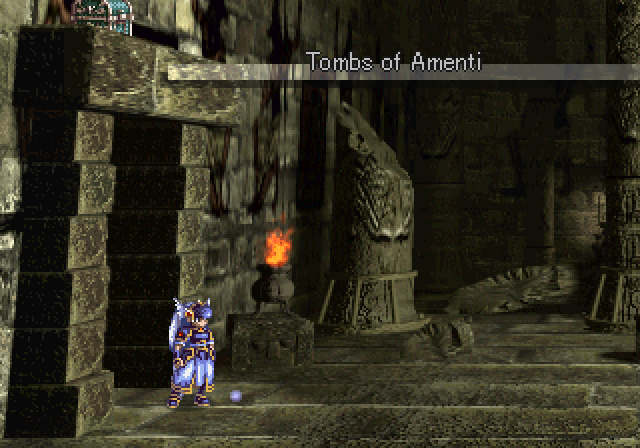
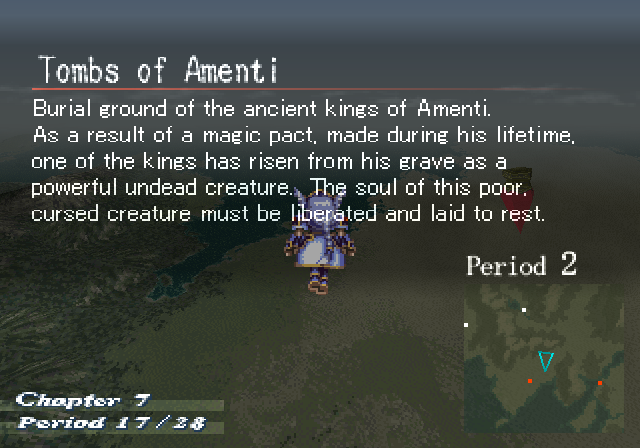
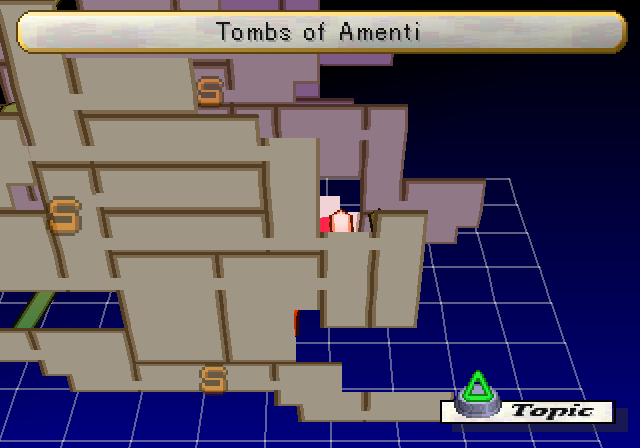
I don't like the Tombs of Amneti. It's more chaotic than the Tower of Lezard Valeth, except now everything in the environment can hurt you.
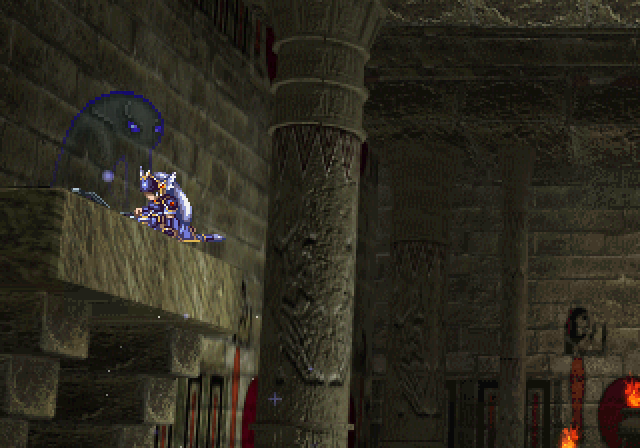
There are quite a few treasure chests found on top of ledges like this. To get to them, we have to do a trick we did in the Palace of the Dragon - explode a crystal on the ledge, then hop onto the dust and up onto the ledge. Of course, most of them are monster trapped.
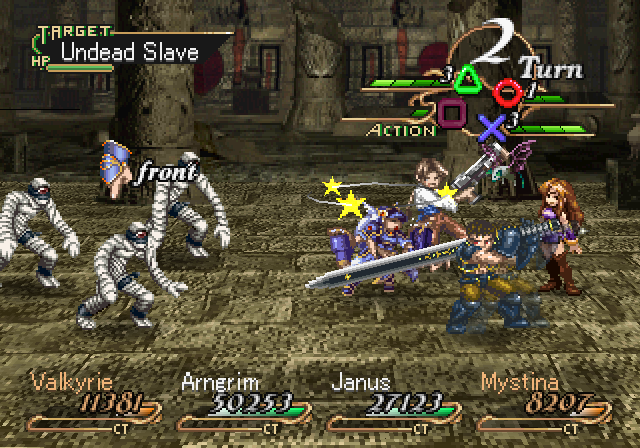
The chests are typically stuffed with Undead Slaves. Mystic Cross usually wipes them out in one shot.
When they get the jump on you, they like to fling spiked ledges onto the entire party. It's got a fairly good shot of Fainting.
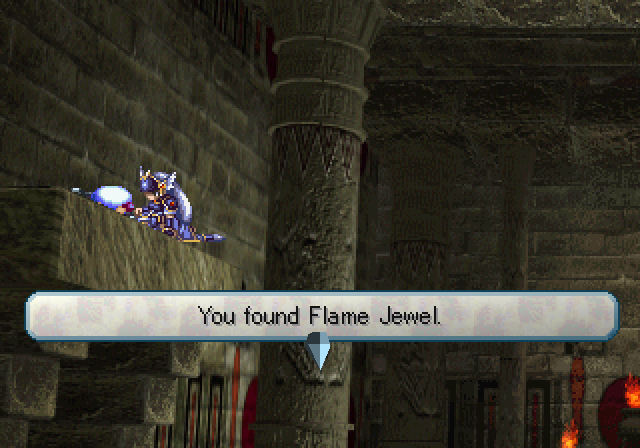
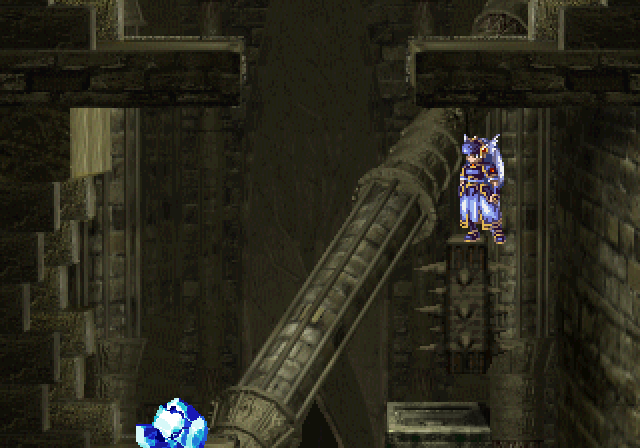
The second room has a Flame Jewel right up there. Don't think it's going to be that easy though - this dungeon has two Flame Jewels to grab.
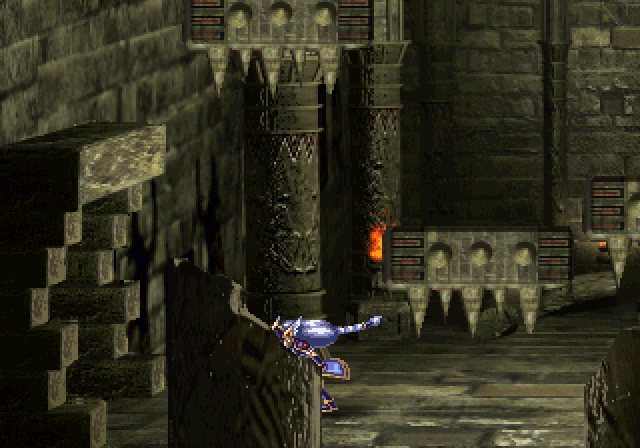
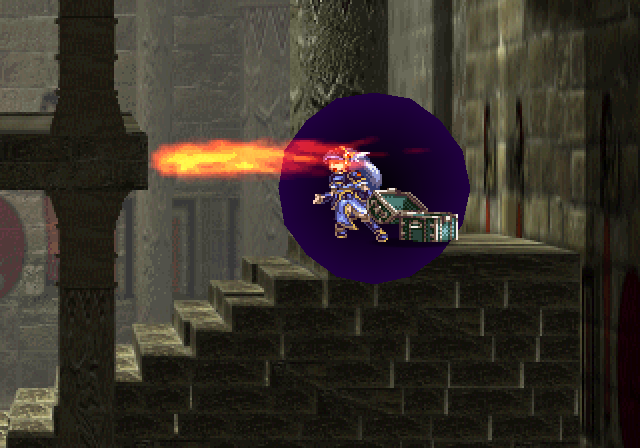
We have platforming! We have flamethrowers!
There are some spots where jumps might seem a bit further than possible - usually, placing a crystal on the block and jumping from there will do it.
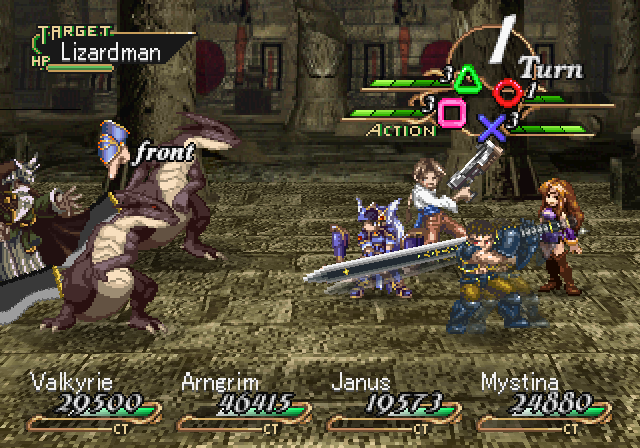
Recolours, but nothing we haven't seen before. Wise Sorcerers are weak to Poison, Lizardmen get taken out by Holy.
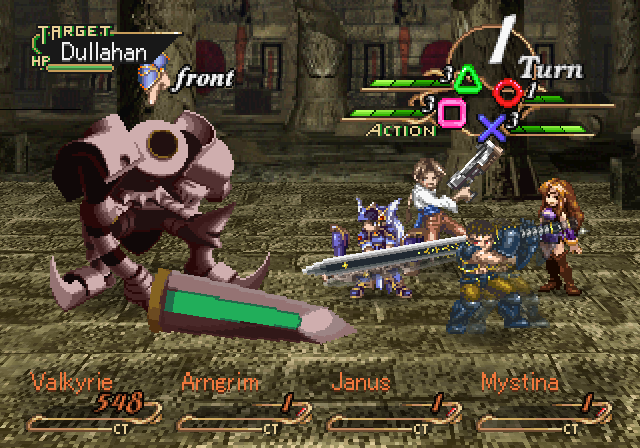
Don't get intimidated by his size.
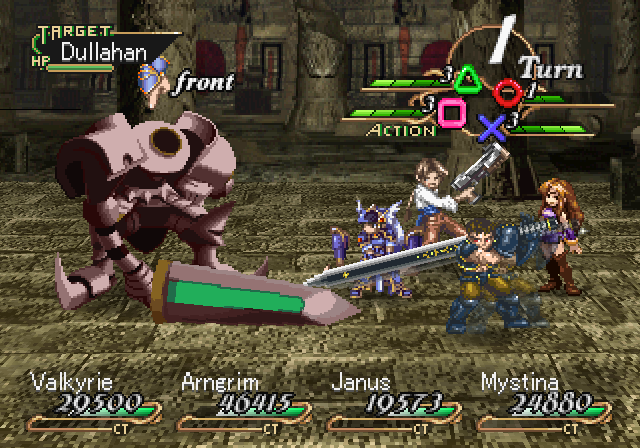
There are several Dullahans in the dungeon. While they have quite a bit of health, they're not really threatening.
Mostly because they take hits about as well as a wet sack of potatoes. Even if I hadn't killed him that turn with Guilty Break he would have died thanks to Janus' Poison anyway.
Spike platforms are really the least of our worries in the dungeon.

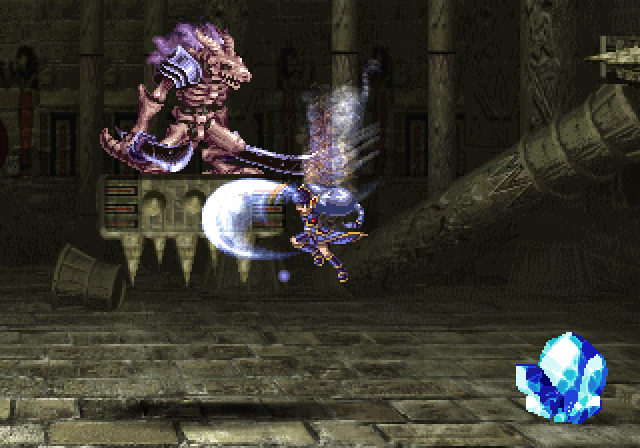
Basilisks can hit pretty hard, but are easy enough to take out in one round. For some reason, they can't Petrify characters.
You get some pretty nice looking attack motions with archers on airborne opponents.
On this part with the double spike traps (that move close towards you when you jump towards them), you might think that you'd have to jump past/on them then onto the block on the right.
But it's actually much easier to just build a ladder on the wall to the left.
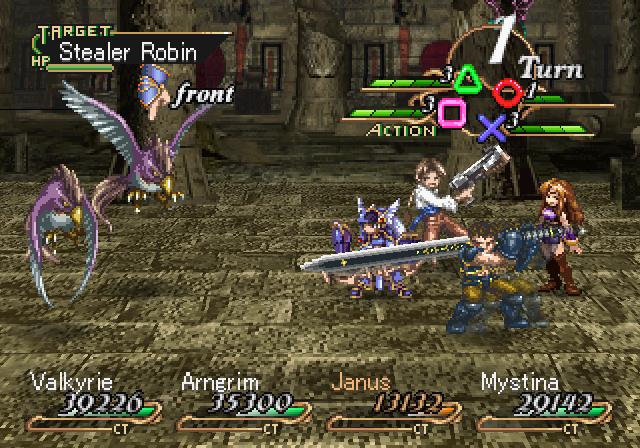
Stealer Robins can get annoying because they have pretty good defenses and are flying. Stun Magic Icicle Edges usually incapacitate most of them.
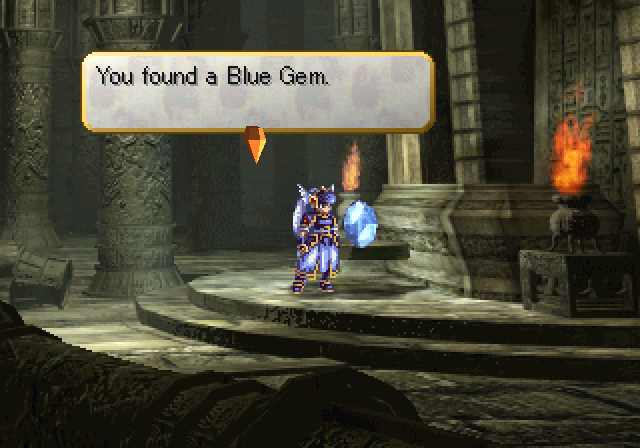
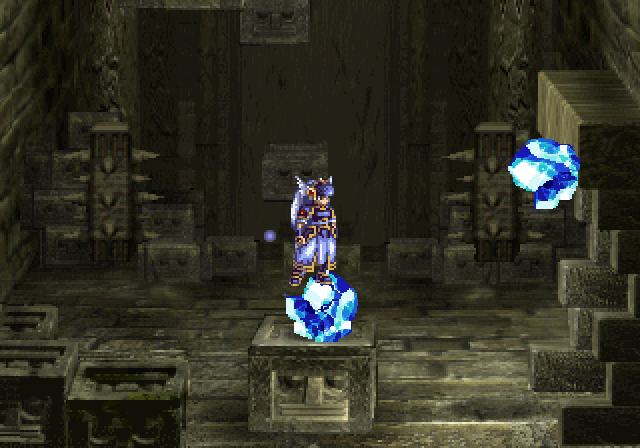
When you pick up this Blue Gem, the door leading into the room shuts.
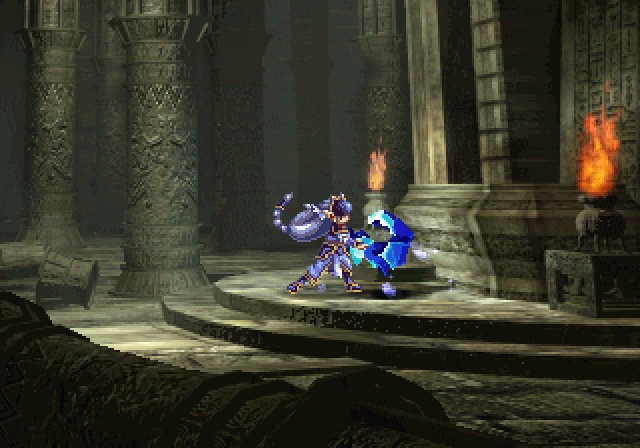
To get out, you have to place a crystal fragment onto the pedestal it was sitting on.
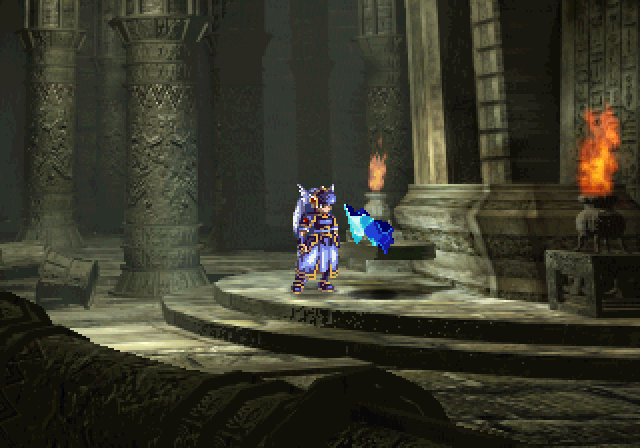
And that opens the door again.
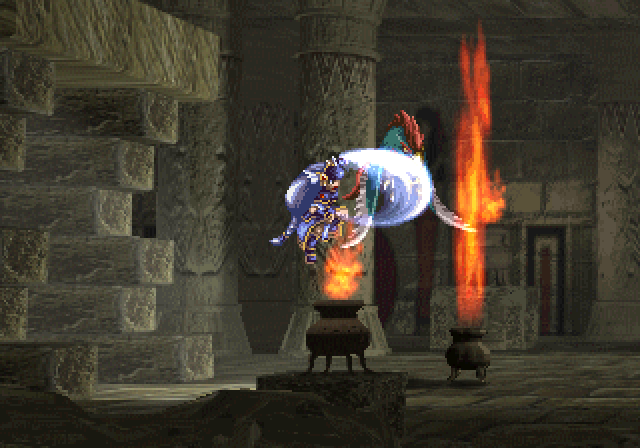
More flamethrowers! Woo!
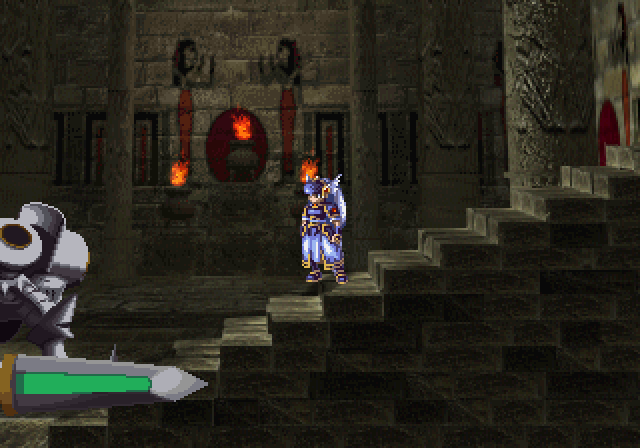
Finally, a save point. This dungeon is so large it actually has three.
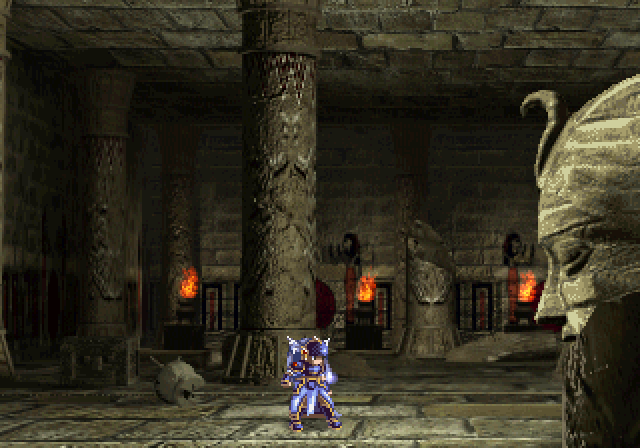
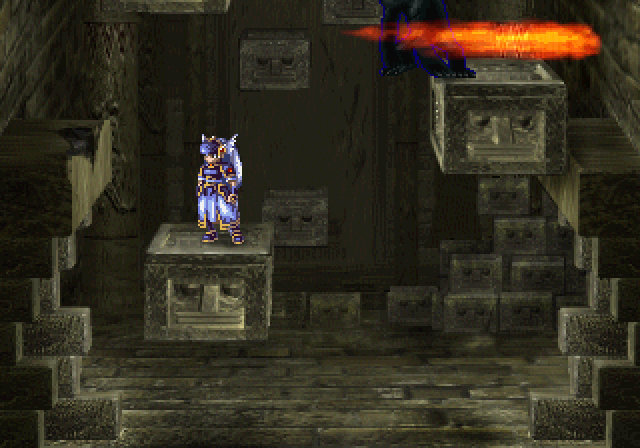
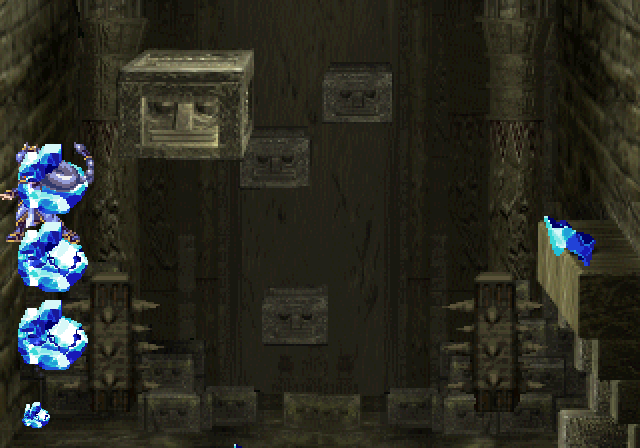
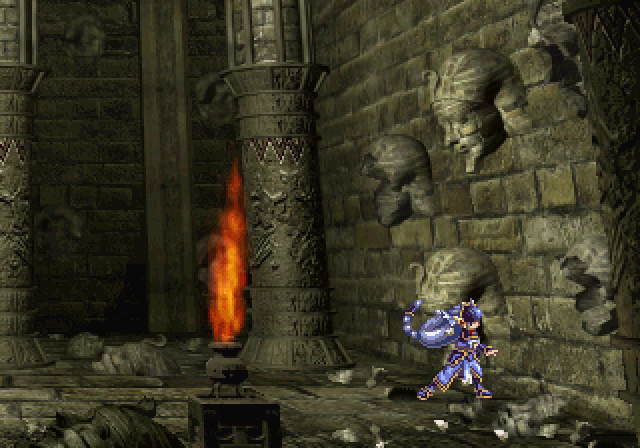
This giant stone head will move towards you. To get past it, you have to duck and slash to destroy its little beard, then stand up and slash to destroy its chin. That lets you slide under it.
To get past these double spike traps that move towards you, you have to stop one by slashing at it, then jump in the space between the two when the other one moves past before the first one starts moving again.
I might be bad at this, but I could watch that all day.
I mean, it didn't exactly do wonders for my health, but still.
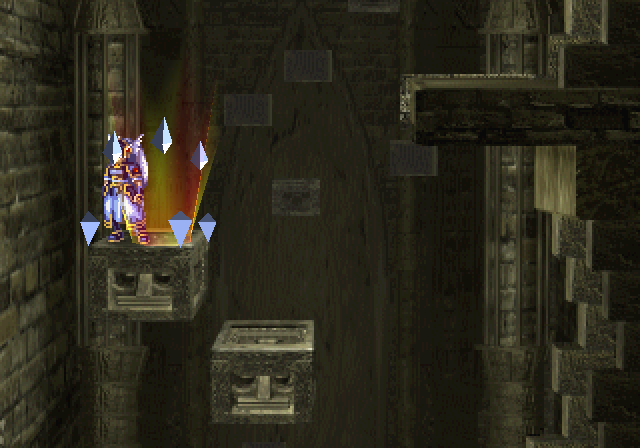
More precision jumping! You have to jump from a crystal onto the top of the moving spike trap, then onto one of the top ledges.
Also, falling spike platforms that you have to jump onto as they rise so you can get to the top.
I'll be honest, the environment's far more dangerous than the enemies. At least you can't die from the former.
This is arguably my least favourite part of the whole thing. You see those little triangles under the doors? You have to jump onto their tip. You can reach the first one by using a large crystal and two crystal fragments.
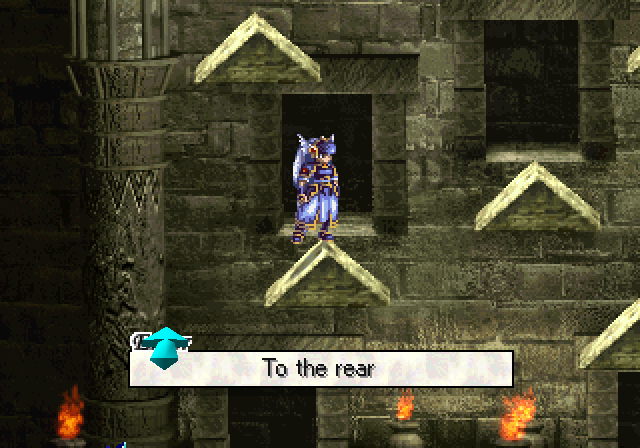
Then you have to jump to that second one. (The first door just leads you to where the bottom doors go to.) This took me ages to get down.
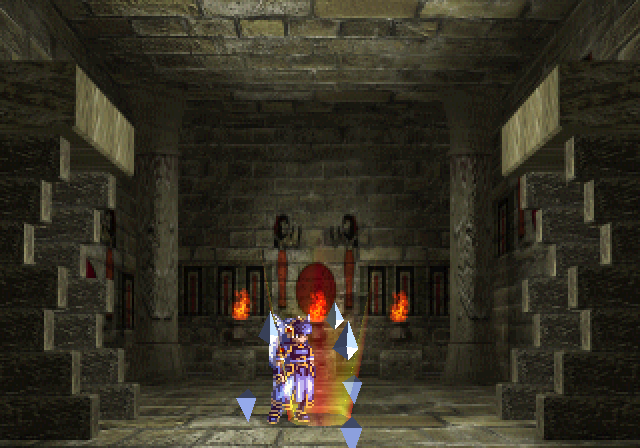
And save point number two!
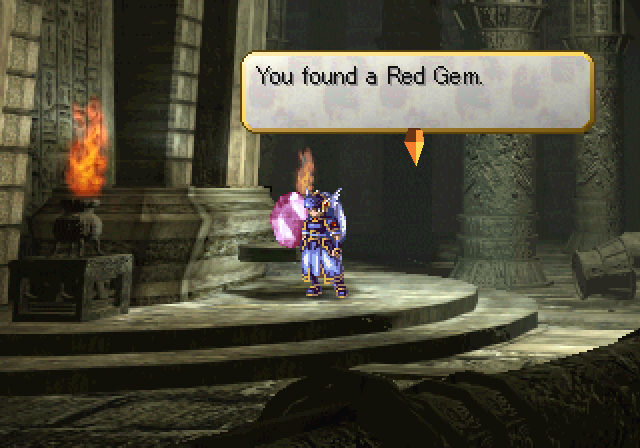
We'll pick up a Red Gem and get out in a similar fashion to how we got the Blue Gem.

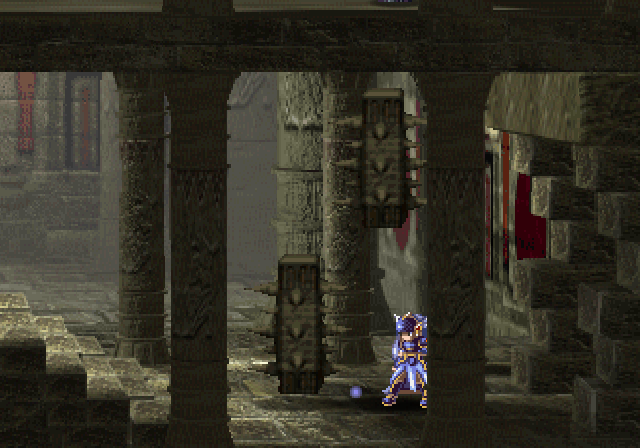
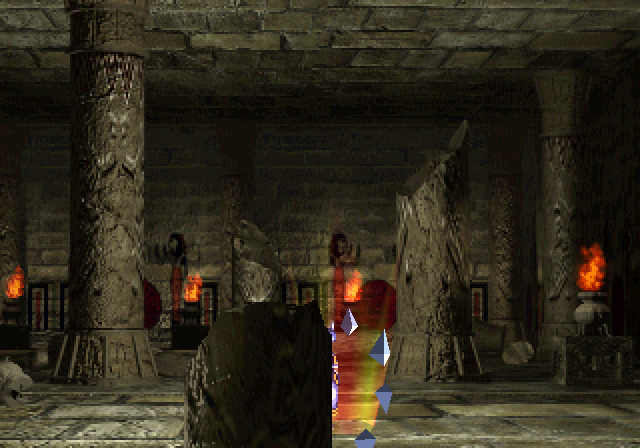
For this part of the dungeon, there are floating heads, kind of like the ones in the Clockwork Mansion. If you touch one, you get teleported to another room. We'll talk about that after we deal with the boss. Past here is also the second Flame Jewel.
They stop appearing once you reach this room.
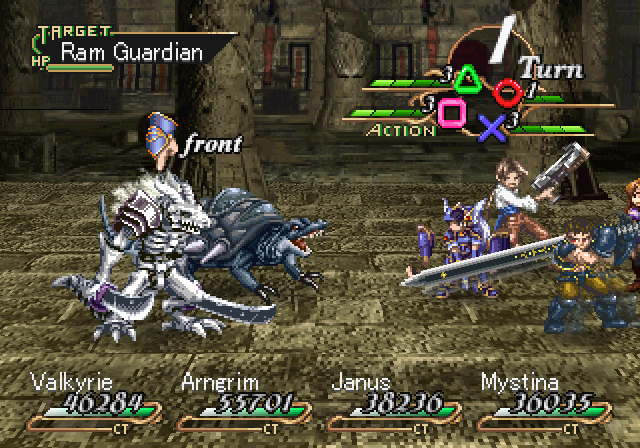
Ram Guardians make a reappearance from when we first saw them in Brahms' Castle. As a reminder, they know Possess, so kill them last.
Finally, save point three.
I mean, just look at this. In any case, we have one last riddle to solve before the boss.
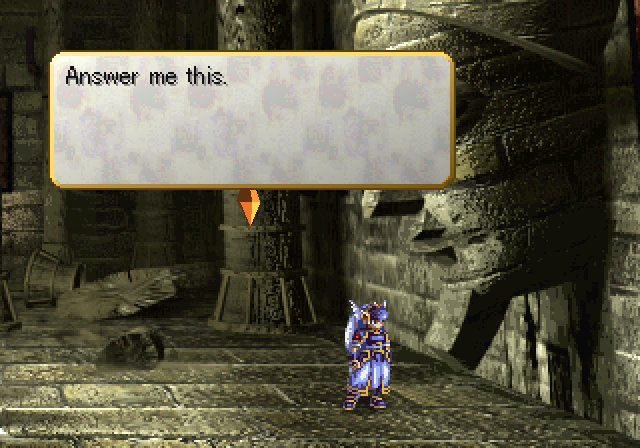
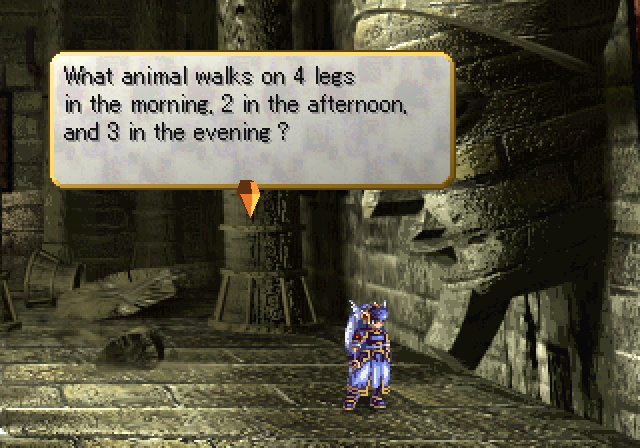
Hmm. Hmm. Well, I'm stumped.
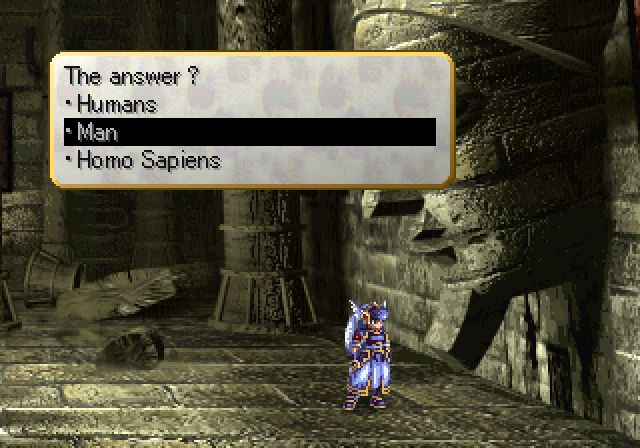
All three are the same answer
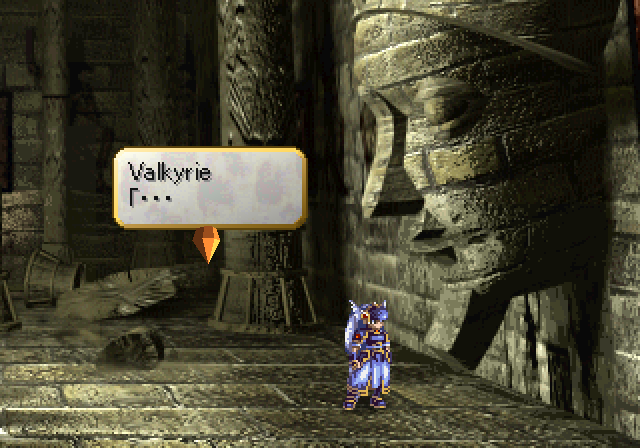
...Anyway, boss time.
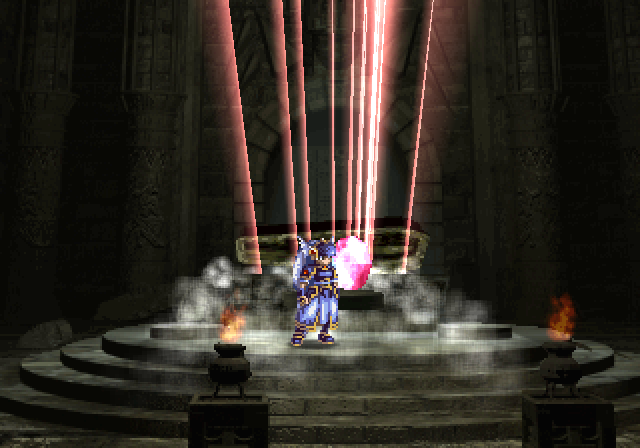
We have to place both gems on the pedestal to activate the coffin.
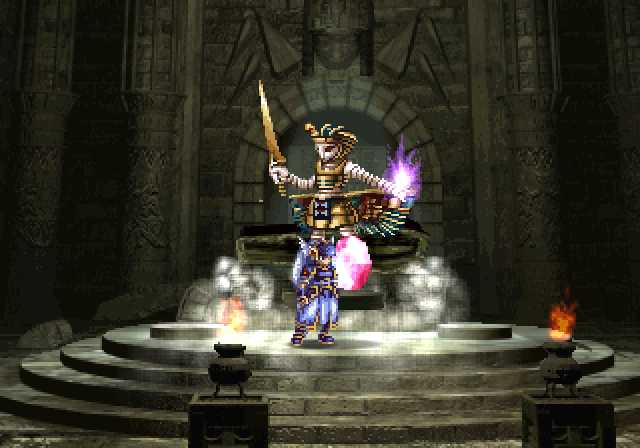
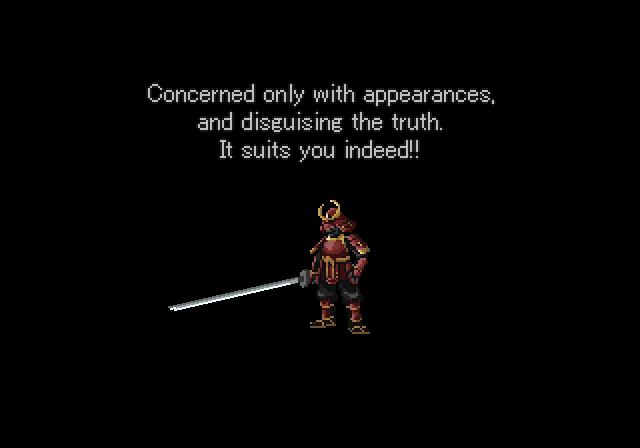
 However!! Today, on this spot we will rebuild our kingdom!! We will restore it to the dazzling splendor of old!!
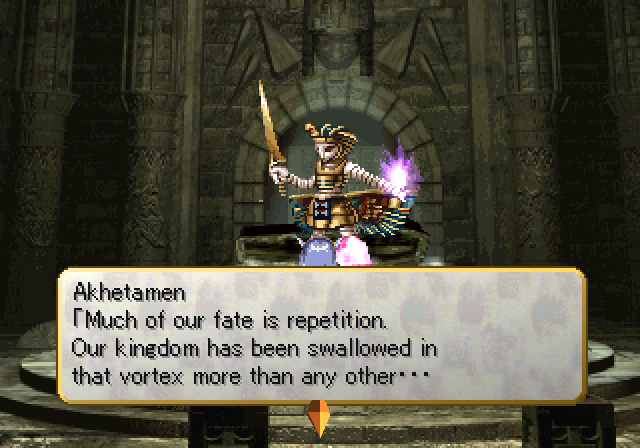
 But do you have the luxury of the tens of thousands of citizens needed to restore these crumbling walls? How rude to speak of luxuries!! The king and people work for each other. My death as king will elevate the noble souls of the citizens and lead them to paradise. And paradise is... this place... Amenti!! Can't you hear it?! The joyful voices of the people. I hear the screams of the dead! Are you drowning in happiness?!! The undead should be... destroyed!!
I dunno Lenneth, I mean, you were the one who traversed through the trap-filled tomb to open his sarcophagus in the first place. If you'd just left well enough alone there wouldn't be a problem.
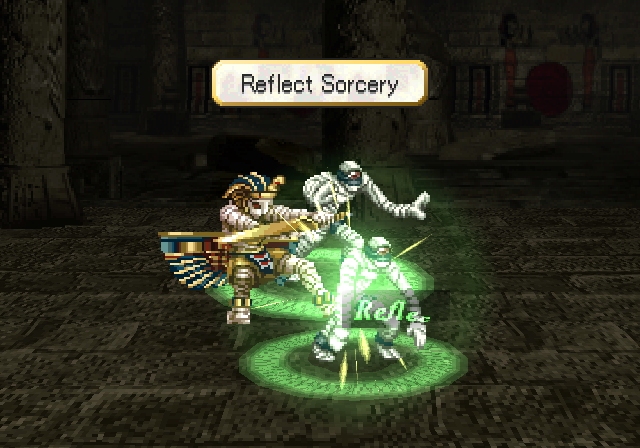
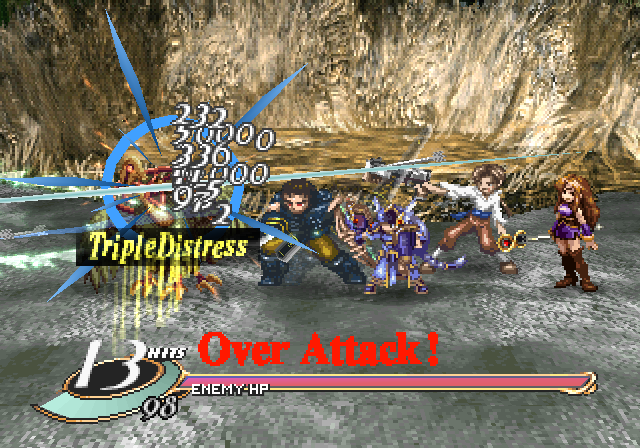
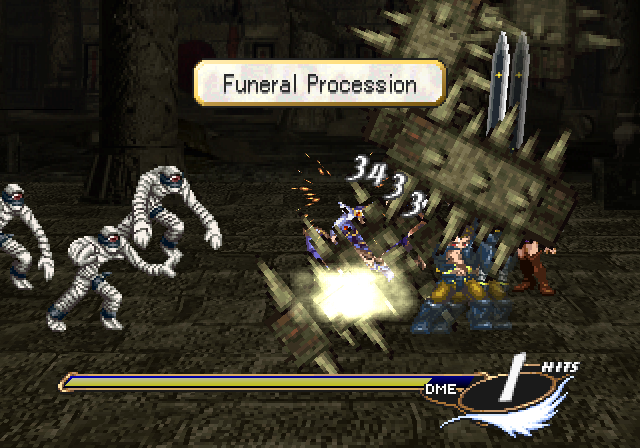
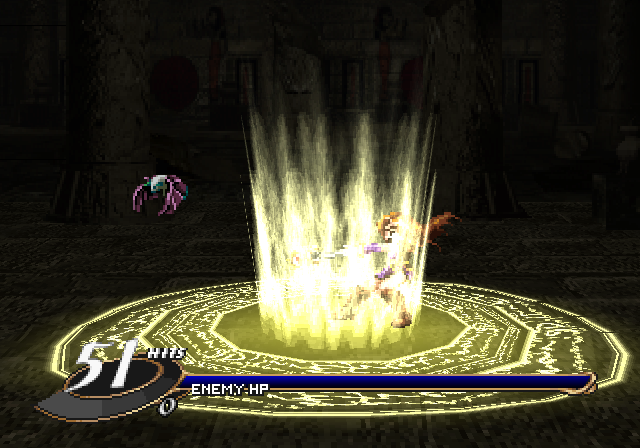
Our boss immediately starts the fight by throwing up a Reflect Sorcery, while his minions smash us with a double Funeral Procession. We even get Lenneth's 'By the holy laws, you shall be obliterated!' line here, which is cool enough to hear that I'm linking it again.
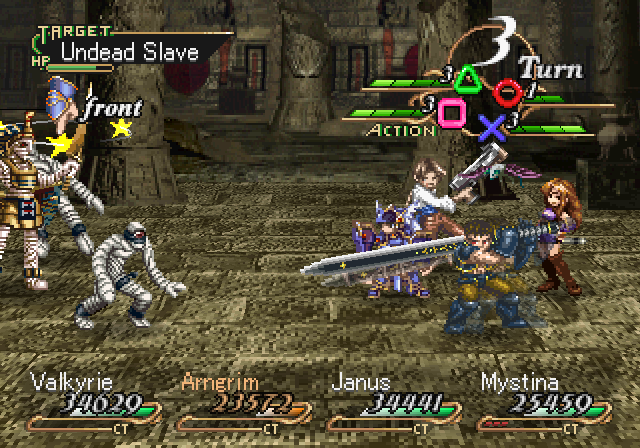
There are two Undead Slaves blocking the boss, but they're easily dispatched of.
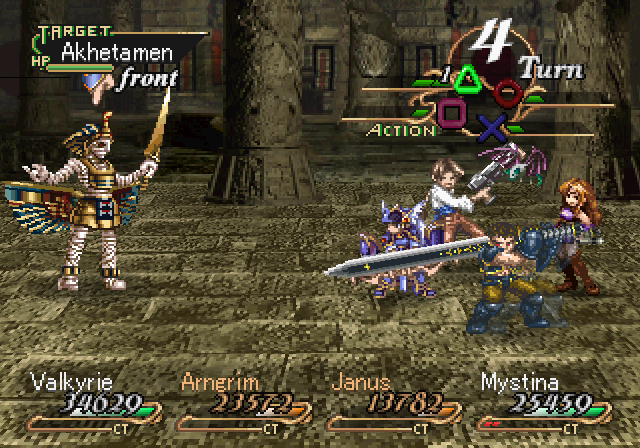
Akhetamen isn't really that tough a boss. You can use the Holy Water of Mithra on him, but it's not really needed. He'll throw out a few spells, and he will cast Heal when at low life.
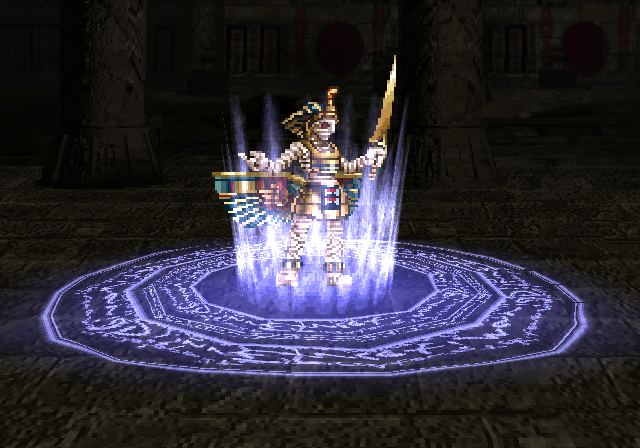
Of course he has a Great Magic.
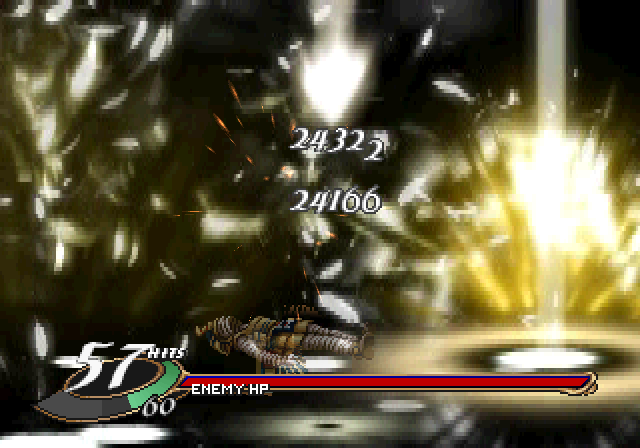
 Ye of detestable name and virtue! False apostle! Thou are bade back to the abyss! Seraphic Law!
Akhetamen will cast Seraphic Law every four turns. It's not as bad as Wraith's, because he casts it less often, he has a lower INT score, and Holy protection is much easier to find and in larger quantities. Mighty Checks, Reflect Armor, and the Robe of Bryttain will all cut the damage by 90%.
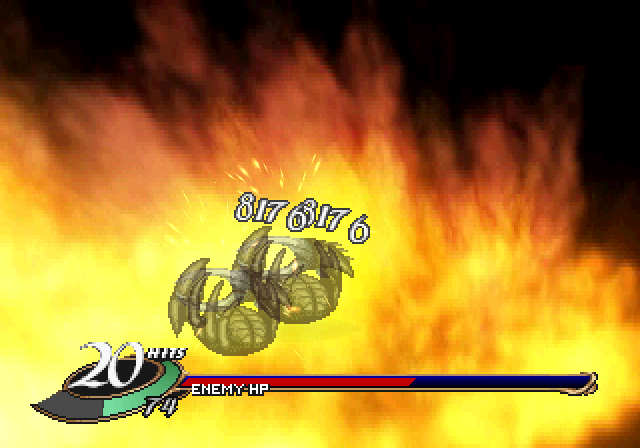
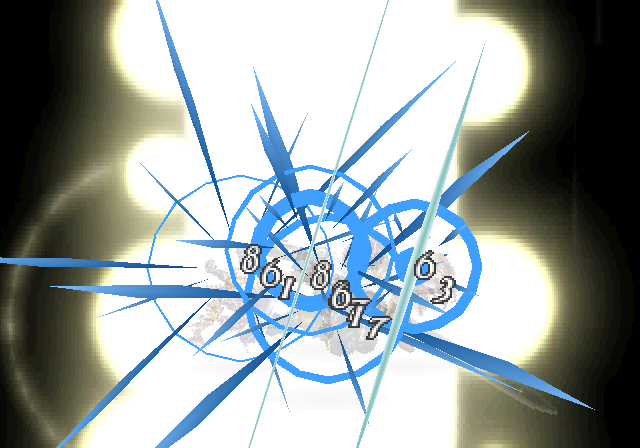
Just because he made us go through that horrible dungeon, I'm smashing him with a Spell Reinforced Celestial Star at full power.
Eat 170k worth of damage, mummy guy.
 My reign is eternal! The world shall once again quake before the might of Akhetamen! Hahaha... urrrrrgh!
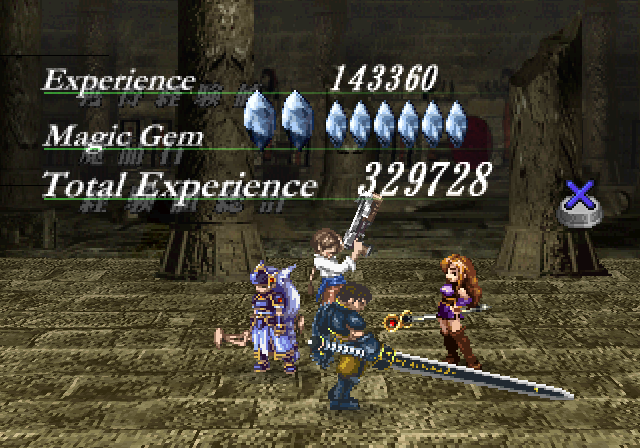
Good experience, but that's not the only bounty today.
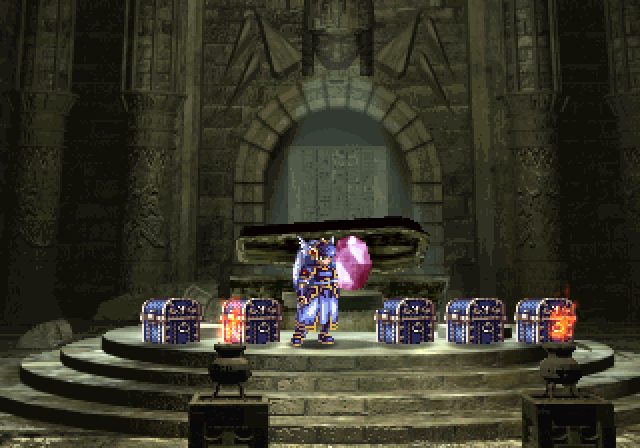
We have no less than five treasures!
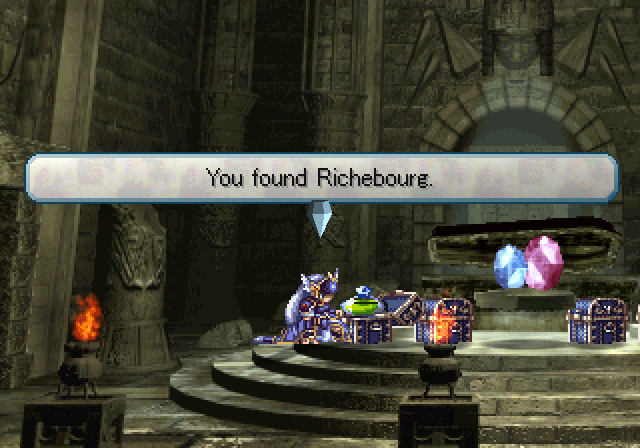
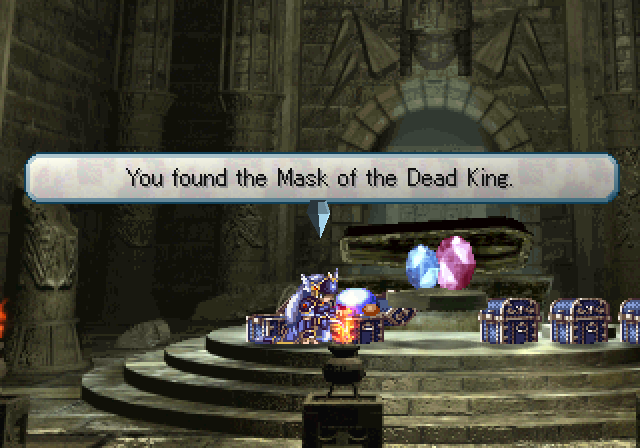

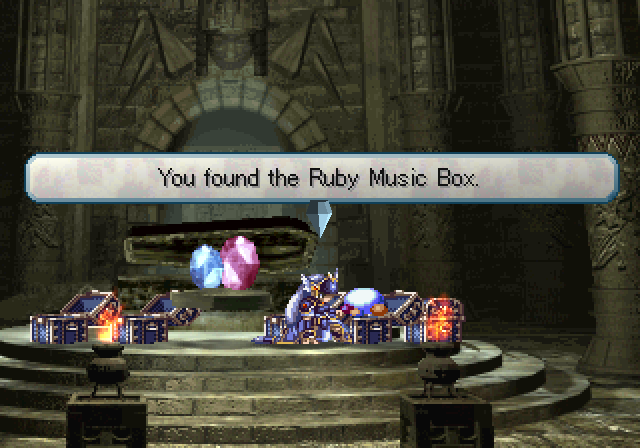
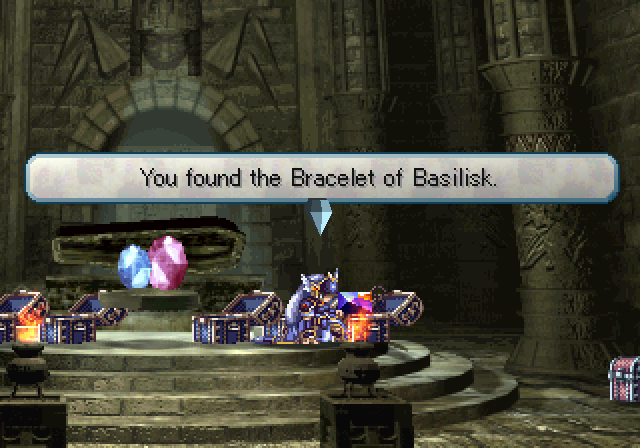
The Richebourg's only purpose is to be sold for 17,500 MP. The Mask of the Dead King can be worn by everybody and has the highest RDM in the game, but it makes the wearer weak to Holy. The Ambrosia is a one-time use item that increases the maximum DME of the character by 6000. Like the Richebourg, the Ruby Music Box is only for selling, but for only 10,000 MP. Finally, the Bracelet of Basilisk cuts down on Poison damage taken for the wearer.

Getting out can be almost as confusing as getting all the way in in the first place.
You can also speed things along by letting the floating heads touch you.
You'll find a room where you have to hack masks to escape. You'll also get 20,000 event experience, for what that's worth.
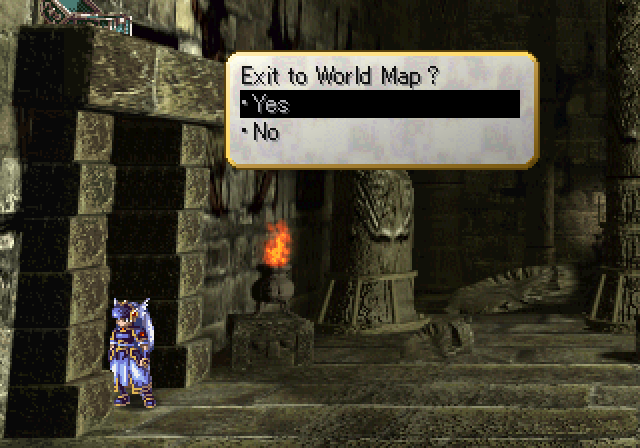
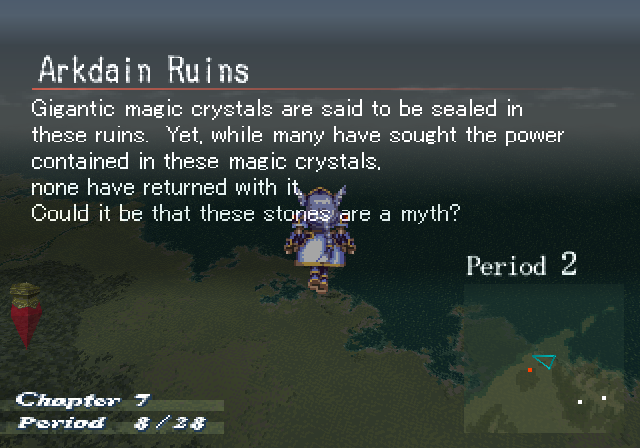
Now, let's go take care of Odin's request and head to the Arkdain Ruins.
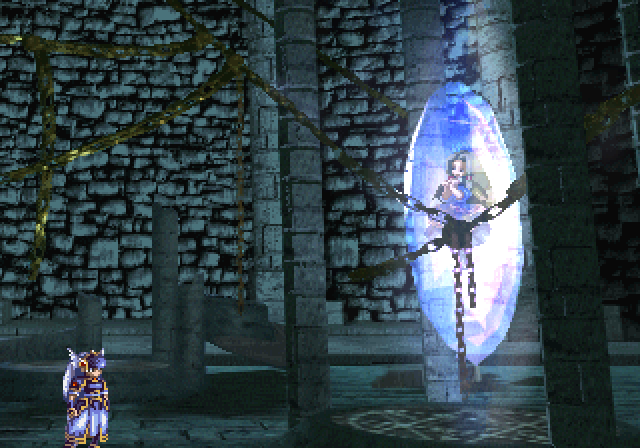
Remember the giant crystal in the boss room?
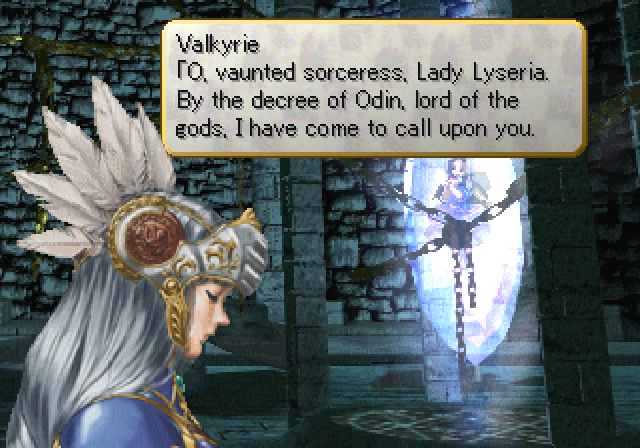
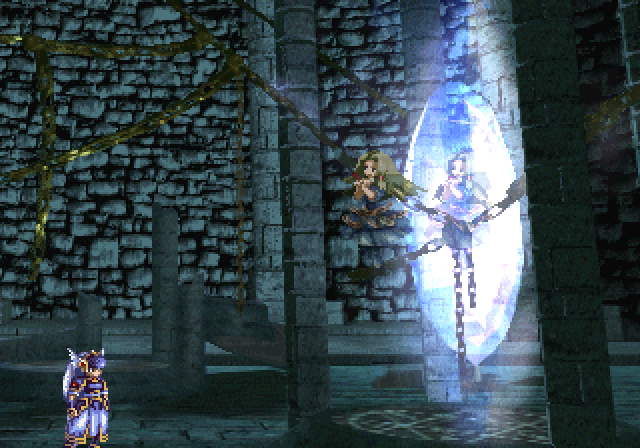
Listen: Lyseria
 The same. My master has need of your power. If I may beg you, Lady Lyseria, to join me.
 I could not control my power. I was in despair... I took my own life, and sealed myself within these ruins. There is no place for me in this world, indeed, in any world! For so long, I have hoped and prayed for someone with the strength to obliterate me.
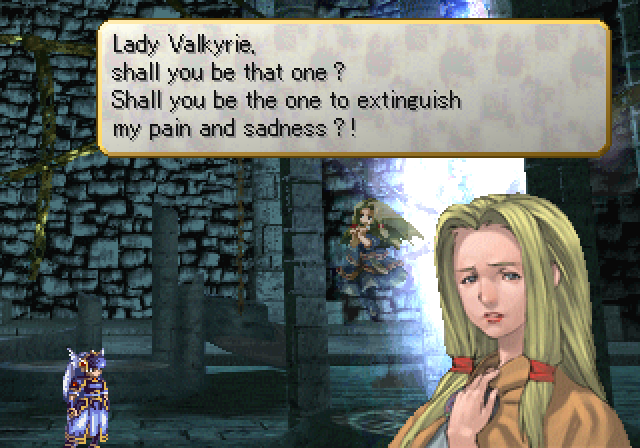

Lyseria is voiced by Rachel Lillis, also Jelanda and Mystina.
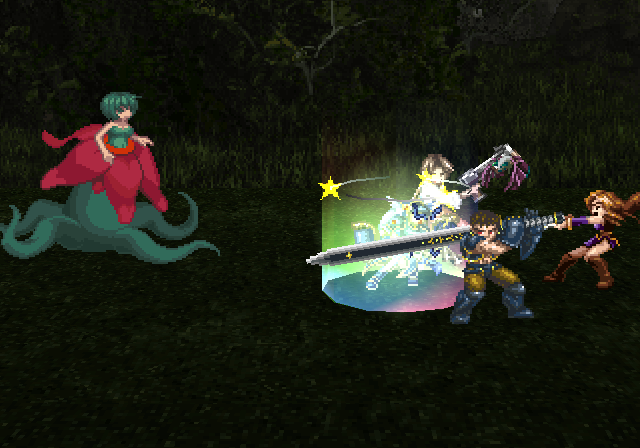
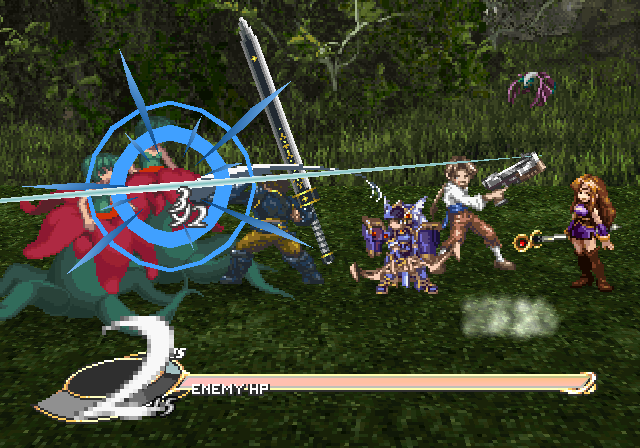
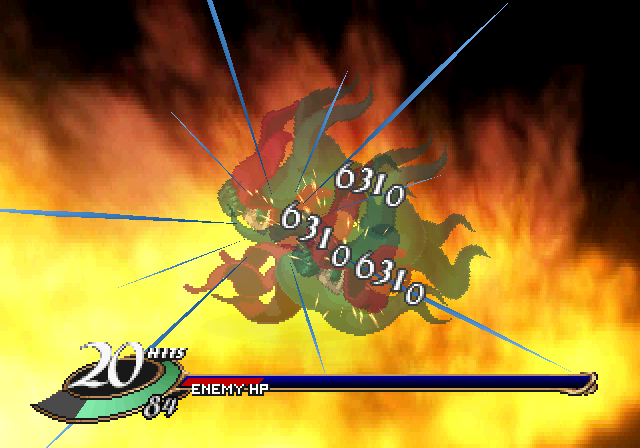
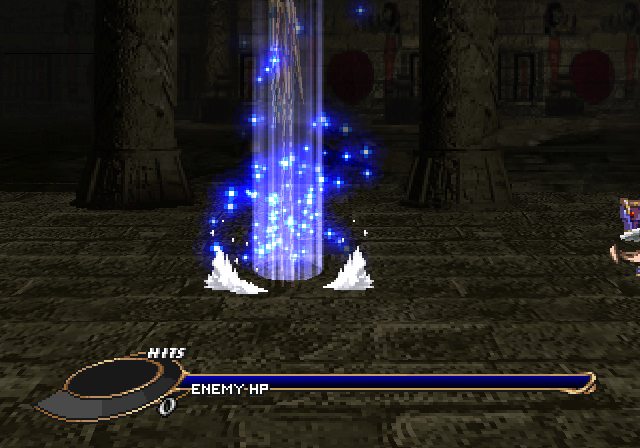
Lyseria could theoretically be threatening, knowing Great Magics like Seraphic Law and Celestial Star... but like Gander, she's incredibly frail, having but 10,000 DME and so gets squashed in one round.
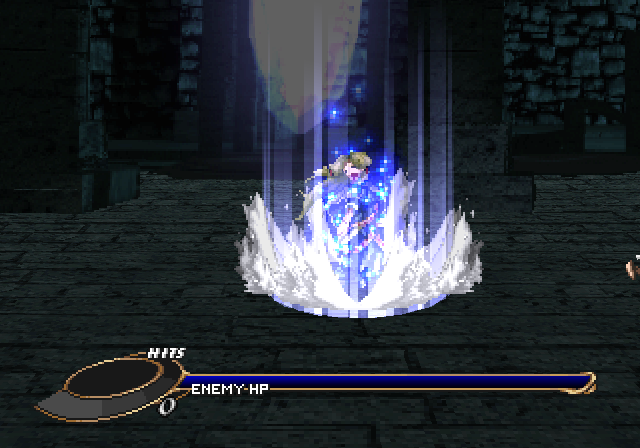
And with that, we recruit Lyseria, no more fanfare.
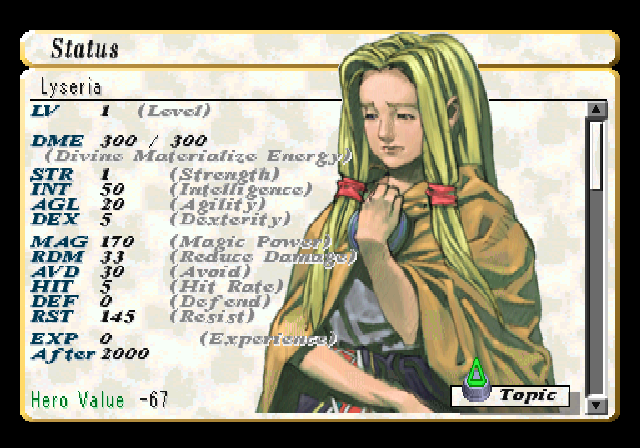
Age: Unknown
Class: Sorceress/Seer
Race: Human
Gender: Female
Homeland: Unknown
A woman born with the power of prophecy. It is rumoured that she is a descendant of the Vanir Goddess, Mimir. She despises her own power and has sealed it within herself.
Lyseria is arguably the best female mage, having a great starting INT score and enough AGI to match Jelanda. There's really no arguments against using her, and she comes with Might Reinforce, to boot.
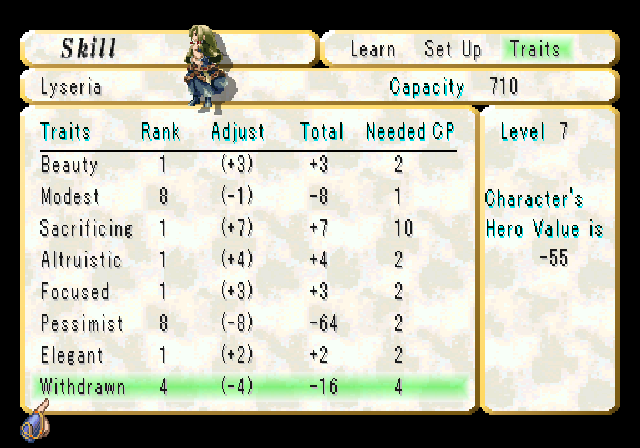
While Lyseria is technically transferable, she's glitched - while you can send her up and get her scenes during the Sacred Phase, for some reason she won't rejoin the party at the endgame, even if she survives. As such, we won't bother with transferring her, but here are her traits anyway.
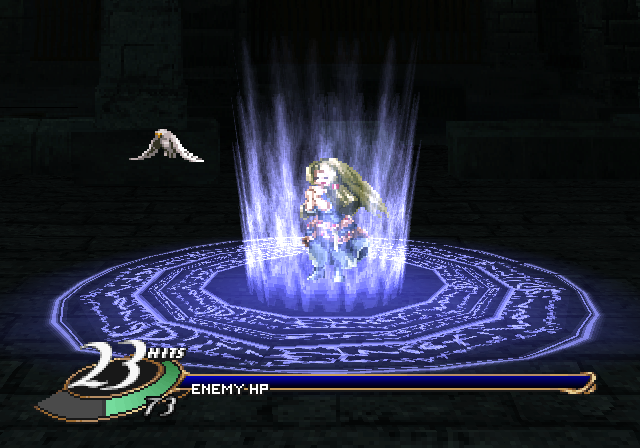
Lyseria PWS

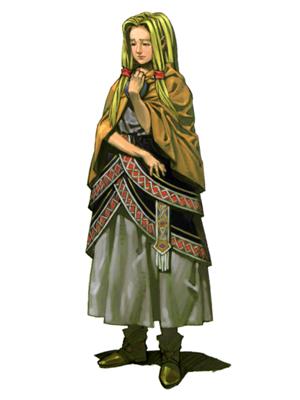
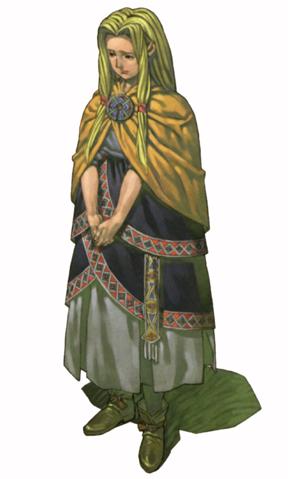
Lyseria character art.