Part 4: Shades of Grey
Episode 4: Shades of Grey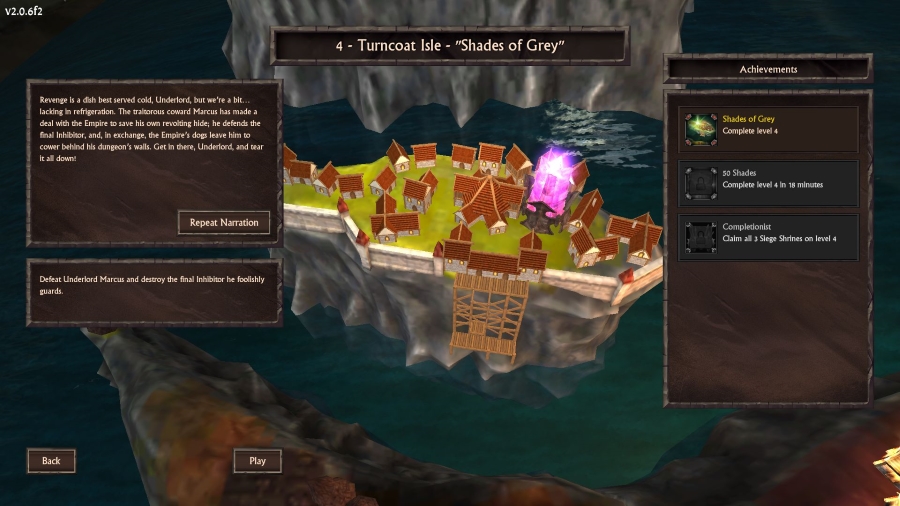
 Revenge is a dish best served cold, Underlord, but we're a bit… lacking in refrigeration.
That did not even remotely make sense.
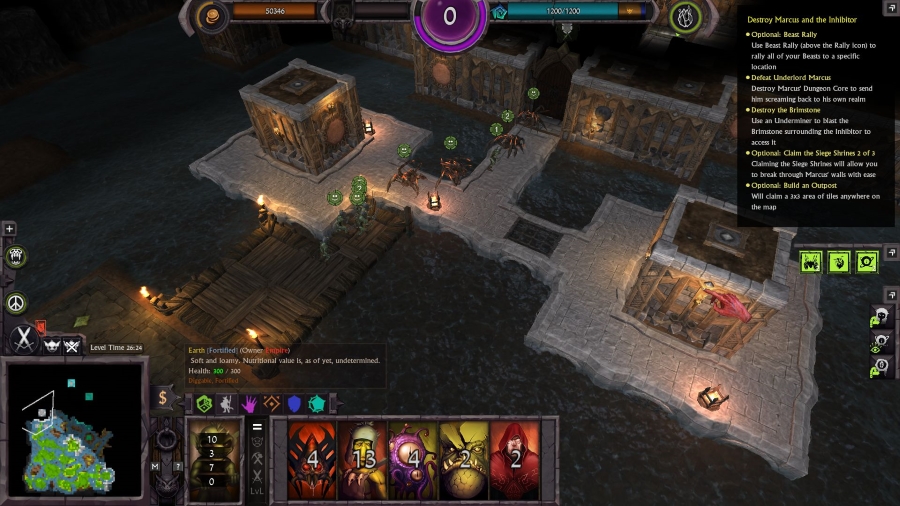
The traitorous coward Marcus has made a deal with the Empire to save his own revolting hide; he defends the final Inhibitor, and, in exchange, the Empire's dogs leave him to cower behind his dungeon's walls. Get in there, Underlord, and tear it all down!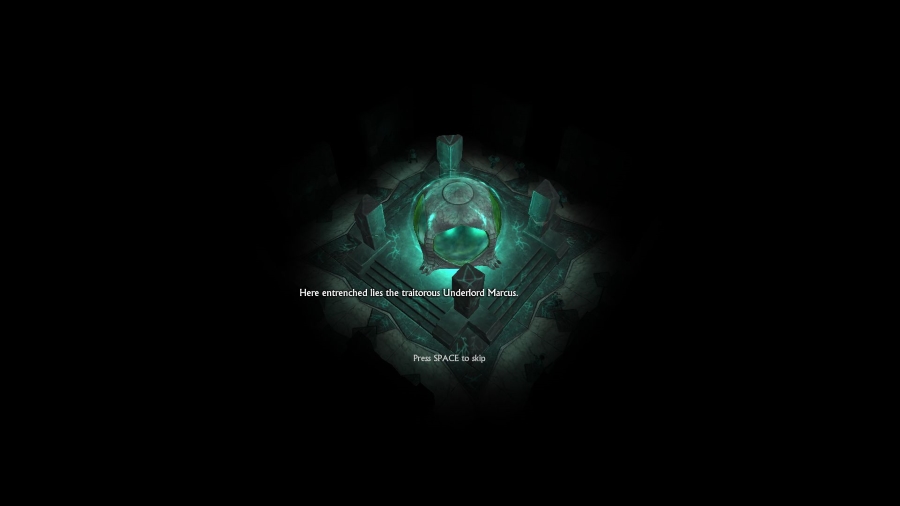 Here entrenched lies the traitorous Underlord Marcus.
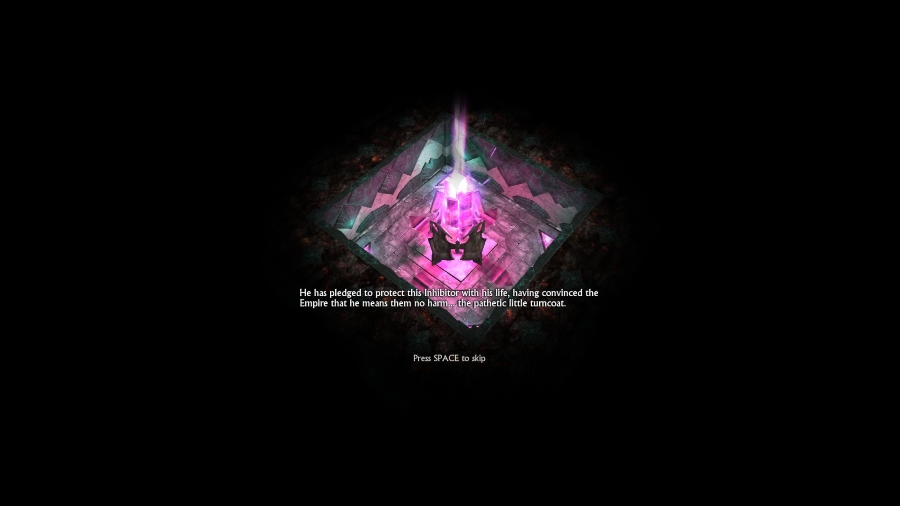 He has pledged to protect this Inhibitor with his life, having convinced the Empire that he means them no harm… the pathetic little turncoat. This uneasy peace has lasted too long, vanquish this traitorous Underlord and destroy the Inhibitor he protects.
This time we're doing something a little different. We're going after a rival Underlord with his own dungeon. We have to breach his dungeon, destroy his dungeon core, and then smash the inhibitor that he is guarding.
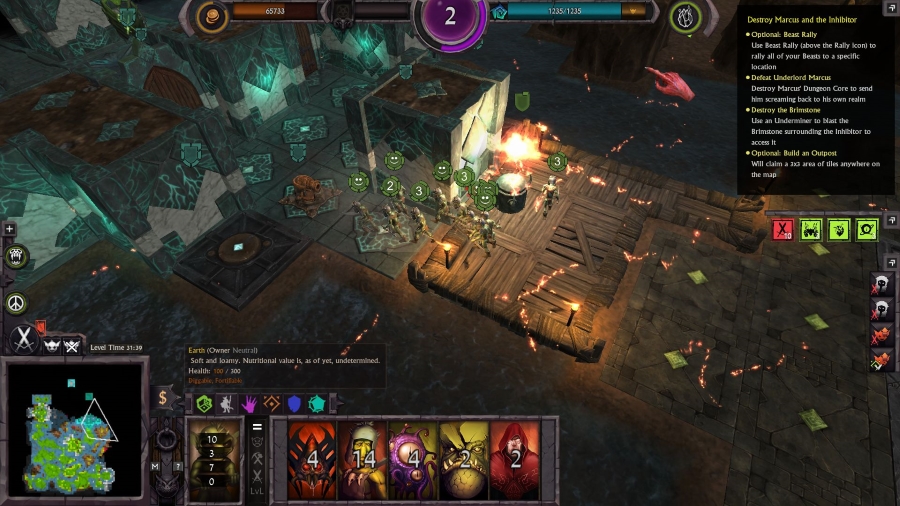
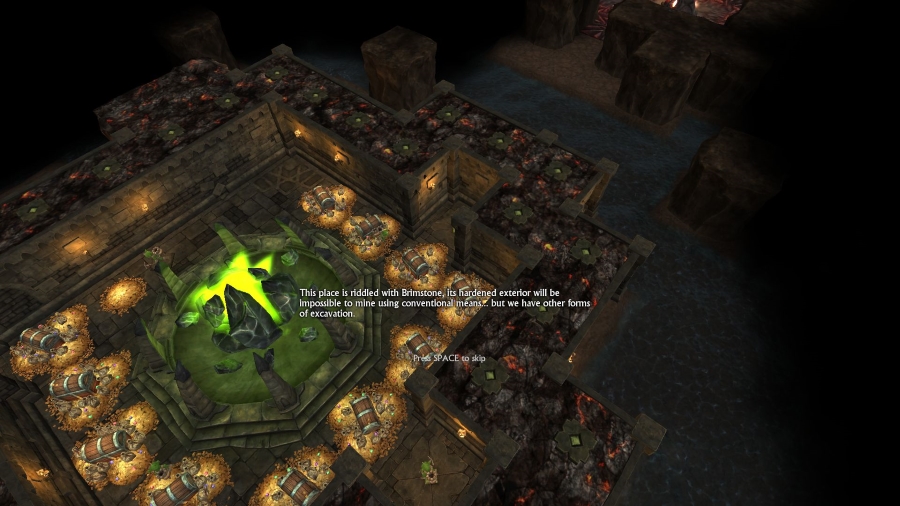 This place is riddled with Brimstone, its hardened exterior will be impossible to mine using conventional means… but we have other forms of excavation. Open the Veins of Evil and unlock the Underminer.
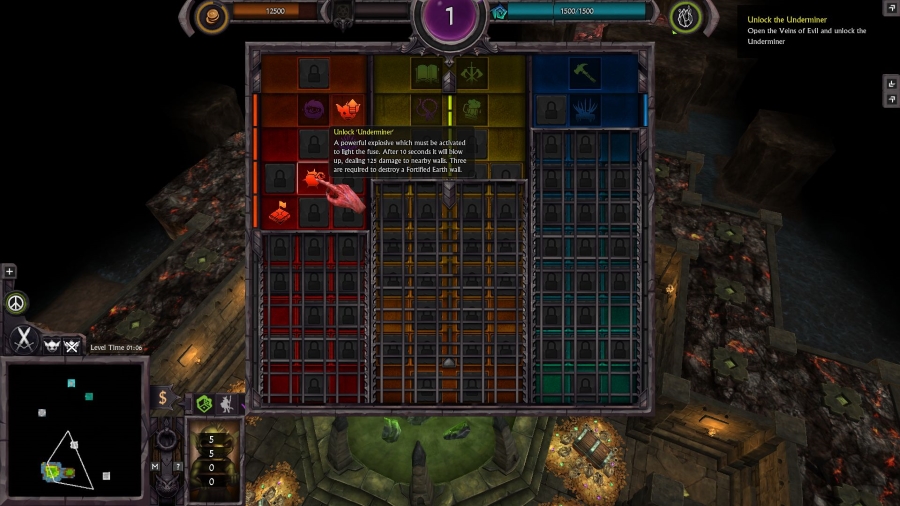
This mission, we're unlocking the Underminer, which is our first Construct. Constructs are a new feature in War for the Overworld. They are devices that your workers can build anywhere in your territory or on neutral territory. This one is pretty situational. After constructing it and triggering it, it will explode, destroying any surrounding brimstone tiles, and seriously damaging enemy dungeon walls. It's useful if you're trying to get into an enemy dungeon or a hero fortress that doesn’t have an entrance, but that rarely comes up.
But we need it now! So let's use this thing.
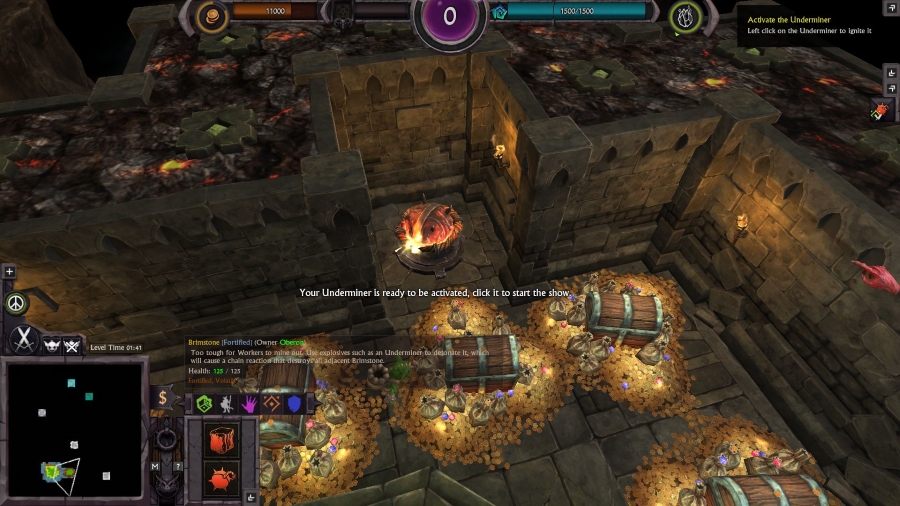
Your Underminer is ready to be activated, click it to start the show. Ah, I should have mentioned, Brimstone is a fairly volatile substance.
Blowing up a brimstone tile will also blow up any adjacent Brimstone tiles, starting a chain reaction. It's kind of a shame, because it would have been quite useful to have our dungeon core surrounded by impenetrable stone.
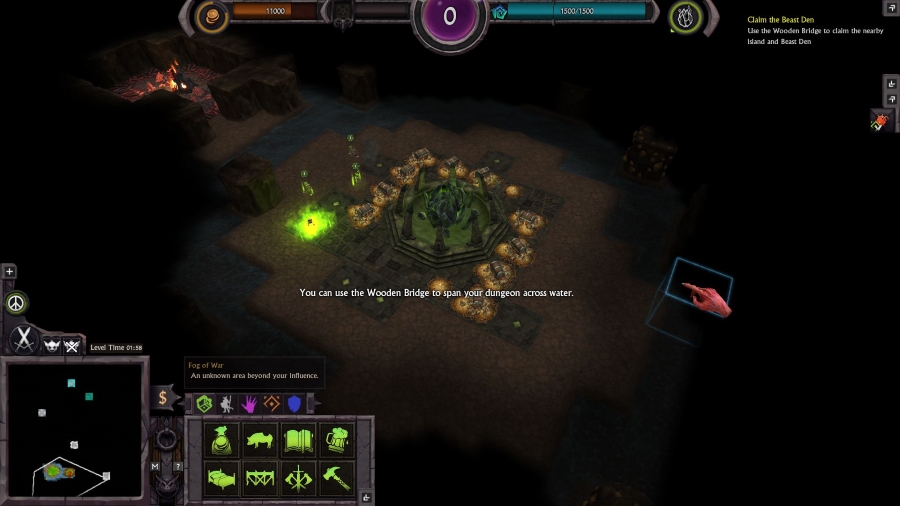
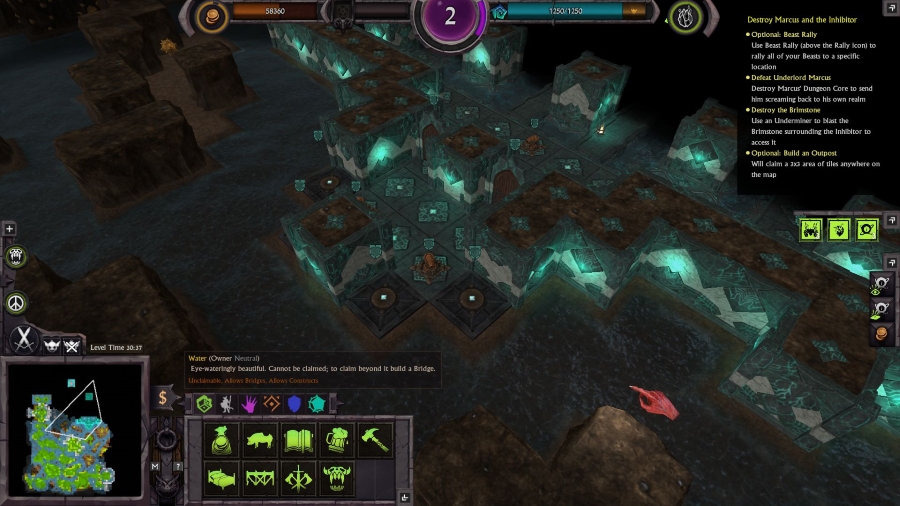
We've cleared away the brimstone, but it turns out that we were also surrounded by water!
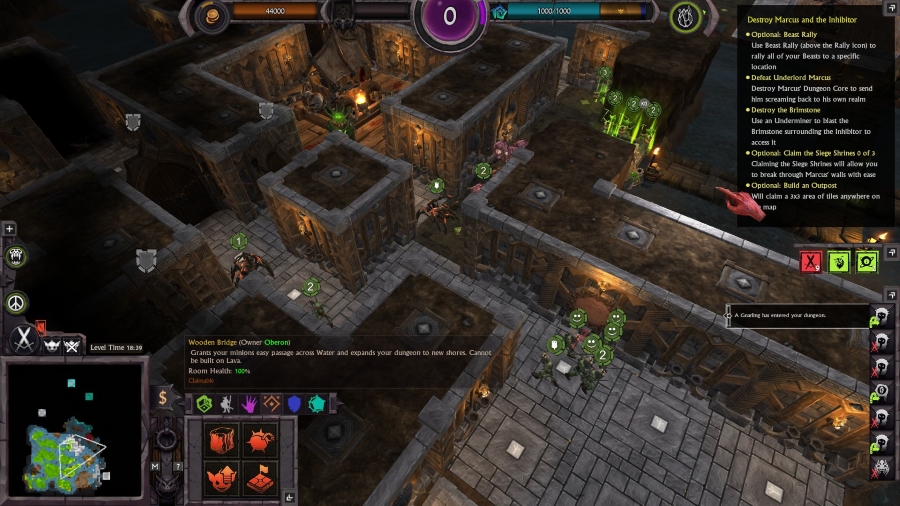
You can use the Wooden Bridge to span your dungeon across water.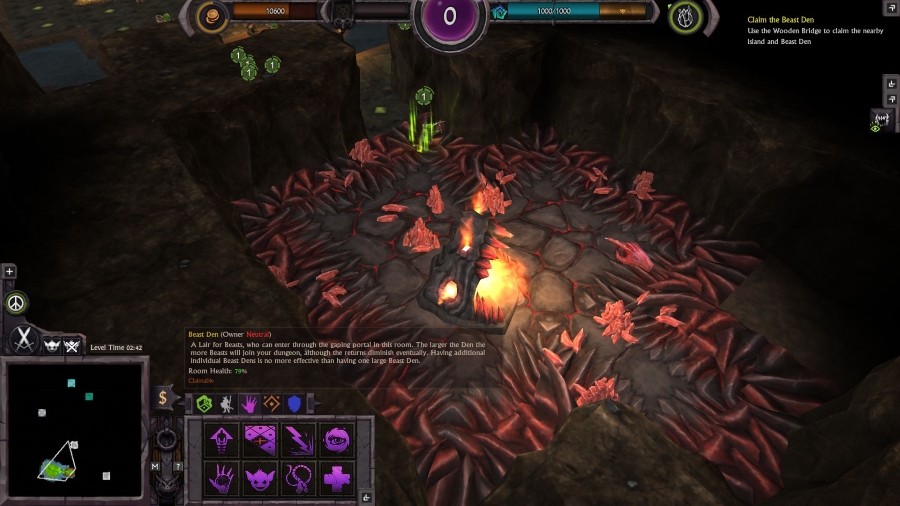
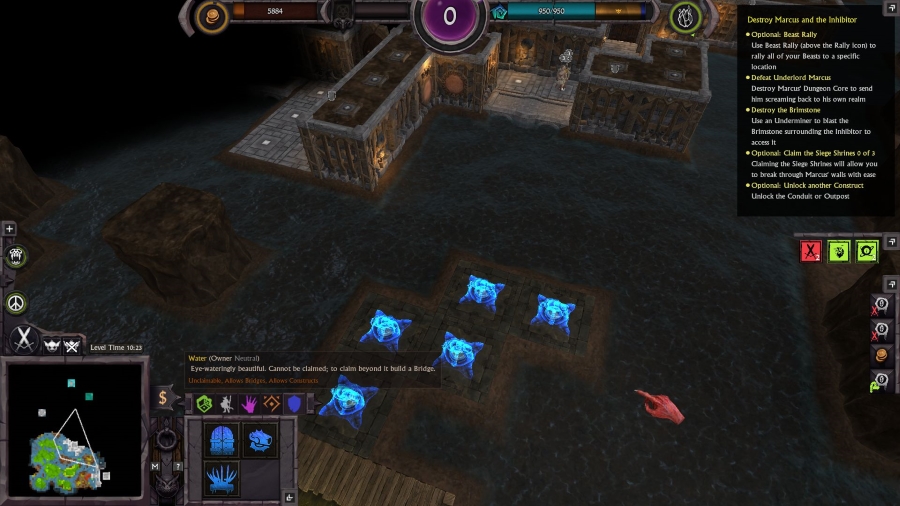
I build a bridge to the east, where there is a new type of room for us to claim: the Beast Den.
This room will allow bloodthirsty Beasts to enter your dungeon. Unlike normal minions, Beasts cannot work nor train themselves in your Barracks… they wish only to strip the flesh from your enemies. In addition, they do not require payment or a Lair, and they are more than happy to eat Micropiglets straight from your Slaughterpen. However, these unfortunate creatures care not for their own lives, and will fight until their last breath… they cannot be saved if they fall in battle.The beast den is an interesting addition to the game. Normally, your monsters are a pretty significant investment. You have to build rooms to attract them, then house them, feed them, train them and pay them. Losing a bunch of high level monsters is quite a setback. Beasts, on the other hand, are totally disposable cannon fodder. The beast den is very cheap to construct, and will attract a large number of beasts relative to its size. However, the beasts are weaker than proper monsters such as gnarlings, and if they lose a battle they just die immediately instead of getting knocked out.
After seizing the beast den, we spawn our first beast.
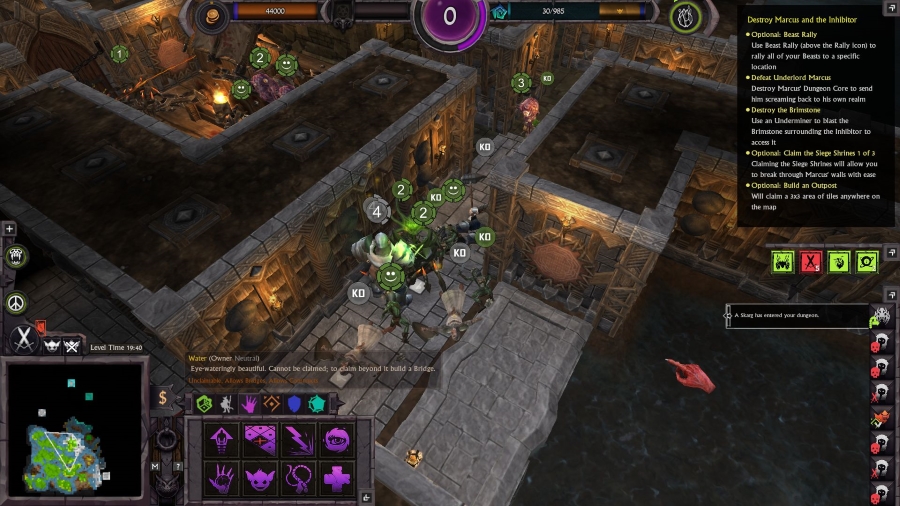
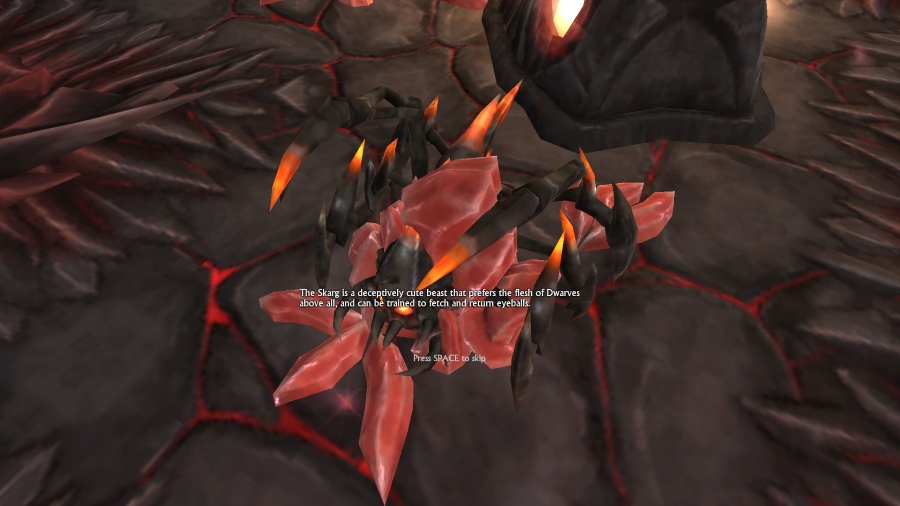 The Skarg is a deceptively cute beast that prefers the flesh of Dwarves above all, and can be trained to fetch and return eyeballs.
It's a
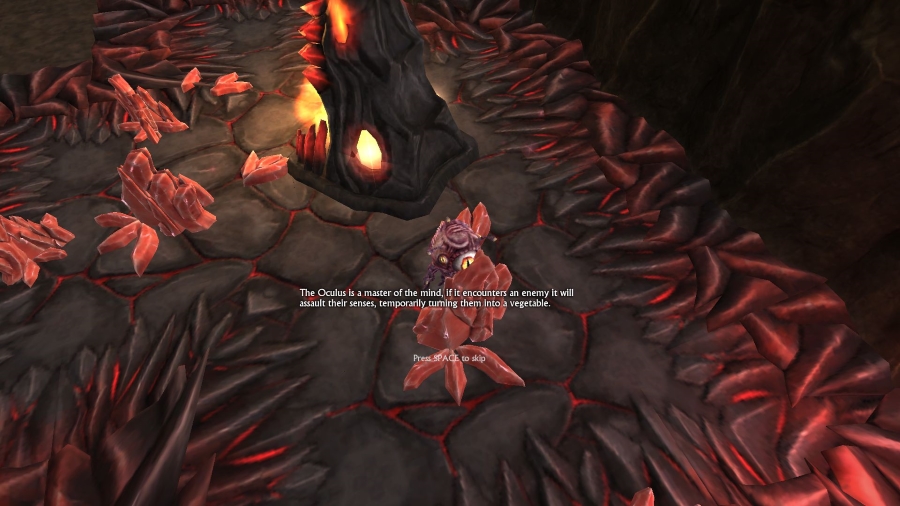 The Oculus is a master of the mind, if it encounters an enemy it will assault their senses, temporarily turning them into a vegetable. Outside of battle, the Oculus will explore the depths of the Underworld, relaying back what it sees to you… and to its eldritch hivemind.
My beasts have a bad habit of spawning inside crystals. This is another beast, the Oculus. They're worthless for fighting, but luckily that's not what they're for. Oculuses… oculi? Fuck it, beholders will spend their time flying randomly around the map, making them very useful disposable scouts.
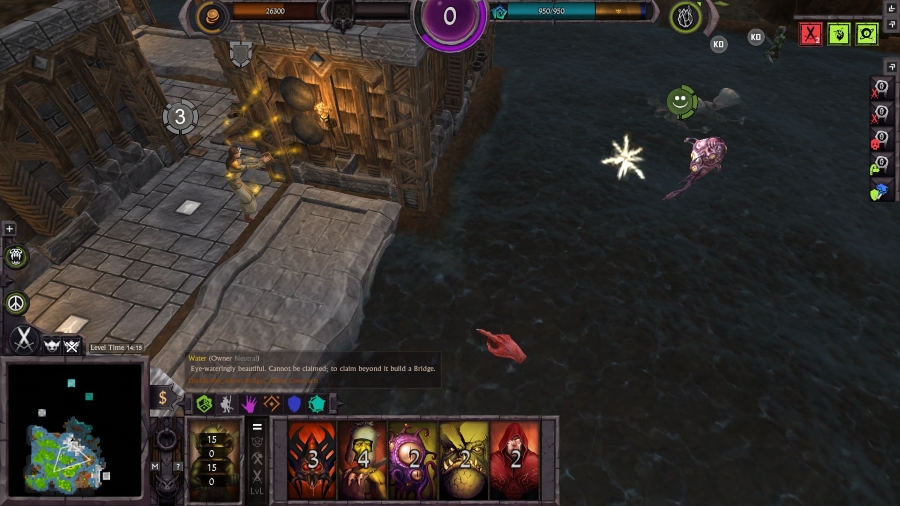
Unfortunately, they tend to get into trouble doing this. The beholder has just found a small hero fortress to the east, and is now about to get pummelled. We are separated from the fortress by the water around our base, and the heroes seem to be in no rush to attack us. This is fortunate, as we only have one skarg and a couple of beholders.

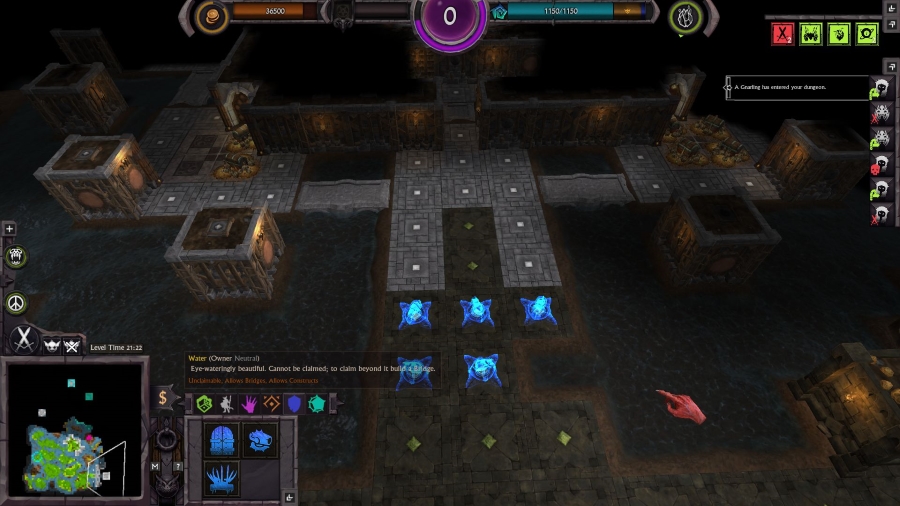
Meanwhile, the workers have found a gold shrine! Looks like this'll be another mission where money doesn't matter.

With my newfound wealth, I build up the dungeon. This layout with lots of water everywhere makes it difficult to fit in large rooms like the training barracks, so I just clearcut the map around the dungeon core to maximise my building space. This is a bad idea for something like the foundry, which gets a productivity bonus from having adjacent walls, but if you're just building bedrooms or pigstys, it doesn't really matter. Theoretically, this would be a bad idea for a training barracks if you want your monsters training in it. But I have a better plan for how to train our monsters.

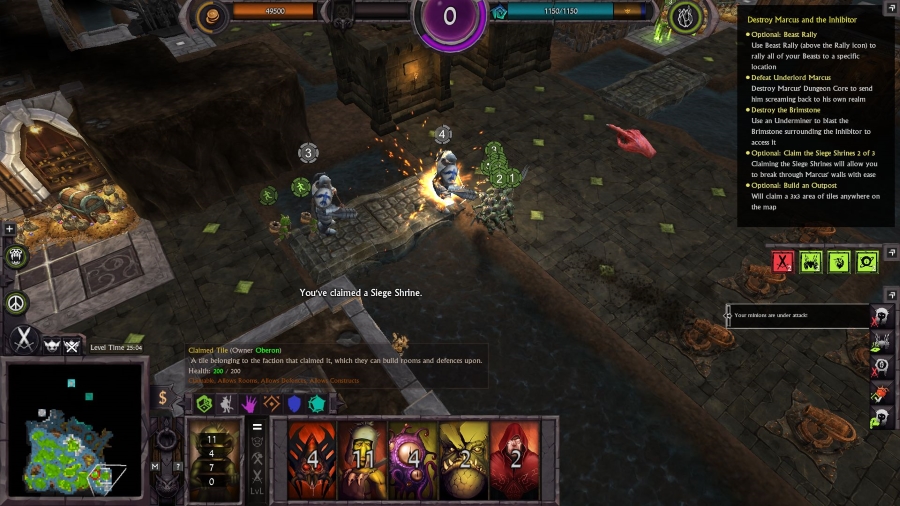
I couldn't show this off in the last map because the game deliberately prevents you from claiming tiles near the heroes' fortress in that map. But generally, I'm not a big fan of using traps defensively when you could be using them to lay siege! Building a block of cannons near the enemy fortress before you attack will make any fight with the defenders go much more smoothly. I'll wait for these cannons to complete before building a bridge to the hero fortress.
In the meantime, our beholders keep getting into fights that they can't win.
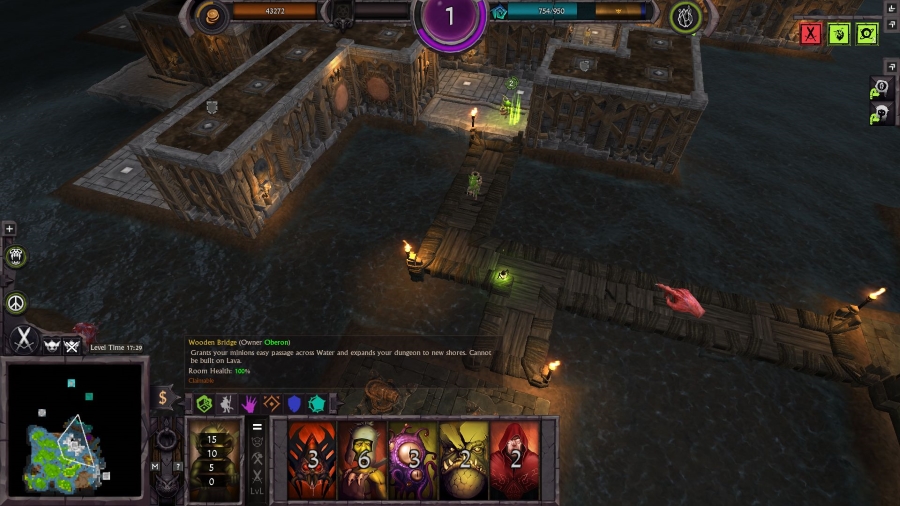
Once the cannons complete, I build a bridge across the water. Our workers immediately get to work claiming tiles on the other side.
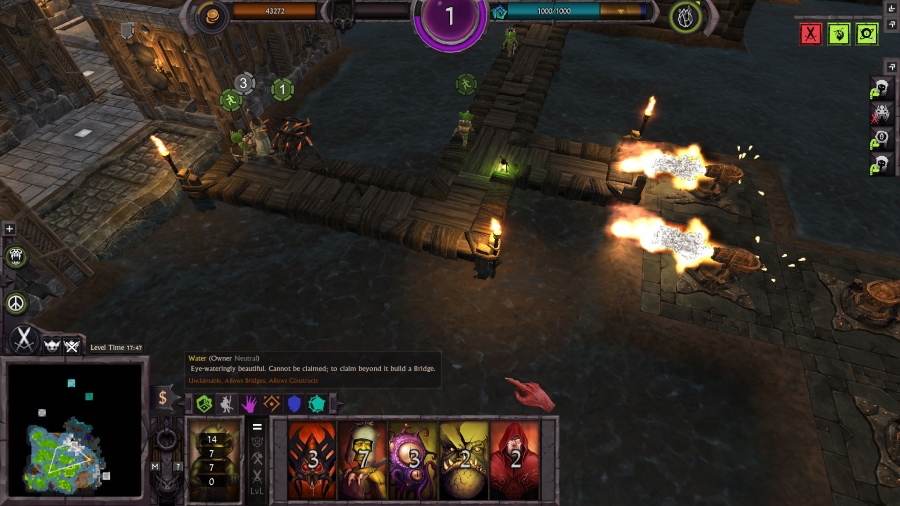
A single priestess comes out to fight. But now with the cannons backing them up, our suicidal beasts do a lot better.
No more heroes come out, so I move in the rest of our monsters. It turns out the siege cannons were totally unnecessary, as this tiny fortress is almost undefended.
We finally run into some token resistance, but it's not very convincing. It's frankly a little embarrassing.
While our monsters clean up, I move on to the fortress to the east. This looks like a much larger structure, so I start work on siege cannons.
The cannons complete, and our workers start claiming tiles. A few guards show up, but the cannons and our monsters easily wipe them out.
I don't even bother with the siege cannons for the third fortress. It's clear that the heroes here are no threat to us. But the heroes aren't our real enemy here.
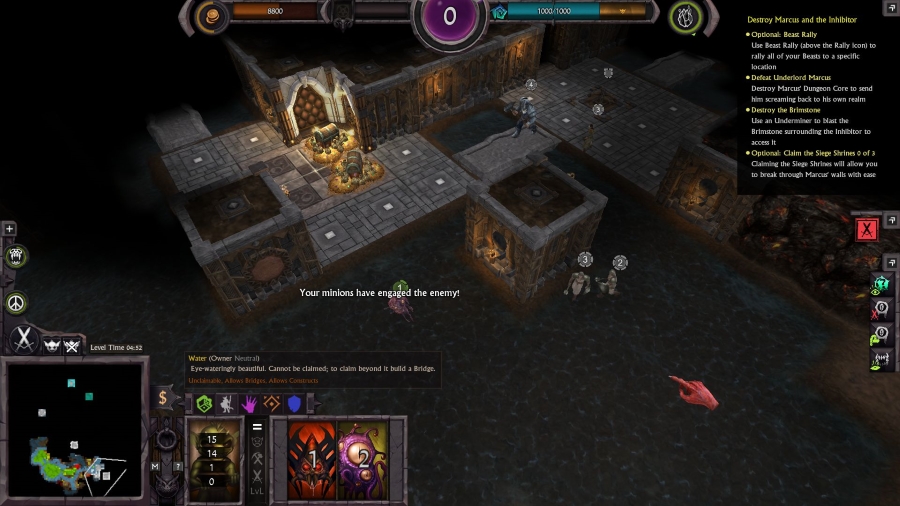
This is Underlord Marcus' dungeon. The entrance is protected by several layers of cannons and blade traps. It's going to be a pain to get through here. Also, why is his dungeon so much snazzier than ours? I want some of those coloured LEDs!
I build the bridge and send in the beasts and the gnarlings. That sparkling thing in the middle is a new construct, the Conduit. Conduits make our workers dig and claim tiles faster, which is extremely handy when you're fighting other Underlords, for reasons which will become apparent.
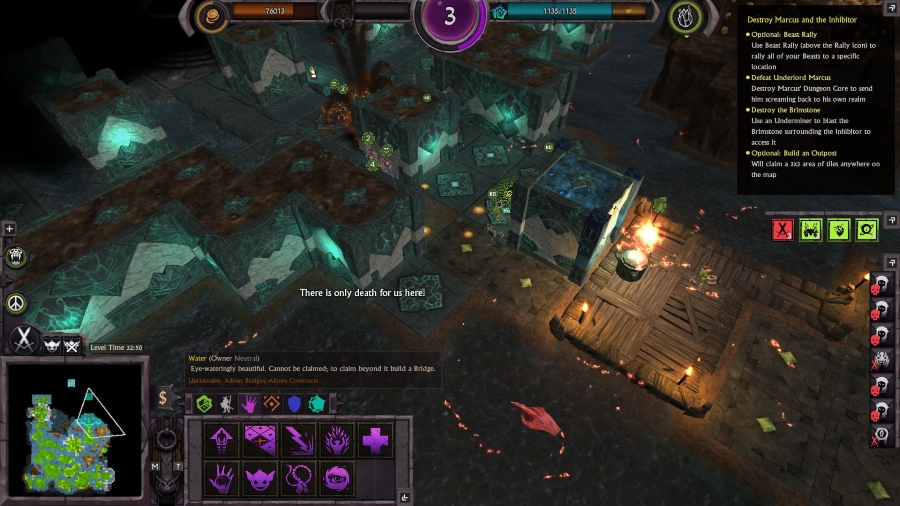
Strangely, Marcus isn't sending his own monsters out to defend, so we take out his defenses without too much trouble. However, all his workers are coming out now to try to reclaim the tiles that we are claiming inside his base.
 There is only death for us here. Withdraw your minions immediately!
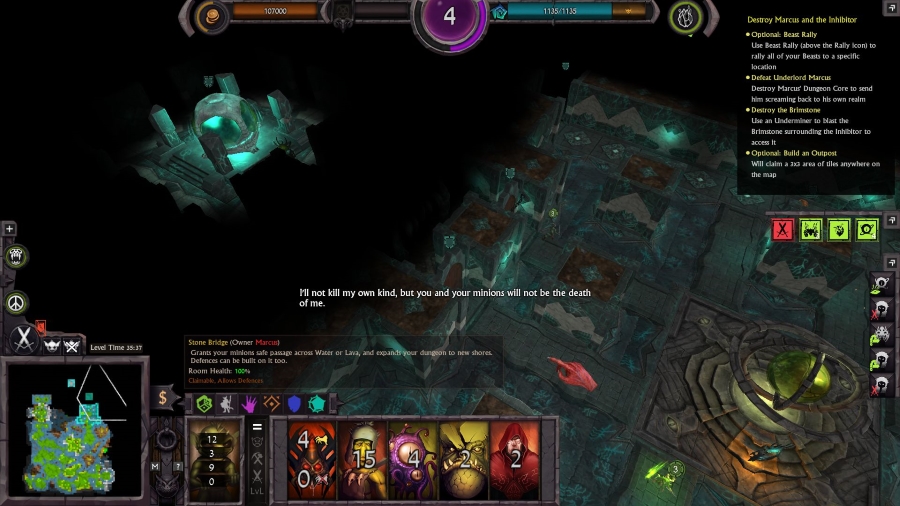
Apparently, Marcus is trying to repel our assault by asking us to leave. While innovative, it's not a very effective strategy. We're rapidly approaching Marcus' dungeon core.
I'll not kill my own kind, but you and your minions will not be the death of me.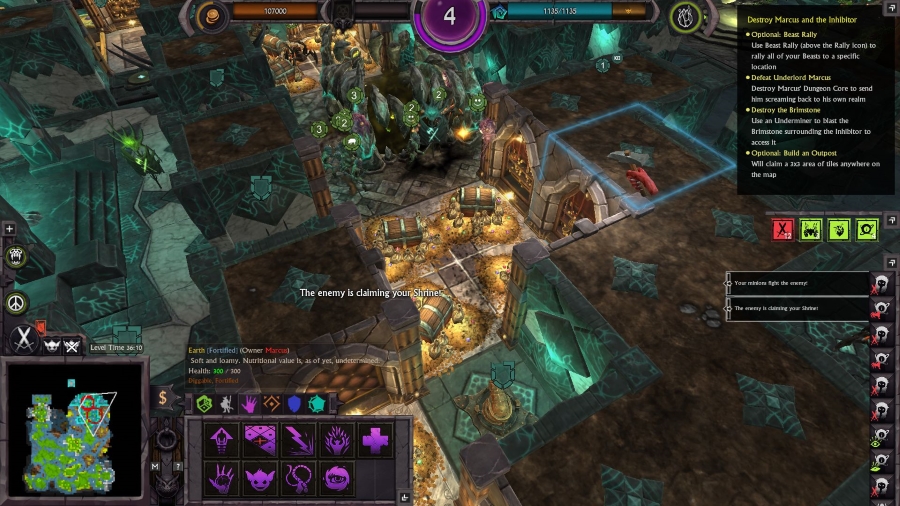
Our monsters breach the door to Marcus treasure chamber. The area around his dungeon core is covered with cannons and traps, but he's still not sending a credible force of monsters at us.
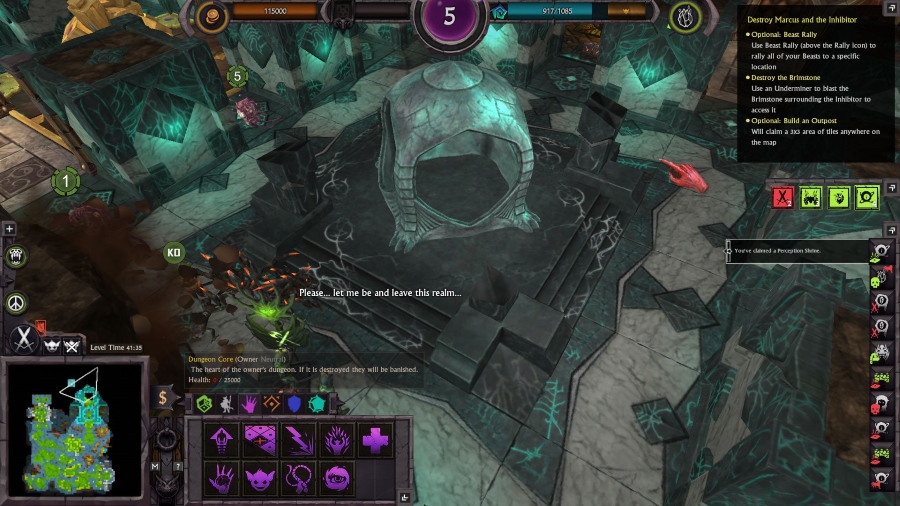
Please… let me be and leave this realm…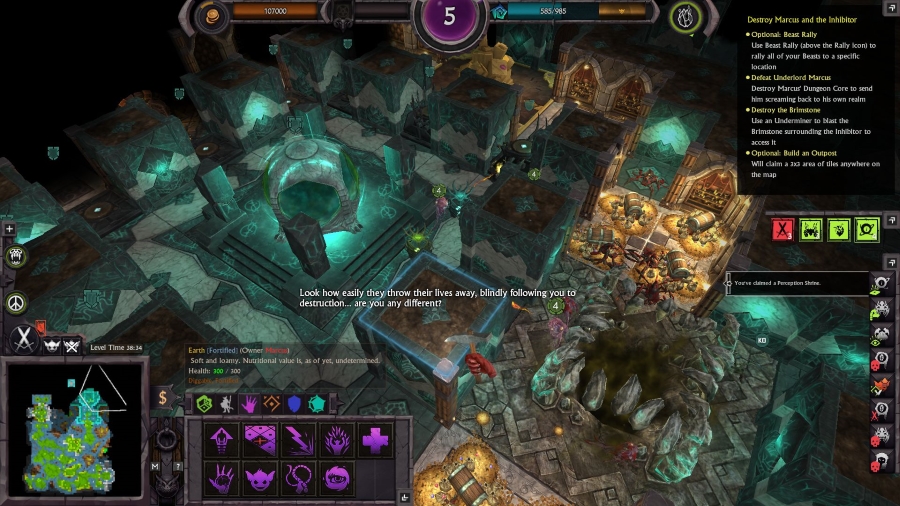 Look how easily they throw their lives away, blindly following you to destruction… are you any different?
 The Aether beckons, can you feel it tugging as I do?
Maybe this strategy of asking nicely worked against the heroes, and that's why they left him alone. But an Underlord should know that mercy is for the weak!
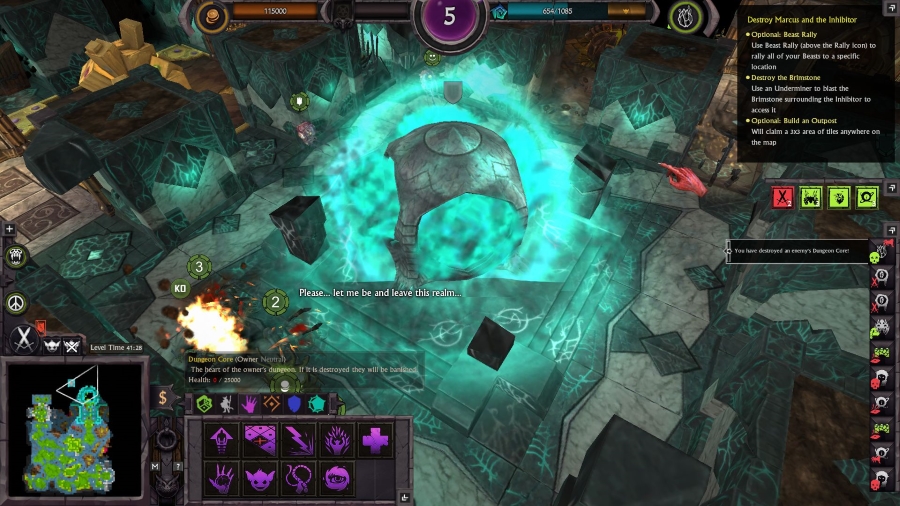
A final blow, and Marcus' dungeon core starts to disintegrate. He manages to get out one final whine.
The light is then snuffed out of his core.
With his core destroyed, all of Marcus' claimed tiles quickly revert to ordinary dirt.
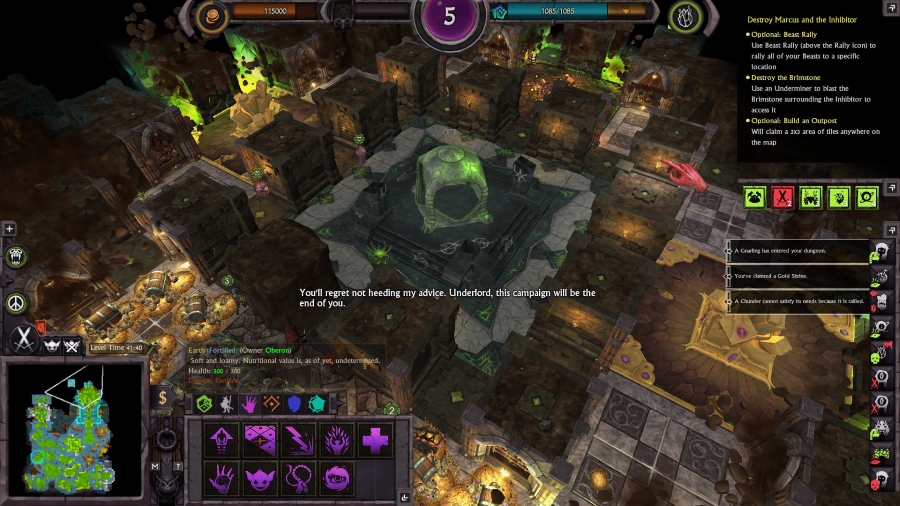
You'll regret not heeding my advice. Underlord, this campaign will be the end of you. Pay no attention to his frightened blabbering…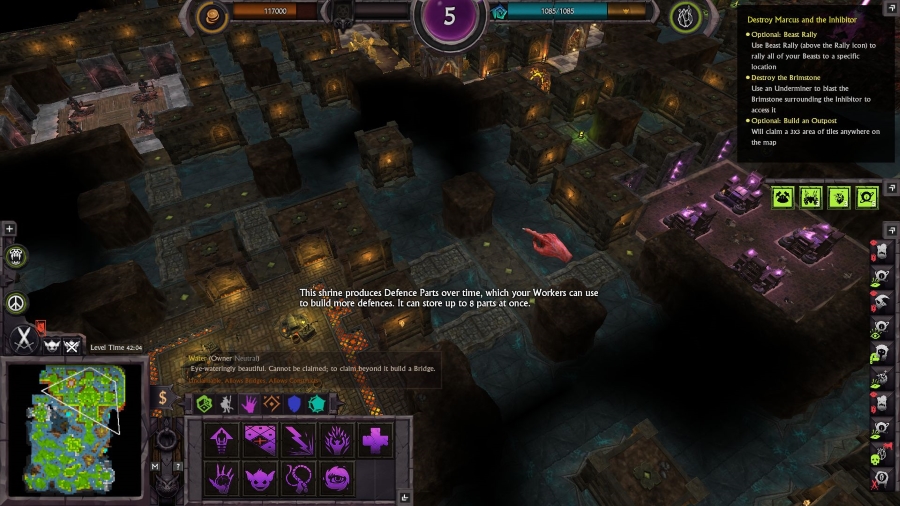
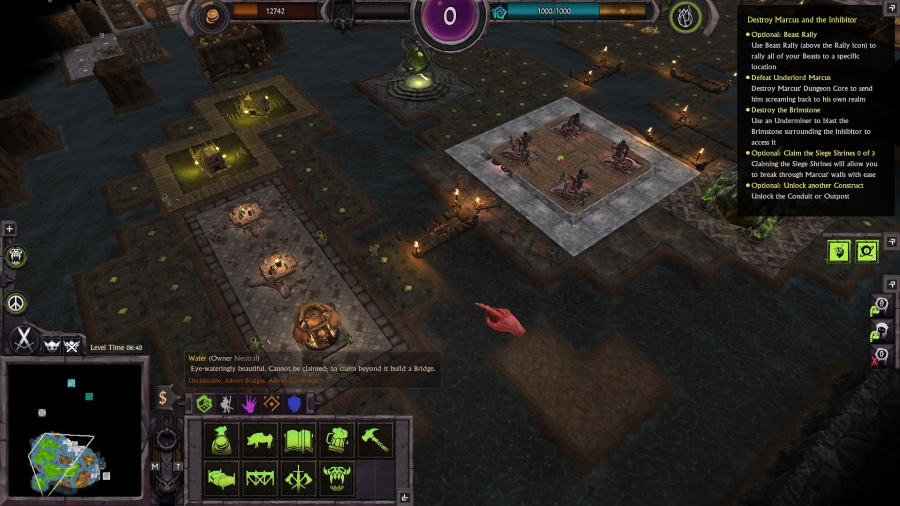
It turns out Marcus had an absolutely huge dungeon. It's hard to understand how he was so weak.
Over here is the inhibitor, protected by brimstone. With Marcus gone, we can easily blow it away with another underminer.
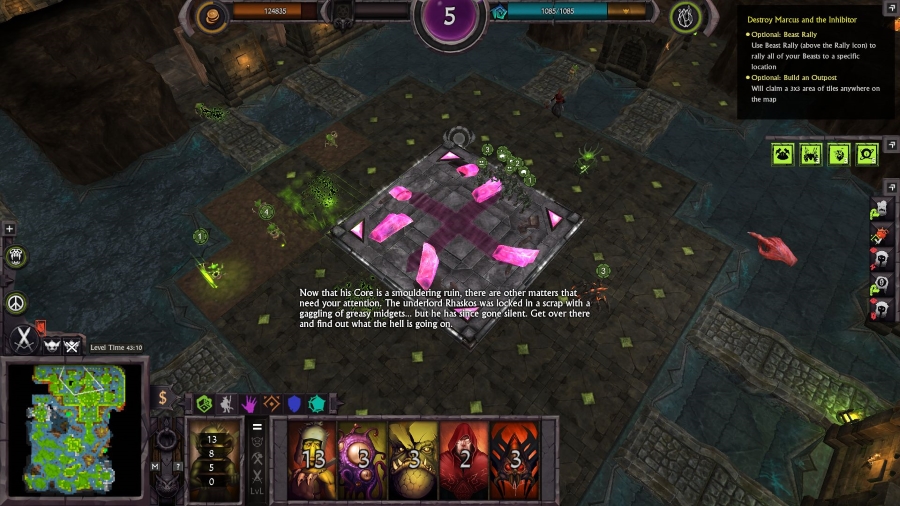 Now that his Core is a smouldering ruin, there are other matters that need your attention. The underlord Rhaskos was locked in a scrap with a gaggling of greasy midgets… but he has since gone silent. Get over there and find out what the hell is going on.
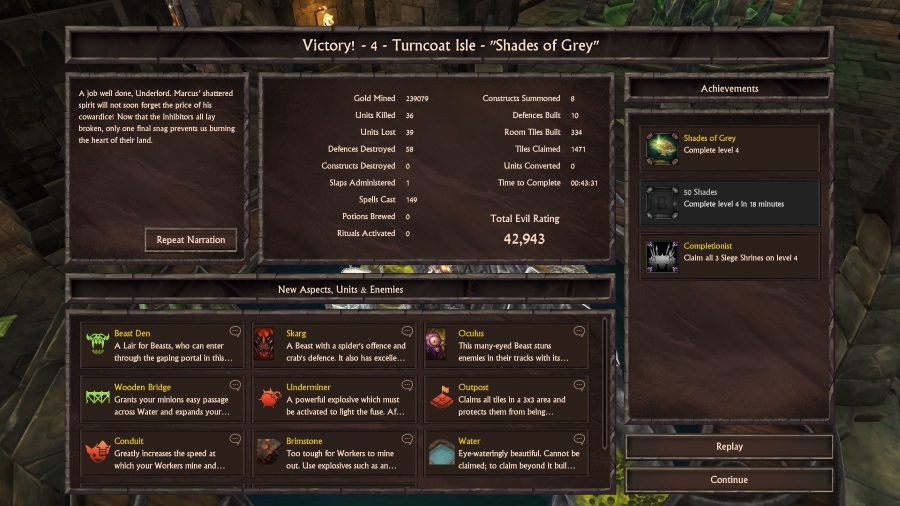 A job well done, Underlord. Marcus' shattered spirit will not soon forget the price of his cowardice! Now that the Inhibitors all lay broken, only one final snag prevents us burning the heart of their land.