Part 2: The Basics of White Knight Chronicles

For Chapter 1, there’s jack-all that’s relevant for what we’re doing, but I’m gonna go over the basics for now just so I don’t have to do it later.
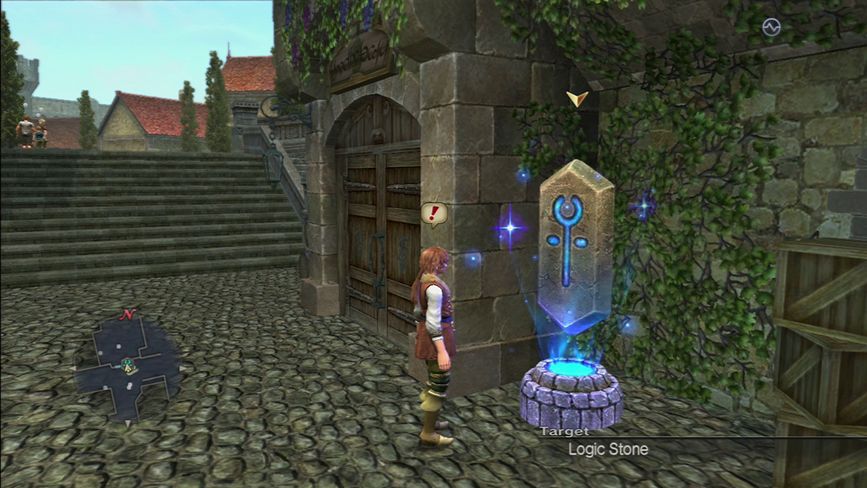
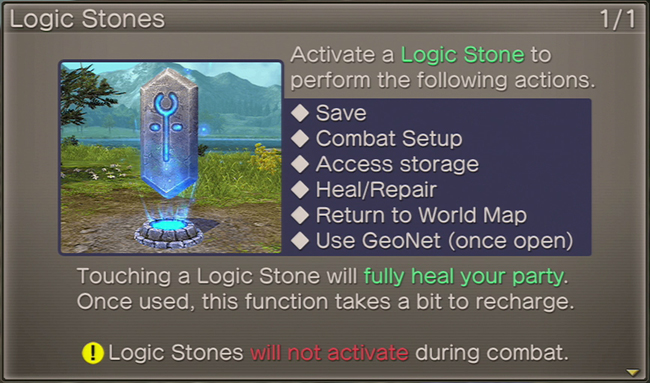
To start off, these are our save points. They’re called Logic Stones. There's usually about three of four in any given location, and they’re incredibly hard to miss. All you need to do is walk up to one, and press the X button after you auto target it.
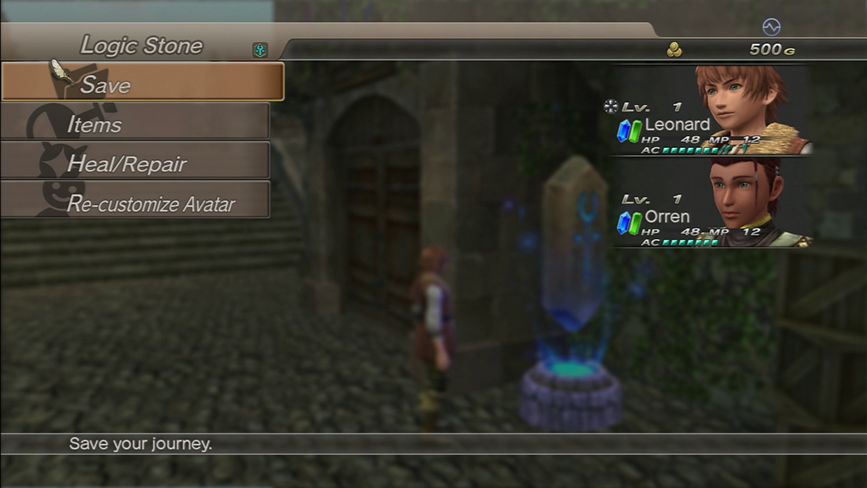
Here’s the Logic Stone menu. You’ve got four options, Save, Items, Heal/Repair, and Re-Customize Avatar. Technically it’s only three options, but I’ll get to that.
Save – Pretty self-explanatory. This is where you save your game progress. Selecting save brings up the typical PlayStation 3-style save data screen. Nothing worth noting…
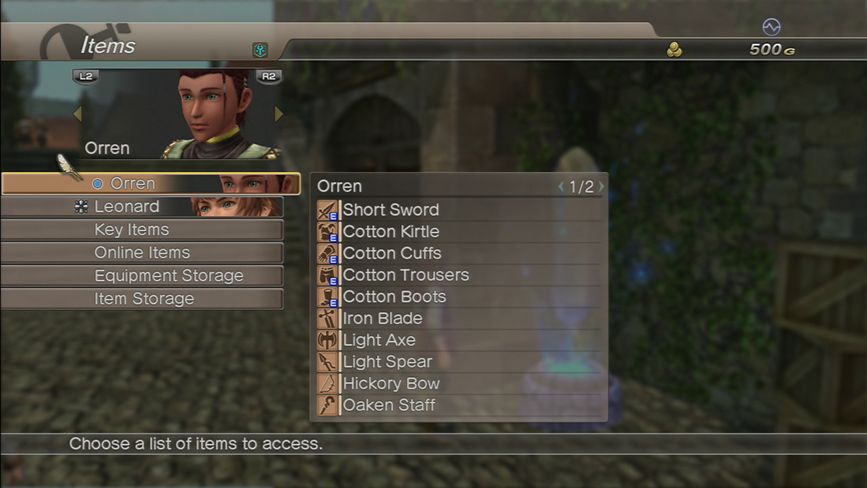
Items – This part is really only applicable out in various fields as in towns you can do this anywhere. While out in a field area, Logic Stones allow you to withdraw and deposit weaponry from characters’ personal item bags to/from the general storage area and other characters’ item bags, which you can see there under “Equipment Storage” and “Item Storage”.
Weapons, armour, and accessories are stored under “Equipment Storage” and consumable items and loot/materials are stored under “Item Storage”.
Each character can hold up to 20 individual items, and quantities of up to 10 consumable items (which take up a single item slot).
Key Items are storyline-based items. It's plot coupon storage.
Online Items are items related to the now-defunct online portion of the game. It's where the things purchased from the PlayStation Store are kept. There’s nothing here worth explaining right now. Basically, anything you buy from the PS Store you buy at your own discretion because a lot of it is just rip-off bait.
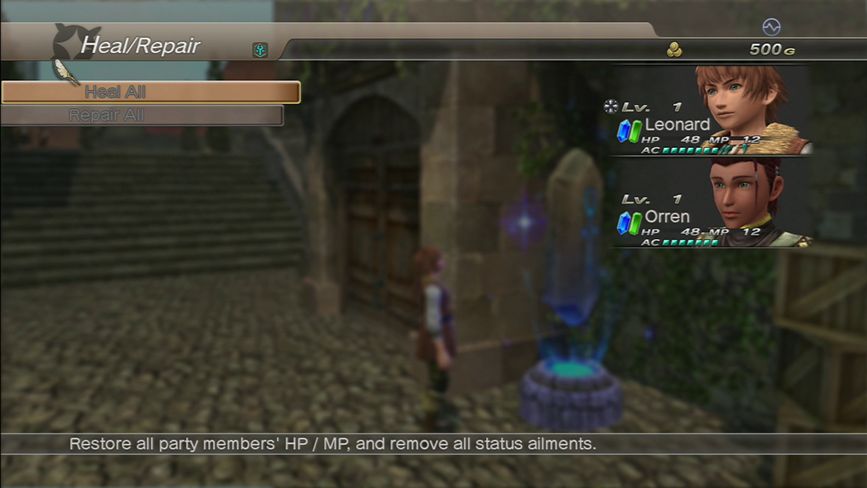
Heal/Repair – You can heal your characters and repair your weapons/armor at Logic Stones. You need to pay cash to do it, but still. Often times, the Logic Stone will automatically heal you and restore your MP if you just walk up to it and open its menu. I’ll cover equipment wear and tear when we get to the section of the game where it’s discussed.
Since Leonard and Orren are both at full health and their equipment is in proper order, both options are grayed out at the moment.
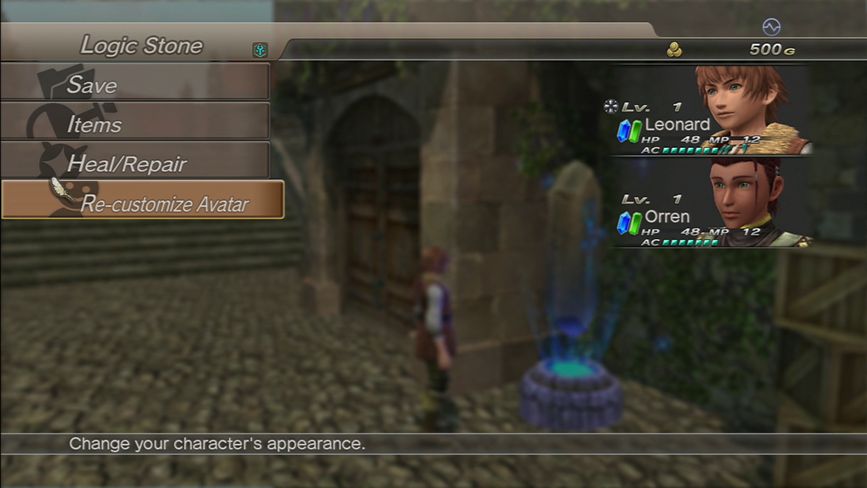
And lastly, Re-customize Avatar – Again, more rip-off bait from White Knight Chronicles’s failed micro-transaction economy. In order to re-customize your Avatar’s physical appearance in any way, you need to buy either a Makeover Ticket or a Full Makeover Ticket from the PlayStation Store, which will run you about $5 and $10, respectively.
A simple Makeover Ticket lets you redo your Avatar’s appearance. A Full Makeover Ticket lets you redo their appearance and resets all their learned skills, allowing you to start over from scratch.
Again, both these things are RIP OFFS and were designed purely to try and drag the game kicking and screaming into profitability along with every other piece of on-disc DLC up on the PS Store. And wouldn’t you know, it failed miserably.
Nice try though, Level-5 / D3.
…Moving on.
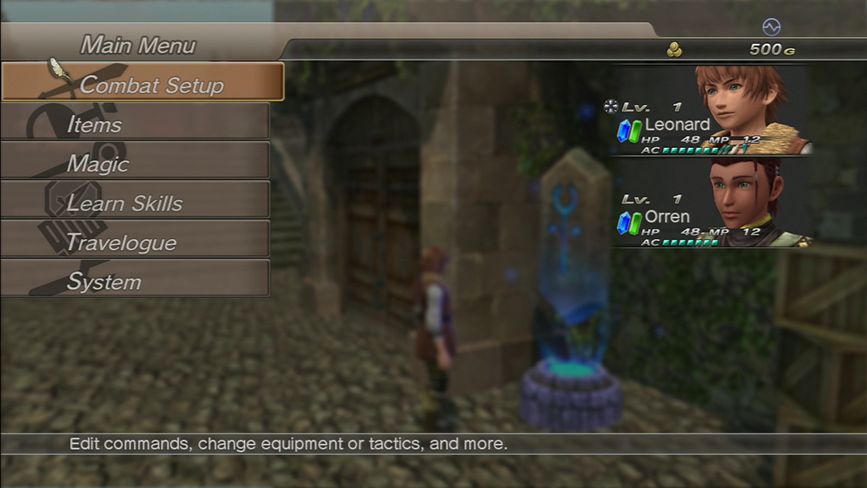
So here we are in the actual menu of White Knight Chronicles. This can be accessed any time except while in combat by pressing the Triangle button. You see here we’ve got six options available: Combat Setup, Items, Magic, Learn Skills, Travelouge, and System.
Current party members are shown on the right hand side of the screen, along with their present status and level. Right now all we have is Leonard and Orren, with the space for the third party member presently vacant. But that’s coming.
Let’s take a peek inside Combat Setup first.
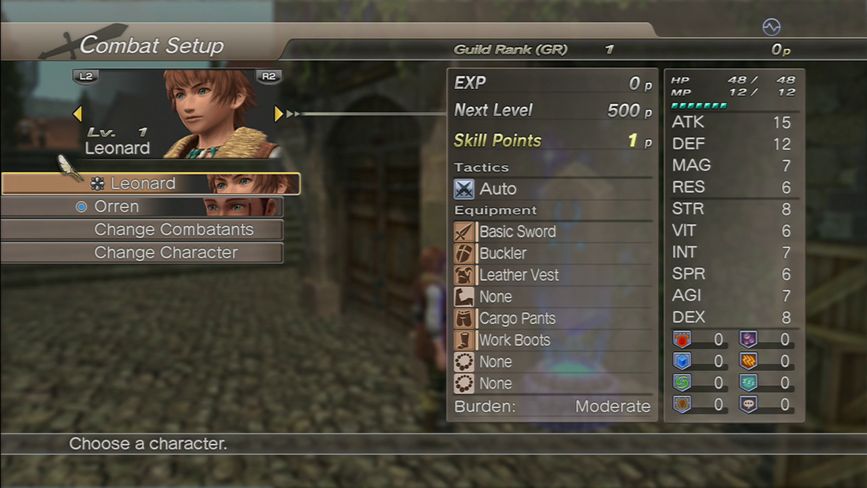
The entire party is listed in the menu on the left. Again, this will fill up with characters as we progress through the game. Individual character stats are shown on the right. You can select each individual character by pressing the X button over their tab.
A blue circle in front of a character’s name denotes active party members. The silver cross in front of Leonard’s name means that he is the current party leader. He’s the character who you control in battle and is the character who represents your party while inside a town.
You can see two different options at the bottom there: Change Combatants and Change Character. Change Combatants lets you swap out party members. Change Character lets you change party leaders.
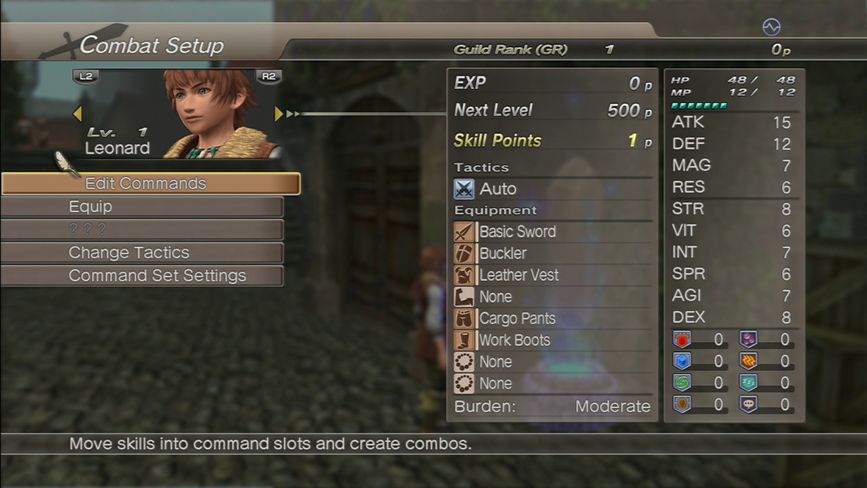
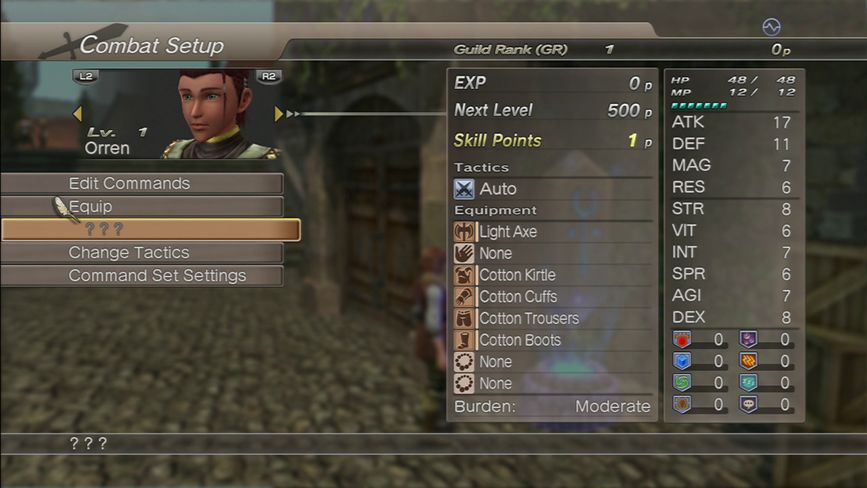
Going into a character’s tab opens up yet another menu. Here we’ve got five options: Edit Commands, Equip, ???, Change Tactics, and Command Set Settings. You can quickly flip between each character’s specific equipment page by pressing the L2 and R2 triggers on the DualShock3 controller.
In the two panels on the right you’ve got the character’s current experience levels, EXP till level up, current skill points, their current AI battle tactics, and their equipment load out. In the far right panel is their HP and MP, their available Action Chips or AC, and their stats.
ATK (Attack) = Weapon attack power
DEF (Defense) = Equipment defensive power
MAG (Magic) = Weapon magic attack power
RES (Resistance) = Equipment magic defensive power
STR (Strength) = Base strength (contributes to attack power)
VIT (Vitality) = Base defense (contributes to defensive power and HP)
INT (Intelligence) = Base magic attack power
SPR (Spirit) = Base magic defensive power
AGI (Agility) = Character speed
DEX (Dexterity) = Evasion stats
The coloured icons below that are your elemental and status effect resistance levels. The higher those numbers are, the less you will be damaged by / effected by these types of attacks. Going down column-by-column: red is fire, blue is water, green is wind, brown is earth; purple is poison, orange is paralysis, light blue is sleep, and gray is silence.
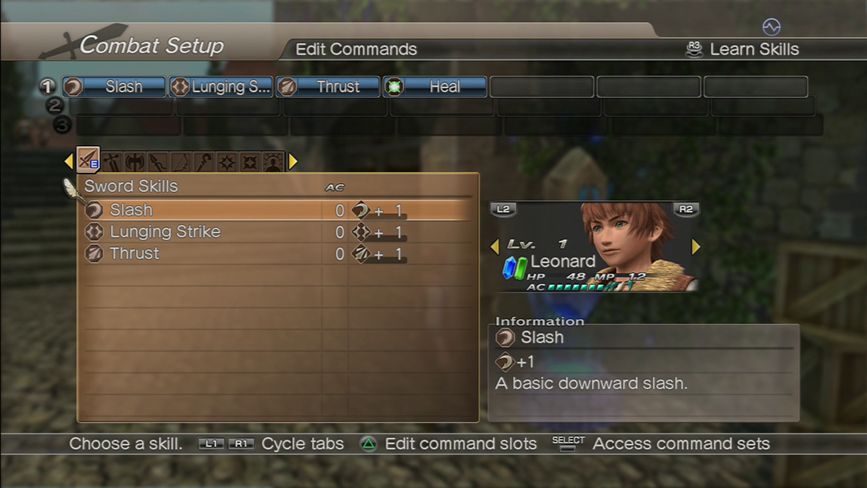
This is the Equip Commands page. This is where you customize what skills you intend to use in battle for each character, as well as (in theory) customize what skills the AI controlling characters 2 and 3 will be using… If the AI wasn’t completely incompetent. But more on that later.
What you see at the top of the screen is the Command Bar, an obtuse and unwieldy thing that pops up when you enter combat mode. Again, more on that to come.
You’ve got three rows of seven slots available, allowing for 21 usable skills per character. Unlike a lot of other things in the game, this part doesn’t scale, so you will quickly find this entire menu filled up in short order as you learn new skills. And there are a CRAP TON of skills in this game, so you’re really going to feel the pinch when it comes to prioritizing skill selections.
But back in the here-and-now, Leonard only has four skills available to him: Slash, Lunging Strike, Thrust, and Heal, which are all equipped in bar one. The first three are short sword skills. They can only be used if Leonard has a short sword equipped. If you change his equipped weapon to, for instance, a long sword or a bow and arrow, these skills become useless and you have to go in to the menu and replace all his short sword skills with skills corresponding to his currently equipped weapon. It’s tedious and terrible and is a major reason I try to play each character with as close to their default weapon type as possible.
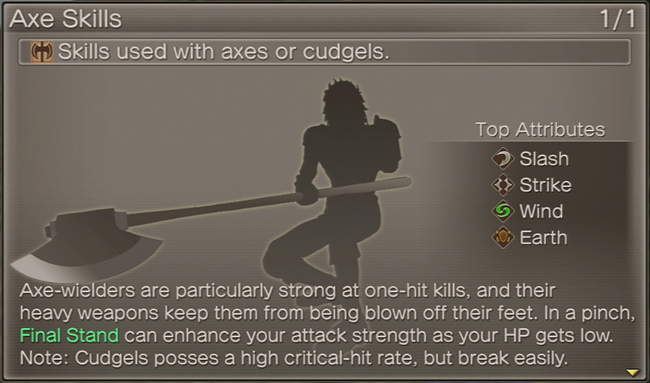
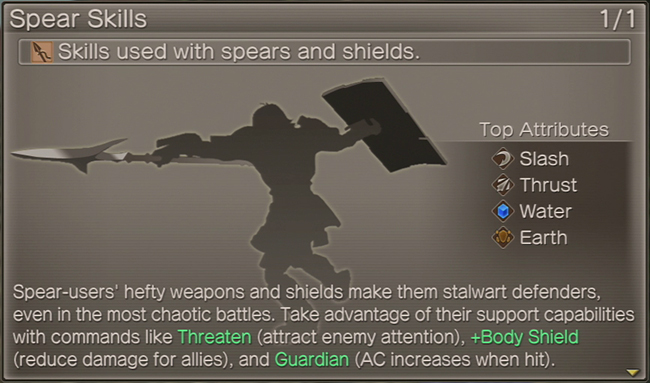
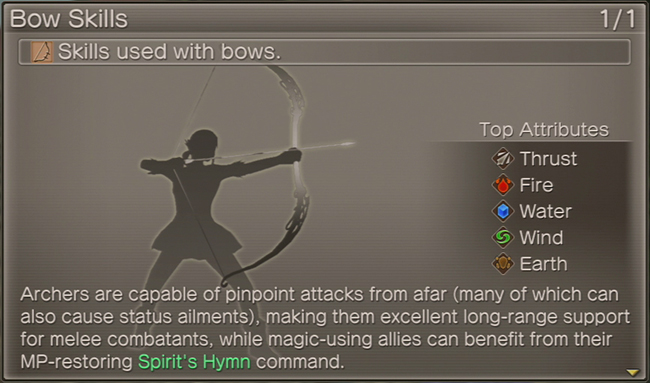
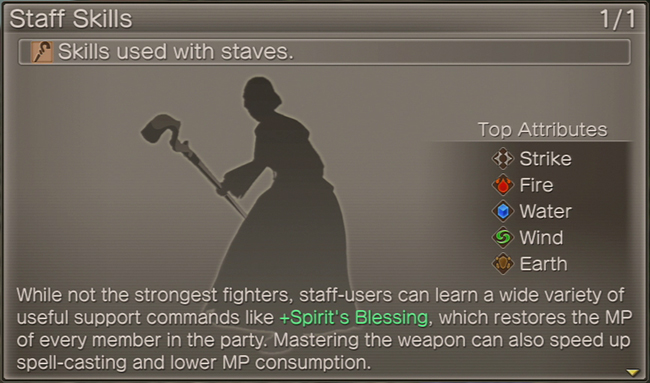
As you can probably make out along the mid-screen tab there, there are nine tabs total: short sword skills, long sword skills, axe/hammer skills, spear skills, bow and arrow skills, staff skills, offensive magic, healing magic, and combos.
Every skill a character has learned appears in its respective tab. Pressing the X button over the skill lets you set it where you want it to go on the Command Bar. If you press the Triangle button, you can replace a skill on the Command Bar with whatever skill you have currently selected. Pressing the L3 button automatically takes you to that character’s Learn Skill page, which I will be covering in just a moment, so keep your pants on.
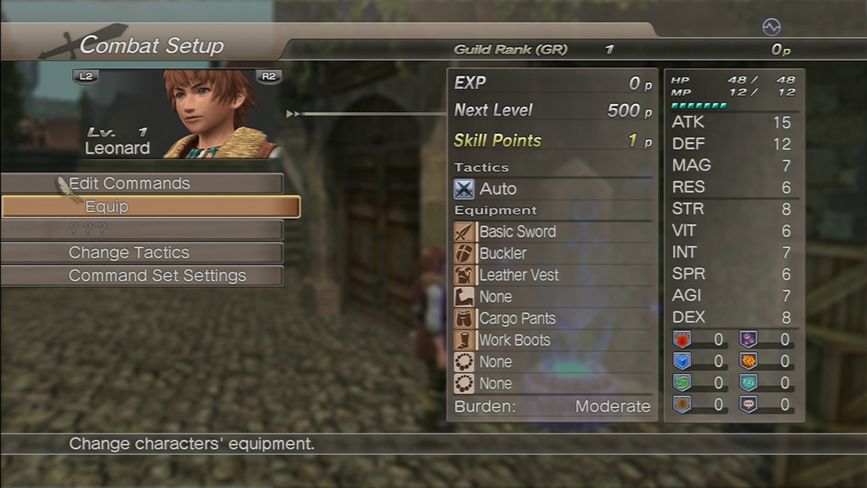
Next up is the Equip tab. This is where you manage character equipment.

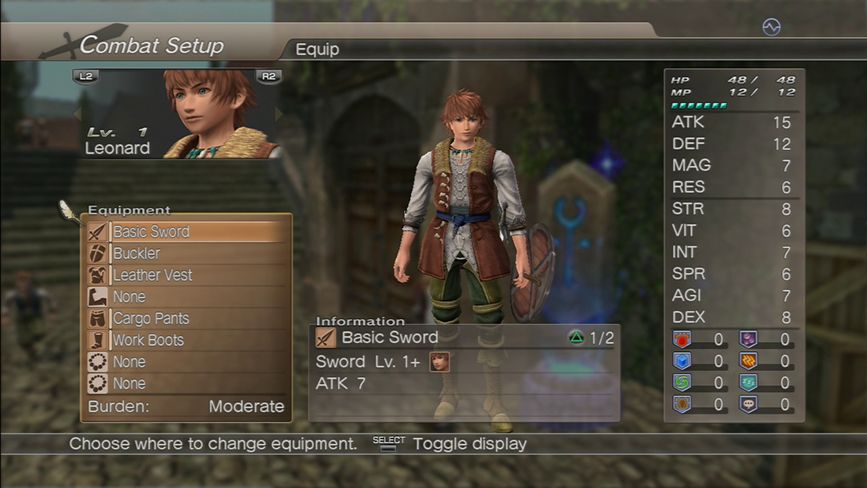
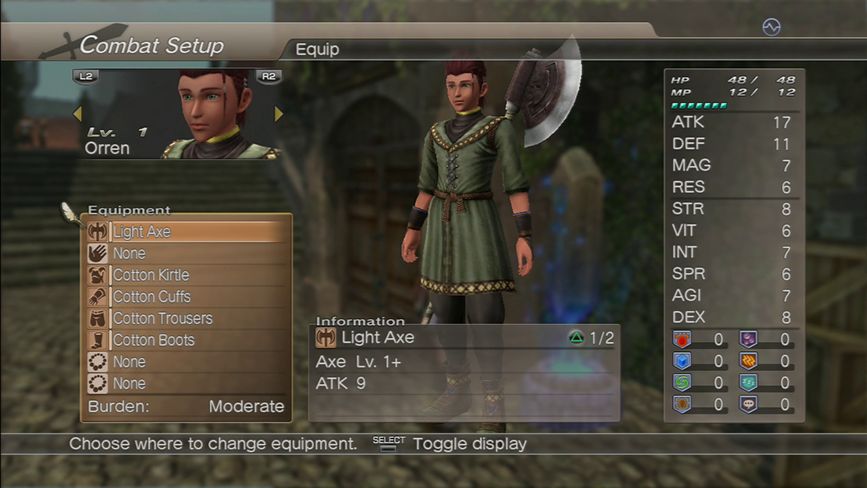
In this screen you’re presented with the character’s equipment loadout, their stats, and a depiction of their current weapon and armour loadout. Armour choices are by-and-large persistent throughout the game, meaning whatever you have equipped is what the characters will be wearing in like 90% of the game’s live-rendered cutscenes. As such, I intend to play the game with all the characters’s default equipment. Expect for Orren, for purely stylistic reasons. Sorry if I’m disappointing anyone.
Here. Here’s the Avatar’s default garb. You really prefer this to that kickass leather jacket and turtleneck? PLEASE DO NOT ANSWER THIS QUESTION SERIOUSLY

Anyway, back to Leonard. You have eight equipment areas: right-hand weapon, left-hand shield, shirt, gloves, pants, boots and two accessory options. All self-explanatory if you’re familiar with any form of modern RPG. Accessories, however, are broken up into four subtypes: earrings, rings, capes, and helmets. You cannot have two of each subtype equipped on a character at the same time, but you can mix and match between them to your heart's content.
Fun fact: the fur collar on Orren’s jacket is actually a cape accessory from an armour set. Again its equipped for purely aesthetic reasons. Which also means its going to mysteriously disappear in certain cutscenes where the game auto-removes characters cape accessories, so just a head’s up.
At the bottom of the equipment panel you can see the term Burden: Moderate. This is the total weight of all your equipment and items in each character’s item bag. There are three stages: Light, Moderate, and Heavy. This effects how quick that character’s ATB gage fills up in battle. The heavier they are, the slower it goes. Different weapons and armour have different weights to them.
For example: a character equipped with standard clothes and a bow and arrow would be considered ‘Light’, a character with a short sword or spear and light armor would be a ‘Moderate’ character, whereas a character with an axe/hammer or long sword with heavy armour would be a ‘Heavy’ character.
In the middle of the screen just at Leonard’s feet is the information panel. This panel shows each piece of equipment’s stats, what it specifically is, and its level requirement, and any other restriction on it. For example: the Basic Sword, Leonard’s default weapon, is a level 1+ sword, meaning if Leonard is any level over level 1, he can equip it. However, you can also see a teeny tiny image of Leonard’s face in the panel there. That means that only Leonard is able to equip that piece of equipment. Usually this only corresponds to things like characters’ default clothing items, or Incorruptus parts/weaponry. Leonard’s Basic Sword is the only weapon that’s locked down to a specific character.
What is this strange grayed out option with three question marks?

Covered in Chapter V
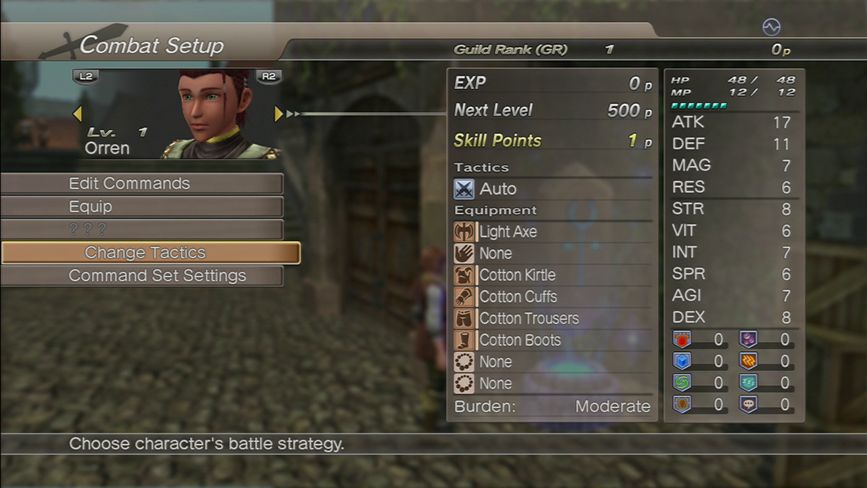
The fourth option is Change Tactics, a by-and-large useless option thanks to White Knight Chronicles’s head-up-its-ass party AI.
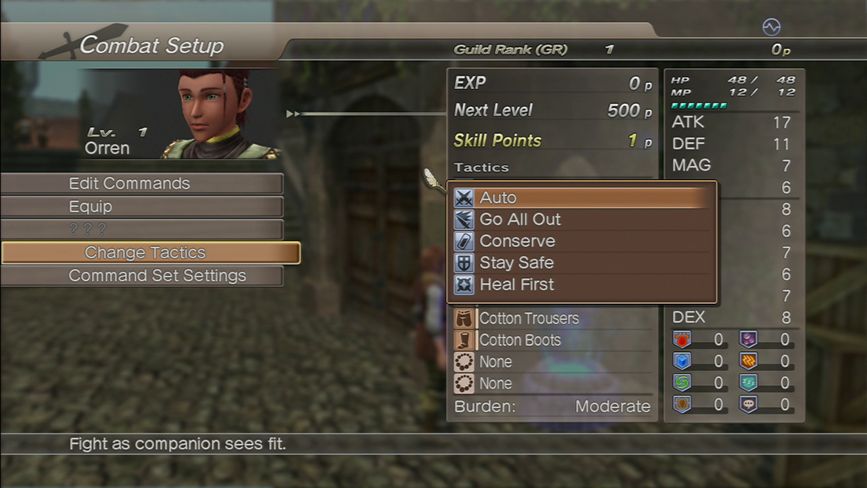
Selecting this brings up five options: Auto, Go All Out, Conserve, Stay Safe, and Heal First. These are instructions for when the AI is controlling a character for how they operate in battle… allegedly.
Auto is the game’s default state. It means characters 2 and 3 will just wail on enemies using default physical attacks. No magic. Because the AI isn’t smart enough to handle magic. Literally. I’m not making this up. Ask ANYONE who has played this game. The AI is useless.
Go All Out transforms the character into a berserker. This is the option you pick if you want them to actually use magic in combat. However, once again the AI is so goddamn
 that it plays “Go All Out” to the T and results in your characters blowing through all their MP and AC as quickly as they can using skills meant to supplement standard attack practices, rather than comprise them.
 Level-5 stole the Ivalice Alliance’s battle mechanics from Final Fantasy XII, but forgot to also take XII’s AI and condition-based Gambit system while they were at it resulting in this parade of ineptitude.
Conserve is an absolutely useless option. It just means that the AI won’t use items or magic. IE: STANDARD PROCEEDURE FOR THE AI!
Stay Safe means the AI focuses on defending and stays out of the fray. They will occasionally cast healing, buff, and debuff spells, but only once in a blue moon if the spirit moves them to.
Heal First is really the only semi-useful option in this list. It tells the AI to prioritize healing spells, which they will actually use, surprisingly. This is really good for people like me who like to rush into things all
 because it means I don’t have to deal with White Knight Chronicles’s obtuse battle menu any more than I have to, nor do I have to pause while my current character takes like 30 seconds to cast a piddly 50 HP healing spell. Heal First got me up one side of this trainwreck of a game and down the other.
Use it.
Love it.
Draw fan art of it.
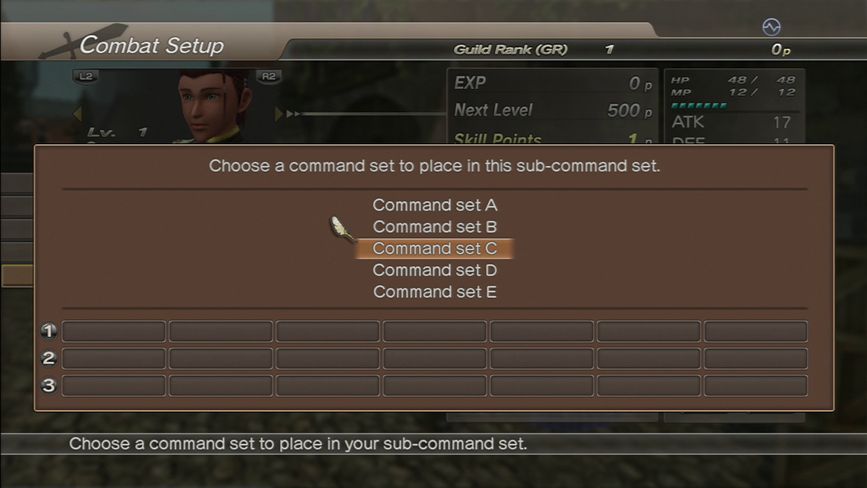
And lastly for Combat Setup is Command Set Settings. This allows you to save up to five specific Command Bar setups and change between them at your leisure depending on the situation.
Thrilling.
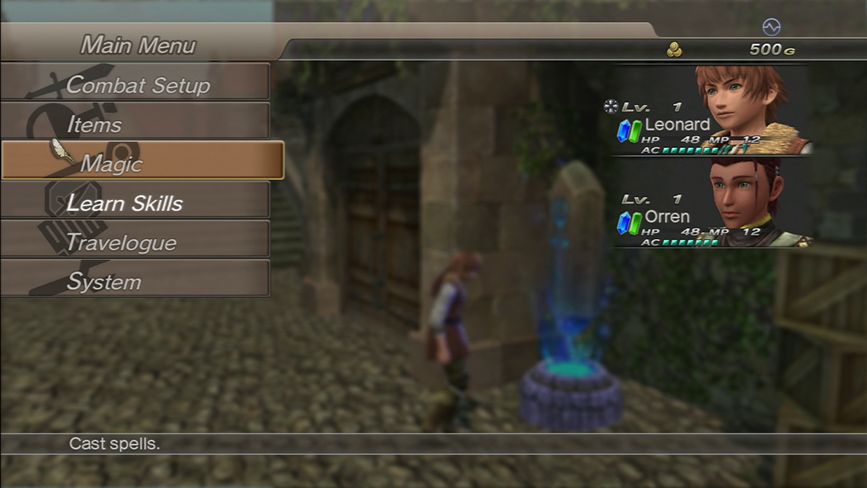
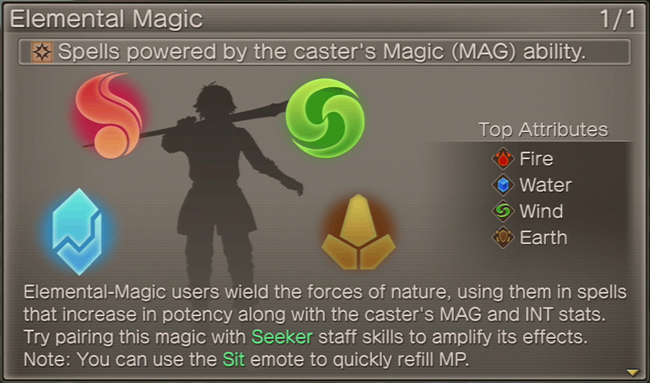
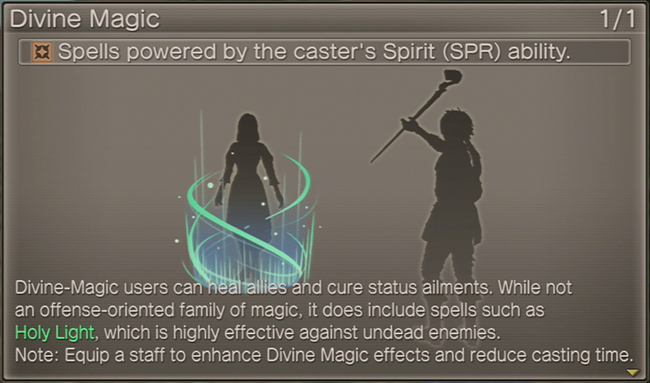
Since we’ve already covered Items, let’s move down to Magic.
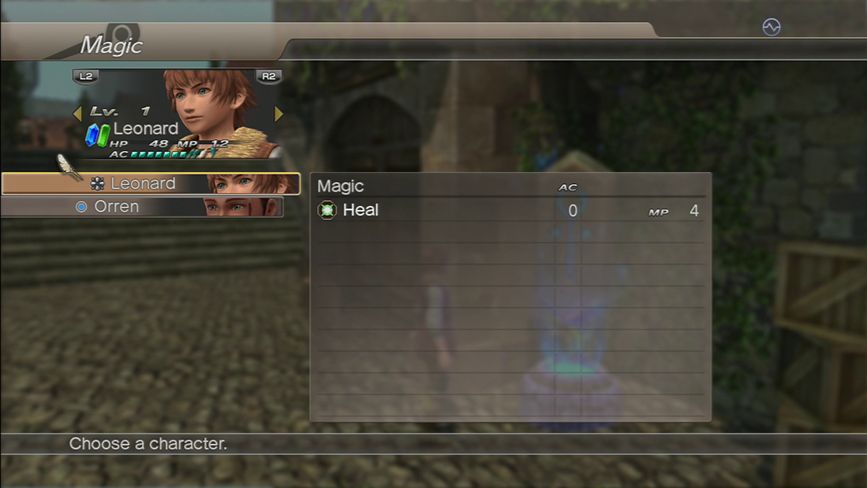
In a nutshell, all your characters’ learned magic spells are listed here along with how many AC and how much MP they consume. Healing magic spells can be used from this menu while in towns, on the world map, and out the field. Support magic can be used while in the field only. And offensive magic cannot be used from this menu, period.
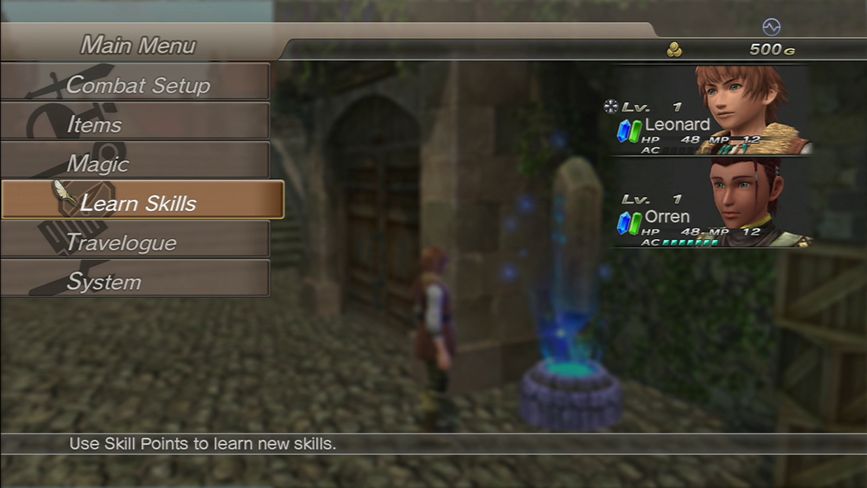
Next up is Learn Skills. This tab will often flash on and off if characters have unused skill points kicking around.
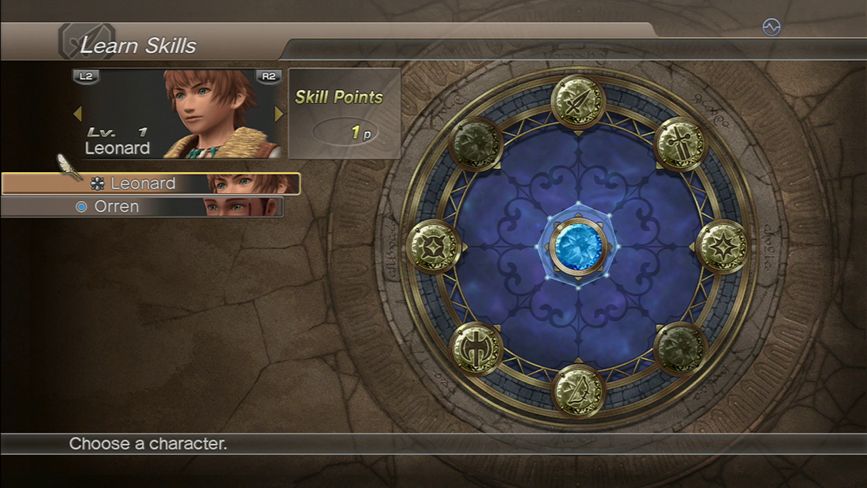
This takes you to the Skill Wheel. The icons on the wheel should be looking vaguely familiar to you by now, as they correspond to each weapon and magic type. You can see here that on Leonard’s wheel, there are a couple of grayed out spots. This is due to character weapon restrictions. Certain characters can only learn skill for certain weapons.
Leonard, for example, can’t learn Staff or Spear-based skills.
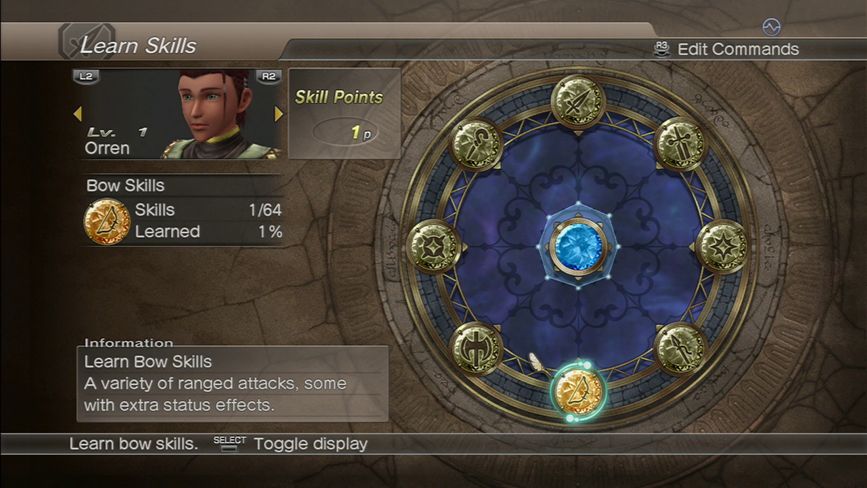
Orren, however, being the Avatar character, can learn skills from all eight branches. The Avatar is the only character in the party who can do this.
As you can see above, highlighting each weapon type shows both the number of skills each character has learned in this skill set as well as both the number of total skills in the set and the percentage of completion of that skillset. The bright blue area at the center of the

Let’s look at Leonard’s Divine Magic skills. You can see here a list of otherwise grayed out skills with ???’s in their place. These are skills whose requisite skills have not yet been learned. Once those skills are learned, they will become unlocked and learnable, provided you have the skill points to learn them.
Welcome to the wonderful world of White Knight Chronicles multi-tiered lock system, where abilities, equipment, and even parts of the game itself are locked away behind at times insurmountable condition barriers. Again, this is because the game was designed to be a quasi-MMORPG, and this is just the start of the MMORPG’s bleedthrough into the single player portion of the game. Wait till we really get going. You’ll be taking bets on when I’ll be having a Kim Jong Ill-style rage-stroke by the time I’m done.

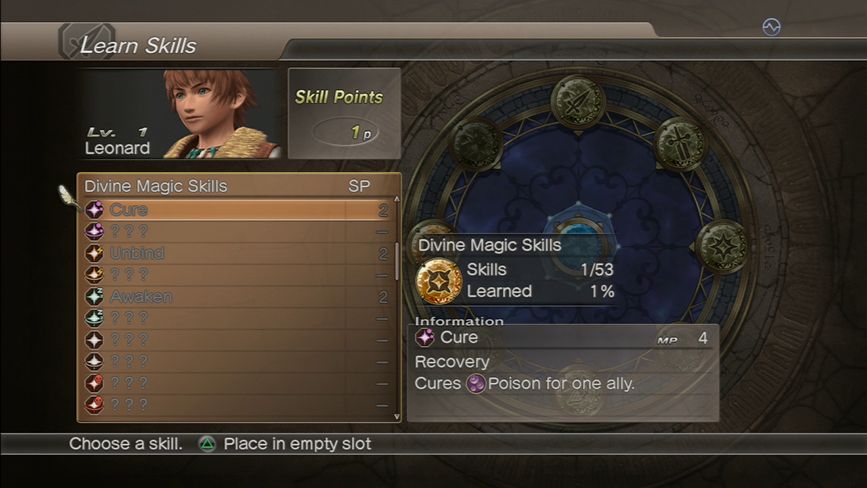
You can see here a few skills that are ostensibly learnable, only we lack the skill points to learn them. Also note the information panel at the bottom of the screen which tells you key facts about each skill. Once you learn as skill, the SP requirement is replaced with a gold star, as seen above. Hitting the Triangle button takes you directly to the Skill Equip screen.
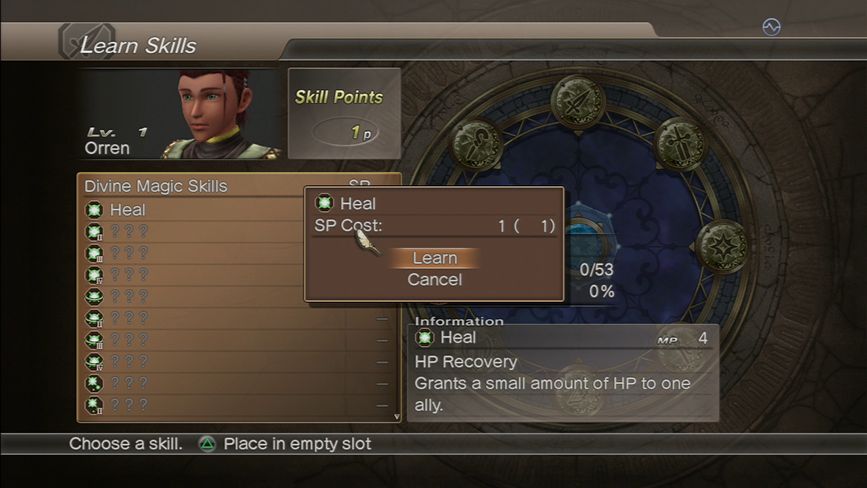
Here’s the skill learning process in action.
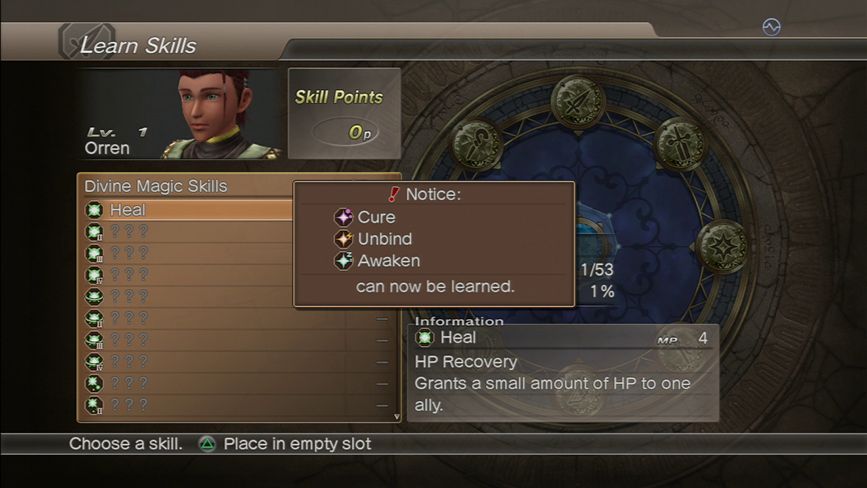
 Sweet merciful CHRIST! I can totally see why you guys are sticking around for this!
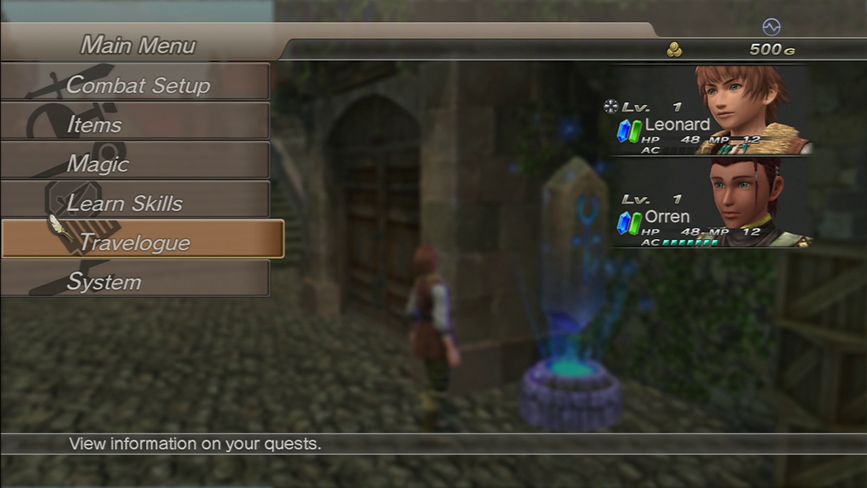
Next up, we have the Travelouge. This is the Miscellaneous section of the menu.
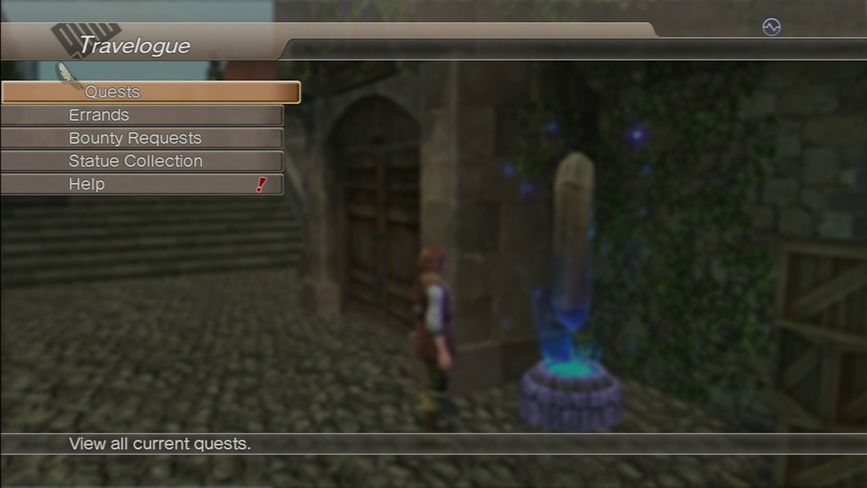
In the Travelouge we’ve got five options: Quests, Errands, Bounty Requests, Statue Collection, and Help.
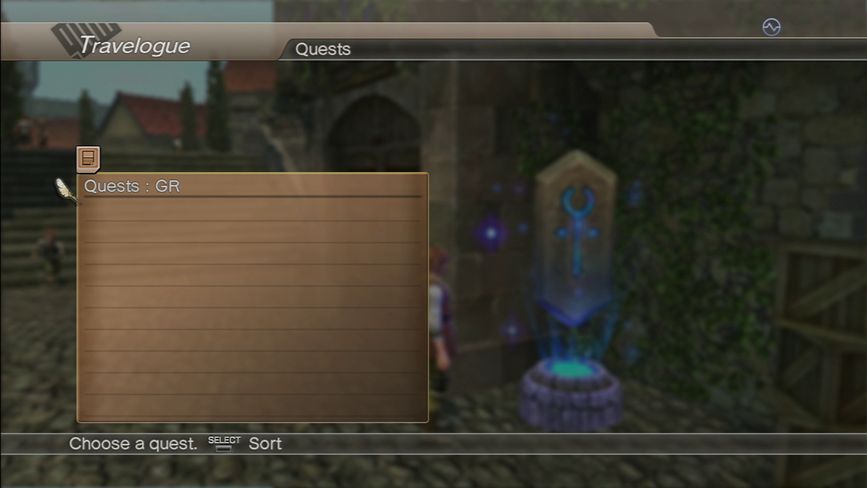
Quests are our side quest missions. They’re self-contained little stories which actually make up the bulk of what was once the online half of the game. I’ll cover them more in detail in a later update, as they’re superfluous to things right now. ...Hell, they're superfluous to the single-player game in general, honestly.
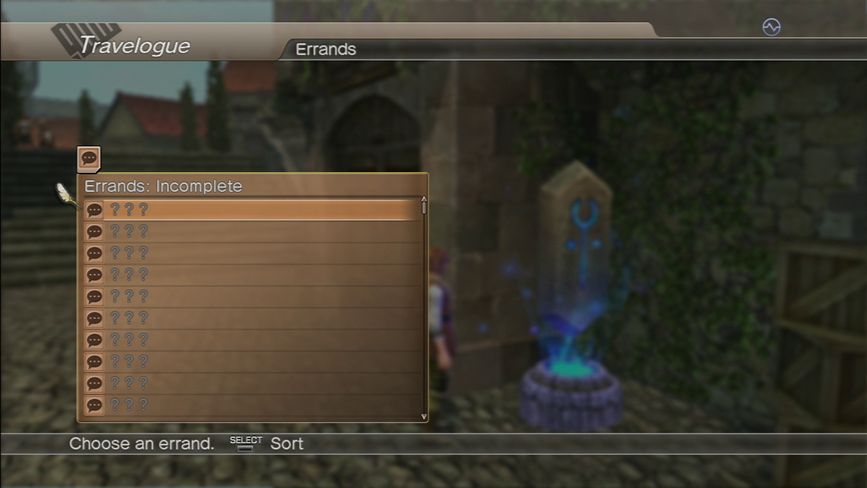
Errands, meanwhile, are by and large fetch quests done in single player mode. Certain characters in various towns will ask you to do something like talk to another character or kill a certain monster or bring them a certain item and you get experience, Guild Points, gold or items in return. Again, there are far more than necessary in the game, and the majority of them are just plain tedious.
It only gets in to infuriating territory later on if you're any kind of completionist, as each (or some of, I can't really recall at the moment) weapon type's skill set's ultimate skill is locked away behind an errand. Fair enough, you say? WRONG. To reach some of these errands you need to have completed nearly all the errands leading up that errand in order to get that errand unlocked. Then you usually need to do something like bring the requester 5 of an item that has a literal 1% drop rate from a monster that can 1-shot kill you even if you're maxed out in stats and equipment and only upon doing that will the request be fulfilled and the skill unlocked.
Just google "Flemron 108".
This game is the devil.
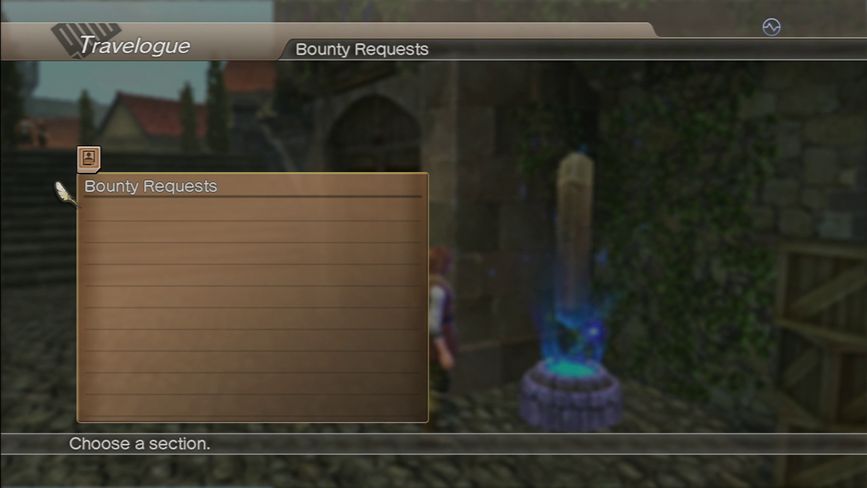
Bounty Requests are exactly like Final Fantasy XII’s Marks. You pick up a contract at the Adventurer’s Guild and go out and defeat a rare monster in a given location and return to the Guild for a reward of cash, experience, and items. Some are worth your time, others not so much.
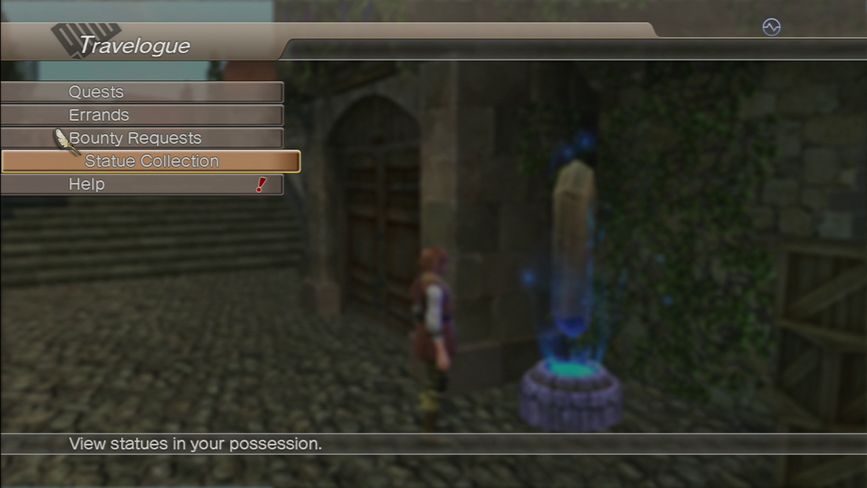
Statue Collection pertains to the online GeoRama and Guild sections of the game which are now offline, so for the sake of this LP, this section is useless. Hell, even when the game was fully operational, only the nerdiest, spreadsheet jockeiest shut-ins did statue binding and collecting.
I never even understood the purpose of it, and now, I never will…

Aw, who am I kidding, the less stuff I have to cover in this game the better.


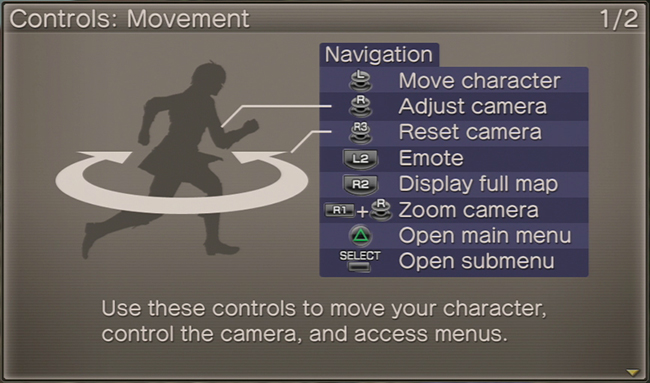
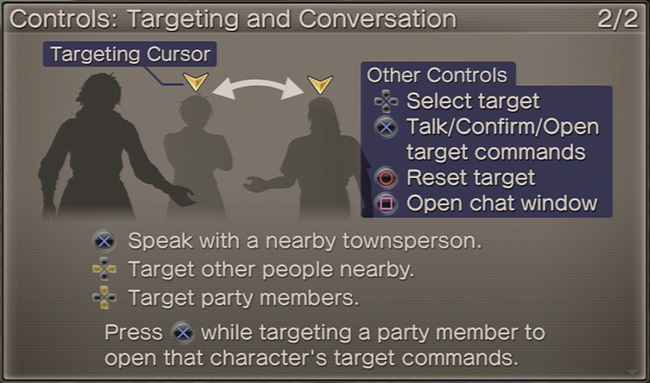
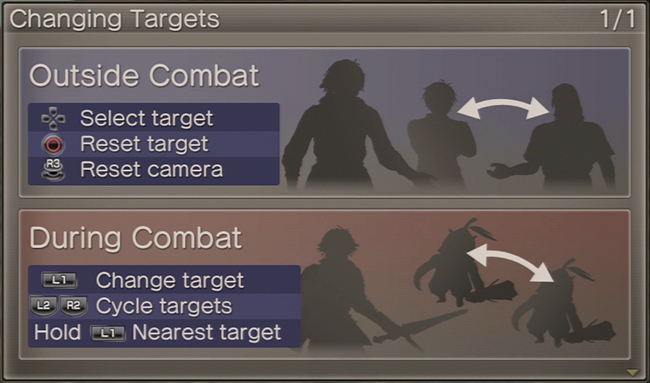
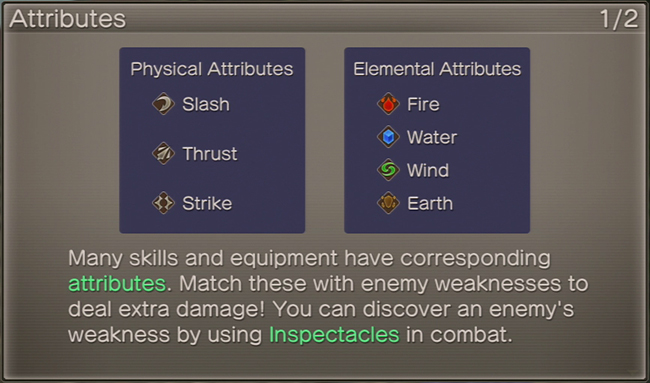
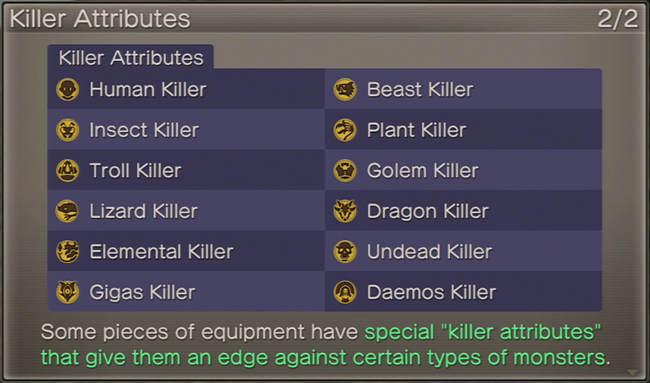
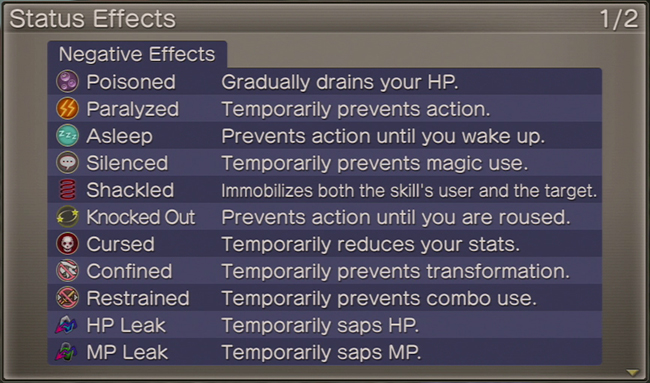
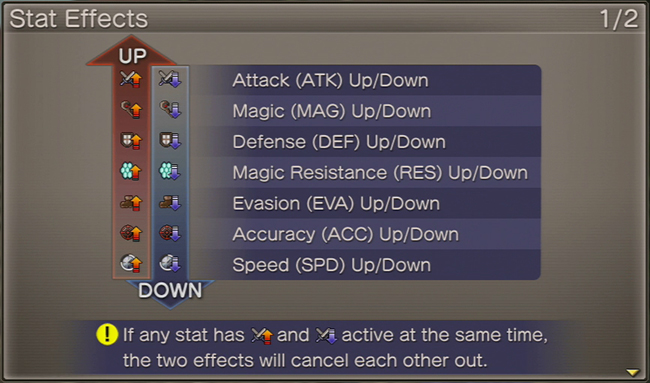
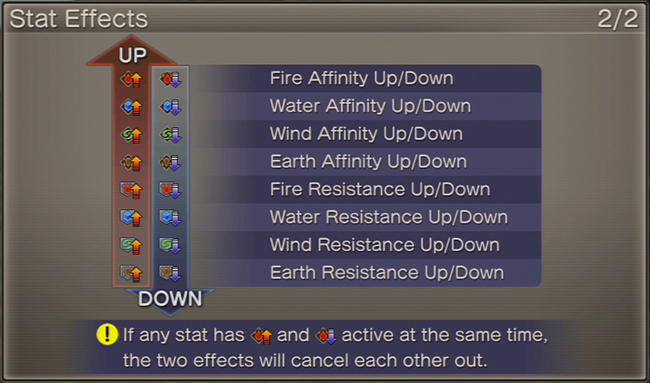
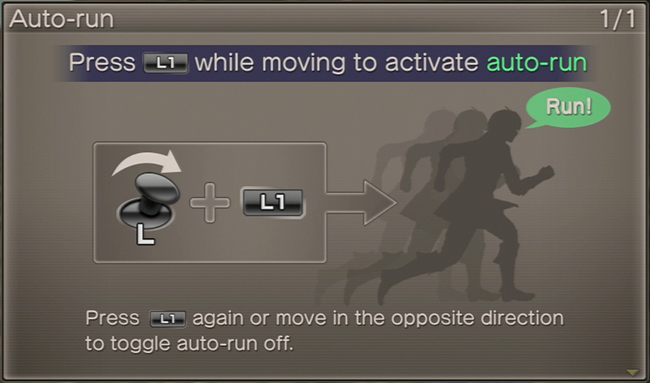
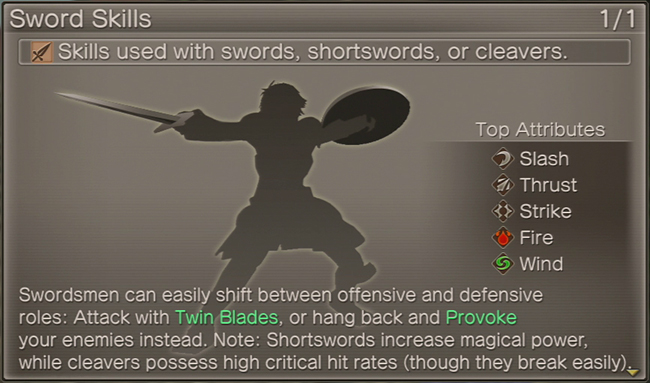
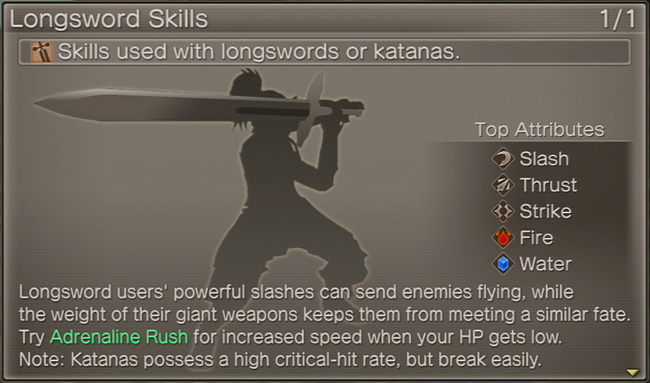
And lastly, Help is one giant tutorial section. It covers everything I have or will cover in these sections in a very handy infographic manner.
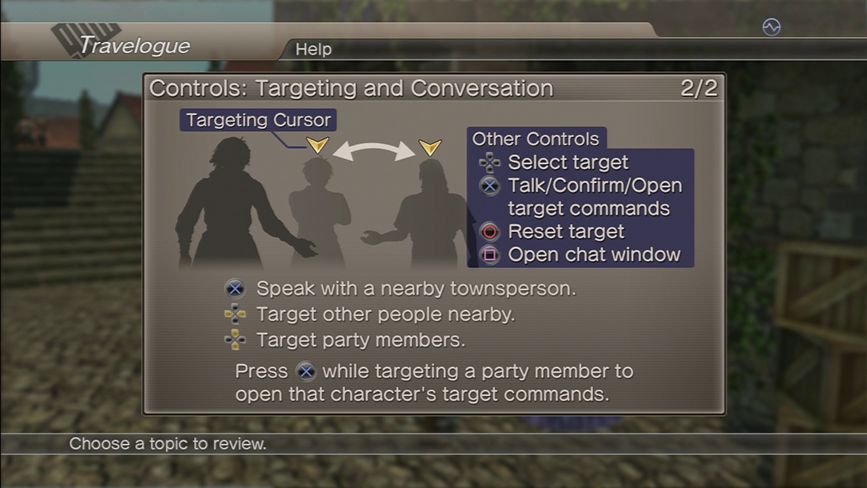
Por ejemplo.
If you really want, I can post screenshots of all of these slides in the Miscellaneous section.
Also note, the Travelouge is continuously updated across both games as new gameplay mechanics unveil themselves.
The final option, which I’m not exploring, is the Settings option, because I am not so obsessive-compulsive that I will LP a freaking settings menu. You want to know the mysteries of White Knight Chronicles’s Settings feature, buy the damn game and explore it yourself.
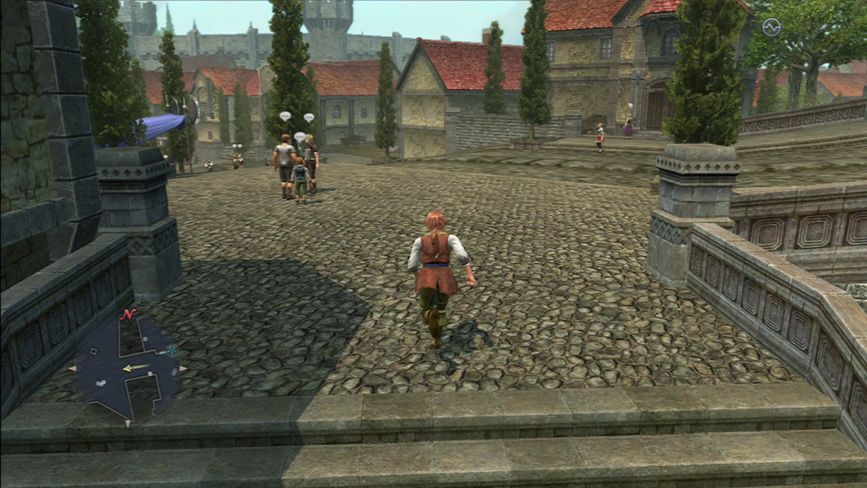
So that is FINALLY it for the menus. Now, let’s get to exploring Balandor Castletown.
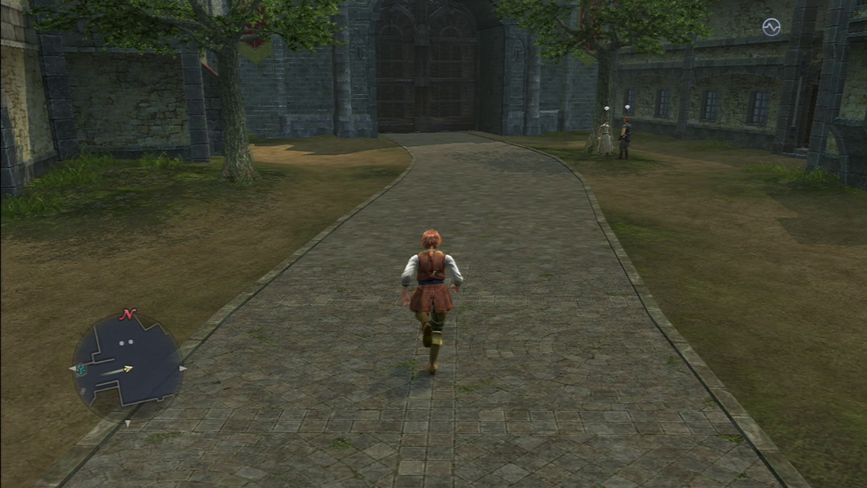
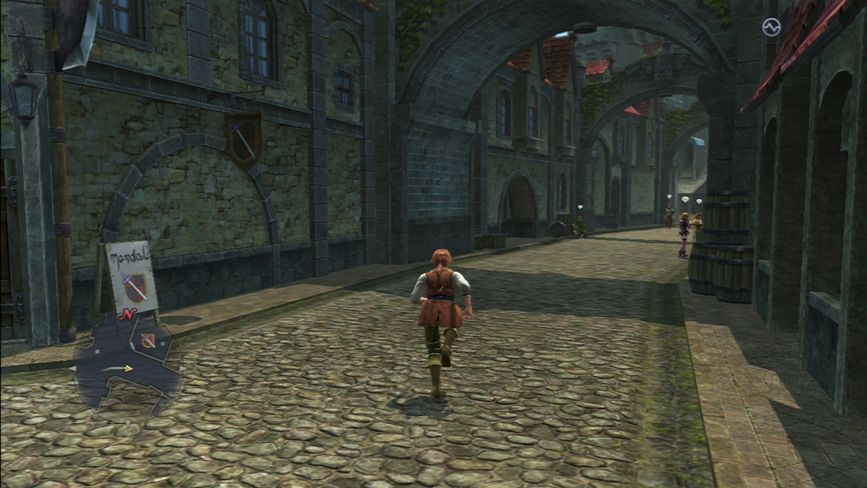
So heading east of Rapacci Wines, in the exact opposite direction of where we need to be going for plot purposes, we head towards the merchant quarter of town where all the shops are.
Note that just like FFXII, in towns your entire party is represented by your party leader alone.
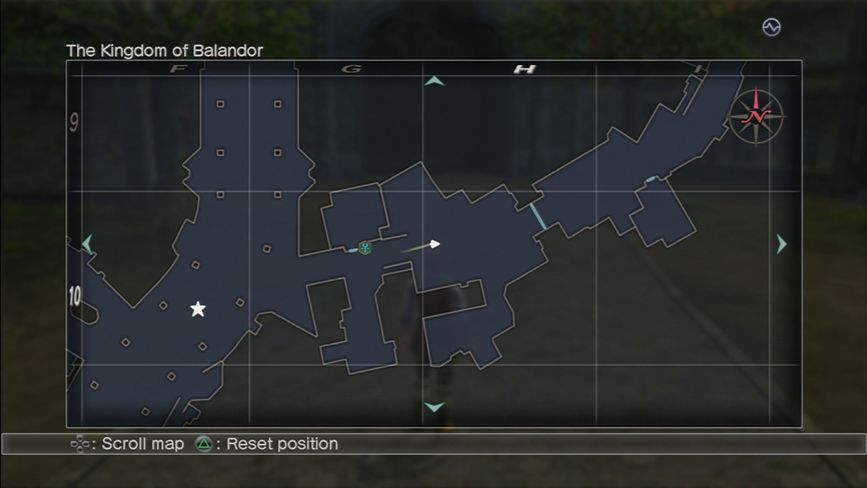
Pressing the R2 trigger brings up the full map screen. You saw the minimap down there in the right hand corner. The map shows off where you are (the arrow with the trail in the centre screen), where your destination is (the flashing gold star), as well as points of interest such as shops and Logic Stones. You can scroll through the entire map using the D-pad and snap the map back to your location using the Triangle button.
You can open the map anywhere at any time, provided you’re not in combat.
For the full composite map of Balandor Castletown, check the Area Maps header in the OP or at the end of this post.
Balandor is locked down at the moment for plot reasons, and you can only get out by heading towards the star and triggering the next cutsene, but we’re going to head towards the merchant quarter just so I can show you the game’s shops.
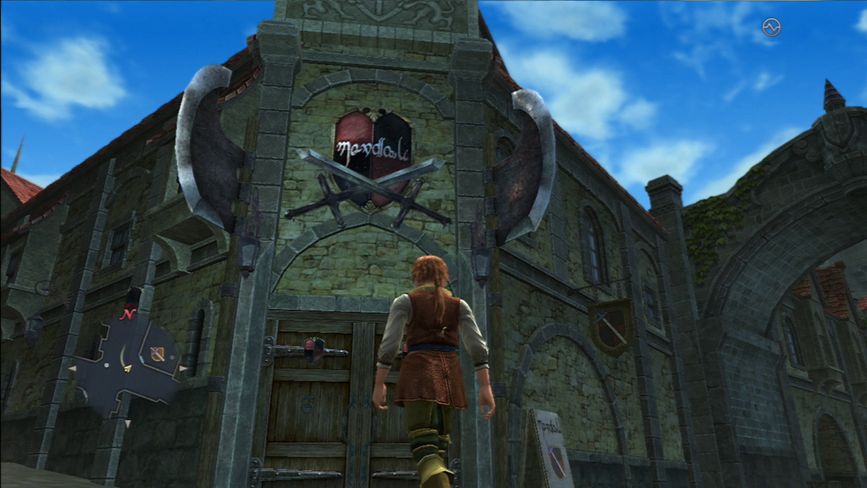
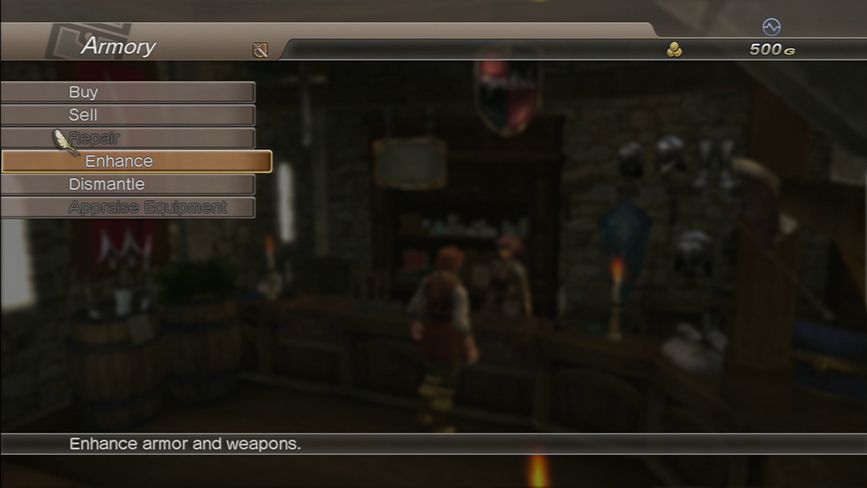
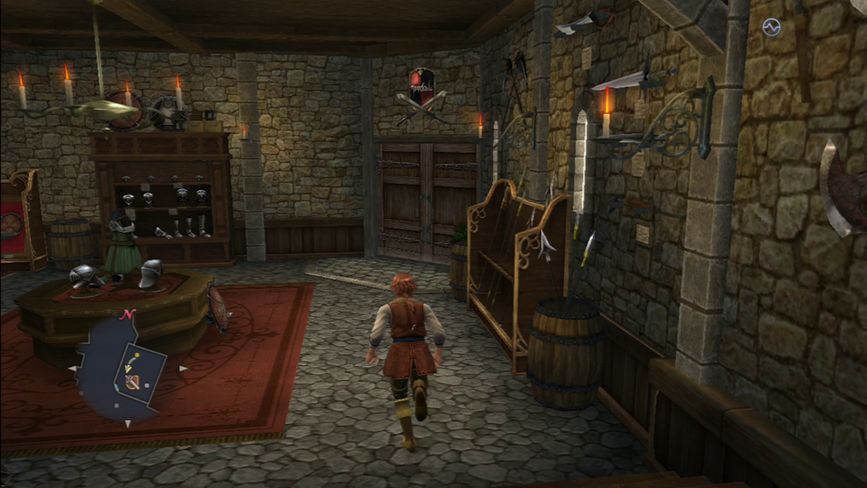
First up is the Armory. It’s denoted on the map by the little sword and shield icon.
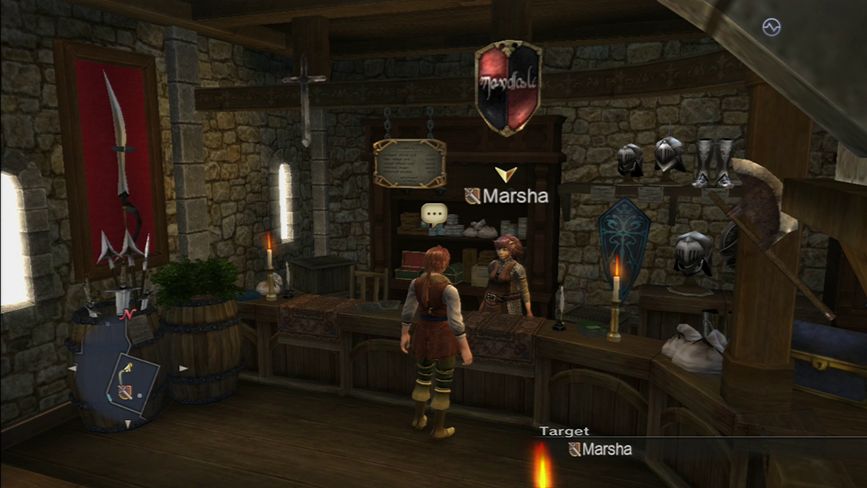
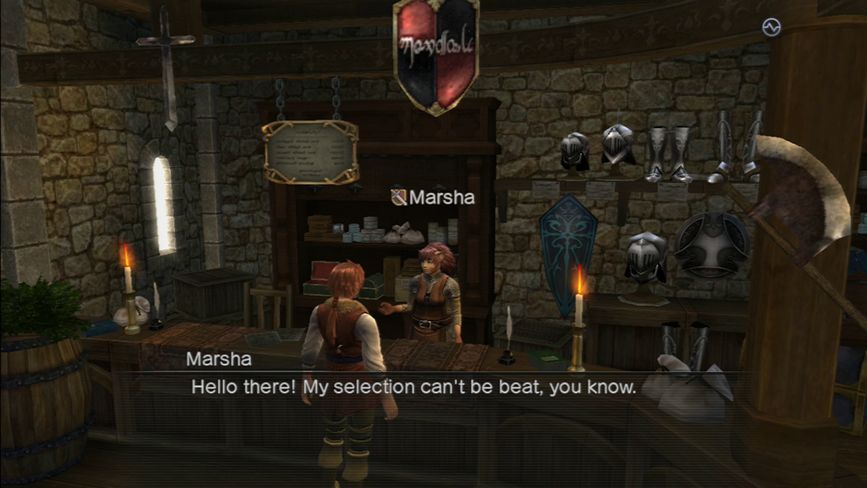
Balandor’s armory is run by Marsha, a female Warg. You can barely make it out, but she’s got cat ear and stripes on her face.
Except by every other shop in the game…
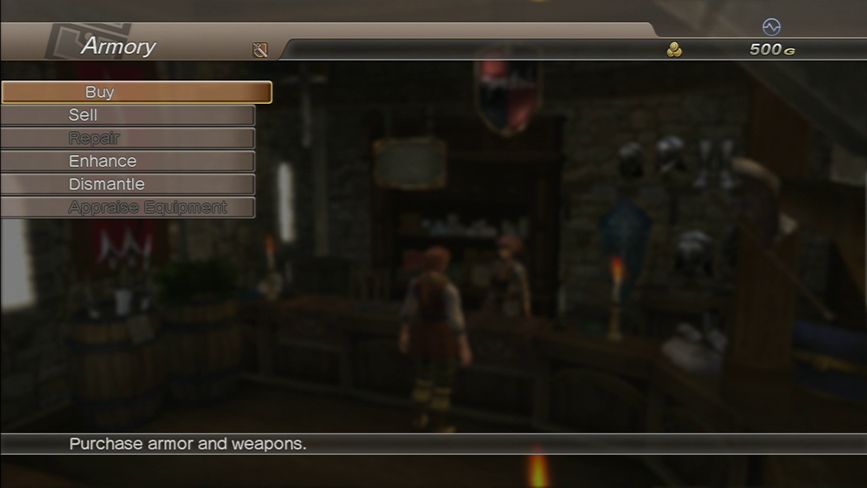
Talking to Marsha opens up the shop menu. You’ve got several options: Buy, Sell, Repair, Enhance, Dismantle, and Appraise Equipment.
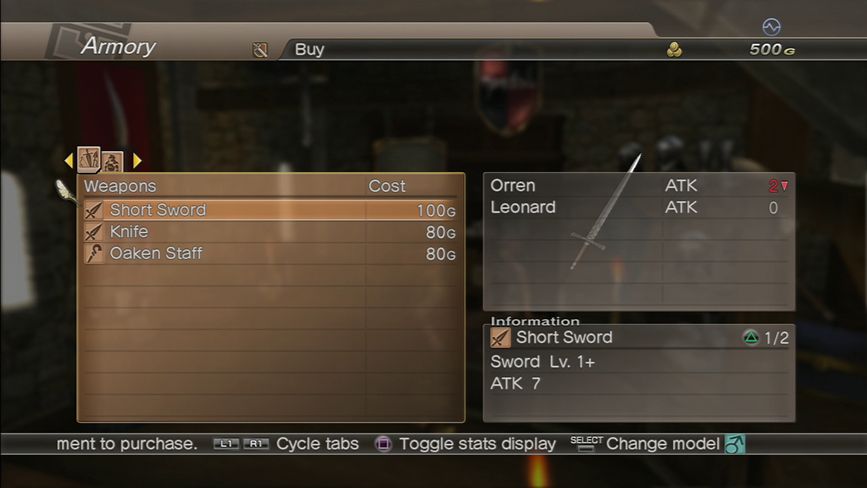
In the Buy section, you have a listing of available weapons and armour all sorted by type. You can see their price, status, and even a representation of what the weapon and armor looks like.
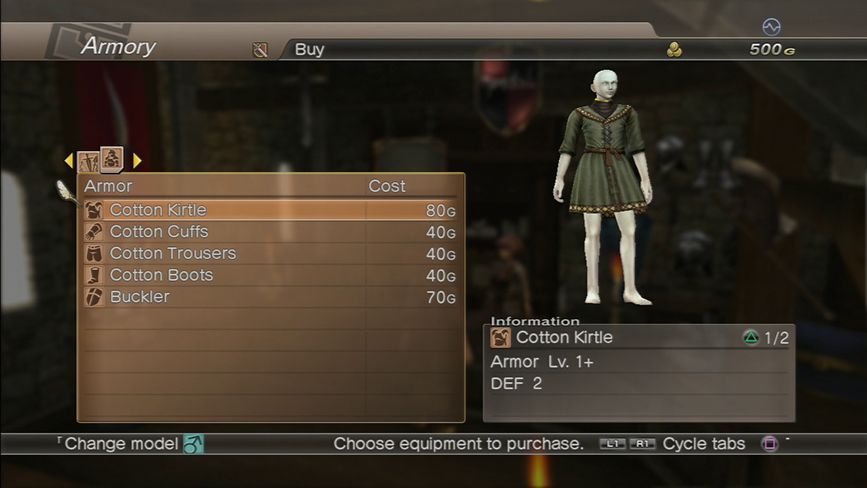
Much the same for armor, including what the equipment looks like on a blank character model. You can flip back and forth between a male and female model using the Square button. Here we see the male model showing off the Cotton Kirtle, the Avatar’s default garb.
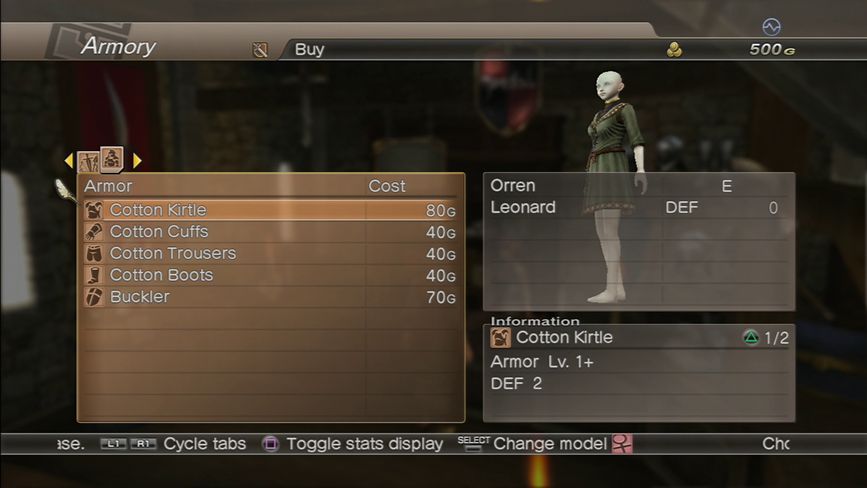
And here’s the female model. Sometimes the variations between genders in terms of equipment are minor, other times its just embarrassing, as the game sometimes tends to perv out and go into ‘battle bikini’ territory, with female armour variations showing off far more skin than their male counterparts do.
Paging Anita Sarkeesian…
Sell and Repair are self-explanatory, no real need to cover them, especially since we’ve already kind-of covered repair and will cover it more in depth later. Now, as for Enhance…
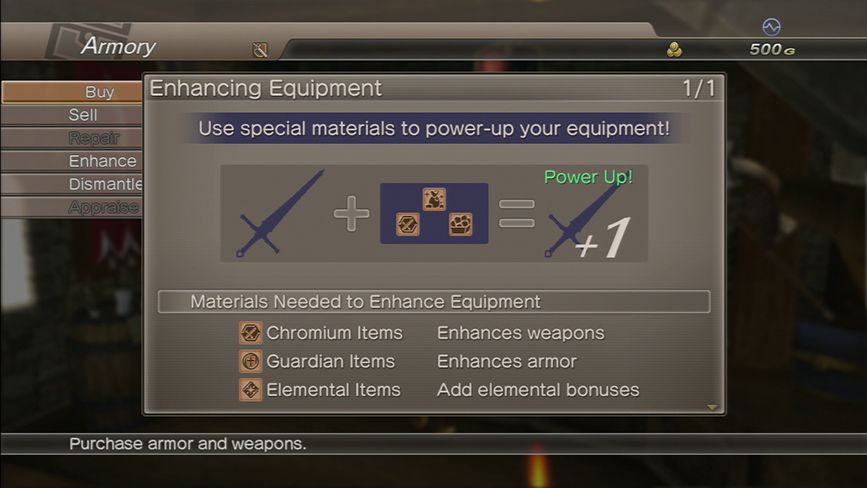
Here’s a handy infographic that pops up when you first enter the shop screen regarding equipment enhancement. It outlines the three key enhancement catalyst item types needed to enhance weapons and armor along with various other whatnots that you need to farm like a madman to get at times.
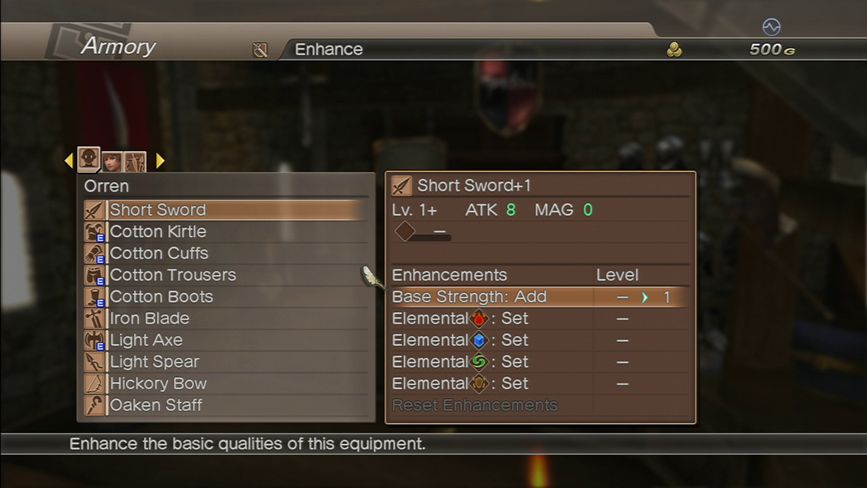
Here’s the basic enhancement screen. All weapons and most armor can be enhanced to up their strength, defence, and elemental attributes. Shields and accessories cannot be enhanced. Depending on how powerful the equipment piece is, it can be enhanced 5, 10, or 20 times, though each subsequent level of enhancement requires more quantities of increasingly rarer items.
Again, enhancing the higher end stuff was usually only done online, and to do it in a purely single player format is damn near impossible because the game scales steeply in favour of the online component in many places where instead of just your Avatar and two AI party members running around, its meant to be upwards of 8 Avatars, each comparably equipped with similarly ridiculous World of WarCraft reject crap. And now with the online elements defunct, the already crippled game is officially broken by design.
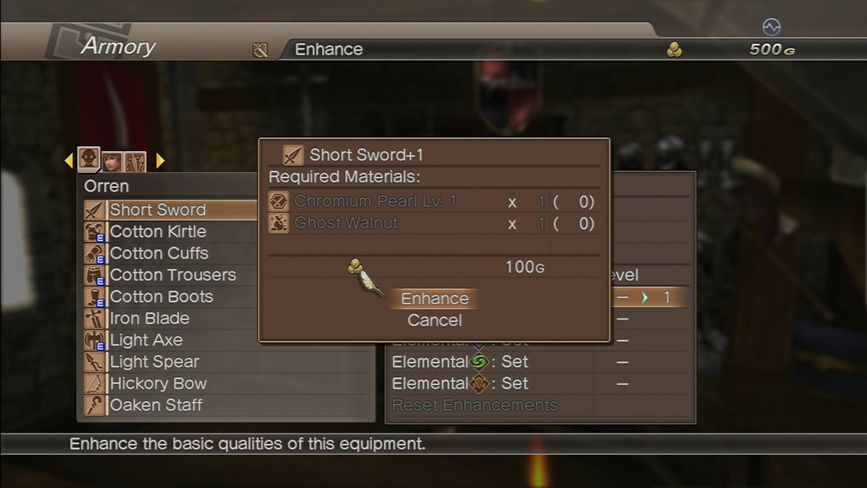
Por ejemplo, just to get Orren’s basic sword up to a +1 enhancement status I need 1 Chromium Pearl Lv. 1, and one Ghost Walnut. Whatever those are.

Please don’t make me go down this rabbit hole again. I barely survived it the first time.
Please, NO!
I BEG YOU!
NOOOOOOOO!!!!!!!!!

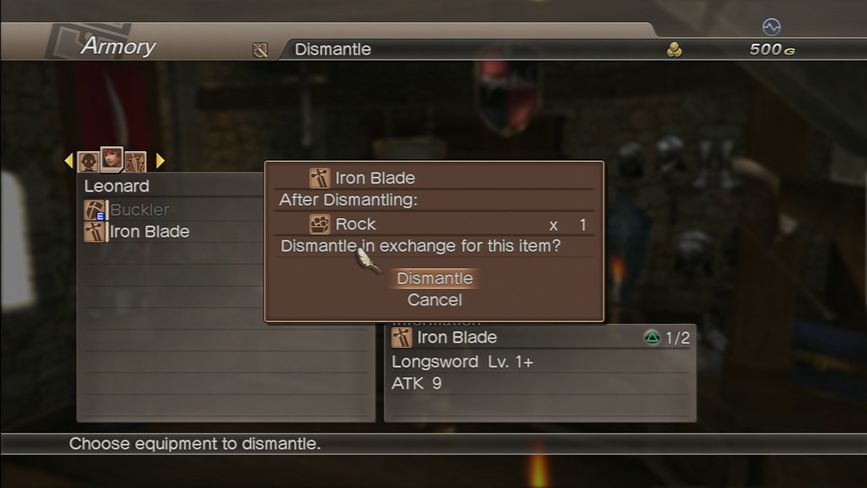
Moving on to Dismantle. If selling things isn’t your game, you can also dismantle any piece of non-character-specific equipment into various items. Some equipment yields useful items, others give you… a bloody rock.
White Knight Chronicles, go sit in a corner and think about this for a moment.
GET IN THE CORNER!
…I skipped by Appraise Equipment too fasts, but that’s because, again, it’s only relevant to the online part of the game. Occasionally on quests you will encounter unidentified items, either in chests, from monster drops, or in quest loot. You can then take them to Armories and for a fee, they will turn the item into a useable piece of equipment. Again, just like in Final Fantasy XII.
Laters, babe.
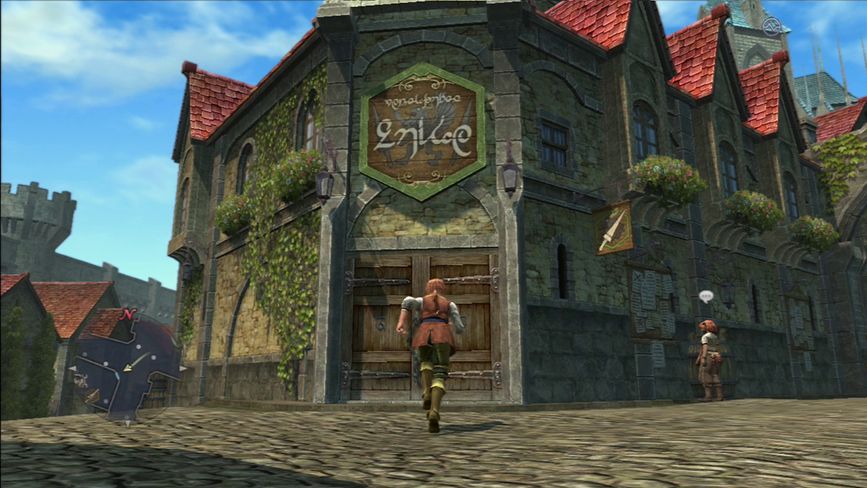
This shop with the griffin and lance logo is the Adventurer’s Guild. As you can barely see on the minimap, it’s denoted by the lance icon. This is where you go to pick up bounty contracts, buy quest contracts, and exchange Daliah, the special currency earned only be completing quests and occasionally bounties and errands, for otherwise unique items. Again, down the rabbit hole we go…
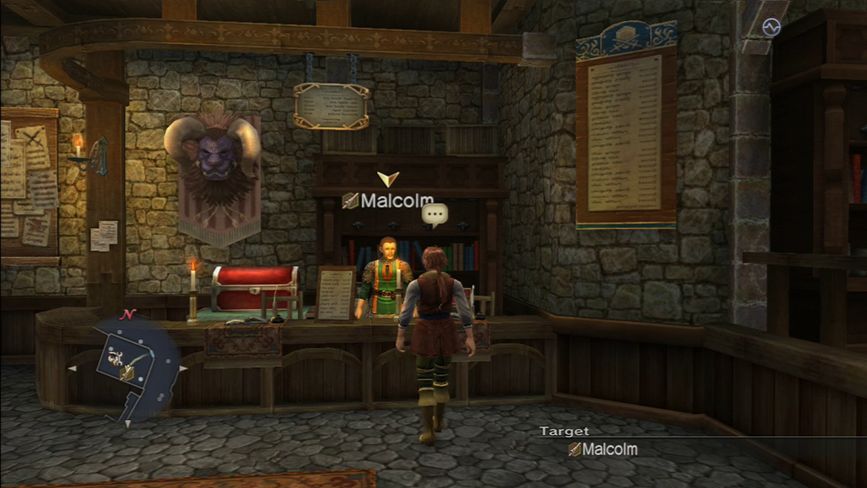
This is Malcolm, the proprietor of Balandor’s Adventurer’s Guild.
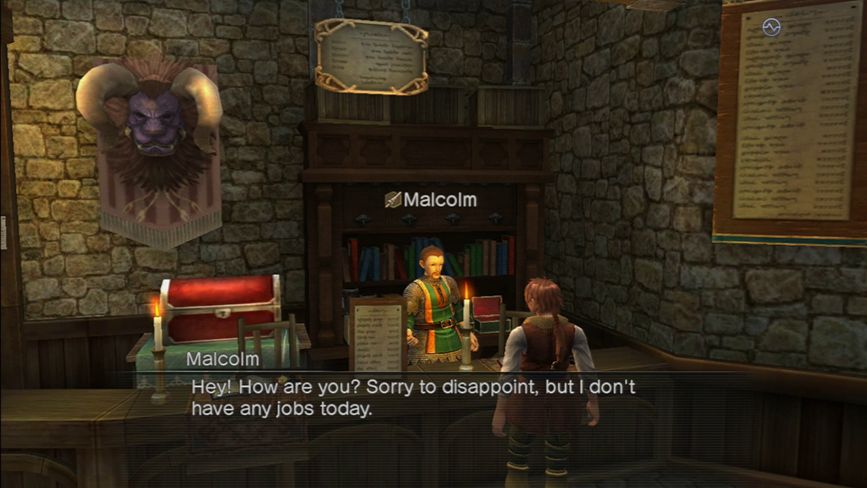
At this point, however, the Adventurer’s Guild is locked down and won’t be available until we clear the game’s opening sequence… In another three chapters.
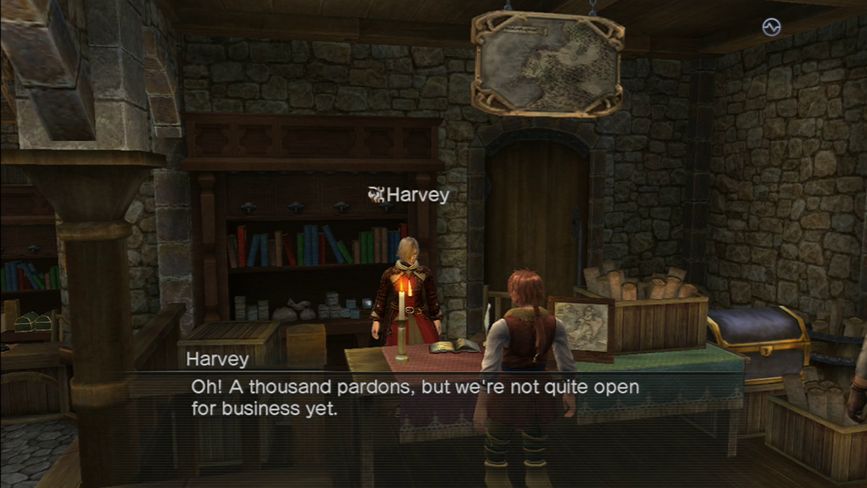
The same goes for Harvey, Balandor’s Incorruptus mechanic. Pretty much everything about this shop is spoilers, but you can probably ferret out what it’s about by REMEMBERING THE PREMISE OF THE GAME!
Incorruptus Workshops are denoted by the helmet and wrench icon on maps, although honestly, from a logical standpoint I don’t even know why they exist, given what we’re going to learn about Incorrupti in the coming chapters.
This shop here is the accessory shop.
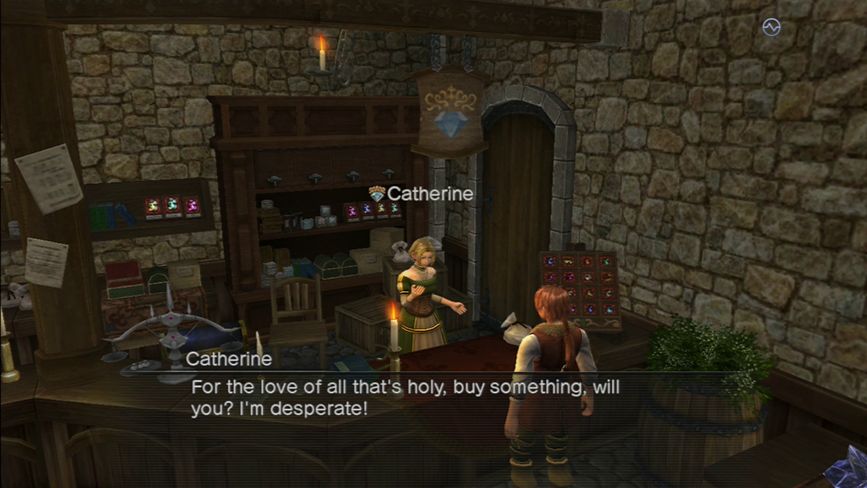
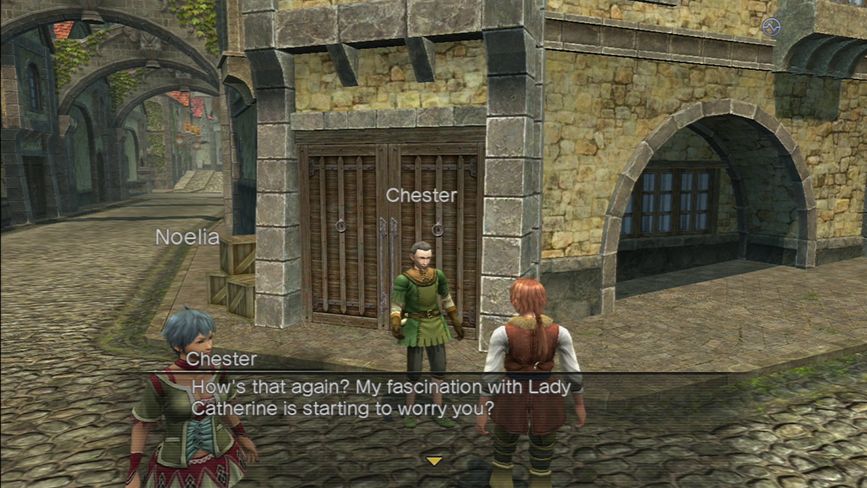
It’s run by Catherine. Don’t worry, she always says that, even if you drop a million G into her shop. Catherine is a clever saleswoman.
Fun fact: the guy standing out in front of Marsha’s Armory is stalking her and will gleefully perv out to you if you talk to him.


Here you can buy accessories like capes, rings, earrings, and eventually even eyeglasses and helmets. You can see here, just like the armory, capes will be modeled for you before you buy them. Earrings and rings, however, are invisible equipment.
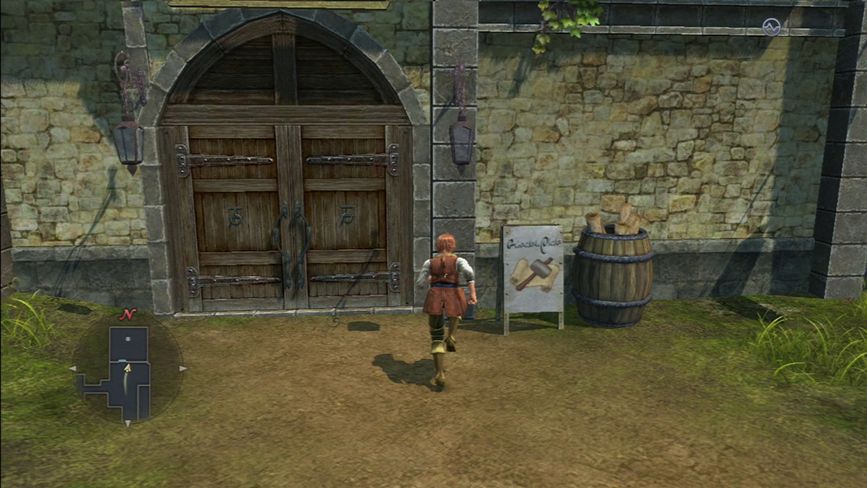
Secluded away near the back end of Balandor is a shop that doesn’t even have an icon on the map yet. It will, however be denoted by a hammer icon. This is the Binding Post.
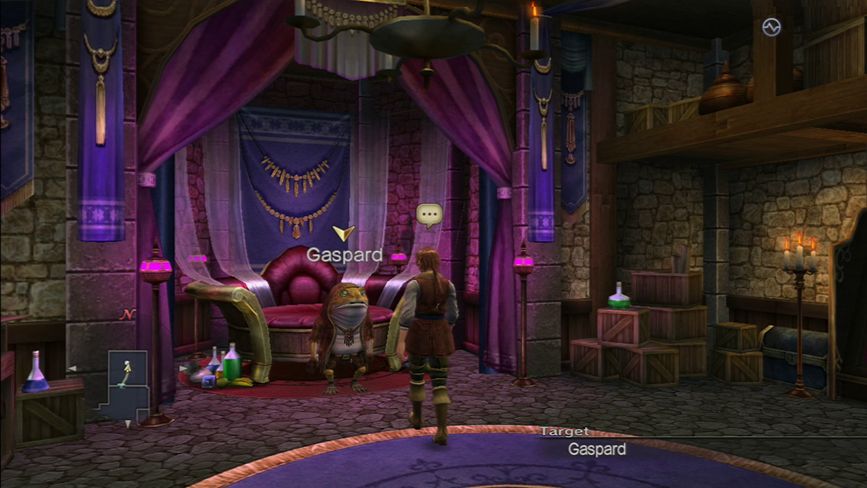
It’s run by Gaspard, an anthropomorphic toad…
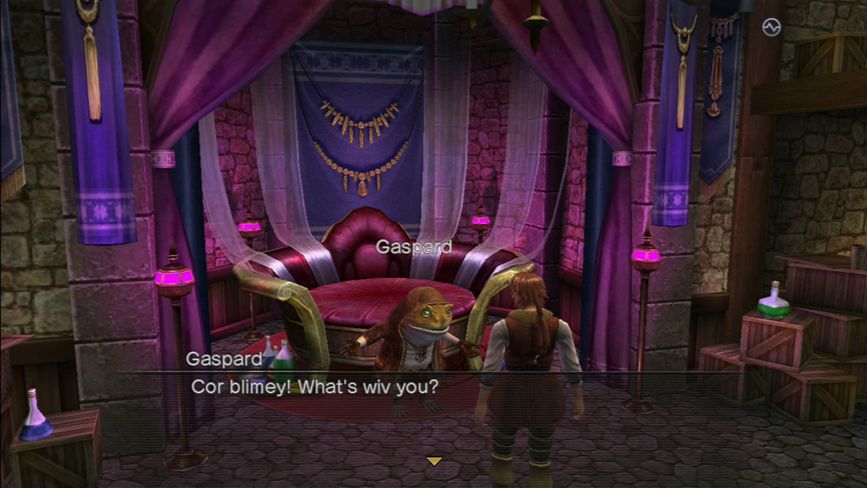
Who’s Cockney…
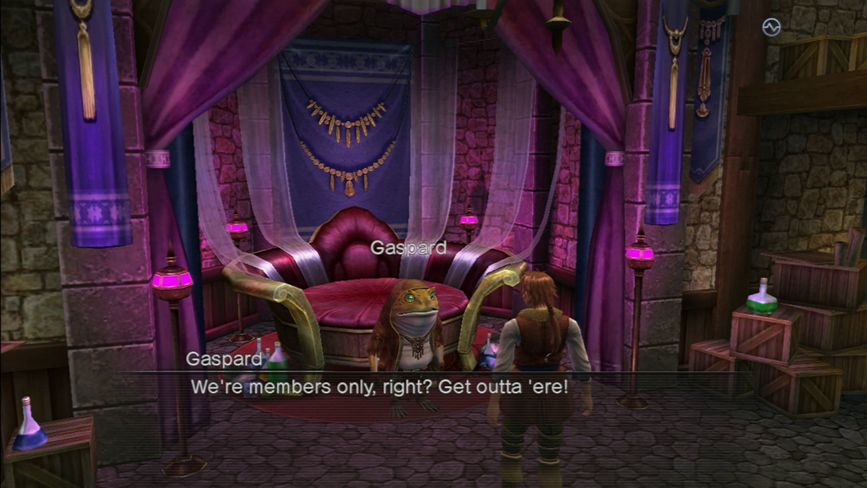
And an a-hole! I’ve pretty much described every Toad in this game right here. Not racist
Once again, the Binding Post is locked down, but unlike the Adventurer’s Guild and Incorruptus Workshop, it won’t open up until we’ve cleared Albana, eight chapters from now.
I’ll cover the Binding Post in depth in that chapter, but the long-and-short of it is, you can combine two pieces of equipment into even better equipment, or merge two quantities of certain items together to form special weapons, armor, and accessories.
Pretty much every piece of clothing Orren is wearing in the storyline sections was made at a Binding Post. And once again, these shops saw their most use by online players because it was damn near impossible to farm the items needed for binding things in single player mode.
Again with the rabbit hole…
Oh well, up your’s, Gaspard. On to our last shop of the update: the General Store.
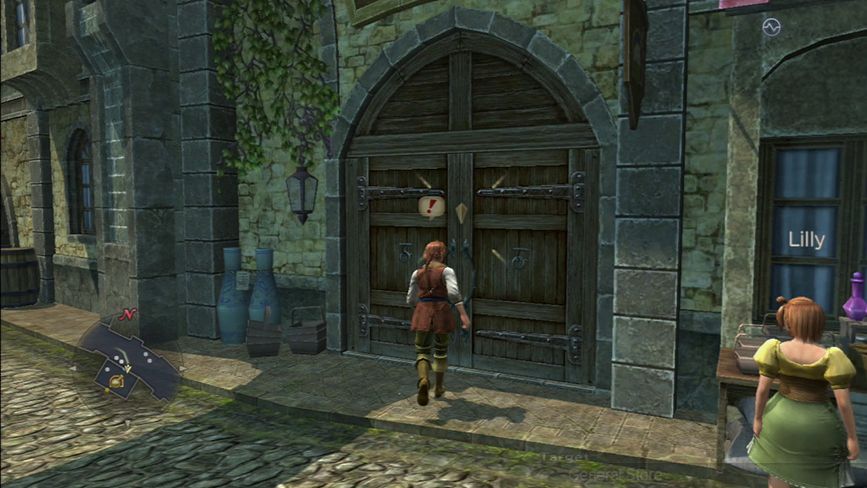
General Stores are denoted by the vial icon on the minimap.
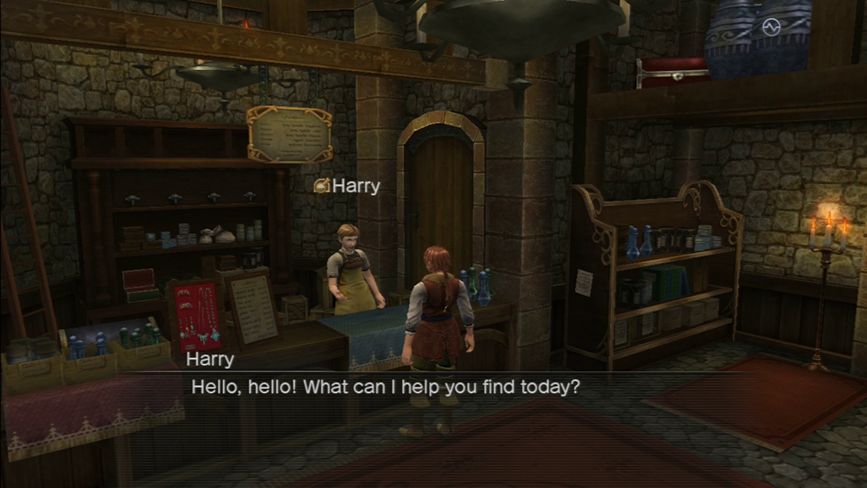
Balandor’s General Store is run by Harry.
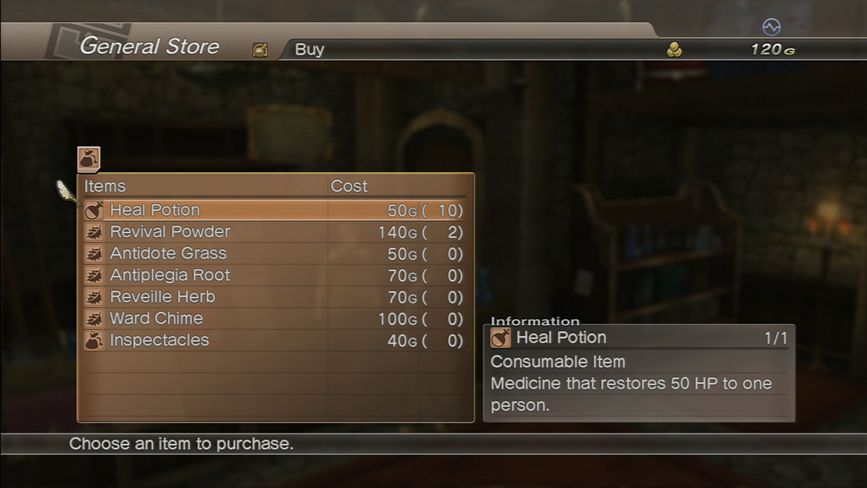
Again, you’ve seen one item shop, you’ve seen them all. General Stores sell healing potions, revival items, and items to offset various status ailments. In the latter parts of the game, they will also offer a selection of items used in enhancing equipment… for astronomical prices.
So that’s it for part 1. Hooray! We surivived!

INFOGRAPHICS!