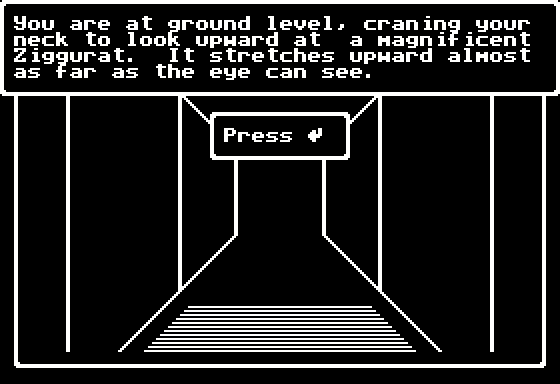
Part 6: The Temple of the Dreampainter
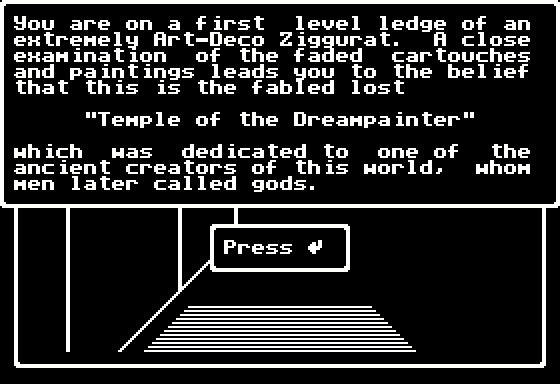
As you may recall, B10F was called "The Pyramid of Entrapment" but was rather a ziggurat viewed from the top. Taking the gimmick even further, floor 7 represents a side cross-section of a ziggurat, which makes things somewhat trickier and more unique, exploration-wise.
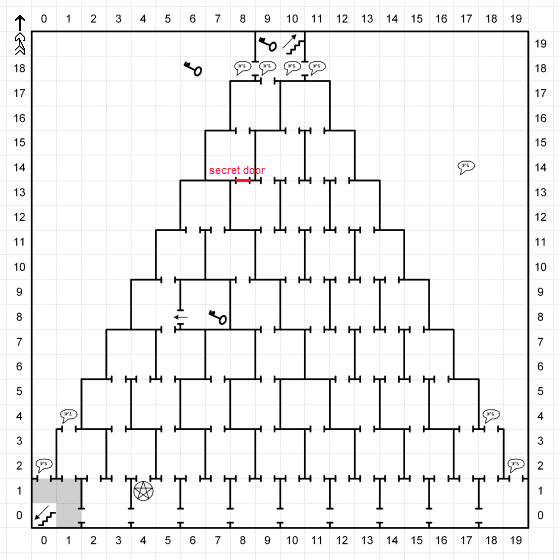
In other words, this floor's gimmick is the verticality. Here, north represents up and south represents down, so that you start out at the base of the ziggurat and climb your way up to the exit. That implies you can also fall off the edges of the ziggurat if you stray even one tile too far from them. It is, of course, a bit hard to imagine how or why anyone would put an entire ziggurat inside a standard dungeon level, but Wizardry IV does not allow itself to be troubled by such trifling considerations.
The ziggurat's internal layout is intentionally confusing, with doors and dead ends placed so as to make navigation harder. Most paths you can take eventually lead to a dead end, and given that all these rooms basically look the same you'd do well to always keep track of your coordinates and the direction you're facing when exploring this floor. I've also noticed an inaccuracy in the map, corrected above: the door at (8,13) - the one leading to the exit - is a secret door, which may significantly impede your progress if you enter the room without a light spell active. In fact, that's what the darkness tiles at the beginning of the level are there for: to extinguish your light spell when you arrive.
There are also two items we cannot yet reach on this floor: one at (7,8), which requires a means of getting into the closed off room that contains it, and another at (6,18) that we cannot access without somehow learning to fly first.

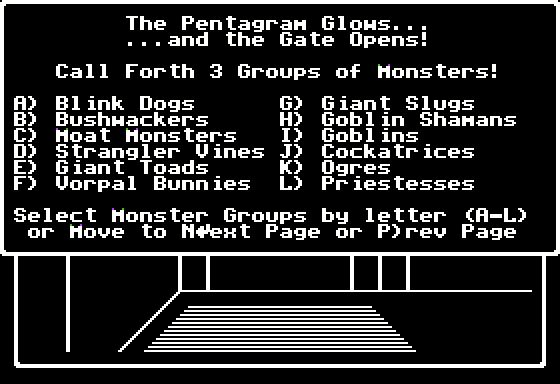
As per usual, the first thing we do is make our way to the pentagram at (4,1). Here, new summoning options are available.
Blink Dogs are intelligent magical beasts from tabletop D&D who have a limited teleportation ability known as "Blinking." They do not appear in Wizardry games prior to IV. Blink Dogs' damage output is low and they do not have the Blinking ability here, but on the other hand they have the lowest AC and second highest HP among this pentagram's monsters and, just like ADOM's Blink Dogs, can summon more of their kind, making them worth summoning if "tanks" suit your play style. Bushwackers, the warriors you may remember from Wizardry I's very first floor, and Moat Monsters, the (kinda) serpent-like fortress guardians in Wizardry III that you could attempt defeating for some good exp early on, are weak and completely unremarkable at this point. Strangler Vines also come from Wizardry III. They are resistant to magic and poisonous, attack up to four times per turn (the vines are numerous!), and you can summon up to eight of them (numerous again!). Their HP, however, is low, and their AC only equals six. A decent summon nevertheless, even if overshadowed by other options. Giant Toads first appeared in Wizardry I; they are poisonous and resistant to fire, and attack up to three times per round. Not as good as Strangler Vines, though. Vorpal Bunnies, as their name implies, decapitate on a critical hit, and they were a lot of pain back in Wizardry I. Unfortunately, the chance of landing a critical is somewhat low for them in this game. The term "Vorpal Bunny" was first used in the Monty Python scenario in an edition of Steve Jackson's Space Gamer in the early 1980s, a reference simultaneously to the Killer Rabbit of Caerbannog from Monty Python and the Holy Grail, the Vorpal Sword from Lewis Carroll's Jabberwocky, and D&D's Vorpal Blade, which made its appearance in the Greyhawk supplement in 1975.
In the second column, we have Giant Slugs, low-level enemies from Wizardry III. With their AC of 10 and no special abilities apart from minor HP regeneration, they aren't exactly the best monsters you can summon here. Goblin Shamans, on the other hand, are well worth having at your side. Arriving again from Wizardry III, the Shamans cast both 3rd tier Mage and 2nd tier Priest spells, and their magic resistance is pretty high. They also have more than decent HP (5d6) and relatively low AC of 4, and you can summon up to six of them to accompany you. Make sure to not mistake them for simple Goblins, though, who are completely useless. Cockatrices further expand the presence of Wizardry III monsters. The Cockatrice is a mythical creature whose reputed magical abilities include turning people to stone. Therefore it comes as no surprise that, apart from high magic resistance and decent HP, the Cockatrice's regular attacks have a chance of petrifying the enemy. You can summon no more than two of them at once, however, and they have the tendency to flee from combat, making them a risky and unreliable ally. Next come Ogres, who have the highest HP among this pentagram's monsters, but that alone doesn't save them from being generally unexciting.
Finally, Priestesses are female Lvl 7 Priests capable of casting 4th tier Priest spells - a must to summon. The new spells are Dial, the stronger healing spell that restores 2 to 16 hit points to a single character; Badial, the reverse of Dial that targets a single enemy for 2-16 points of damage; Latumofis, which cures poison; and Maporfic, or "Big Shield," a spell that improves the party's AC by 2 not just for the duration of combat, but for the entire expedition.
Apart from Priestesses, I summon some Goblin Shamans and Spirits from the previous pentagram. I'm playing it safe.
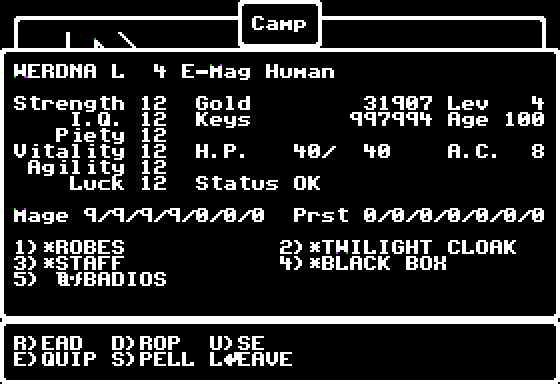
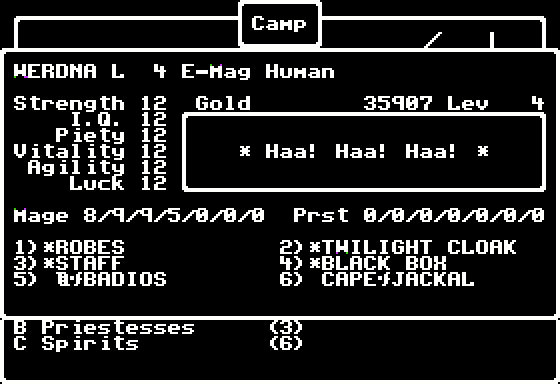
Werdna himself is level 4 now, with 12s in all attributes and access to 4th tier Mage spells. Those include Morlis, or "Fear," which instils fear in an enemy group and makes them much easier to hit (roughly 2x easier than Dilto can make them); Lahalito, the "Flame Storm" spell we're already familiar with from the past update, which sets all enemies on fire for 6d6 points of damage; and finally Dalto, a powerful Cold element spell that also targets an enemy group for 6d6 damage points.
Trying to exit the ziggurat's interior prompts a clue about the importance of the Z-axis on this level, for the player who has forgotten or hasn't found out about it yet.
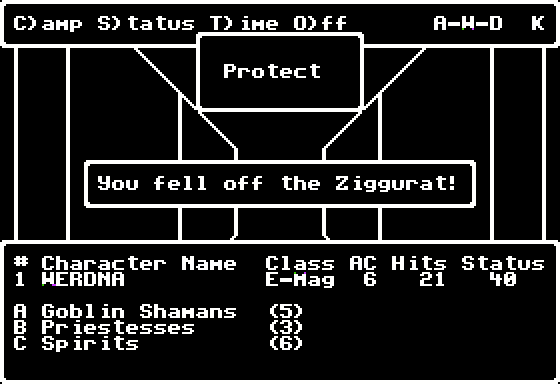
Trying to explore beyond the edges of the ziggurat causes Werdna to fall off the edge.
Before the fall, Werdna had 25 HP. Falling down from the 1st ziggurat level only damages him for 4 HP, but obviously the higher he falls, the greater the damage he takes.
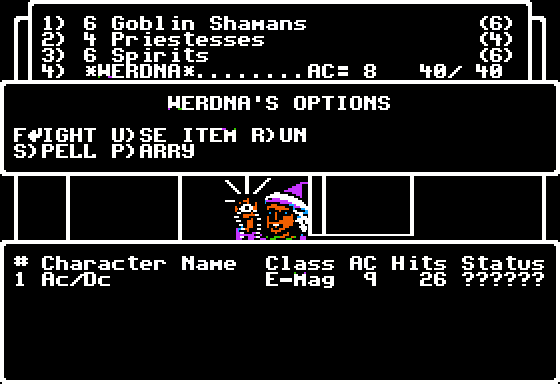
The game's tendency to give do-gooders random wacky names continues on this floor too.
Apart from Ac/Dc, there is also a Fighter by the name of Lignin Lord on B7F, a reference to the comic book villain Lightning Lord who first appeared in Superman #147 (August 1961), as well as Priest called Vee Dub and a Ninja named Killer (who drops a Shadow Cloak, a fairly useful protective item which reduces the wearer's AC by one).
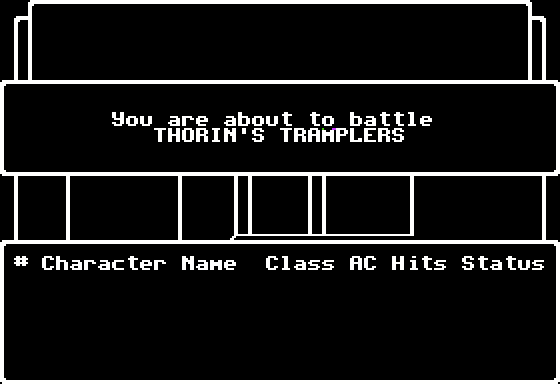
Thorin's Tramplers are here to stomp Werdna to the ground.
No wonder they are the toughest encounter on this floor.
Thorin, the group's leader, is a high level Bishop. The most powerful spell I've seen him throw around is Molito (3d6 Lightning damage to a group), with Halito and Katino being the two other spells he particularly likes to cast. Luckily, none of them can kill Werdna in one hit. Molito can be quite devastating to our monster allies, though, especially given that with his 300 HP Thorin is likely to survive several rounds.
Thorin's companions can also be problematic. For one, Laenger too is capable of a Molito. The two most dangerous do-gooders in Thorin's party are, however, Arawn, a relatively high-level Mage who has a special fondness for Dalto, and Zevs, a powerful enough Samurai to be able to cast Mahalito (up to 24 points of damage to a single target) and have AC of 0. I must admit this fight took me quite a few reloads.
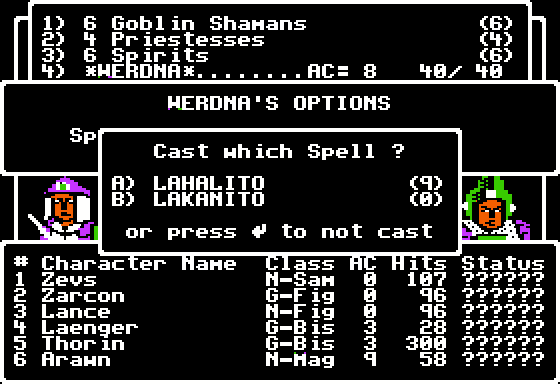
One interface-related thing I didn't tell you about earlier is the auto-complete function for spells, which is there to help you conserve key presses. In this case, we enter "La", press Enter, and the game lists all spells that begin with "La". Note that even though we cannot cast Lakanito yet, it still shows up on the list.
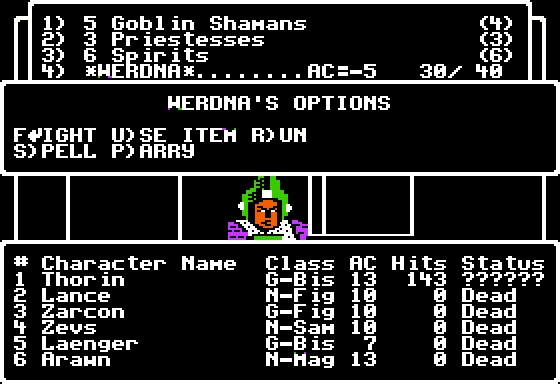
Unsurprisingly, Thorin is the only one left standing by the end of the encounter. A Spirit casts a Katino putting him to sleep, and the battle ends. We got lucky.

Among the loot, there is a special item called "A Charge Card," dropped by Thorin. It shows up as Mordorcharge in the inventory and is the in-game equivalent of the Mordor Charge Card that was included in the Wizardry IV package.
The card is generally useless, even though it has a unique optional use that I'll show off later.
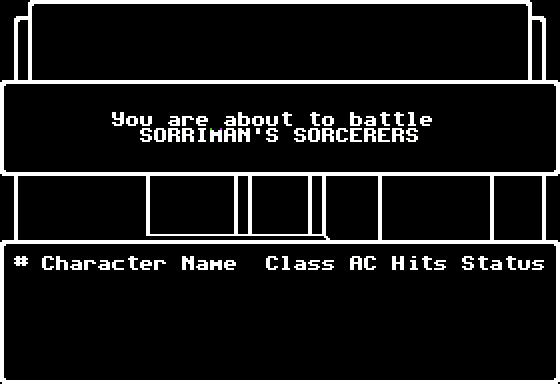
The second do-gooder party on this floor are Sorriman's Sorcerers.
Despite their name, they aren't all spellcasters. This group is powerful, but not as powerful as Thorin's Tramplers.
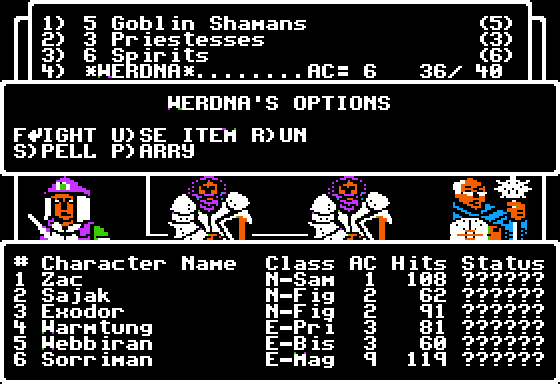
Two characters, Warmtung and Sorriman himself, are the ones to particularly watch out for during this encounter. Sorriman is a high-HP Mage capable of casting Lahalito, and Warmtung is a potent Priest with access to Litokan, or "Flame Tower," a 5th (!) tier Priest spell causing a pillar of flame to strike a group of enemies for 3 to 24 points of damage. It is worth noting that that even a 5th tier offensive Priest spell is not as damaging as 4th tier Mage spells; in general, Priest spells are about one tier behind Mage spells as far as damage output is concerned.
Another relatively powerful spellcaster in Sorriman's party is Webbiran, a Bishop who casts Molito and Mahalito.
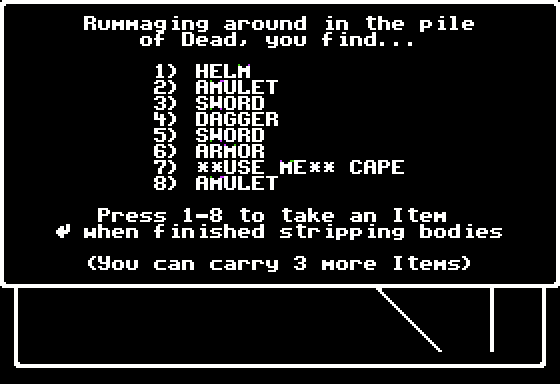
The **Use Me** Cape dropped by this party is a trap. "Use me" in the name seems to encourage you to equip it, but in fact it is a clue that should keep you from doing that.
The Cape of Jackal, as the **Use Me** Cape appears in the inventory, is a cursed item that raises your AC by 4 and, similar to the infamous Ring of Death! from Wizardry I, makes you lose 5 HP per turn when equipped, sucking the life out of you. In Wizardry, you can't disequip a cursed item, so putting on the Cape of Jackal means sure death for Werdna. Thankfully, Wizardry IV doesn't have too many cursed items, surprisingly enough.
Sorriman's Sorcerers also drop two Jeweled Amulets in case you might need to cast Dumapic to find your way around.
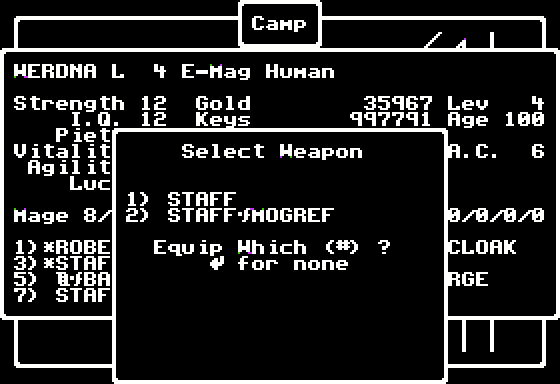
A lone do-gooder Mage called Sakura drops a Staff of Mogref. As its name implies, you can use it to cast Mogref during combat, but that is rarely the best use of a turn.
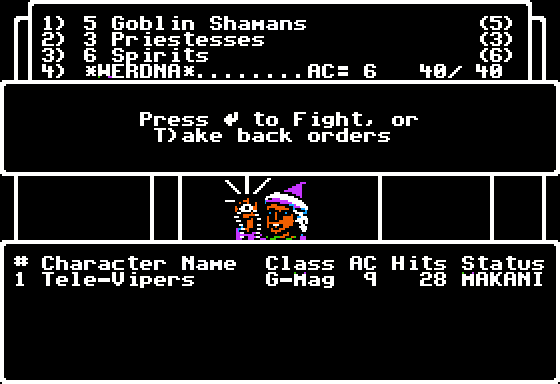
Tele-Vipers is an extremely dangerous Mage capable of casting Makanito, a deadly 5th tier Mage spell that has a chance of instantly suffocating the target. The chance depends on the enemy's level and HP, and given that Werdna still remains low-level, it is pretty high.
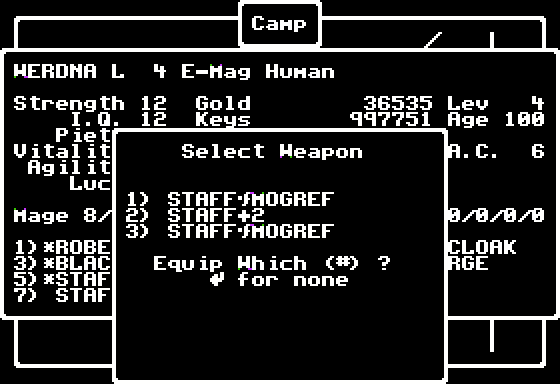
Tele-Vipers drops a Staff +2 that we equip in place of Werdna's current Staff of Mogref.
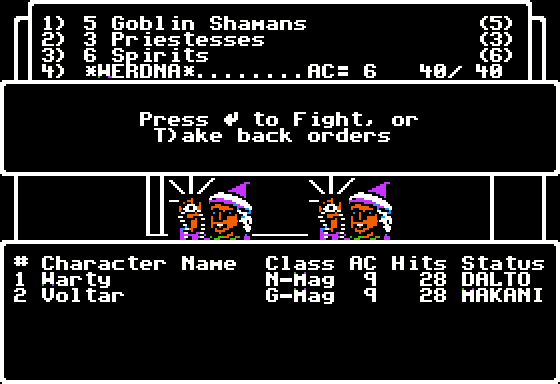
Voltar is another Makanito-casting do-gooder, accompanied by yet another Mage this time. Ouch.
Not having Milwa active when we arrive to (8,13), we use the Black Candle we're carrying as a source of light in order to reveal the secret door there.
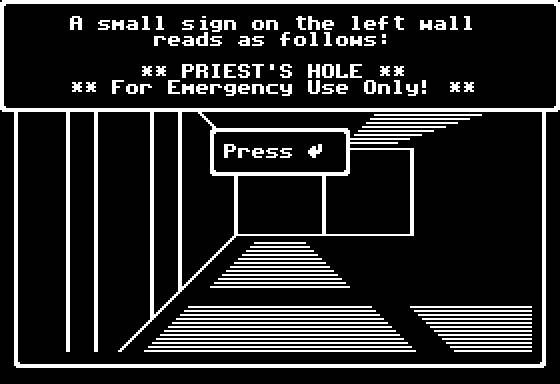
The exit on the left side of the upper room is the "Priest's Hole."
It is a shortcut to the item at (6,18), but there's no way for us to access that tile yet. Moreover, the door disappears behind us as we enter it, meaning the only way out of here for us would be to fall down the entire ziggurat.
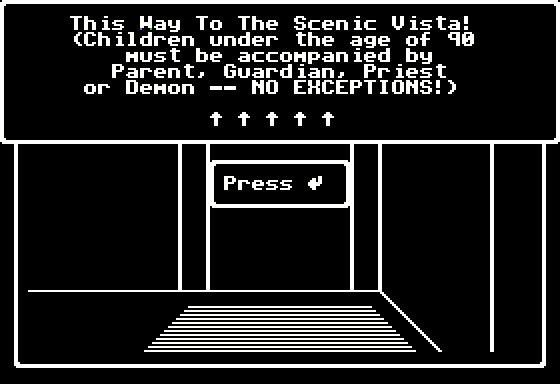
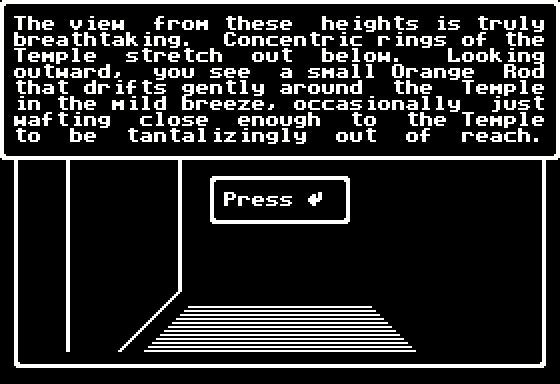
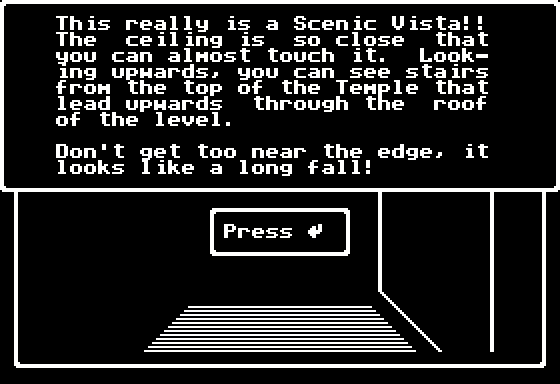
And the exit on the right side of the upper room leads to... a scenic vista?
Again, the way back is closed off. Even in such minor things, the game is doing its best to screw you over.
And I wonder what kind of scenic vista can exist inside a dungeon and why it would even be here.
EDIT: idonotlikepeas points out it's a Zork III reference:
idonotlikepeas posted:
Zork III posted:
Scenic Vista
You are in a small chamber carved in the rock, with the sole exit to the north. Mounted on one wall is a table labelled "Scenic Vista," whose featureless surface is angled toward you. One might believe that the table was used to indicate points of interest in the view from this spot, like those found in many parks. On the other hand, your surroundings are far from spacious and by no stretch of the imagination could this spot be considered scenic. An indicator above the table reads "III".
Mounted on one wall is a flaming torch, which fills the room with a flickering light.
The indicator above the table flickers briefly, then changes to "IV".
>examine table
The surface is pale and featureless, but slowly, an image takes shape!
You see the interior of a huge temple rudely constructed of basalt blocks. Flickering torches cast a sallow illumination over an altar still wet with the blood of human sacrifice, its velvet covers stained and encrusted with gore.
The image slowly fades.
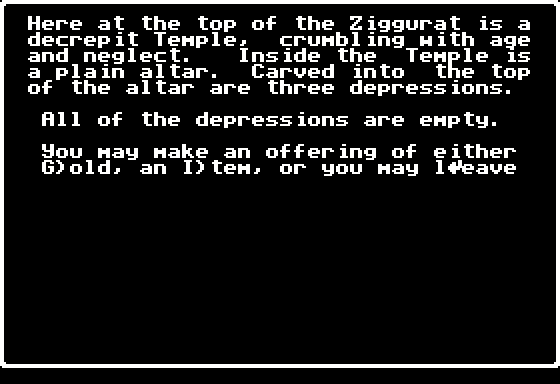
At the very top of the ziggurat, at (9,19), the temple's altar is located. The three depressions are there for us to accommodate the three precious stones we found earlier. Doing so would give us a choice of three powerful weapons that would give a significant boost to Werdna's attack power and survivability. However, choosing one of the weapons would lock us to one of three evil ending routes, and this being a completionist LP, we don't want that yet.
Therefore I'll be delaying this choice as much as possible, even if this means being decidedly underpowered for most of the game. We'll be sure to return here later - much later.
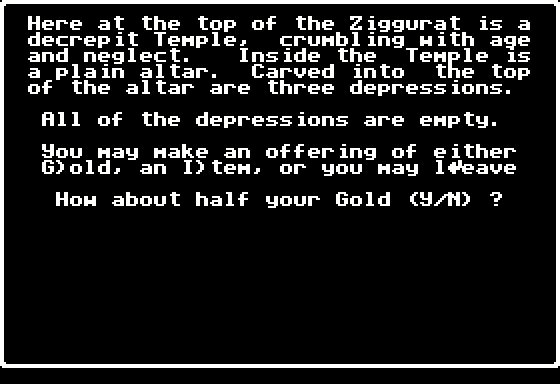
For now, let's see what happens if we sacrifice half of our gold at the altar.
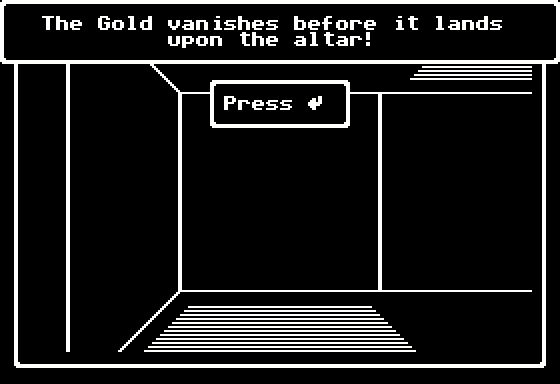
Can't say this was unexpected.
Placing the wrong item on the altar leads to the same result. We leave it be for now.
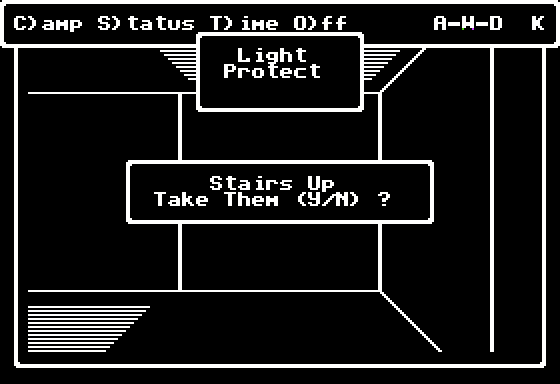
From here, the only way forward is up.
And with this, we enter the Realm of the Whirling Dervish.