Part 12: Eat Your Heart Out, Indiana
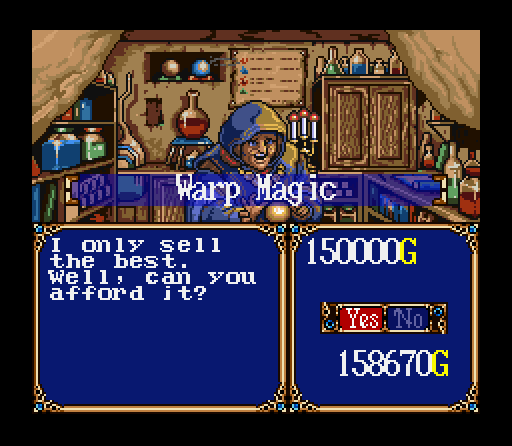
Now that we have a metric assload of money, it's time to get an important purchase out of the way. We're going to drop all but 8,000 gold on Warp Magic, which will pay huge dividends.
Warp Magic is pretty simple in concept. You cast the spell, and you're taken to a map screen. You move the pretty gold arrow and press the button again, and you're taken there instantly. This is kept from being insane by two checks: First, it takes every single bit of MP you have regardless of how big that number is. Second, you can only teleport to places that have been filled in on your map.
There's plenty of ways to abuse that last one, but until then this is also one hell of a way to save on backtracking. Supposedly there's a copy of this hidden all the way back in the very first level, but I couldn't find it.
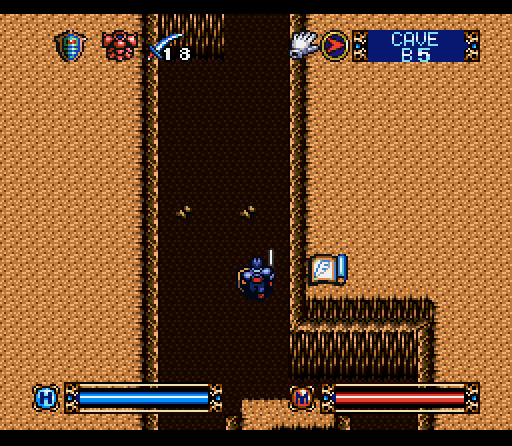
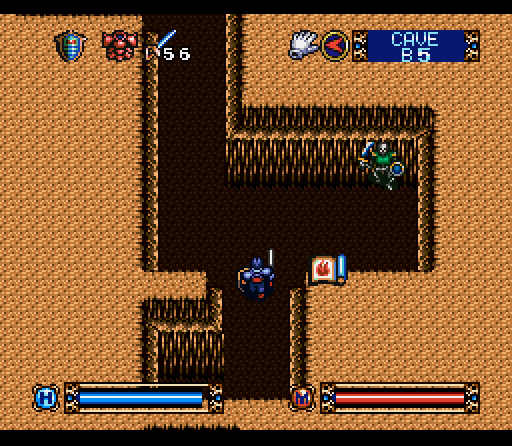
Now that we've got our new spell, it's time to finish the other half of B5. Crossing over that pit there's a breakable wall hiding some Gold Bars, as well as a very unwelcome sight.
 "Please, please, please not again… alright, what does the sign say?"
 "That's not helpful at all!"
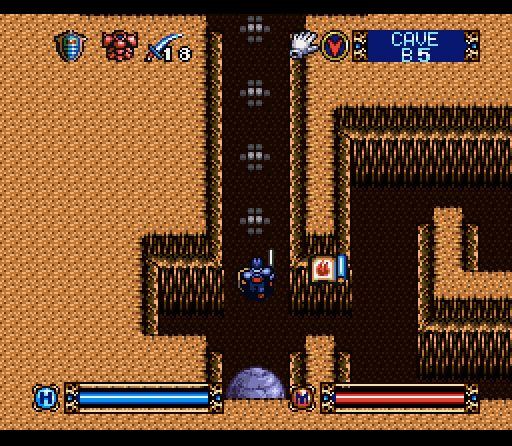
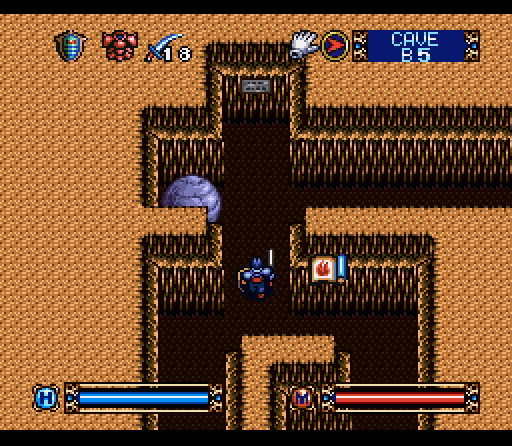
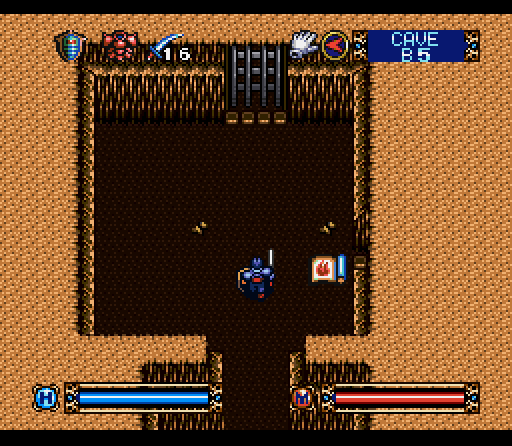
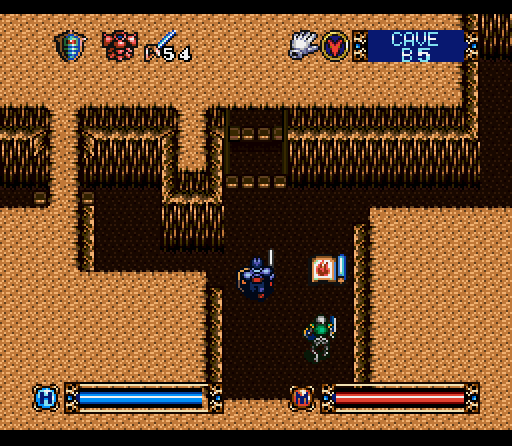
To make things more interesting, the trigger to start the boulder rolling is in this hallway. You can't just start it moving and then sneak out of the way. Instead, you've got to trigger the boulder and start hopping in the hopes that you can find some way around the whole thing later. As a note, you can simply burn a Ring of Life by letting the boulder roll over you, but where's the fun in that?
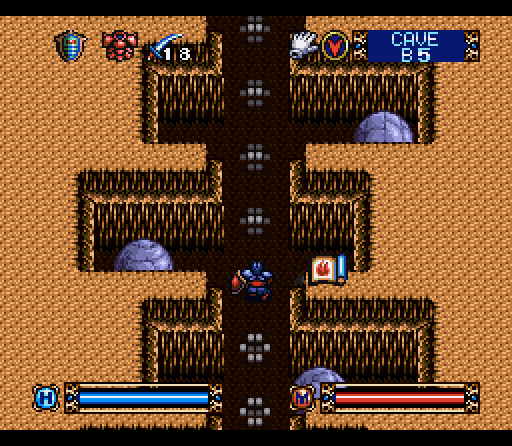
Did I mention that each of the side sections has its own boulder that will roll sideways when you trigger it?
"Ohshitohshitohshit! Way too many boulders!"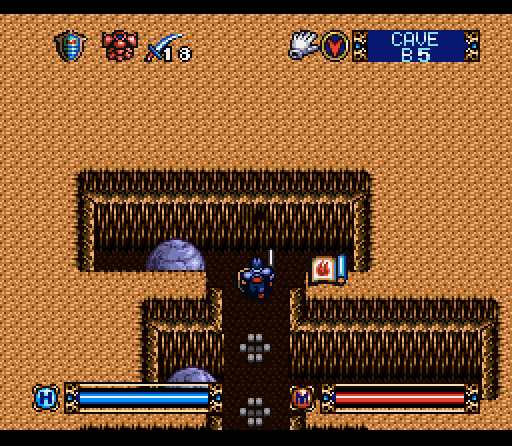 "This just isn't fair! Wait a second..."
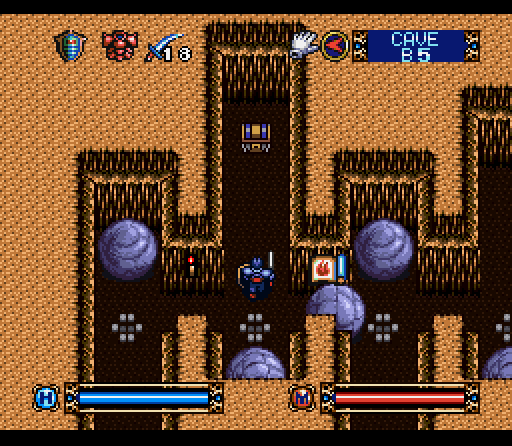
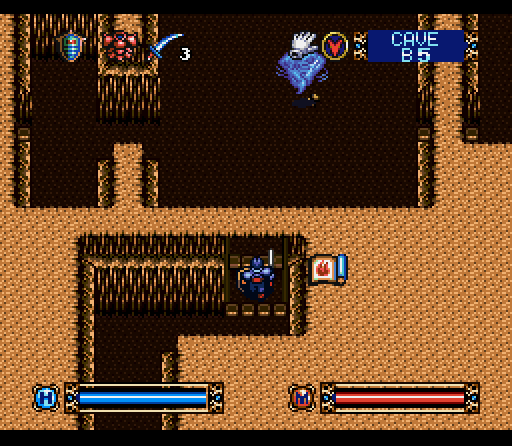
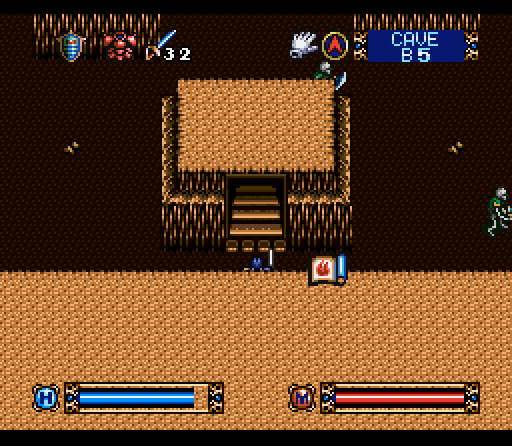
The correct way to solve this puzzle i to jump all the way to the end, turn around once the boulder above you has moved into its new niche, and then duck into one of the side passages to escape the main boulder. You have to be quick, and you can expect to burn through a couple of lives getting the timing right.
Incidentally, there's a Sword of Majesty in the nook as well as another nook with a very special pit trap...
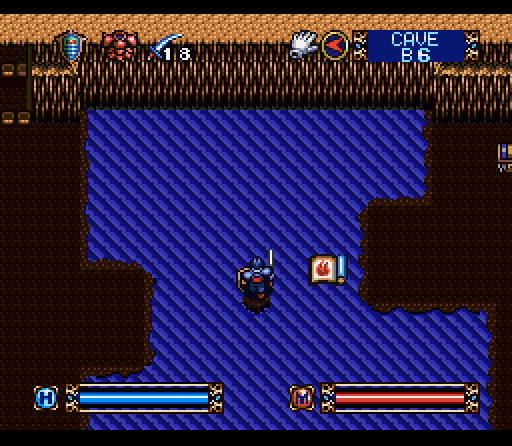
Which drops us down to B6, to that chest we could see earlier but couldn't actually reach. It's got another Sword of Majesty for us, which will be handy in the near future.
Going back up to B5 and making our way through where the boulder crashed through the wall brings us to a room with a couple of obvious pits and two doors. Just for the sake of simplicity, we'll be exploring the path directly in front of us first.
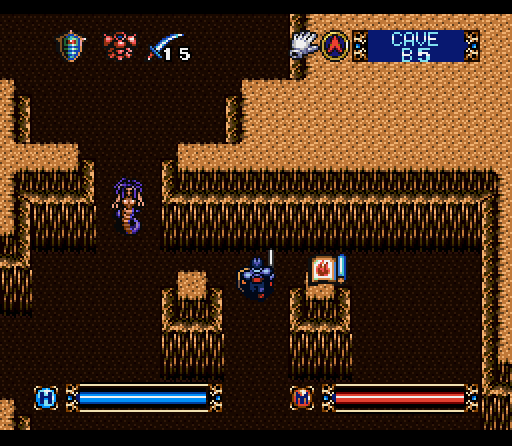
It's got some H. Potion immediately down the road as well as Medusa roaming about. These guys are still quite capable of killing us with a bit of bad luck, since they can and will freeze you in place and then beat you to death.
Continuing on there's 2000 gold pieces and some M. Poison, which actually sells for a good price.
Eventually the path brings us to… the room we started from. I kind of lied when I acted like which direction we chose was in any way significant.
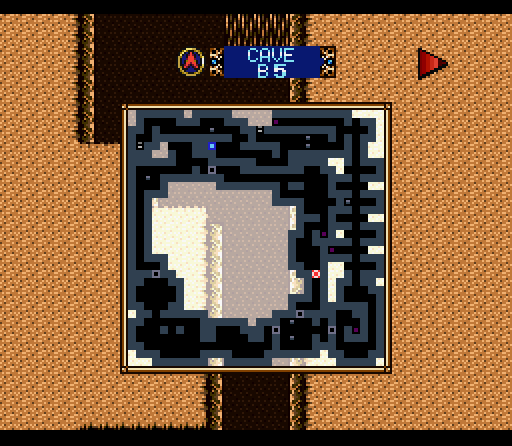
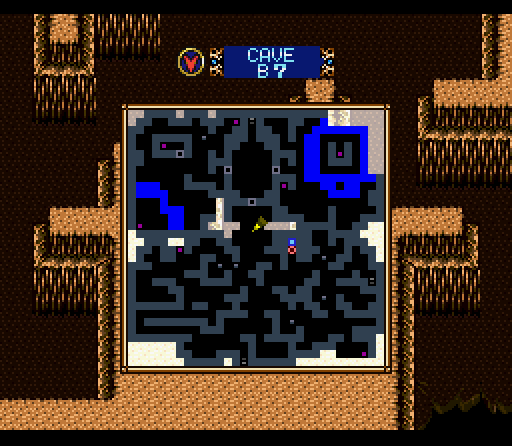
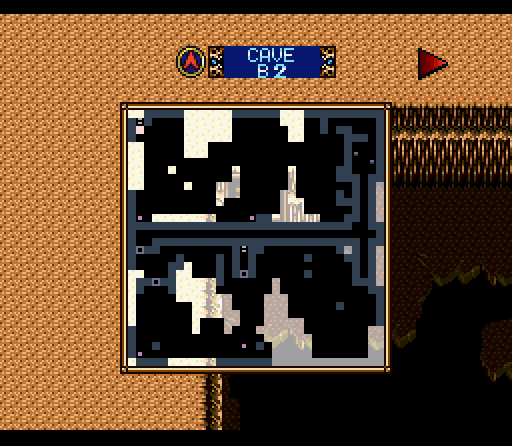
A look at the map confirms that we basically went in a giant circle, but also provides a hint to the way out. If you look directly west of the store you can see what appears to be an unexplored passageway. This is actually a hidden wall, which you might remember look the same as every other wall here in the Caves.
Of course, if I'd seen this happen when I was previously up here it would have been a lot simpler to find.
A switch inside the hidden passageway opens up this door, granting us access to the center of the map.
The exit to B4 is just inside, but there's yet another hidden passage directly behind where we're standing. Our old friend The Warlock is inside, but he's a good bit less threatening. Other than that, the only thing inside is a box full of Gold Bars.
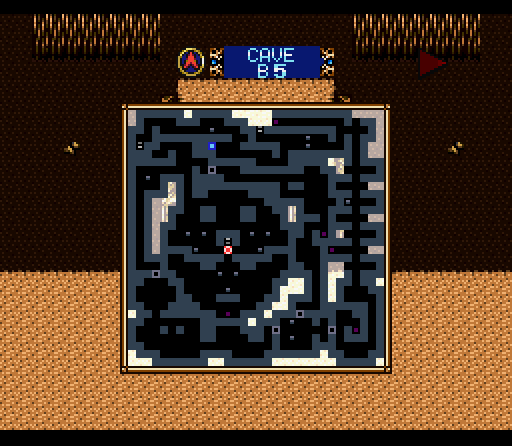
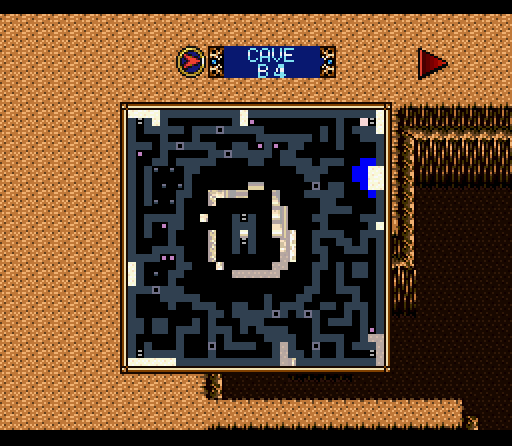
With that we're done with B5, even though they left a good bit of empty space in this one. The center room kind of makes me think of a pokeball.

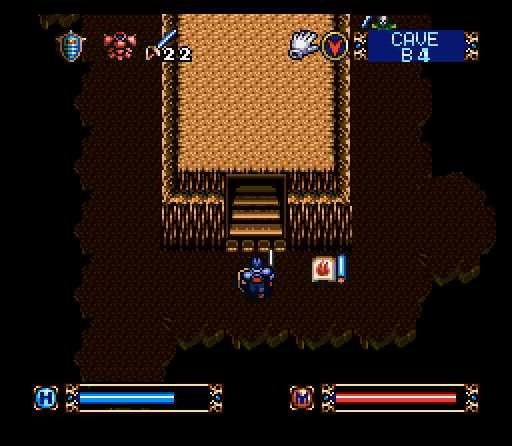
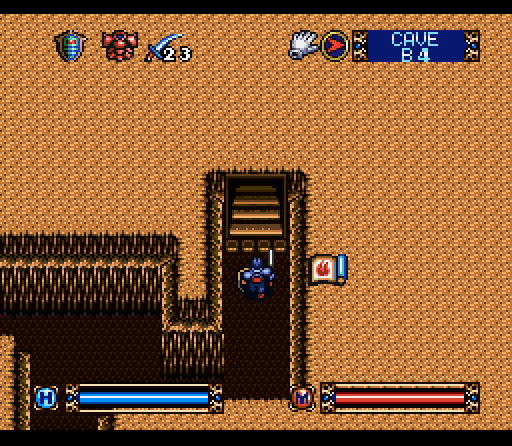
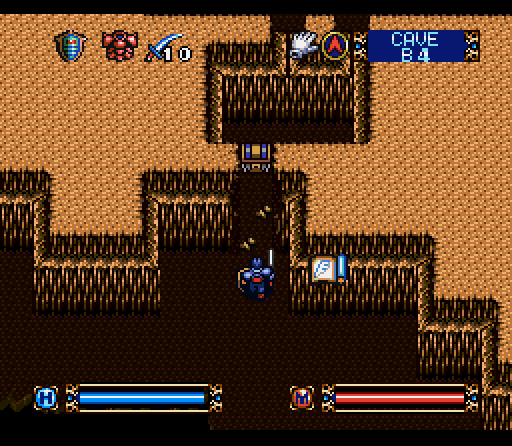
Climbing up to B4 reveals that we start surrounded by a giant pit...
And end up surrounded by a giant pit.
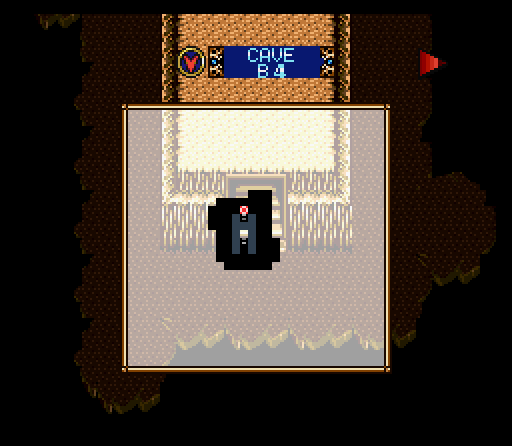
Shortest floor ever! Now we're making some progress! (I promise it'll make sense shortly)
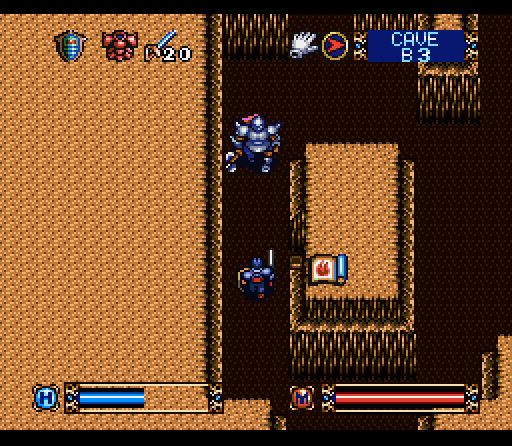
Popping up the stairs to B3, we're introduced to this big bruiser. They're called Armored Warriors, and are completely immune to physical attacks. Fire magic tears big bloody chunks out of them, though, doing about 30 damage per shot. They can do similar damage to you, so you don't want to get close. They also occasionally drop Gold Bars, making them my new favorite enemy.
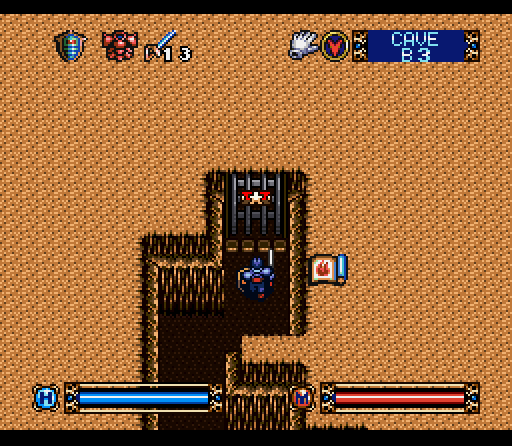
A little exploring brings us a welcome diversion, as well as a source for information on these two floors.
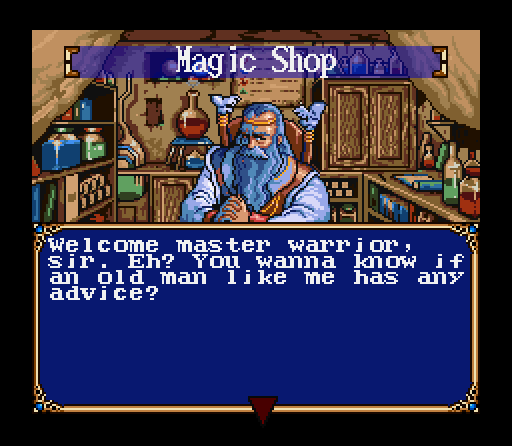 "I didn't ask for any, but if you've got something you're dying to tell me go ahead."
 "Hmm… Let me see. Well for starters, do you get the feeling that this floor is a lot more cramped compared to other floors?" "Not compared to the last one I was on, but I get your drift."
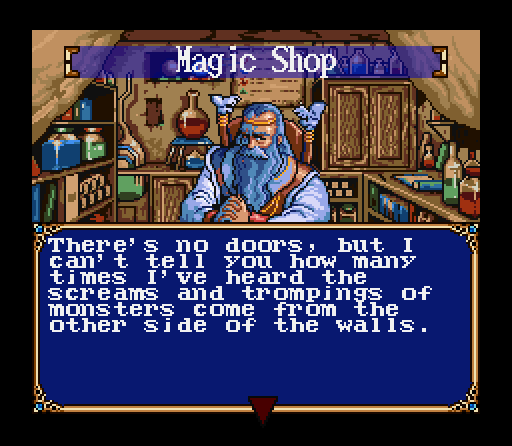 "I figure there's probably a way to get to the other side on the floors above and below this one, but who knows? Well? Does that help you at all?" "Well, since there wasn't anywhere else to go on the floor below it does kind of narrow things down. Thanks Gramps."
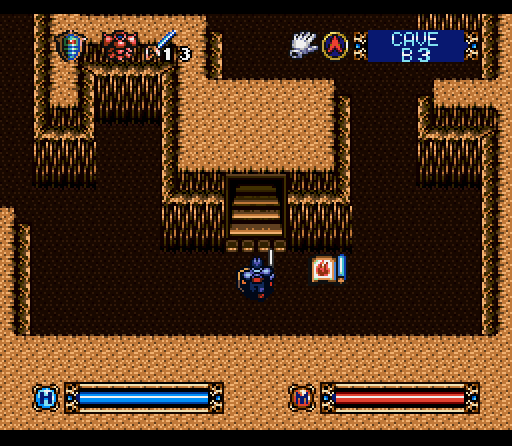
He's not kidding about it being cramped, either. The exit is just around the corner.
This one is a bit larger than B4, but only just barely. We'll be exploring the rest shortly, although strictly speaking you don't actually have to. You can just climb up to B2 and continue on with the dungeon, but you'll miss a LOT of stuff that way.
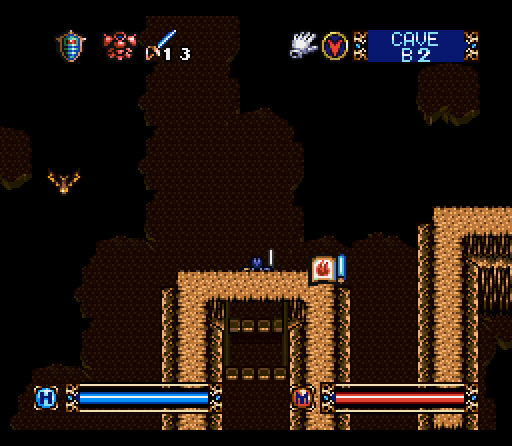
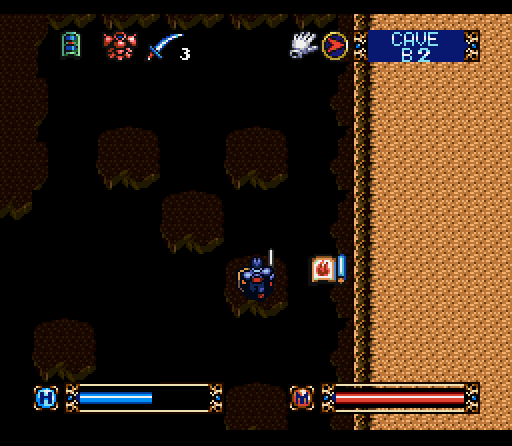
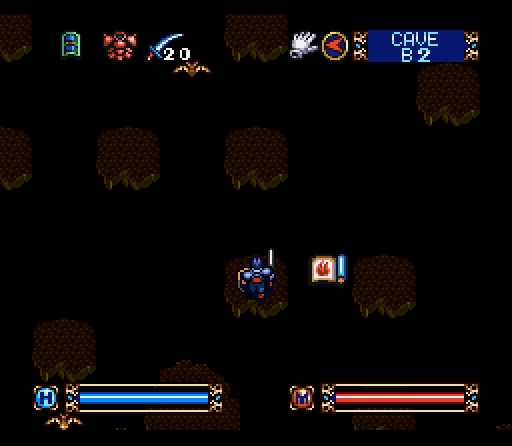
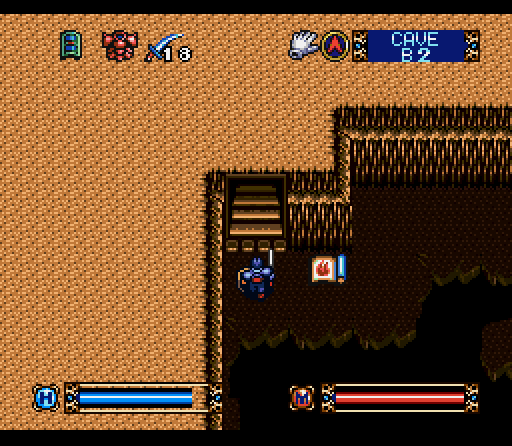
B2 is mostly empty space with little islands of rock, full of Gold Bats. These guys are a bit tougher than previous bats, and are immune to magic. They behave in the exact same way, however, and are a lot more numerous than I'd like.
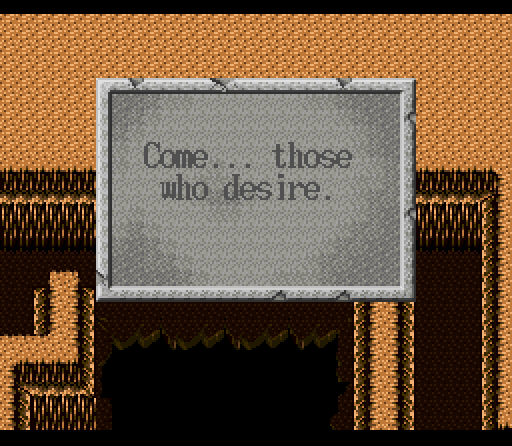
The sign refers to the pit behind us, and is kind of a clue.
"With an invitation like that, how can I not?"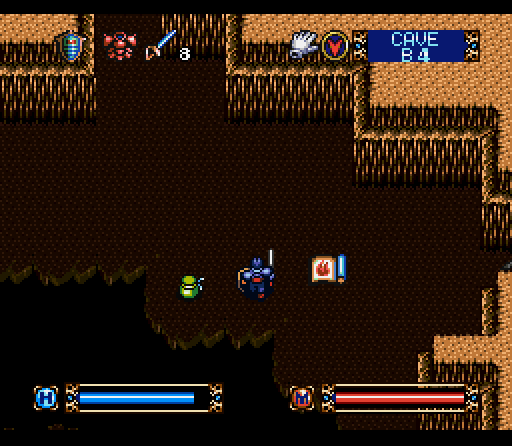
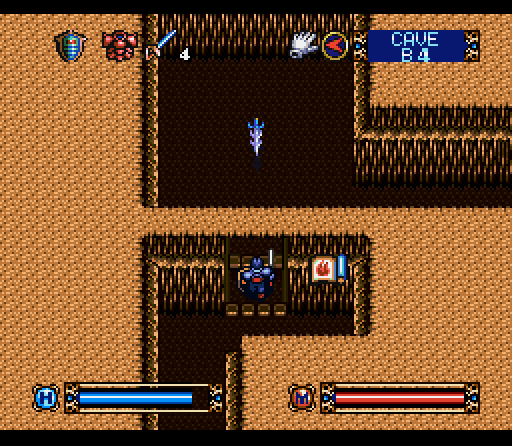
Jumping into the pit drops us onto B4, right on the outside edge of the pit that was in our way previously. The bag next to us has a Falchion, and is the only treasure immediately accessible. Instead there are a bunch of doors, and after a bit of poking around and mapping it's time to head into one of them.
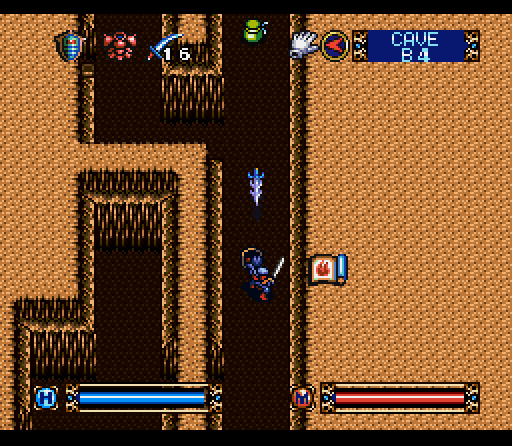
Naturally, door number 1 has an Enchanted Sword behind it. There's still no way to kill these, and they can still kill us in two hits. Evasion is the only option.
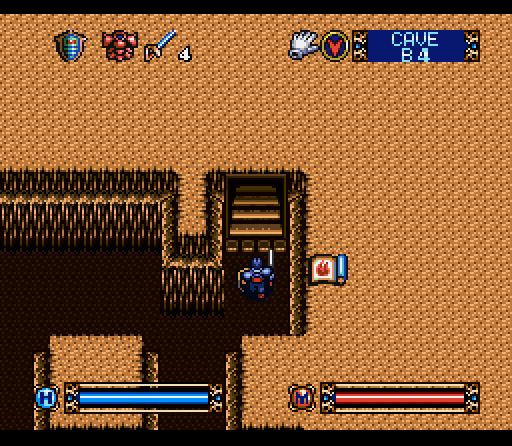
A breakable wall leads us directly to some H. Poison and the stairs up. Huh, that was easy… but we still have most of the floor to explore, so it's back out to try some of the other doors.
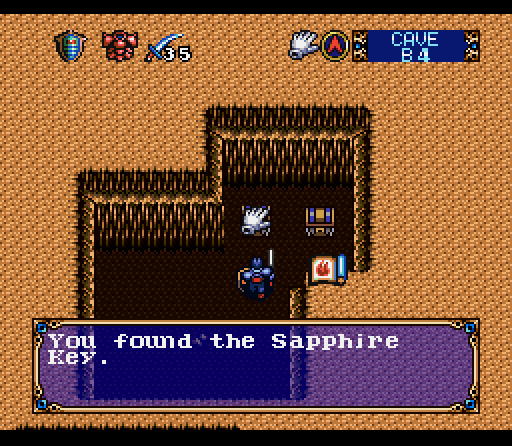
Before that, though, a hidden room leads us to a treasure room with a Sapphire Key and some Gold Bars. This'll help opening up some more of the other doors.
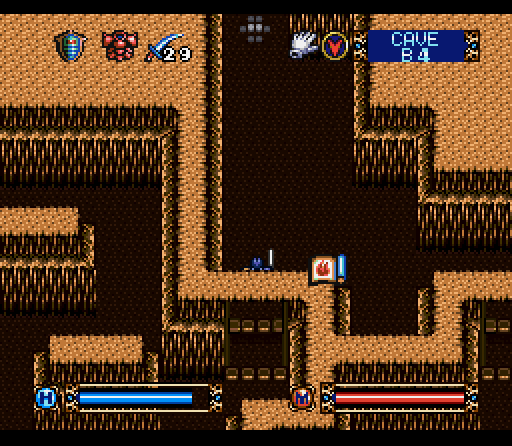
In the southeast corner of the floor we pretty quickly stumble upon a floor switch, but it's not in the way so it can wait just a bit, in the off chance that it'll do something untoward. The most sensible and cautious thing to with such a switch is to explore and see if you reach a dead end that it might open up before touching it.
Instead, we find some Gold Bars and yet another staircase. The gimmick coming up should be coming clear by now.
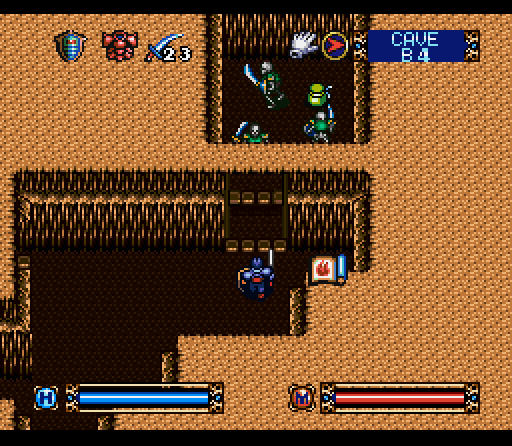
That floor switch, by the by, just opened up a door with three Skeleton Warriors and a shiny new Dragon Key to take us through another door. There's also 5000 gold pieces hidden away that I stumbled upon, which is pretty welcome considering how broke we are.
Through another door is yet another Enchanted Sword, this time in narrow confines so that it requires careful timing to jump over it and keep moving forward. The bag behind it has some Steel Balls, with a door off to the left.
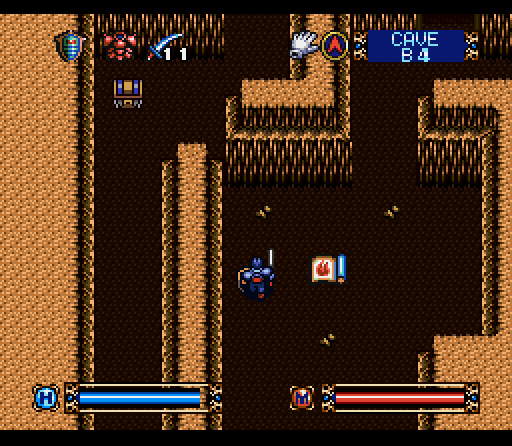
Said door leads to another room, with an odd feature that's a pretty good chance to explain how to exploit the Warp spell. With these two intersecting corners there's an opportunity to get to that chest by jumping into the pit and then jumping out. That fills in the other corner on our map, enabling us to teleport there.
Alternatively, I could also have went through an illusionary wall and just walked around. The treasure chest is an Amber Key, with some Gold Bars down a southern branch. Past the Amber Key is yet another staircase, making a total of three entrances to B3 to date.
Heading for the next door I notice a breakable wall that had eluded me earlier, which contains a shiny new Target Shield for an additional 5 points of defense power. It looks like there should be some way to remove the pillar near the chest, but nothing presents itself.
The door I was headed toward yields some H. Potion, as well as a fourth way to get up to B3. In order to complete the next floor, we're going to have go up all four stairways in no particular order.
Happily enough, though, that completes floor B4. It's definitely a lot bigger than it looked at first.
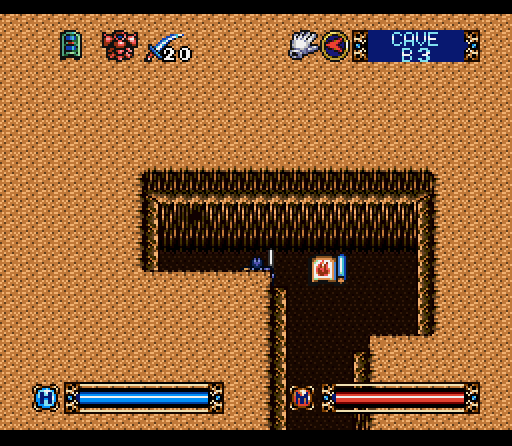
You can see B3's gimmick right here… the entire place is full of breakable walls, with practically no regular doorways. I actually ran out of sledgehammers on this floor and had to go buy more, meaning that there are more than 30 breakable walls.
The rest of this floor is just gathering treasure, but it's mostly Gold Bars with a few obsolete items, including Scale Mail, Falchions, a Shipal, Sabers, and potions. Nothing of significance, but all nice to have.
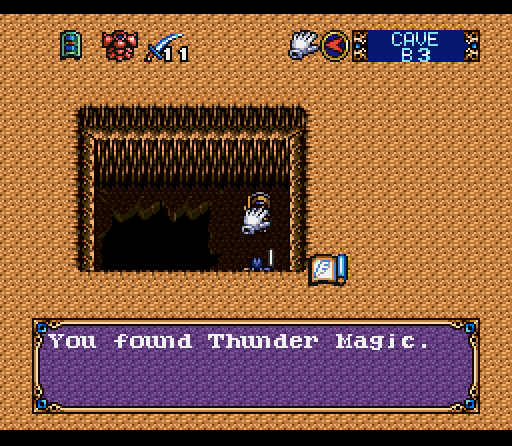
The only exception is Thunder Magic, which is tucked away in this pit room with no obvious entrance or exit. Instead, you can only get there by using Warp magic to transport to a square that was put on our map when we fell through this pit to get to B4. It's a bit convoluted, and very easy to miss.
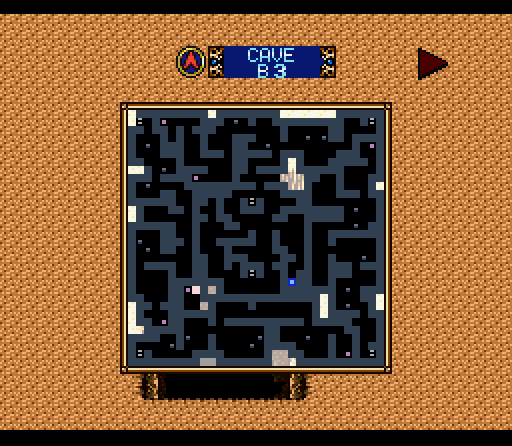
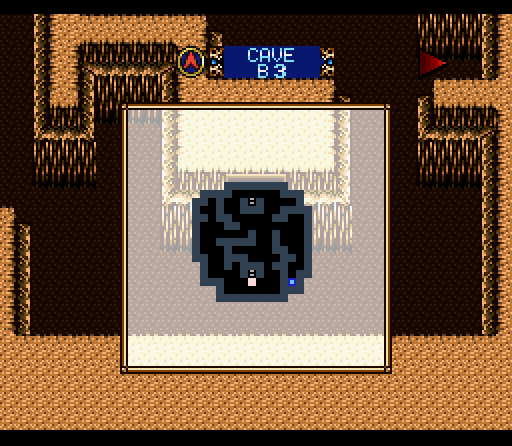
That completes B3, with this map giving a pretty clear indication of just how convoluted this area is. A switch opens a hidden door into the portion of the floor we visited earlier, but it's much easier just to Warp to the square next to the exit at this point.

This should give an idea of how much Gold we found on this floor. We're well one our way to recouping the cost of the Warp magic already… and we're not done yet.
Returning to B2, the way forward is found by hopping from island to island. If you move into the holes here you get dropped down to the previous floor. The main area is a large pit, with another Falchion, a Sword of Darkness, and 3000 gold pieces for the taking around the edges. Continuing on...
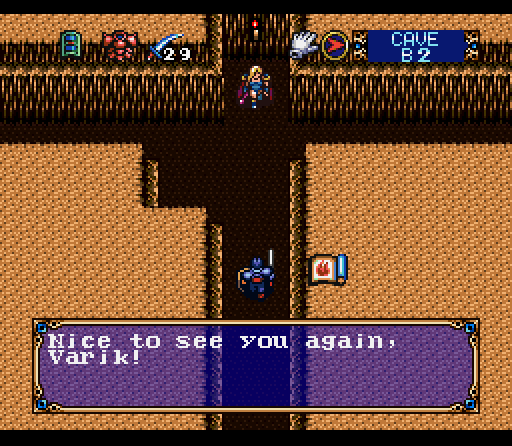 "Oh, hi Alexis. I see we've decided to be reasonable about things now?"
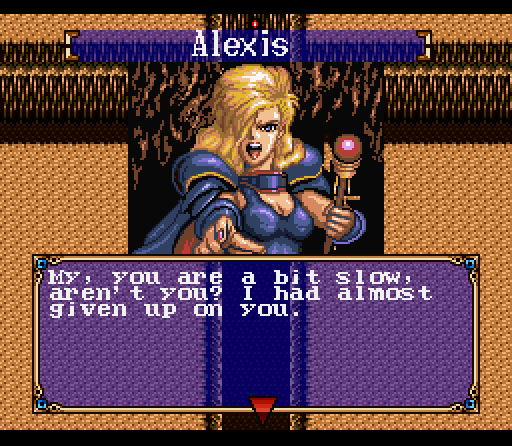
 "You won't get away from me this time!" "No, of course you aren't going to be reasonable. Have you at least checked for pits in front of you this time?" "I never thought catching you would be this much trouble." "The only reason it's been trouble is because you're an idiot who keeps falling into pits."
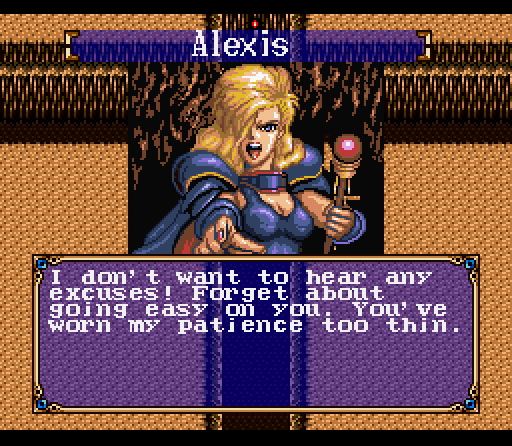 "You're preaching to the choir here, lady." "What?! What's this?!"
 "HAHAHAHAHA! Well, at least it wasn't a pit this time… run Alexis, run!" "Argh!! No… this can't be happening… I'll get you!" "Well, I guess I'd better go heck on her…"
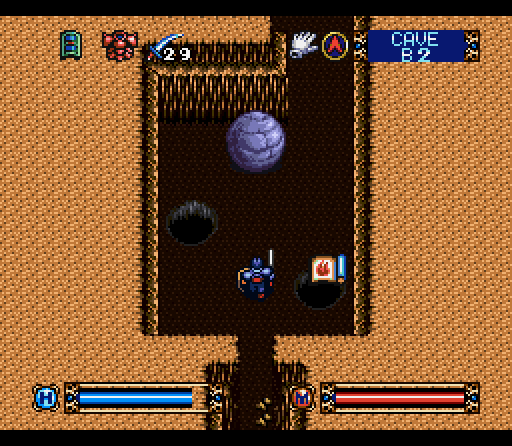 "Vanished without a trace. She probably hopped into one of these pits."
Returning to the source of the boulder gives us some more Gold Bars before we can continue on to get some H. Potion and more Gold Bars behind a broken wall.
The terminus of the path is another room full of platforms to jump across. One corner holds 6,000 gold pieces, but otherwise the room is unremarkable.
The other reachable corner brings us to the stairs to the next floor.
There's a lot of open space on this floor, but that's entirely because of how most of it is made up of empty space.
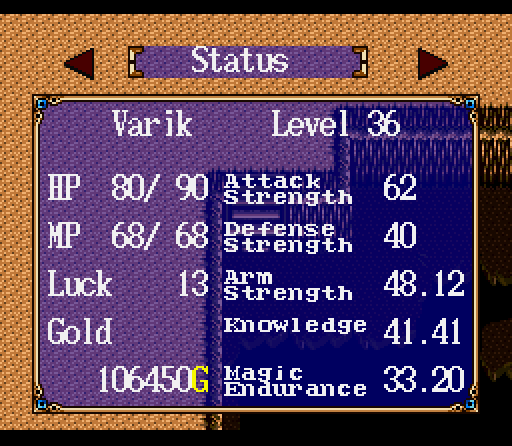
With that, we'll close up shop for now. We've picked up 5 overall levels, 7 Arm Strength, 7 Knowledge, and 5 Magic Endurance in a few short floors.
Next Update: Ninjas, Chimera, and The Darkness.