Part 14: Hopefully into the Belly of the Beast

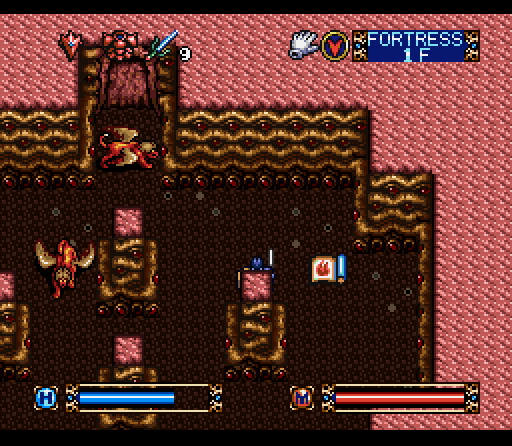
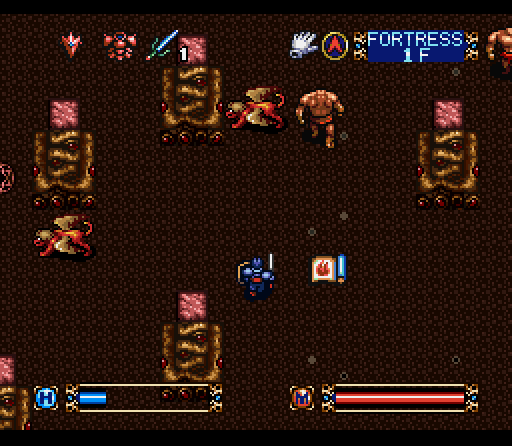
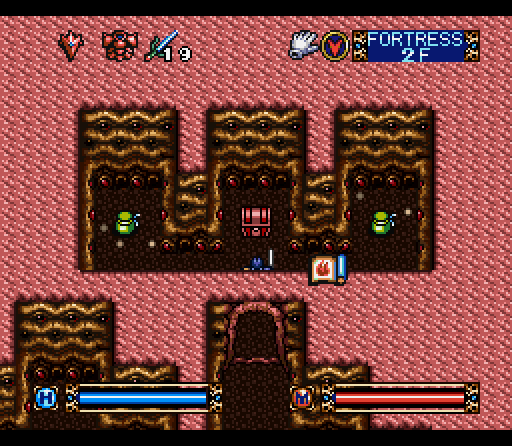
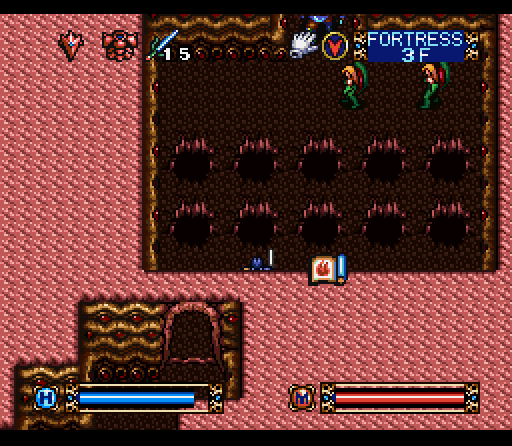
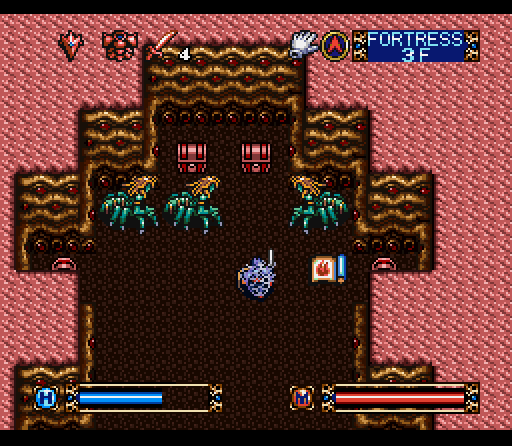
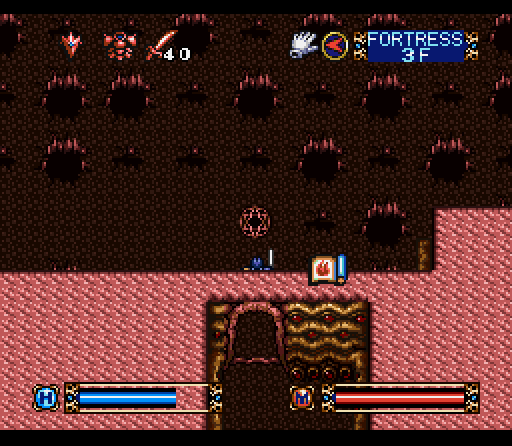
Alright, time to start the last section of Brandish. The Fotress levels are strangely organic, and it's probably best not to think too much about that. Right in front of us coming up the stairs are the last two regular shops in the game. You're probably going to want to stock up here. We'll start with the weapon shop.
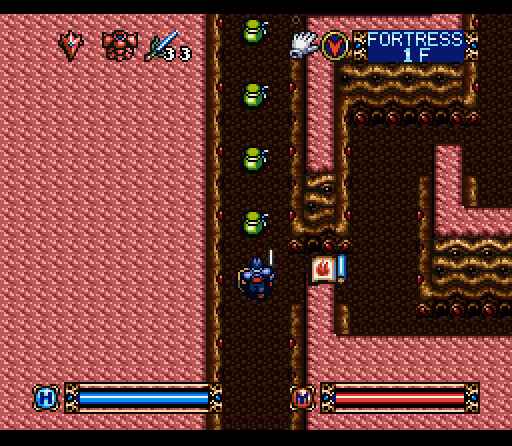
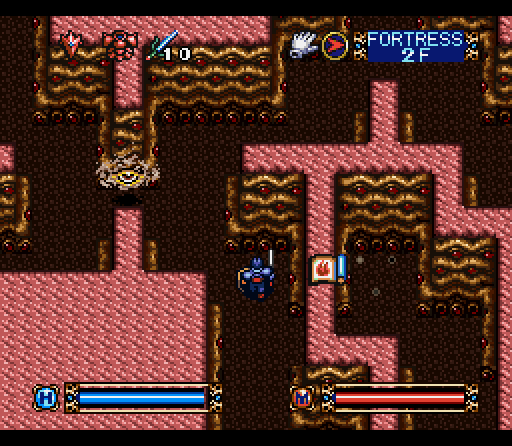
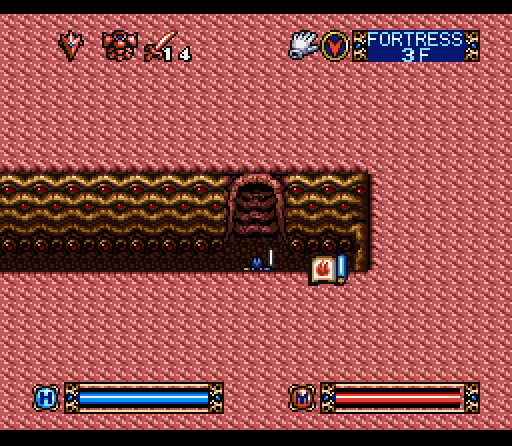
As a note, see those little dots on the floor near the wall? Those are actually damage floors, which will slowly sap your HP if you stand on them. They're peppered throughout the floor, so you have to pay attention if you want to stand still.
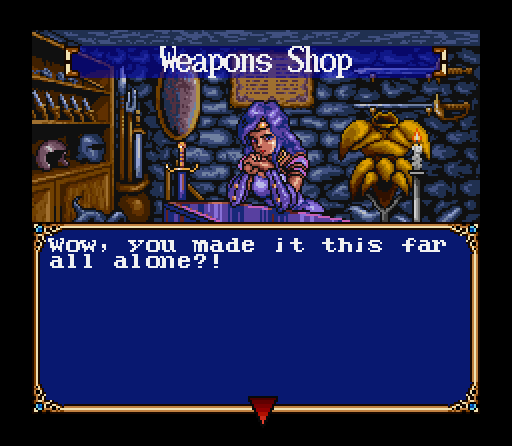
 "Yep, just lil' old me and my own personal armory of swords, magic, and armor. I doubt another man could have carried all of it, let alone actually fought all the monsters I have."
 "The elf next door and I paired up and fought our way here, but the monsters were just too strong for us. So we gave up here." "The elf next door? That's too bad…what's up with the monsters? Have a bunch of people come through here for you to sell weapons and magic to and then never come back?" "Their incredible magic powers were just too much of a match for us. You'd better prepare yourself if you're going to continue! One mistake could mean the end! "I'll keep that in mind… but I'm still not buying anything. Maybe from the elf."
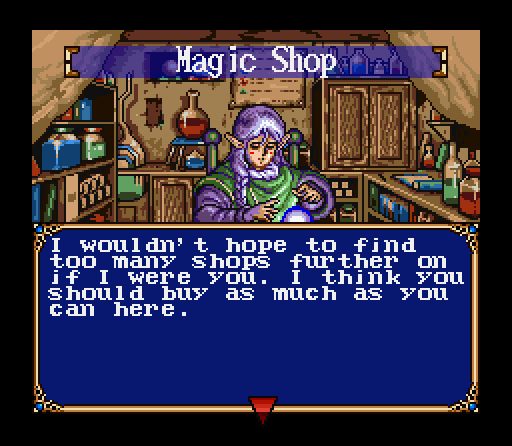 "You're a bit more persuasive than your neighbor. Also, I take back what I said about it being too bad that the two of you are partnered up."
 "That's just a warning, not a sales pitch. The monsters' magic is in a different league entirely. I'm just another person whose dreams of reaching the surface have been crushed. I wish you all the best of luck." "Gimme a couple hours, then try following behind. You should be able to follow the trail of bodies to the surface."
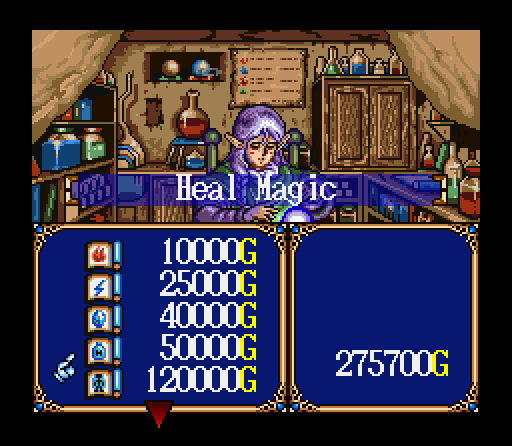
Since we're here and have all of our money (and more!) back, it's time to spend some. The Healing Spell I'm buying right here is definitely the best of the batch, and nearly makes potions obsolete. It costs only a few mana and gives a very fast regeneration style healing that only takes a second or two to zap you back up to full. It also continues for a moment or two after filling your life bar, meaning it's possible to get hit at that point and have the spell keep on healing you back up. For 50,000 it's a steal. The only reason you might want to keep healing potions at this point is because they're instantaneous.
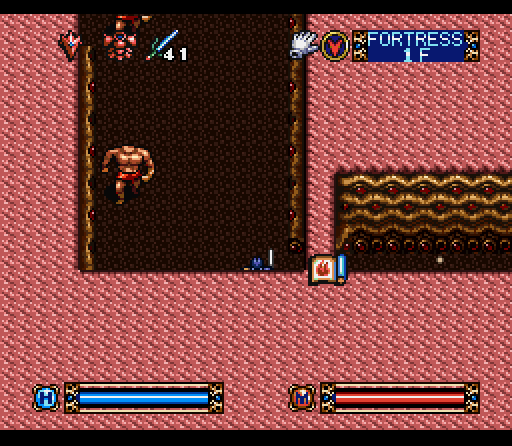
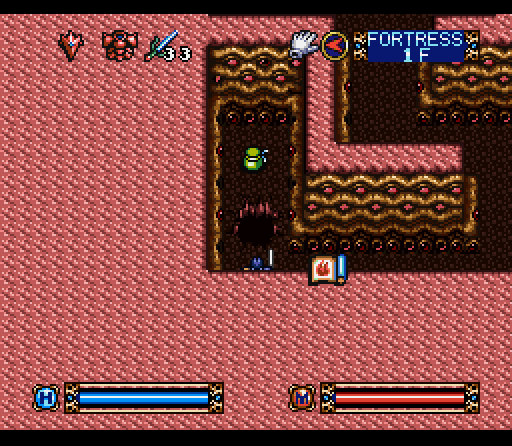
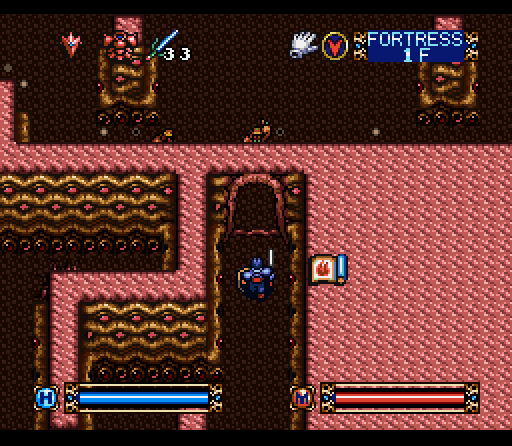
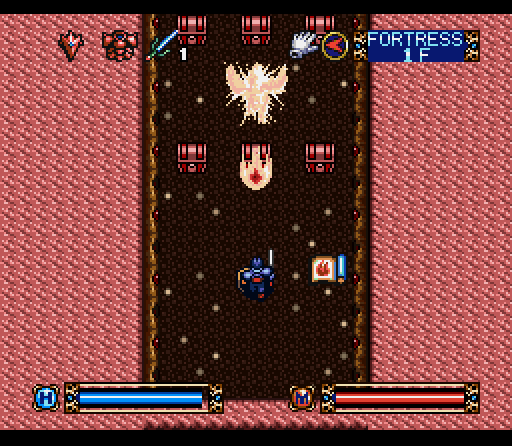
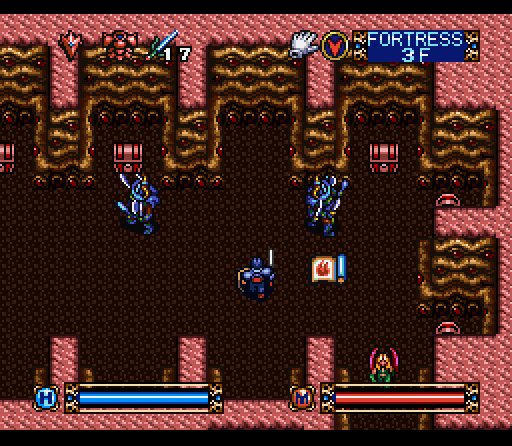
With our shopping done, it's time to get rolling onto the floor proper. The first enemy we run into is one that's familiar from when we got the Shield of Darkness, but instead of being a surprise it's just a regular enemy. These guys can still drop a pretty hefty bit of damage, but they're a lot easier now that we're not pinned in. There are some more Gold Bars nearby, although this is only a prelude to our real haul.
Right down the hallway there's a pile of goodies for us, and in a single unadulterated moment of kindness none of them are traps, junk, or poison. Instead we've got one each of H. Potions, M. Potions, Invisibility Potion, and a Gold Bar.
What this might be I have no idea, however, as there's no way to get to it. If you don't think that pit was there a moment ago, you're actually right. Damage floors and pits almost all look exactly the same on this floor, which means that you never know when you're about to walk onto a pit without checking every step… which would mean standing there and taking damage while looking.
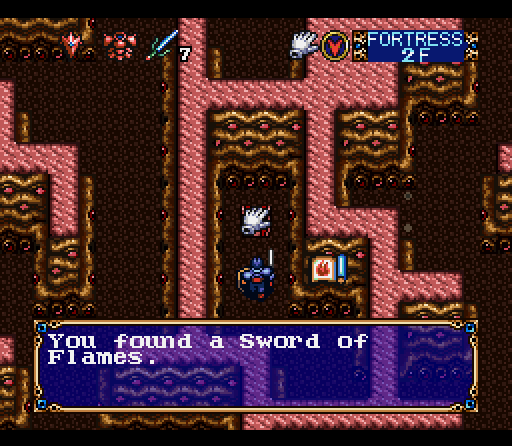
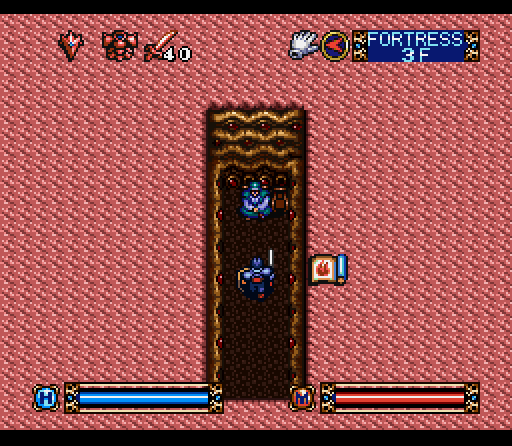
Right down the hallway we've got another former enemy returning… from precisely one floor ago. The Boss of the Cave is actually a regular enemy on the very next floor. These guys aren't quite as strong as the boss form, however. There's a Sword of Flames in the room along with the ninja, in case you're running low.
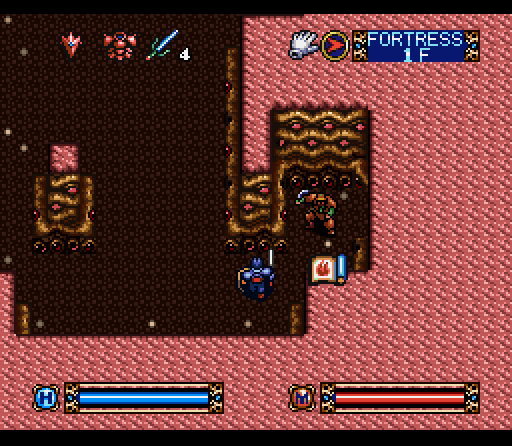
You actually have to work on your timing with these guys because of moves like this. There's a door to the right of that Ninja, and he's not moving. You pretty much have to sidestep over and go hand to hand with him in order to move on.
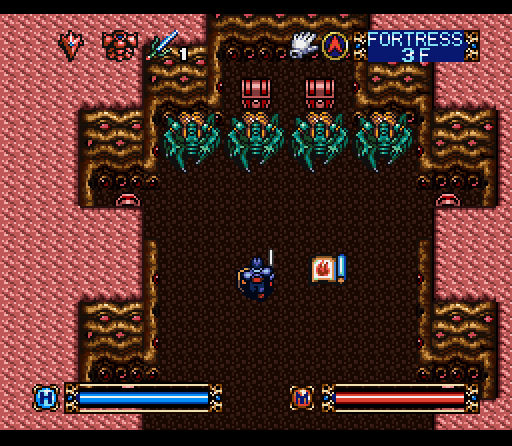
The next room has a similar guard, as well as a bunch of free roaming chimeras. Despite all this it isn't nearly as bad, because they don't really have a way of defending against your attacks. A secret door in the room leads to some Gold Bars.
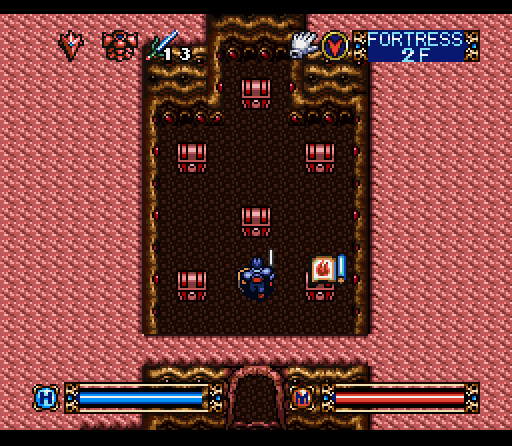
Doubling back it turns out that we missed a door with a treasure trove inside, which pretty much forces you to deal with this chimera from a distance unless you want to walk across a couple of damaging floors to get into range, turn, and fight him off while also getting your life drained by the floor. As something that wasn't even a boss, though, he doesn't quite rate. Our reward is a set of Master Keys, a Ring of Protection, some Gold Bars, a Sword of Majesty, some H. Potion, and an empty chest.
Continuing on past the chests is the new version of a teleport square, which is somehow less ominous than the various star in circle designs we've seen up to this point.
It's the only way to get to this little room, which provides us with some M. Poison, H. Poison, and a Skull Key. This was actually the real reason we had to double back, as we weren't getting anywhere without it. I'm pretty sure this is the second or third skull key we've seen, which makes me wonder if they're all identical.
Going back to the Chimera room and passing through the Skull Door takes us to a gigantic room of columns, full of Headless and Chimeras.

The switches go all the way around and are our ticket out of here...
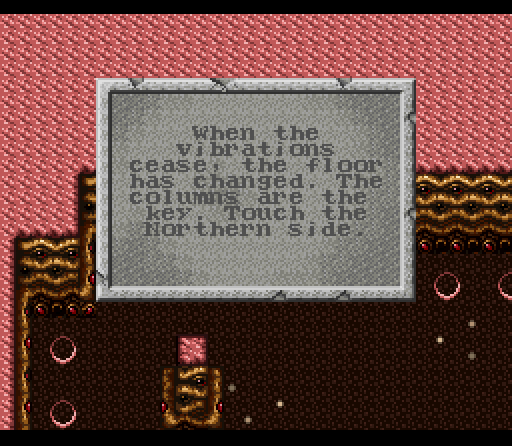
Although it's not exactly clear how it works from the hint. What we basically have to do is step on the switches until nothing happens, then face each of the columns and use the take command while facing north.
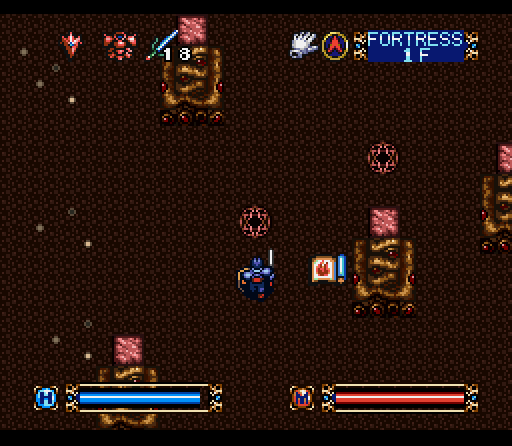
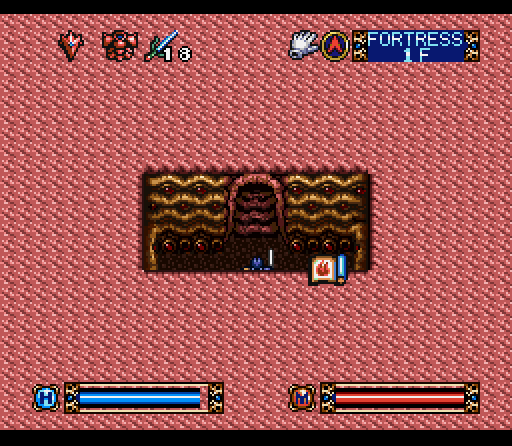
Eventually one of them will turn into this warp circle, giving us a way out. There's some Steel Balls in the room to pick up, as well as a nearby Hardening Potion, although they're not exactly critical treasures.
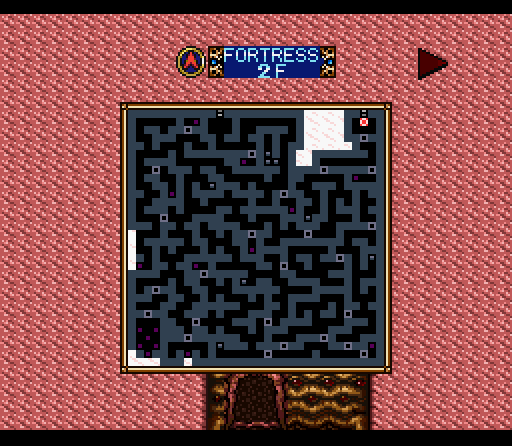
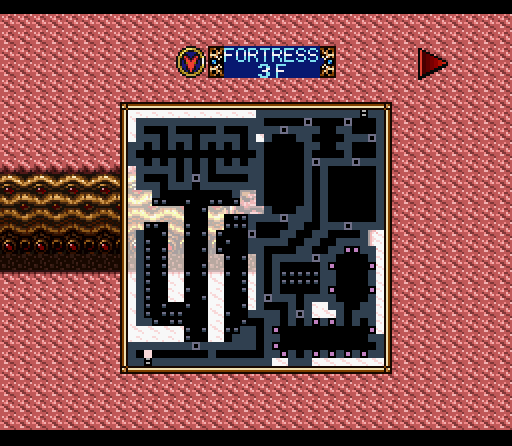
The teleporter pretty much takes us straight to the exit, and with that we're done with 1/7th of the tower.
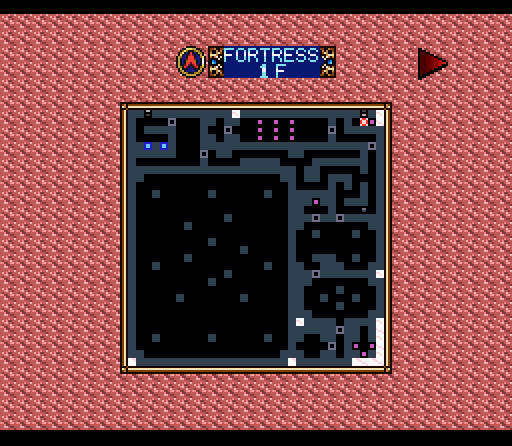
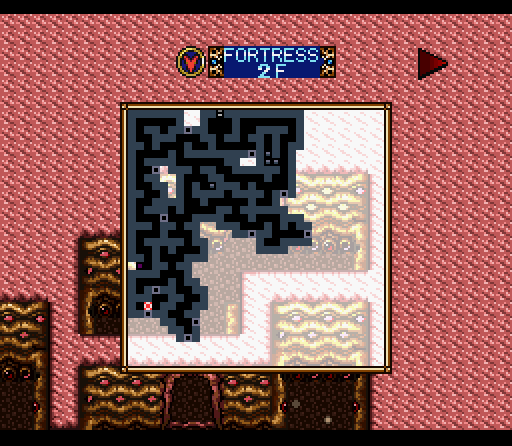
As you can see from the map it's actually very simple, but this is definitely only the first level. It'll continue to get worse from here.
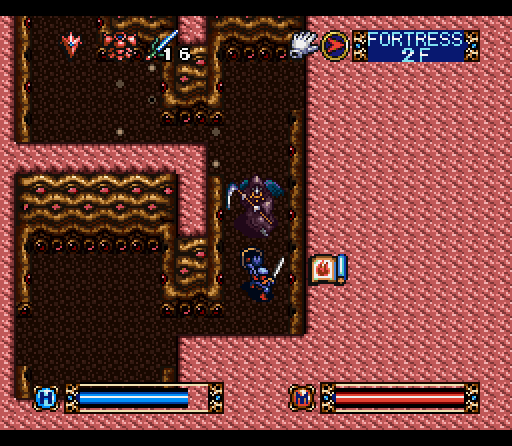
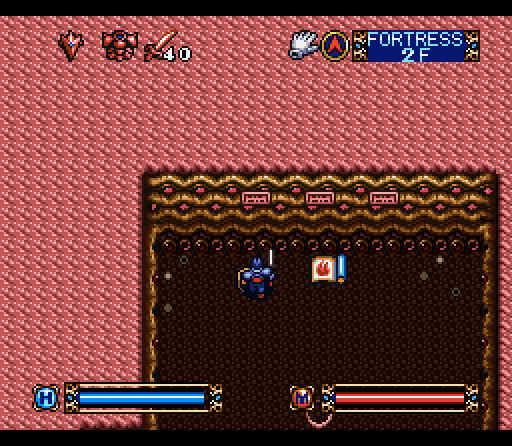
Almost immediately after stepping onto 2F we run into our first new enemy, and one of the few on these levels that isn't a former boss. This is the Phantom, who has to be dealt with physically because he will throw your magic back in your face. That scythe hurts, but luckily they're pretty slow when attacking with it. The entire area here is very winding, and has a few treasures scattered through it along with the monsters. The first one near the entrance is some Hardening Potion.
The other theme for this floor involves a lot of locked doors, which will be explained shortly. In the meantime, it just means that we have to go around a lot of twisty hallways.

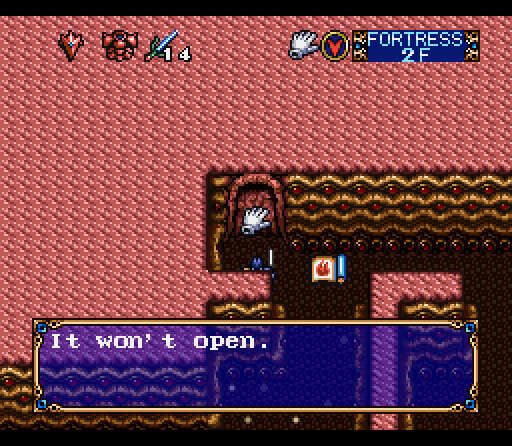
This is another case of a disguised pit floor, although in this case the dungeon designers left you enough space to pick up the treasure after. It's another Hardening Potion, as exciting as that sounds. There's also a Green Key, which can be used on one and only one of the many locked doors. Once you find it, you pretty much have to search throughout the floor to find the door it unlocks.
 "Well, that's convenient. I'll know right where they all are."
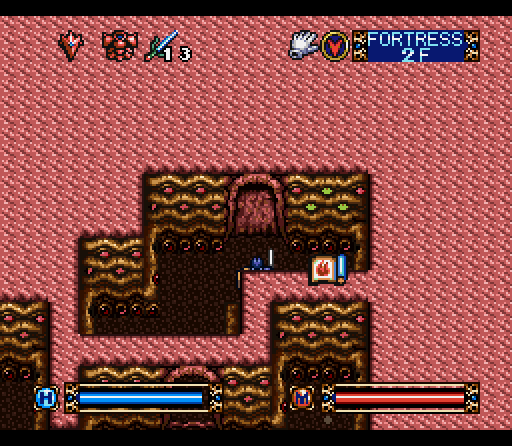
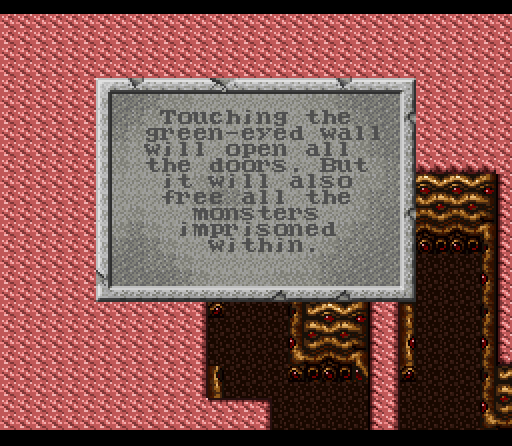
The green eyed wall the plaque is referencing is right next to it. This is what passes for a switch in the Fortress, and it's difficult to actually tell if you've flipped it or not without watching careful.
Just for reference this is our map, which includes all the doors we're going to be opening with this switch. There's a total of ten, although the ones to the east where the largest unexplored areas are will be the most important. The rest of the small ones are mostly treasure rooms.
Going ahead and flipping the switch, the door right next to us is actually the first treasure room and it's quite a haul. I had to rearrange my inventory a bit to make everything fit. The treasure here includes Gold Bars, M. Poison, Invisibility Potion, a Sword of Majesty, Hardening Potion, and a Broken Sword for a little joke. Now, where to next...
 "Hey! What the hell happened to my map?"
And this, my friends, is what I referred to as the most evil thing I can imagine.
The culprit is this guy, who's known as a Wizard Eye. Their schtick is that they actually erase the segments of your map that they pass over. The havoc they wrought once escaped was just in the couple of minutes it took to open those chests.
In a game where you rely on your map as much as this one, I can't imagine a more evil thing to do to a player.
They've got a fairly spectacular looking attack, but it does very little damage and is entirely magic based. They're too weak to reliably train magic endurance, though, so it's not worth keeping them around. Instead, you just use whatever method you want to kill them and try to fix the blank spots on your map. As a note, they can also float right through walls and will sometimes come and seek you out.
Since some of the doors we were going to visit are back along the way of the wrecked map, collecting the treasures in the small rooms also helps heal the damage. In addition to a new sword we've got a Ring of Life, some H. Potion, Gold Bars (twice), M. Potion, 900 gold pieces, a Ring of Anger, and some H. Poison for variety.
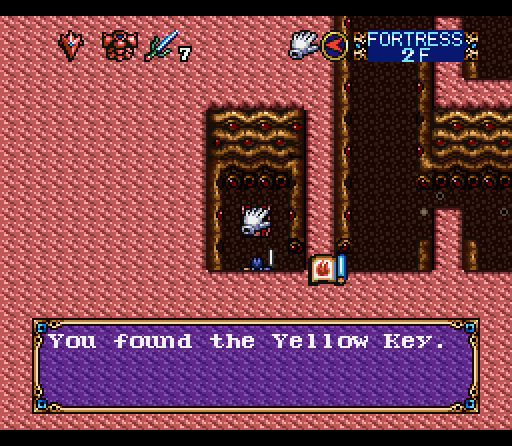
Also in one of the small rooms we find a Yellow Key, hopefully not for the King in Yellow. This won't be immediately useful, since all the doors we can currently reach are open, but it's necessary to complete the floor.
I grabbed a shot of this room just for presentation. The treasure is nothing special: a Ring of Protection, Broken Sword, and some Gold Bars. The room makes it seem like there'd be something much more interesting, but that's about it.
After winding our way to the northeast corner, we're actually done with this floor. It's got some fun new enemies, a decent amount of treasure, and other than that would be completely forgettable.
It's also a huge worm's nest of twisting tunnels. Somehow this feels like one of the most properly dungeon-like floors yet. Don't worry about that little blank spot in the northern section. We'll be getting to that shortly. Also, if you look on the western side of the map you can see a few squares that I didn't quite get re-added to my map.
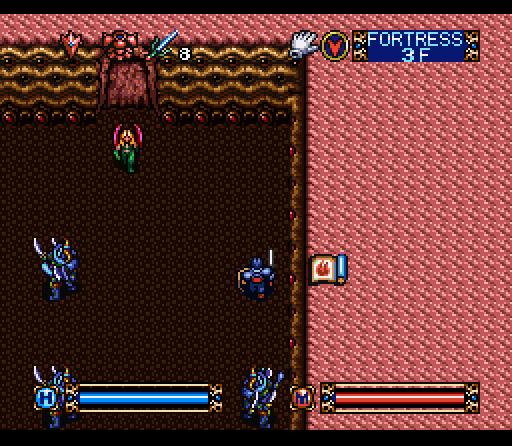
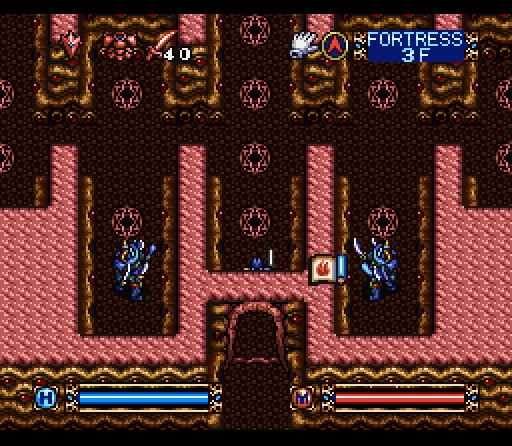
Walking up to 3F we get a double whammy- former boss and new enemy. Rakshahsa are still fairly dangerous at this point, especially in numbers. Overall, though, they're still preferable to ninjas. The enemy hanging out by the door is a Harpy, which has a really unique magic attack. Rather than doing damage to your health, they strip away your magic. This doesn't do anything to save them, however, since we can just walk up to them and kill them.
It's a bit more of a problem in a room like this, where you can either jump into a pit and then jump out to fight them, or toast them from across the room with magic. Eventually, though, you're going to have to jump into a pit intentionally to progress. Just at the northern edge of the room you can also see a Rakshahsa sitting in the doorway out, meaning that you've got to step in and hit him since their defense is nearly perfect.
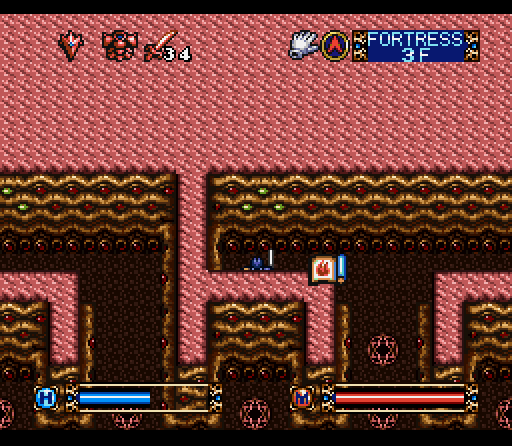
After dislodging the Rakshasa we gain entrance into a treasure room with yet more Rakshasa and Harpies wandering around. A good number of the Chests are actually open, and many of the rest contain things like H and M Poison and a Broken Sword. There are also some Steel Balls, Invisibility Potion, and about 900 gold pieces scattered around.
There's a door out of here, but before that one of the little nooks is hiding a secret door. Just like in the last couple of areas the illusionary walls are pretty much identical to their counterparts, although if you look closely they are very faintly different.
Inside we've got a wall of Arachne preventing us from getting those last two chests. They're still pretty much invulnerable to magic, so you just have to walk up to them and start swinging, hoping that their webs don't pin you down too much.
For some reason once you kill one, the other three turn inward… perhaps expecting you make a break for it? Anyway, this is one of the few chances to see one of these from the side and they definitely look much different that way. Once they're all dead we can get a Sword of Flames, some Gold Bars, some Master Keys, and Hardening Potion from the side chests. The two chests behind the Arachne are a Ring of Life and a Ruby Key that we would have needed if we'd went out the conventional exit from the last treasure room.

After passing through a narrow passage there's another room with a switch on one wall that opens a passage back to the stairs to 2F. Anybody familiar with this kind of game should know what a bad sign that is.
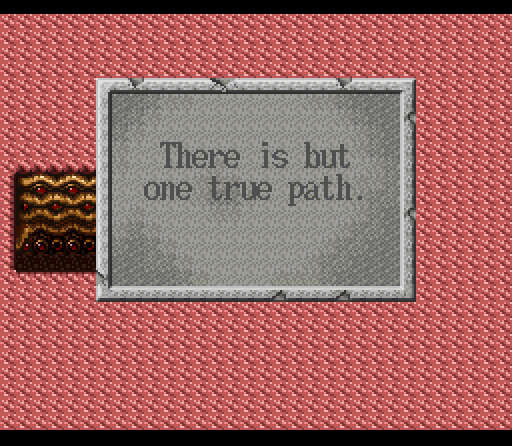 "I disagree with your pseudo-spiritual generalities!"
Also a bad sign.
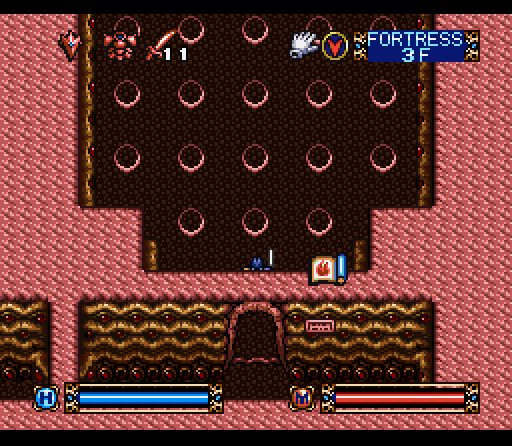
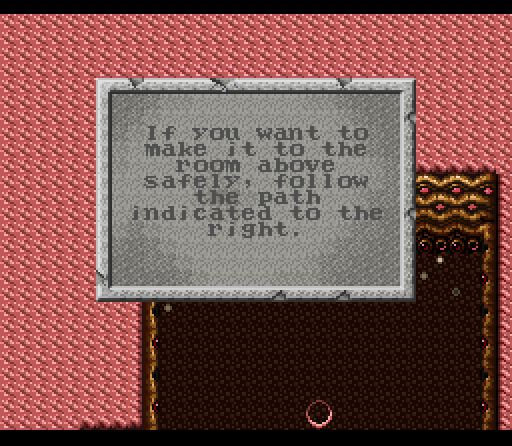
It's all leading up to this… a room full of switches. With no indication as to what the hell we're supposed to do, just crossing straight over them is as good a tactic to try as any. The outcome will be the same regardless at this point, and you'll be dumped down a pit as soon as you get in front of the door.
Remember that area we couldn't get into in 2F? Well, here we are with 3 handy plaques and an Amulet of Protection tucked away in the corner. Time to get in our nightly reading.
 "Keep going…"
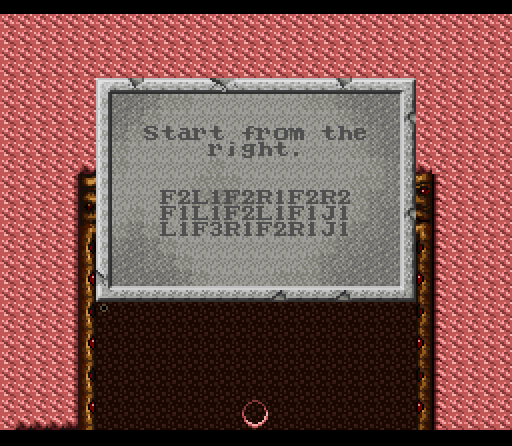 "…and like that you've lost me."
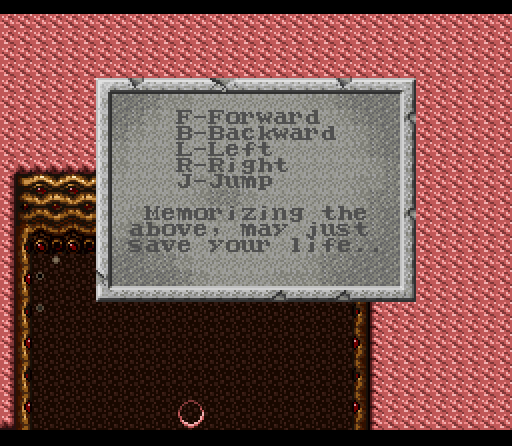 "Still not helping much. I might need to pry these two plaques off the wall…"
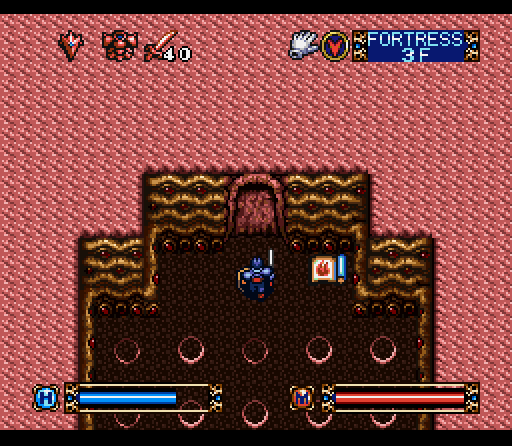
With that hint, it's time to go back to the switch room and try to navigate through it. I'm not going to lie, it's pretty confusing and I fell down that damn hole about half a dozen times. When the middle plaque says start from the right, it means start from the right side of the puzzle. The left and right directions in that block of text are actually to turn, not to move in that direction. All movement is either forward or jumping, with no movement backwards. You have an idea if you're doing it right when you end up right in front of the door, and you get confirmation when you take that final step and don't end up down in 2F having to climb up and try it all again.
It's a pain in the ass, is what I'm saying, and nearly as evil as the monsters that eat your map.
Once through that room the next significant space is this one, with a number of easily visible pits and a teleporter that'll take us to the final puzzle of the floor. Before that, however, there's a secret to find.
If you jump over this particular pit in the southeastern corner of the room this wall is obviously fake, and leads to a small room with yet another fake wall.
Inside, we've got another colorful dungeon denizen waiting to have a conversation with us.
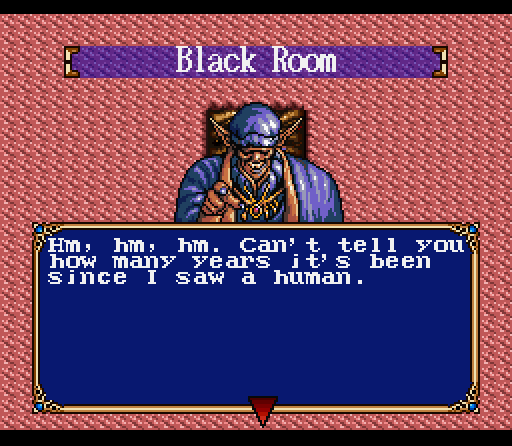 "I'd be more worried at this point if you had, since I'm not sure what you might have done to him."
 "But, don't worry. I usually only deal with monsters, but if you've got the gold, I suppose I could deal with a human like you too." "That's commendably mercenary of you… wait, you mean the monsters actually buy stuff? I'd almost feel a bit bad about killing them hearing that, except that I don't."
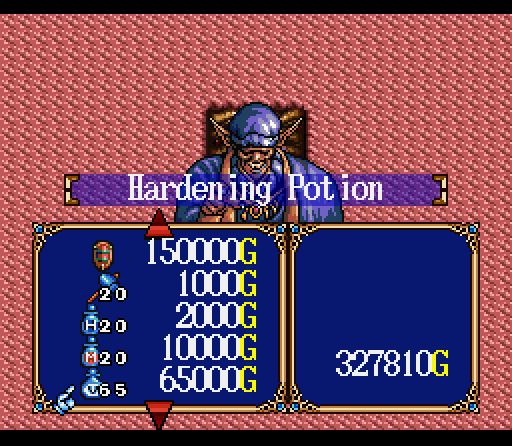
The Black Market is what replaces ordinary shops from here on in, and actually has a fairly useful inventory. The 65 uses of Hardening Potion would be pretty tempting if we weren't stockpiling the stuff, and he does have some top shelf gear for us to buy. For the moment I stick with what I've got, but there will be another chance to run into this guy.
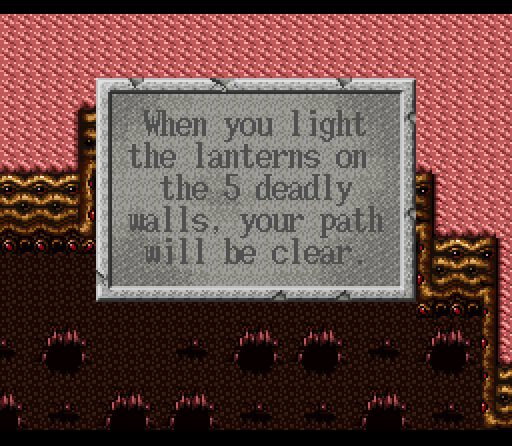
Going through the teleporter takes us to the final puzzle on the floor, explained by this helpful plaque. We've got to hit 5 switches nearby, which would be easy enough...
Except for the fact that they're hidden in a teleport maze with Rakshahsa and Arachne guards.
Three of them are in obvious places like this (once you can find them) while two more are hidden behind false walls. One, sneakily enough, is actually outside the teleport maze near where we read the plaque. A teleporter takes us to a completely unremarkable section of the pit room, but by going back through the teleporter on the other end we can move past it to get to the secret room.
Once you've hit all five switches a line of pits disappear in front of the teleport maze to let you walk straight out to the exit. We're almost halfway done with the fortress in terms of floors, but in terms of trouble we've got a long way to go.
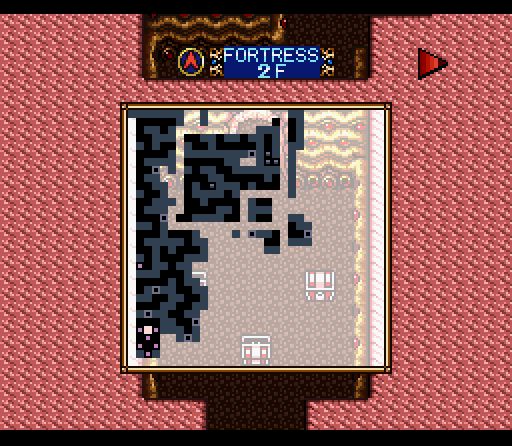
Looking at the map you can trace our course pretty easily, and most of the rooms stick out clearly. There's a lot of unexplored space in the pit room, but some spaces just aren't worth exploring. As for the Black Market, it's actually located in the short passage on the south side that shares a wall with the passage leading to the stairs up.
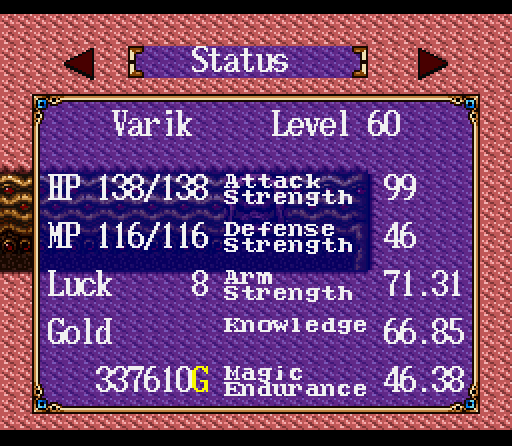
Our stats at the end of this update have once again improved pretty drastically. All of the former bosses scattered around these floors are going to have that kind of effect. Unfortunately they've pretty much run out of former bosses, so they're going to have to get creative from here on out.
Next Update: Tiny rooms, rock lobster, and a three in one combo special.