Part 6: Maniac Mansion Part 5: Inner Lab Access
Maniac Mansion Part 5: Inner Lab Access
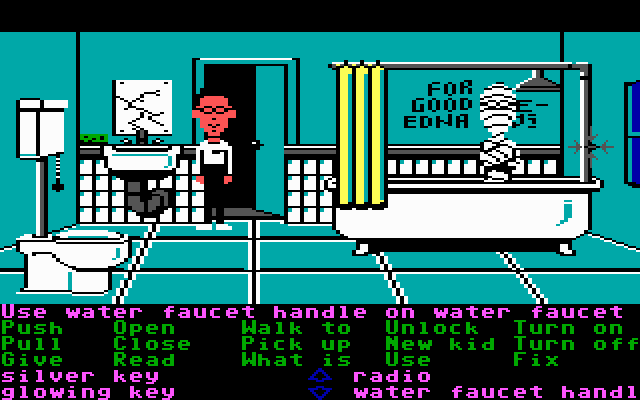
When we last left off, we had made some progress towards getting access to the inner lab key. However, the most convoluted puzzles are yet to come. First, we need to get Edna’s number there. This isn’t technically required, but it’s part of an alternate solution to getting into Edna’s room without getting nabbed. We couldn’t do this before because the water faucet handle on the shower was missing and in the garage for some reason.
 Hope you don’t mind getting wet, Ted. You were in the shower here for a bath anyway, right?
 I’m glad you’re so understanding.
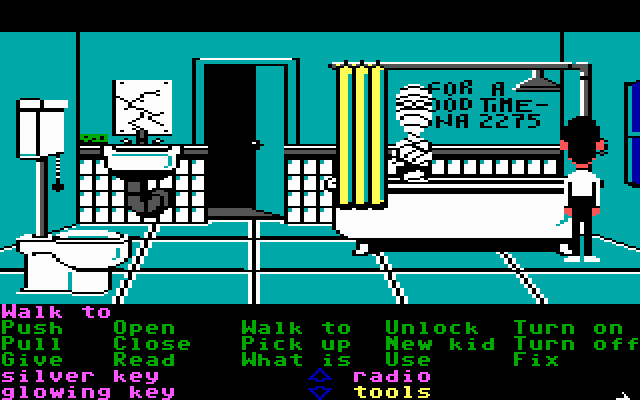
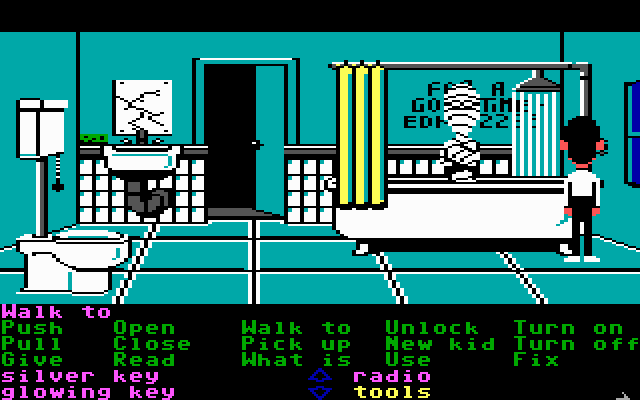
With Ted out of the way, we can now clearly read the number on the wall. Must be an intra-office extension or something.
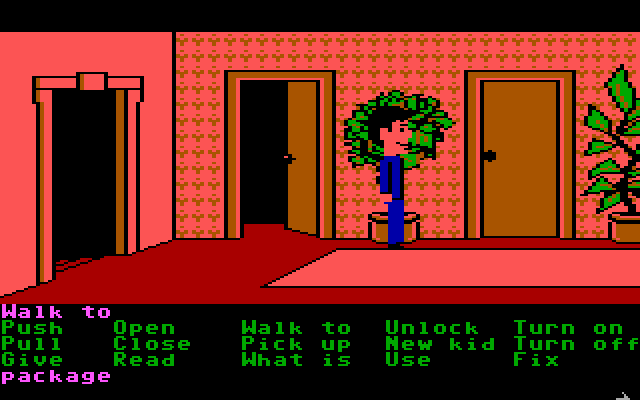
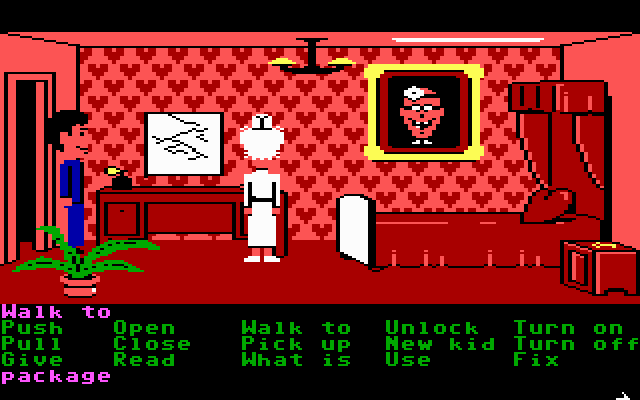
Next, position someone just outside Edna’s door. Bernard’s going to be busy elsewhere, so it falls to Dave.
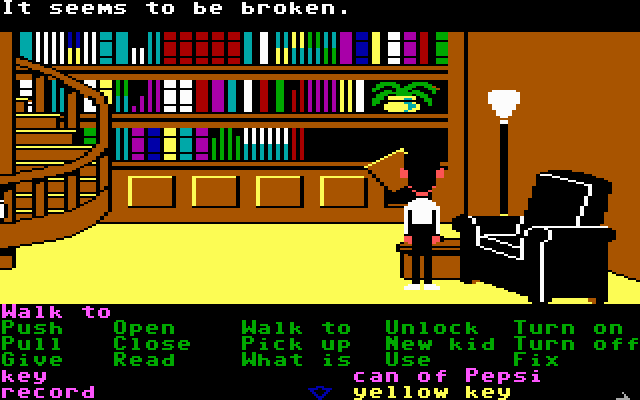
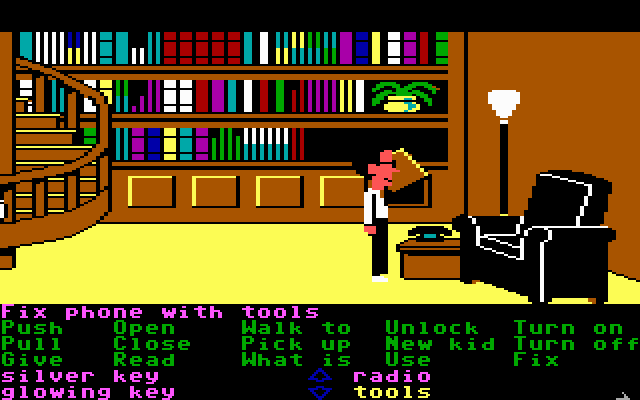
Specifically, Bernard is needed since he’s the only one out of the three who can fix this phone. Jeff (the surfer dude) can fix it too, incidentally, but it’s the only thing he’s good for. Bernard can do something else, and it’s so, so much more awesome.
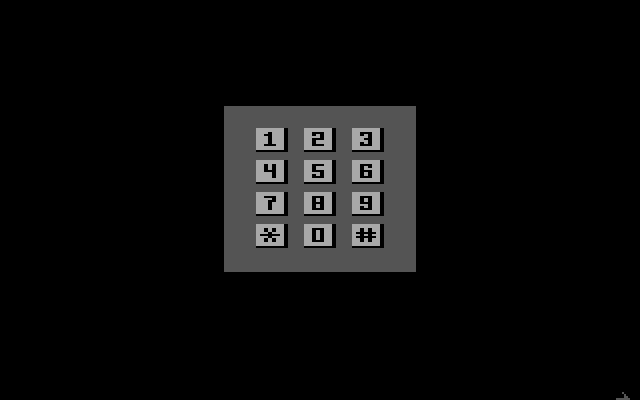
Hope you remembered that four-digit number from earlier.
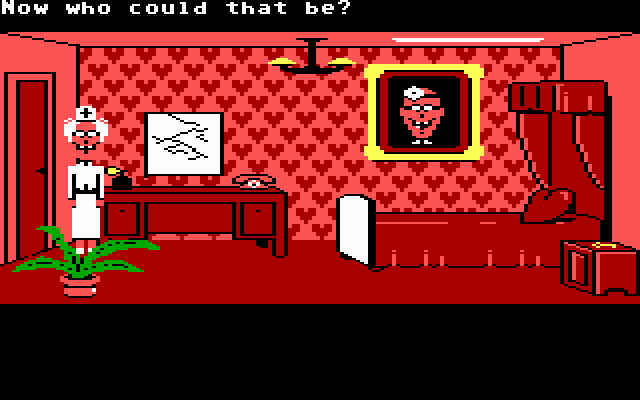

 Hello? Who’s there? Erm...Ah... Is this a prank phone call? That’s...uh... It doesn’t sound like a prank phone call, there’s no heavy breathing.
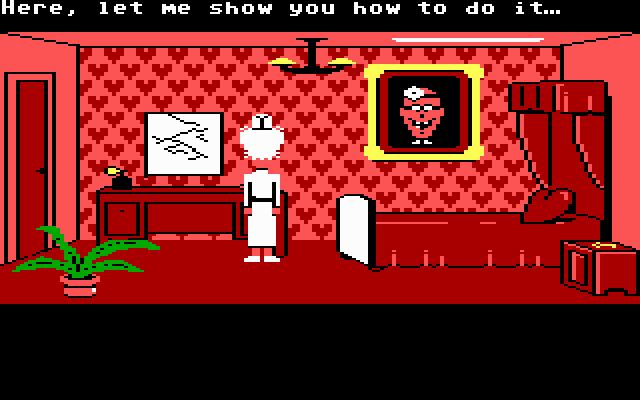
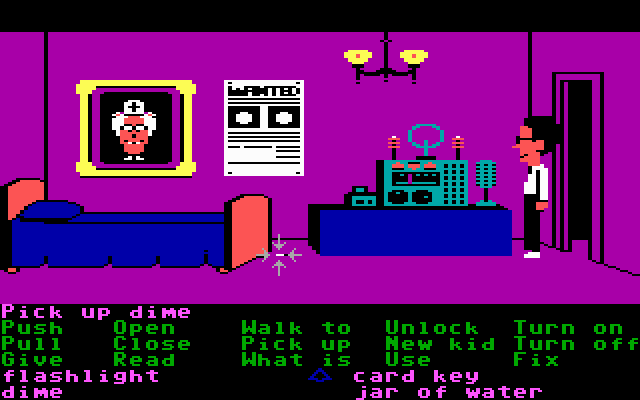
While Edna’s busy breathing into a phone, Dave can run in and grab that conspicuous key on the nightstand.
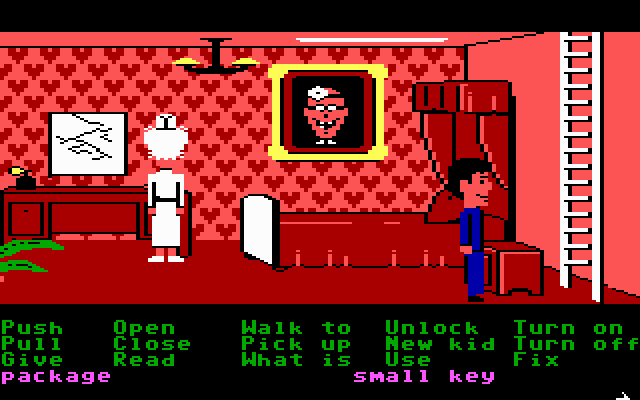
Oh, and he can also discover the ladder hidden just off screen.
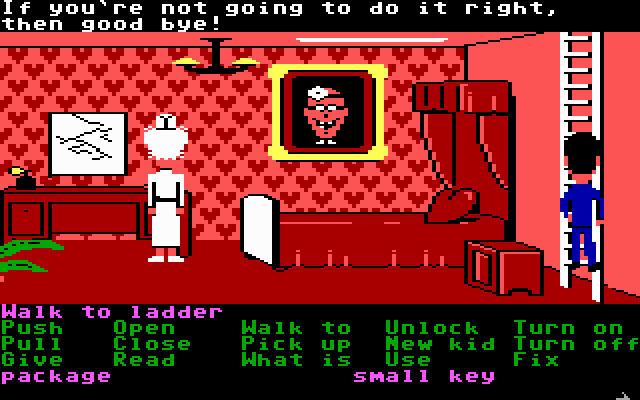
Naturally, there’s a critical item up there.
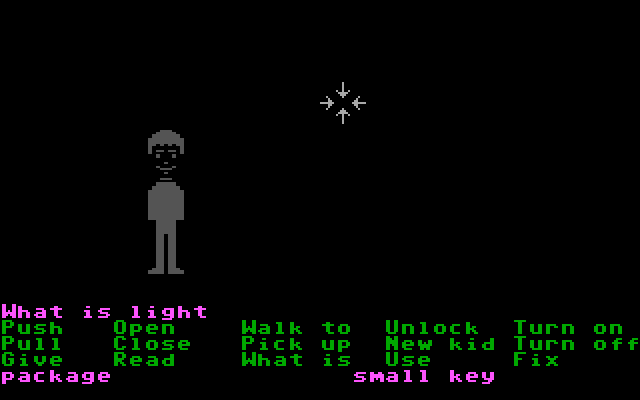
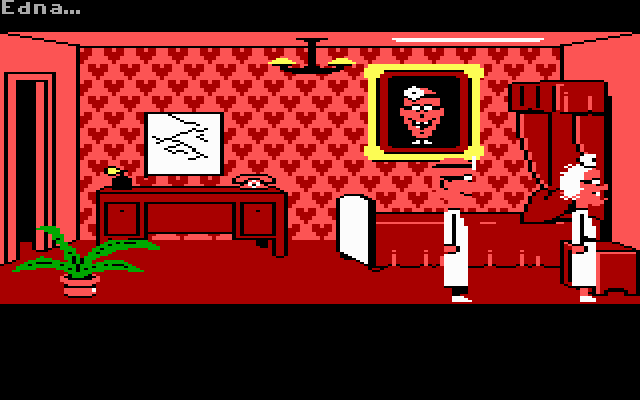
Hope you’re not tired of searching for lights in the dark yet.
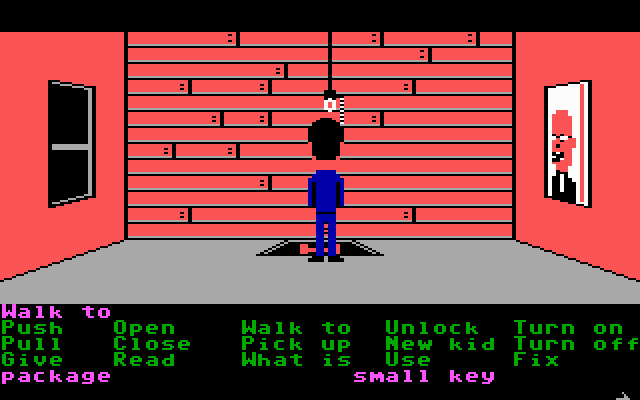
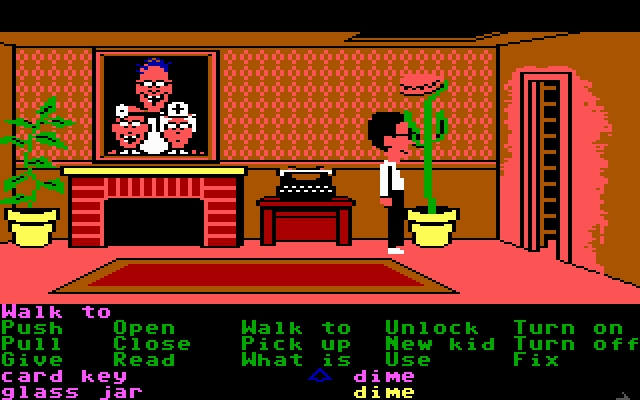
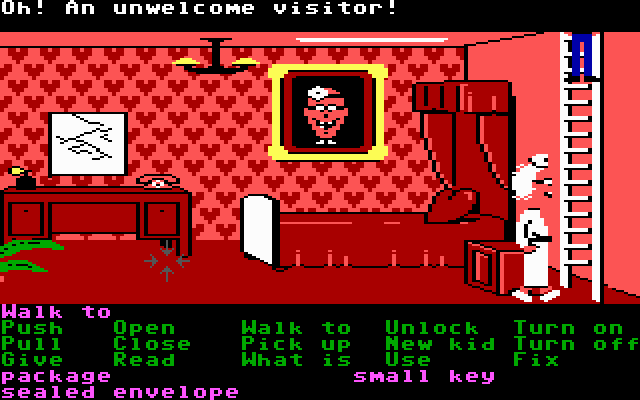
Not much to this room, is there? Basically just the one portrait sitting opposite to the window.
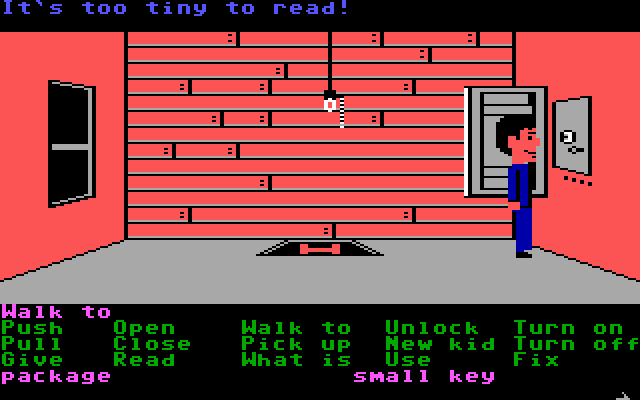
Naturally, there’s a safe hidden behind it. I’m glad the Edisons moved their wall safe to the office later; it’s a much easier place to locate. Also, someone has scrawled the four-digit code to the safe just beneath it, but it’s too small to read. Let’s see if we can do something about that in the most illogical way possible.
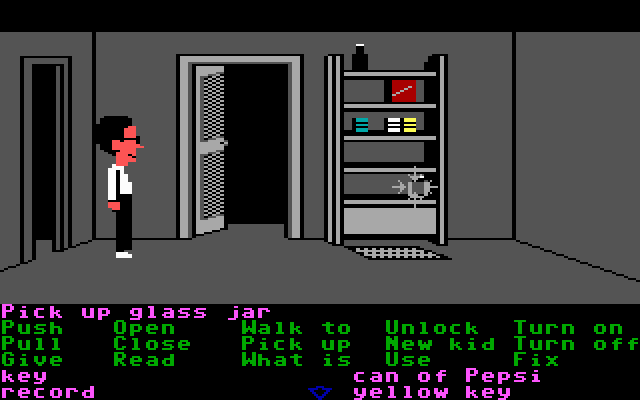
First thing’s first; we’ll need a jar of pool water. Not to boil, you fool, I did that one already!
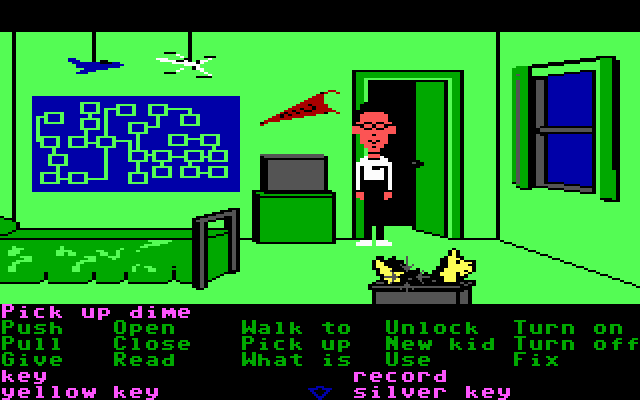
We should also grab that spare dime in Fred’s room.
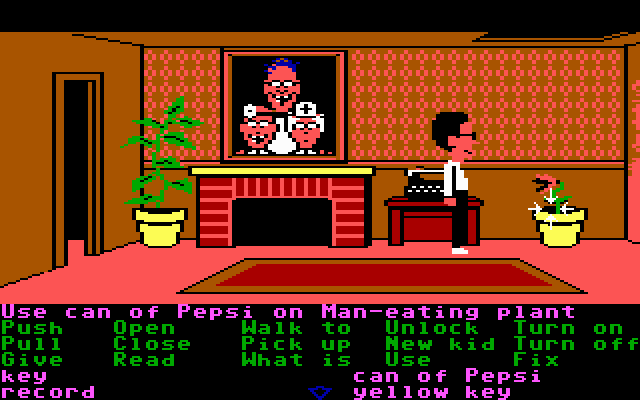
To be on the safe side, let’s feed the Man-eating plant some Pepsi. This will make it burp periodically, but otherwise pacify it.
Next, we’ll give it some radioactive water.
Who could have seen that coming. Anyway, since we fed the man-eating plant, it’s still not hungry for man...

...Which allows Bernard here to climb up it and reach the hatch just above. The man-eating plant isn’t on the walkthrough’s list of ways to die, so presumably it’s mostly harmless anyway.
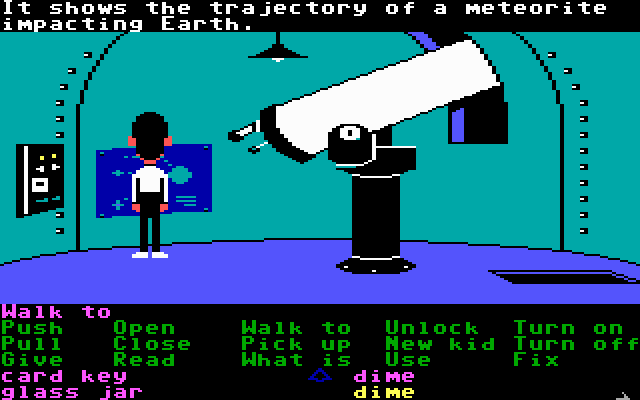 At last, I’ve reached the extremely powerful telescope! I can just smell the science coming off of the carefully ground lenses and calibrated magnification knobs! Wait, is that a coin slot on that panel there?
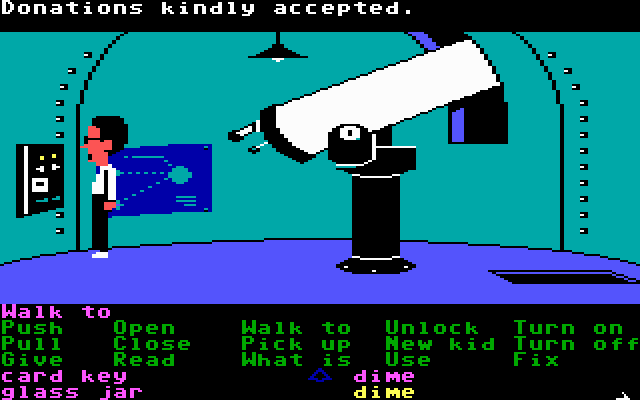
It is, and it’s why we need a pair of dimes. The goal is to rotate the telescope to the right twice in order to see the right object.
Unfortunately, I was messing around and hit the “rotate left” switch instead, while also forgetting to save first.
 Sorry, Ed, but it looks like I’ll need your last two dimes.
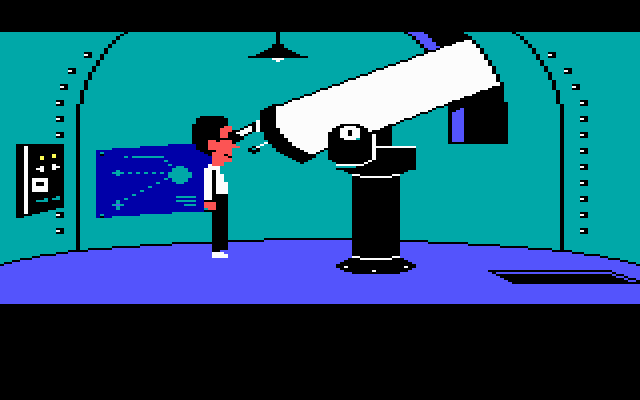 There, finally, now let’s see what’s out here...
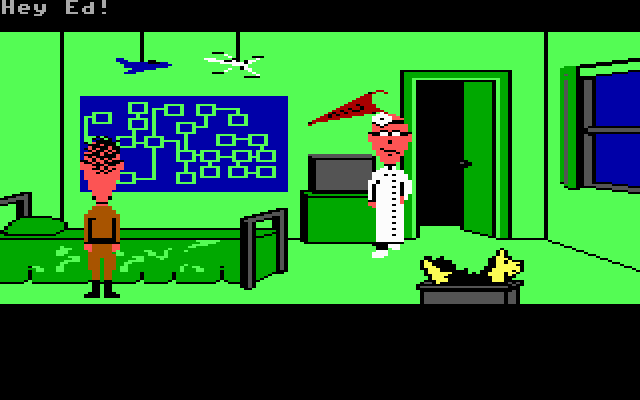
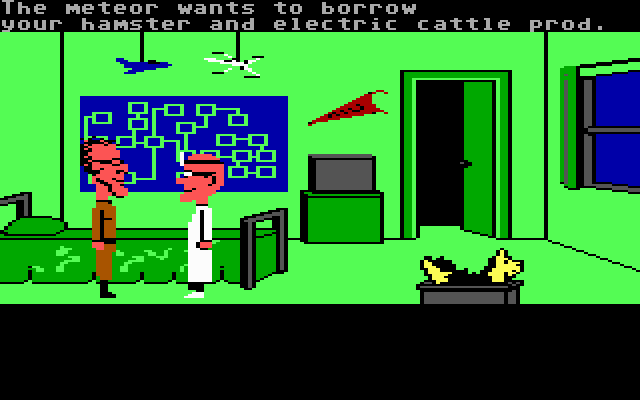
 My hamster!! NOBODY touches my HAMSTER!
 Hey Ed, I’ve kind of got some bad news, buddy...
 Better watch it, Ed, you’re going to piss off the meteor. It already thinks you stole my purple card key. I don’t know what you’re talking about! I can’t get to the meteor without it. Oh really?
Right, sorry about the interruption. Anyway, looking through the telescope, we see...
...The combination to the safe. That’s right, the telescope pointed up and in the exact opposite direction as the window in the safe room is somehow miraculously able to see the combination (which honestly doesn’t look that small). You thought you were missing a magnifying glass somewhere? Nope, you just weren’t thinking with telescopes.

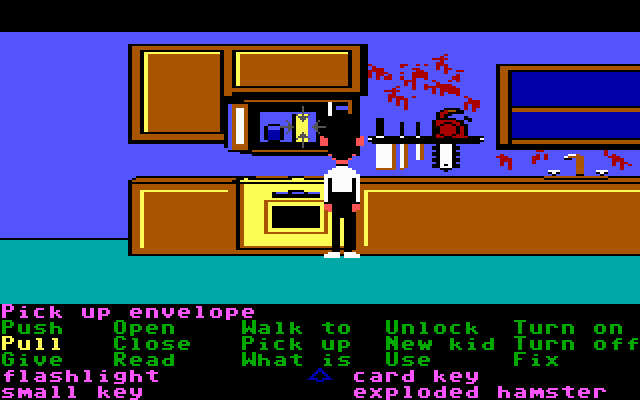
So what the hell is in this safe? A sealed envelope. However, you can’t just open the envelope, since you’ll need it for Syd, Razor, and Wendy’s method of bypassing Purple Tentacle. Normally with Bernard on the team it doesn’t matter, but I want to show you guys how to do this bit in the roundup. Instead, you’ll need to use some outside knowledge of how to open a sealed envelope without tearing the flap open.
I could have had Bernard or Razor use the phone again so Dave could sneak back out, but honestly the free teleport back downstairs seemed the better option.

Right. So after I got Dave out of the dungeon and got the envelope to Bernard, it was time to unseal the thing.
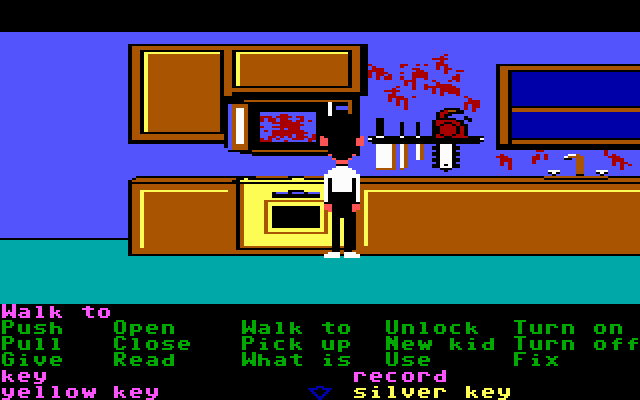 Ew, gross! What the heck happened to the microwave?
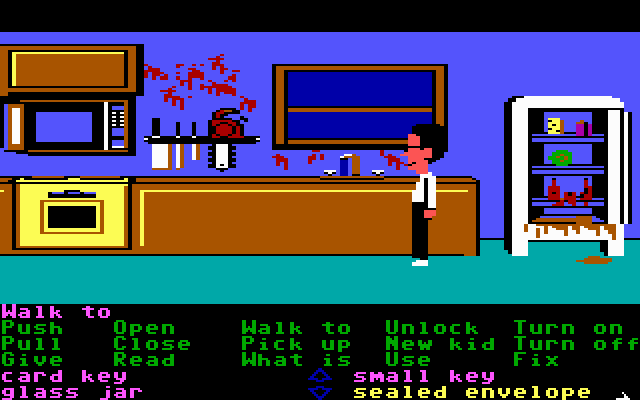
To do this right, we need a jar full of water. Thankfully, the tap works fine and produces entirely non-hazardous “soft” water.
Now simply put the jar of water and the envelope into the microwave and turn it on for a spell. You’ll know you did it right because the envelope changes from “sealed envelope” to just “envelope.”
Now, what exactly was in this envelope that was so important? We had to fix a set of broken wires, give a mummy a bath, prank call a dirty nurse, steal from a paramilitary nut, break into a safe by using a professional-grade telescope, then finally open an envelope using boiling water, and all for what?

Sometimes the best jokes are the ones on the player. Also the most annoying kind of joke. Plus I think that massive pile of quarters in DotT was a reference to how hard it was to get just one in this game.
Anyway, it’s finally come time to use that quarter. In fact, we’ve already seen
 I’m having trouble with the Zom-B-Matic. I need to shut down the power. It’ll be off for 5 or 6 minutes.
 You’ve been in the basement for the past 5 years? Sometimes I think you like that meteor more than me!
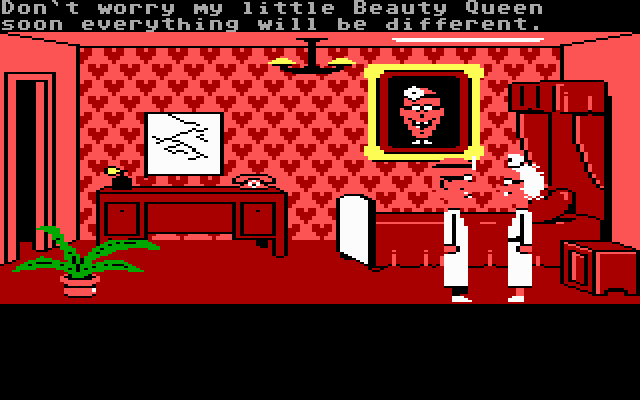 Sure.
Sure. 
Sorry about that. So the place we’re looking for is on the other side of the security door on the second floor.
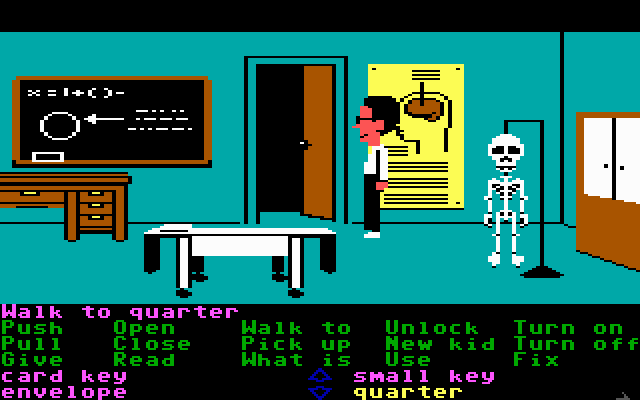
There’s a medical room here, but it’s mostly useless.
No, the room I’m talking about is right here.
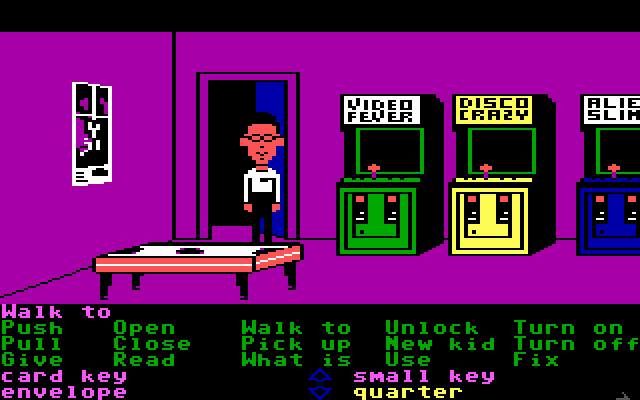
That’s right, it’s the arcade! You remember which box Dr. Fred was using earlier, right? It’s okay if you don’t; the small key from Edna’s room will open the coin box so you can play again.
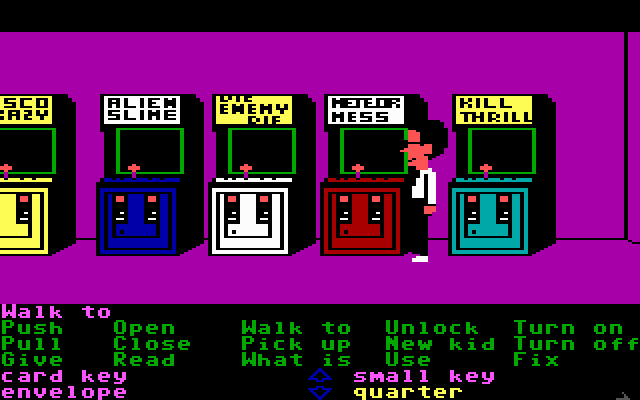
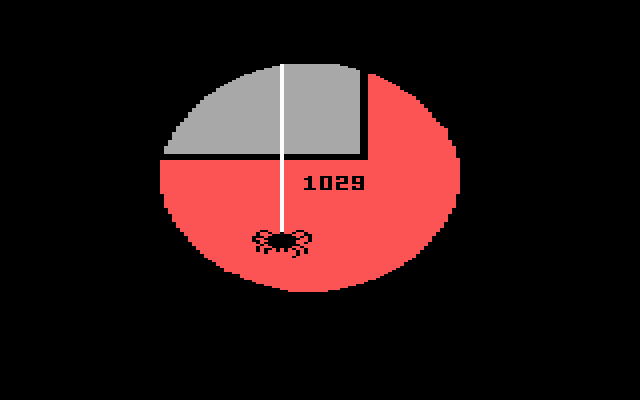
Plus there’s the hint right there in the title. Meteor Mess? Sounds like Fred’s kind of game. Insert your coin to play a round. And the reason you play a round is to see this:
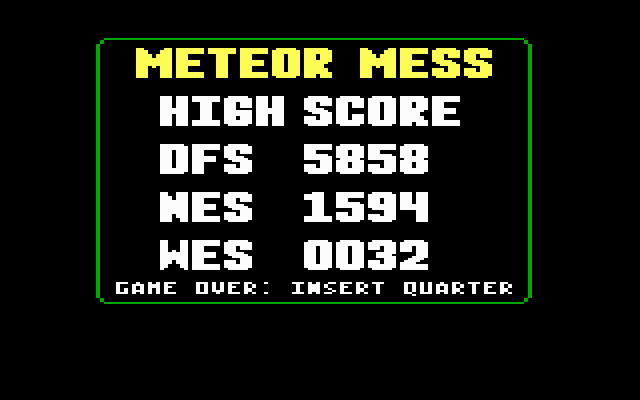
Dr. Fred’s high score. I don’t know what kind of crazy-ass arcade machine doesn’t display the high score list between the demos, but whatever. 5858 is the number code we need to open the inner lab door.
See you next for the second and final roundup!