Part 8: The Drowned King
07. The Drowned King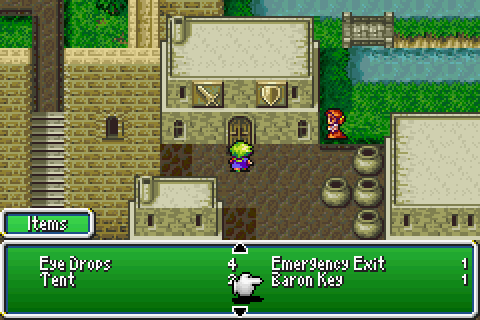
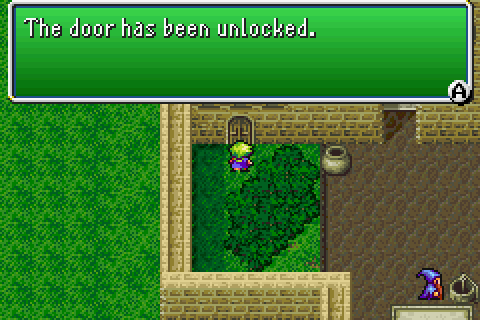
Before we head off to the dungeon, we can use the Baron Key to also open up the weapon and armour shop. There's not much of a reason to do this as is, but it could pay off later.
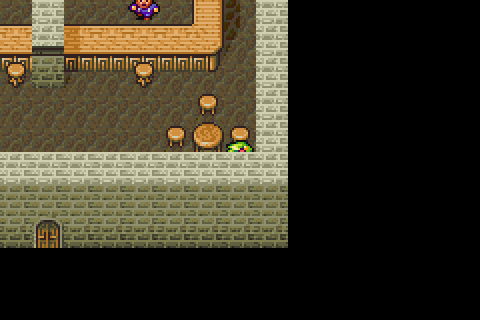
It has an incredibly easy to miss hidden passageway tucked in the bottom corner, but I'm pretty sure that everyone ever knows this exists by now.
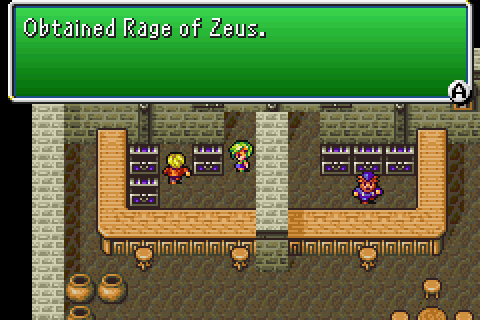
It lets us grab another Rage of Zeus and 2000 Gil. Not much, and hardly worth the hassle of having to wait until this late.

The passage also inexplicably carries on up to this point, even though there's no reason for it to do so. It never diverges upwards, and there's nothing past the chest with the Rage of Zeus in it. I would imagine it was meant to originally lead to something else but then it got removed, probably one of the few pieces of equipment that ended up being dummied out, but I'm just guessing with that.
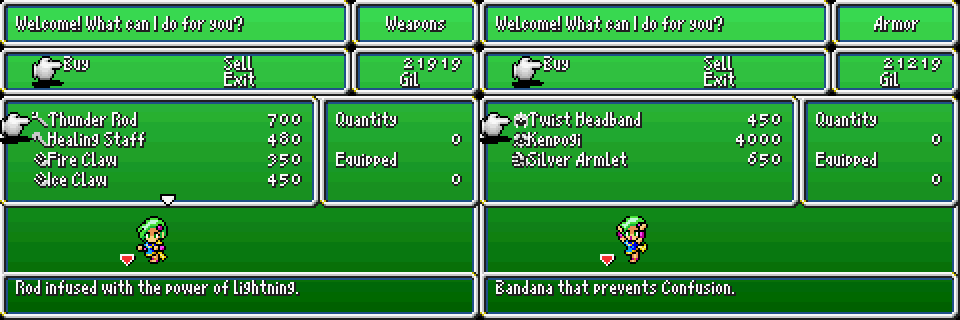
The stores themselves aren't particularly interesting, save for a minor armour upgrade and some general bonus effects. So, we'll pick up a Thunder Rod to round out that set, as well as a Twist Headband just in case and a Kenpogi because that's an actual defence boost.
There's nothing else left to do but head into the dungeon, so let's go on in shall we? I suppose we could stock up on Hi-Potions at Mysidia but there's not much of a need to do so.
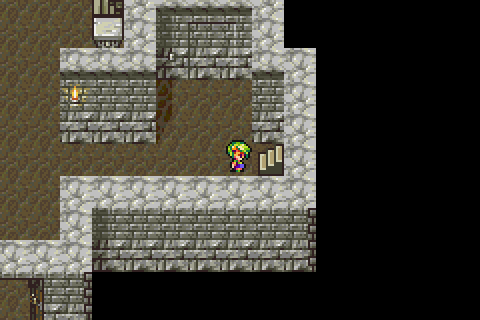
Because Final Fantasy IV really loves hidden passages, in this small area there's one. It just leads to another 1,000 Gil but it gets pretty silly.
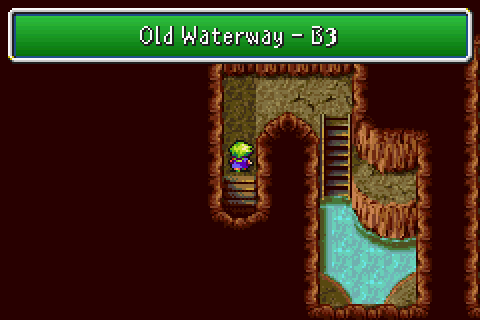
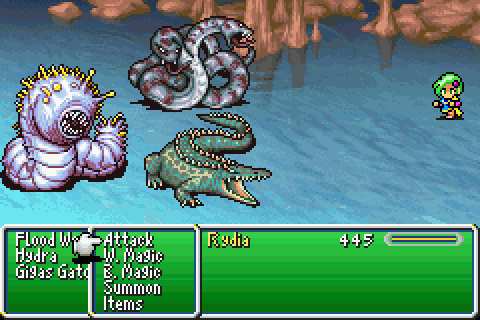
The dungeon itself is functionally a sewer, but let's be honest it's just another cave. And compared to the next dungeon it's a wonderful sewercave.
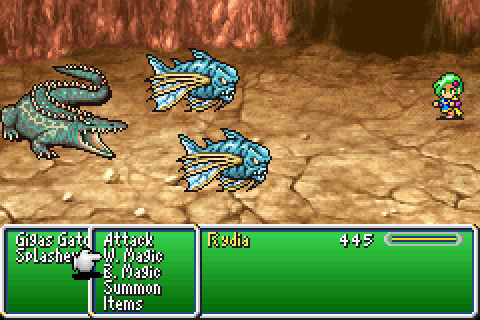
Most of the new enemies are just palette-swaps of things we found in the waterway not too far from here. Same weaknesses, in the case of the Gigas Gator the exact same drops, same usual methods of being horribly inefficient.
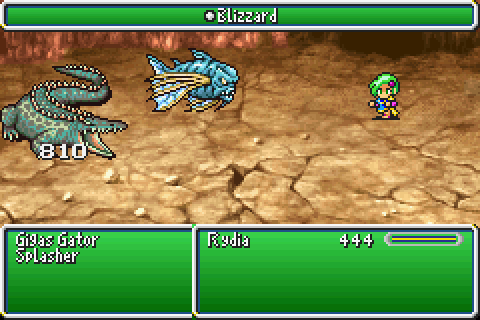
Though, because we've gotten so much stronger since then we can abuse their weaknesses for some pretty wacky damage to say that's just a basic Blizzard.
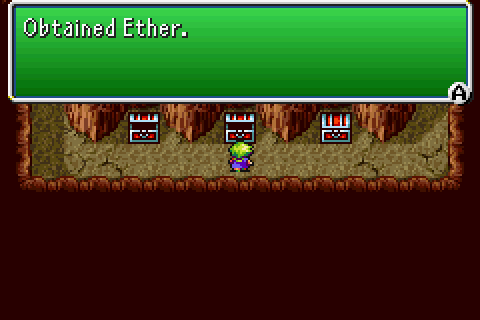
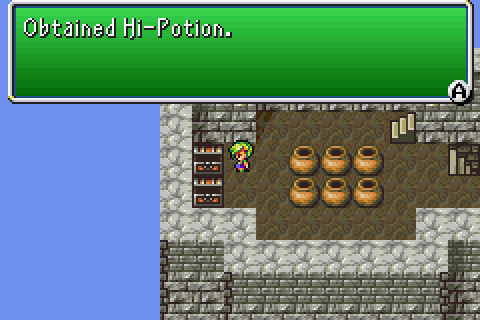
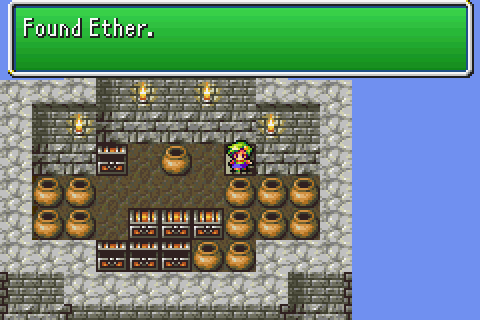
Treasure's as basic as ever, with it just being a Hi-Potion, this Ether and another Rage of Zeus. If I didn't know better, I'd think they're trying to tell me something by laying out all these thunder-based items right in rapid succession.
Much like the hidden passage from the weapon store, we can get over to this bridge for... absolutely no reason at all. We can't step in the water here, and frankly I wouldn't want to, but it makes you wonder why it's there and why you can access it when it does nothing and leads nowhere.
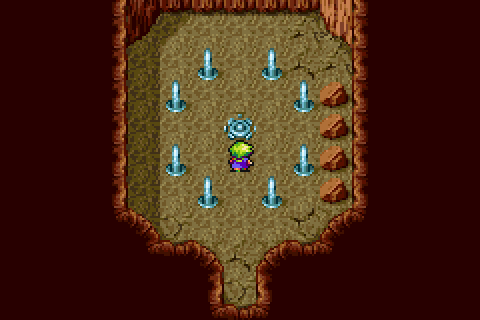
Other than that, the dungeon's rather linear and straightforward save for this area. I both love and loathe this area. We start getting actual, proper new enemies now but that's not necessarily a good thing.
[Music: Battle 1 ~ Battle Theme]
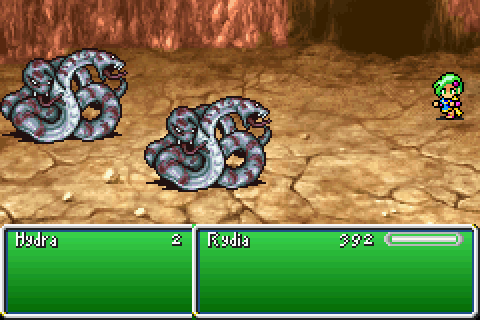
Because we get these assholes. I really don't like Hydras because they have a simple pattern. But it's one that sucks. We can kill them easy enough with Thunder or the Dancing Dagger but we have to be quick to do so. It's based on that pattern, you see: Regular Attack → Regular Attack →
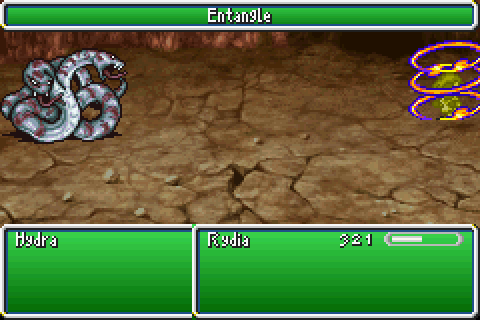
This is a problem. Entangle inflicts paralysis, and I'm sure I don't need to tell you how big of a problem that is. What's worse is that whenever it uses it, the pattern stays the same but every single time one survived long enough to use Entangle this is how the fight went:
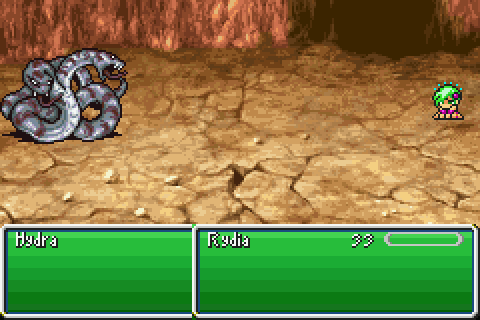
Regular Attack → Regular Attack → Entangle → Rydia is now Paralysed → Regular Attack → Regular Attack → Entangle (miss) → Regular Attack → Regular Attack → Paralysis now wears off → Entangle → Rydia is now Paralysed →
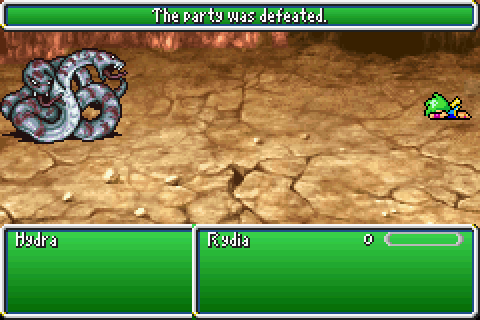
Repeat until game over.
So, how do you prevent this other than hope you can kill them before they reach their third turn?
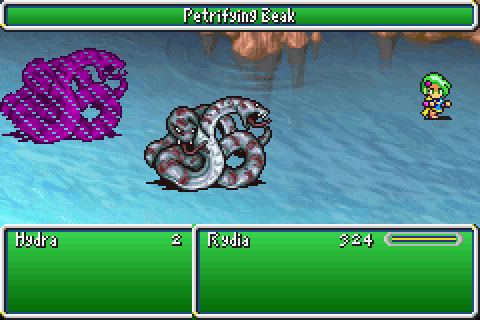
Not even worry about whether your damage output is good enough or not, and just petrify them.
So, yeah, these assholes are a glimpse into the real issues with any solo character challenge beyond the obvious. Anything that can deal instant death or paralysis is always going to be an asshole and sometimes we won't be able to shortcut the problem.
Of course, fight fight after getting that game over I luck out big time and pick up Poison Arrows. Poison Arrows being the Hydra's obscenely rare drop that you'll probably never really get. They're also more powerful than anything else we could get at this stage (the Dancing Dagger has 28 attack; the crossbow and these arrows is 40 - the arrows alone are 30 of that) and can currently only be obtained here. Of course they also sometimes poison things just in case that wasn't obvious from the name.
We can buy them at Eblan a lot later but they'll be even less useful then. Because as cool sounding as they are, they're still arrows. I really don't like using bows for anyone not named Rosa, for obvious reasons.
Anyway, I said I also love this part of the dungeon we're in so let's see why.
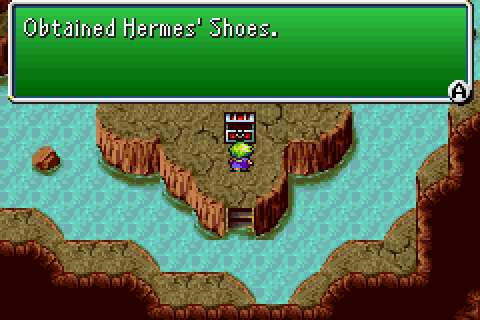
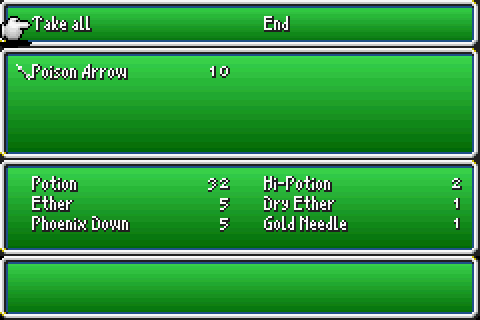
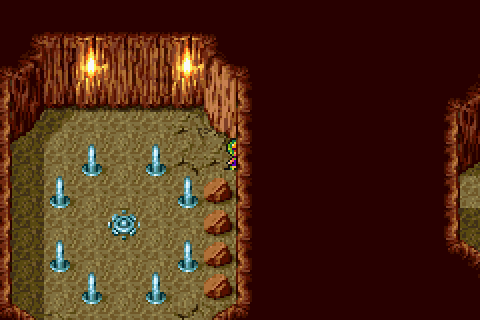
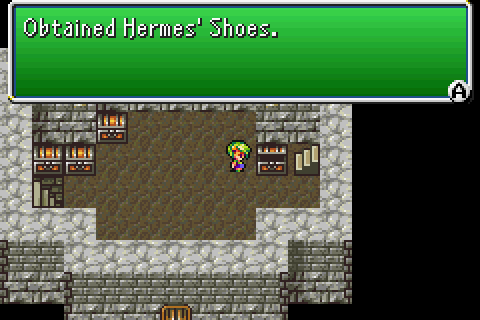
Not only is it where our 3rd pair of Hermes' Shoes comes from, but there's only two other chests nearby. They have an Hourglass and some Spider's Silk. So, yeah, there's a nice speed oriented theme on this floor for if you need it.
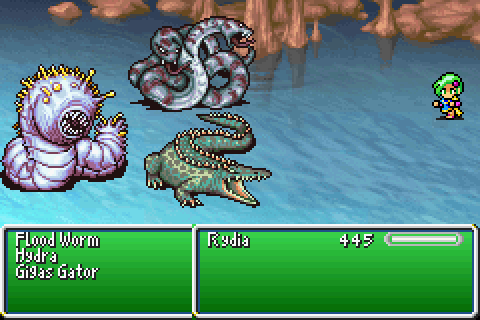
There's also giant worms. They're not even remotely as dangerous as the Hydras, but they survive a bit longer than you'd like and can drop Silver Apples (of course).
They also do this occasionally, but it doesn't hurt anywhere near as much as it seems like it should.
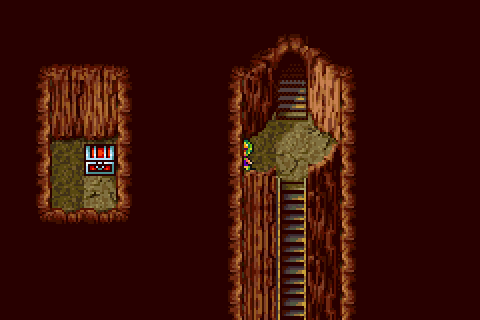
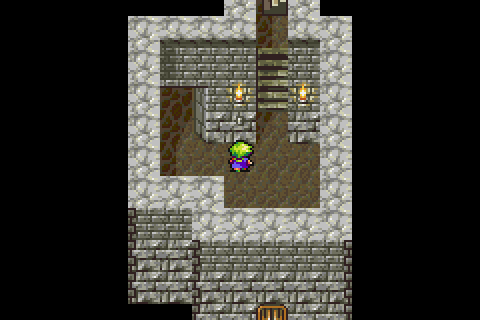
Ah well, just before the end of the dungeon we have this one small area that has a chest that for the longest time I didn't know how to get. Because I was kind of dumb as a child, you see.
It's not even worth it, because it's just an Ether, but it's there. And it's behind a hidden passage because of course it is.
Speaking of hidden passages, though, there's also one in the room with the save point. There's 0 indication it's there if you don't know about it, and the only clue it's there isn't visible unless you're right in front of it anyway.
I'm sure everyone knows about this one too, but it bugs me because it's just so unnecessary. It just leads to a sword for Cecil, so we don't even really need it but for getting even more money.
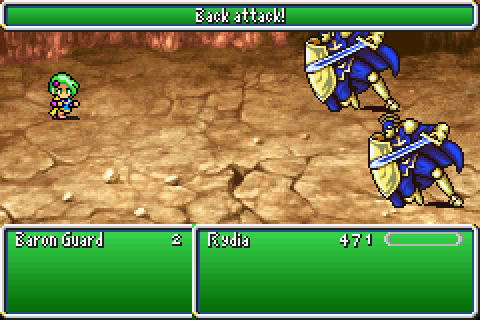
The area with the save point's chamber is also where we run into Baron Guards. This also coincidentally happens to be right at the end of the dungeon. The guards here are identical to the ones that were hanging out with Yang.
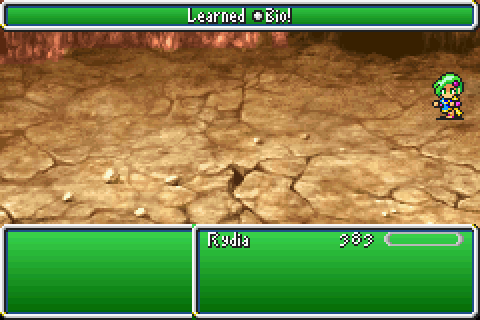
Immediately before leaving, Rydia hits level 26 for real now and finally picks up Bio. Which is still hilariously overpowered at this point.
[Music: Kingdom of Baron ~ Baron Castle]
Now that we're done in the cavesewer, we're back in Baron Castle for the first time since the very beginning of the game. There's sadly little here, since there's no NPCs at all other than the two bosses but there is one wonderful saving grace.
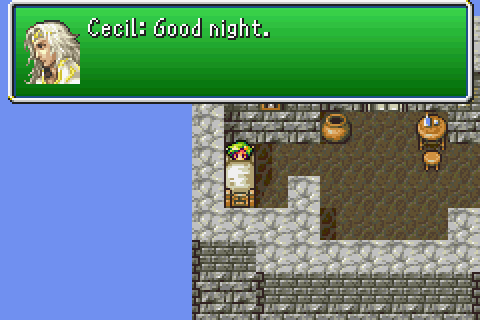
We can just use Cecil's bed as a free heal, and with a save point right before the entrance from the dungeon this makes tents and cottages kinda redundant right now.
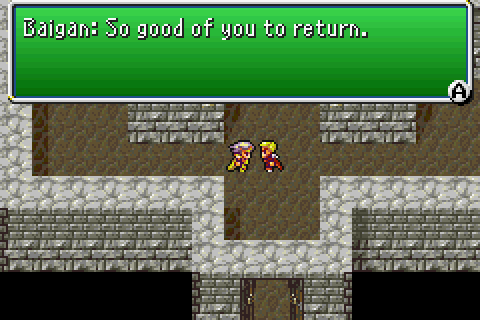
In the castle proper, we run into Baigan again. Most people by now probably forget this guy even exists, because he was just in one scene and was kind of a dick for no reason.
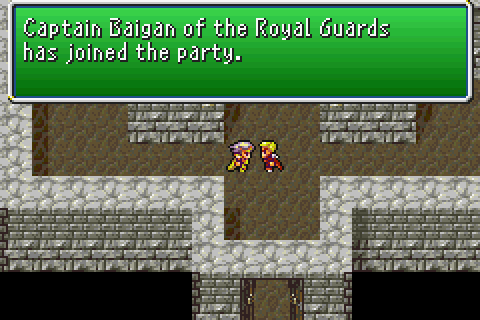
Here, he becomes the 6th member of a 5-man party and has probably the shortest stay of anyone else in the entire game because he leaves again in this very scene.
Because, of course, he's the first boss here.
[Music: Battle 2 ~ Boss Battle]
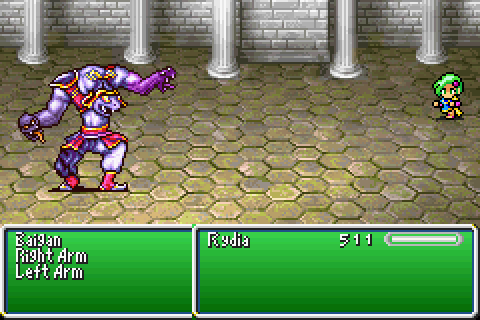
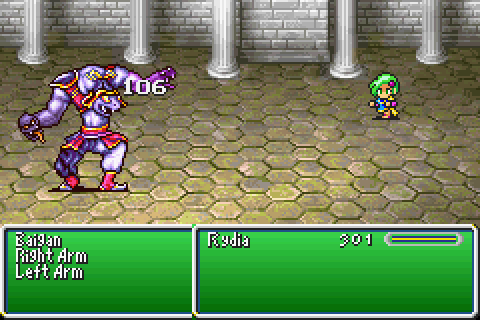
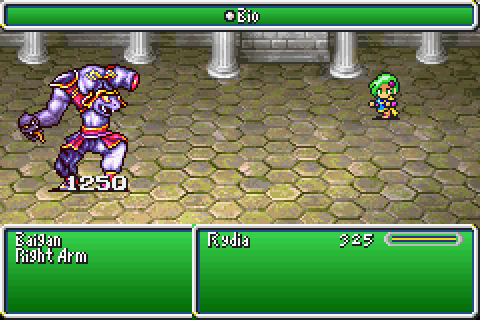
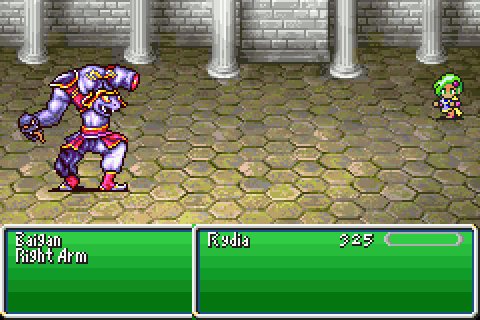
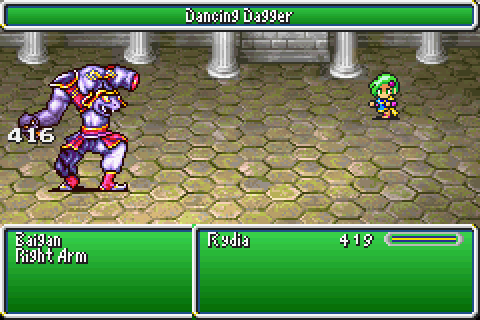
So, Baigan's pretty simple. He comes in 3 parts and looks nothing at all like his overworld sprite.
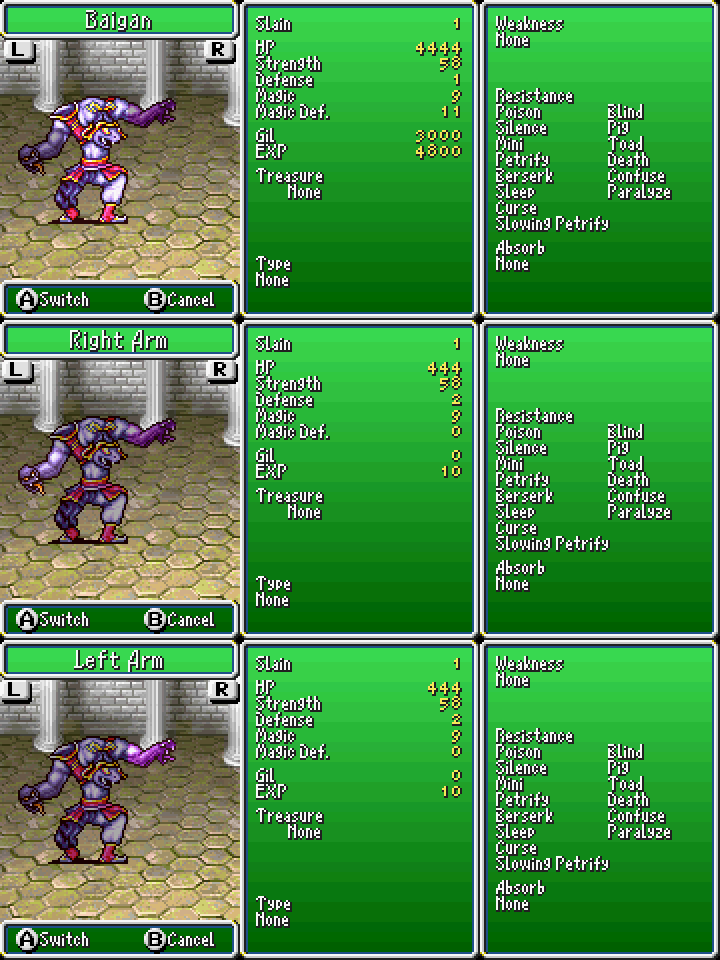
Functionally, he's nothing too tough either. And yet, he was the biggest wall for me for the longest time. With a full party. Naturally, Rydia solo is not going to be remotely representative of that because he is going to get wrecked.
Baigan's gimmick is pretty straight-forward. Despite seeming like a physical oriented boss, he actually uses a couple of White Magic buffs and his arms inflict ailments. Baigan himself attacks purely physically, but he's not that tough really.
First, we want to kill the Left Arm. And only the Left Arm. The Right one has to surive, otherwise Baigan's just gonna revive them both. We want to remove the Left Arm over the Right, because the Left casts Entangle. The Right does not, and as we've seen Entangle is a bit of a problem here.
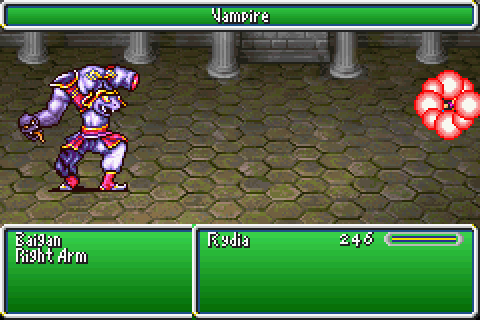
The Right just uses Vampire, which is functionally identical to Drain save for one extra detail.
It also inflicts Sap, or HP Leak, or whatever the hell else you want to call it.
Of course, our damage output is quite a lot more than Baigan can reasonably be expected to deal with. And yet, this is still less than you'd be throwing at him normally. Funny how that works, huh?
Granted, he has a counter for it but we came prepared for this too. He'll counter every spell with Reflect, and that includes ones that pierce reflect. Most of the things we have either don't count as a spell in the way Baigan wants them to, and thus don't trigger his Reflect counter or just don't pierce Reflect and so will cause Rydia to oneshot herself. We do, however, have one thing that works perfectly.

The Dancing Dagger, of course. It counts as a spell, despite being only available via an item, and it completely ignore Reflect.
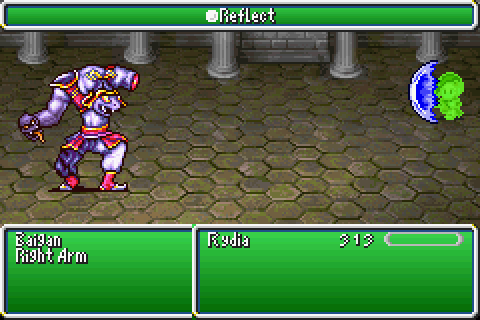
Since it counts as a spell, it triggers his Reflect counter... which bounces off his Reflect, and gives Rydia a Reflect of her own. We can still heal by bouncing Cures off of Baigan, but more important is that we can now actually attack effectively again.
Namely, we bounce Bios off ourselves and laugh as Baigan dies in like 2 hits at this point. Bio really is pretty ridiculous, but you'd think Baigan'd be statted with the expectation of things even more absurd.
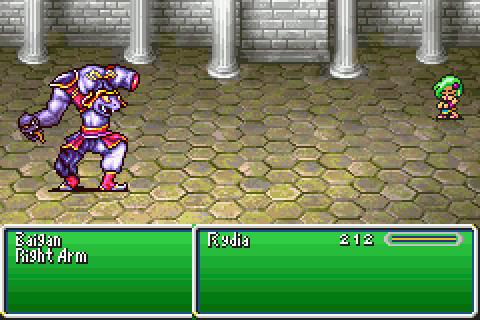
The only problem is that we're now left with the Right Arm on its own. You might be thinking this is no big deal and you're kind of right except for one detail:
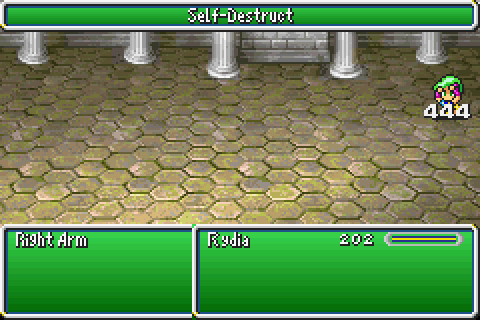
When the Arms are alive, but Baigan's main body isn't they both only use Self-Destruct. Since I hadn't even touched the Right Arm by the time it got it off, this ended about as well as could be expected.
So, this time we attack the Right Arm with Dancing Dagger before flinging a single Bio. It dealt more than enough to make the Self-Destruct a non-issue but it also didn't outright kill it.

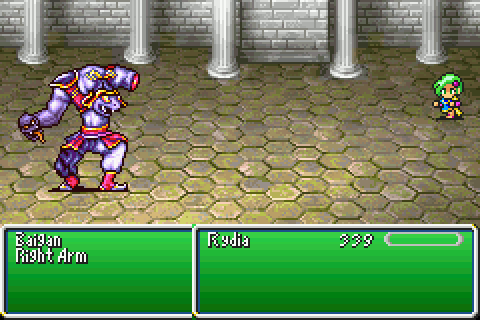
Next we just repeat the process from before (sadly, summons do not trigger the reflect counter and at this point Chocobo drops out of common use altogether), and then relax as the Right Arm has like 28 HP left which is basically nothing.
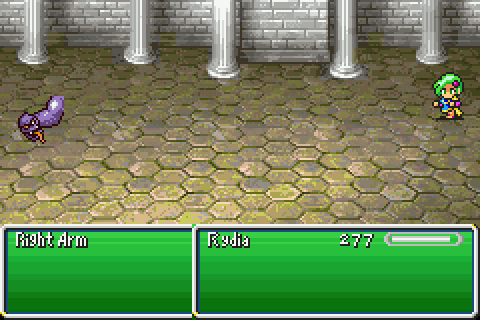
It's also less than Rydia can reasonably deal with the Dancing Dagger, which doesn't have accuracy issues. Baigan also gives an odd number of EXP because the arms are worth 10 a piece. You could game that to get an even 4900 or 5000 but thats a lot of effort for very little reward.
[Music: Kingdom of Baron ~ Baron Castle]
And, so, that's Baigan. The boss that's super easy but inexplicably gave me a hard time somehow. The boss that comes mere moments afterwards also caused me to die once but only because I didn't know it was coming and thought Baigan was the only boss here.
Before we worry about the eponymous fiend, however, let's grab the stuff from here that we couldn't before. To do so, we need to climb these stairs at the opposite end of the entrance hall.
Following that path leads us to this switch, which we could press before but couldn't get to the treasure of. It's not very useful, but it's something I guess.
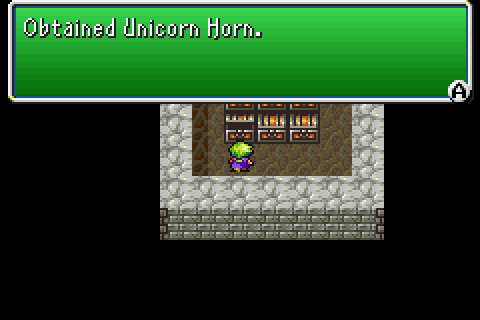
Inside we get 2 of these, 2 Phoenix Downs and 2 Ethers. Ethers are the only ones really useful, but not really. Unicorn Horns cure Sleep, Paralysis, Berserk and Confuse on the entire party. This sounds useful, and normally it is... except, y'know we can't use it here at all. So they're just another item we sell for minor monetary gain.
But, we're not done yet. We can also go into this tower now, since there's no non-boss NPCs hanging around. We couldn't go in here before, because there was a dude blocking the entrance.
Honestly, I can see why. He was stopping us getting the fourth Hermes' Shoes way, way too early.
Uh, best make that the fourth and the fifth Hermes' Shoes way too early. The other two chests just have more Bacchus's Cider in them. I wanna say they just had a small amount of cash or something like the one at Fabul in the SNES version but I don't remember exactly.
The next floor up just has 2 Hi-Potions and nothing in the pots even though it looks like there really should be.
The top floor just has 2 more Ethers and a couple of Tents. If we head back down to the ground floor and then go down the stairs there...

We can get an Elixir. I am perfectly okay with this. There is absolutely nothing else at all down here, nope, so let's just go see the King now.
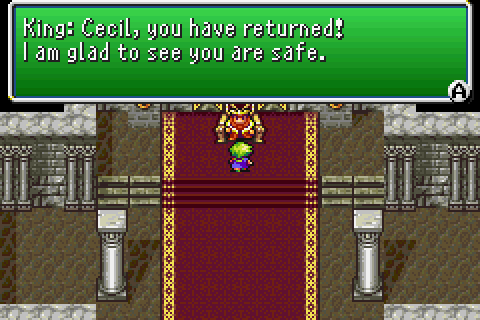
See, it's the King and not at all an evil fiend who has been impersonating him since before the game started.
Oh, maybe it was.
Okay, it definitely was.
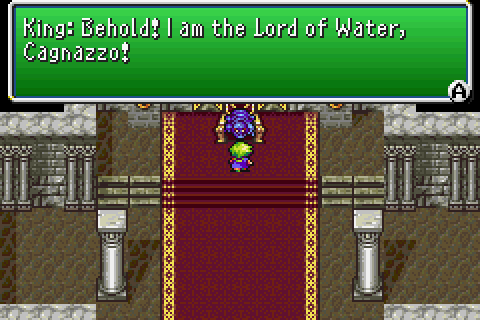
[Music: Battle with the Four Fiends]
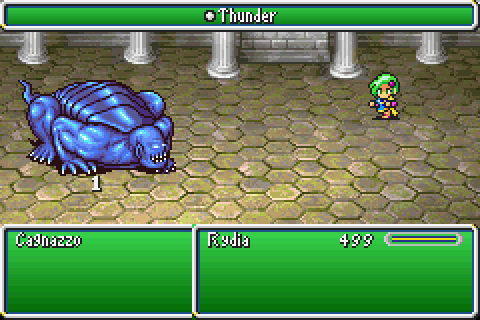
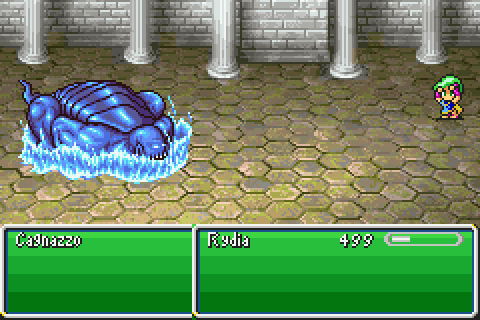
Okay, so Cagnazzo is the Fiend of Water. His attacks are all water based, his epithet is the Drowned King, he's even a giant turtle man for godsake so Thunder dealing 1 damage means he just has bonkers huge magic defence, right?
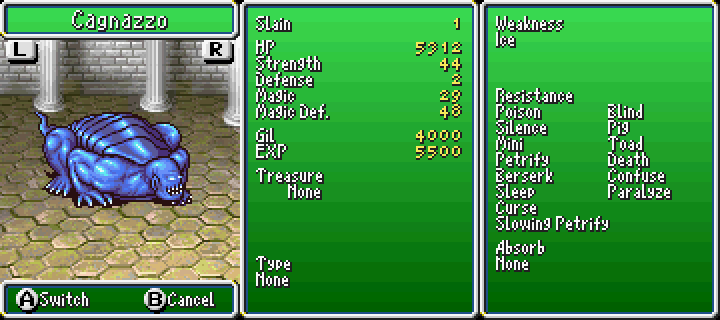
Well, yes and no. It's the biggest we've come across so far... but look at his weakness. It's Ice. You'd never think it, you'd never even bother to try it because that's dumb and his entire gimmick revolves around Thunder spells anyway so you have no reason to not use Thunder. Of course, this does mean that making him weak to Thunder would make the fight even easier than it is.
Now, being a turtleman and all you probably thought his weakness being Ice was obvious but when I first learned that it blew my mind.
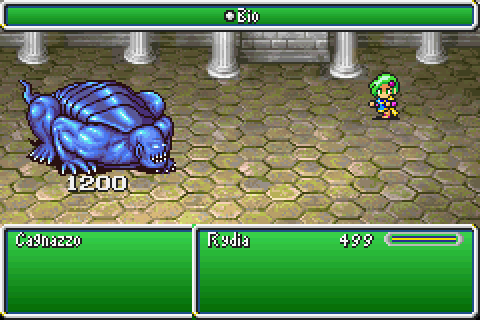
It also doesn't really matter, because we have Bio and this is crazy strong and lets us completely bypass part of Cagnazzo's gimmick entirely.
The main crux of it is pretty simple though. Kainazzo can't really do much unless he raises a barrier of water. This reduces physical damage he receives and lets him do things. We can diffuse this by hitting him with Thunder, but there's not really much point to it.
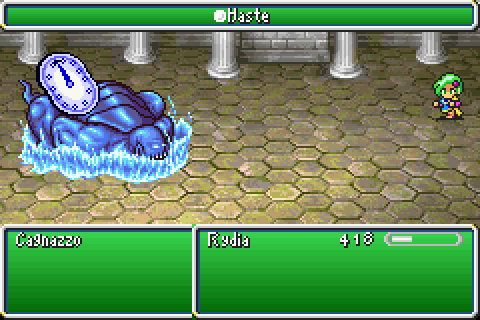
He can cast Haste when the barrier's up, but whenever you shoot it down he'll put it right back up again anyway.
It also lets him use Tsunami... but he only does it once. He won't spam it, because after he attacks with it the game registers the barrier as being down. Even with the barrier visually up, he needs to re-raise it to use Tsunami again. Might be worth shooting it down anyway, just to get rid of his Haste by supplanting it with Slow but it's really not going to be much of an issue.
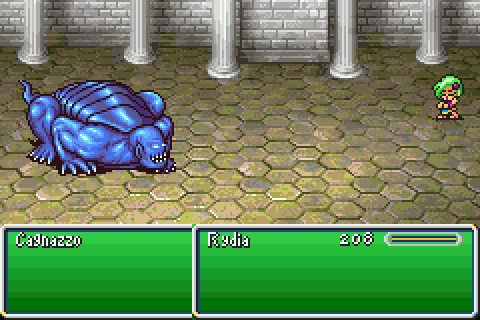
Honestly, Cagnazzo's the easiest fiend by far so seeing a lowballed Bio completely skip the second part of the fight is vaguely disappointing but not too big of a deal. His second trick is to just make the fight take longer than it needs to anyway.
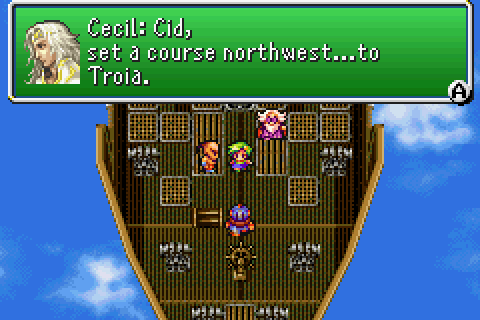
Beating Kainazzo is all we need to do to set the plot in motion, and it takes a while here to stop being in motion unfortunately. It's worth it though, because we get an airship now.
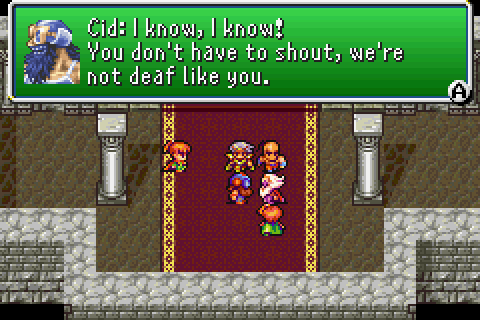
We also get the best character interactions from having Cid and Tellah be in the same room. I don't know what it is about the older guys, but they're awesome alone and they play off each other phenomenally.
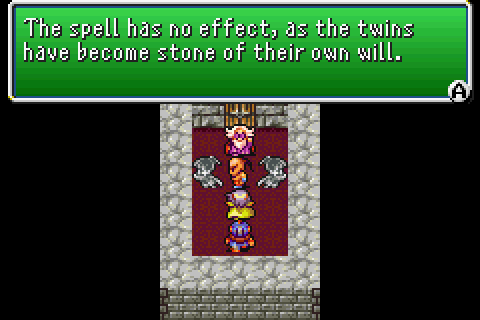
Of course, Cid brings us up to 6 again but he has a portrait so the revolving door party means that the character who's been in it longest but isn't named Cecil has to leave somehow. The twins basically count as 1 person, so they suicide by petrifying.
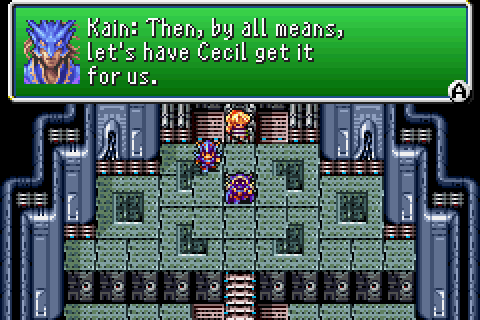
Kain then decides to make our job harder by making us do a dungeon that I swear no one likes. And anyone who does should be shot.
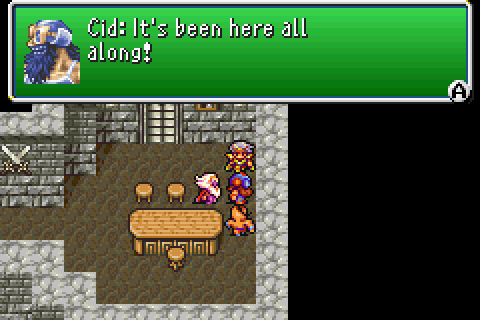
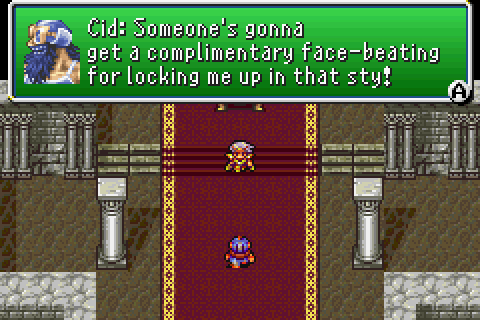
Cid tells us the secret hiding place of his airship, but he's a terrible liar. You can mash A on this spot ad infinitum but you won't find it, because it doesn't exist until now.
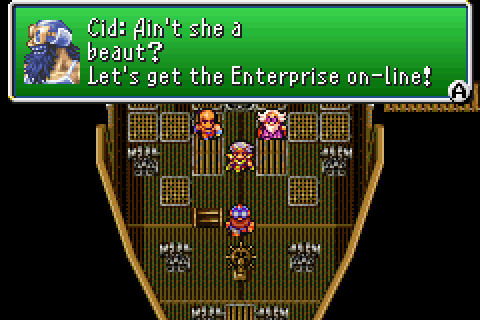
I'm not gonna complain too much, though, because the Enterprise is kinda worth being made to wait for it.
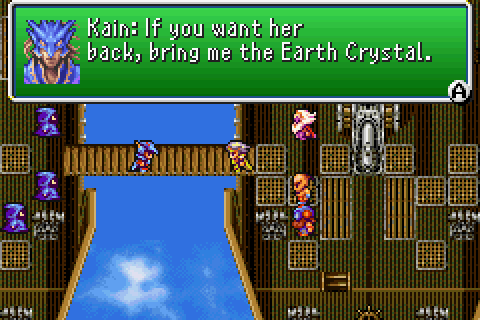
If it weren't for Kain being Cecil's friend, I'd question why they don't just pull the walkway out from underneath him here. That'd certainly speed things up a fair bit.
But, finally, the scene ends with Cecil being the liar.
Next time: the requisite update wherein we don't do that.

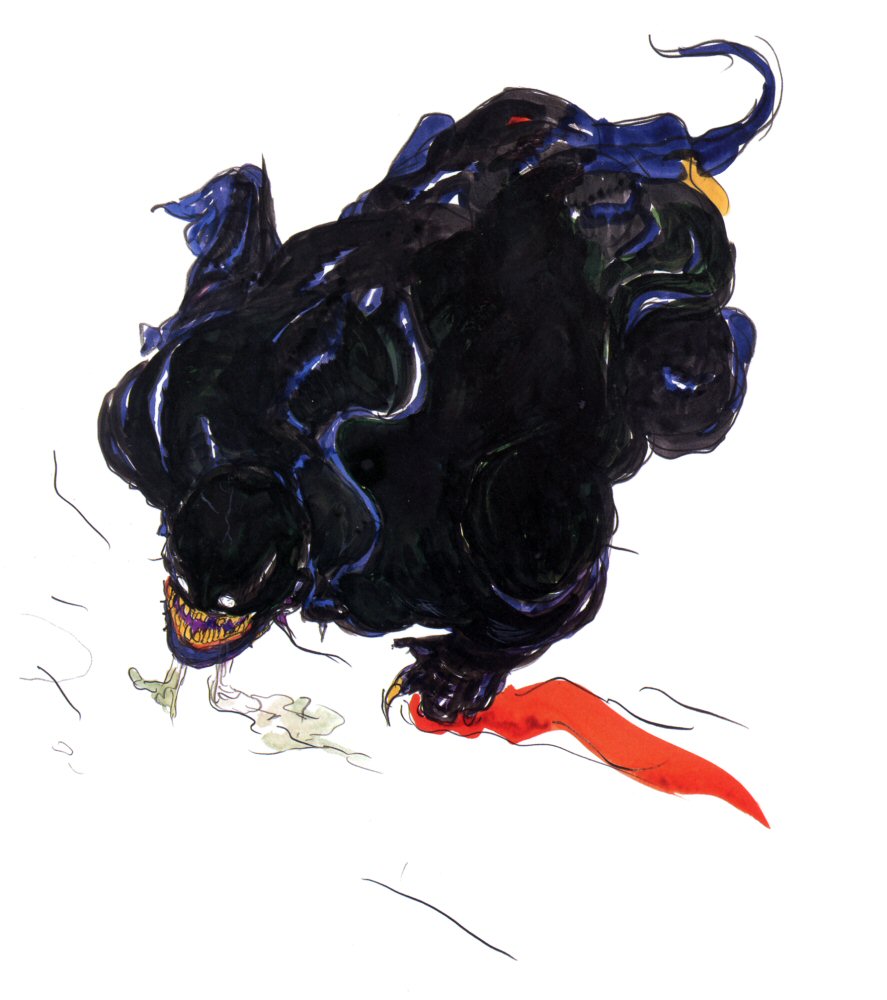
Cagnazzo ~ Amano Artwork.