Part 24: Phantasia
21. Phantasia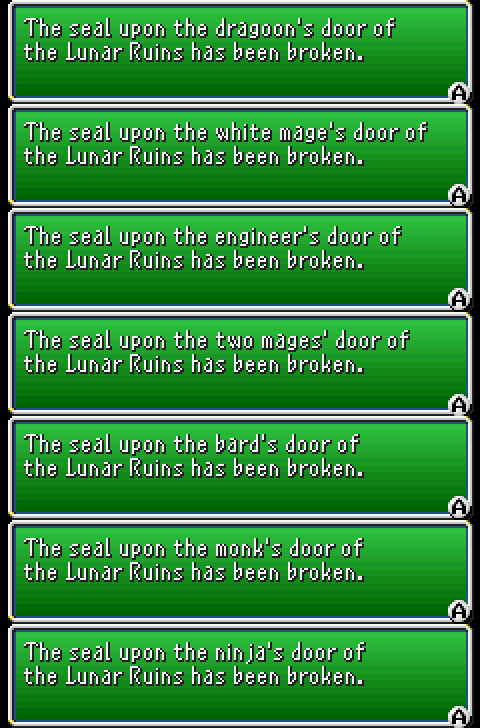
Okay, now that I've beaten the game three more times we can finally move on.
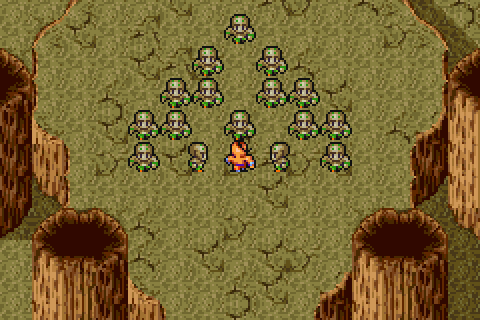
Pretty sure that's all of 'em at least. The twins sharing one always throws me off, because that makes 9 trials and I keep expecting 10.
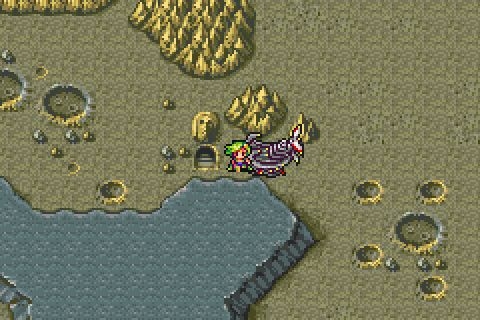
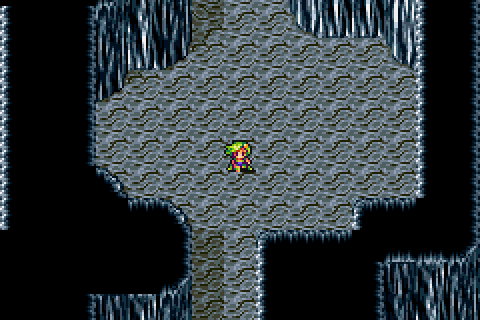
Well, let's head on over to the northern area of the moon. Now that we've beaten Zeromus a whole bunch, we can go through this in one run.
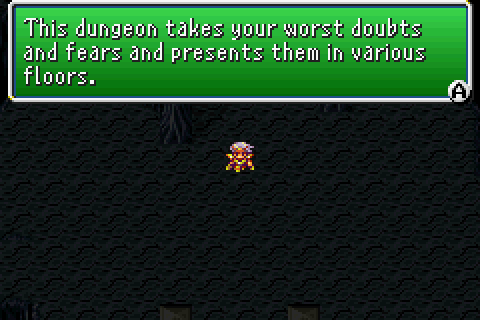
The Lunar Ruins are a pretty cool dungeon, I think. They're a sort of psuedo-Roguelite in that the floors are randomly chosen from a handful of possibilities.
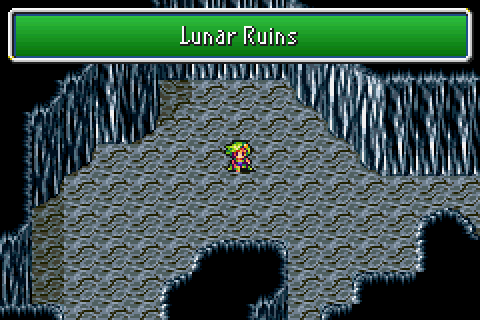
They're not really all that hard, either. They are, however, really long. The first set of floors are all different variations of the Lunar Subterrane. They're also not particularly interesting as a result.
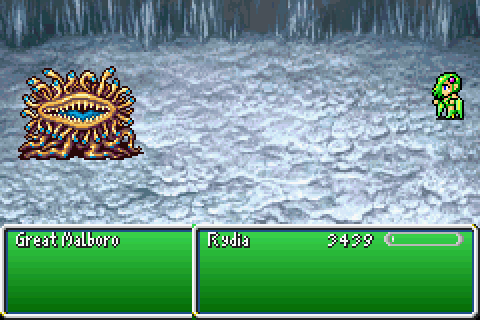
The fights are a bit shaken up, of course. There's some from that we've seen before, including a few from the bottom of the Lunar Subterrane...
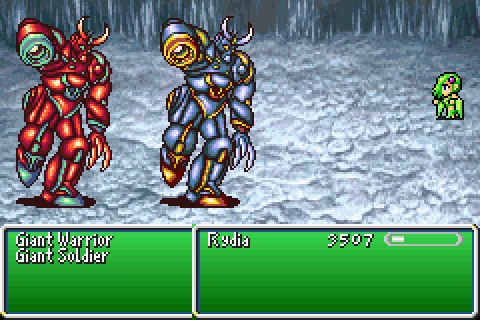
Some new formations of old enemies and...

Some all new enemies. The Goblin Prince is, as you'd expect, just another Goblin. It hits twice per turn, but only has 4 digit HP so it's a non-issue.
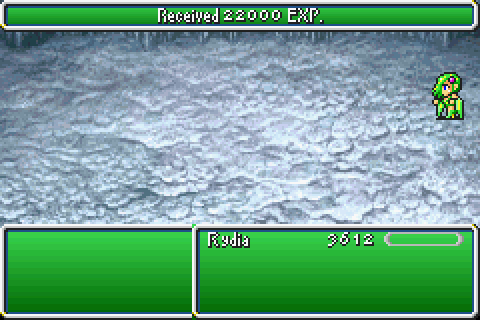
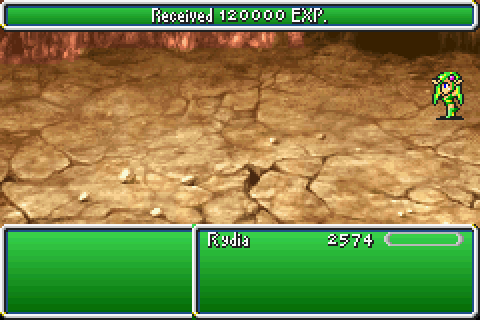
The one thing about the Lunar Ruins is that it gives a ton of EXP for every fight. 22k seems small, but this is just a single new Goblin type. This is the low end of the scale.
Rydia might take the longest to level up at this point, but she's still gonna level up like crazy.

The chests here give fixed items, depending on the floor you roll. They're mostly pretty good, of course, though there's some duds here and there too.
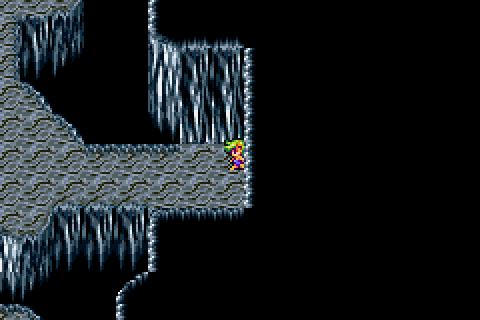
The early floors also have a fair few hidden passages. There's some that are mandatory, of course.
The entire first set of random floors all use the Lunar Subterrane tileset, which is incredibly uninteresting. It'll be good when we've gotten past all these.
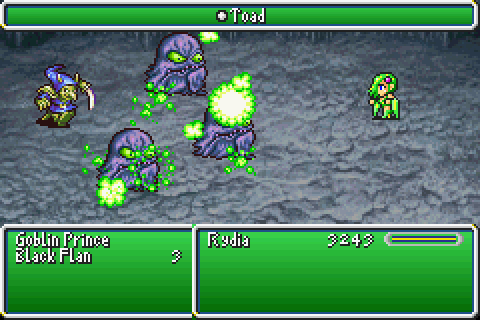
At least we can find some Flans down here to use as sentient MP recharging stations. It's nice that even the moon ones can be turned into toads.
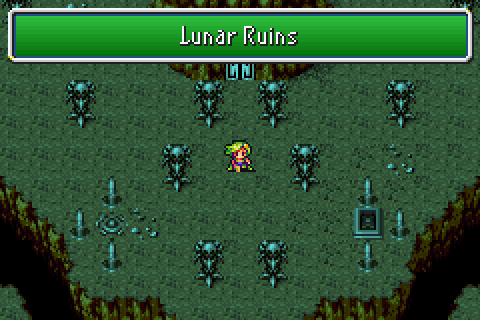
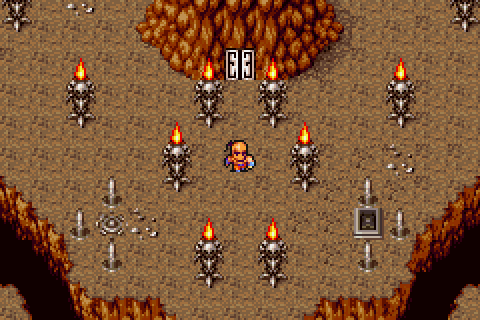
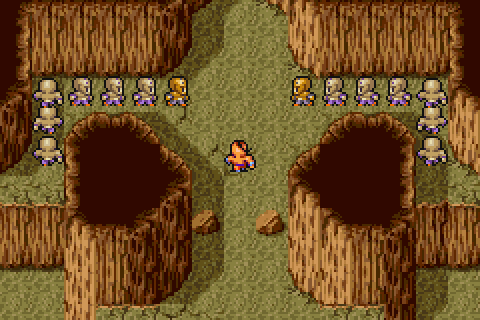
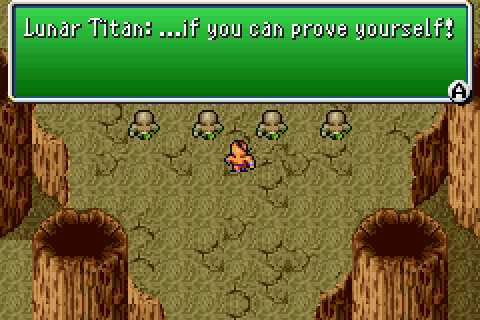
On the 5th floor, we get something a bit different. Not only does the lighting change, but there's a door all of a sudden.
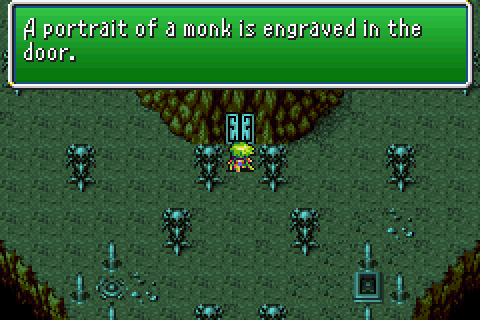
Ordinarily in this scenario, we'd need to either just leave or continue further onwards. The darker light means we don't have the right party member with us, and the door is kind enough to tell us who.
We can fix that easily enough, without even needing to leave the dungeon of course. Once we've taken Yang with us through the door, we can remove him again.
Within each of these rooms, there's a "lunar trial" for the relevant character with a boss fight at the end. Yang's is simple and to the point at least.
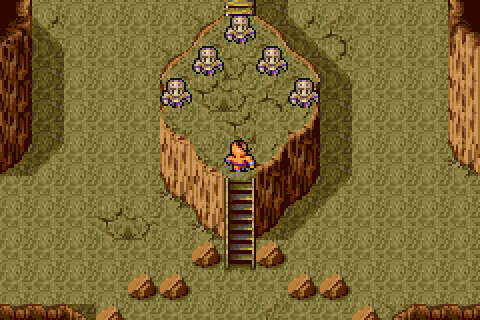
Namely, it's just beating up dudes. Lots and lots and lots of dudes.

Naturally, I'm using Minerva's Plate for this because the Adamant Armour absolutely destroys the difficulty here.
[Music: Battle 2 ~ The Magic Book]
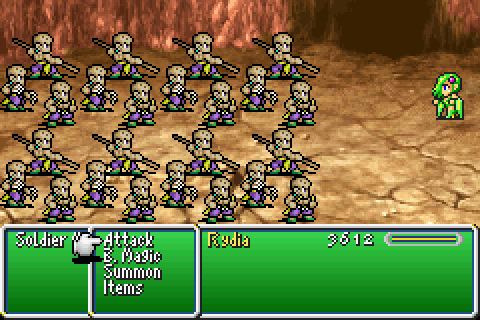
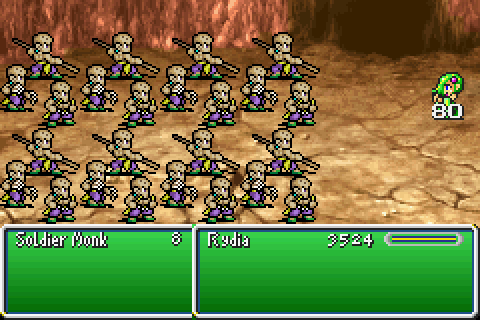
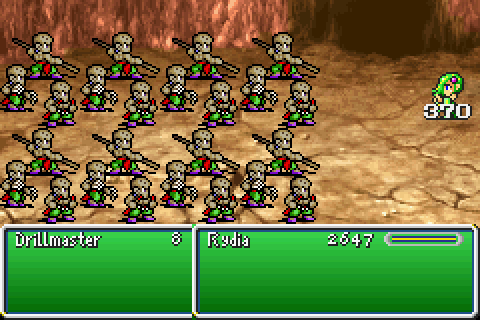
Each of the fights within this miniboss rush is with 8 enemies. Every one of those 8 is created by 3 men, making it appear that there's really 24.
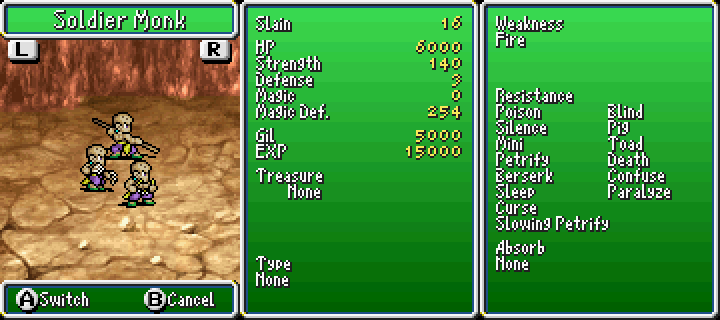
As you might expect, the Soldier Monks are by far the weakest of these.
This doesn't really mean much considering they still average at the high double digits.

The best solution to these fights is to just drop them quickly with multi-target damage. Bahamuts reasonably effective at this, though the Intelligence penalty from the Minerva's Plate makes it often insufficient.
Each monk in a trio has ~1/3rd the actual Soldier Monk's HP, so it gives this neat effect. Sadly the damage they inflict doesn't really scale based on the number of each trio left alive, even though it seems like it should.
Since the monks have 254 magic defense, something which is easily overlooked, we can't rely on Sylph to heal.
They also give completely absurd EXP gains. This trial is probably the best place to grind to level 99 if you were so inclined.
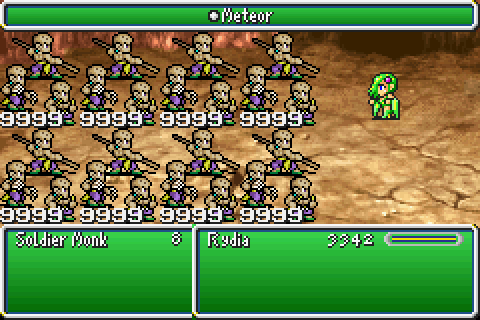
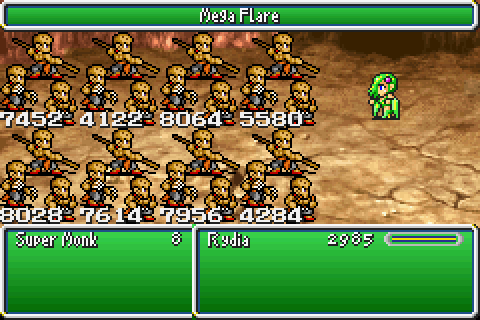
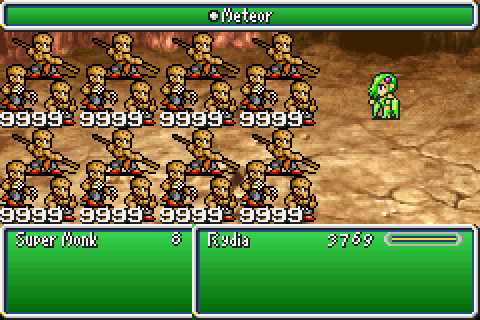
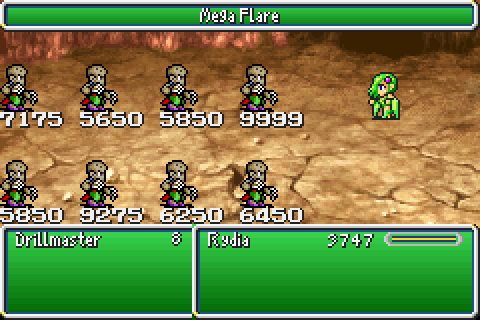
The fights are also all completely trivialised by dropping Meteors on the problem. Since its damage is never split and it takes enemy M.Def as 0, it cannot fail.
But the first group of simple old Soldier Monks was boring, wasn't it? Let's move on up to Tier 2 and go super.
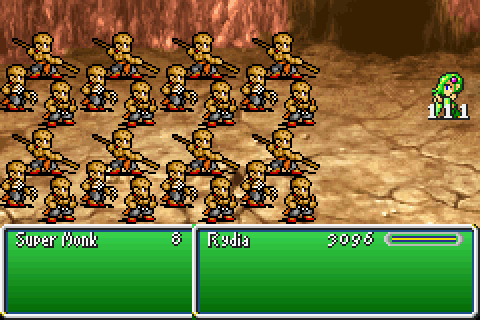
Quite literally in fact. The Super Monk is the Soldier Monk but with a new colour scheme and a fair bit of a damage increase to match.

The only thing that really matters with the new tier is that they gained an extra 2000 HP.
Much like before, they don't die all that easily to a single Bahamut thanks to the Intelligence penalty.
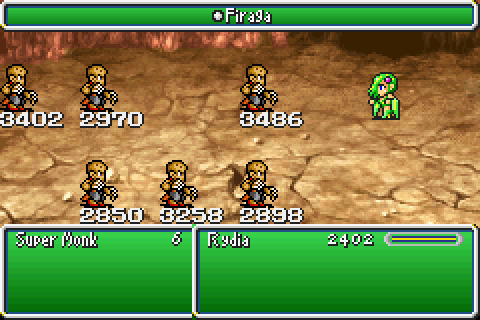
The only other way this thing matters is that it stops the followup Firaga from wiping out any stragglers this time around. Even with their Fire weakness, we can't really benefit from it that much.
So, let's finish things up by whacking them with the Stardust Rod. It's effective enough to get the job done in 1-2 hits at this point.
After the first Super fight, we can proceed further ahead and meet the final tier of Monks.
Of course, there needs to be a second fight with the middle tier first. They have 4 digit HP, so Meteor one shots them.
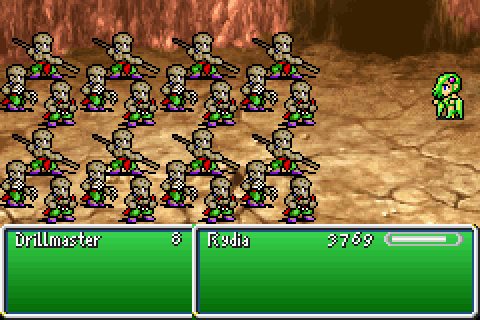
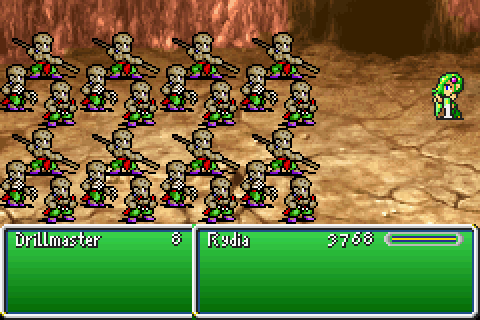
Now we meet the Drillmasters and their palette swap conveys something special.
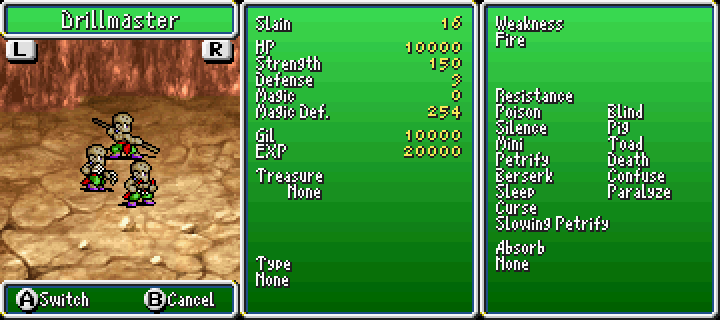
They have another 2000 HP increase. This gives them exactly 1 more than we can take off in any given turn.
They also have super sporadic damage output, ranging from rolling really low.
To quite a fair bit higher than everything else we've fought in here. They average out at somewhere closer to 170 though.
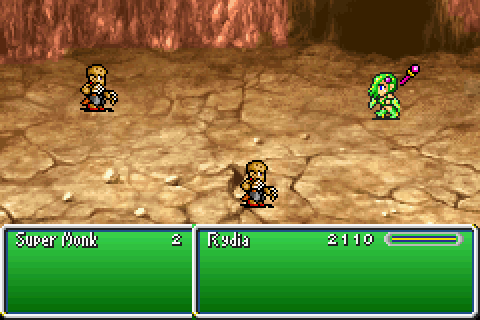
Even with their added HP, they can only survive through one turn. There's also only 2 fights with the Drillmasters too, much like with the others.
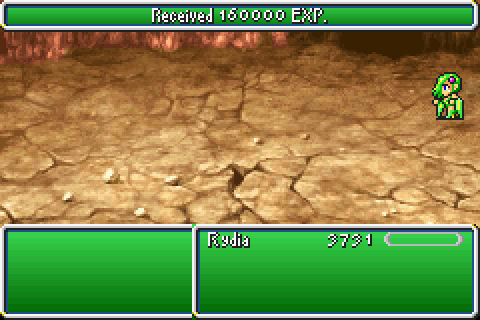
...That's really all that's needed, though. The EXP gain is completely ridiculous from these fights.
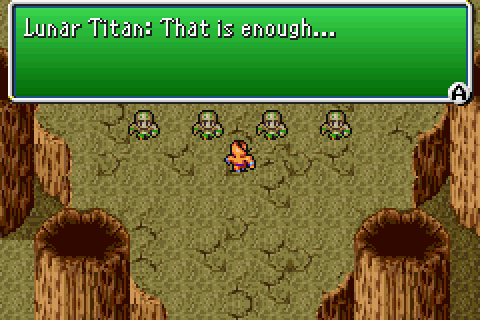
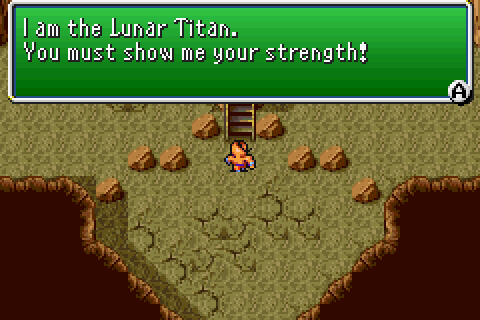
Once we've walked over the 6 warmups, Titan decides to actually stop hiding off camera at last.
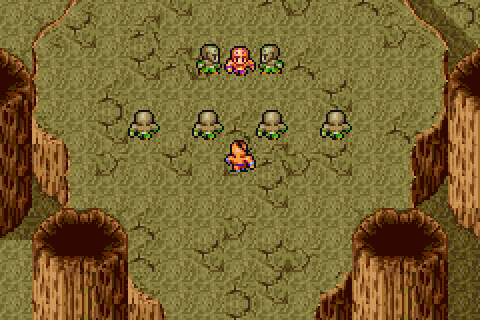
He just has the generic Fabul-Monk sprite. Couldn't even be bothered to palette swap it or anything.
So, of course, we get to fight him at the end of our marathon.
[Music: Fighting of the Spirit ~ Phantasia]
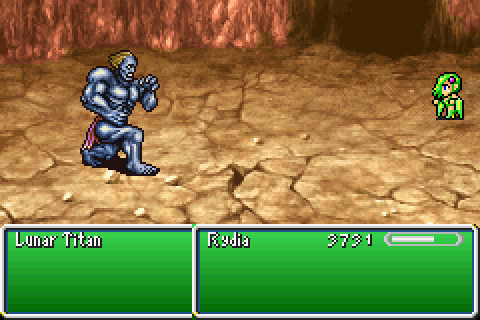
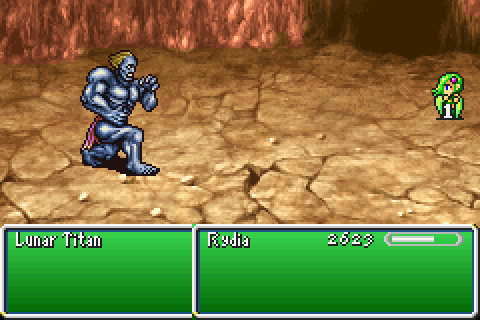
Lunar Titan as a fight is ever-so-simple, remarkably easy all things considered... and yet still kinda fun.
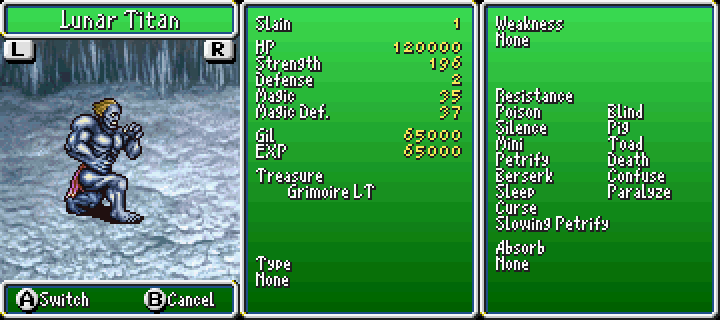
Oh, sure he has far more HP than even Zeromus did but that's not a problem. It makes it easier to not kill him by accident, and he has a sensible Magic Defense too.
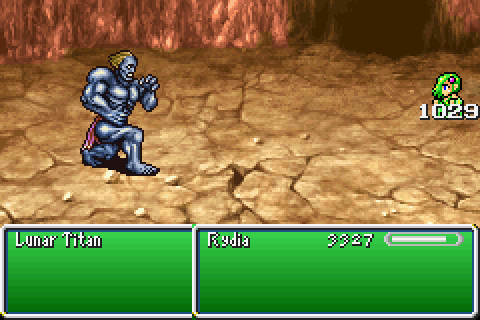
See, when he hits us it hurts. Like, a lot. If we couldn't heal this with Sylph then the fight would be really difficult.
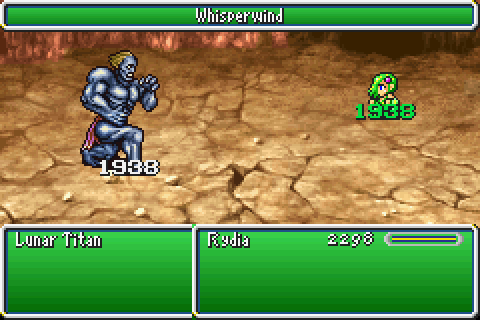
As it stands, we can easily heal it. There's not much of a need to once the fight really gets going (you'll see) but it's good for the early portion at least.
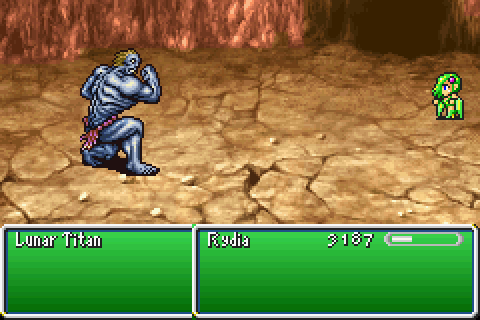
Like when he was summoned by Rydia way, way back when he adopts this pose. This has 2 uses; once he drops below ~40,000 he'll be permanently in this pose, but until then it signifies that...

He's going to pull out an Earthquake though this is kinda underwhelming. It's rather consistent, and we have no way to cheese this one.
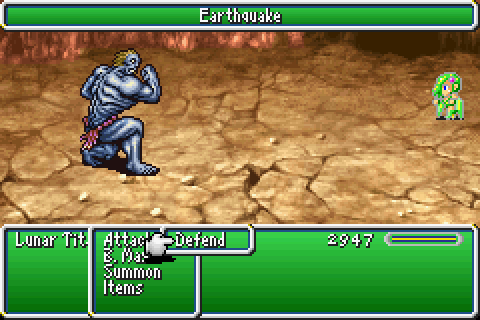
Since it's easy to predict and he's fairly fast, this is a good time to actually use the Defend command. It does not affect Earthquake's damage at all, but it takes his 1000+ regular attack and...
Absolutely neuters how threatening it is. There's something amazing about taking an attack which can actually hurt and making it deal 1 damage just for funsies.
...The Adamant Armour makes his attack basically always deal 1 damage and that's not very interesting.
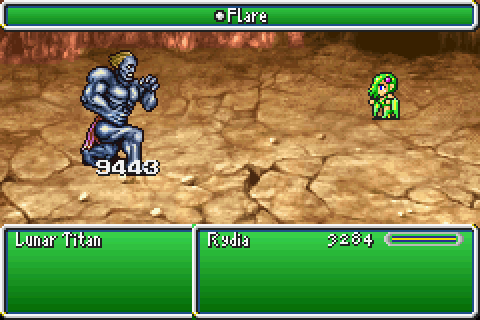
Since he has reasonable magic defense, we can start to deal 9000+ again rather consistently. This is good because 120k HP does not deplete all that fast, and we do need to restore MP once or twice even as is.
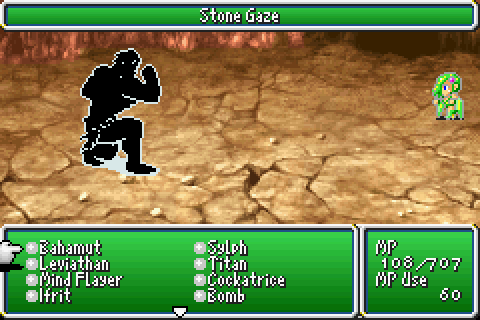
Of course, LT isn't a simple "hit you until he dies" affair. He tries to mix it up by adding Gradual Petrify which isn't going to work, but it's nice of him to give a reprieve every now and then too.
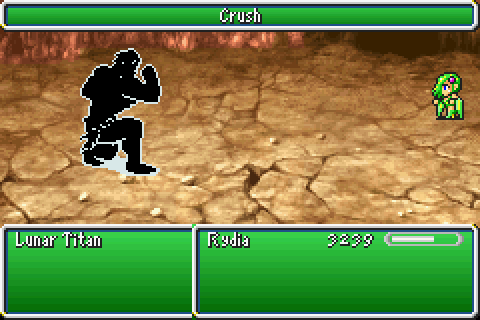
He also tries to use Crush which is an instant death attack. The Demon Wall would do the same thing if it ever gets close enough to you.
It doesn't work because we have Ribbons, but it's something.

Since we need to restore MP occasionally, might as well let him wittle down some HP and pop an Elixir. They're hardly rare at this point, and money flows incredibly freely anyway.
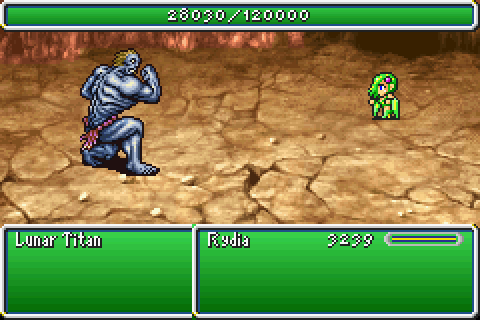
I was also keeping track of his HP for something. I missed something at one point, so I tried out a Bestiary to see if it'd work.
Surprisingly, it did. I really didn't expect it to work on anything with more than 65,535 HP.

See, I've given myself a personal challenge to see how many Lunar Eidolons I can kill with their regular versions. Obviously the ones that absorb elements won't work, Odin's going to be useless and Asura is pure defense but that still leaves... 4. Well, that's 3 now.
This might not be the best way to get thematic deathblows in retrospect. Oh well!
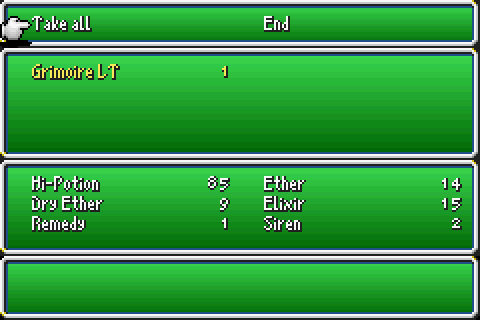
Upon beating Lunar Titan once, we get the Grimoire LT as a drop. The Lunar Eidolons all have a 100% drop rate for their respective Grimoires. If we use them in battle, we get a free 9999 damage on everything in the fight though this uses the Lunar Grimoire of course.
In some instances, we can use this to our advantage. We can redo trials by using their respective Grimoire in this way. There's a couple where this lets us get some neat things we want and can easily get a lot of without spending hours grinding random encounters (its still slow, but not as slow).
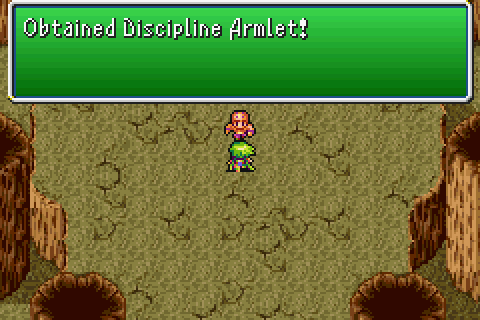
For beating Lunar Titan the first time, we also get the Discipline Armlet. This effectively lets Yang deal 9999 if he were to sneeze on things. Of course we can't use it as is.
If we were to refight Lunar Titan and beat him again, we'd get a Silver Apple for our trouble. Considering how easy it is if I were to swap Minerva for Adamant this is arguably worth it.
Next time: A Bard's Tale.
Optional Bosses Fought: 15 the monks don't count
Optional Bosses Killed: 15
Success Rate: 100%