Part 35: Dynamic Stupidity
Chapter 35: Dynamic Stupidity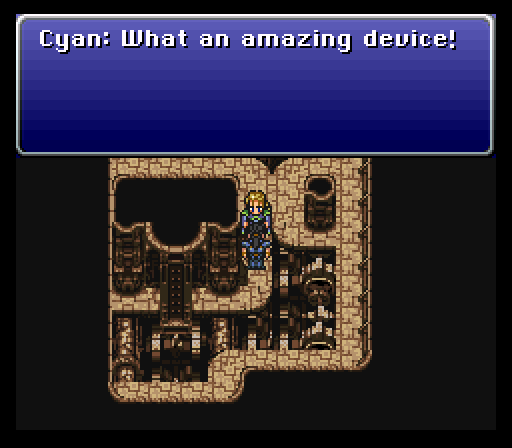
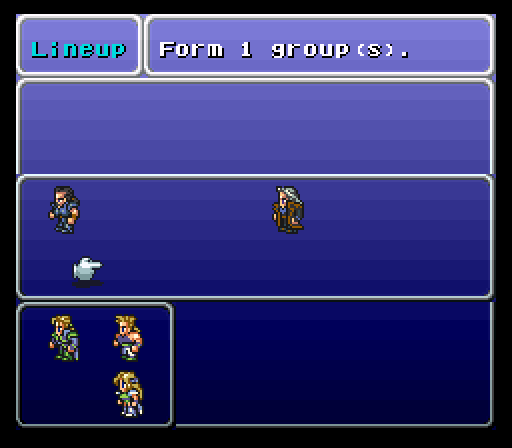
Now that we've got someone besides the first four in our group, we can chat with them and reconfigure our party. Since we're going to be hitting the Veldt, it's a good idea to only have a party of three so there's room for Gau to fit.
I neglected to show this off while we were in Kohlingen, but there was an elderly gent there who had the same item genie powers of the fellow onboard the Blackjack. Apparently, once we got our own airship, this old man snuck aboard somewhere along the way.
You've got to watch out for those item genies. They're sneaky.
Music: Wild West
The Veldt's the only place where we can encounter enemies that we saw in the first half of the game. Obviously, if you neglected to meet said enemies before triggering the end of the world, you're just out of luck for seeing them ever again.
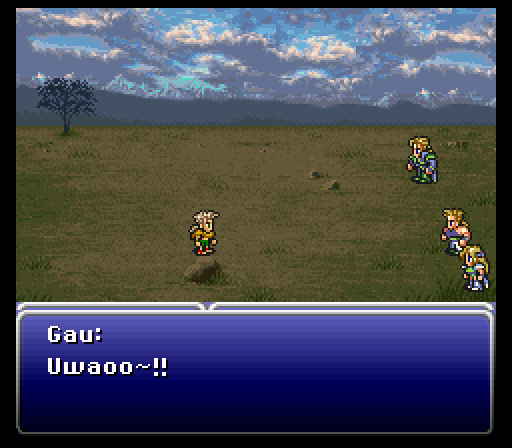
And here's the little rascal himself, acting like we'd never been separated for a whole year. In most cases, characters who we pick up will just find their way to the airship if the party is full, but Gau's scripting makes him a unique case.
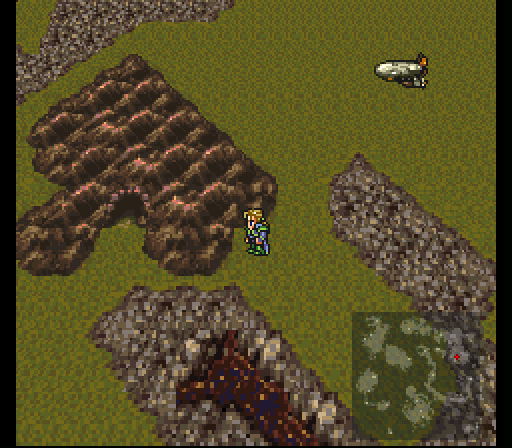
In addition to filling up our Rage list with some of the new enemy types that we've been seeing around here, we can also check out this cave.
Music: Mystic Forest
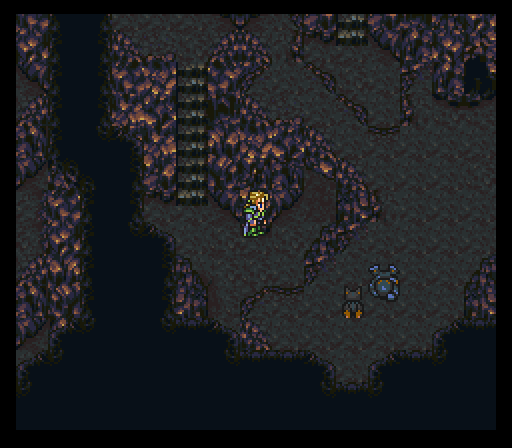
Right in the front door, a familiar dog barks at us and then hurriedly runs back into the cave. That's not a good sign.
Now, you might recall that there was a cave in the Veldt, but it was just a small chamber leading right to the Serpent Trench. It's expanded just a little now that the Serpent Trench has risen.
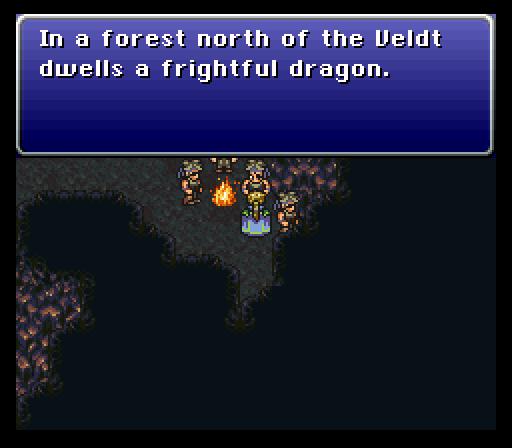
Thief: I suppose no human could ever defeat it...but oh, how free we would be if someone could...
I'll take that as a challenge.
While we're here, we grab this unique Relic for a character who we haven't met yet. I'll explain what it does when we find that character.
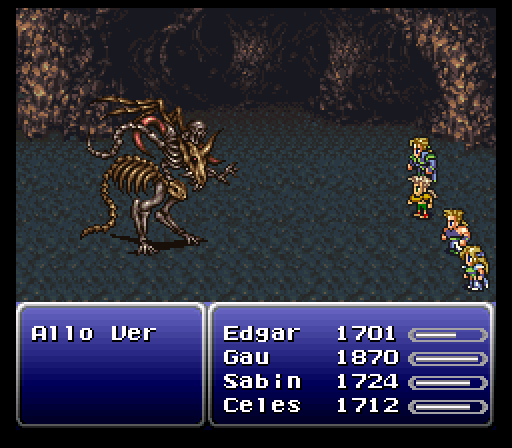
In a box, we find a monster. A monster-in-a-box, as it were. The Allo Ver is all about the Doom spells, and I understand that it also starts spamming a very nasty spell after a minute is gone, but I generally didn't give it the chance. The thing only has 8,000 HP, and so a few shots of Fire 2 will do it in. And for our troubles, we get the Tiger Fang, Sabin's strongest weapon in the SNES version.
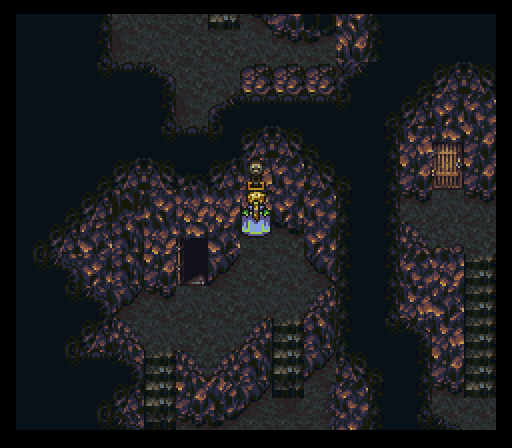
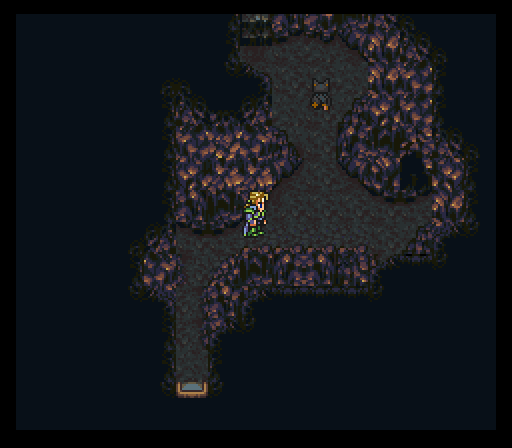
The biggest "puzzle" in this dungeon is a rock obstructing our progress and a lever that moves it, both of which happen to be in the same screen.
Just don't forget to run down the steps from the lever and pick this up. It's absolutely important to the resolution of this quest.
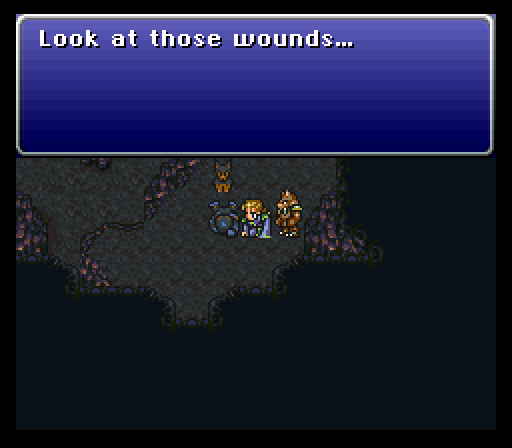
Had we not saved Shadow, we would have seen Relm lying unconscious in this cave. We can't reach Shadow from this side, so we're going to need to go around.
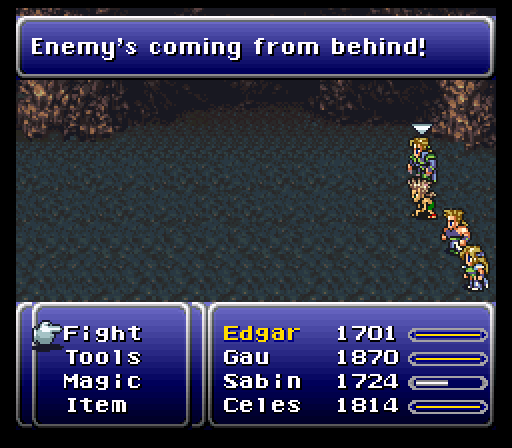
Fortunately, before the party can get sucker punched from behind, Interceptor barks out a warning, and the battle begins.
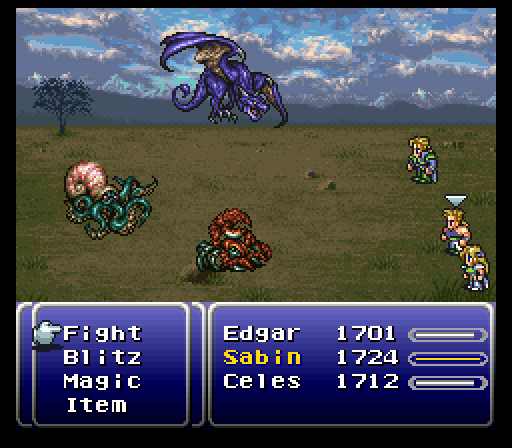
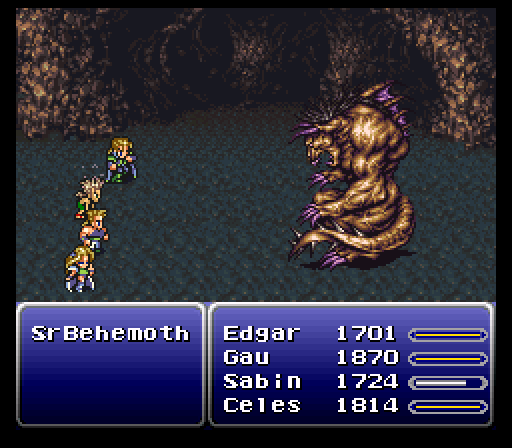
Music: The Decisive Battle (jeez, this game's full of random bosses)
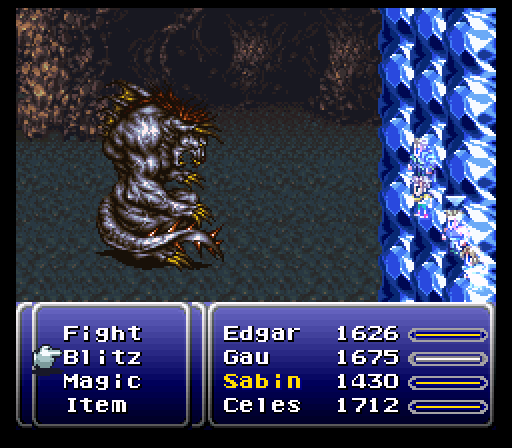
This is Sr. Behemoth, a spellcasting version of the behemoths we fought on the Floating Continent. With 19,000 health and access to spells like Meteo and Ice 3, he's actually not that bad a fight.
Similarly to Number 024, he can be Imped, but similarly to Number 024, that's also a VERY bad idea. In addition to guaranteed critical hits, he'll also strike twice in one turn.
Overall though, I found him to be relatively easy, thanks mostly to Gau using Catscratch. 19,000 health might sound like a whole lot, but even so, the group's getting far too strong for-
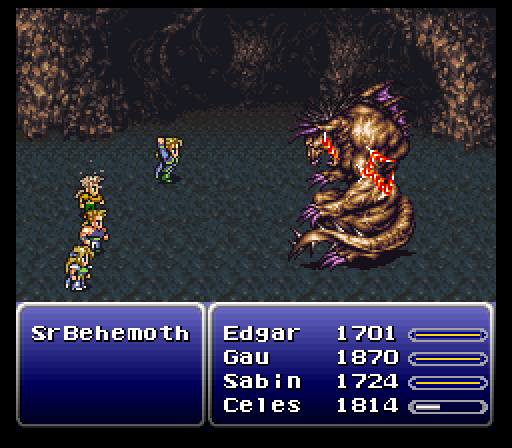
Oh, for the love of...
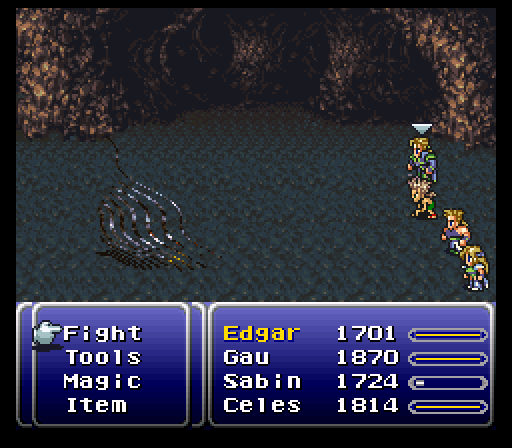
Yes, that's right, Señor Behemoth is taking a page out of Scarmaglione's book and reincarnating himself in an undead form and attacking the party from behind. He'll now start spamming Sleeping Gas and attacking anyone who's asleep four times in a row.
Screw that!
For defeating the Behemoth Family's wise elder, we get the Behemoth Suit, another equippable costume for Relm and Strago.

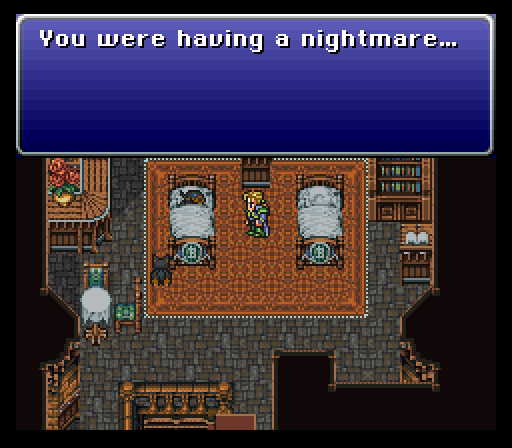
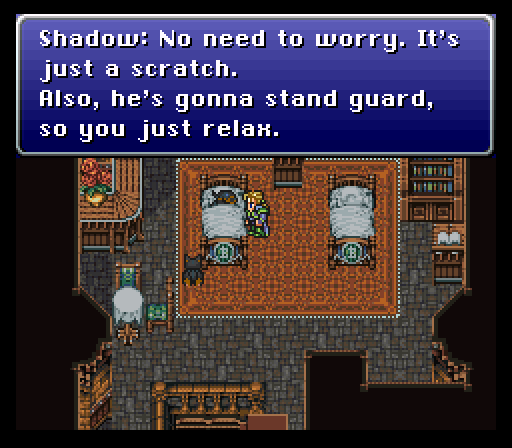
"Let's take her back to Thamasa in the airship."
As we've seen in the flashbacks, Shadow is most assuredly male, so this just happens to be a programming error. As mentioned, if Shadow didn't make it off the Floating Continent, Relm gets to be Señor Behemoth's chew toy instead, and it appears that the developers didn't account for the alternate scene.
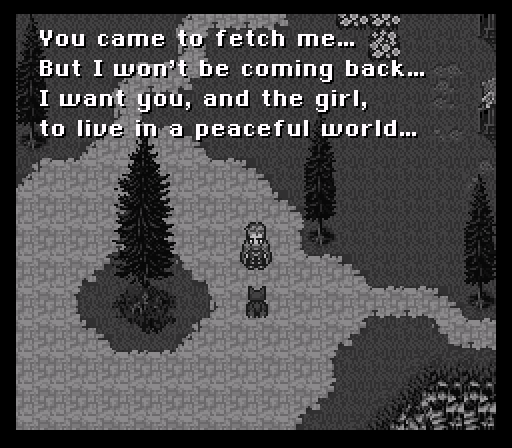
This flashback deals with how Clyde got Interceptor as a loyal pet. If Relm had been the lucky winner, we would have seen a flashback instead where she's asking Strago about what happened to "daddy." Hmm...suspicious...
That's all well and good, but if we leave and come back later...
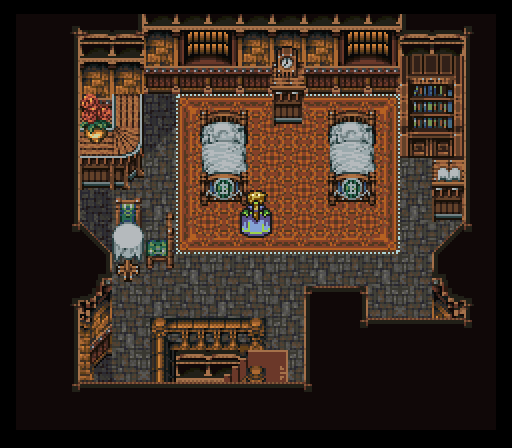
We see that Shadow's gone and done what Shadow does best. Fortunately, from clues that we've already gathered, we know where he's headed.

The Dragon's Neck Coliseum.
Music: Johnny C Bad (nice pun, Square)
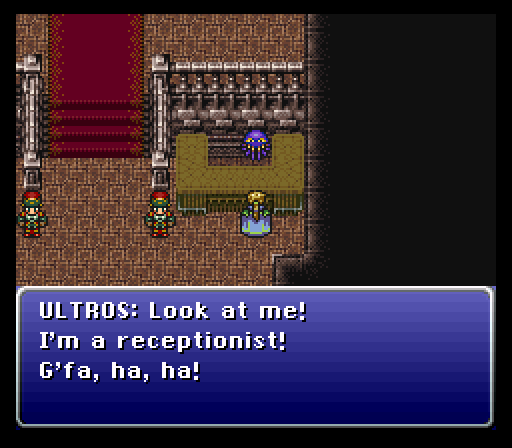
Well, I can already tell that this is going to be LOADS of fun.
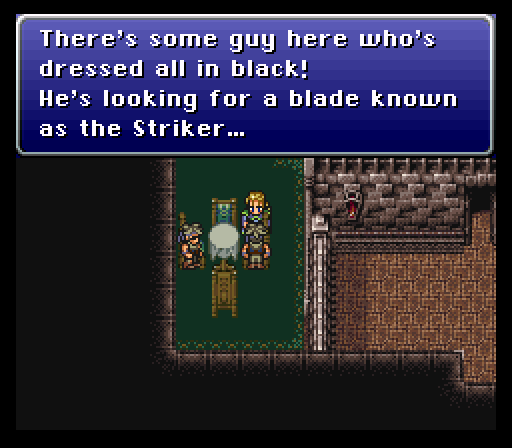
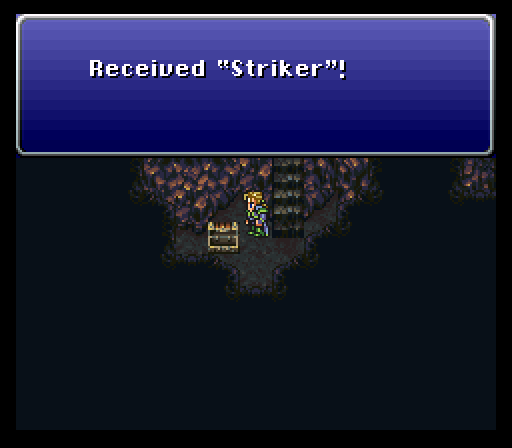
The game's got a reminder here in case you missed it, but you do kind of need the Striker if you want to pick up Shadow, so if you didn't get it the first time you went through the Veldt Cave, you'd best go back and get it.

So anyway, here's how it works. If you want to do a fight, you have to wager an item in your inventory.
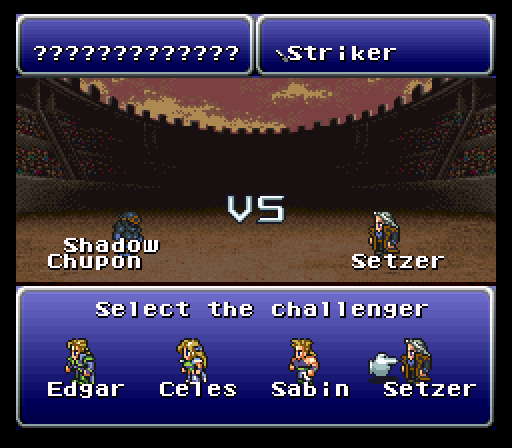
Once you select an item, you'll go to this screen, where you pick a challenger. Fights in the arena are 1v1, after all. Normally, the top left box would tell you what you could hope to win if you win, but Shadow's a little special. You'll see.
Music: Shadow's Theme
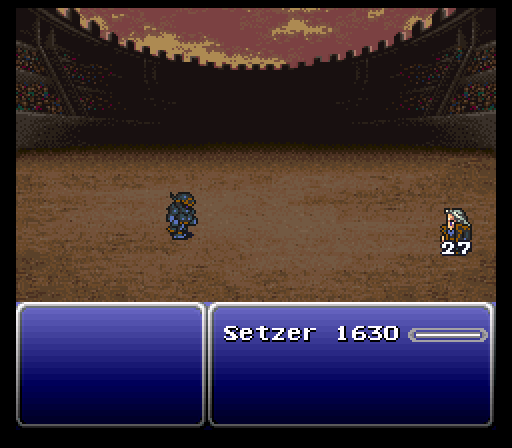
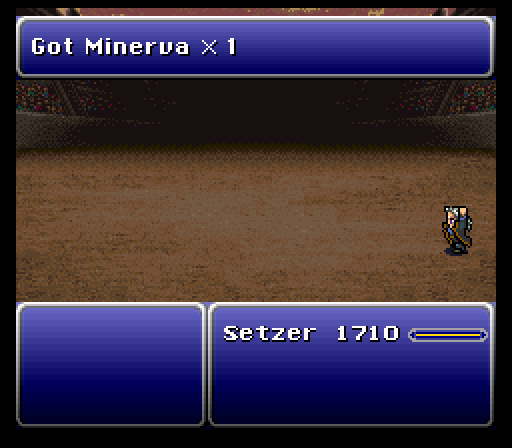
Thanks to falling victim to the item genie, Shadow's only recourse is to hopelessly punch your chosen character for piddling amounts. So where's the challenge in this fight?
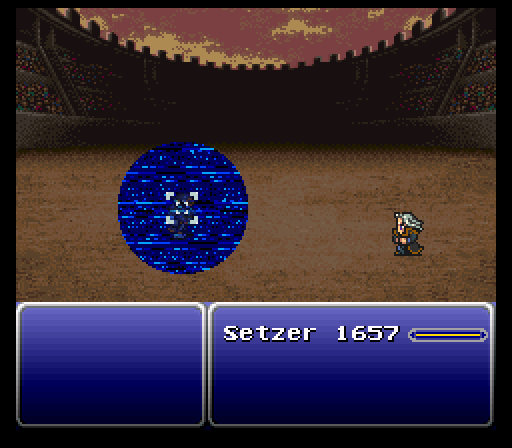
Well, there's one thing I forgot to mention about the coliseum: your character is AI-controlled! Given that the enemy AI occasionally stumbles over its relatively simplistic coding, giving it command over dozens of spells and certain characters' special abilities basically means that the AI has no choice but to choose at freakin' random, like in this case where Setzer chose to scan Shadow for no apparent reason.
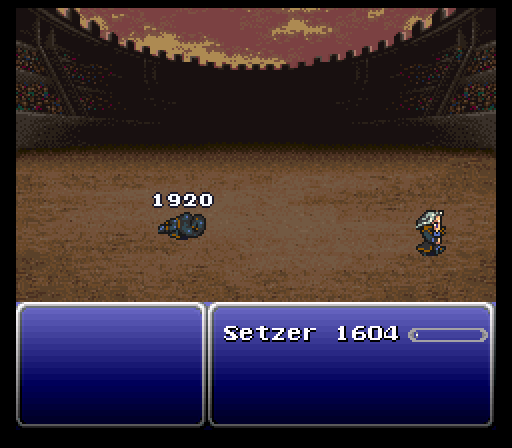
I mostly chose Setzer for this fight because I put the Coin Toss on him and he's got the least amount of spells of the party thus far. Therefore, he has the lowest probability of messing around. That said, it still took him about four or five turns before he finally did something useful.
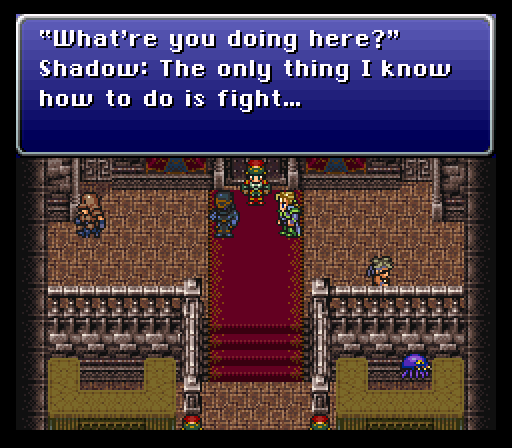
"Why not come with us?"
 : Well...First I need to see how far I can get here...
I'll be going over some of the cool things you can get out of the coliseum much later, but for now, here's a cool trick. You'll need a character with a Wall Ring equipped for this.
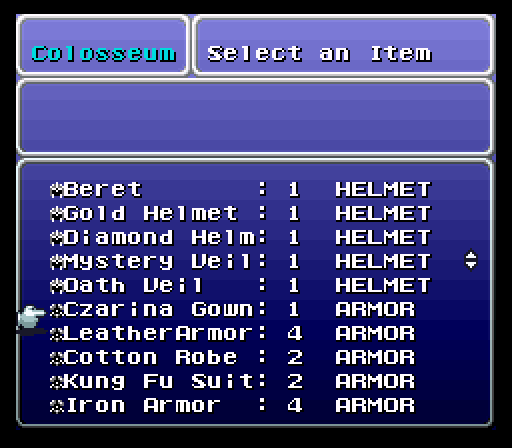
There's a special armor for Relm called a Czarina Gown that we acquired in Daryl's Tomb.
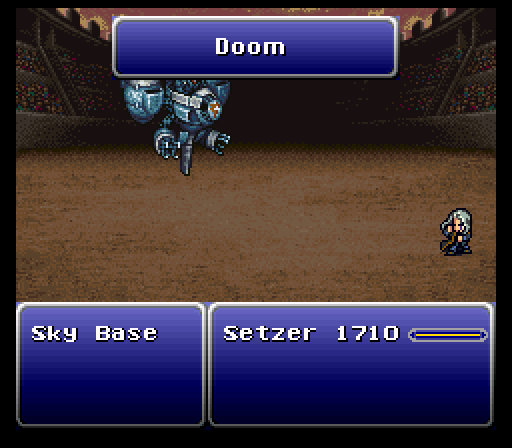
The enemy that challenges us, Sky Base, starts every battle with Doom. Doom can be reflected.
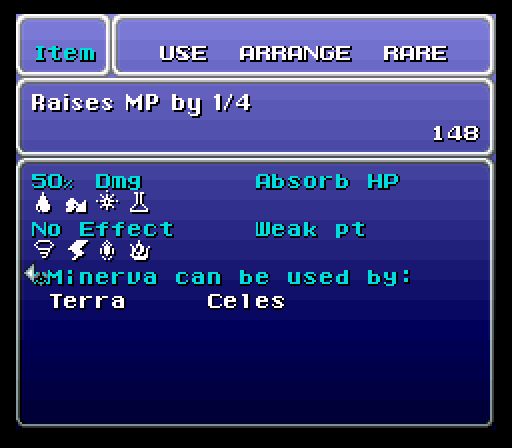
I don't believe that I've shown off this window yet. These icons stand for the eight elements, obviously, but what this means is that Celes is now resistant to Water, Earth, Holy and Poison and completely impervious to Wind, Lightning, Ice, and Fire. Heck yeah!
Now then, you might have noticed this, but we've come to a bit of a stop when it comes to following clues. Therefore, I'd like to give you guys the choice of where we go next.
Narshe or Jidoor. Either way, we'll acquire two characters and at least one Esper.