Part 5: Burn in Hell Forever Ice Cave
Chapter 5: Burn in Hell Forever Ice Cave
Last time we left off after I decided that the selfish old geezer who wouldn't give up a canoe to save the world until his personal ass was on the line could rot.
And here I am in my brand new canoe. The canoe opens up a number of locations to us, including the volcano and the ice cave. It becomes required at various times to get to dungeons and remains necessary for quite a while. It also brings up a whole new spectrum of enemies, but they're not actually very threatening. It's very popular to take the canoe and just go straight to the Ice Cave, then get the airship and simply fly to the Volcano. We're not going to do that.
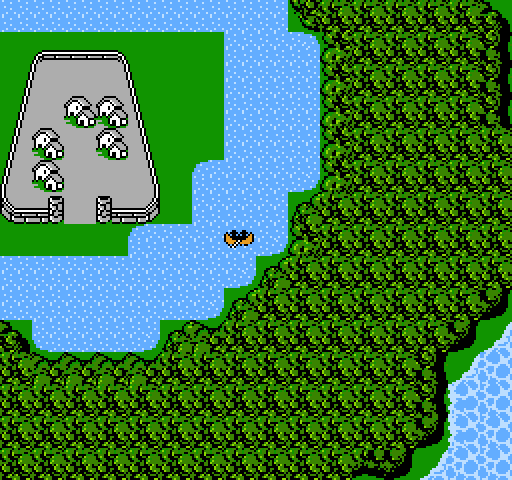
This is the oft-spoken of Peninsula of Power, where the enemies on the upper and lower peninsulas are the same. You can run into frost wolves, zombulls, giants, trolls, and tyros here making it a popular spot for early leveling.
Instead, I'm using the canoe and the mouth of the river to go to the Castle of Ordeals. Ideally you'd supposed to go here after visiting the Dragons of Cardiff, who can only be reached by airship. Then you have to find a single spot of clear space that's a quarter of the way around the world from this castle and hike over here, fighting enemies who can ruin your day in a single turn. I am of the opinion that this is for chumps. Instead, we're just parking our ship and rowing over in my canoe.
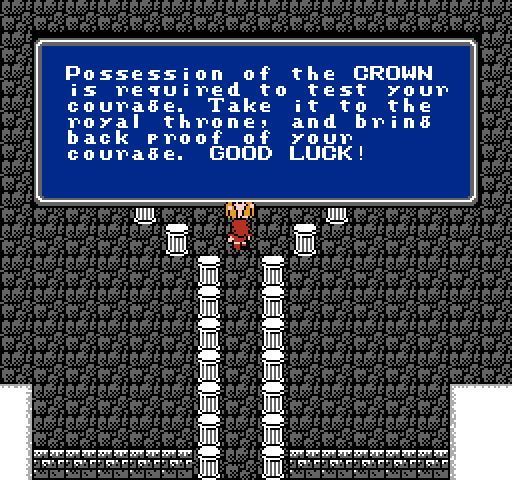
For some reason, the game actually wants to check and see if you have the CROWN before it'll let you proceed with this dungeon. I'm not sure if they threw that in for flavor text or what. Unless something is severely broken, it's impossible to reach this area without having gotten the CROWN.
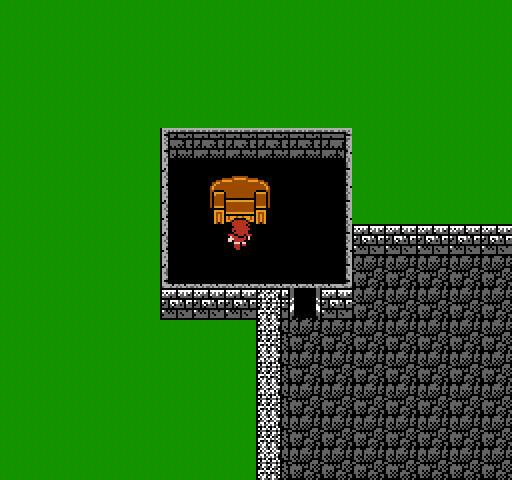
The portal to pass into the castle resembles nothing so much as an overstuffed armchair. It's pretty obvious to anybody who's ever lost something between cushions that these have strange powers to bend time and space.
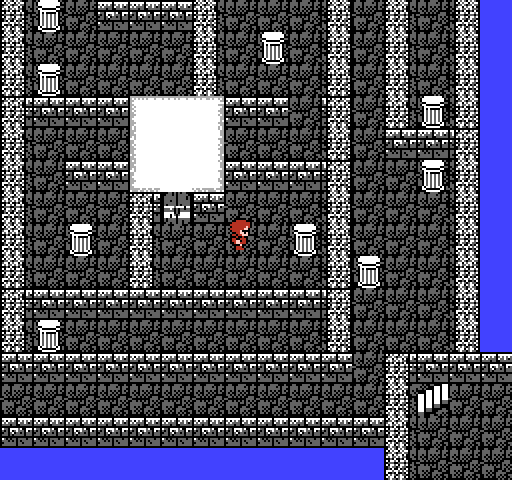
Inside, we have a maze of teleporting pillars. It's very simple at first with only one pillar per room, but goes up to two or three pillars. If you make a mistake you are teleported back here and have to restart. There are enemies in here, including a few who can turn you to stone. The trick is that the furthest south column in a room is always the one to go to.
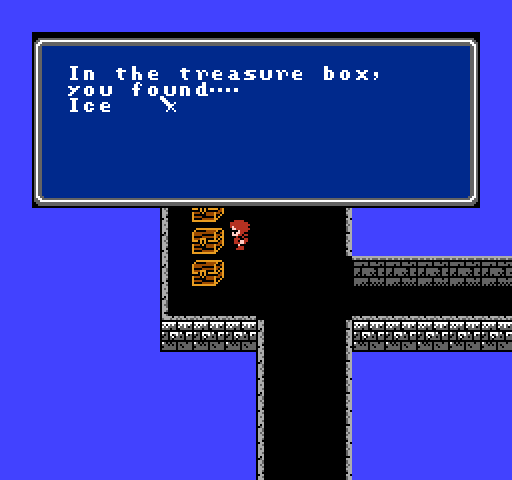
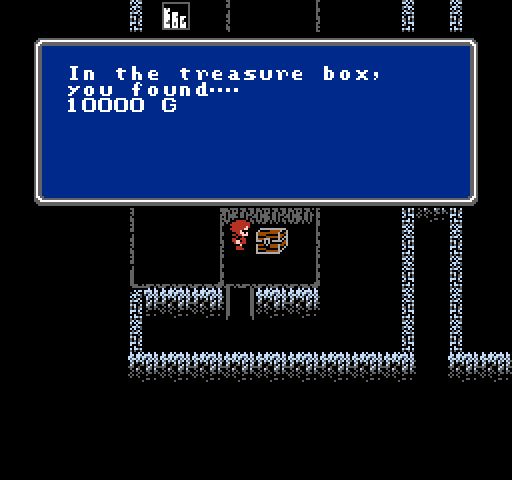
Once again, here's a chest with elaborate decorations surrounding it clearly marking it as something important. This is not, however, the final objective of the dungeon.
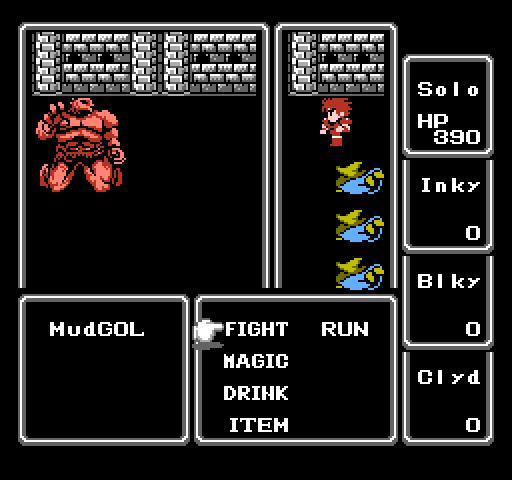
The chest's guardian isn't terribly impressive. Mud golems have decent HP, terrible defense, are poisonous, and have no other special abilities other than casting the FAST spell on themselves. This doubles their attacks, but they rarely survive long enough to capitalize on it.
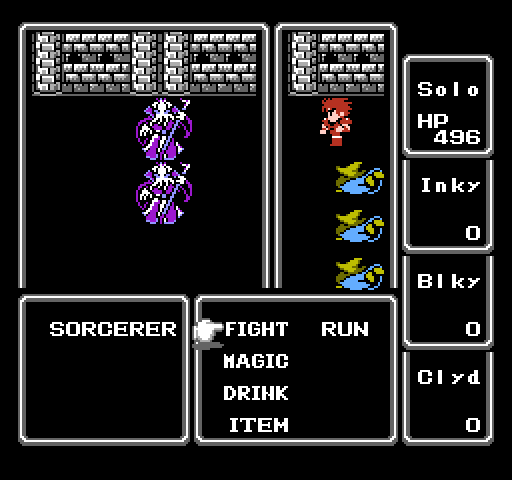
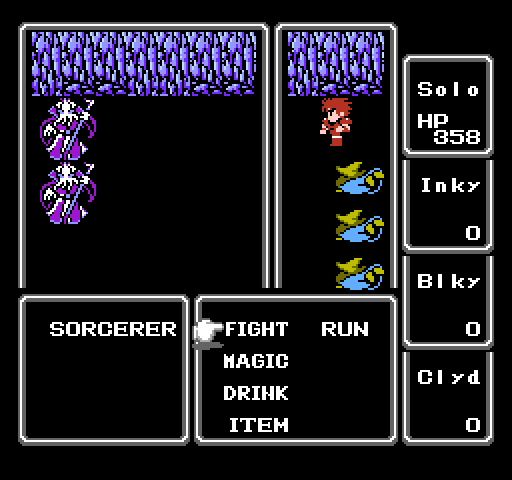
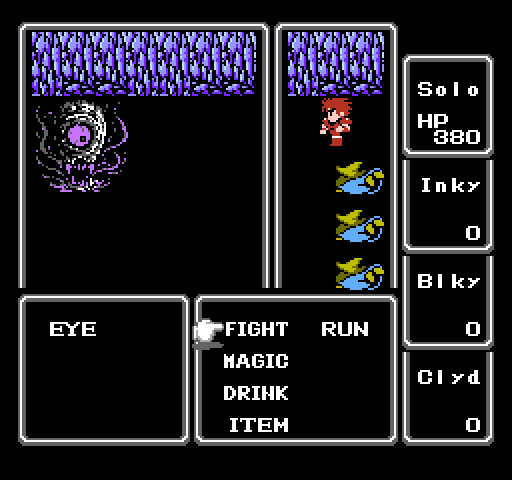
It's also possible to run into Sorcerers here. Sorcerers are infamous because their ordinary attacks can cause instant death. Nothing in the game can prevent this from happening, other than running like hell the instant you see them or killing them before they can attack. They also have an ability called Trance that can paralyze you for easier murder. It's worth noting that they were originally called Mindflayers, meaning that their instant death attack was probably meant to be cracking your character's skull open and eating their brains. So...how is it that nothing can defend against this attack?
Abilities in this game can have zero, one, or several elements at once. Those elements are Status, Poison/Stone, Time, Death, Fire, Ice, Lightning, and Earth. These can also apply to resistances, which is how protective items like the ProRing work. Simply put, the ProRing gives you a resistance to Death elemental attacks. Many enemies have a status component to their attack, such as poison, that should be associated with one of those elements. There's another bug with this where instead of using the appropriate element for their attack, an enemy's attack element is set to whatever they're weak against. Something like a mud golem, which has no weakness, thus has a non-elemental poison attack. The sorcerer has no elemental weaknesses, so his death attack is also non-elemental.
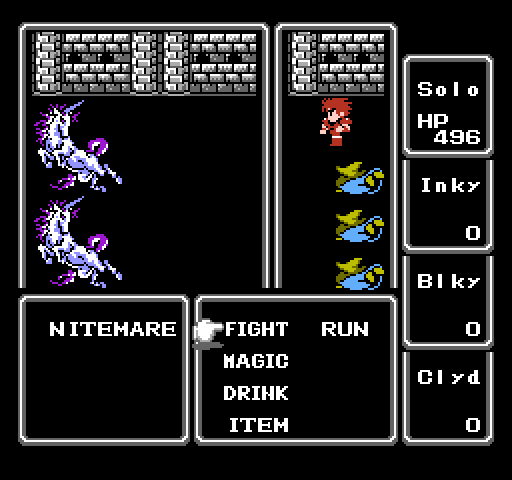
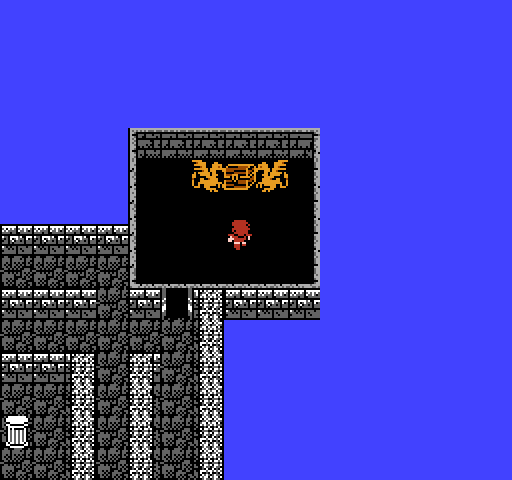
The final column transports us to a corridor that goes completely around the castle. This encounter is completely unavoidable, but is really nothing more than an annoyance. These Nightmares can blind your character but that doesn't really slow you down from hitting them. Other than that their biggest feature is a decent defense for this area. At this point with the silver sword they require some chipping.
That changes in a second. The Ice Sword is about the 6th most powerful weapon in the game and as a result is worth the price of admission all by itself. Since the elemental affinity of weapons is broken, this'll be invaluable in the Ice Cave for its sheer attack power.
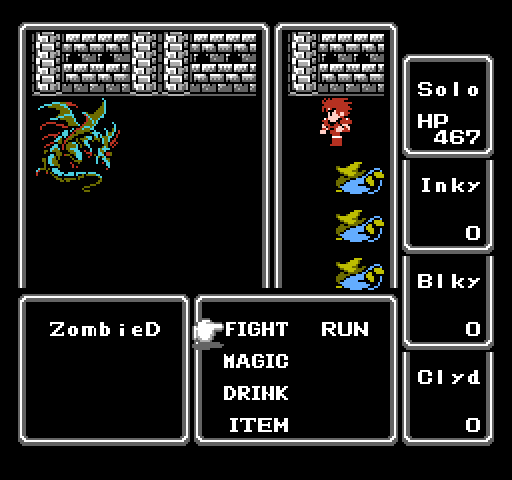
The semi-boss of this cave is the Zombie Dragon, who has a decent amount of HP, can paralyze, and is weak against HRM and FIR. The last part is immaterial, since I'm slicing him up with the Ice Sword. This is a place that white wizard parties can use to grind, since they have the means to attack this enemy easily.
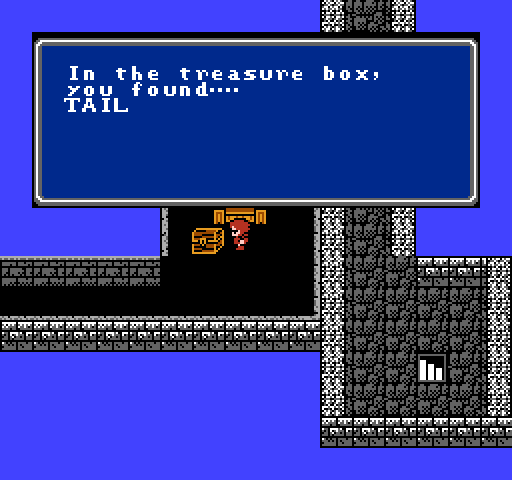
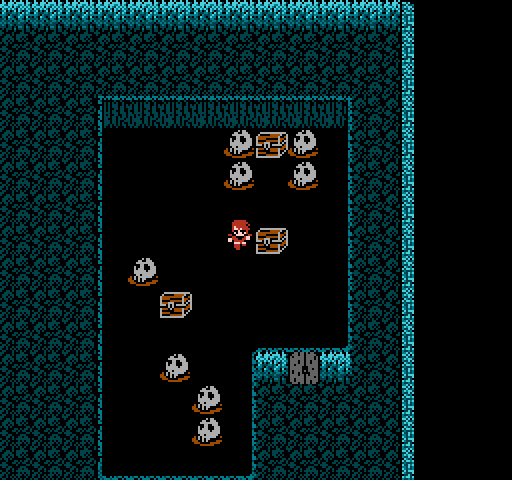
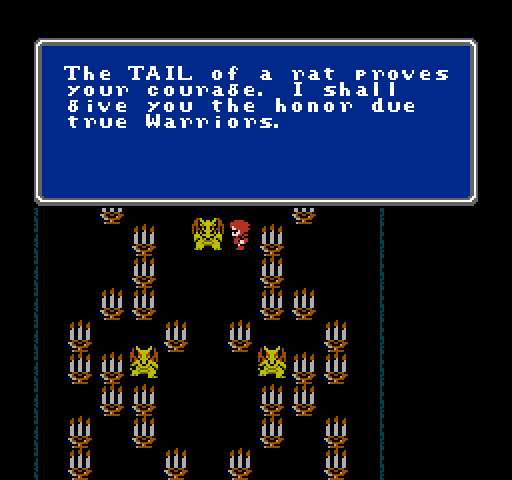
The price for all of this is a disembodied, probably bloody Rat's Tail. I'm not sure why on earth this particular random item was chosen as the proof of courage, but there you have it. Naturally, this ended up being referenced repeatedly throughout the series.
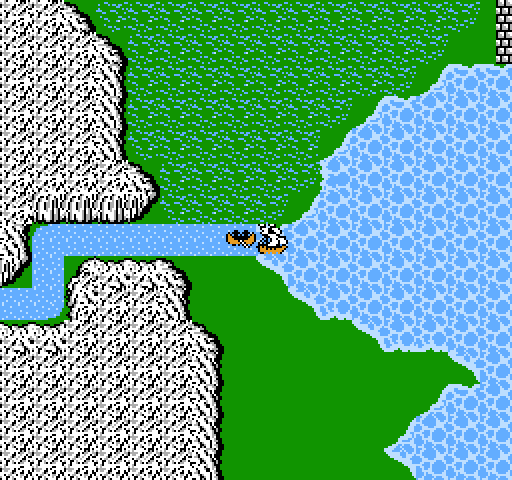
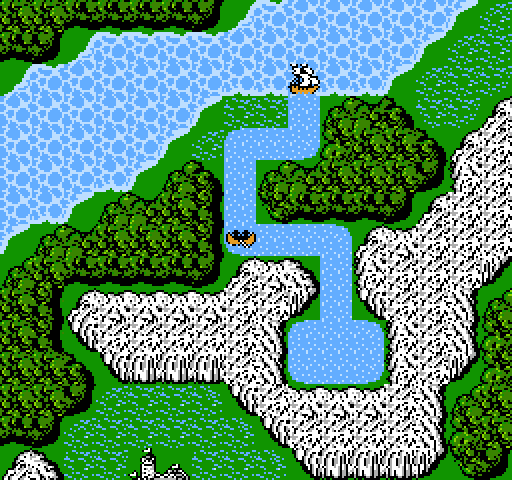
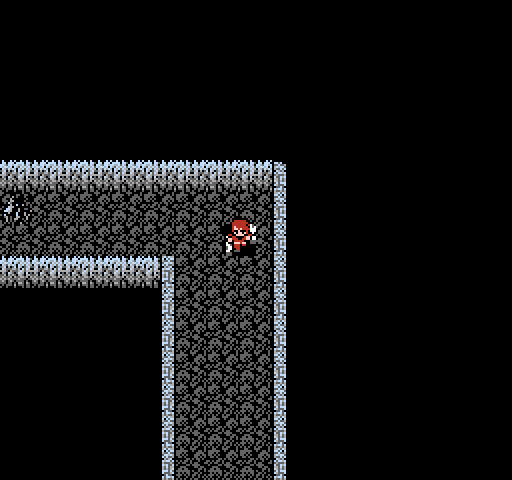
After a quick refill, it's time to head to the Ice Cave. The way to this place is a bit complicated, first requiring you to anchor your ship at a river mouth and sail through a maze of waterways to find the cave. This is actually located just south of the Peninsula of Power.
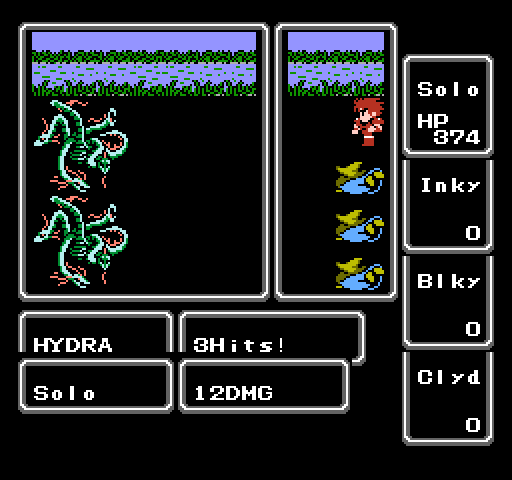
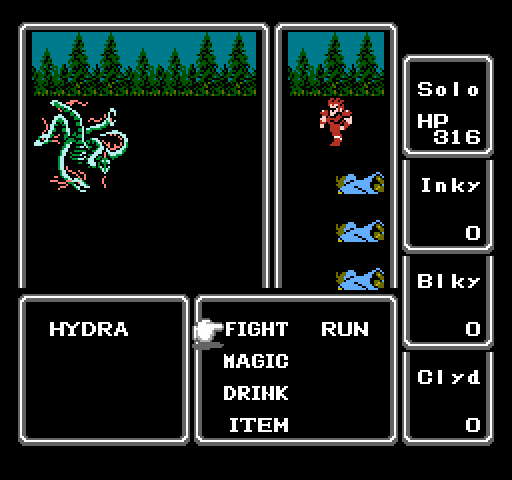
This is an example of the river type of enemies. Hydra have good amounts of HP and attack, but not much else to recommend them. This is pretty much the story for river enemies except the Ocho and NaOcho.
And here at the end is the frozen hell that is the Ice Cave. This is the worst dungeon in the game for a solo character, and especially for a fighter.
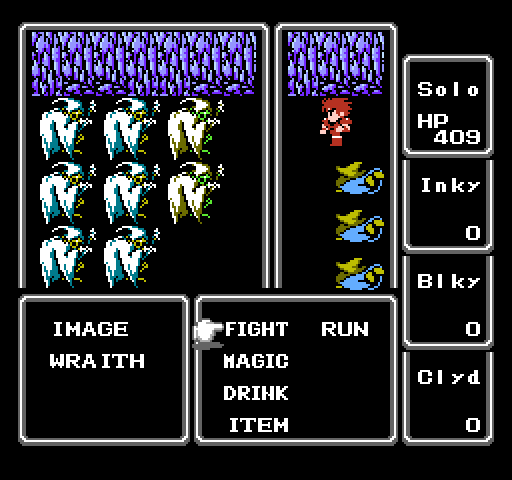
Groups like this are a good example of why. We've covered both of these enemies before, but now they're together and there are eight.
The second floor is in some ways worse. I always count myself lucky if I make it through here without a single encounter.
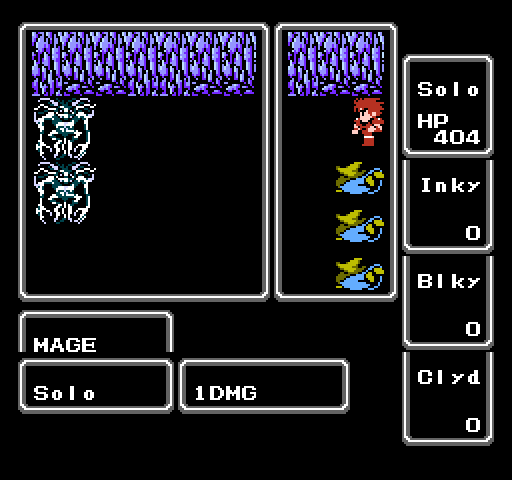
These guys are pretty much a recoloring of Astos, and like him have the RUB spell. In addition they have level 5 and 6 damaging magic they can throw at you.
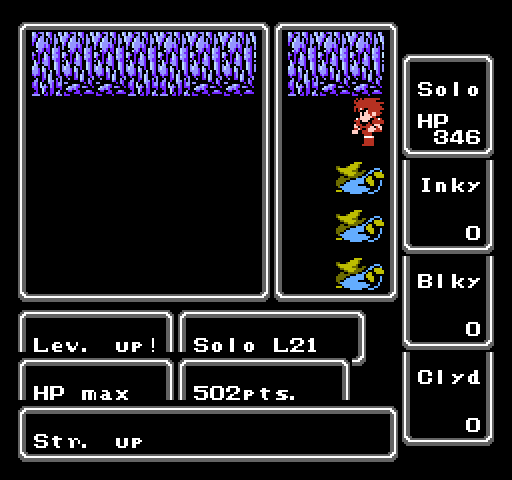
I saw this level up a good half dozen times or more going through this cave. I said I wasn't going to use save states on this, but this cave broke me of it.
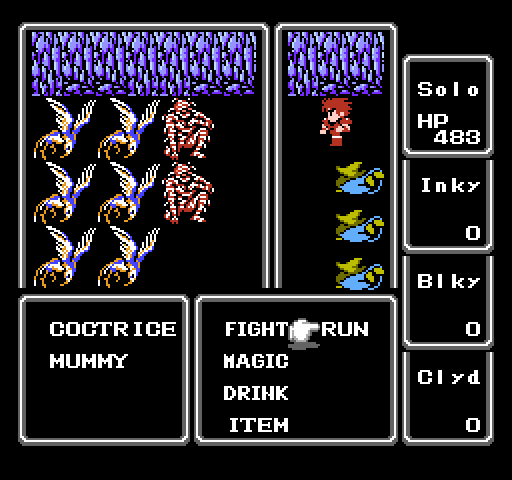
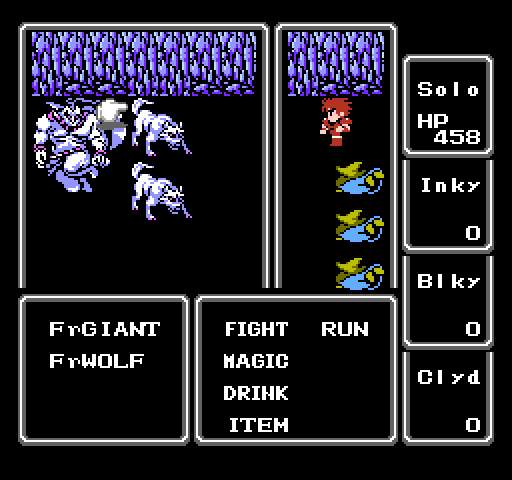
For even more fun, these guys are in the ice cave. It's almost a certainty that you'll run into these guys at least once on the 4th floor and throughout the rest of the cave.
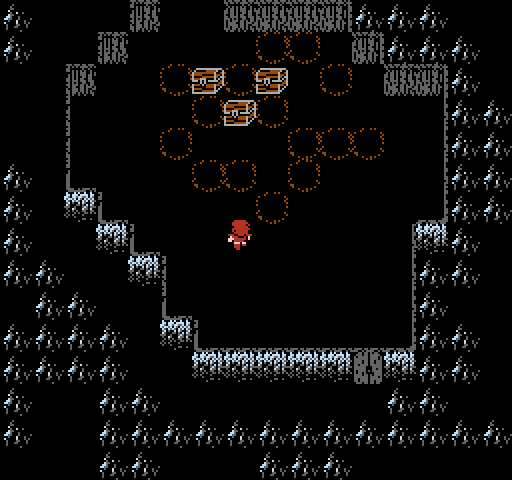
All the circles in this room are holes that you can fall through to the next floor. Obviously there's a treasure chest we can't reach here, but the other two are pretty much pointless at this time. The one on the left has a flame sword, which is weaker than the ice sword. The one on the right has a lousy cloth armor. You've got to be kidding me.
Any one of the circles dumps you into a room that's big enough for your party, a square with an enemy encounter, and a door.
These encounters are nightmarish. Each one is a bit different when you step on that square, but it's going to be lots of undead, most of which can paralyze you. It's very easy to spend entire turns waiting for a chance to hit one enemy and hoping that your HP can hold out long enough.
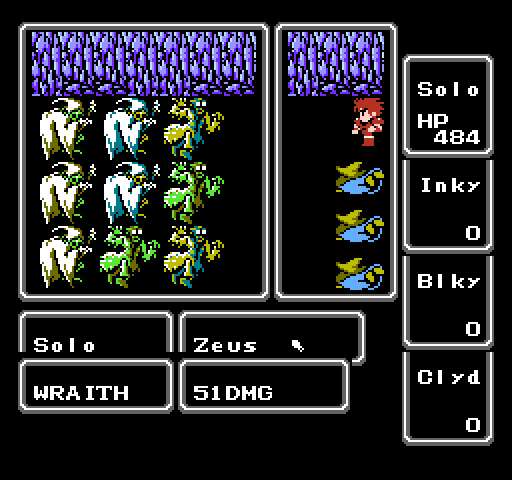
Instead, it's time to pull out the treasure I carefully didn't mention earlier from the Castle of Ordeals. The Zeus gauntlets can be used in battle to cast LIT 2. The fighter may not be able to equip them, but he can certainly use them for crowd control. This allows us to knock out a few of the undead with the first blast and then get most of the rest with another use. In many cases items like this are much easier than chopping through enemies one at a time. It's still risky, though.
This is a simple encounter from within the cave that's probably more dangerous than the one I just dealt with. The paler enemies have a powerful attack that can do around 50 damage to me. Considering that there's six of them and that they can paralyze as well, this encounter right here could end Solo in less than two full turns.
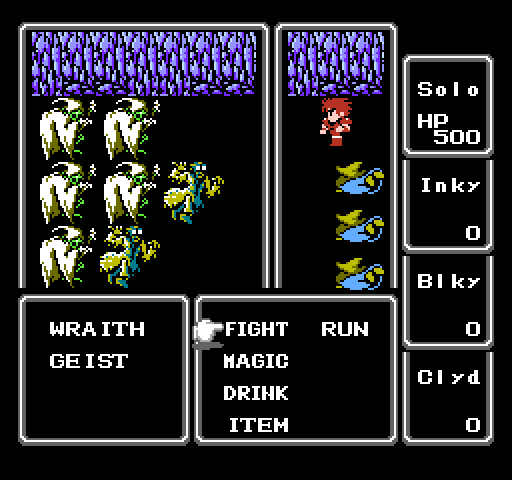
This is one of the few frost themed enemy groups we've actually seen thus far. The frost wolves are somewhat dangerous because of their ability to use their breath attack and do upwards of 100 damage. Definitely more dangerous than the giant.
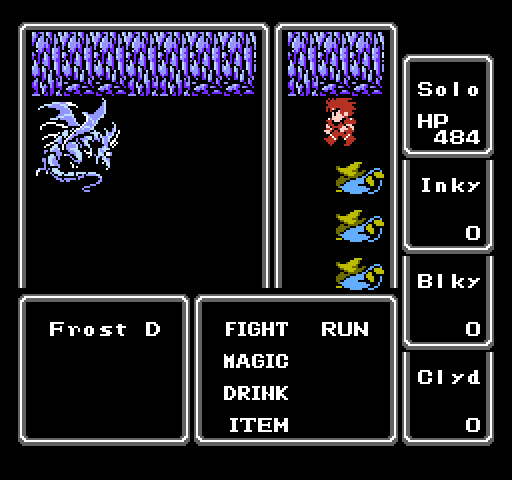
The Frost Dragon here is a chest guardian that's far from a push-over. He's got around 200 HP, good defense, and an even nastier breath weapon than the Frost Wolf.
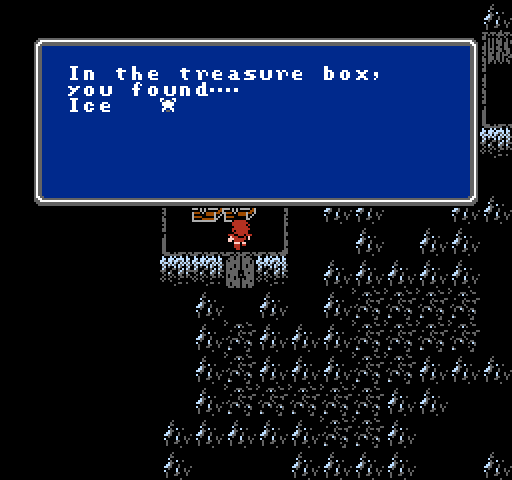
In that grandest of RPG traditions the item he's protecting is something that would have been REALLY handy about 30 seconds ago. The Ice Armor provides just as much defense as the steel armor that would have cost us 45,000 gold, is far lighter, and offers ice resistance. While weapons are bugged, armor resistances work just as they should. The other chest is pointless, and if you go for it you get to fight the Frost Dragon again. It's possible for this tile to spawn two Frost Dragons, which could spell death for normal parties. As a note, my wife points out that it's more than a bit odd that someone took the time to put a set of doors into an otherwise natural cavern. Who does these things?
The treasure in this cave is really incredible as far as money is concerned. I left 40,000 worth of chests completely untouched in here because I wasn't hanging around to get them and didn't need the money anyway.
Off to the side of that treasure chest is a hole in the ground that drops you near the chest from the earlier room full of pits. This allows you to go after that chest which is guarded by this guy. He's got a host of nasty spells that can kill you, freeze you in place, or turn you to stone. However, with only 162 HP he's pitifully weak. A ProRing can neuter him, allowing the fact that he's worth 3,000 XP to be exploited for easy leveling. I'm only fighting him once.
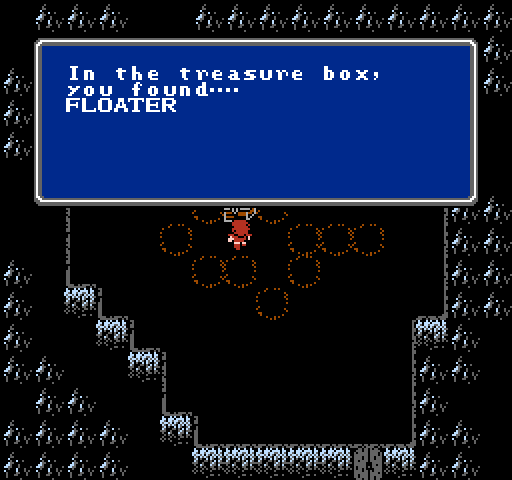
Our reward is the FLOATER, which is some form of Unobtanium that..well...floats. It's essentially what they were fighting about in Avatar.
To leave the room, we have to fall into another one of the pits and start over in front of the guaranteed undead encounter. This one was a bit kinder than the first one, and is dealt with the same way. Most undead enemies are weak to fire, but aren't resistant to lightning so the Zeus gauntlet does decent enough damage.
After dealing with the undead, it's time to scramble out of the cave. Between the above encounter and the exit it's still possible to run into Sorcerers, Mages, Coctrices, and the huge groups of undead. After escaping we head back south of Melmond, park at the river, and go into the oddly placed desert in this little alcove of mountains.
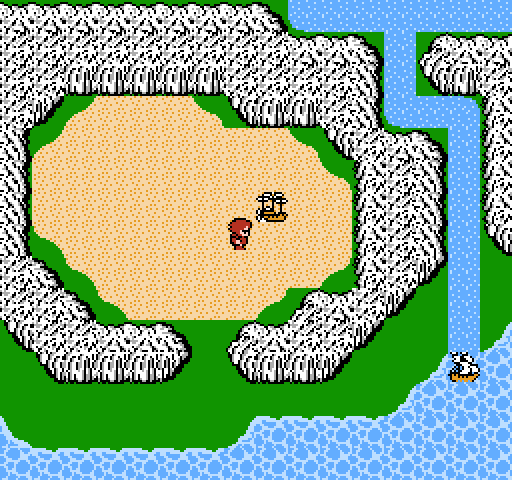
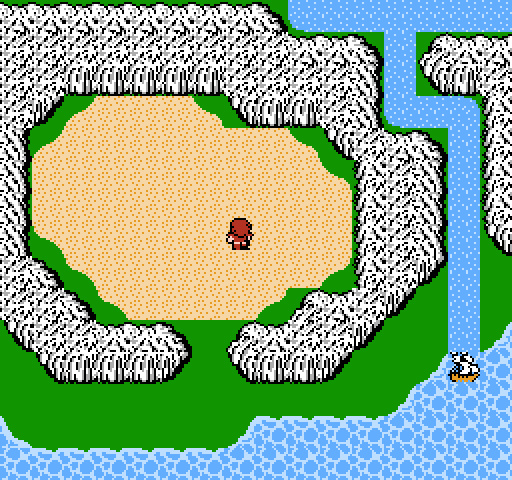
Ta-da! Airship. We've now got unlimited mobility and no reason to waste hundreds of gold in the most expensive inns. The cheapest inn in the game is now 30 seconds away at all times. This opens up the northern half of the world map, which is mostly composed of wilderness full of monsters. Now that we have this, however, it's time to do something about that TAIL.
Within the caves that the Dragons of Cardiff live in is an interesting contradiction. The dragons preach about how they want to live with humans in peace, but their caves are carpeted in human skulls. Somehow I think that they're being a bit two-faced.

While going from cave to cave I get into a fight and gain my last level as a lowly fighter. Only 2 level ups this update, which is a bit on the low side. No worries, it'll speed up soon.
Once again, I'm seriously thinking that something that any cat could bring you should not qualify as proof of someone's strength. I'm just saying here.
And here's our new Knight and three dead Black Wizards. Let's not ask any questions about why Bahamut transformed three level 1 dead guys into an upgraded class.
Next time: Still not the volcano.