Part 6: Forging the Sword
Chapter 6: Forging the Sword
Alright everybody, hold on to your butts because we've got a long one today.

The first place we're heading after class change is to the Caravan, which is parked at an oasis. If you don't want to walk all the way through the desert to find it, you can just land your airship on top and then walk in. When you finish your business, you'll be standing right on top of the airship and can just fly off. I can only imagine the effect of all those propellers on their tents. Why do I say tents?
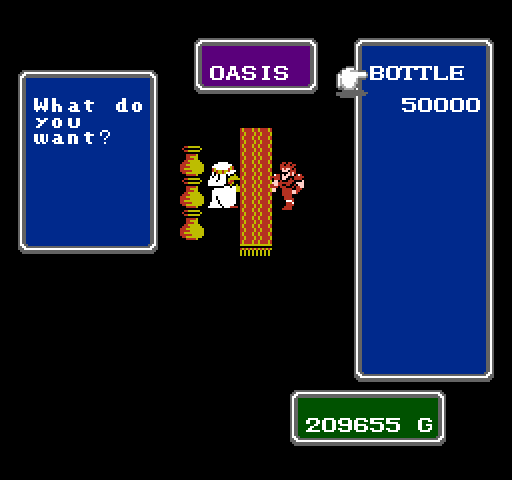
Because the Caravan is run by Ahab the Arab, who is apparently the only desert nomad in the entire world. He sells one thing and only one thing: mysterious, expensive bottles that if you haven't been talking to people you have no idea why you'd need. It's kind of an interesting gameplay decision. If you've been spending your money as soon as you get it, you might have to stop and grind for cash before you can continue. As you can see, we've got no such problems.
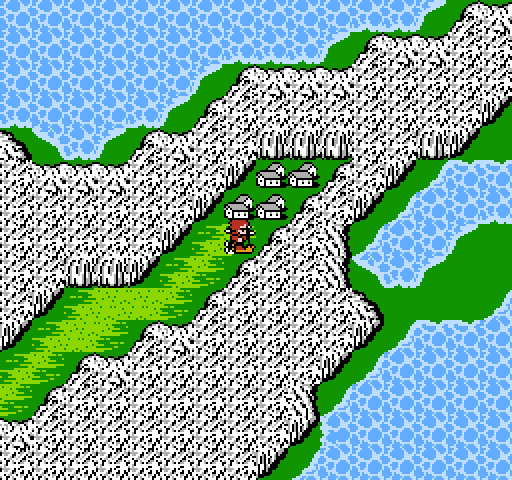
The next step in our journey is the isolated village of Gaia. It has nothing we need in the shops, and the question of a town that can apparently only be reached by reached by airship and how these shopkeepers stay in business is never asked or answered.
I found this guy in town and had to take a shot of him. It's actually a contradiction of something I said earlier, that there was only one pirate walking around. Of course, he's a worse pirate than Bikke since he doesn't even have a boat. A pirate cosplayer?

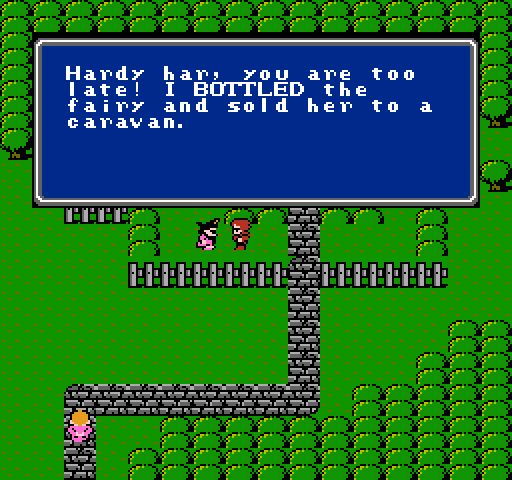
Unlike in Zelda, releasing a fairy from a bottle results in Oxyale instead of hearts being refilled. This allows us to breath under water, which is necessary for the Temple of Water.
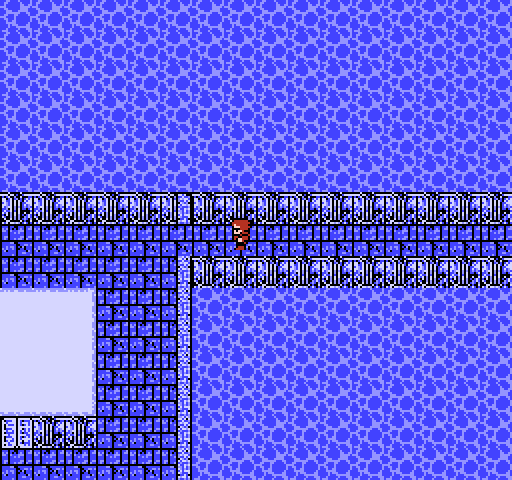
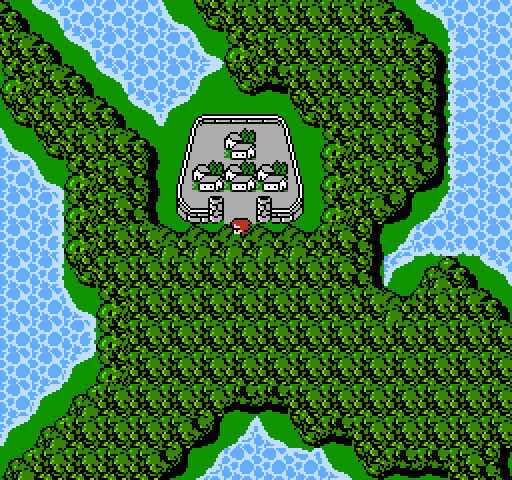
The Temple of Water is located next to Onrac, which can only be reached by parking in this vicinity and sailing up river on your canoe.
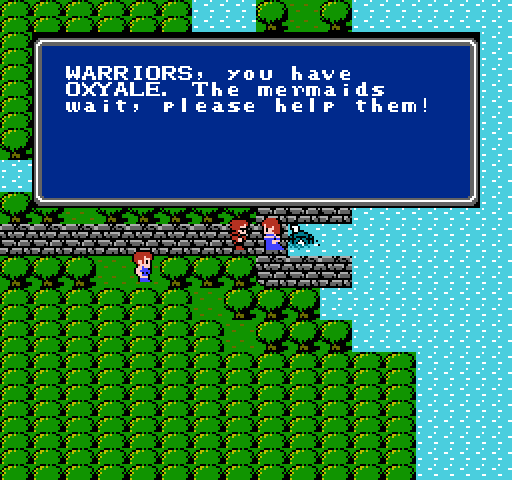
This lady has been waiting for us for some time, and lets us pass as soon as we have the Oxyale. If you don't have it she says something different and continues to block your path to the barrel/submarine. I can only imagine how terrifying that trip is...and as a scuba diver I now find myself wondering how deep underwater this water temple is.
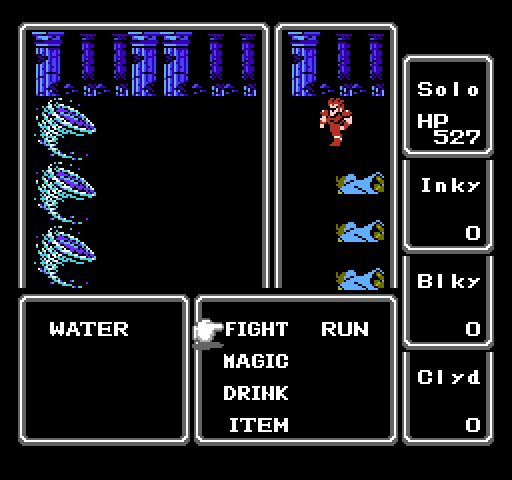
Underwater groups like this combined with the Zeus Gauntlet offer easy experience fodder. This encounter is worth a couple thousand experience and is completely effortless.
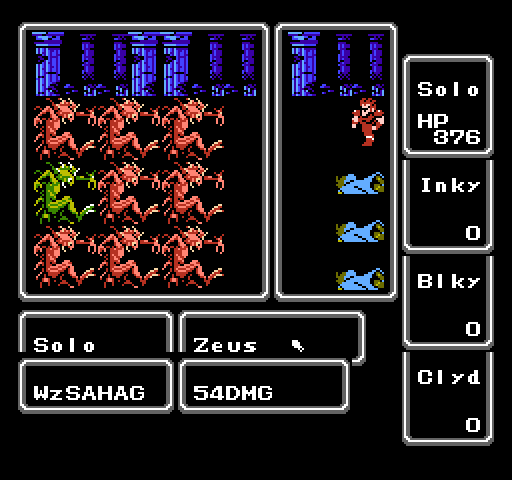
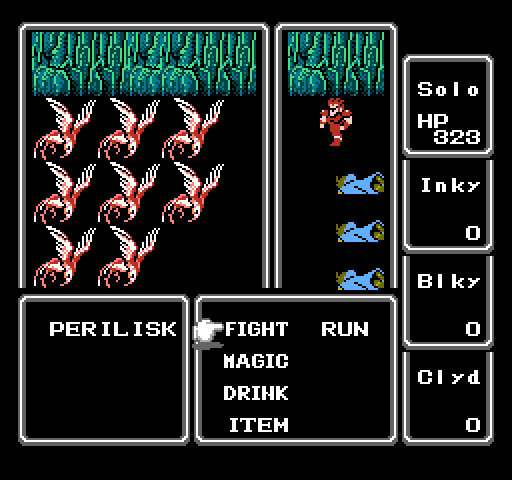
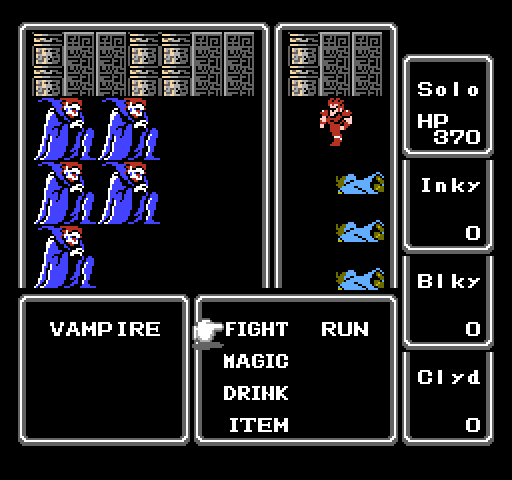
These guys, on the other hand, are currently very dangerous. They have a more powerful attack than just about anything we've seen so far and lots of HP. On the plus side they have no other abilities than their regular attack. Even better each one is worth 1900 experience. This group right here is worth nearly 6,000 XP.
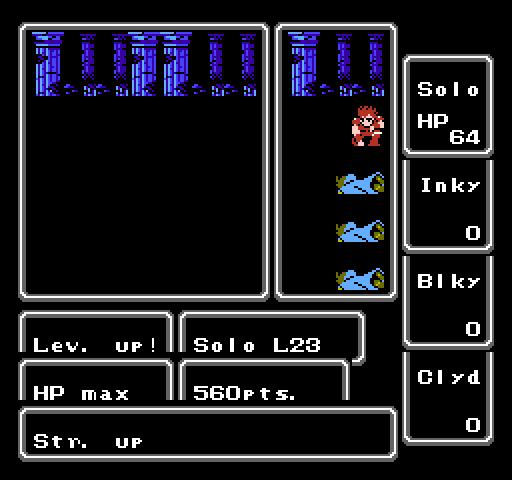
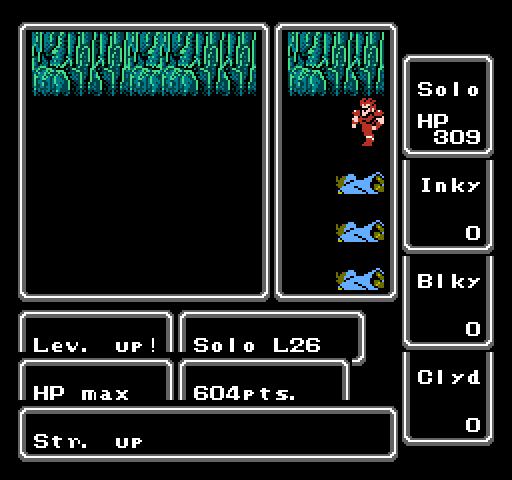
This leads to our first level up of the update. You can see how badly just those three beat Solo up.
The light axe is an unremarkable weapon, but can be used in battle to cast the HRM2 spell. For Solo it'll soon be superseded, but an interesting note is that the coding which differentiates undead enemies from everything else so that HARM and its derivatives does double duty as the code for the PCs. If any of the enemies in the came could cast HARM it would damage the characters. So...technically I guess you could say that the heroes are zombies?
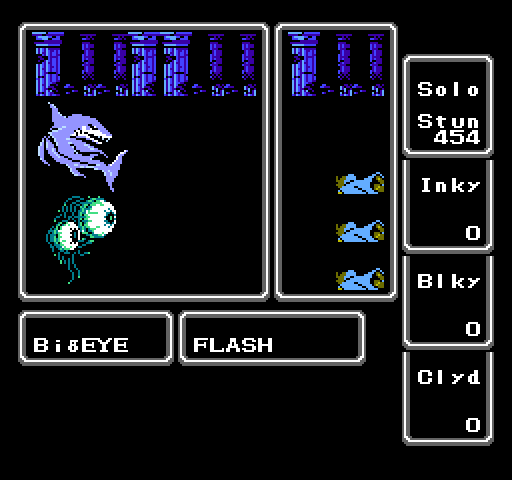
Another not terribly dangerous enemy is the Big Eye, which has the potential to stun you. They can also attack and thus aren't as annoying as OddEyes, which do nothing but try to paralyze you.
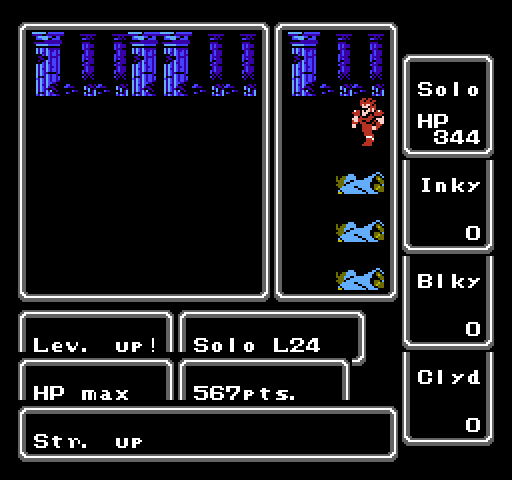
That's not to say that they won't cause damage, but it's survivable. Killing them gets another level. At this point in the game it takes about 20,000 XP to gain a level and fights like this are worth around 5,000 XP.
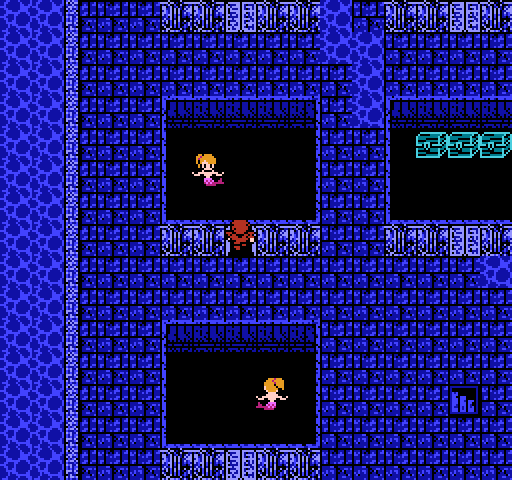
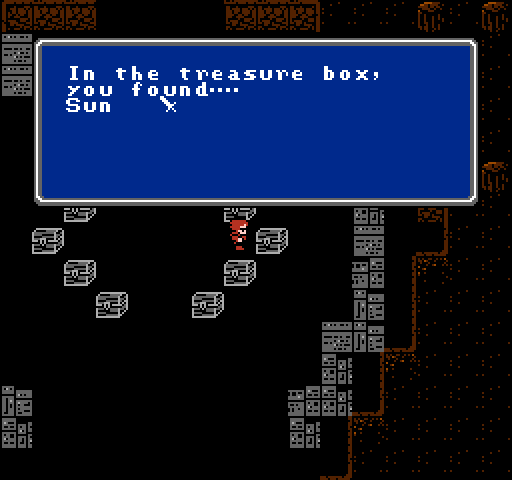
The aforementioned mermaids swim around in little rooms and talk about how they're all going to die soon. Useless gits. This place is full of treasure, including large amounts of gold and opal equipment. This protects against lightning, but practically no enemies in the game actually use lightning attacks on you. It is, however, usually very strong defensively.
A secret chamber is located by following a long corridor until it wraps around. So is it supposed to be..slightly curved? Or is the top floor a small planet on its own?


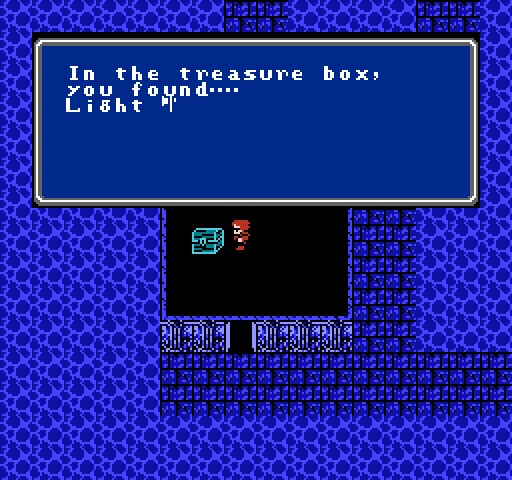
The important treasure here is the SLAB, which is a reference to the Rosetta Stone. The real Rosetta Stone was useful because it had 3 languages on it, but I have no idea how this one is useful.
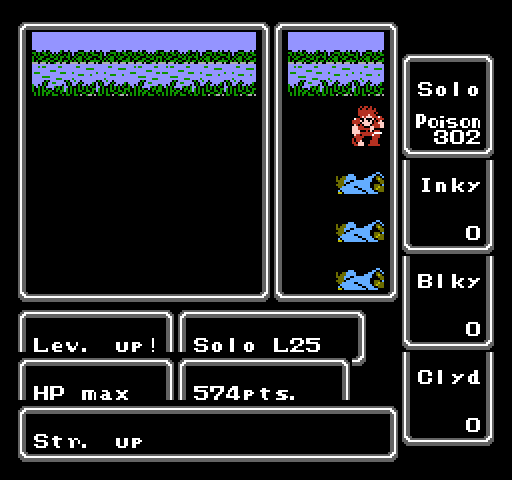
This is all we're here for at the moment. On the way out we get another level.
While curing Solo's poison I noted that he's gained the ability to cast spells. Knights have a very limited spell list of white magic, and after class change gain spell levels about every other level. This means that if you wait a long time to get yourself a class change, it's quite possible to screw yourself. In reality the spells are pretty useless, but a bit of extra healing can't hurt.
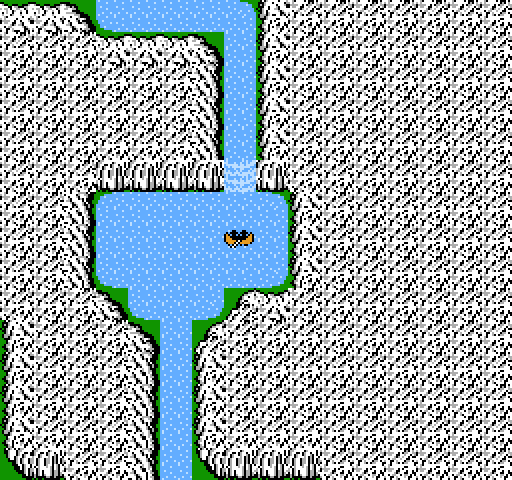
North of Onrac is the waterfall, which has a cave hidden behind it. One interesting note about the waterfall is that if you step in and then step out, you can utilize a cabin, house, or tent while being on that tile. I'm suddenly wondering if you can use a tent on a regular river square. I'll have to test that out.
Inside we run across these guys, who have an instant death ability. It's not actually that bad since they're very weak and their ability is blockable.
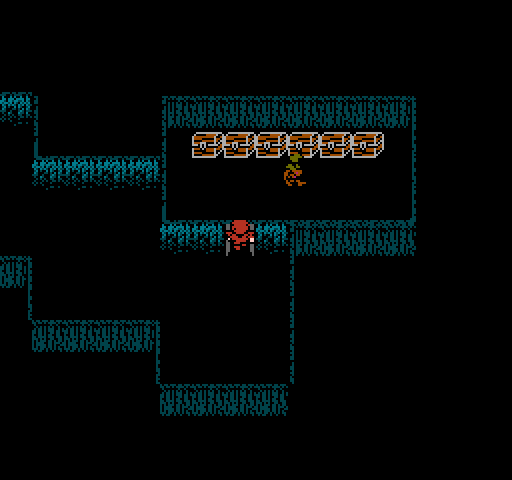
At the end of the cave is this room, which has a number of interesting items and a fixed encounter right inside the door.
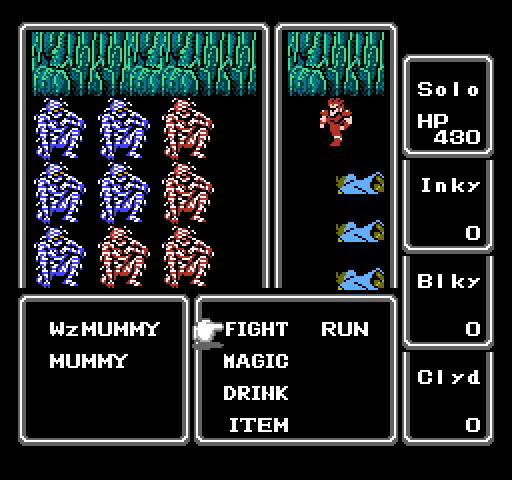
Mummies and more mummies. This is a prime grinding spot for white mage focused groups and other groups who have access to multi-target harm and fire spells.
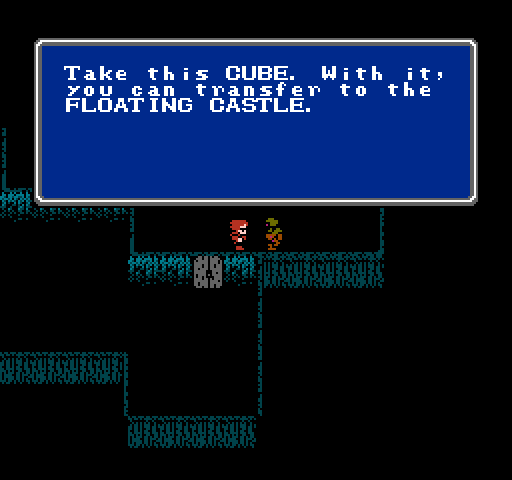
The CUBE is the gate key for the second half of the Air Orb dungeon, which makes more sense if you've actually been there and have found out that you can't go up.
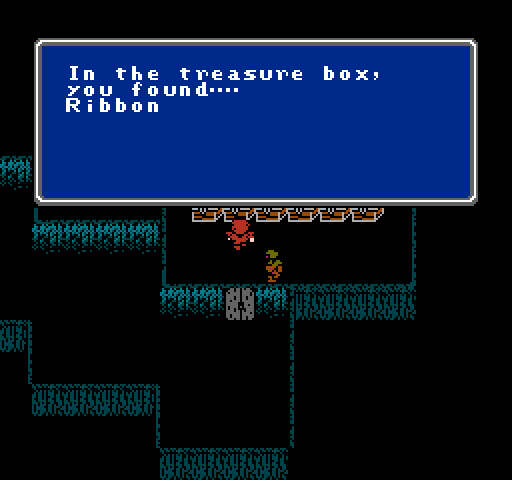
One of the chests has a Ribbon, which is one of the best items in the game. Unlike in other games the Ribbon doesn't protect against statuses, it protects against elements. All of them, including Death, Stone, and Time. This means that if you have a Ribbon on you don't need a ProRing for protection against instant death spells. You might still want one for the fact that it's a set of gauntlets with a defense of 8, but it's useless for any other purposes.
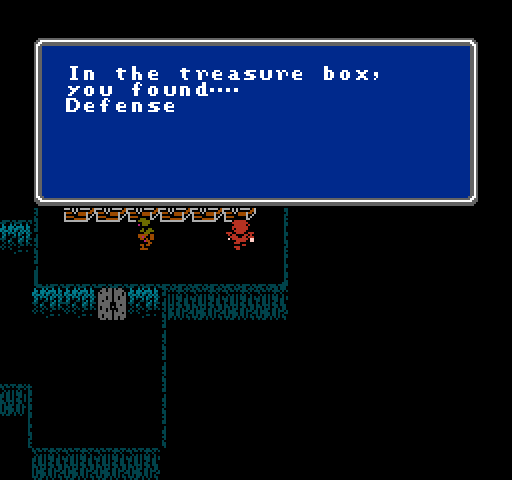
This area also has the Defense, which is about the 5th most powerful weapon and absolute magic for solo runs. When used in battle it casts RUSE, which raises your evasion. This wouldn't be terribly gamebreaking if it weren't for a bug in the way the game calculates the chance to hit for each attack caps the chance to hit before evasion is subtracted at a certain value. The net result is that anything higher than 77% hit is useless as far as whether or not you hit. RUSE, and the INVS spells stack, so enough casts of them will make it impossible for enemies to hit you except on a critical. 2 casts of RUSE is enough, but it should take about 4 casts of INVS.
On the way out I get another level up and pick up the Mage Staff. This casts FIR2 in battle, and replaces the Light Axe since it can also be used against ice enemies.
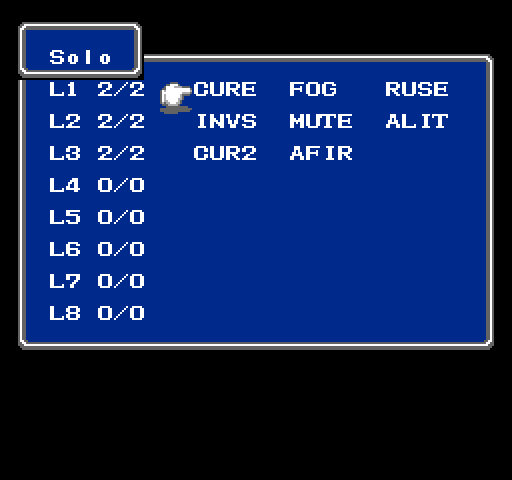
Moving back south it's time to get the SLAB translated. On the way I stop to get some magic for Solo. Knights can't learn HARM, and LAMP is utterly useless. The only spells he can learn from level 3 are CUR2 and AFIR, the latter of which is useless with the elemental protection of the Ribbon.
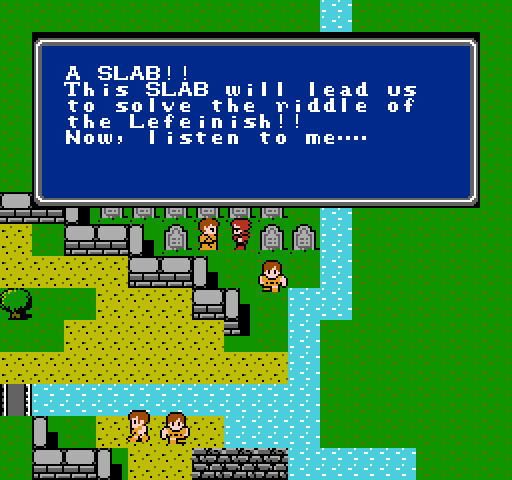
Back in Melmond Dr. Unne translates the SLAB and teaches us the lost language of Lefeinish in the space of a few minutes. I'm guessing that a part of the SLAB was a pronunciation guide that was somehow decipherable?
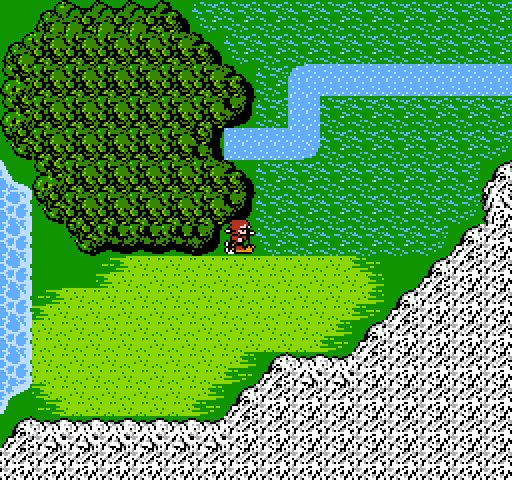
The village of Lefein, speakin of, can only be reached by parking the airship here and slogging all the way through the forest. It's a bit of an annoyance that when you get the airship everywhere you go you still have to walk long distances to get to anywhere important. There's barely a point in giving it to us, really.
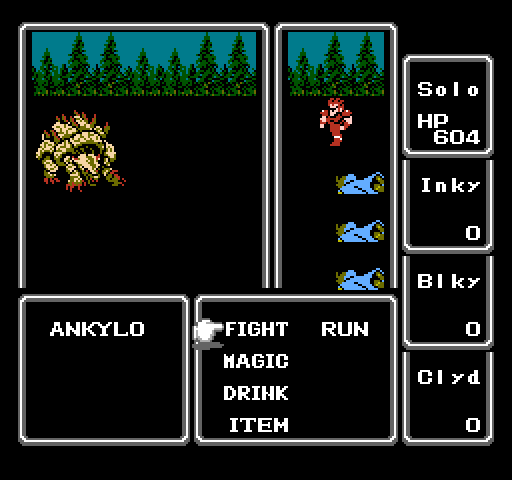
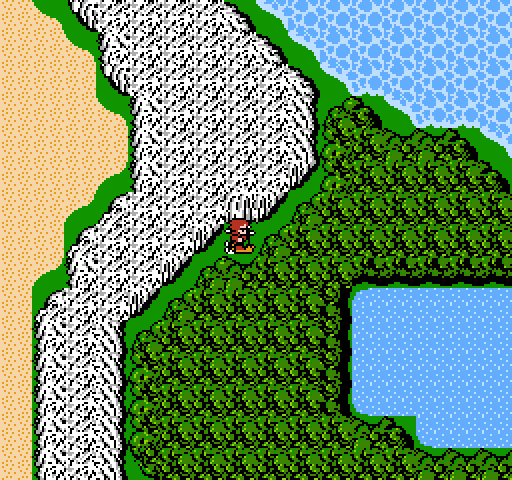
On the way through I run into a forest dwelling ankylosaur? These things have an attack that's only 2 points below that of the final boss and can wreck your shit in a hurry. Evidently they were meant to be Bulettes, which for those of you who don't speak D&Dish is a type of landshark.
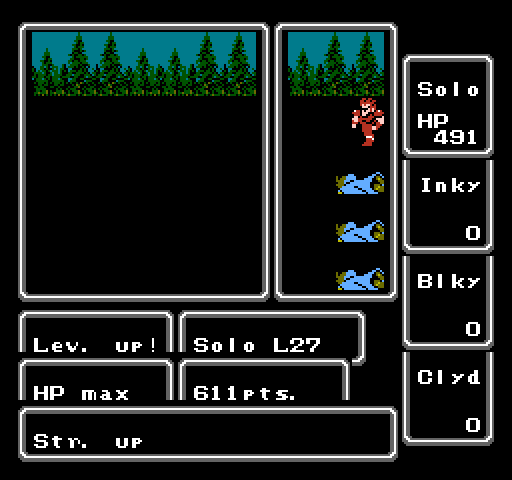
I get a level up while I'm here. I spent a few minutes wandering around by the lake in the above screen shot looking for a rare enemy encounter. Unfortunately, I forgot that in this version they're found somewhere else. Oops.
The scenic village of Lefein is surrounded by forests that are filled with giants, zombulls, tyros, and frost wolves. Not exactly a summer vacation home. If that list of enemies sound vaguely familiar, this is just north of the Peninsula of Power.
This is the only reason we're here. The only other thing around here is a level 8 magic shop that is useless for us. If you don't have the SLAB translated the people of Lefein speak gibberish at us.

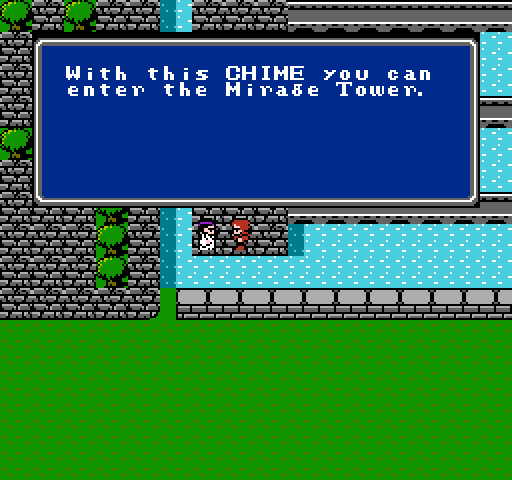
So, to the Mirage Tower. The parking spot for this dungeon is right on the other side of the mountains from the forest around Lefein.
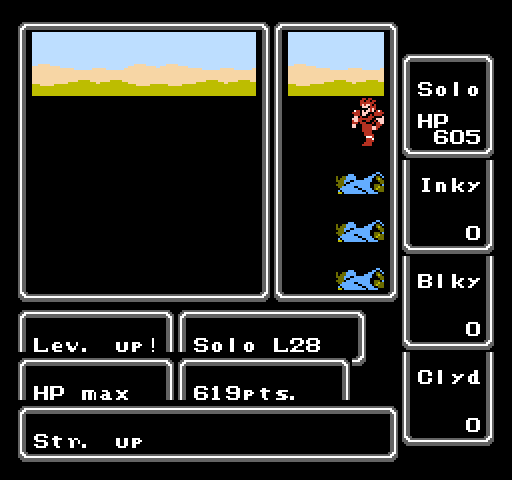
On the way there, another level up. At this point the experience chart has capped out at the maximum value possible in the game. Every level from this point is going to require 32799 or 32800 experience.
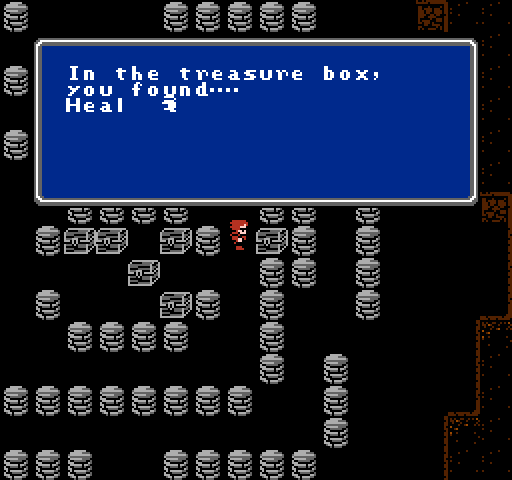
Inside the cave is a metric ton of treasure, much of which is actually pretty valuable. The heal helmet casts a low level Heal spell in battle, but at some point I found a heal staff so I'm not going to be using it.
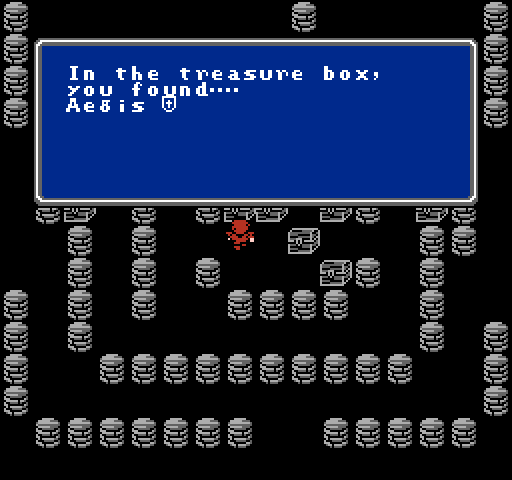
The AEGIS shield is tied for the best defense with the Opal shield, and has the added benefit of protecting from Poison/Stone attacks. A lot of the Knight only equipment has good resistances, allowing for you to build a pretty good set of resistances if you want to give Ribbons to other characters. This is pretty important since there are only 3 Ribbons in the game.
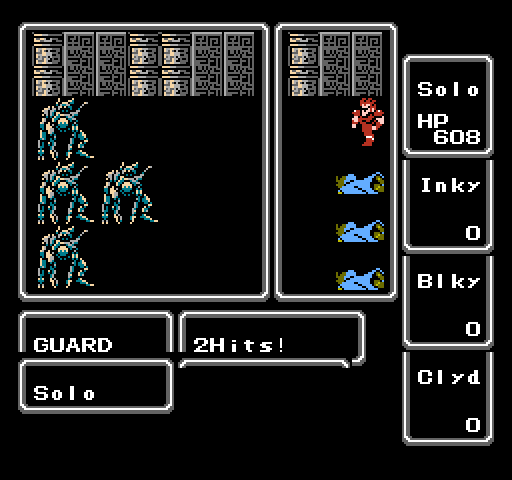
The tower is full of powerful enemies like these guys, who can do nearly 100 damage in a hit and paralyze you even with a Ribbon on. Your best chance is to either run and hope you escape or spam the Defense sword. On the plus side, this is 10,000 gold and 6,000 experience.
I don't even know what these are supposed to be, other than some kind of bizarre robot. They're pretty weak, but very, very strange.
This is the 4th most powerful sword in the game, and replaces the Defense Sword as our actual attacking weapon. The Defense Sword stays in our inventory, though.
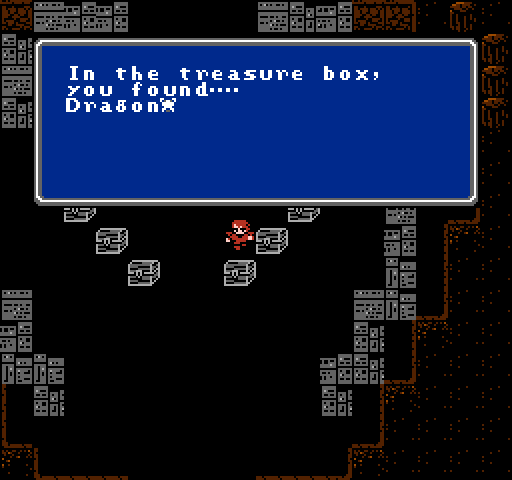
The Dragon Armor is tied with the Opal Armor for the best defense in the game and protects from Fire, Ice, and Lightning. For those keeping count, if you want to build a fighter without a Ribbon you can get protection from Ice, Fire, Lightning, Death, and Poison/Stone. This still leaves them vulnerable to Time, Status, and Earth attacks.

Another level up on the way up the tower. They just keep coming at this point, so grinding isn't really necessary.

On the third floor there's a set encounter with a blue dragon, who is one of the few enemies who use lightning to attack you. At this point with about 400 HP it's very possible for Solo to kill this enemy in one hit.
At this point you'd be stuck in the Mirage Tower if we hadn't gotten the Cube before coming here. The robot in the first shot would tell you that the Cube was necessary. It's a bit weird going from this ancient tower to a futuristic sky castle, but I think it's worth remembering that the juxtaposition of fantasy and sci-fi was one of the things that set Final Fantasy apart from other games in the time period like Dragon Warrior. You could probably trace this influence back to Jack Vance's Dying Earth stories, which had a heavy influence on Dungeons and Dragons.

Much of the treasure in here is useless to us with a solo encounter so I didn't bother screen shotting it. Another level up, as the enemies in the Sky Castle are on another tier from the ones in the Mirage Tower.

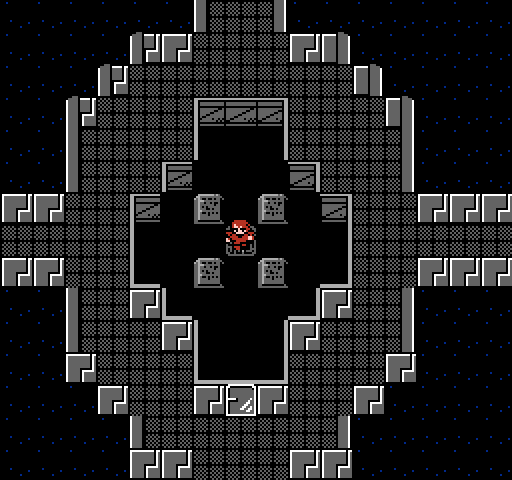
This is what we're here for, on the 2nd Floor of the Sky Castle. Once we've got it, it's time to leave.
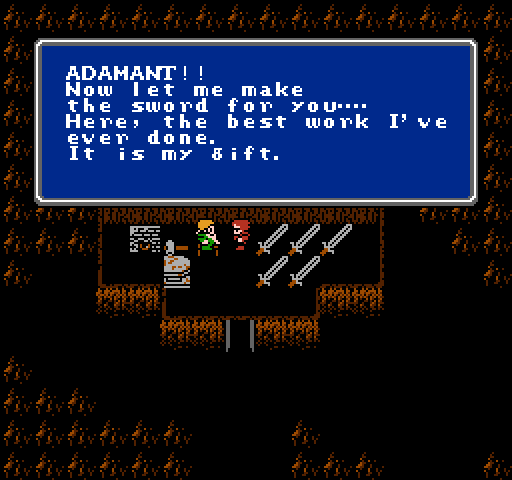
We take the ADAMANT to the smith in the Dwarf Cave, which results in Excalibur. The game shortens it to Xcalber, as you can see here.
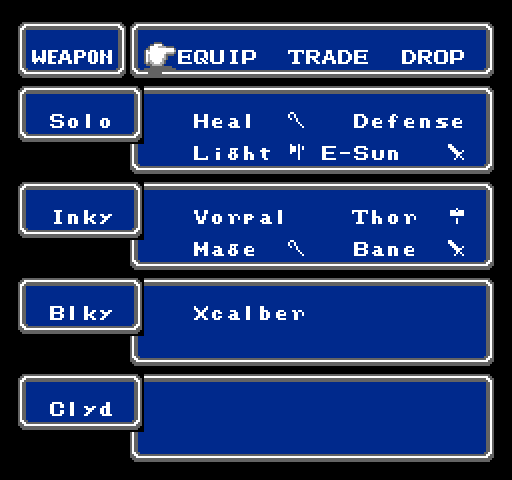
This is the sum of my loot from the last two dungeons. Xcalber is the second most powerful weapon in the game, and can only be used by a Knight. It's worth all the trouble to get it.
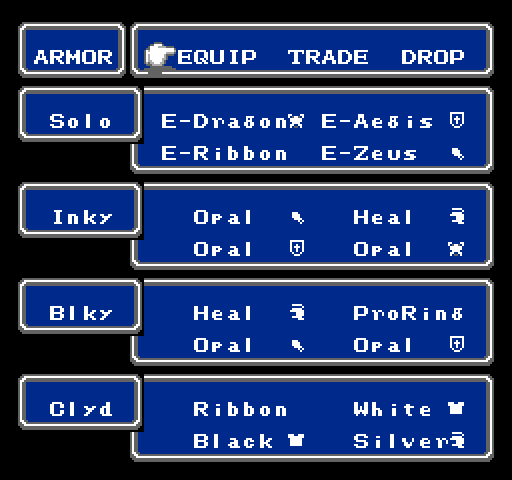
More loot than I know what to do with. Well, that's a figure of speech. It's all getting sold. Of note are the Black and White shirts, which can be used to cast ICE2 and INV2 respectively. They've got as much defense as a Gold Bracelet and protect from Ice/Time and Fire/Death. For characters who don't need all four of their armor slots, they can be pretty valuable.
Next time: The beginning of the end.