Part 7: Götterdämmerung
Chapter 7: Götterdämmerung
Tonight's episode is sponsored by

We've got the best armor in the game, the second best weapon, and all the plot coupons we're going to need. I guess it's time to get down to it.
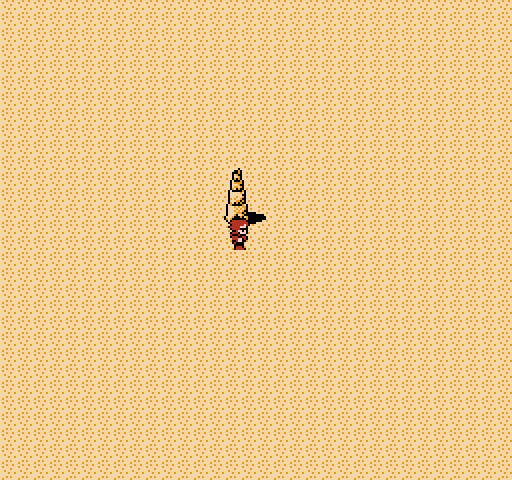
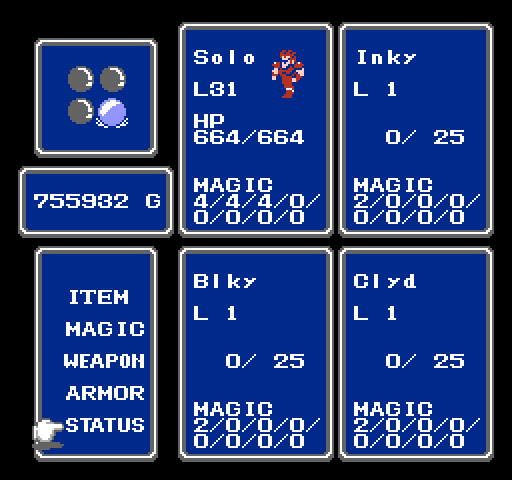
First place is the Mirage Tower and the Sky Castle. We're level 31, but that'll be plenty for what we're doing here.
The floor above the one we stopped at before is a change from the discrete hallways and rooms we saw before. It's kind of spidery and very different. It almost gives an impression that you could fall off at any moment.
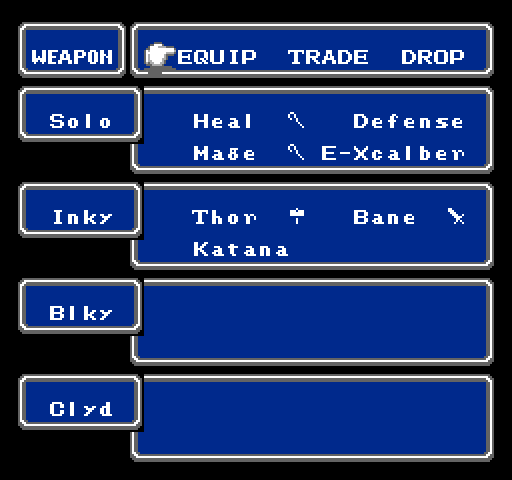
I didn't catch it, but on this floor is the Katana. It's the third most powerful weapon in the game, but it's completely unusable by Knights. This is a Ninja only weapon.
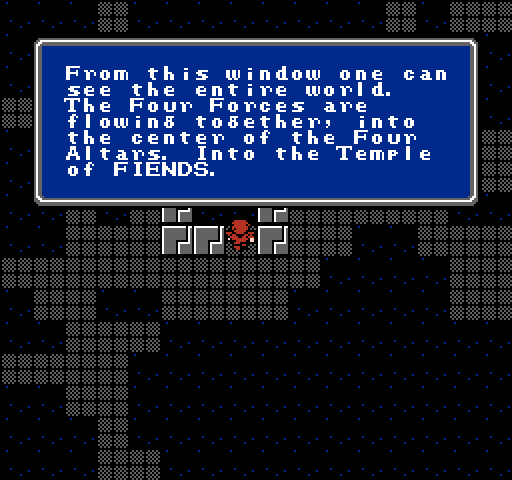
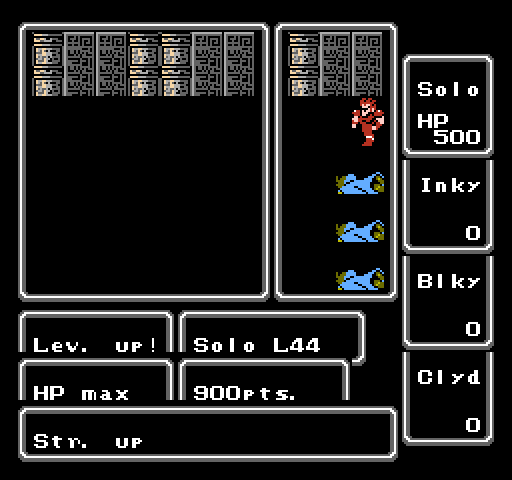
In later versions, this was changed to an actual display. It's nice that they point out the final dungeon to you here, if you think to check it.
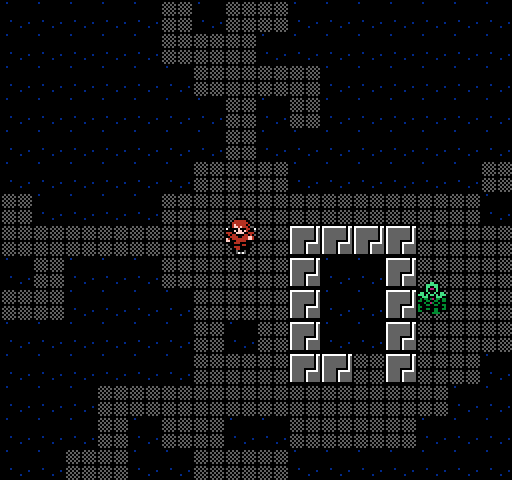
While we're up here, these two show up. The guards we've seen before, while the Sentry is something new. They've actually got a stronger attack than the final boss, but a lot less HP.
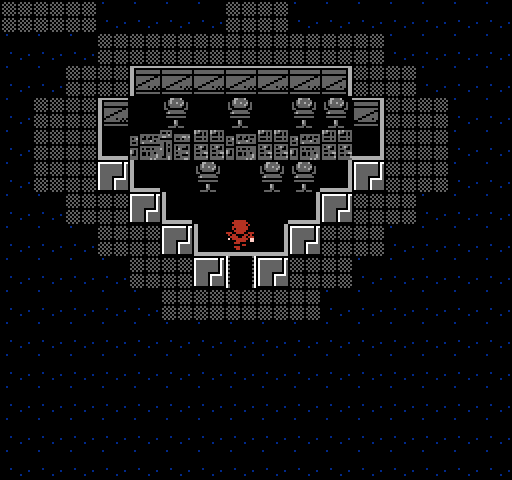
The futuristic theme continues here. I'm not sure what this is for, but it seems like it's meant to be a database or control room.
There's plenty to explore and see on this level, but the exit is actually within sight of the entrance.
This floor has an interesting gimmick. Unless you go the right direction, it loops endlessly. There's a couple of ways that will work, but I'm always fond of going left, up, left, up.
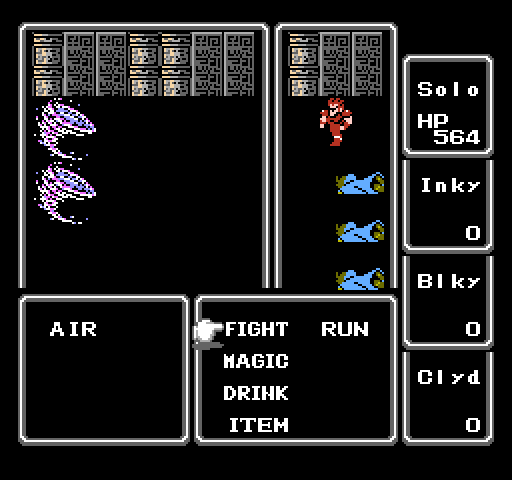
The elemental for this level is the Air, which actually seems to be weaker than the Water elemental. They make up for it by being more evasive and harder to hit solidly.

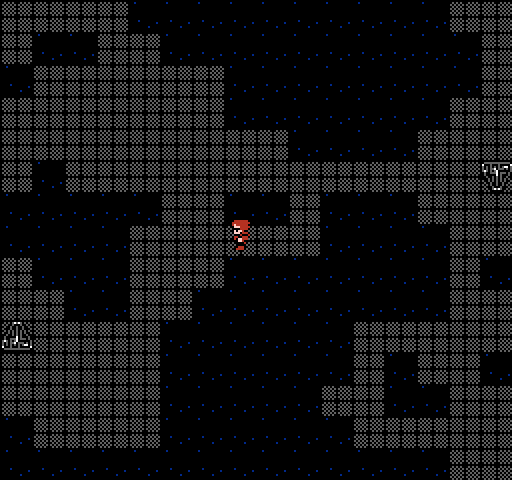
Encounters up this high can be unexpectedly deadly. This would be guaranteed death, if it weren't for the fact that sorcerers are cowards and tend to run away from even moderately high level characters.

The final floor is one of the most dangerous in the game because there's a supposedly 1/64 chance of running into the optional boss of Final Fantasy. I decided to do a save state here just in case.
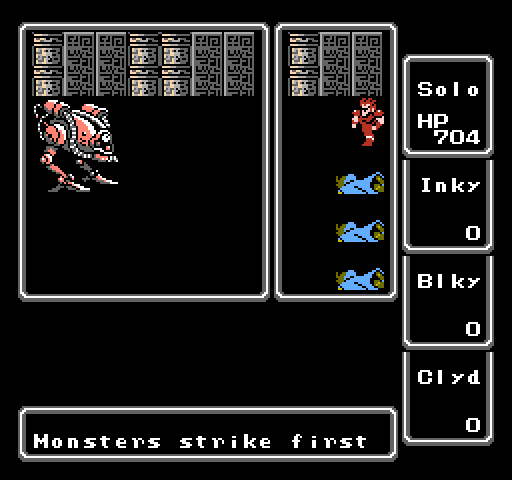
I'm immediately glad I did. At this point, there's absolutely no hope of surviving a fight with this guy with only one character. A bit of a note about the RNG for Final Fantasy here. The seed for the RNG is generated when you climb up a set of stairs, enter a room, or do something else to cause the game to load new location data. Save states don't change the seed, so any time that you save state the encounters are going to turn out the exact same way. To test this I reloaded this about four times. Each time I encountered the Warmech on the same square where he got the first strike and hit me for 179 damage. If you're going to use save states you should use them near stairs for easy resets, and if you're grinding in a dangerous place in-game save devices are better.
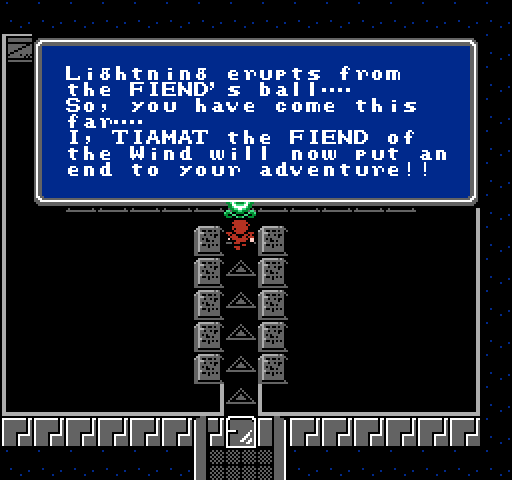
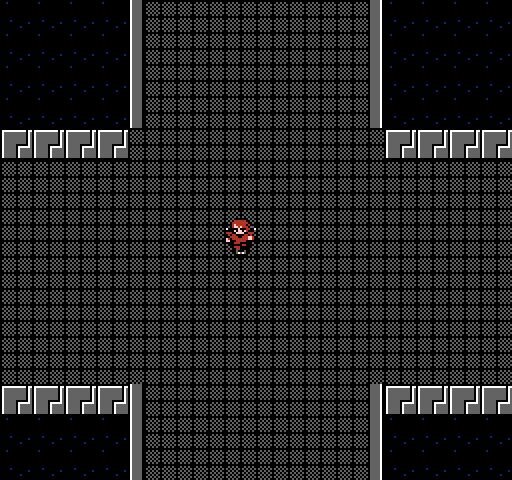
After climbing up and down stairs, I make it safely to Tiamat's room. The dialogue is nice here because it's not specifically indicating that I must have killed everybody else.

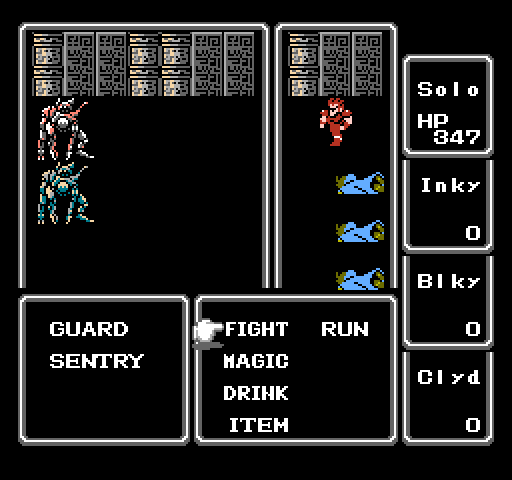
Tiamat originates as a figure in Babylonian mythology who was responsible for giving birth to the younger gods and creating the world. The multi-headed image we see here is a result of Final Fantasy shamelessly ripping off from Dungeons and Dragons. Tiamat has various elemental attacks, including most of the attacks that other dragons are able to use. At 1000 HP, she takes a little while, but she can't do much to a character with as much HP as Solo and elemental protection as he's carrying around.
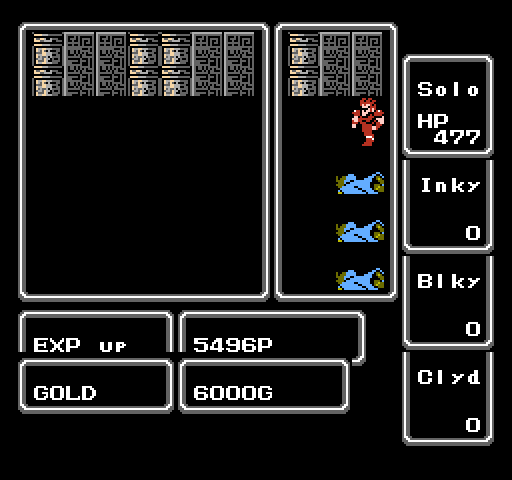
None of it helps very much. After about 4 rounds she's gone. NEXT!

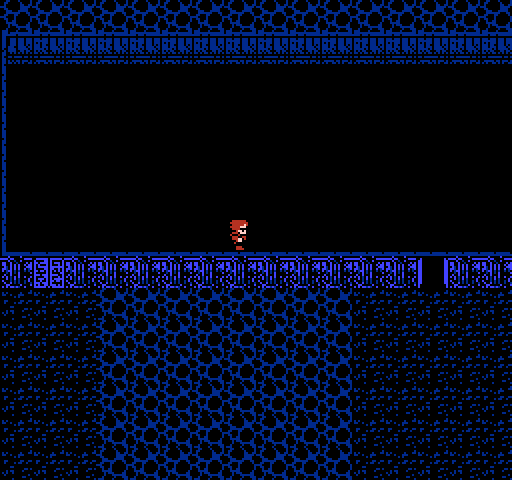
Since we've already cleared out the upper half of the Temple of Water, it's a fairly simple run down to the bottom level to take out the Fiend of Water.
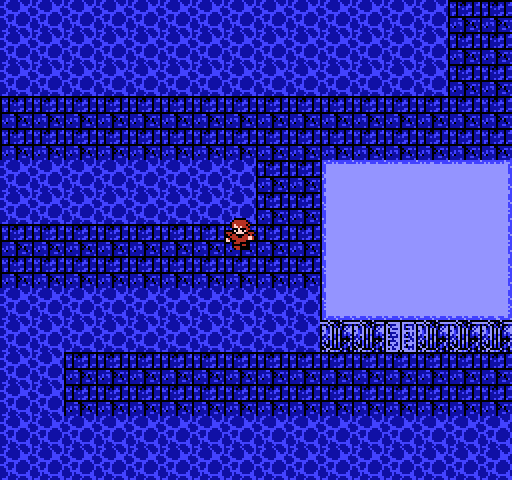
The lower floors especially are a maze of dead-end passageways and empty rooms. This is a small example of the kind of thing you can expect down there.
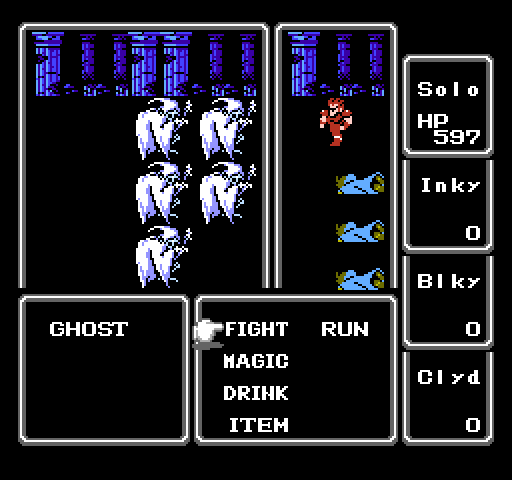
On the way down these guys make an appearance. Ghosts have an extremely powerful attack, and can paralyze you. These 5 are quite capable of ending Solo within a couple days. They've got nothing other than a physical attack, however, so they can be neutered by the Defender.
More of the bizarre architecture of the Temple of Water. You can reach either one of these doors from the stairs on this floor.
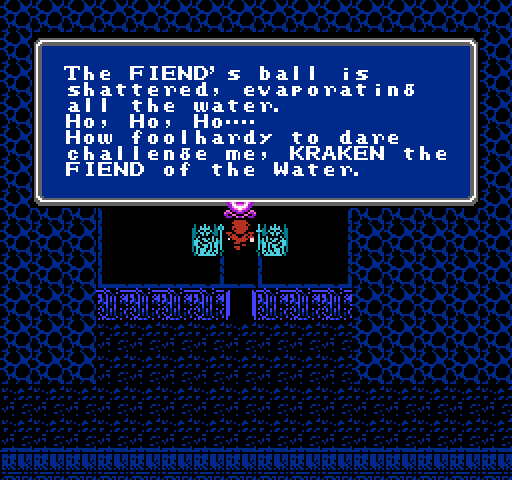
On the lowest floor of the Temple the Fiend of Water hides in a ball. It's a bit weird that the fiends of Wind and Water are still sealed up, even though information in game suggests that they teamed up to destroy civilization a few centuries ago. Did they get re-sealed, or do they just live in these balls?
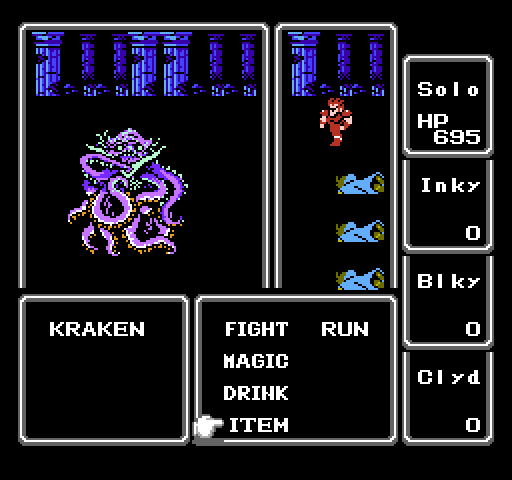
Kraken is actually very very easy. He's got two things he can do to you: a basic attack and a blinding ability. Blinding is trivial in this game, so it's also possible to neuter him with the Defender. Two uses and Kraken can't do anything to you. Next.
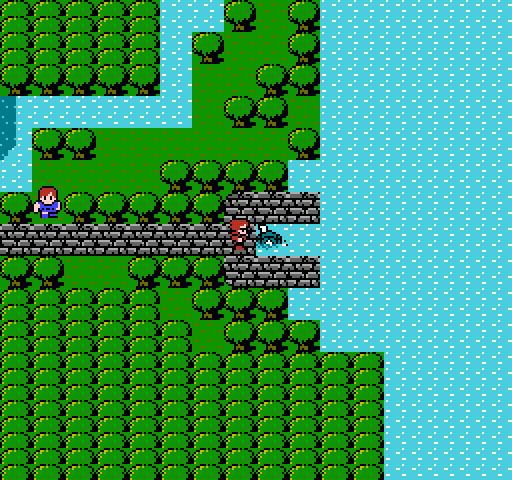
The volcano is the second of the elemental areas that you can reach, and it's very possible to complete it without a class change. I suppose I've put off that old geezer's request long enough.

The first floor of the dungeon is very bland, but the second is packed full of treasure and enemies. I don't need it, but I go ahead and clean the place out from top to bottom anyway. The Fire elementals in front of various chests offer a certain amount of easy experience.
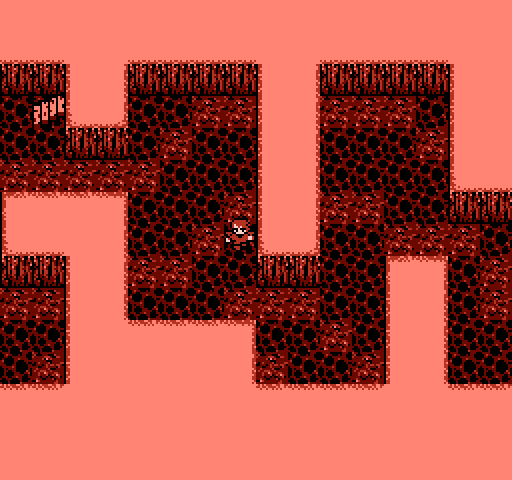
In some ways I find the design of this dungeon the most interesting. A lot of areas, like this one, have weird patterns or damaging floors that can be used to avoid enemy attacks if you want.
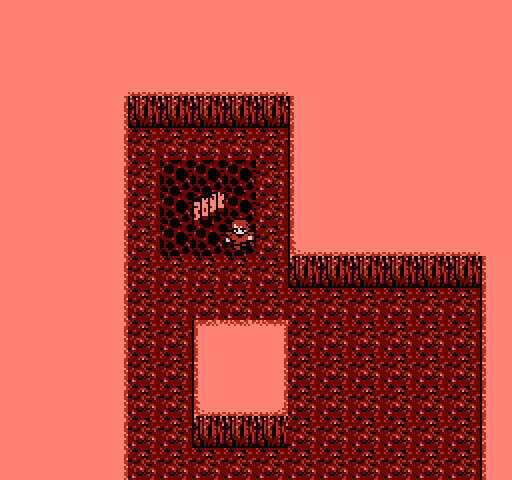
Overall, the damaging floors perform the same function of draining your resources and making you use up healing items and spells before getting to the bottom. If you're ill prepared these obstacles can force you to turn back. This floor has an interesting gimmick of having islands surrounded by lava. Enemies don't attack on damaging floors, so you can completely avoid enemy encounters on this floor by taking damage.
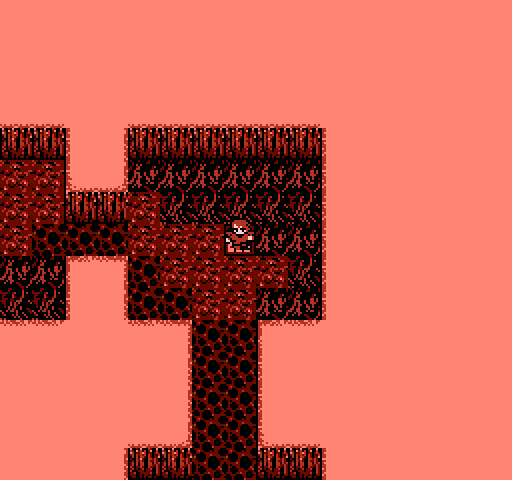
Most of these floors have no treasure or anything of interest other than enemies. You could argue that it's pointless, but at the same time it does make you have to think about how you're going to make your way through.
The second to last floor is a treasure floor, although the items on there are completely unremarkable now. There's actually an Ice Sword on this floor, which would be a definite advantage if it actually had the Ice element. Based on the gameplay design you're probably supposed to put the Ice Sword away in favor of the Flame Sword when you go to the Ice Cave and then pull it back out afterward. At any rate, this little guy is a popular enemy to grind gold and experience on as he's got no real attack and is worth 2400 XP and 1200 GP.

The final floor of the dungeon can be extremely confusing if you don't know where you're going. Of the 8 available paths, only two actually lead anywhere of interest.
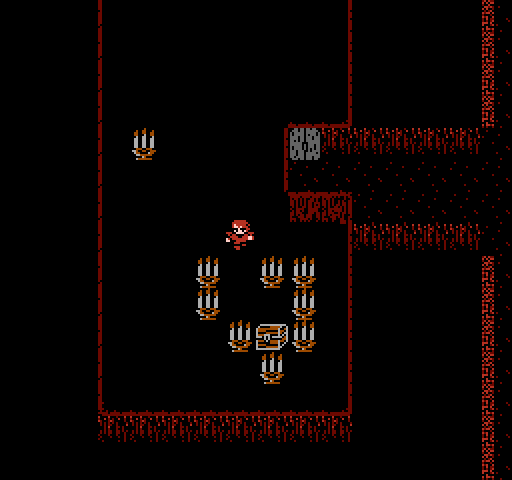
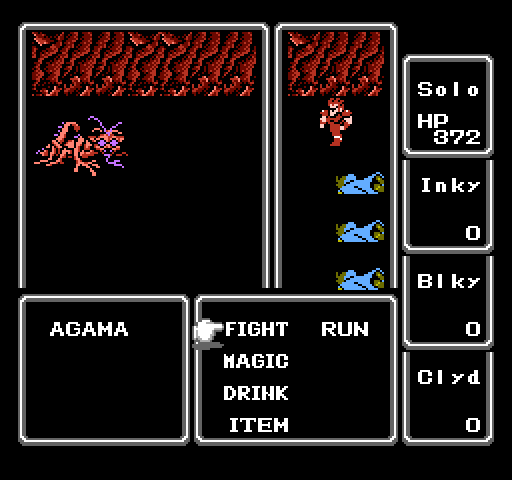
Directly to the west is this room, which has trap written all over it. There's actually an Agama right where I'm standing in the screen shot, but I already mentioned that they're not a threat.
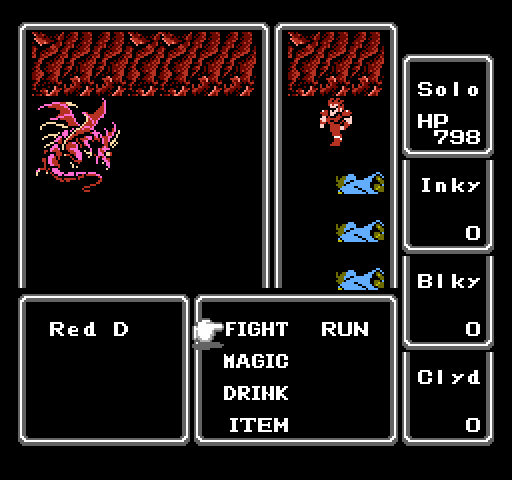
The actual guardian of the chest is this guy, pretty much the only one of his kind in the game. He's actually quite dangerous at the level you're supposed to face him at. Inside the treasure chest is the Flame Armor, which is equal in strength to the Ice Armor we found in the Ice Cave. Funny how that all works out.
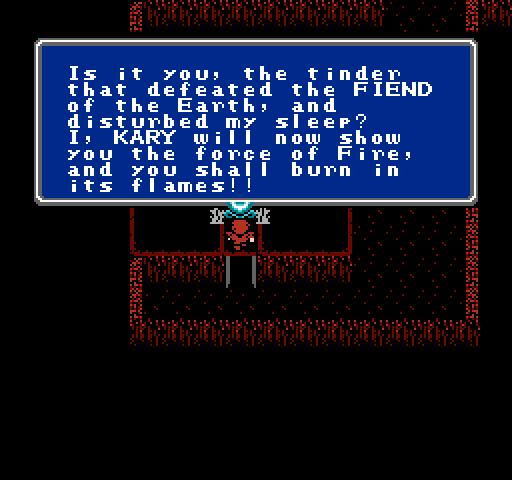
It's rather entertaining that Kary's dialogue mentions specifically that you've defeated the Fiend of Earth. She's the only one that actually mentions any of the others.
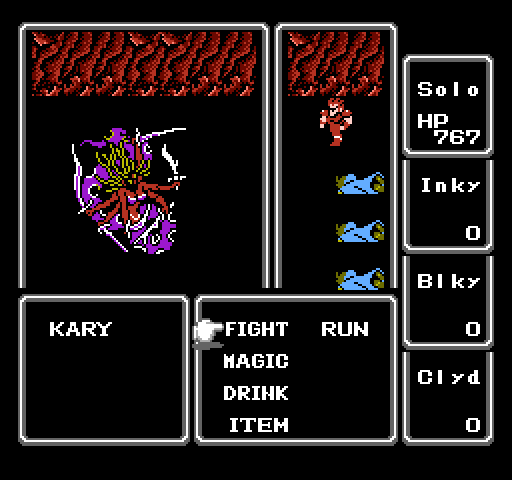
For this release, the name Kary was chosen as an alternative to Marilith since that's a bit long for the display. The name Marilith comes from Dungeons and Dragons, being one of the more powerful named demons in the D&D named cosmology. The name might be a combination of Mara and Lilith. Unfortunately she's only got 600 HP, and that's an unfortunate problem when dealing with a high level fighter. This battle only lasted one round.
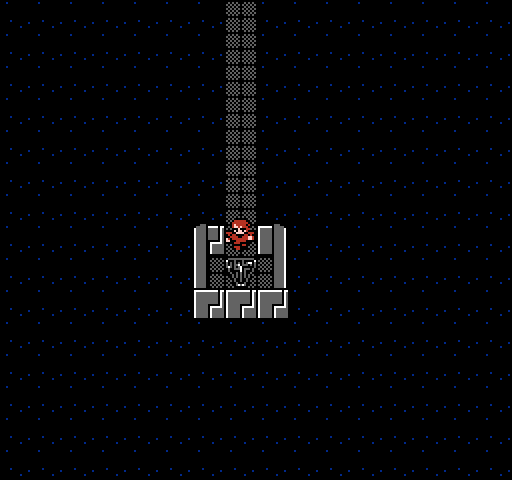
After all that leveling up, I think it's time to settle the score with Warmech.
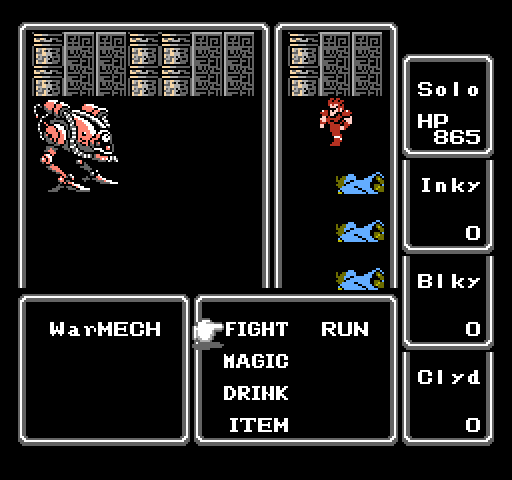
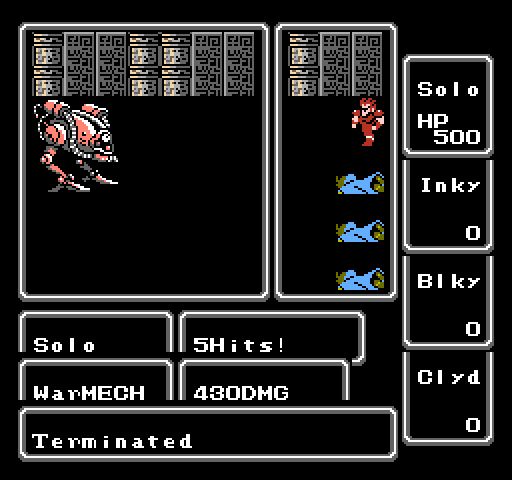
This time our encounter is on more favorable circumstances. I had to run around up here for quite a while to get him to appear, so a few levels were gained along the way. Let's talk about Warmech for a second. He's got an attack of 128, where the final boss only has an attack of 100. He's got 1000 HP and he's resistant to everything except for Time. About a quarter of the time he uses NUCLEAR to attack. That's actually not the biggest threat for Solo. I used the Defender to cheese him a bit, but he still does a lot of damage to me on the way down.
Warmech gives more experience than anything in the game, enough so that he is a guaranteed level up for a single character. I actually came up here on this floor at level 40, and gained 3 levels looking for Warmech.
Next time: The end of everything.