Part 32: Chapter Four, Part Eleven: Rigel Falls
Part 31: Rigel FallsLast time, we lost control over Celica's group forever, but Alm managed to regain freedom of movement.
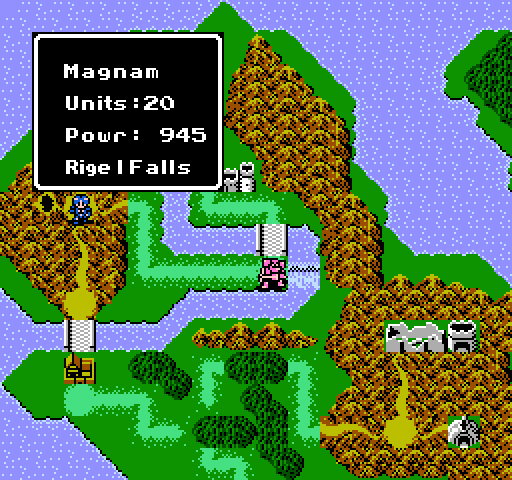
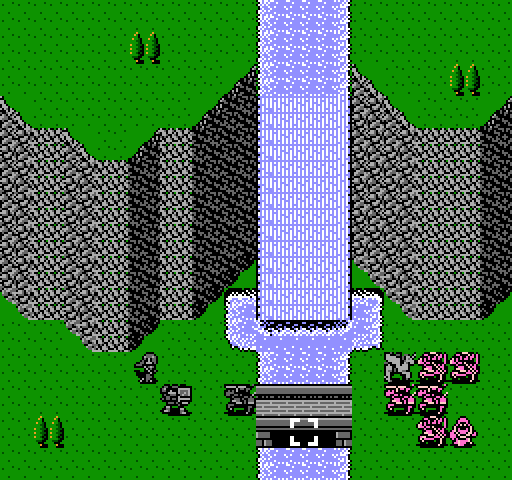
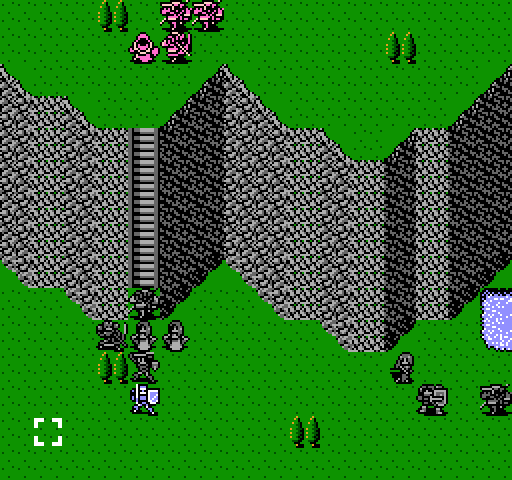
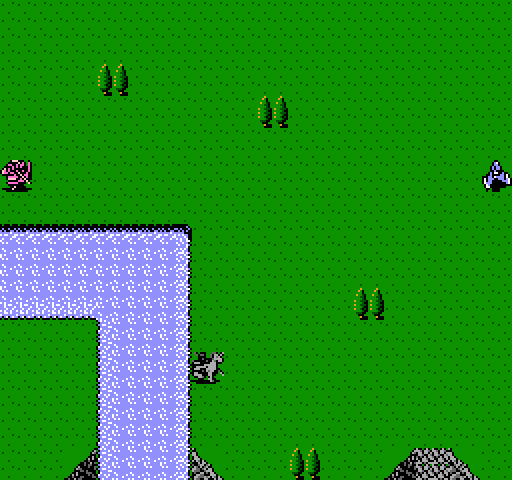
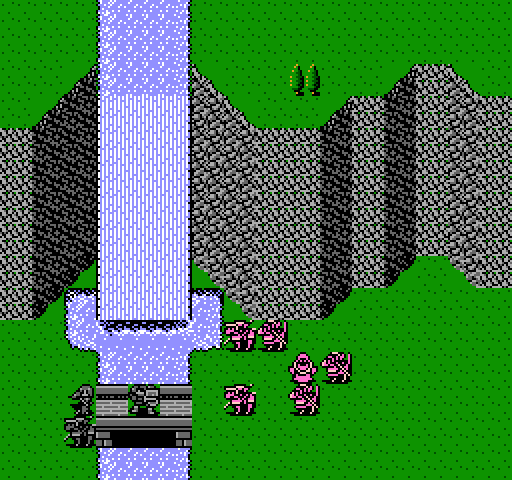
This time, we're going through Rigel Falls, a very long-winded battle. Its map is too big to fit properly into a single image, so I'm going to show it in parts.
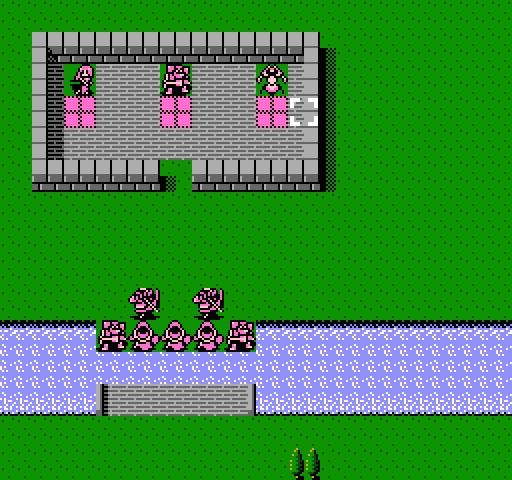
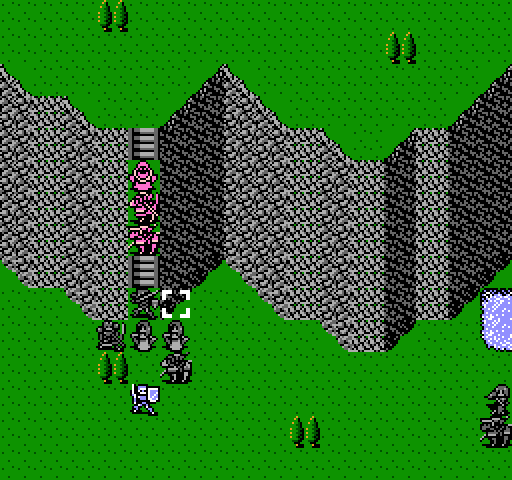
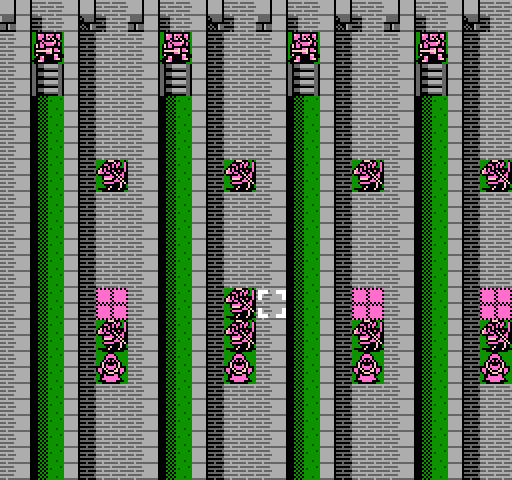
This is the upper left. The main enemy force is here, but the river separates them and us. The bosses in the small fort are all of decent level and classes.
This is the upper right. The units that are last in the unit roster get deployed here, but since I put the least useful units there, this group cannot really fight any of the enemies. They are going to sit still and hope that no enemy will think of attacking them.

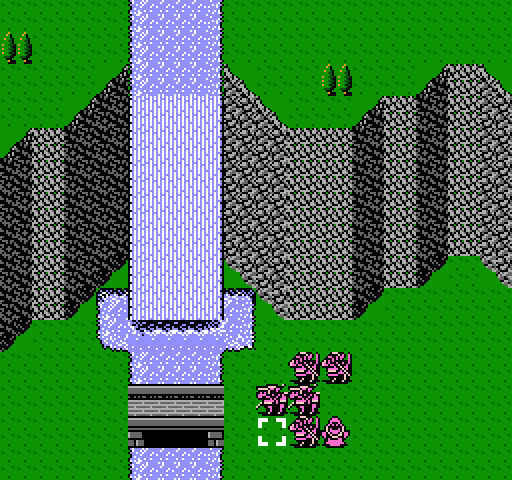
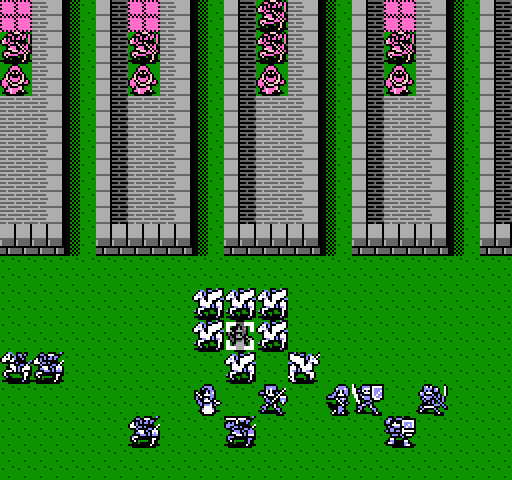
This is the lower left. The bulk of our forces is here, as is the enemy advance guard. However, the long stairs are a very effective chokepoint we can use.
And finally, in lower right, there is another group of enemies, ready to assault our flank. The bridge here can, again, be used as a chokepoint.
Turn 1
Zeke and Force, both durable units, are sent east to block the enemy. Claire has the quick ring, so her movement range is enough to attack the enemy. Dyute is there as heavy support.
Everybody else just blocks the stairs. I have sent both of my healers there, but I have access to long distance healing spell, so no unit is going to be deprived of healing.
Turn 2
One of the enemies at the bridge has decided to attack the weak units in upper right. Claire moves to support them.
In lower right, the enemies are blocked off.
As they are in lower left. Alm had managed to take out one of the enemy Gold Knight, earning himself a 100 EXP in the process. Gold Knight, being a twice promoted units counts as level forty-something for experience calculations, while Alm being freshly promoted counts as a level 1 unit for purposes of receiving experience. The future Fire Emblem games have fixed this oversight, so promoted units actually gain experience slower.
At this point, the fight turns into a battle of attrition, so see you in few turns. All the enemy mages have Fortify, so this could take a while.
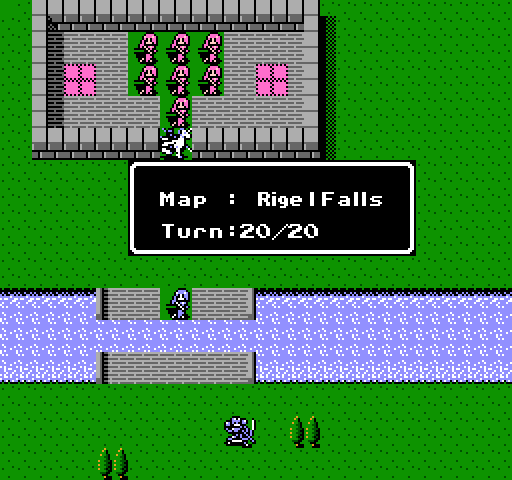
Welcome back. As you can see, we're currently on turn 20 out of 20. What does it mean?
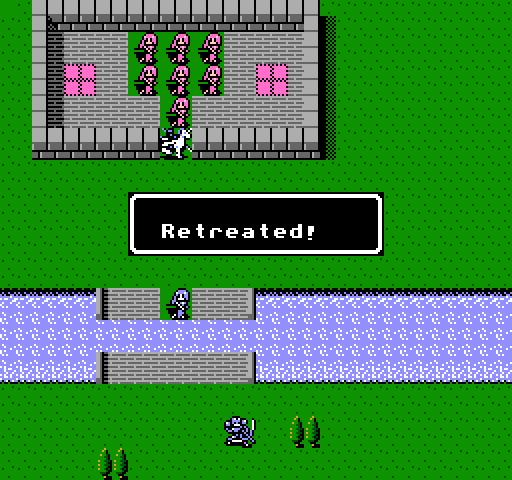
Yes, battles in Gaiden have a, usually pretty generous, time limit. When it runs out, the battle automatically ends. That sounds like a bad thing, but in fact, it can be pretty useful.
All the enemies that have been killed in that battle stay dead. All summonned enemies disappear. All units are healed completely. So in reality, retreating is usually favorable to the player's side.
Since there is still some time, let's defeat the next enemy group as well.
The map is bigger than this, but this is the most important part. Basically, your units are forced to advance through tight corridors, vulnerable to enemy ranged units. It is not really difficult, especially when we have Teeta on our side.
I forgot if I have mentioned it, but Teeta's Illusion spell summons Pegasus Knights. In this map, it translates into a lot of disposable arrow fodder. And that is pretty much all that is interesting about this map, so let's just skip it.
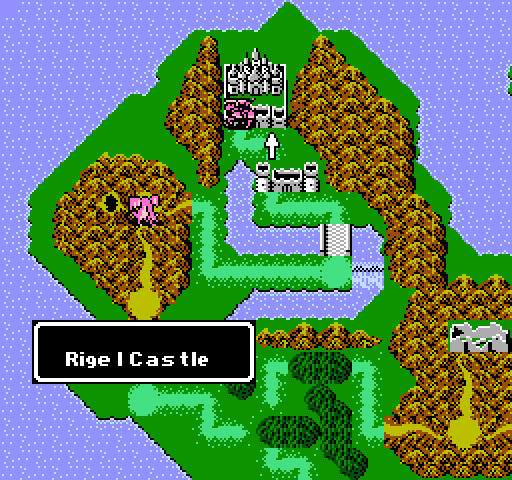
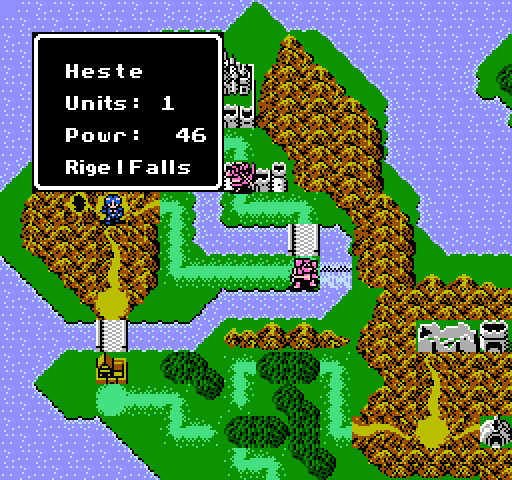
With this battle out of the way, Alm can finally advance to Rigel Castle. But that is for next time.
Python - Level 6 (+2) - Power +1, Luck +1, HP +1
Alm - Level 11 (+10) - Power +6, Skill +2, Speed +3, Defence +4 Luck +3, HP +4
Silk - Level 10 (+1) - Speed +1
Teeta - Level 8 (+1) - HP +1, learned Warp spell
Dyute - Level 16 (+4) - Magic +3, Skill +2, Speed +3, HP +1, learned Ragnarok spell
Claire - Level 4 (+2) - Power +1, Luck +2
Cliff - Level 4 (+1) - Skill +1, HP +1
Next time: Alm, I'm an idiot!