Part 4: Tutorial Campaign, Map Two, Part One
Where were we? Ah, yes.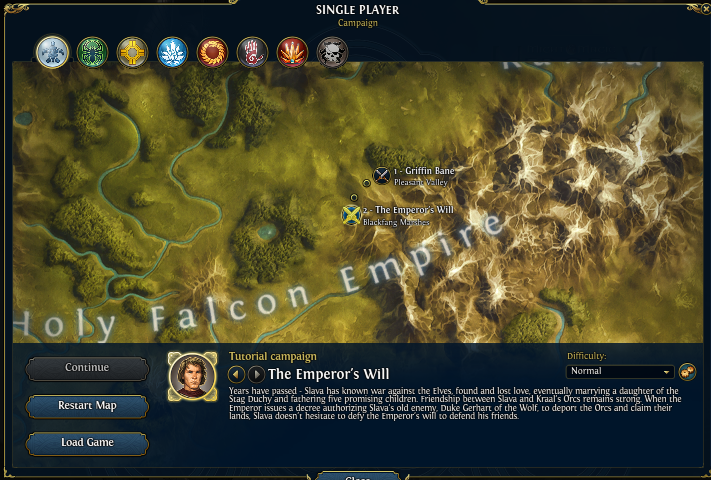
Exposition!

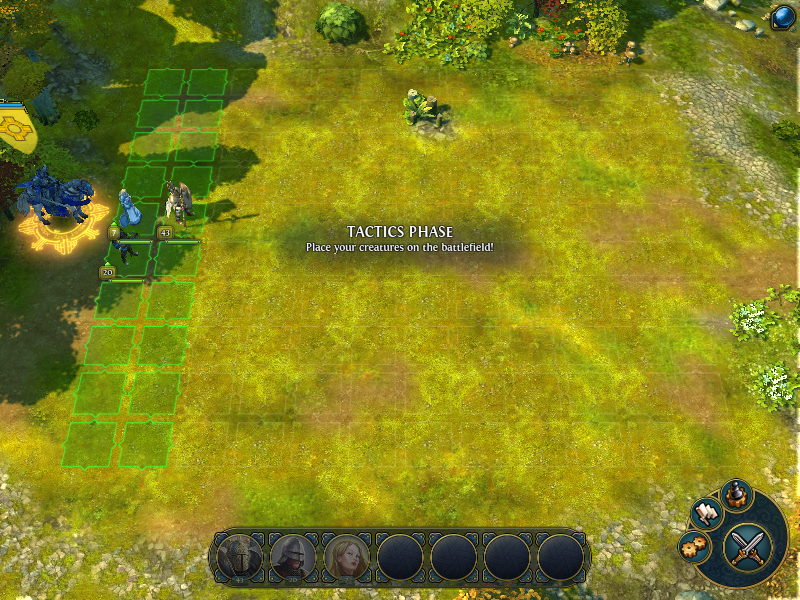
Starting from this map, we can now pick traits and bonuses before the map starts. We should actually only have 1 slot at this point, but because I've earned a lot of Destiny Points (acquired through achievements from playing the game), I have the maximum of 3 slots. It's not a big deal either way, the most important trait is the +3 Core creature/week one. The second trait is the +4 Morale to Haven heroes, which you'd only get from beating the Haven campaign before. The third is you get your first hired hero free. That's a fairly useless one for this map in hindsight, actually.
Orcs and Humans Don't Get Along (YouTube via Polsy)
 But the Duke of the Wolf holds an imperial decree from the Emperor, allowing him to drive the Orcs out of the empire.
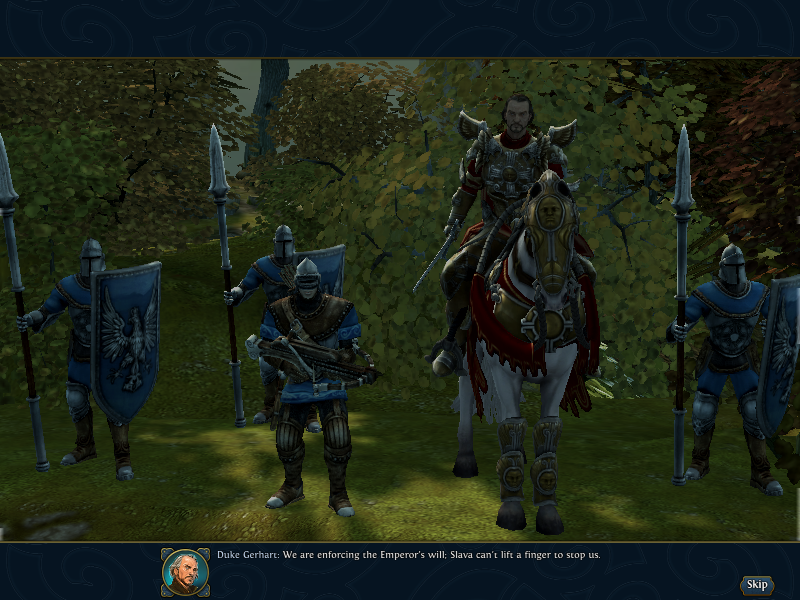
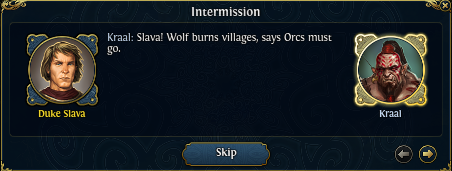
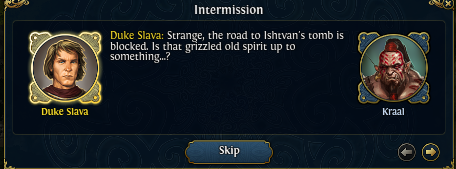
 Yes, how convenient it is that he starts on my lands! Duke Slava, I entrust your children in the ways of Elrath, the Dragon of Light. Loyalty is one of His highest precepts. What example are you making for them? You speak of religious theory, but now you are the student, and the course is political practice. I will find Kraal and see what can be done. Go to Eastalon and make sure the children are safe, and tell Master Jorgen to prepare for a siege. Gerhart would never attack your capital! How much are you willing to bet? Go, and see that the duchy prepares for war!
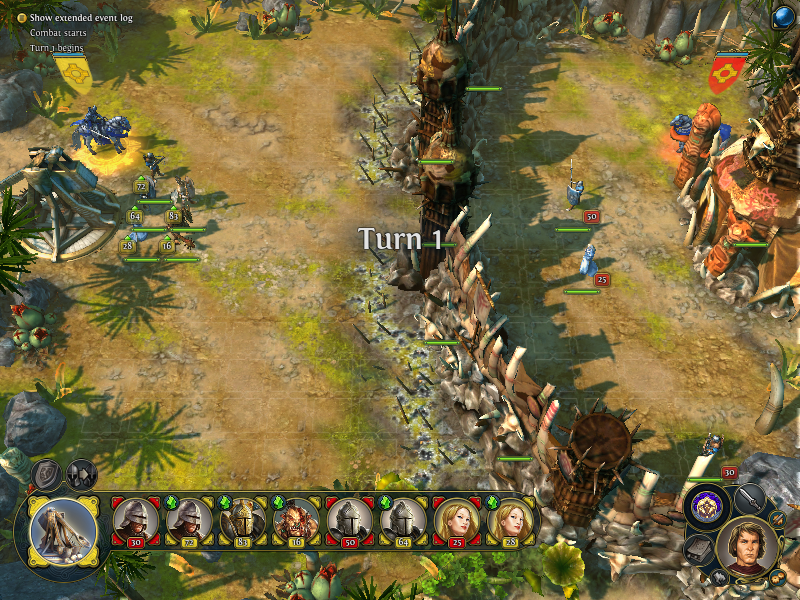
Slava has grown one heck of a backbone, it seems. In any case, we start in front of a town already, and we're given an early task of grabbing the nearby mines. Before that though, let's see what we can build.
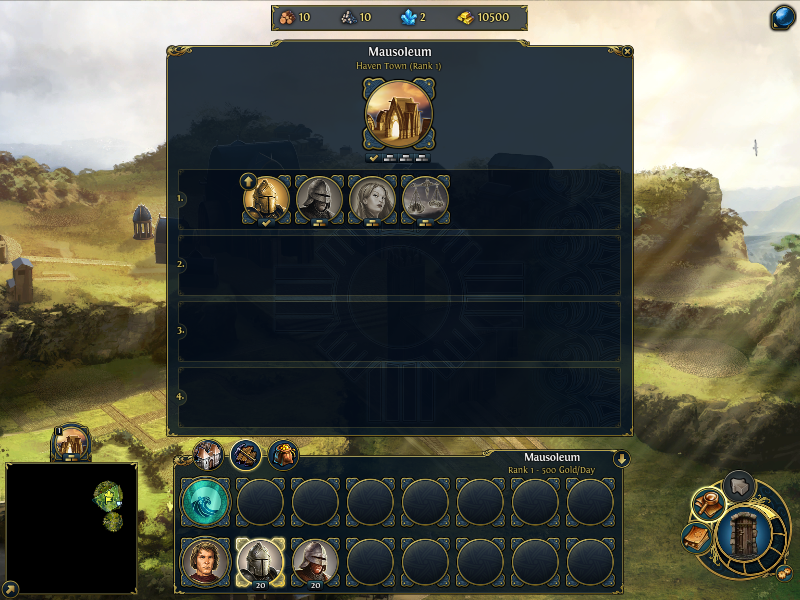
Well, this is nice. We can build all 3 core dwellings, as well as upgrade the Sentinel building. We won't be able to upgrade the Marksmen or the Sisters, so we'll have to make do. The ideal option is to build the Sisters last, as their lower numbers are a liability early on.
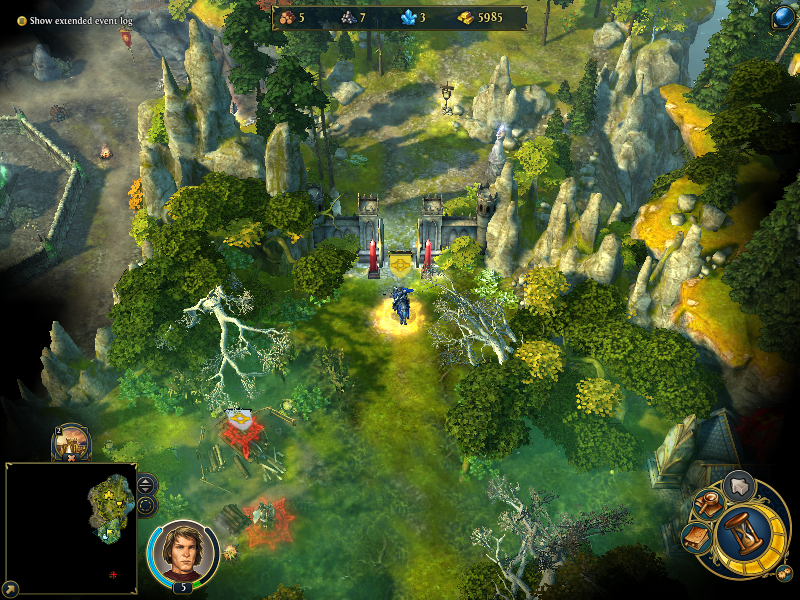
Moving a little up ahead brings our favourite Orc back.
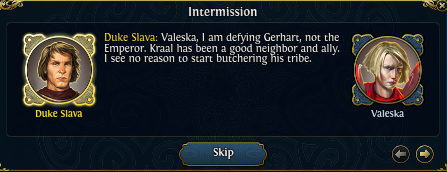
 Not while I'm duke. Give me time to fortify this castle, then we'll go hunt Wolf heads together.
 Good! Slava and Kraal ride together, like old times. Also break many Wolf heads, like old times. Heh heh heh.
As you might expect, we'll be facing a lot of Haven troops on this map. It's one of those maps that got a little easier, as enemy Sisters won't be able to Heal like they once could have.
The rest of Slava's skills and spells also finally open up. (In hindsight, I should have saved some skill points.) The most important skill I pick up, though is this:
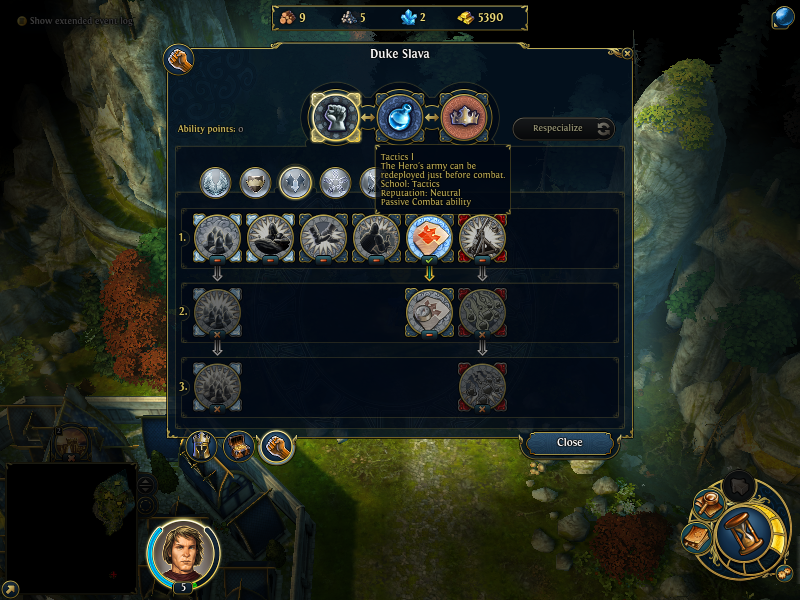
Tactics is a brilliant skill every hero should get. It basically lets you rearrange your army at the start of every battle, like placing Sentinels next to weak troops or putting your Crossbowmen in the corner. You can even leave troops out of the starting lineup (like Sisters against ranged troops). It's often easy to overlook, but there are so many functions I consider it invaluable.
I didn't get a shot of it, but spells are also now available. There are 7 spell schools: Fire, Air, Earth, Water, Light, Darkness and Prime. Every faction has 5 out of 7 choices, except for one faction which has 6. As a member of the Haven faction, Slava gets to choose from all the schools except Water and Darkness.
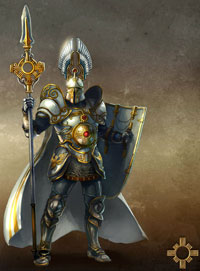
We also upgrade the Sentinel building, so let's check out our new Praetorians. It's also worth noting that upgrading a building now also allows more of them to be recruited each week, so it's usually never a bad thing to upgrade.
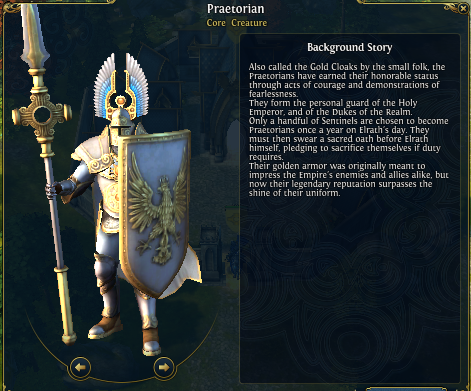
    Praetorian
    Damage: 3-5 (Might)
    Defense: 10(21%)
    Magic Defense: 2(5%)
    Health: 30
    Initiative: 25
    Movement: 5 (Walking)
    Range: None
    Destiny: 7
    Morale: 9
    Cost : 110
    Growth: 12/week
    Abilities: Shieldguard, Shielded, Shield Bash, Living
Shield Bash posted:
The Praetorians of the Holy Empire have earned their promotion from Sentinel to elite guardians as much for their selfless dedication to their duties as for their excellent skills in melee. If an enemy attacks those they are assigned to protect, they strike the aggressor immediately in a cry of rage, assuring that the act does not remain unpunished.
Shield Bash just makes the Praetorian an even better defender. If an enemy stack attacks a troop that the Praetorian is shielding, the Praetorian gets an immediate free attack on the stack if it's in range. There's no limit to how many times this can happen, and multiple stacks can get in multiple attacks.
Tactics is amazing, really. I can place all my troops together to gain the effect of the Praetorians.
Moving up ahead a bit more has another conversation between our favourite yappers.
 Kraal remembers Ishtvan. First Griffin Duke, before Empire, before people changed their God from Dragon of Light to Dragon of Air. Yes. And he's still unhappy about it. Let's go look. I wouldn't put it past the Wolf to plunder his mausoleum.
We get a main quest to go find out what he's up to. But we'll be putting that on the backburner for a while.
The map is now divided into 'territories'. Each town or fort has a region where they are responsible for everything in that area. Slava's just crossed into the enemy territory, indicated by the red crystals bordering it. While in a territory, you can't claim any mines or dwellings, as they will be immediately claimed back if you leave it. Capturing the town or fort instantly converts all the mines and dwellings to your side (any neutral ones still have to be personally flagged). The enemy can do the same to you though.
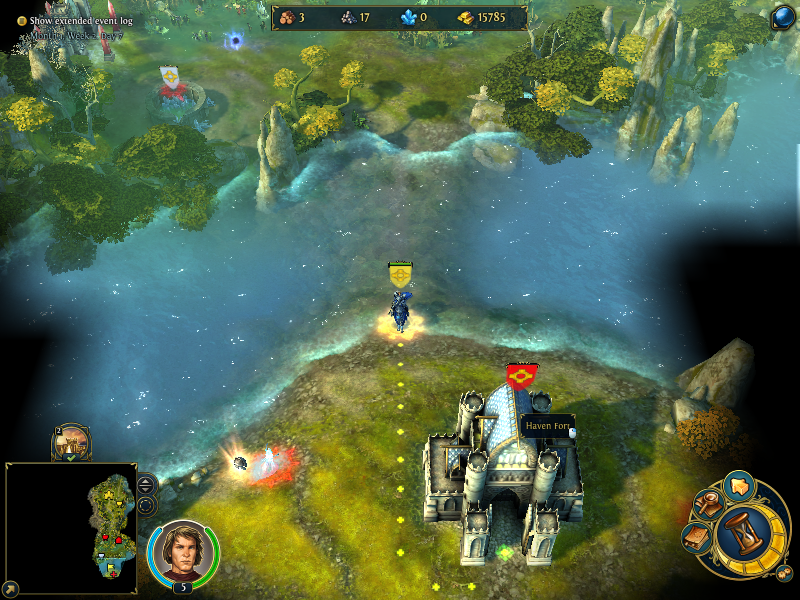
There are a few Water Elementals blocking our way to the Fort. Elementals are generally annoying, as they all have a 50% reduction from damage till they make their first move (so no sneak killing them unless you have a really big advantage), and a heavy resistance to their own element. Water Elementals are a pain as they can cast Ice Bolt every couple of turns, which deals moderate damage and prevents the stack from moving for a turn. Facing multiple stack of them can reduce your movement to a crawl, too.
The Fort battle itself is pretty easy. The troops are small in number, there's no opposing hero, and the AI is still silly. Take out the Crossbowmen and you're free to rain death upon them, or kill them when they come out.
When we claim the Fort, we can recruit creatures from it instead of going all the way back to town. This is a nice touch, but with several flaws. The first is that you can't recruit upgraded creatures, like our Praetorians. The second is that the fort must have an appropriate dwelling before you can recruit creatures from it. So to recruit Core creatures from a fort, you must have a Core dwelling nearby. Forts do give 500g a day, so they're not worthless.
After claiming the fort, a one way portal appears in front of it, and a locked gate near the Crystal mine opens up. Going through it leads us straight into a battle.
(There's a short cinematic, but it has no dialogue and is pretty much Slava and his troops exiting the portal and seeing some Sentinels ganging up on Maulers).
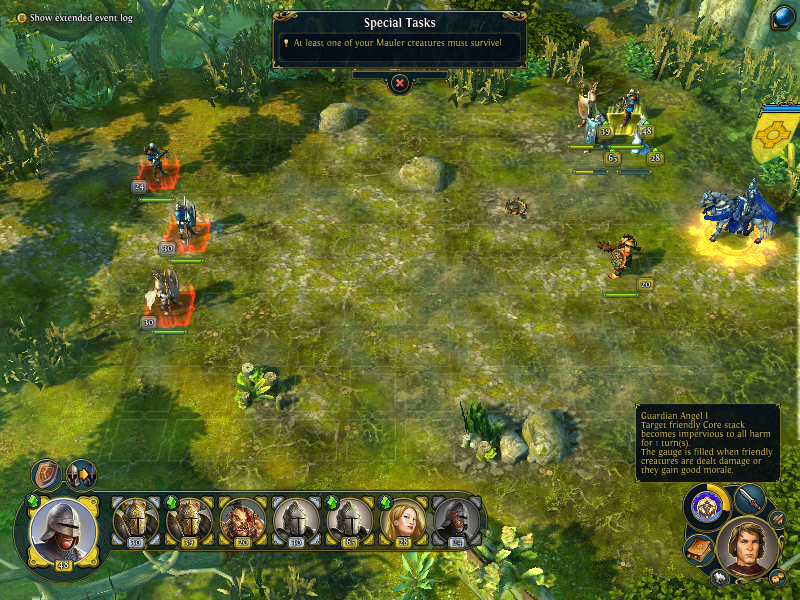
This is the first mission with a special condition. We are immediately given 20 free Maulers, but we also lose the battle if they all die. The enemy army isn't very big, so it's really no trouble at all.
We also finally are able to use our racial skill, Guardian Angel. Every faction has their own Racial Skill, and they fill up in different ways - Haven raises theirs when creatures get good morale. There are several levels to the gauge, unlocked when the hero reaches a certain level. Each level requires more of the gauge to be filled up, but you can always use a lower level if you need to. Usually, the level 1 ability can be used on Core creatures, the level 2 is used on Elites and lower, and level 3 is for Champions and lower. Slava only has Core troops, so we're fine with just using level 1. A final general note is that the racial skill only works on troops aligned with that faction - Guardian Angel can't be used on our Maulers, for instance.
Guardian Angel gives a stack invincibility till the end of their next turn. They can't be harmed by any attacks, and they can also attack without fear of retaliataion (they won't show an animation for a useless retaliation, but it's still used up).
There's actually a trick to maximizing Guardian Angel. While it usually only lasts one turn, if you Wait till the end of the round before using it, Guardian Angel will only wear off at the end of the stack's turn in the NEXT round. This means that stack essentially gets 2 invulnerable turns. There are many more ways to abuse the Wait function, and I plan on showing more of them if I get the chance.
Many dead Haven troops later...
It's An Insult!
 You took Gerhart's nephew! Hostages... that's a dangerous game to play.
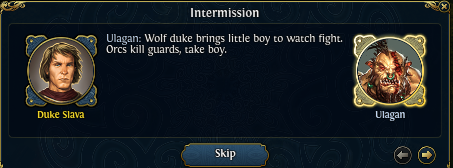
 No, fighting Orcs dangerous game. Wolf kill Orc children, Orcs shed no tears for Wolf children.
We then have an optional quest, to capture both Orc fots in the area, with our reward being a Purse of Endless Gold. (+250g a day). We also have to defeat 3 Haven heroes in the area, two of them guarding the forts, so we might as well do both at the same time.
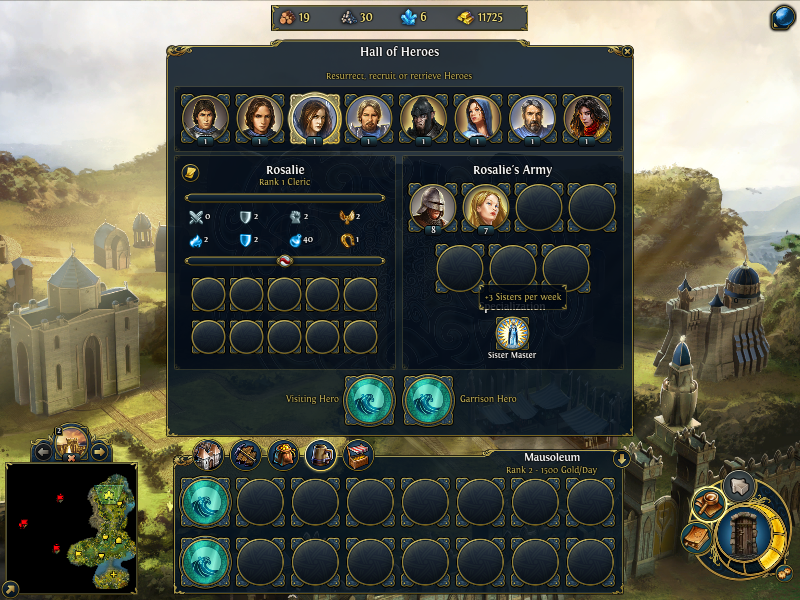
We can also build the Hall of Heroes back in town for a cheap 2000g. Which means secondary heroes! While there are many options, I elect to go for Rosalie because of her +3 Sisters/week. We won't be using her for much other than shipping Praetorians to and from Slava, anyway.
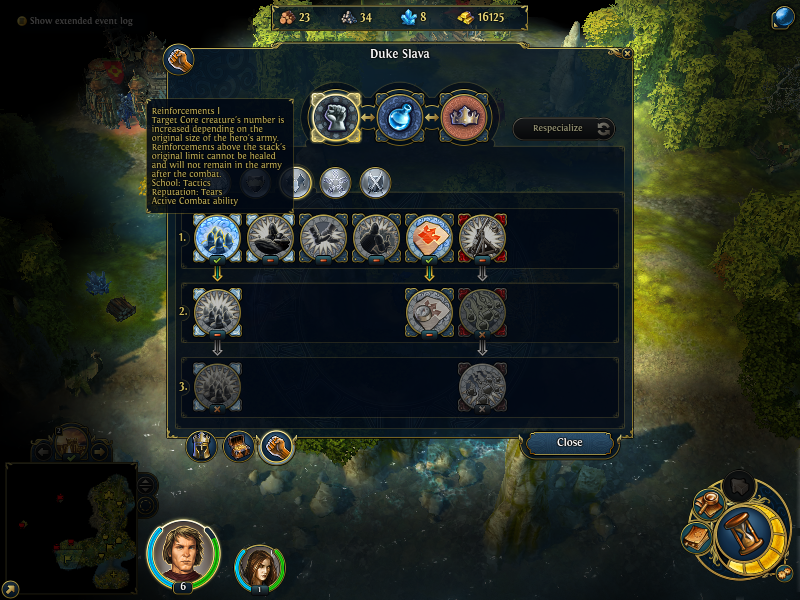
We also pick up the very useful Reinforcements skill. It gives you essentially 'free' troops which are gone by the end of the battle. While the obvious option is to use it to give your troops when they're down to give them some extra life, you can also use it on an undamged troop to give them a 'buffer' of extra troops. If done right, you can end battles without losing any troops using Reinforcements on a stack that's a prime target (like the Sisters).
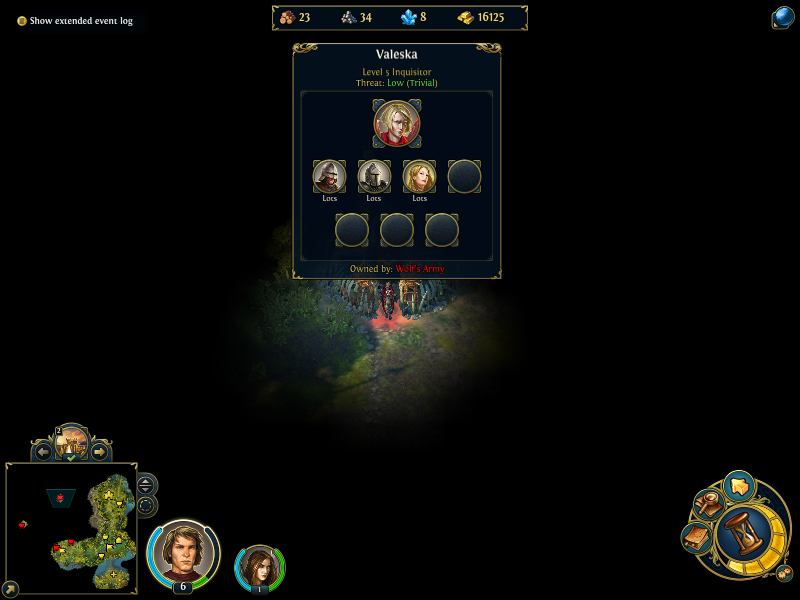
The first hero isn't really that big a threat. It's a siege battle so the AI is stupid, and the enemy army isn't that big. Note that the there's a spiky moat next to the walls other than outside the siege walls. Each faction has their own variation of the moat, with different effects. Being a Stronghold fort, this moat just deals 120 damage each time you step in it. The defending troops are immune to it.
We can also check the location of the last hero we need to defeat (the second one wanders around the map and tries to take your forts. Hrmm, who could it be...
Well. Someone has some explaining to do.