Part 60: The Long Hard Moonwalk to Victory
Update 32: The Long Hard Moonwalk to Victory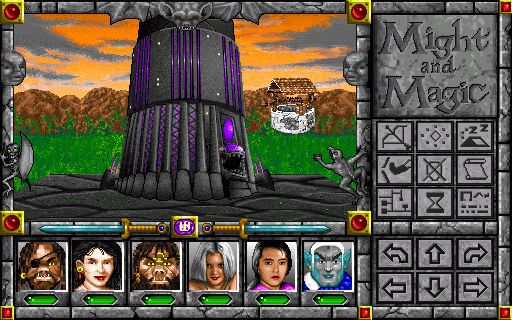
 "Perhaps we should refresh ourselves at that well before we attempt to brave the tower. We have no idea how powerful the heretics within may be."
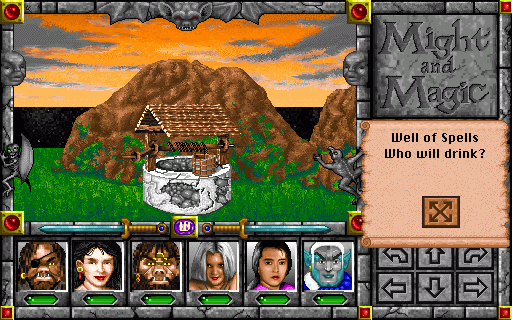
 "Doesn't look poisonous. Sure, why not."
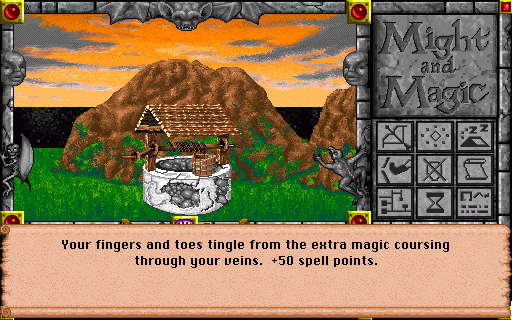
I like how the wells in Darkside have a little flavour text to go with the stat boosts. It's a neat touch.
Of course, I don't mind the boost either: +50 SP more than doubles Flench and Ms Swallow's SP total, and it's a substantial boost to Anleisa and Vandesloof too.
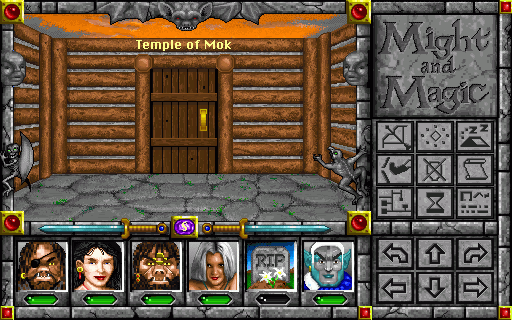
 "Oh, right, we don't have the key yet. Off to the Skyroads, then!"
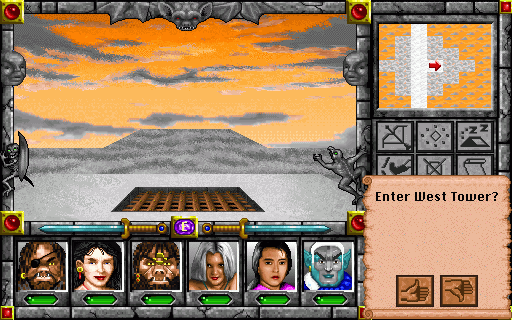
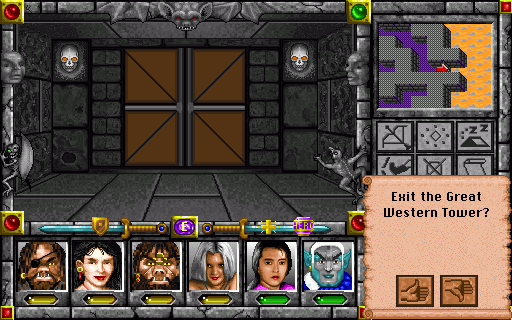
For most of the towers in Darkside, the front door is the normal route of entry and the top is a shortcut, sometimes only accessible after you've opened it up from inside. The Great Western Tower works precisely the opposite way: the front door isn't an option until after you've entered through the top.
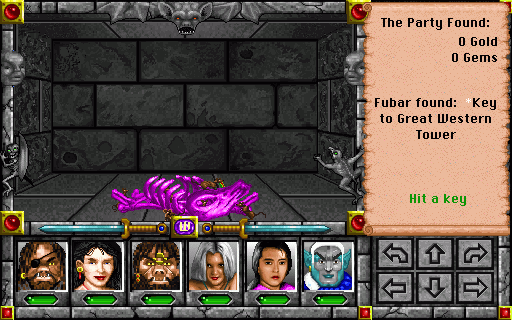
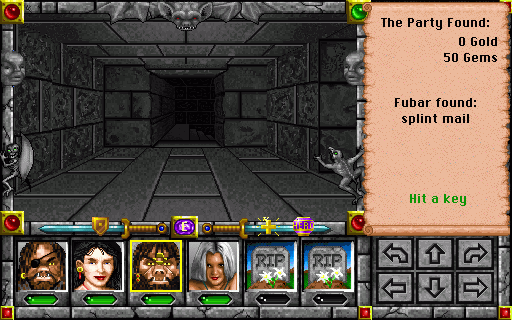
We can't go far, though: all that's up here is a short dead-end passage containing exactly what we need.
"I wonder who this poor sap was. Maybe he was trying to sneak out with the key and someone got to him."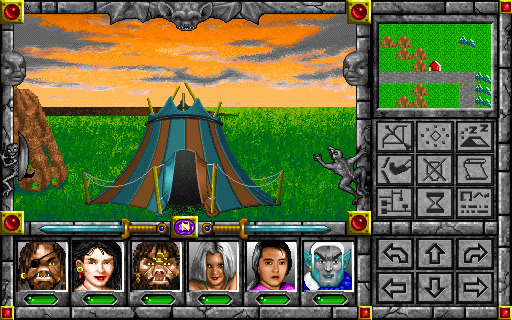
 "Now, let us be returning in triumph with the key and claiming our reward!"
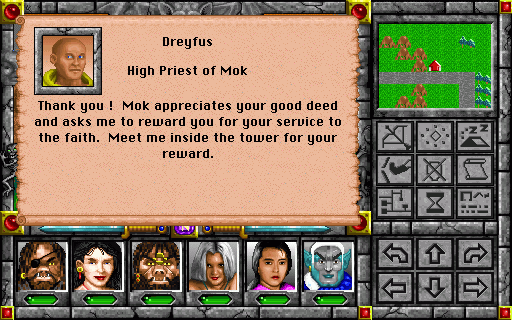 "Oh, and I suppose you'll just follow us in at a safe distance while we deal with the heretics. Fine, whatever. Don't forget that reward, though."
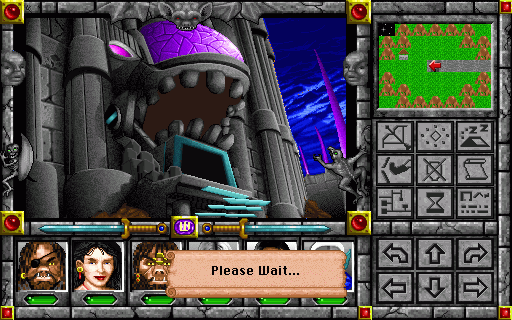
By the way, even with our new diamond weapons, we're pretty underlevelled for this dungeon. If you were concerned that I hadn't been suffering enough, hopefully this update will placate you.
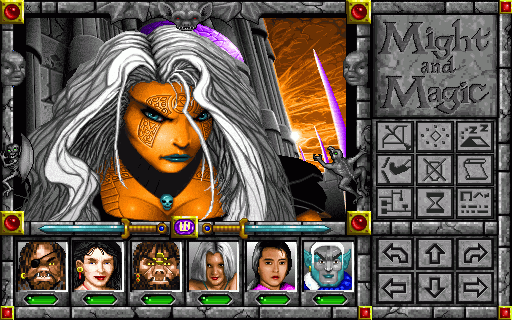
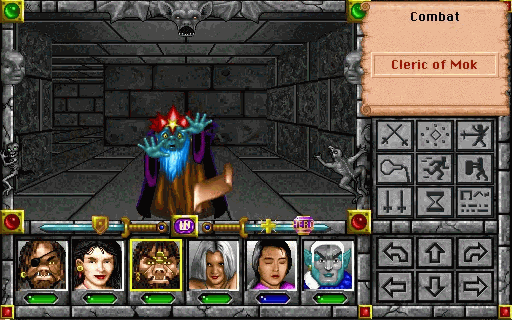
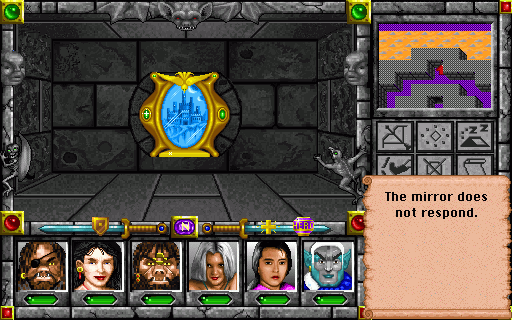 "Ellinger's tower had a mirror like this too, didn't it? They look sorta like the portal mirrors back on Clouds, but they don't seem to work..."
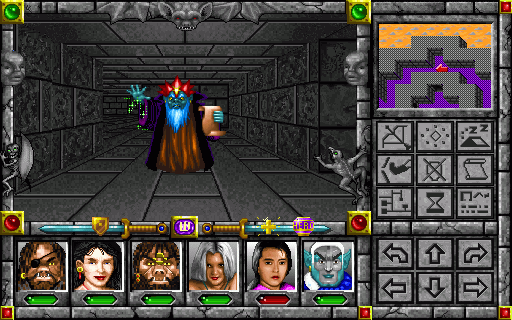 "Aieee! Someone protect me! Who's going to heal you if I die?"
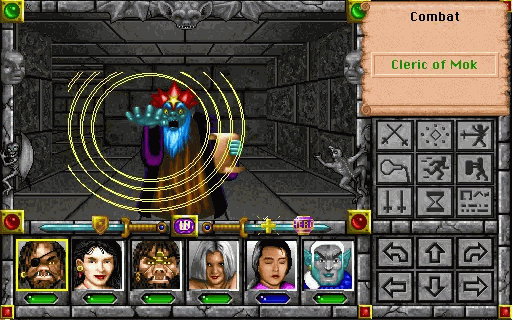
Clerics of Mok have a powerful electric attack (250 damage to a single target if unresisted), and will relentlessly target any Clerics in the party: they have the potential to knock out Anleisa in one hit even with both Power Shield and Protection from Electricity active.
Fortunately, their HP and AC are low enough that they'll fall to one or two good physical attacks; they're immune to electrical damage, but only slightly resistant to everything else. A single Cleric of Mok is easily dealt with, as long as we keep all our buffs up and avoid giving him too many chances to blast us while we close to melee range. They drop 10 gems when killed, which is a great help since we just spent most of our reserves on the gemsmiths.
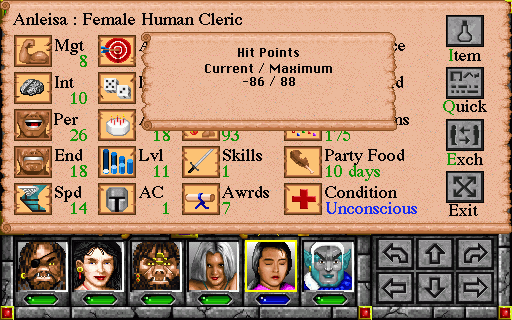
Just to drive in how hard Clerics of Mok hit, Anleisa was 2 HP away from being killed outright after taking two attacks in that encounter.
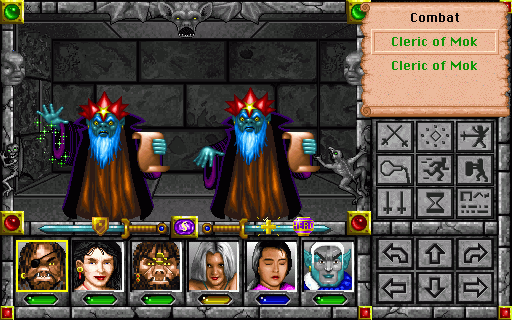
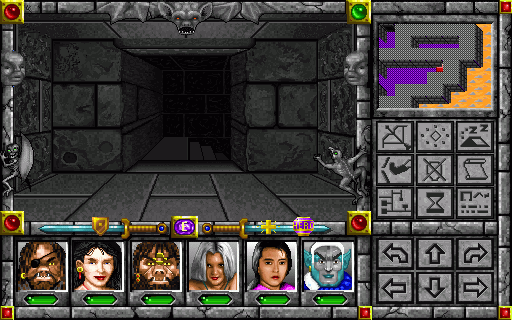
And once we get to the second floor, we start encountering groups of two or three. The Lloyd's Beacon we've set outside Castleview's temple is going to see a lot of use this update.
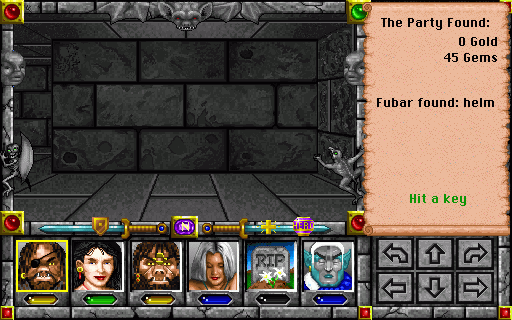
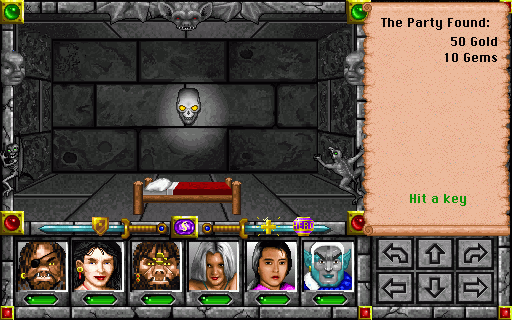 "Perhaps I am misunderstanding something again, but if one is part of an order that rejects material possessions, one is not to be leaving them under one's mattress, no? Clearly we must be removing this temptation for their own good!"
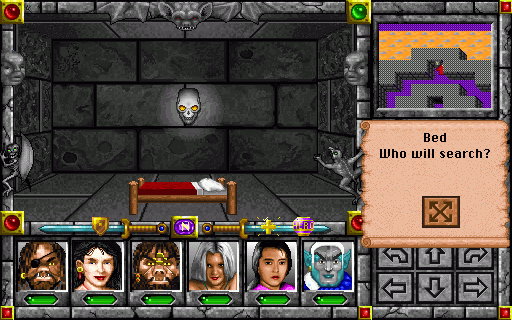
 "Shh. Something moving under covers. Stay alert."
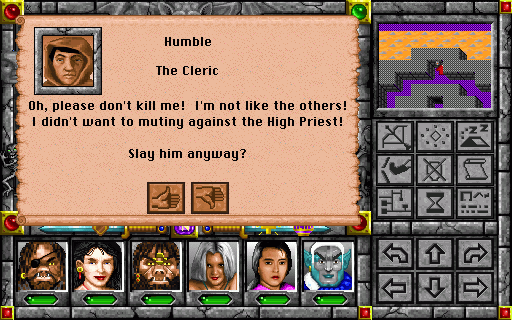 "Not the most convincing performance I've ever heard. But under the circumstances, I'll accept your surrender."
I've included a video so you can all hear the level of
 involved in this guy's voice acting.
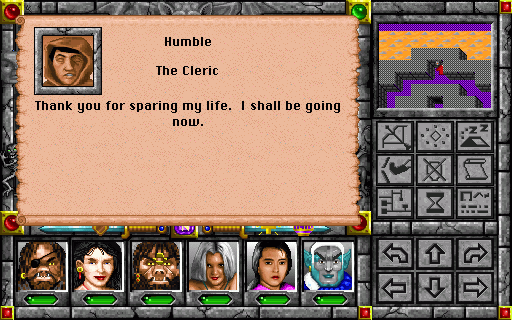 "Go on, get outta here. I've already been blown up enough times today without picking more fights than I have to."
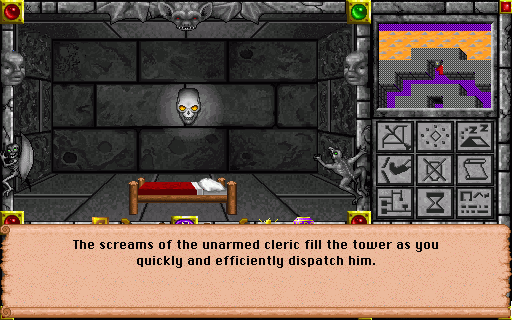
While there's no real reason to kill the cleric, we do have the option to do so.
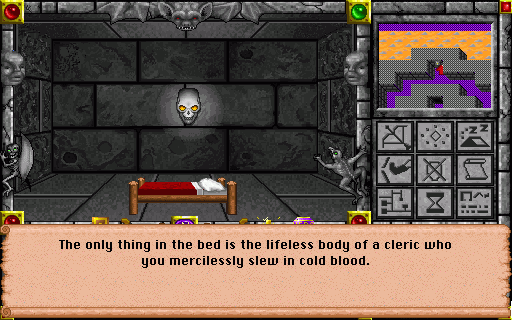
The game does its level best to make you feel bad about killing him, but there's no apparent gameplay consequence, nor is there any reward or penalty for sparing him.
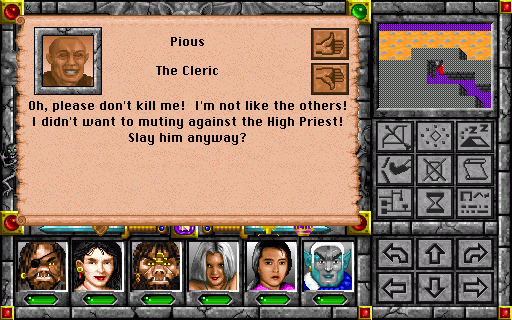
There's a second non-hostile cleric a bit deeper into the tower.
He has the same dialogue as the first one, but considerably more enthusiastic voice acting. Once again, it doesn't matter if you kill or spare him.
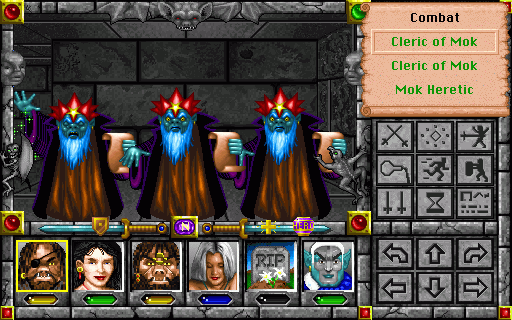
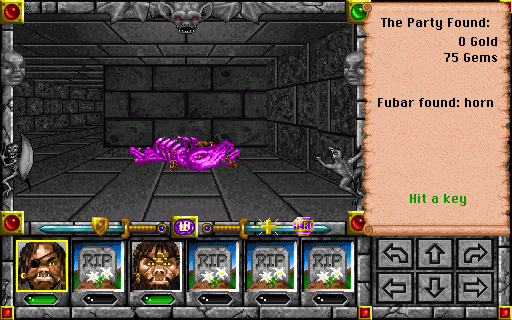
Toward the end of the tower's second floor we start to run into Mok Heretics. They look identical to Clerics of Mok, but there are a couple of important differences: their attack does a whopping 500 points of damage, and it's Magic damage, so elemental protection spells are useless. They also have just enough extra HP that even Fubar doesn't have a real chance of one-shotting them.
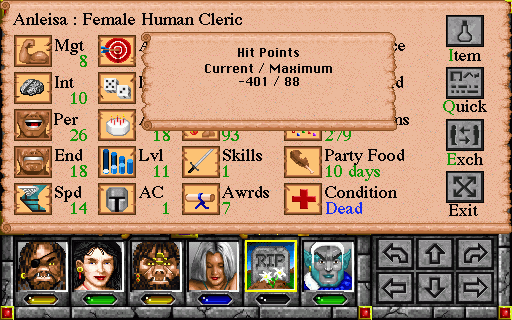
This is what a Mok Heretic did to Anleisa in a single attack. Even if she resists, half damage is still enough to kill her outright from full health.
 "Could be in over heads here. Flench think we should disengage for now, at least until Anleisa back in action."
 "Disengage? Fubar not know meaning of word! No, seriously, Fubar not know. What it mean?"
Mok Heretics will often drop a random mid-level item, although it doesn't really make up for the fact that fighting even one of them will usually result in Anleisa's death.
 "How appropriate that we should look to the Temple of Mok to restore us as we root out heretics from its church." "Doesn't stop them from charging full price for healing, though."
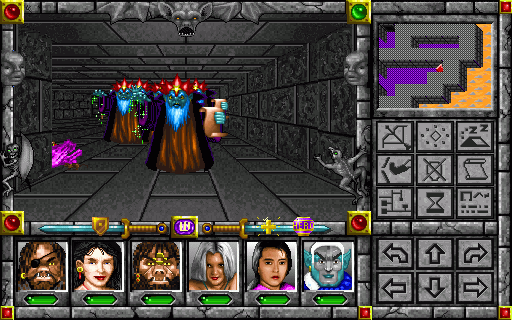 "I see you've brought me back only to send me to my death again. What did I ever do to deserve this?" "What, do you want a list?"
On the top floor of the tower, there's a major fight with a large group of Clerics of Mok and Mok Heretics. If we just charge in, we'll take enough hits to wipe out half the party before we can even attack, and things will just keep getting worse from there. I tried several times with different strategies, and even with all the temporary boosts we've found in Darkside so far the fight was unwinnable by normal means. So instead of trying to fight fair, I'm going to exploit the game engine a little bit.
First, we save the game on the top floor, while facing away from the enemy. Then we reload the saved game. Reloading causes all monsters to "forget" that they've seen us and stop trying to chase us down.

Finally, we take a step backwards to confront the enemy. We still have to deal with each individual group of enemies, but the ones behind them haven't activated, so the fight is manageable.
 "Not that I'm complaining, but what did we just do and how the heck did it work?" "You ever play peek-a-boo? Babies think you not see them if they not see you. Evil clerics look sort of like very old angry babies, so Fubar think maybe it work same way with them."
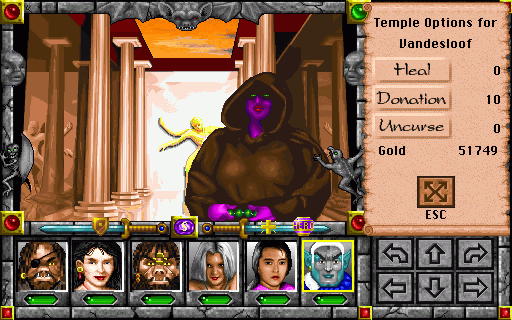
Several Lloyd's-Beacon-assisted trips back and forth from the temple to the tower later...
 "Whew. That look like last of them. Flench underestimate threat, nearly lose life. Not make same mistake again." "Angry robe babies strong, but Fubar stronger! ... Should probably go bring back rest of party now, though. Always good to have friends and not have to drag bodies around."
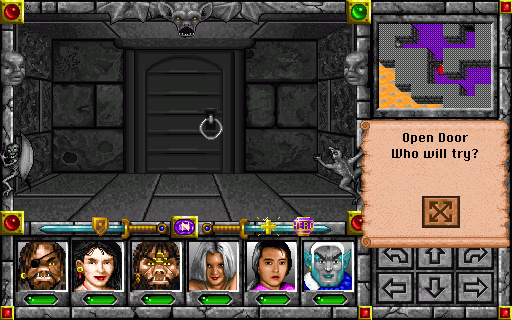 "Are there more clerics behind that door? I would rather not be dying three times in one day."
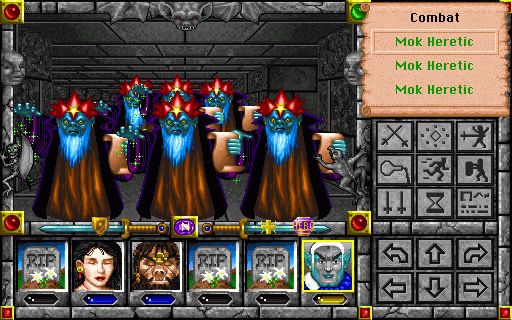
We're going to have to pull the walking-backwards trick again for the final battle of the tower, because if I just try to charge in, this is what our party looks like before we get a chance to attack.
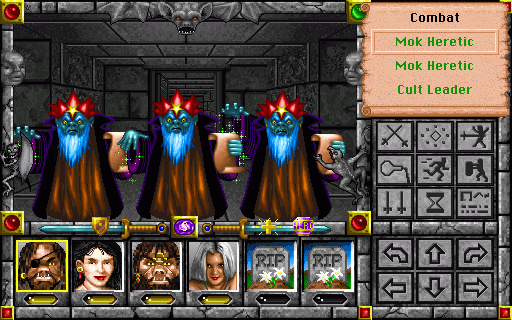
The Cult Leader is actually less dangerous than his followers: his attack does energy damage to the entire party, but only 10-100 points of it, so it probably won't one-shot anyone. He also has slightly less HP than a normal Cleric of Mok, although he's heavily resistant to everything but physical attacks.
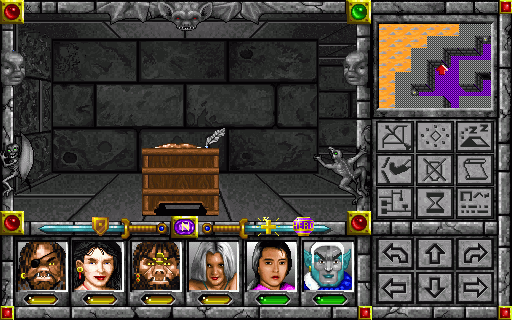 "Finally. It looks like that really was the last of them this time. I can't say I'll miss this place."
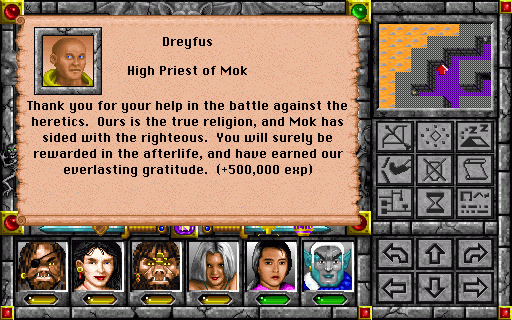 "Okay, dude, no offence, but if you were any nuttier you'd need an allergy warning. We'll just take our reward and go."
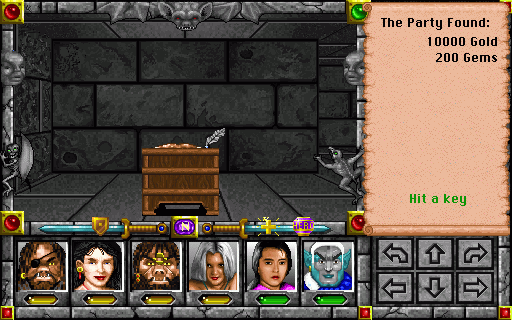
Half a level's worth of experience and a bit of treasure is an acceptable reward for our efforts, but we're not quite done collecting the spoils of victory yet.
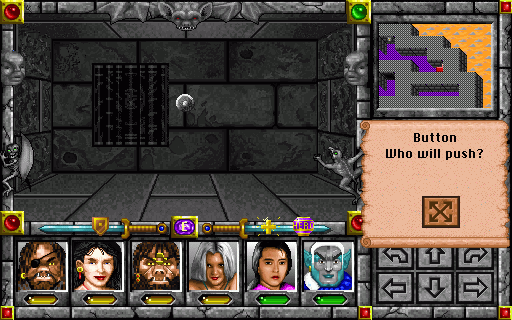
This button hidden behind a tapestry opens up a passage between the roof and the rest of the tower, in case we ever need to go back here.
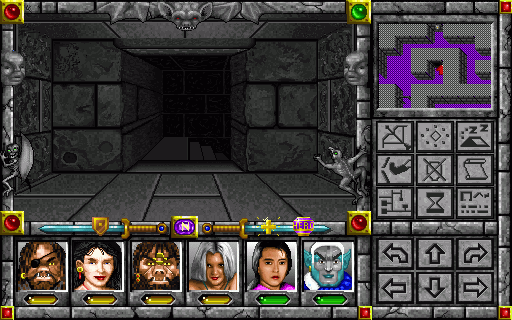
More importantly, though, there's a second set of stairs down in the middle of the top floor.
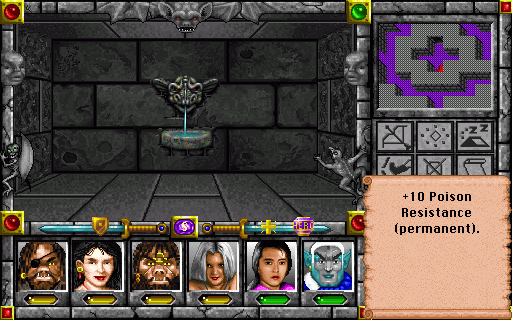 "Mmmmm! Treacly."
The stairs lead down to a series of fountains in the central area of the tower, which permanently raise Fire, Cold, Electricity or Poison resistance by +10. We can use these fountains as many times as we like, but only on characters with a resistance of 20 or less. As a result, it's optimal to hold off on reading the resistance-raising books in Ellinger's tower (and taking advantage of any other permanent resistance boosts) until after you've come here. Missing out on a few points of elemental resistance isn't that big a deal, though.
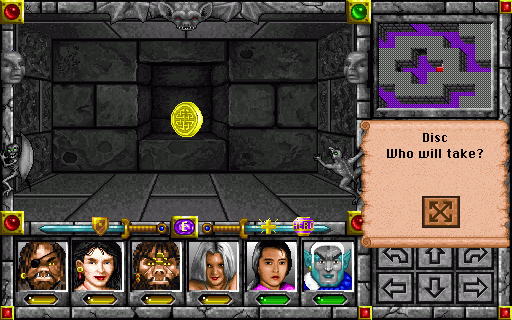 "Hello there, little energy disc. Do you want to take a little ride in Trishy's backpack? Yes you do! What a good disc!" "Trish, stop pampering the ritual component. It's creepy."
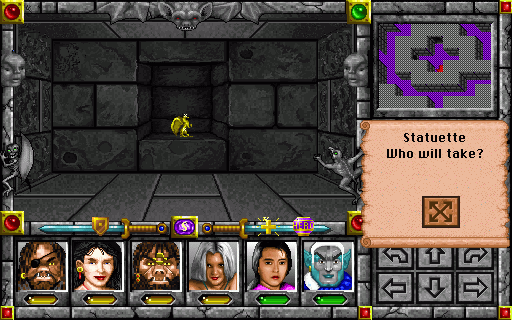
In addition to two Energy Discs, there's this odd little statuette in an alcove on the bottom floor.
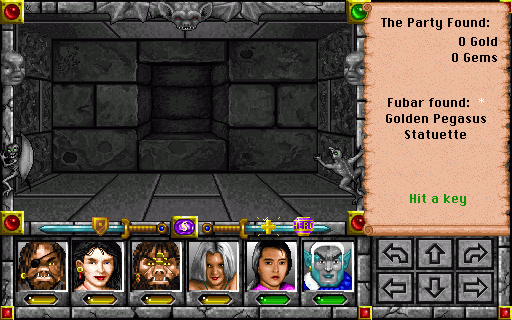
We have no idea what it's for yet, but since when did that stop us from taking loot?
 "I can't believe we survived that. Hopefully the next enemies we fight have a grudge against one of you lot instead of me."
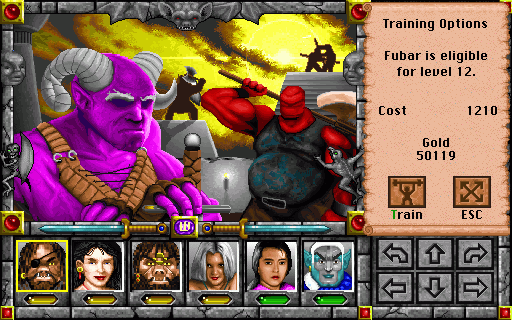
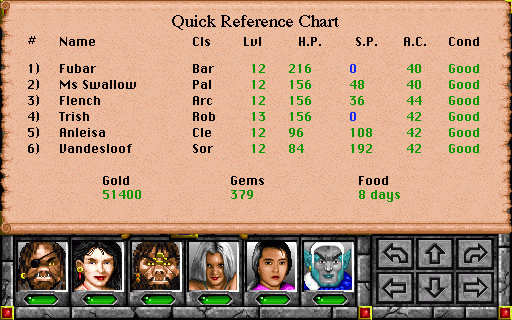
The whole party gains a level from the experience received in the tower. This means Fubar, Ms Swallow and Flench all gain an extra attack per round, significantly increasing the party's melee damage output.
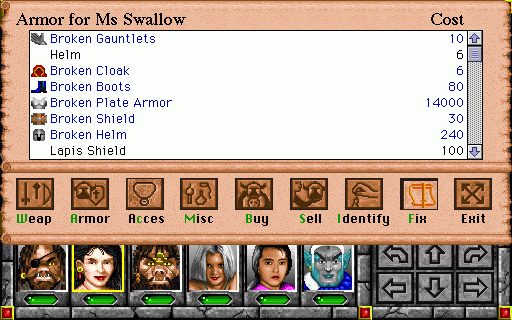
And here we see the disadvantage of wearing expensive armour: it's expensive to fix. In hindsight, I should probably have just taken everyone's armour off before even attempting the tower, since none of the clerics use physical attacks anyway.
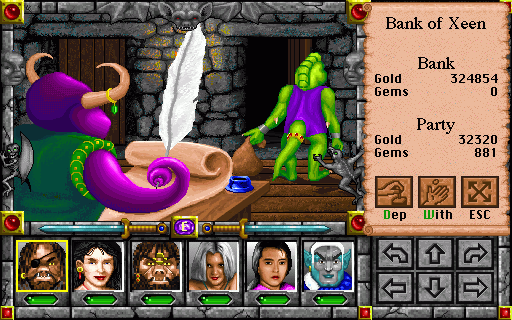
Between the costs of reviving everyone and repairing broken armour, we're about 20,000 gold poorer than we were at the start of the update. On the bright side, we're up a few hundred gems.
And with that, the party--
"Wait a minute. We're not done just yet!"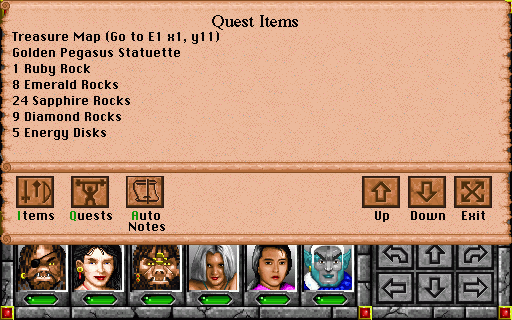 "Ah, of course! With five energy discs, Ellinger can restore part of Queen Kalindra's castle!"
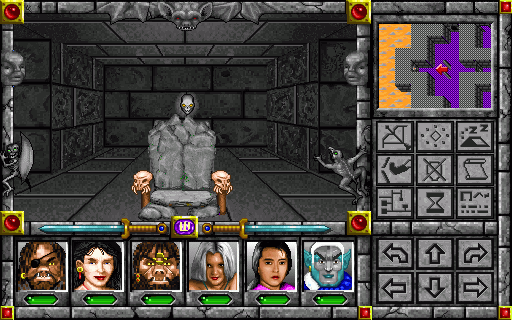 "Ellinger! We have glowy disc thingies for you!"
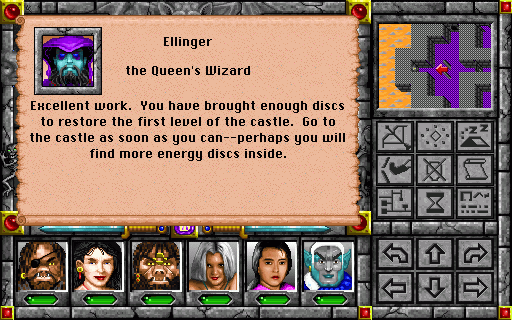 "Can't finding more discs wait? We've got treasure-hunting to do!"
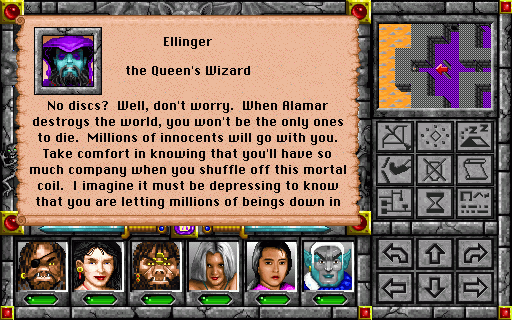
 "... their moment of need. Oh, well." "Wow, harsh. Fine, fine, we get the message."
I captured a video of Ellinger's voice acting for this dialogue snippet too. You can only see it if you talk to Ellinger without any energy discs in your inventory: if you have between one and four, he just tells you to come back when you have five, which is much less exciting.
 "Although, y'know, there's no reason I can't do a little treasure hunting first..."
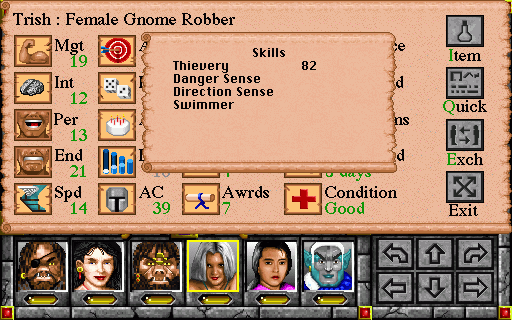
Between the levels she's gained since we last visited Ellinger's Tower, the temporary level boost from the shrine in barbarian lands, and a thievery-boosting accessory I picked up off one of the Mok Heretics, Trish's Thievery is looking pretty good now.
Even with 82 Thievery (a difficult target for anyone but a Gnome Robber to reach this early in the game), it takes several attempts, but...
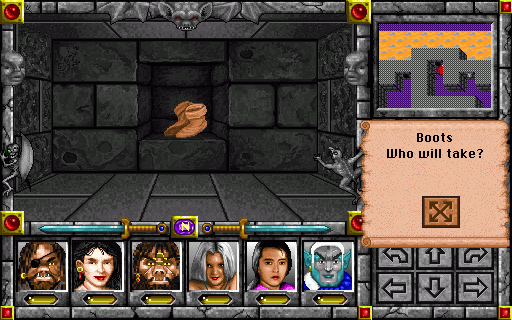
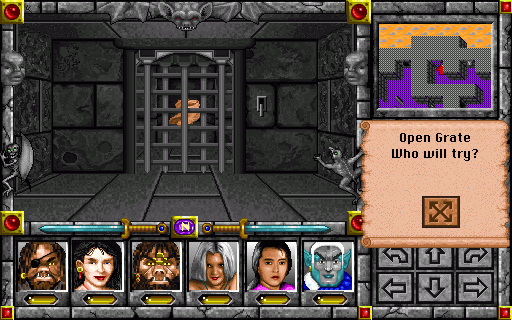
... at last, the locked grates in Ellinger's Tower can be opened, and his greatest treasures pilfered.
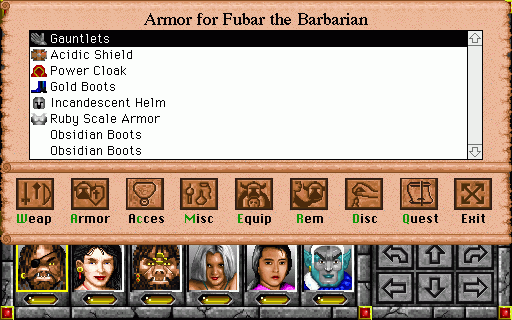
The two pairs of boots behind the grates are guaranteed to be Obsidian, the strongest material in the game, giving a +21 AC boost to their wearer. Not bad at all.
And now we really are done with this update.
Next time, should the party visit the newly-restored first floor of Castle Kalindra in search of information and possible energy discs, or should they finally get around to mapping out the outdoor areas around Castleview? Vote now!