Part 4: Where No Kid Should Ever Go
It feels a bit
 to post so much in succession but I wanted to get this update under way since the last one was just a brief series of cutscenes and the sort, but it set up Katrina's plot. Now, folks, we're on to the real freedom of the game!
Chapter 2 - Where No Kid Should Ever Go
Welcome to Mules! This town is pretty boring but it serves as the town that is right next to Loanne, so naturally just about every main character winds up just sitting around here before they decide to wander off.
We head to the bar, since bars are typically the place where people know helpful hints to pass along to you.
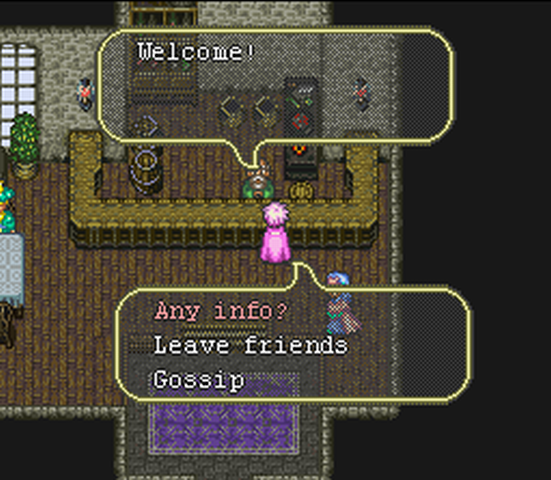
Bartenders are also where you dump party members that will leave your group without being savagely murdered by monsters and having their LP reduced to 0.
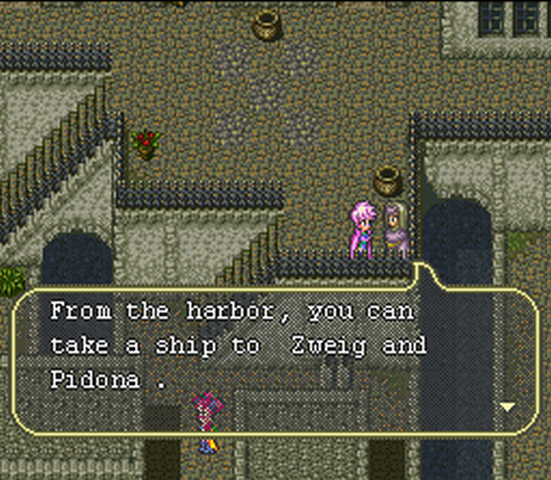
Well, then! It looks like we have a clue as to where to go! Let's take a further look around this place.
This guy is the Poet, or Minstrel. He's in the Romancing SaGa games and is sort of the icon. He will join your party if you talk to him and overall he's good in every weapon. I don't ask him to join for now, but he will be important later.
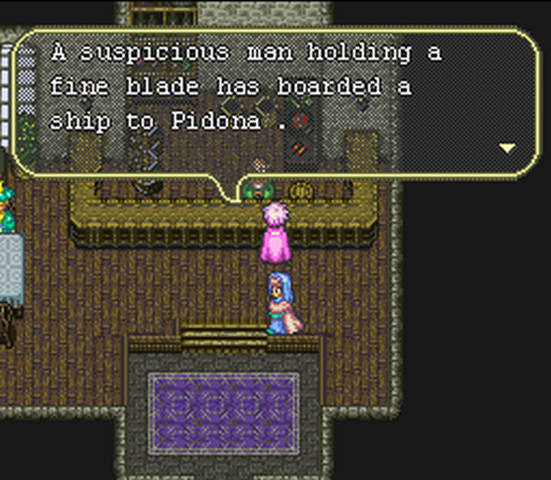
He's right, you know. These guys are people who sell magic to you. Just go up and talk to them. Katrina's hard-pressed for cash at the moment. (Where did she get it anyway? From NotMikhail?
 )
)
RUN AWAY FROM THIS GIRL AT ALL COSTS.
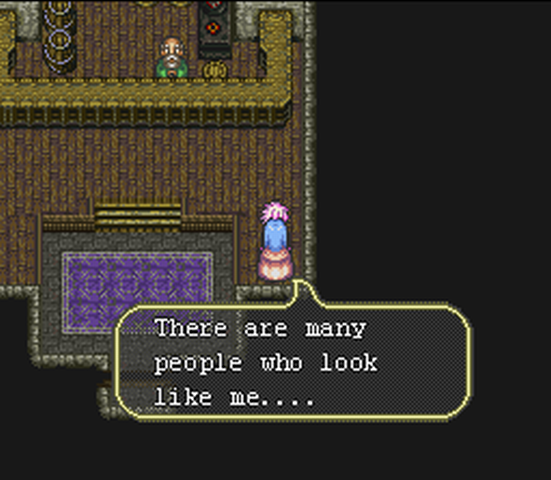
That's just my opinion though. This girl is called Tatyana, but she lies about her name every time. She's a runaway girl from Librof but the story behind her was cut due to time constraints.

She's alright I guess, but she has a required armor item that you can't take off, so her defense may suffer slightly. I avoid her because she will force herself into your party. There's only one way to get rid of her beyond horrible LP-killing, and that's going to Librof. See, check this out!

No offense to Tatyana fans, but I can't stand her. The only women for me in this game are Nora and Katrina.
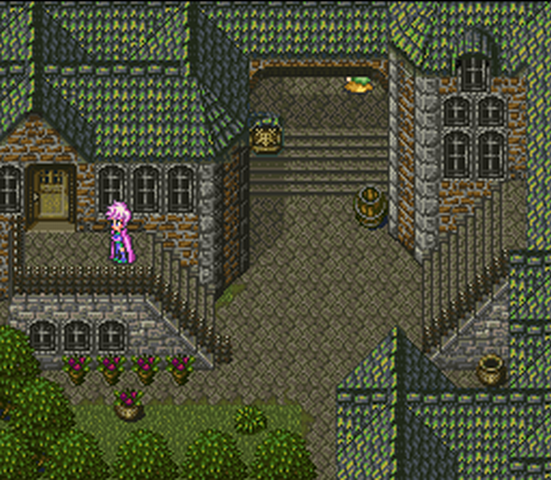
Moving along, I hitch a ride to Pidona. Pidona is Romancing SaGa 3's version of Koorong, with many towns connected to it. When you exit you'll be able to go to the left. In this section you will find Thomas' house, Nora's workshop, and the Cult of Maximus. Let's first visit Thomas' house, which is the unmarked building near
Tatyana.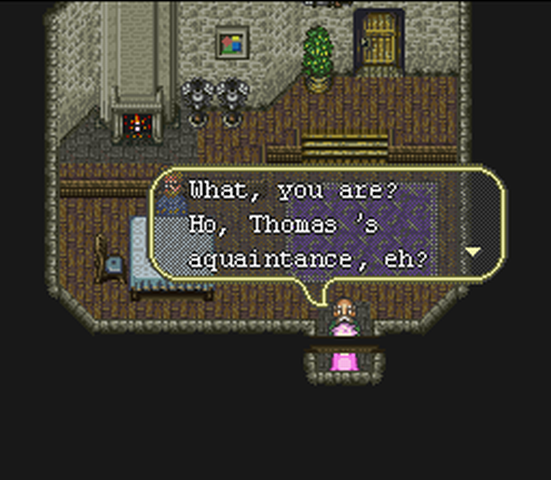 OH GOD IT'S MISTER BOOLB FROM THE INTRO, GET AWAY!
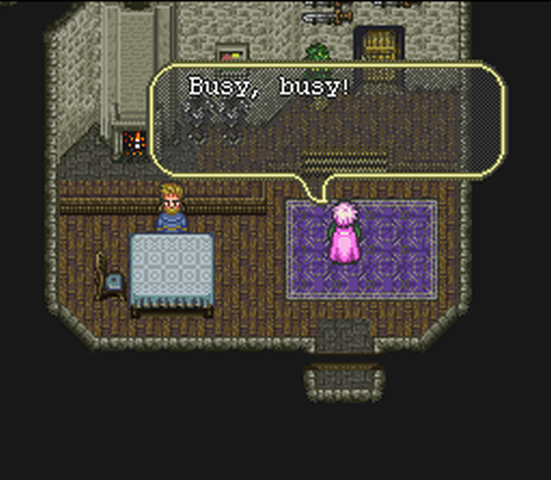
Oh, wait, he can speak normally now.
Old Man: Thomas is in the first room on the left.
Following the old man, we encounter the Not-the-main-character-this-time himself.
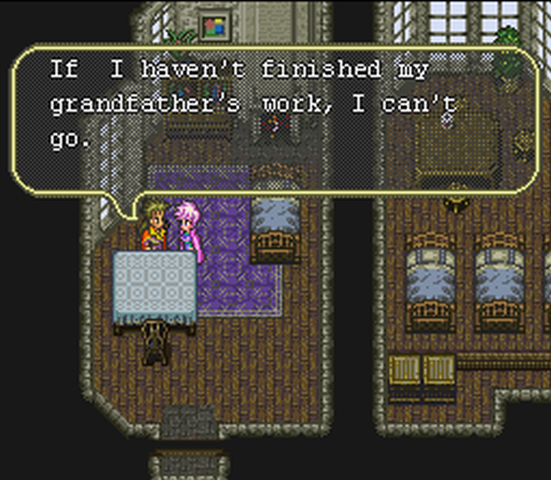
Thomas: Don't mind me. Please take a look at the city
Won't be getting him right now, but it is important to speak to him to trigger a quest. In the middle room, we find:

Well, that was easy enough. We have our first fodder character until the real party is started.
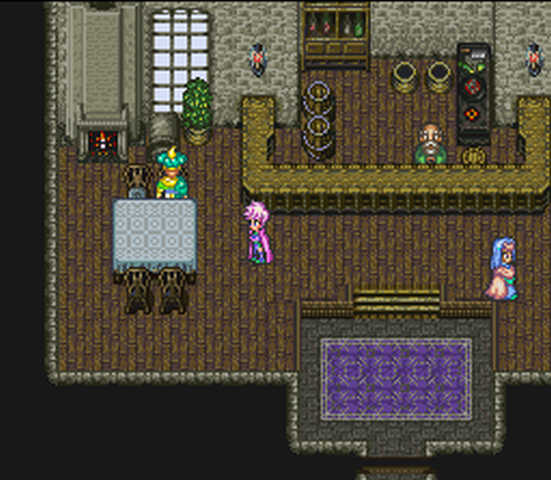
Now, let's check Nora's workshop.
Going downstairs shows us this!
Nora leaves after that, and Katrina goes to talk to the man there.
Ken: Sorry, but...
Katrina: This is a very nice workshop. It is strange that there are only two craftsmen here.
Ken: It wasn't like this before.
 WARNING! WARNING! BACKSTORY OUT OF NOWHERE!
 The first master of this workshop and the Holy King forged the magic spear Arakes together. It was said to be the best work. After the Holy King closed the Abyss Gates, the spear became the symbol and decoration of the workshop. Craftsmen from all over the world came here to polish their skills. In the last 300 years, this workshop was the Number One of the world.
However, after the War of Ludwig and Clemens, someone stole the Holy Spear in the middle of chaos. The master left for a trip to search for the spear. One year later, it was said that the spear had been located and returned to Pidona. And, the master tried to go and recover it...
Three days later, master's corpse was found at the harbor.

After master's death, the craftsmen left the workshop one by one.
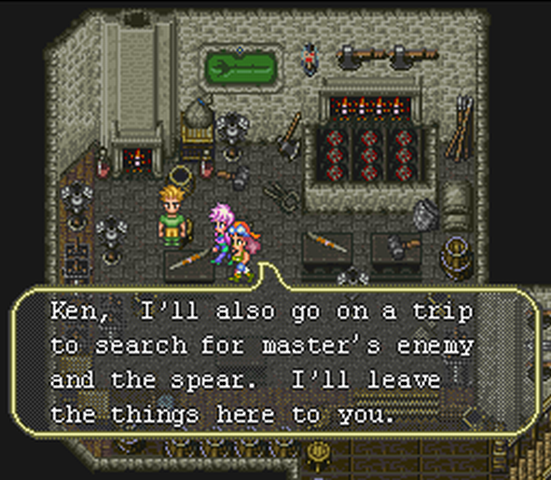
Ken: You can't go alone! Don't you see what happened to the master? Nora!
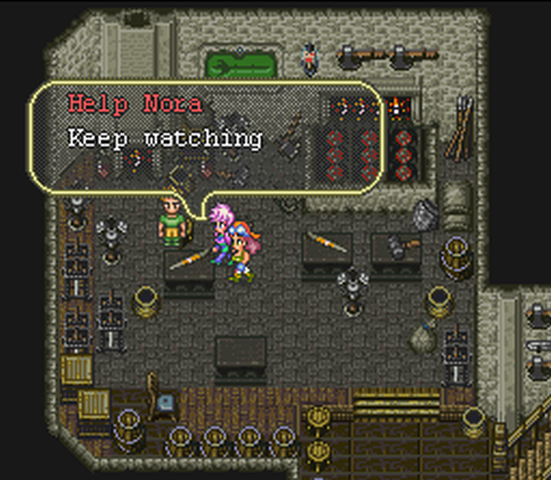
At this point in the conversation you can choose to help Nora or just keep watching. Even if you don't want her in the party you should at least pick her up as when you remove her from the party later she comes back here and you can assign her to work on things. This is very advantageous. Also, if you let her run off I'm pretty sure she dies. You won't be able to recruit her ever again.
I, of course, pick her up which leads to this conversation:
Katrina: The stolen spear is the original, right?
Katrina: Got any clues?
Nora: Trees in the desert... 9. (just kidding)
Nora: The master has left two things. This red coral earring and the name Jackal...
Katrina: Red coral and Jackal?....

Katrina: Anyway, doing this together is better than doing it alone, isn't it?
Nora: This is true. I'm Nora. Nice to meet you.
That makes three party members! Now, when you exited Thomas' house the first time you saw him walking south, right? Go down that way and then go into the pub.

Downstairs you will find this guy:
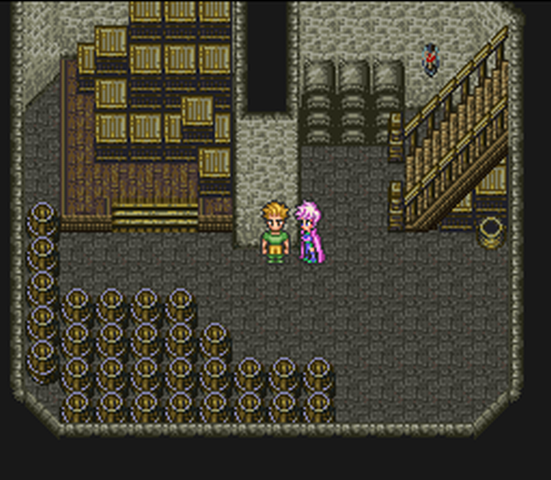
This guy holds all of your items for you if you want him to, and he plays a minorly important role later for trick purposes. Exiting the pub may show Thomas sneaking off to the left. Follow him and go into the weapon and armor store that's close to the exit. You'll find an old man there who tells you what happens if you get money over 10000G (the max carried amount in this game). It's just deposited by these guys who will give you a card to use when you do get over 10000G.
Follow that red caped bastard! He heads to this place in these dirty slums.
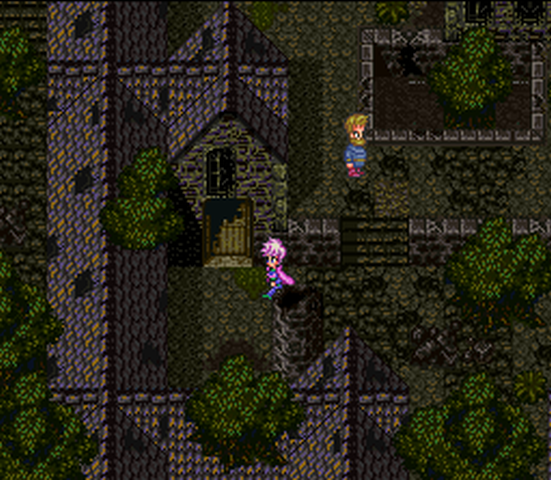
Don't worry. This guy is one of those white-haired guys who isn't evil. Meet Sharl, one of the more overpowered characters in the game later on.
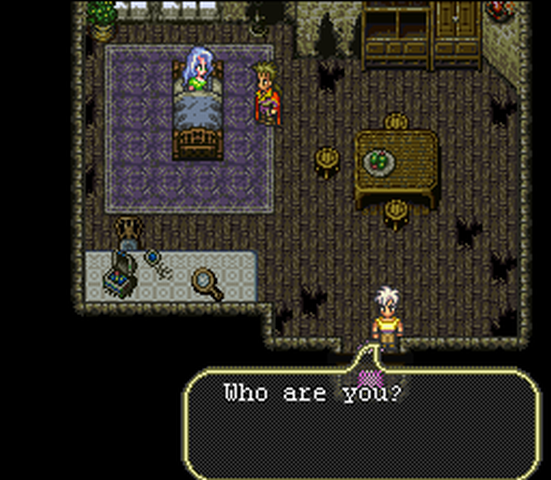
Thomas: Katrina! Why are you here?
Katrina: Sorry, but I followed you here.
Thomas: Don't worry, they are my friends. I'm telling Muse about our adventure in Loanne.
Our adventure? You were off dicking around with Monica, Julian, Ellen, and Sara. In fact, you were probably messing around with poor goblins because a vampire lord was too lazy to say 'Hey you guys can go now'. You got to Loanne when it was all done!
Muse: Everyone come on in. We haven't had so many guests for a long time.
Thomas joins your party and it looks like things will be cheery, until suddenly, children!
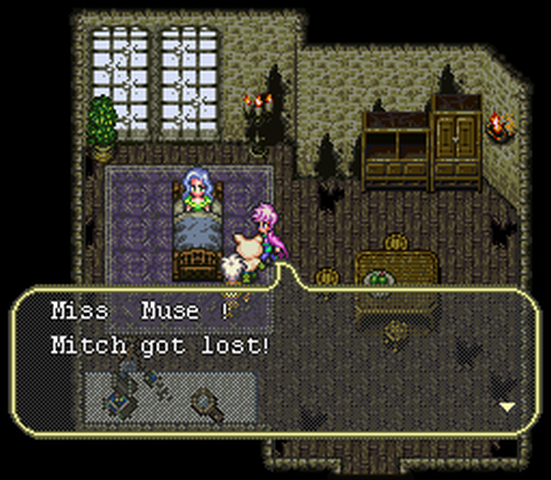
Kid: We couldn't find her anywhere, and Gon went to the Devil King Palace to look for her!
Muse: Devil Palace!! Sharl, go chase him immediately!
Sharl: Yes.
Katrina: I'll go also.
Sharl: Thanks.

A kid stumbles on inside...

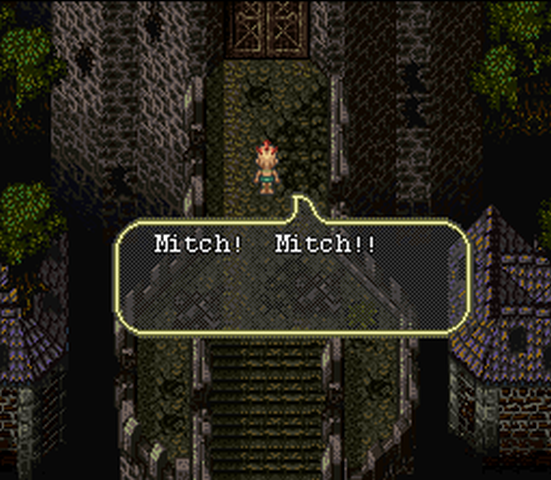
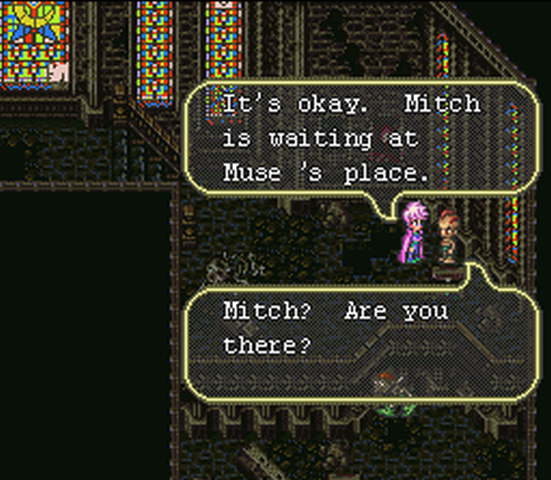
Sharl: Mitch! What happened to Gon?
Sharl looks at Katrina and simply goes "Hurry!"
Cut to the Devil King walkway:
Narrator?: The Devil Palace was a haven for thieves and rogues, but now it has turned into a den of monsters.
Gon: Mitch, answer me! No more hide and seek game!
Narrator?: Also, members of the Divine Church are searching for the hidden treasures of the palace.
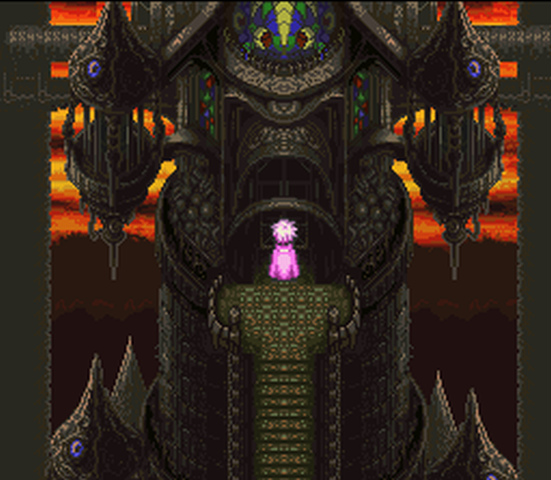
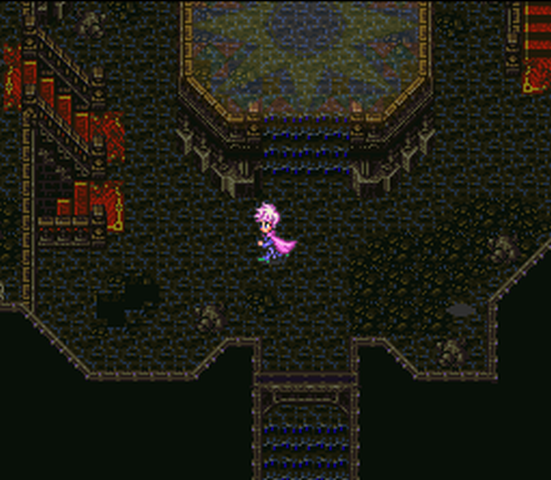
Here we are, the first serious dungeon of the game though we will only be making a brief visit here.
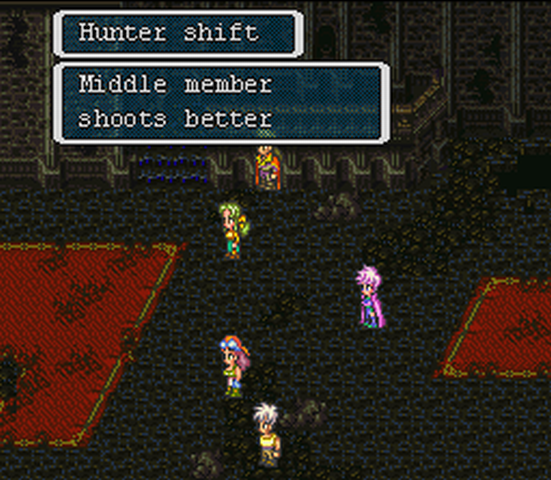
Since we have 5 party members counting our guest Sharl, I want to go over the other key aspect of this game: Party formations. You can access this list via the Form option in your ingame menu.
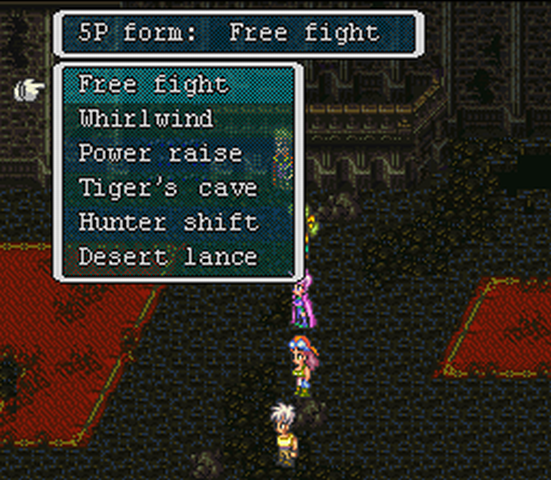
Each formation does its own unique bonus and you acquire them by finding more and more party members. They don't have to be there long though. Just keep checking your forms when you get new party members and they will show up. Here's a list of what the forms are and what they do, besides Free Fight.
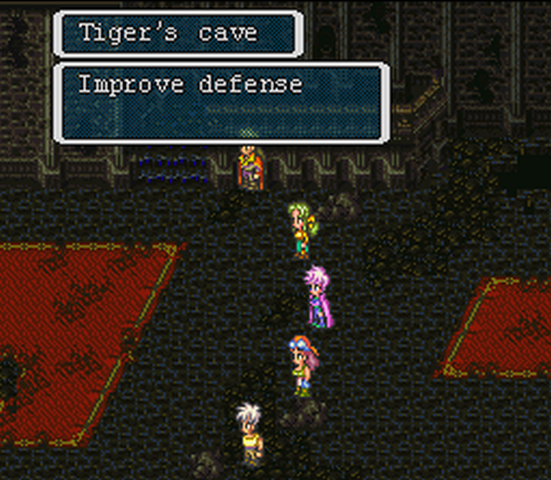
Nice boost to defense at the cost of speed. This is good if you find yourself taking a lot of damage.
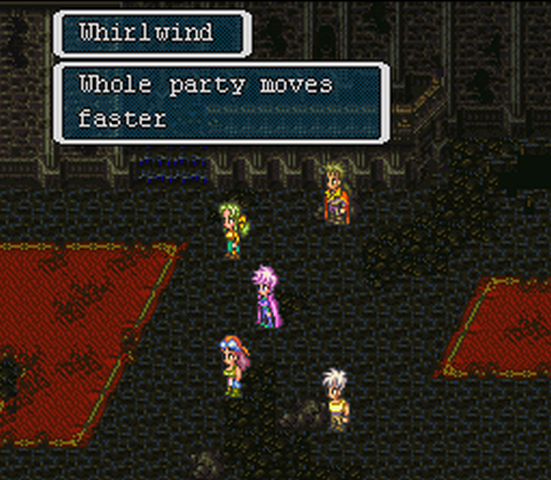
More often than not I am in this form. Speed wins overall and acting first beats most anything.
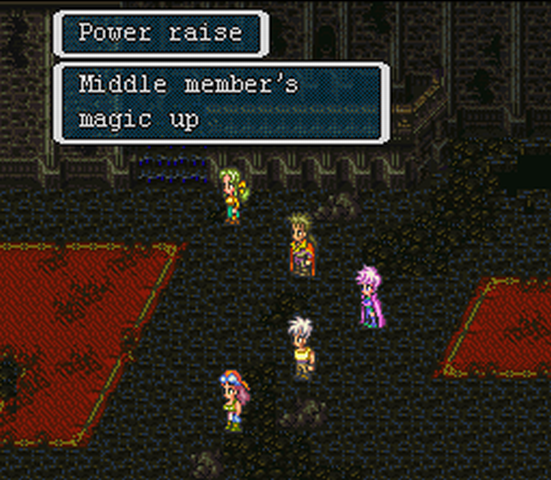
This is a good magic form, but I haven't really used it that much, being that it's designed for magic.
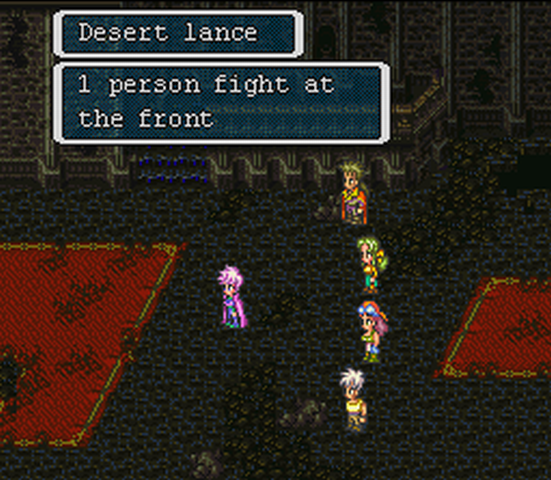
This is good early on if you have a tanking character. It becomes even more useful if you want that character to spam a counter move. Epee users have a great physical counter called Matador which is useful for this.
This one is useful for a bow multi tech that you can only do in Commander Mode. Commander Mode is accessed by having six people in your party and placing your leader in the bench slot of the formation, out of battle.
Those are the only forms I have so far. On to the dungeon!
You may not notice it at first, but running in dungeons like this will cause monster sprites to disappear. Any contact with them results in a battle that is an automatic shift to the Free Fight formation (this is bad) and the enemy acts first (even worse).
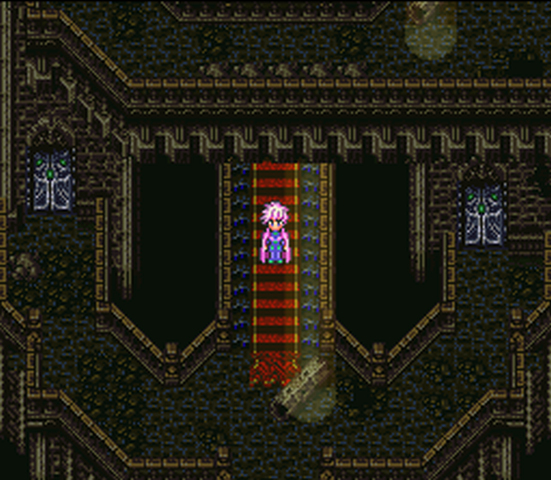
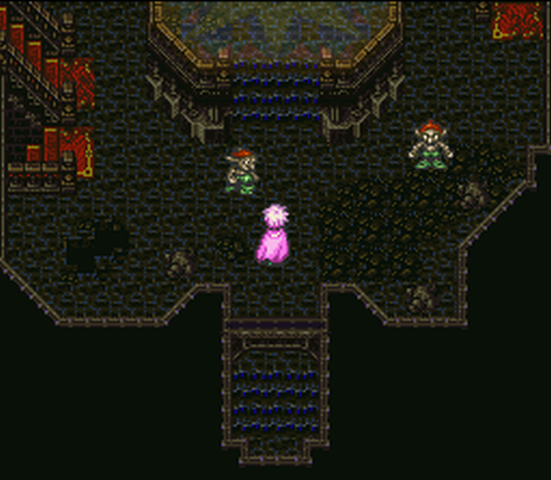
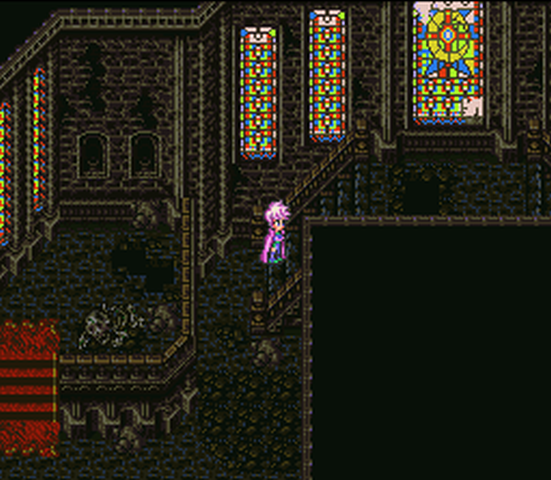
Head down the staircase and take the door to the left, here. The door to the right is a dead end with no treasure.
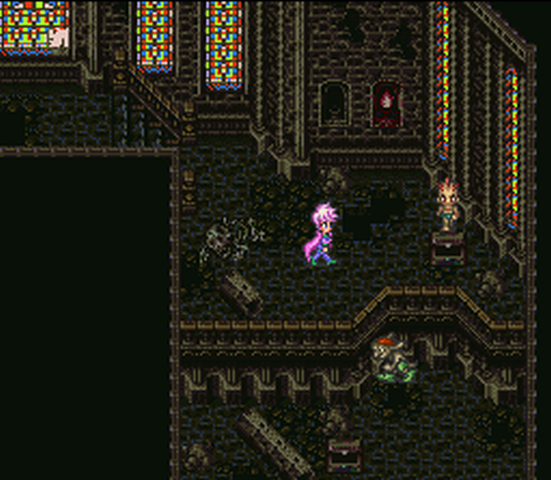
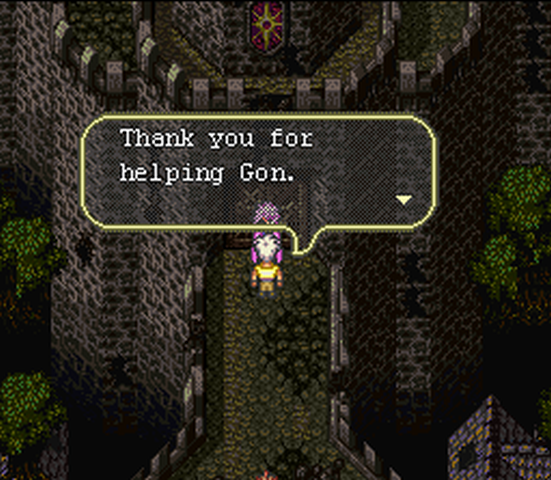
Running over this gap gets you right to where Gon is! Talk to him to rescue him.
Gon: .... Ah, I was scared...
Katrina: Okay, you have done a good job, Gon.
Once outside, we get this!
Sharl now leaves our party but we will see more of him later. For now, head back to Thomas' house. If you are lucky, the man sitting here will say this. If not, go back outside and then return and talk to him.
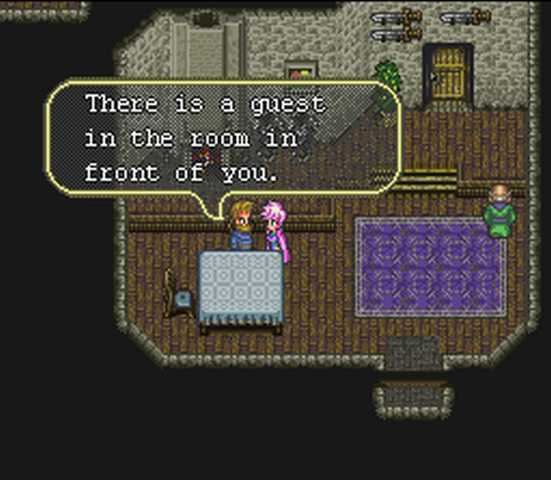
Man: He surely wants to meet Thomas.
Who could it be?!