Part 3: Semester 3 - Archaeological Engineering
Last time on Shining Force Bare Minimum, in a refreshing nod to realism in medieval travel, we spent all chapter looking for a boat. Now that we know where to get one, we're going to plow straight through every trap that gets laid between it and us.
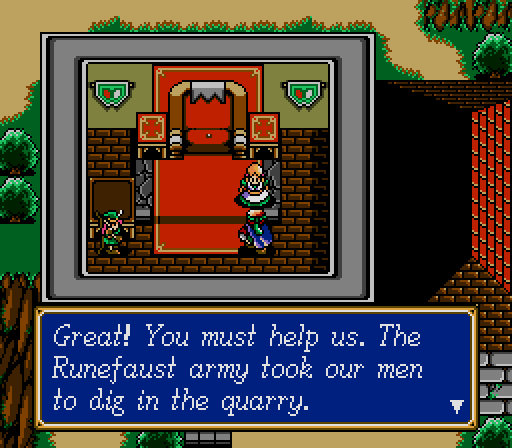
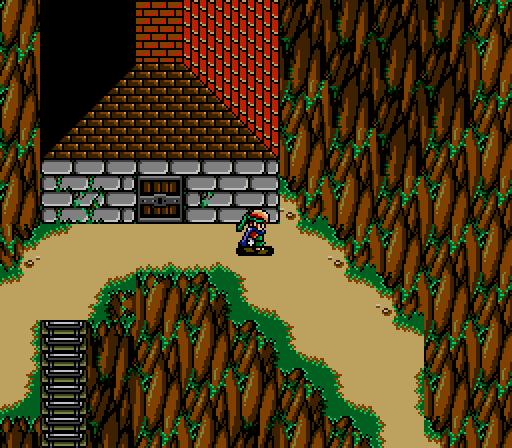
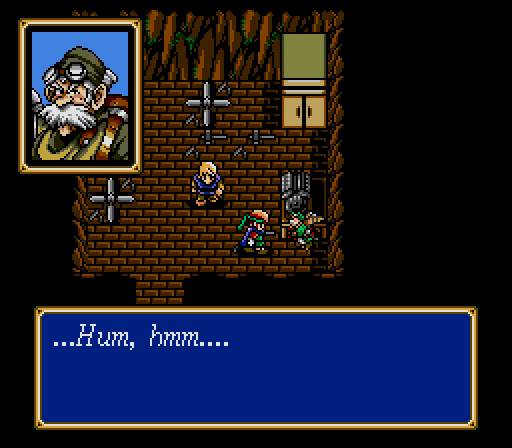
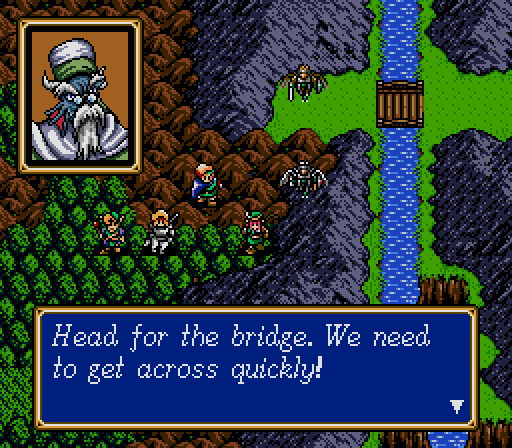
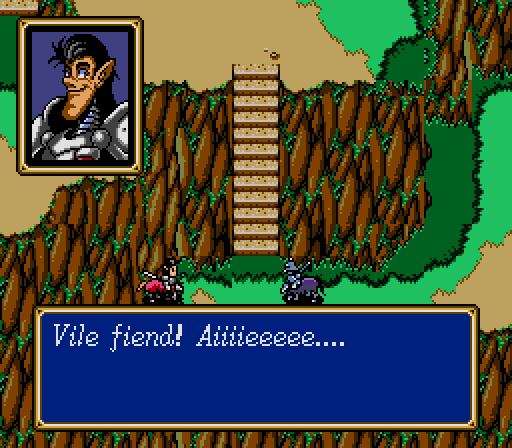
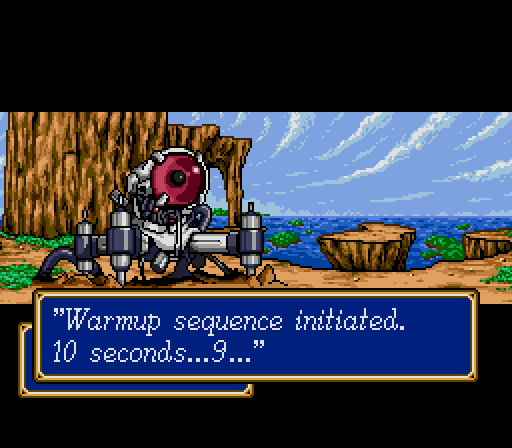
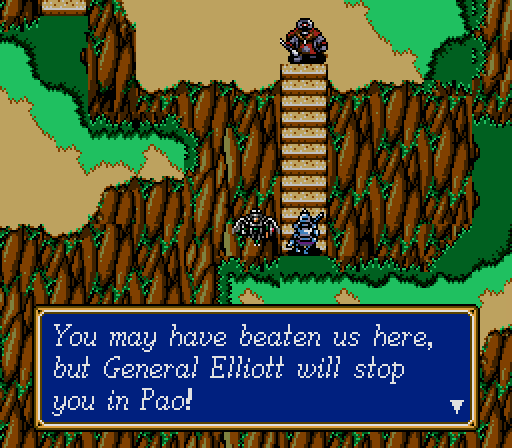
I could say something about the geography of the shortest path between two coastal towns being over a mountain, but that turns out to be overshadowed in terms of incredulity. The first thing to do in town is talk to this person, who informs us that the men of the village have been enslaved to dig up an ancient weapon of mass destruction to be used against us.
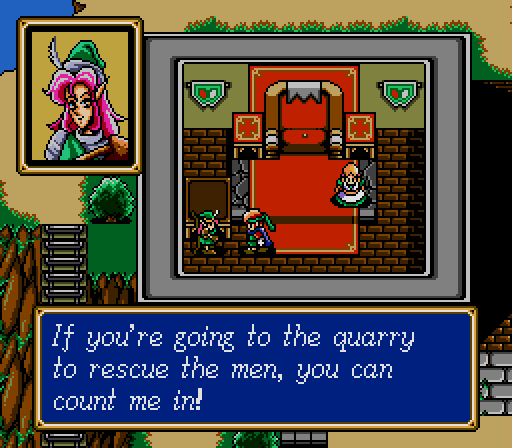

She sends her daughter with us to show us the way. There's only two exits from the town, and I think we could have worked out which one wasn't the quarry, but I can't turn down the extra help.
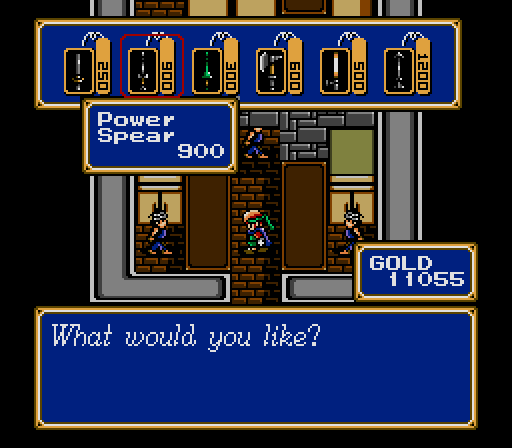
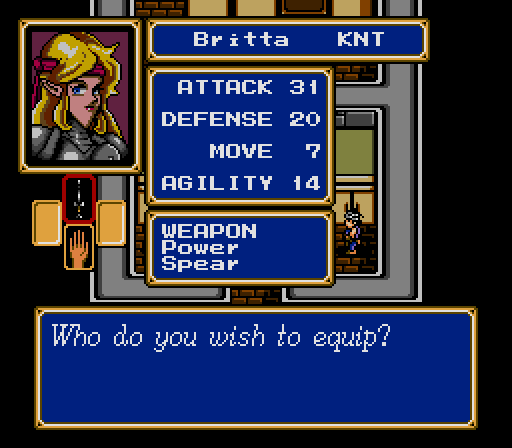
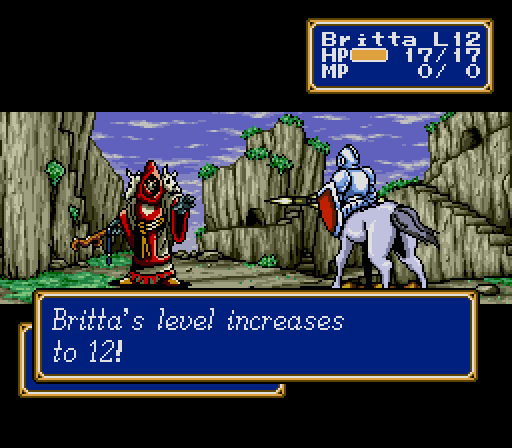
The next thing to do is upgrade Britta's spear. The new tier is strong enough to replace both her previous weapons. Unfortunately, it's the last spear upgrade for a very long time, so our new ranged attacker will have to start pulling her own weight fairly soon.
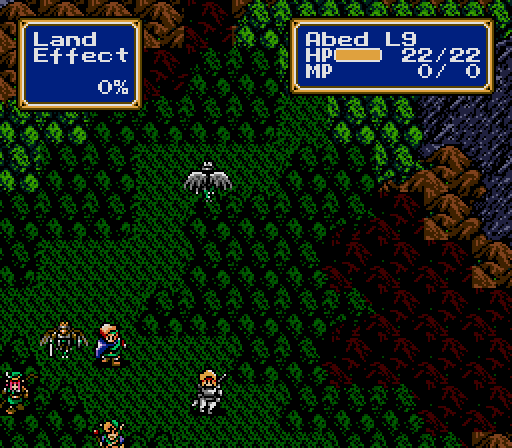
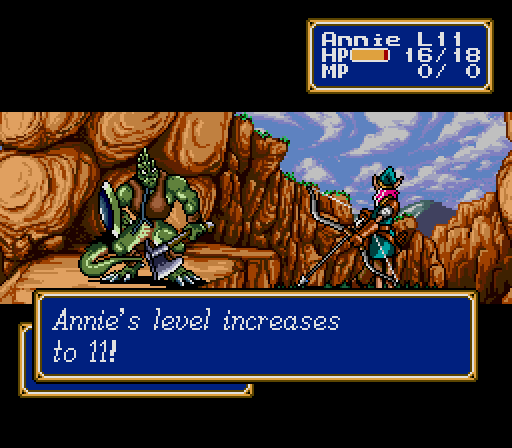
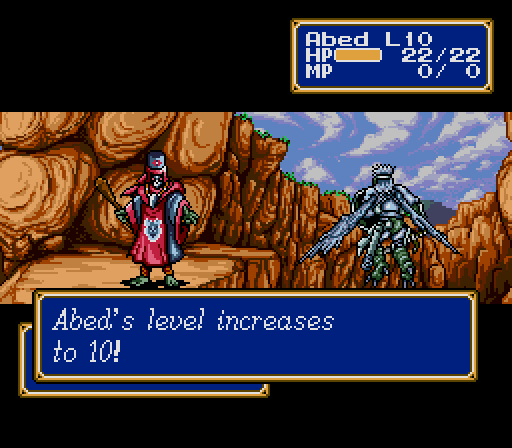
Speaking of which, the Force doubled in size just recently, so we'd better take a look at what we're working with.
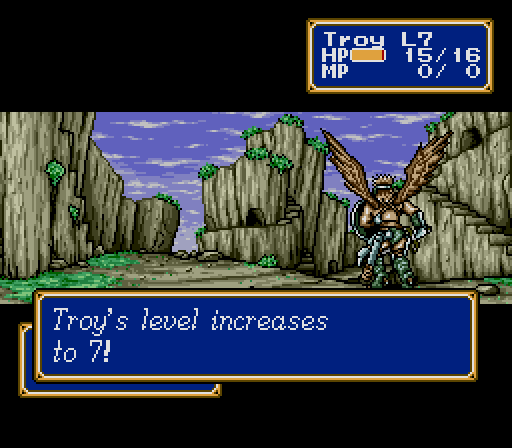
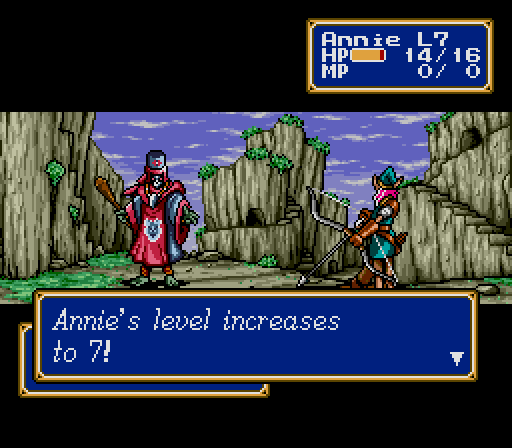
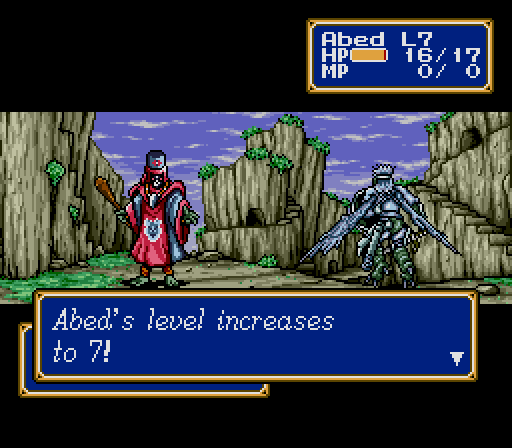
Student ID
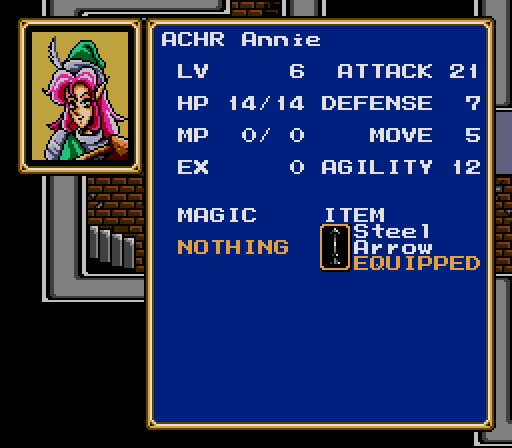

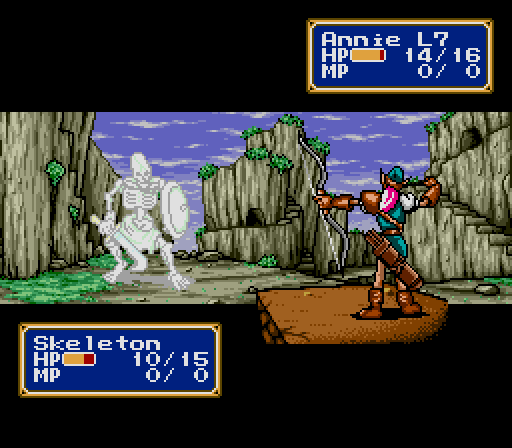
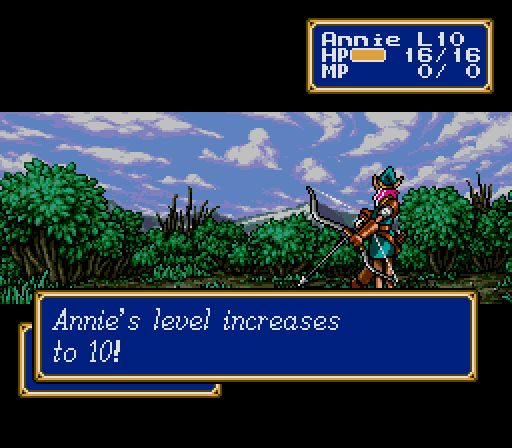
Annie the Archer is actually the slightly weaker of the two elves in the game, and those familiar with the other one may be surprised to hear that. However, having an extra ranged attacker remains as important as ever, especially one whose weapons will actually scale throughout the entire game. Annie will play an important role both in sniping stationary enemies from afar and in providing focused fire when funneling enemies into a kill zone. Archers are also supposed to be strong against flying enemies, but it's never made a noticeable difference in my favor. It certainly seems to help enemy archers, though.
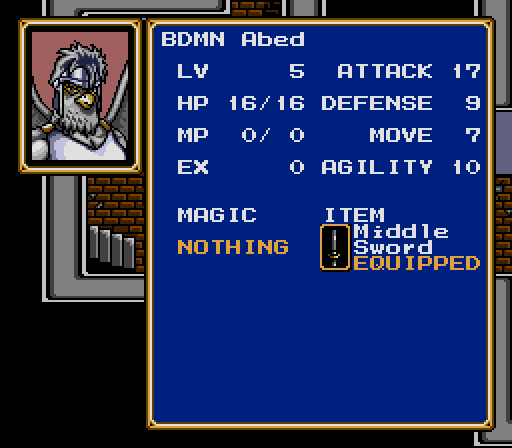
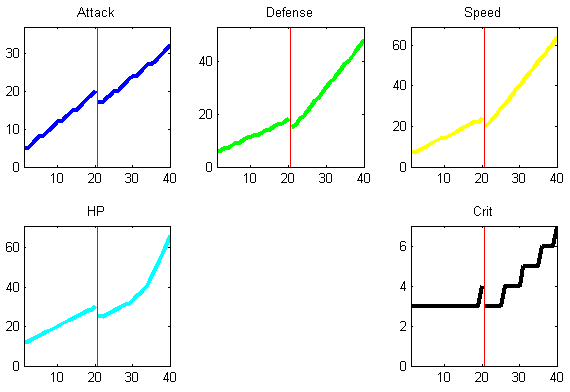
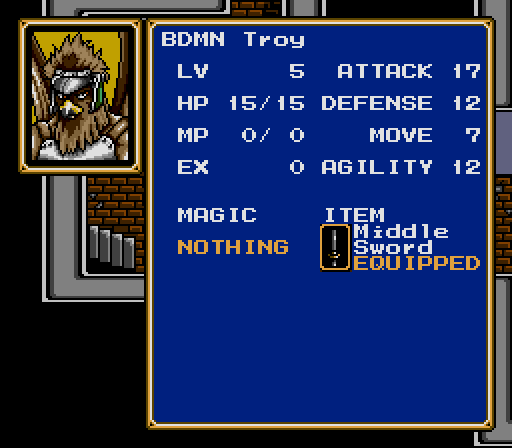
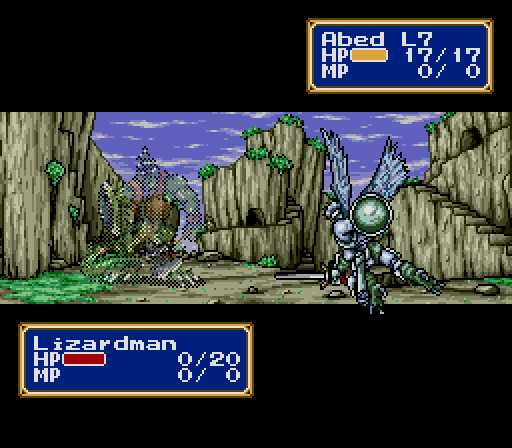
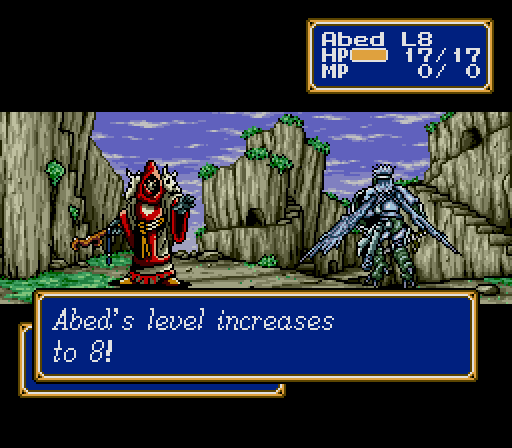
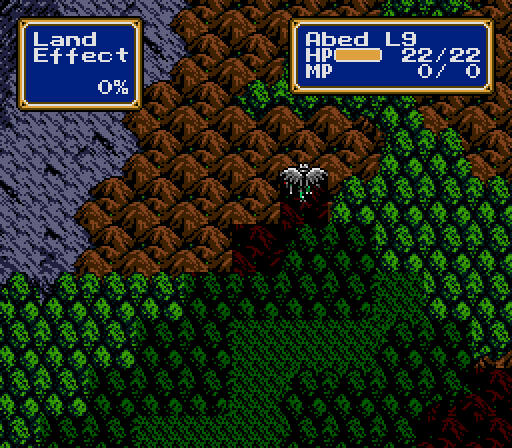
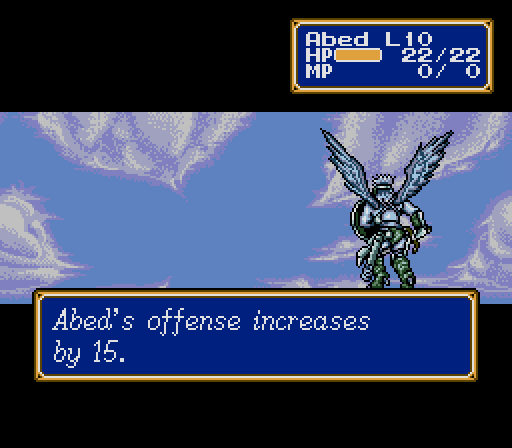
Abed and Troy the Birdmen are basically slightly weaker Jeffreys that can fly. Generally, they have a little less Attack, a lot less Defense, a little more evasion, no benefit from Land Effect, and supreme mobility. The two are largely interchangeable, and, as long as their levels are about the same, their stats typically won't differ by more than a few points. They're not quite front-line units, though, so I don't recommend trying to pick one over the other even in a normal game; they're best used in tandem, supporting each other in flanking actions or surgical strikes.
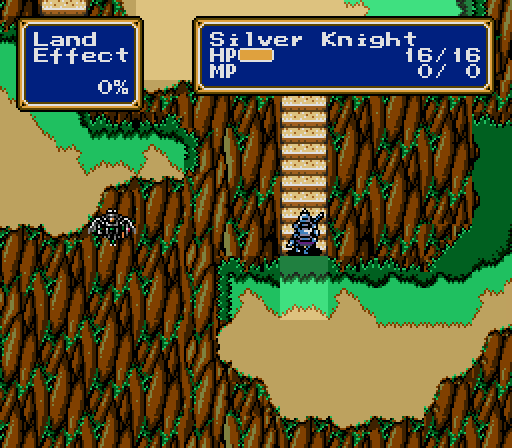
Last thing to do before leaving town is to cure the poison left over from last chapter. It's always tough coming back to this game from modern RPGs, where persistent status effects are largely a thing of myth and legend. We won't ever have a healer with the Detox spell, so if we forget to check in with the priest regularly, we get to enjoy a slow, wilting death.
I sort of wonder what their plan was going to be if we hadn't decided to come this way. Would they have dug up the weapon and tried to transport it to wherever we were? Or followed us there, hoping to find a different ancient weapon they could use instead?
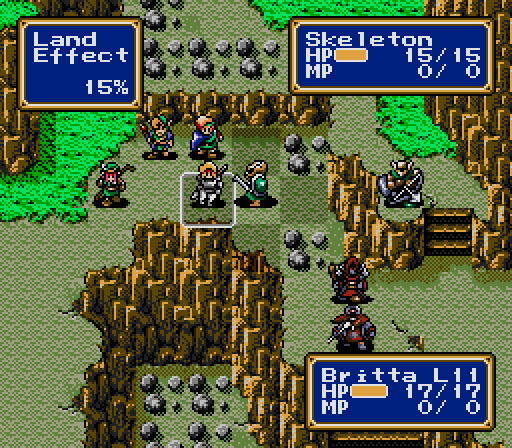
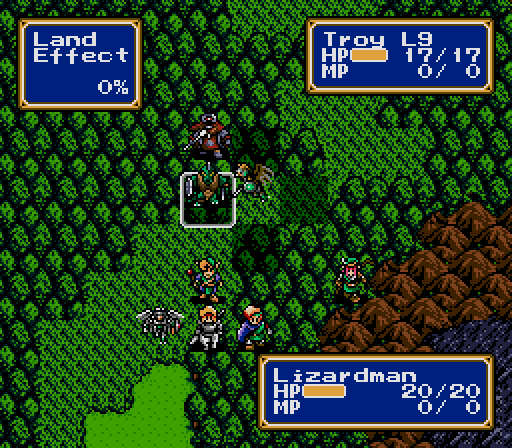
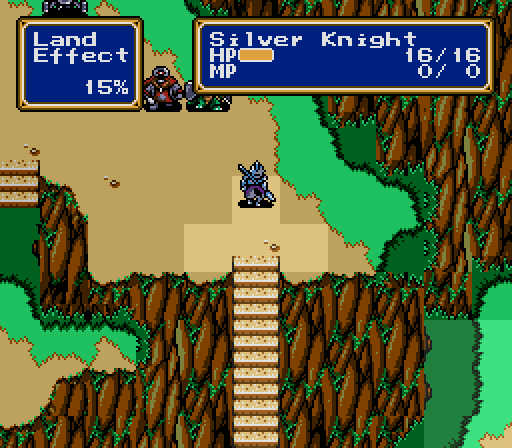
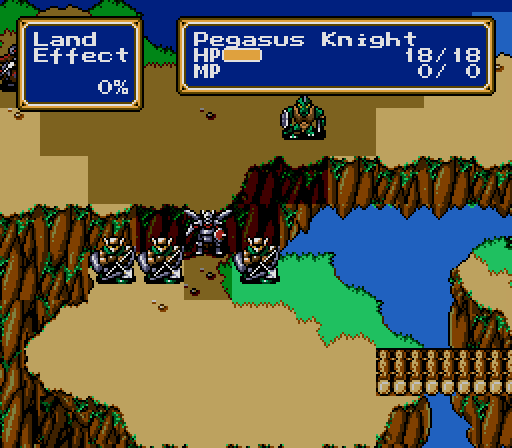
Battle 9
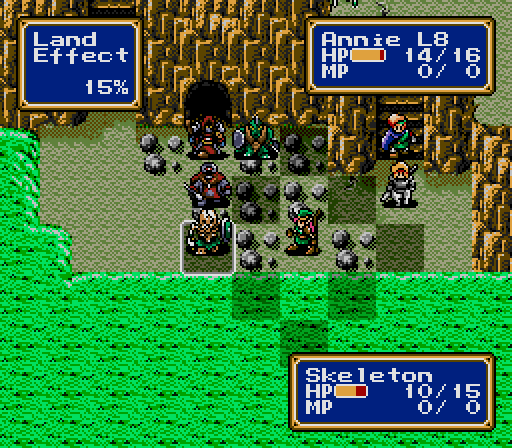
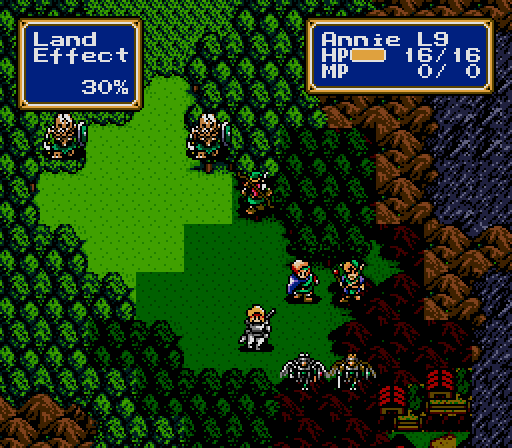
The secondary objective of this battle, as before, is to build up our new members to match the rest of the Force. The ensemble is better off than when it was just the Jeffrey and Britta Show, but a normal game will easily have a full active team by now, so everyone still has to do more than their share. Fortunately, this map has a lot of fixed enemies, narrow corridors, and ledges that are great for training up ranged attackers and fliers.
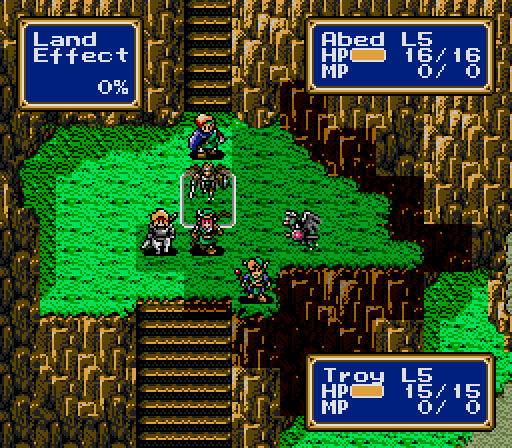
The birdmen's Attack starts off relatively low, but the Power Ring can help with that. In general, I'll leave the Power Ring equipped on whichever birdman has the lowest Attack, and occasionally use it for a temporary boost on the other.
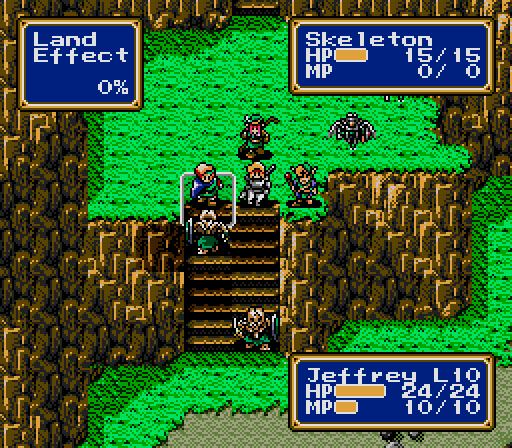
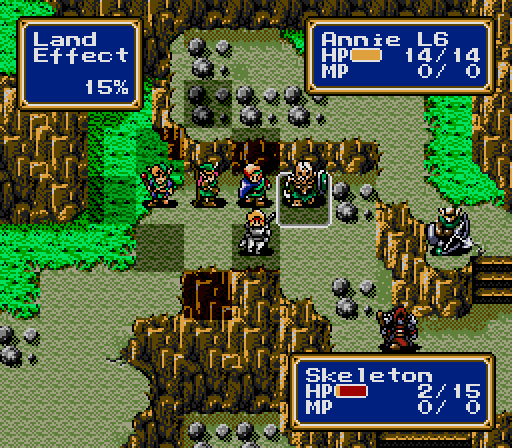
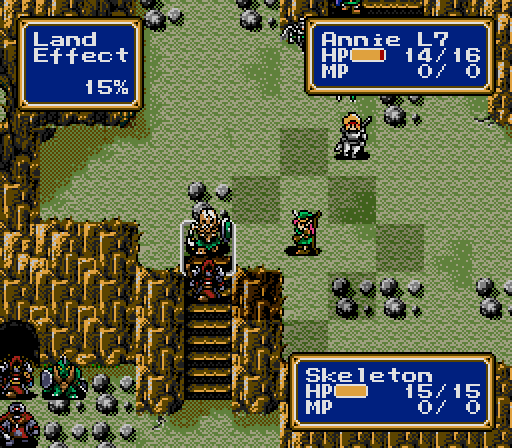
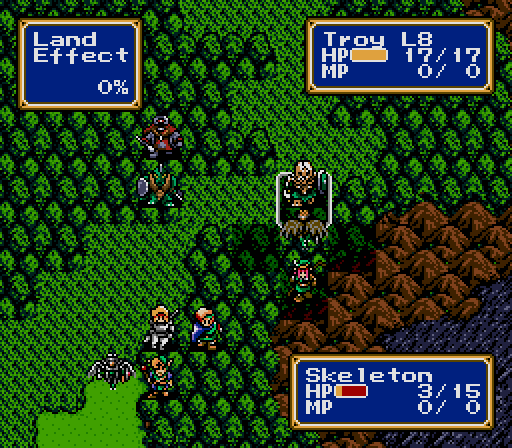
Two Skeletons charge in right off the bat. They're not as big a threat as they were last battle.
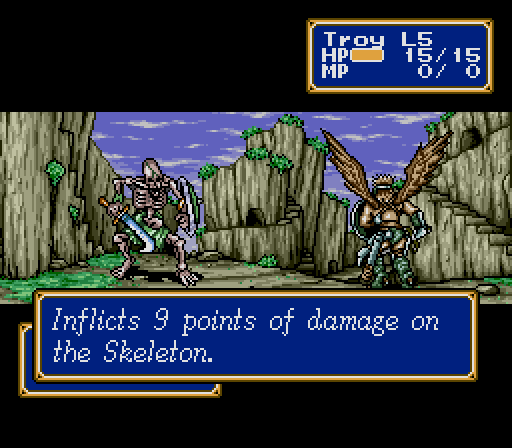
However, our new members won't start off able to do much damage to them. The Power Ring is important here to clear the Skeletons out quickly without ignoring the secondary objective.

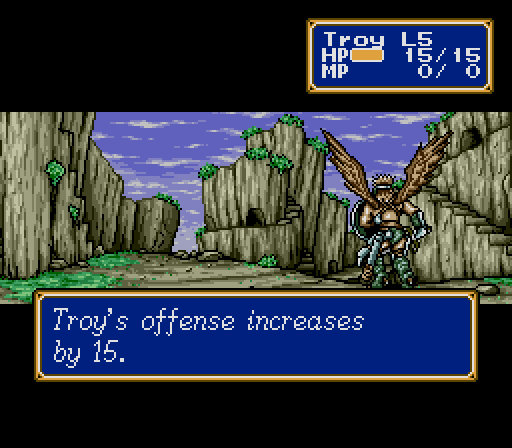
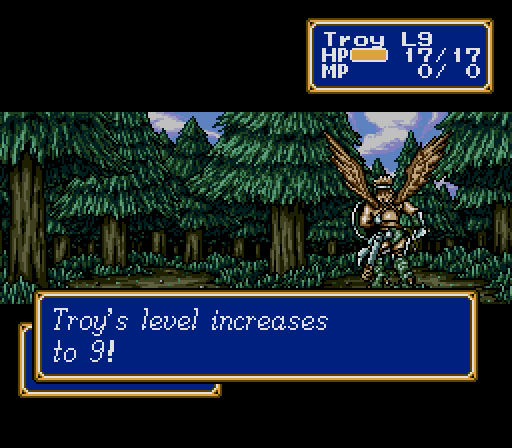
(Troy gains 1 ATK)
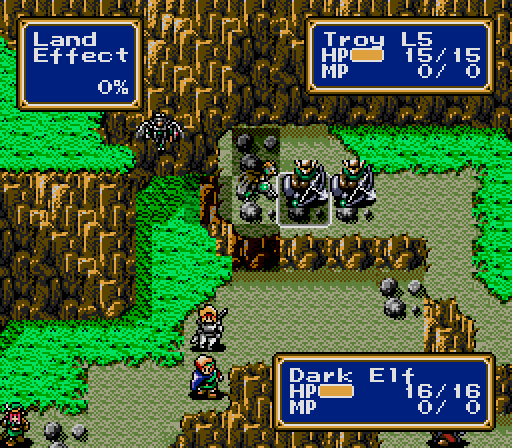
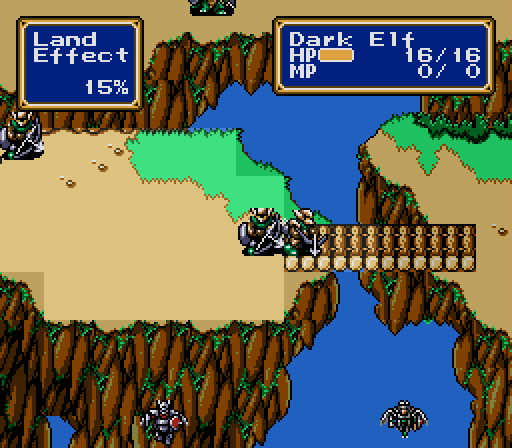
Once they're taken care of, the birdmen can head straight to these archers while the rest of the Force takes the long way. Boost lasts just long enough to take out one of them.
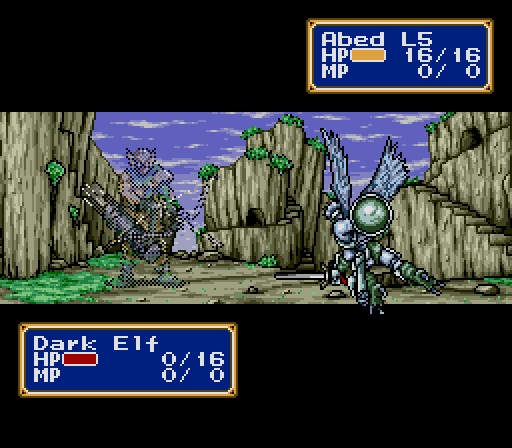
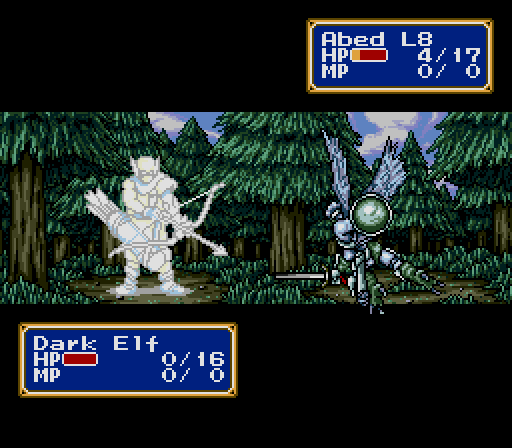
Ordinarily Troy would be vulnerable to a counterattack here, but the Dark Elf is set to advance when the good guys cross a certain threshold, and, since we technically flew behind enemy lines just then, advance is actually retreat.
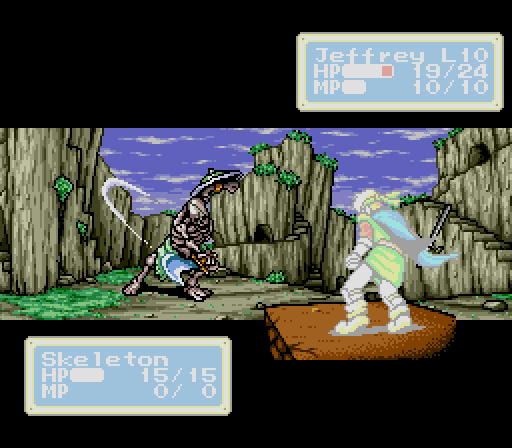
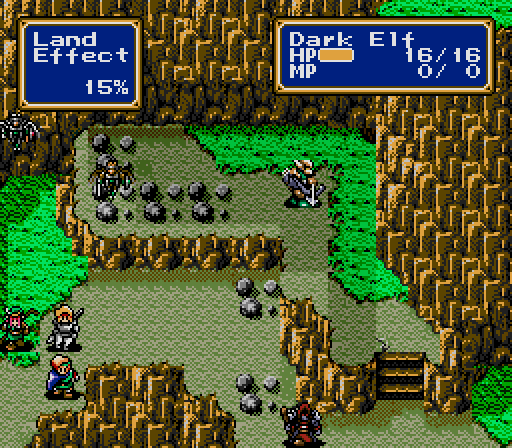
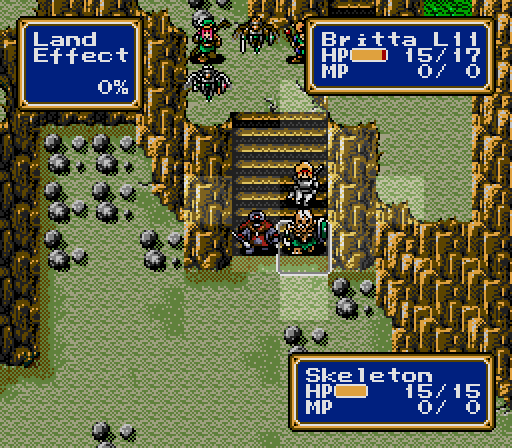
The nearby enemies don't get drawn out by our approach, but this one Skeleton attacks from down the stairs. The enemy groups in this map don't seem to work in concert very well.
The Skeleton falls eventually, and Britta takes out the Mage before it gets any ideas.
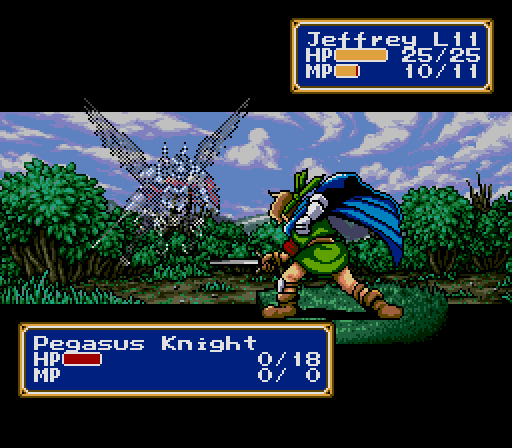
Birdmen are actually safer to use against archers than they seem. Because archers have a blind spot right next to them, if you can trap one in a corner with melee fighters, they're helpless.
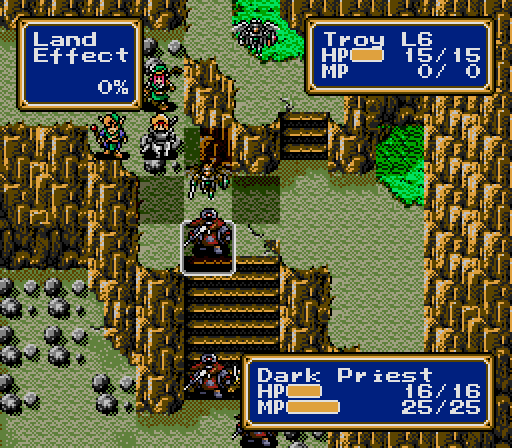
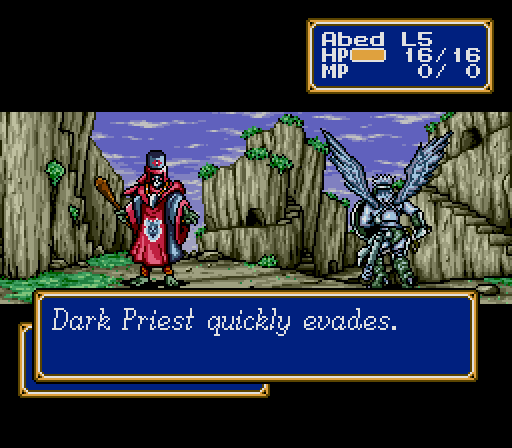
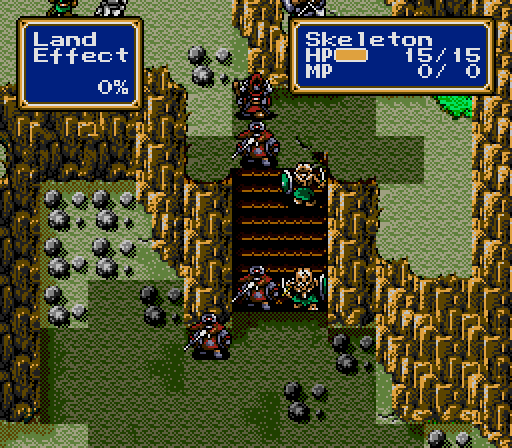
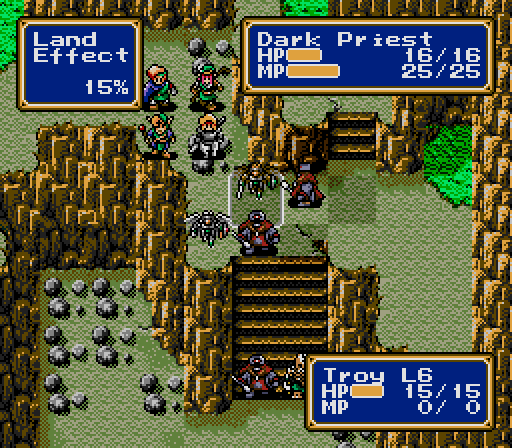
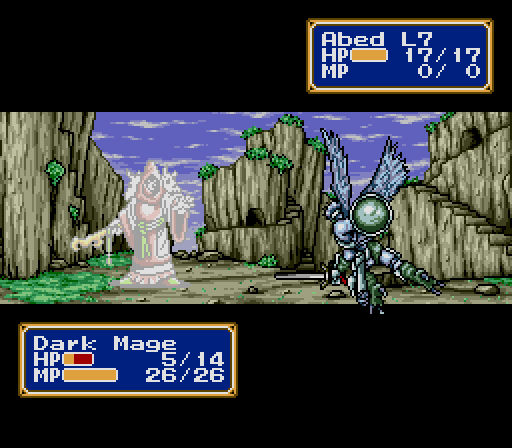
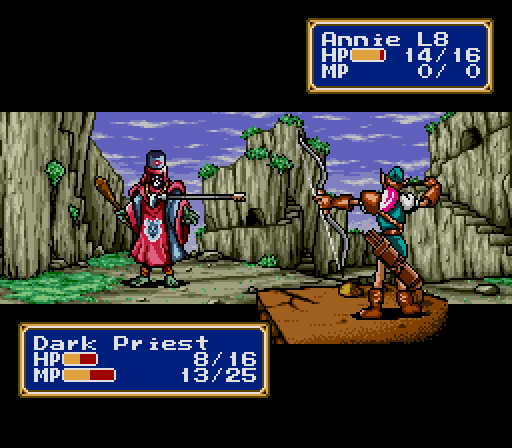
This level introduces Dark Priests, the first enemy that can heal. They tend to be relatively fragile, but evasive, and they can surprise you with strong physicals.
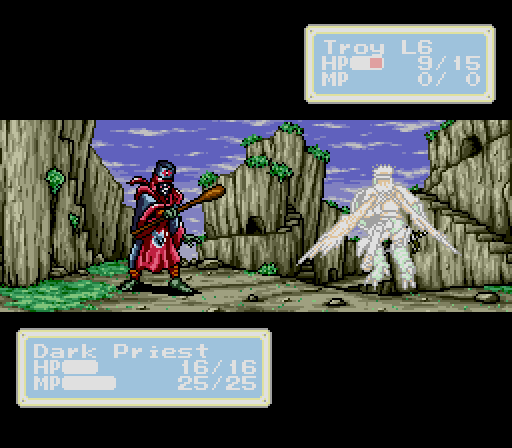
What makes them frustrating is how unpredictable they can be. Sometimes they'll heal other enemies, sometimes they'll heal themselves, sometimes they'll just sit there like a moron, and sometimes they'll try to pretend they're a melee class. This one ran up the stairs when we got close enough and didn't even bother to help out its friend.

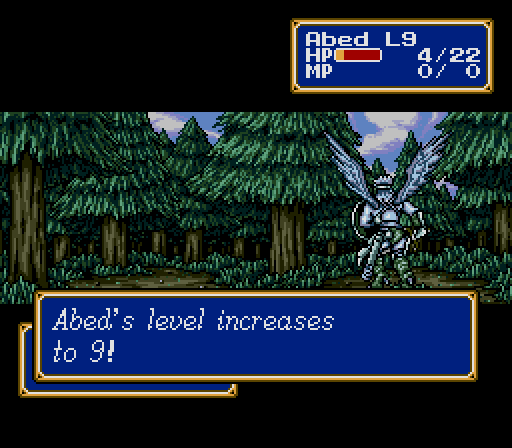
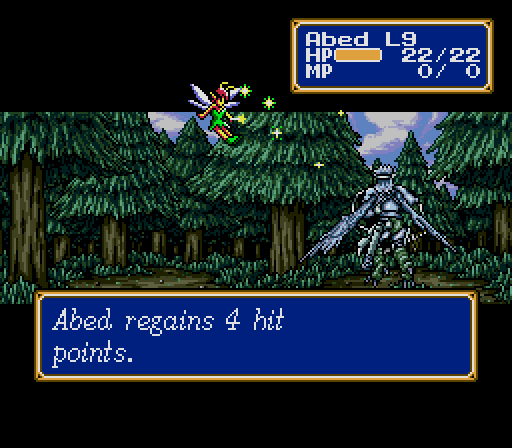
(Abed gains 1 SPD, 1 HP)
That said, they can be useful as an experience battery. If you find one content to heal itself every turn, you can bleed it for experience until it runs out of MP. That's boring, though, so I won't do it often.
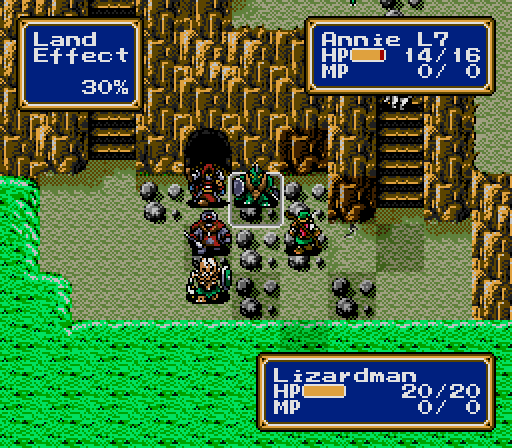
Once that's taken care of, we put a centaur in this Skeleton's face.
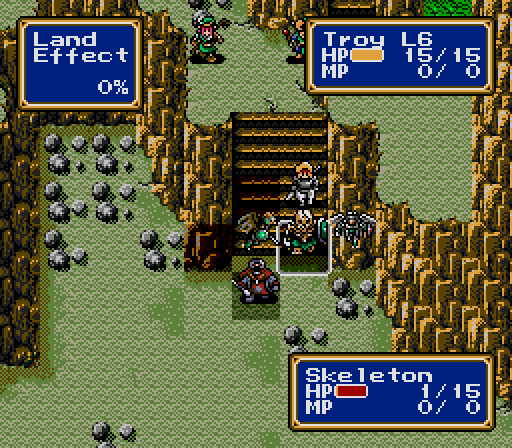
(Troy gains 2 ATK, 2 DEF, 1 HP)
The Priest nearby doesn't even try to heal the Skeleton, instead helpfully retreating far enough for us to take out the Skeleton before it attacks.
(Annie gains 1 ATK, 2 DEF, 2 HP)
(Abed gains 2 SPD)
Because we're not using the full strength of our Force, it takes a little while for this Priest to die.
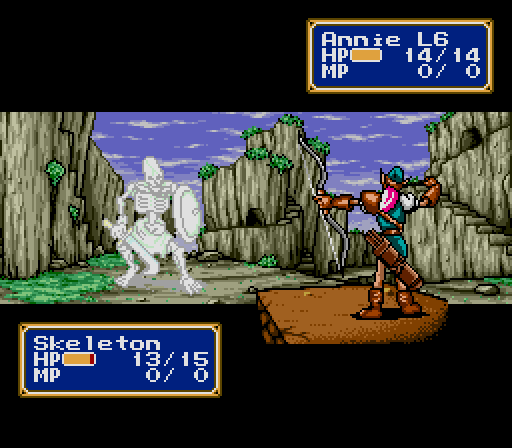
The next Skeleton doesn't move, so Annie can plink him to death.
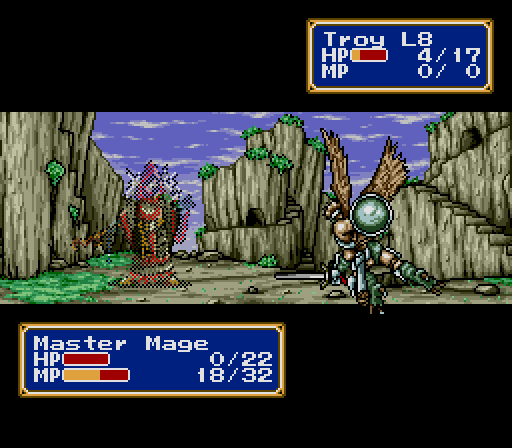
The Mage manages to go before Troy can deliver the follow-up attack. Honestly, it might have done more damage with a physical attack, given how low Abed's defense is to start.
(Annie gains nothing)
This last group of enemies won't move at all, so Annie wears down the Lizardman...

(Troy gains 1 SPD, 1 HP)
...weakens the Skeleton for the birds...
(Annie gains 1 ATK, 1 DEF, 1 SPD)
..and takes out the Priest. Stationary enemies will be a thing all the way to the end of the game, so expect to see this strategy a lot.
We can't take out the Lizardman without getting in range of the Mage, so it's time to rush the enemy.
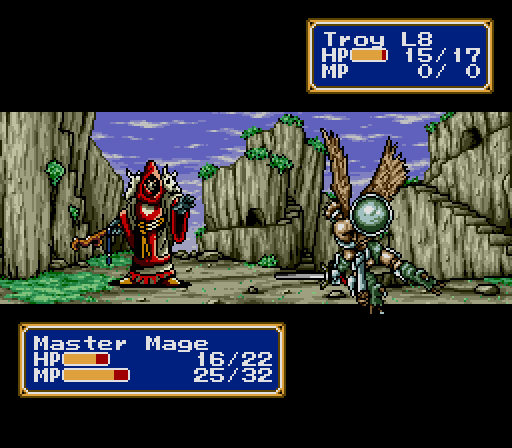
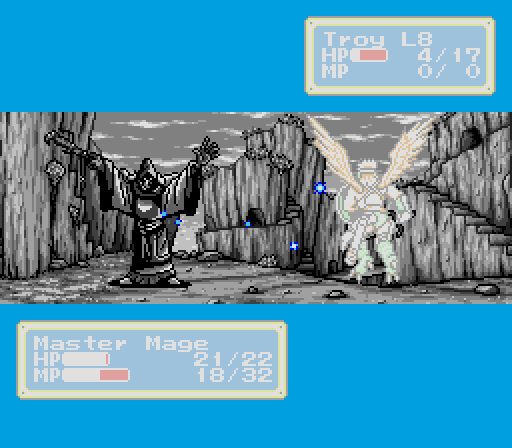
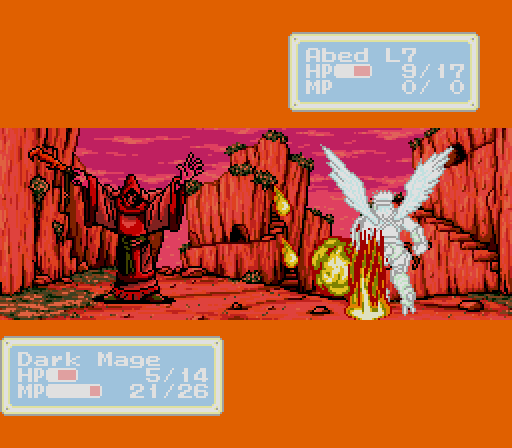
The Master Mage is a step up from the Dark Mages we've seen so far. On top of a stronger attack spell in Freeze 2, this one also has the boss flag that enables regenerating health.
(Abed gains 1 ATK, 1 DEF, 1 SPD)
We could have attacked the Mage right from the beginning by flying south down the cliff, but the birds probably weren't strong enough to take it out alone, and we need the levels.
(Britta gains 2 SPD)
Six-on-one fights are way more fun when I'm the six.

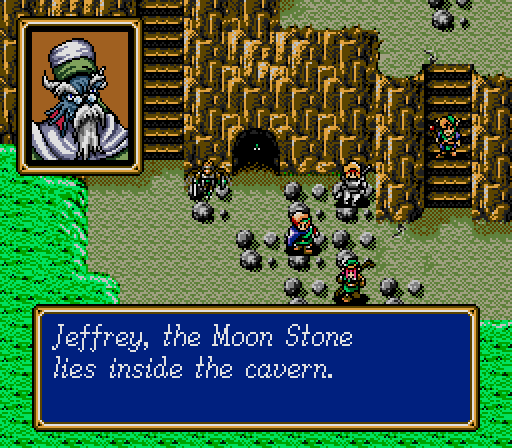
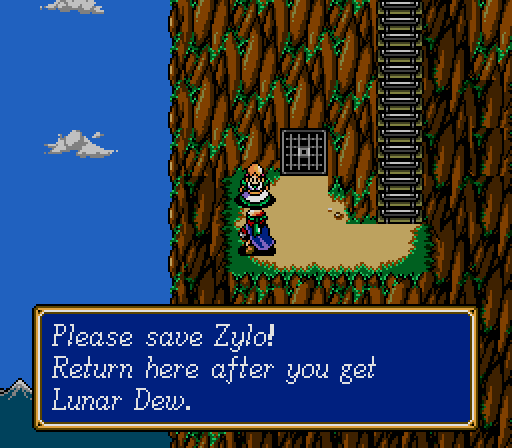
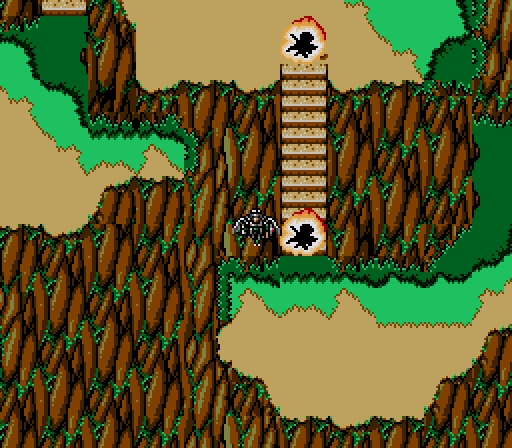
And with that, we're free to leave the village from the other exit, the way we actually wanted to go. Don't know what that Moon Stone thing is about, though.
Victory!

One nice touch is that winning the fight actually repopulates the city with men.

There's some sort of fetch quest going on here, but we don't have time for other people's problems. Onward!
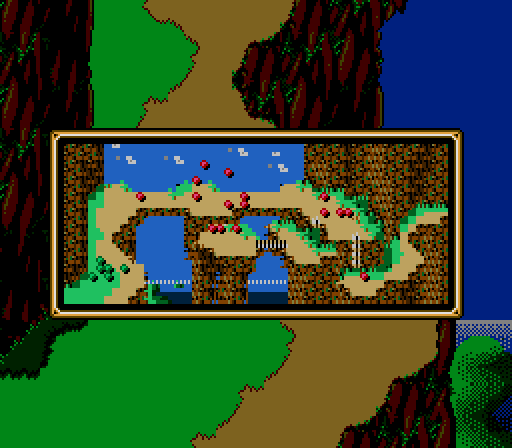
Battle 10
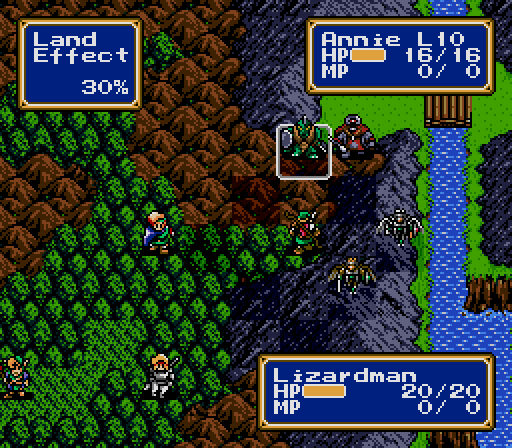
An unfortunate truism of this game is that wilderness levels get increasingly covered in bad terrain as the game goes on. This is yet another tutorial level, meant to teach us the value of our new flying units.
And if we fail to appreciate this object lesson, the enemy's own new flying units will swoop in and underscore it.
(Annie gains 1 DEF)
The other thing to learn is that elves don't suffer from slowdown in forests, so Annie will actually be able to keep up with the birds for most of this map. The Skeletons here all carry healing items, but they won't move until we advance, so all that does is postpone the inevitable.

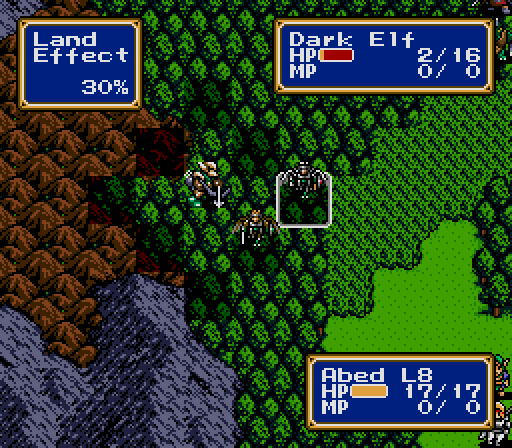
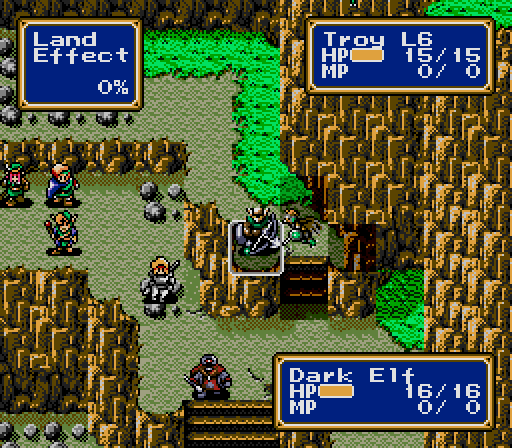
The Dark Elf on the right won't move either, making it an easy mark, but the one to the left will. Getting close also triggers the enemies to redeploy, so it's best to take out the Skeletons first.
(Abed gains 2 ATK, 1 DEF, 1 SPD, 5 HP)
Honestly, the birdmen take a lot of work to make viable, given their initial frailty, which is why they don't often see much use in a standard game. It's easier for us, since we don't have a choice and they're absorbing twice their fair share of experience.


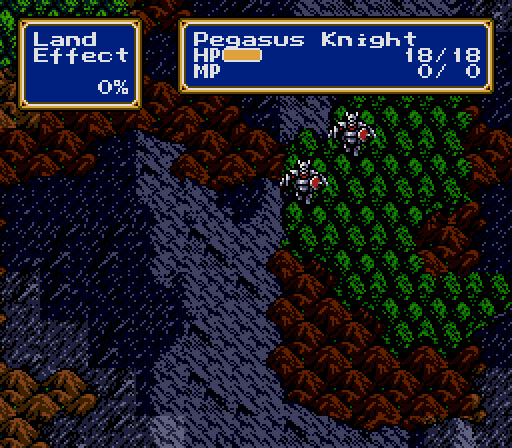
That AI trigger we tripped with the last Dark Elf doesn't cause the next set of Skeletons to advance, and it even causes the Pegasus Knights that have been hovering around to retreat, so we're still in no danger.
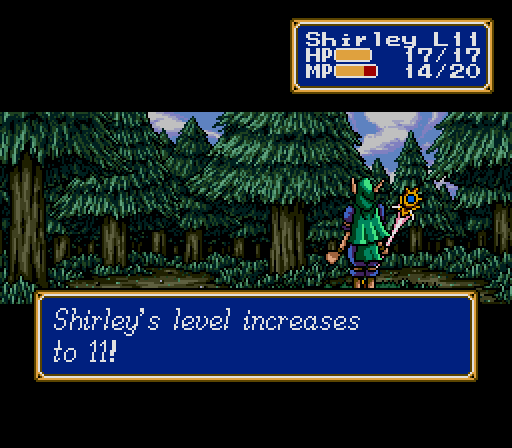
(Shirley gains nothing)
(Troy gains nothing)
We get some unproductive levels as we work our way through the enemy. The itch to savestate nags at me, but I remain steadfast.
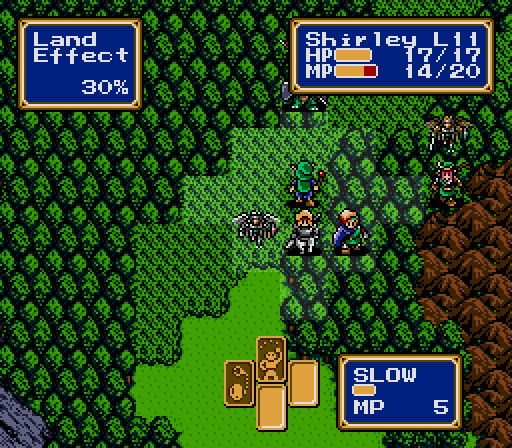
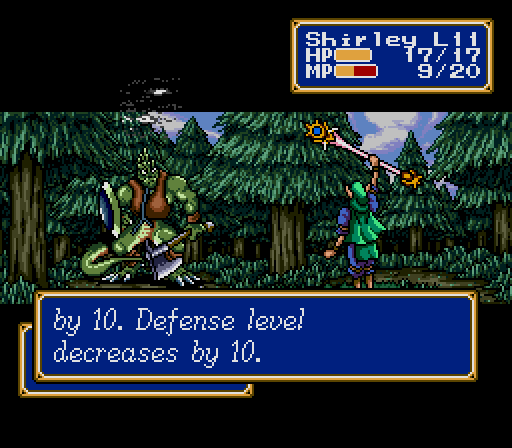
I don't want to keep feeding all these stationary enemies to Annie, so when we get to the Lizardman, I let Shirley whip out Slow to reduce its Defense.

This lets the birdmen take it, and then the Priest, out in relative safety.
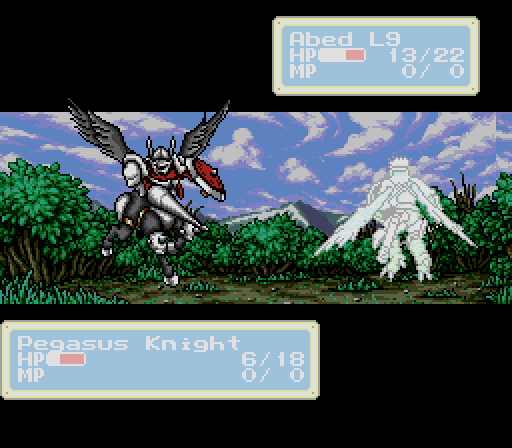
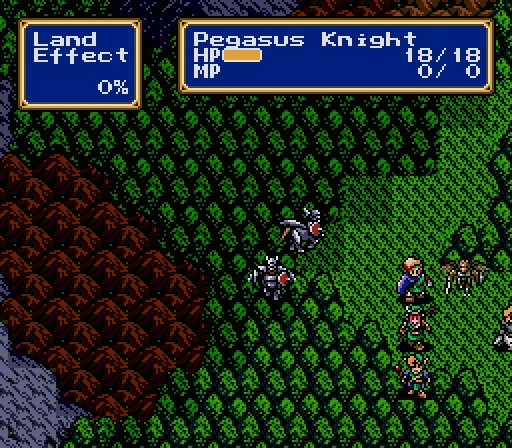
There are four Pegasi waiting for us, but as we approach, two continue to retreat while the other attack. One unfortunate thing about using the birdmen is that the enemy AI will prioritize flying targets much like they prioritize Jeffrey. I think the order goes something like Jeffrey > healers > flying units > weakest, with "weakest" loosely defined.
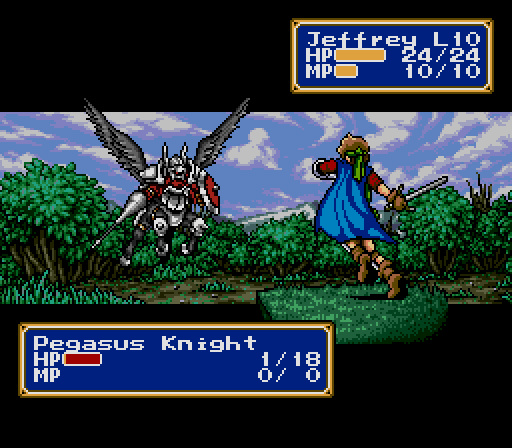
(Jeffrey gains 1 SPD, 1 HP, 1 MP)
Speaking of Jeffrey, he's falling a little behind, so I let him finish off the two Pegasi.
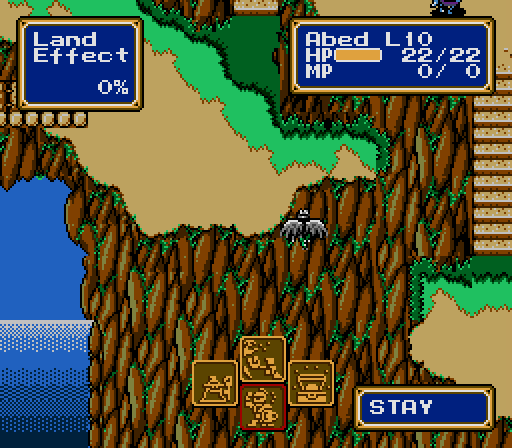
To take out the last two, we once again exploit some map AI triggers. Abed flies north, causing the enemy to advance, but not far enough to hit us.
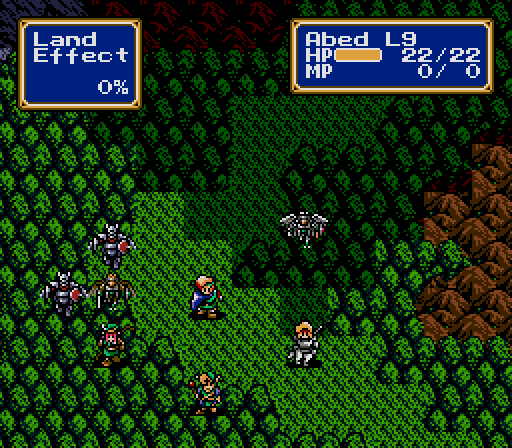

We attack, and Abed flies south again on his turn. Since he uncrossed the trigger threshold, the Pegasus Knights move to occupy their previous positions rather than counterattack us.
Then we move the front line back out of range and do it again.
(Troy gains 1 ATK, 1 SPD, 1 HP)
Float like a butterfly, etc.
(Annie gains 2 ATK, 2 HP)
The last enemies are a stationary Lizardman and Priest. Annie softens up the Lizard...

(Abed gains 1 DEF)
...and the birdmen finish the job.

Victory!
Before moving on, I return to town and correct a minor oversight. Troy and Abed both need to carry healing items, given how much time they spend out of range of our healer.

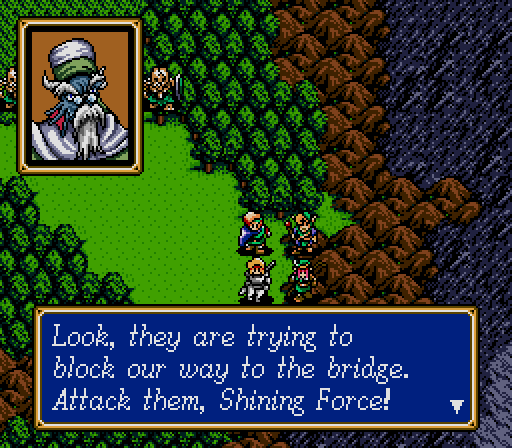
Back to the bridge. As we advance, the bad guys kill off a centaur to show how bad guy they are.
Battle 11

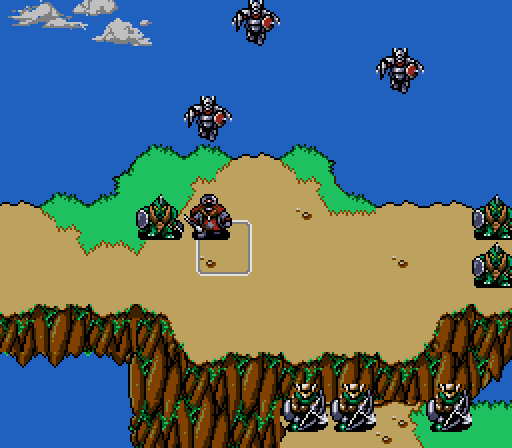
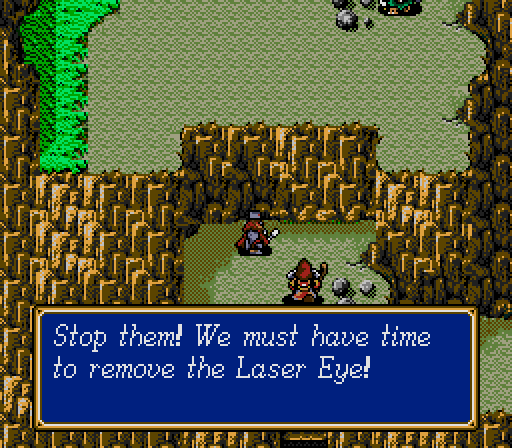
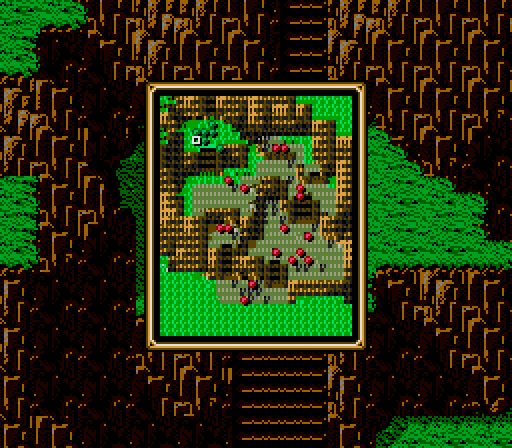
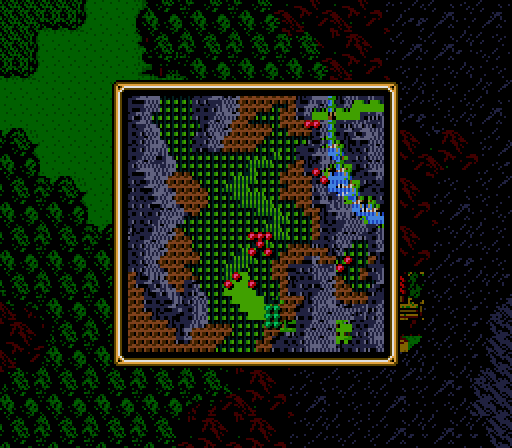
This is one of the more interesting gimmick battles the game offers. We have to cross this narrow bridge, and a couple clumps of Lizardmen will slow us down while Dark Elves and Pegasus Knights attack our flanks.
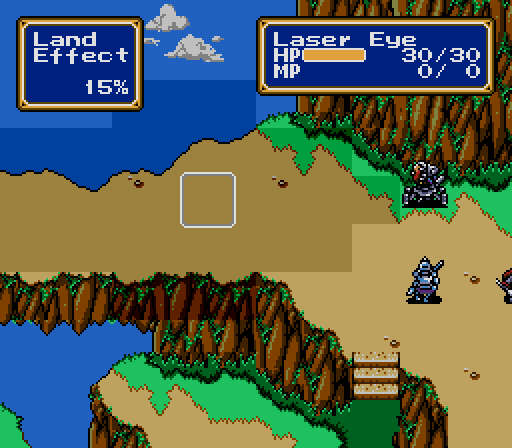
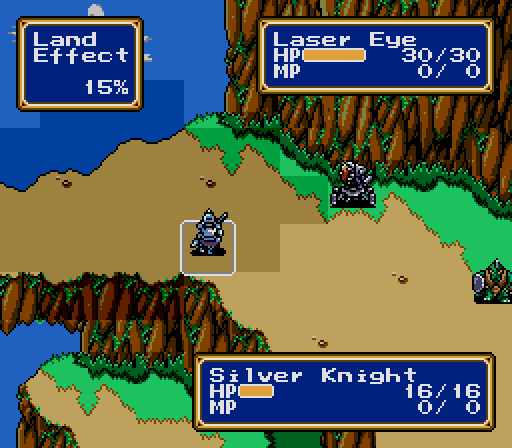
At the other end of the bridge is the Laser Eye. It spends five turns charging up, and, on the sixth turn, everybody in its unique beam-shaped attack range, friend and foe alike, takes unavoidable damage.
The normal way to play this map is to fight our way across the bridge, hoping to make it in time before the Eye fires. There are alcoves on the bridge where we can avoid the attack, but that still leaves us open to flanks from the Elves and Pegasi. The boring way is to wait twelve turns and let the Eye kill all the enemies on the bridge, leaving it open for us to rush past.
The sneaky way is to realize that the Eye isn't the boss of this map -- it's the Silver Knight that killed that guy in the cutscene.
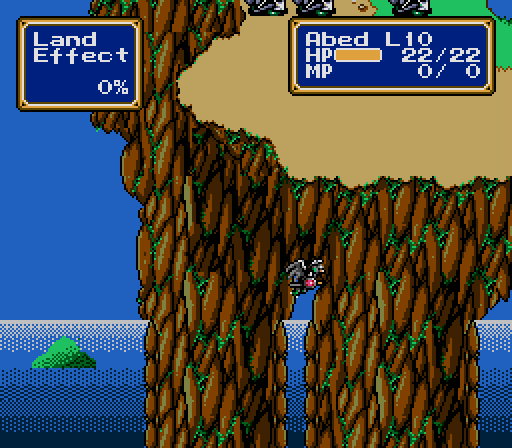
I Boost Abed and send him flying under the enemy radar.
One of the Pegasi notices and comes after him, but it can't catch him.
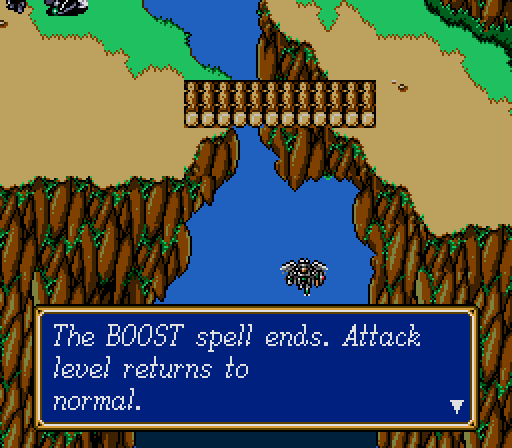
Halfway there, Boost wears off, and the Elves notice the intrusion. Abed's still safe for now, but he's alone, and this is starting to look like a mistake.
Abed gets close enough to trigger a retreat script in the Silver Knight, bringing it into range.
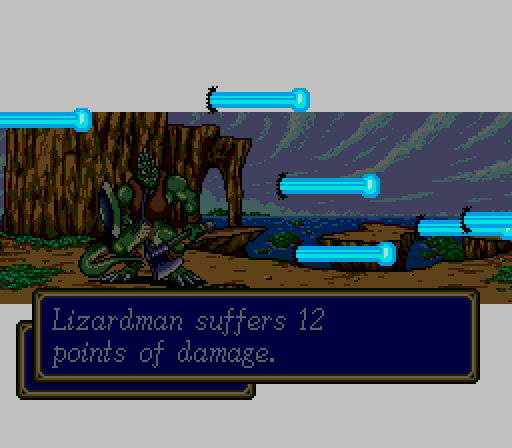
This process takes long enough that the Eye gets one attack off. None of the Force have moved into range, so only enemies take any damage from it.
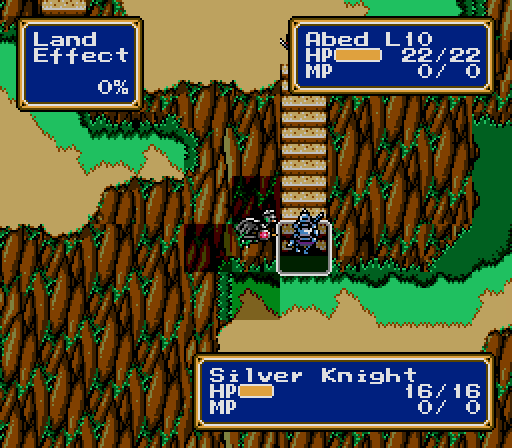

Abed one-shots the Knight, and not even with a critical. He shouldn't be that powerful, so how did that happen?
Study Guide - The Boost Glitch
Temporary buffs like Quick or Boost are supposed to wear off randomly after two or three turns. However, the effects of the buffs aren't actually removed until the game explicitly recalculates the character's stats. This happens under a handful of specific circumstances, including gaining a level, being attacked, or viewing the character's stats via the status screen or equip menu. For some reason, making an attack isn't included in this list of conditions. This glitch isn't too useful for Quick, but it can be used to extend Boost almost indefinitely. As long as the character doesn't get attacked or gain a level, that extra 15 Attack will stay as long as you want.
Killing the Knight makes the entire enemy force explode. There's so many of them left that the system actually lags a bit.
Technical Victory!
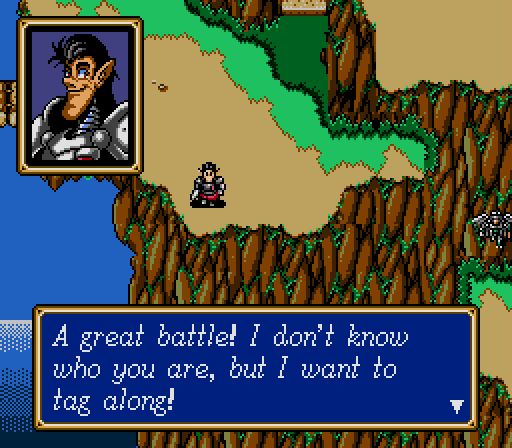
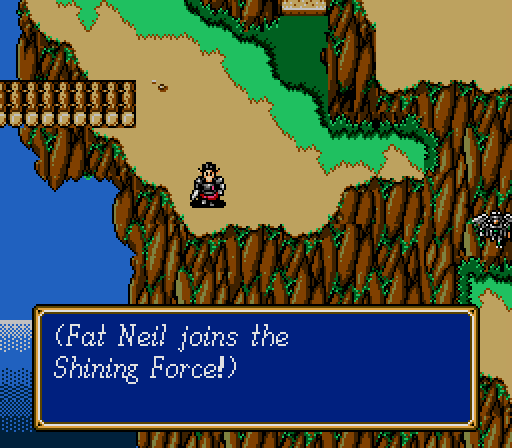
After the battle, the centaur we thought died climbs back up and joins the Force.

And we move on, still looking for that damn ship.

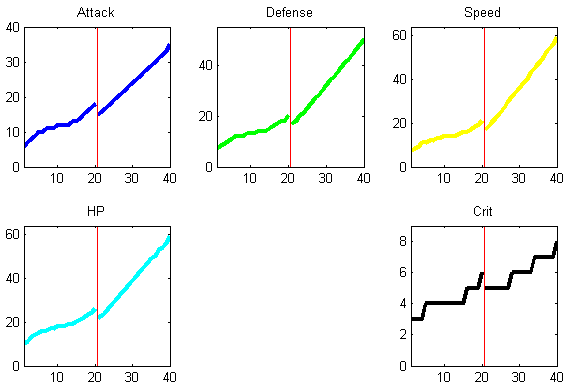
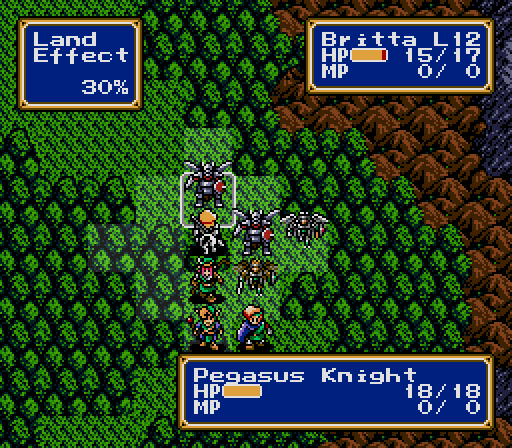
We're starting to get into numbers large enough for significant random variation. In particular, Britta's HP and Shirley's MP could both be four points higher than they are. This is especially bad for Shirley, as healing is her primary method of gaining experience. The new members of the Force have caught up nicely, but the birdmen will always require a little bit of conscious effort to level, as they tend to be the first to the battle but not strong enough to one-shot things. Having them work in tandem, taking turns in one-two punches or using the Power Ring, is the easiest way to get around that.
See you next time for Semester 4: Advanced Military Strategy!