Part 4: Semester 4 - Advanced Military Strategy
Last time on Shining Force Bare Minimum, we cheated our way past a deathtrap that depended on inexplicably functional ancient technology. Now, having given up on cleverness and subtlety, Runefaust has committed the majority of its military to stopping our advance. And we're still not even close to their continent!

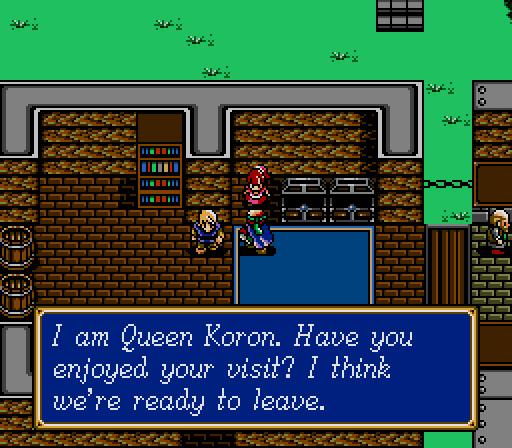
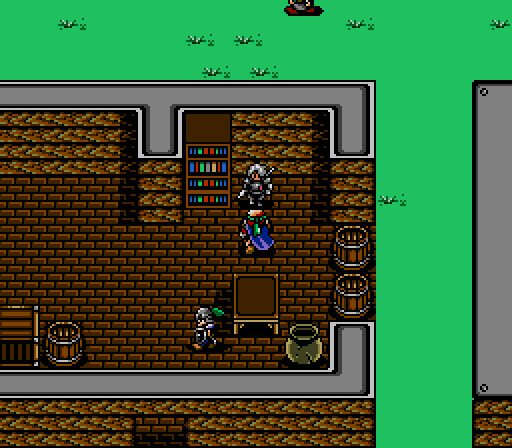
The first town in this chapter is a caravan, which is important only because it's going to leave before the next battle. Once it's gone, we can still use the priest and headquarters that are left behind, but not the item or weapon shops.
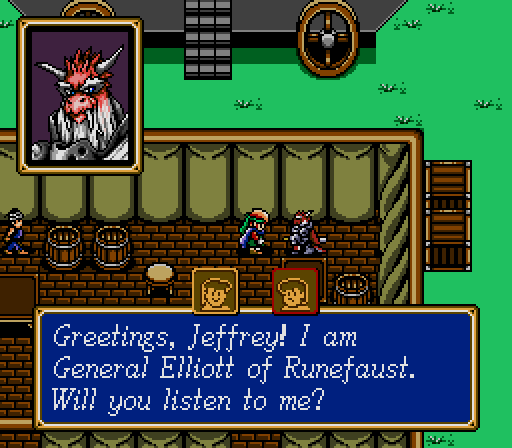
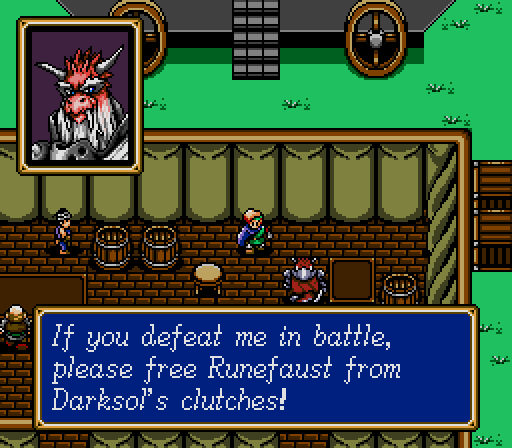
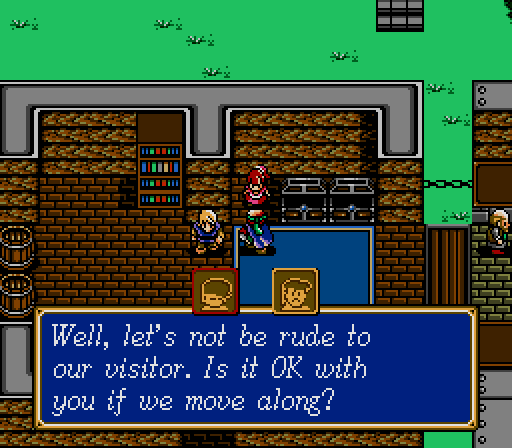
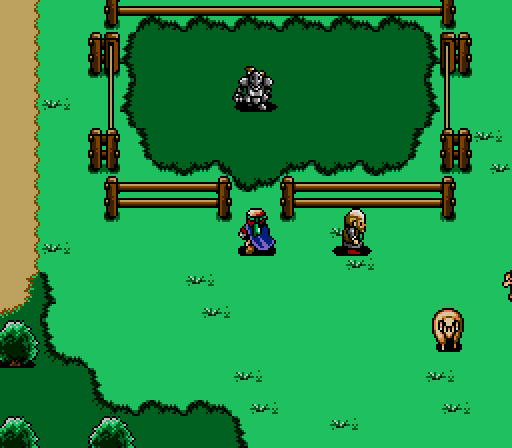
In the makeshift pub, we run across General Elliot of Runefaust, pushing the Noble Villain cliche as hard as he can. He hates Darksol, but is loyal to his corrupted king, so he'll be fighting us in a minute. Me, I'd consider saving my king from mind control to be just as honorable as blindly following his insane orders.
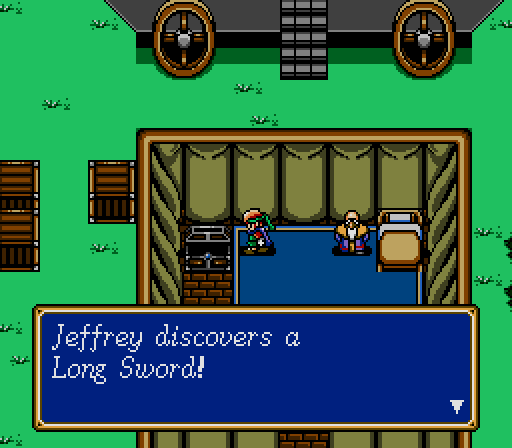
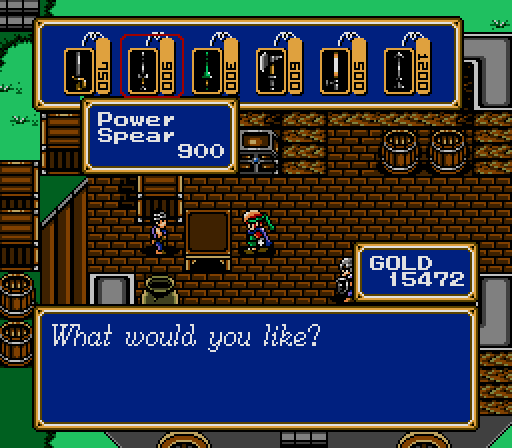
There's a free Long Sword for the taking, as well as two stat-boosting items. It doesn't matter who gets the sword, because more are available from the shop, as well as a spear for brand-new member Fat Neil.
Student ID
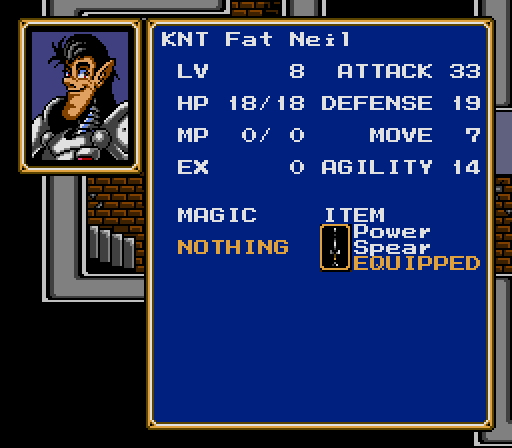
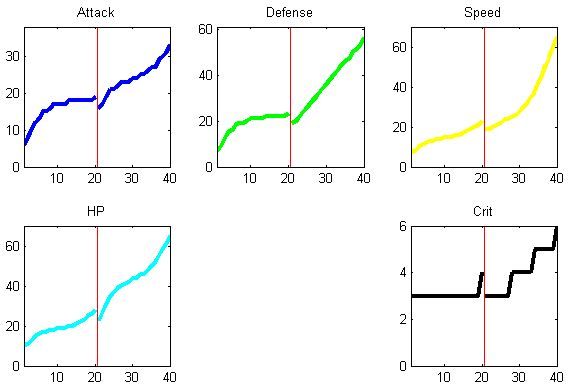
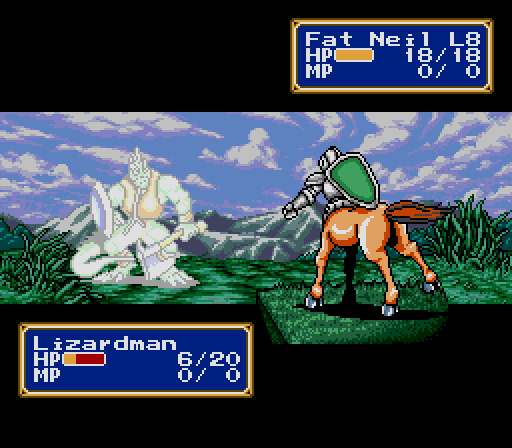
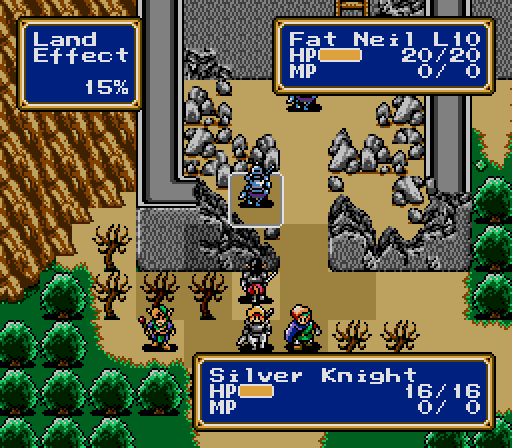
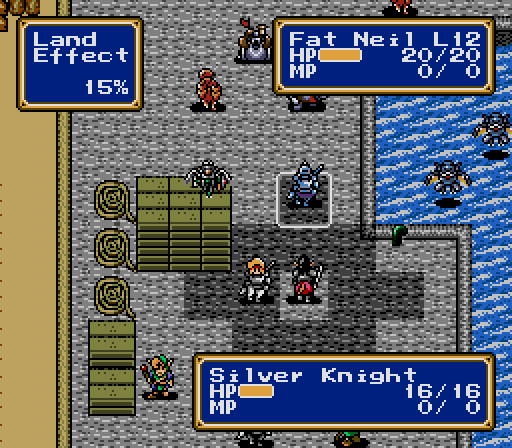
Speaking of which, Fat Neil the Knight is a welcome addition to our forces. When he joins, he's stronger than Britta and nearly as durable, and because he's a couple of levels behind, he'll continue to beef up quickly. Knight-type characters are at their most versatile during this chapter, when the Power Spear is their strongest available weapon, and there's little rough terrain to impede their motion. Unfortunately, Fat Neil's stat growth past level 10 stagnates a bit, so he'll level off quick.
I don't think that the relative strength of Knights during this chapter is an accident. In a regular game, you can recruit up to six before this next fight, and two more within the chapter, which makes for an impressive army, and fielding them in the next few fights works thematically with the chapter's military focus.
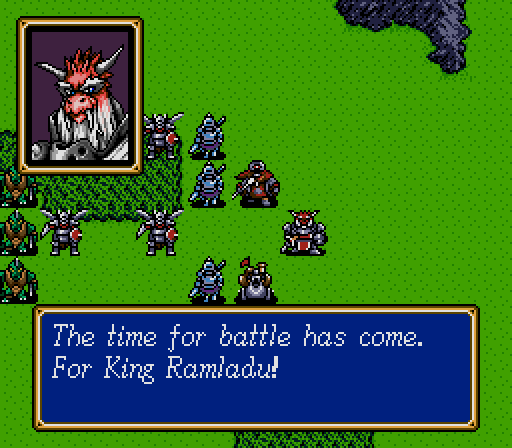
Anyway, we let the town roll off, then leave the map to meet Elliot's forces.
Battle 12

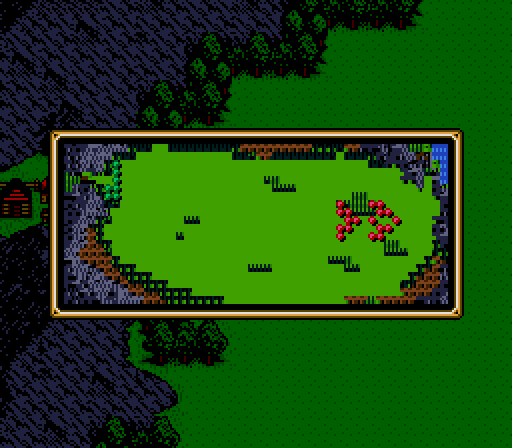

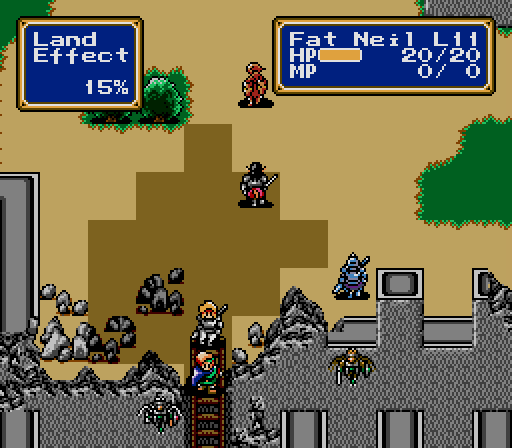
This battlefield is long and open, leaving lots of room to maneuver. The enemy is laid out with military precision, and they'll attack in waves large enough to pose a threat as we get closer.
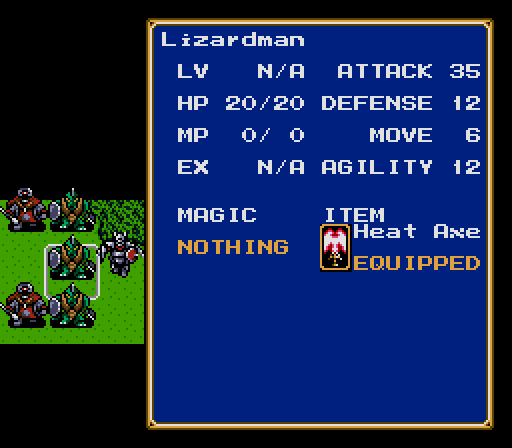
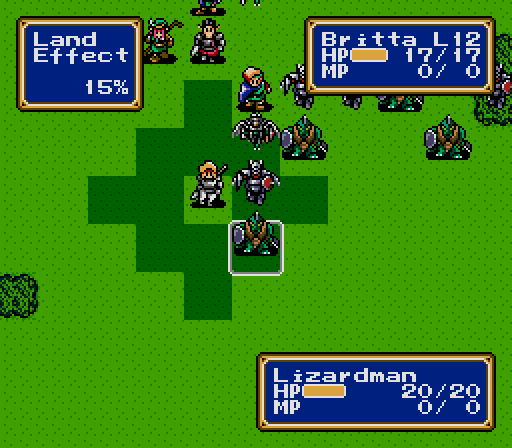
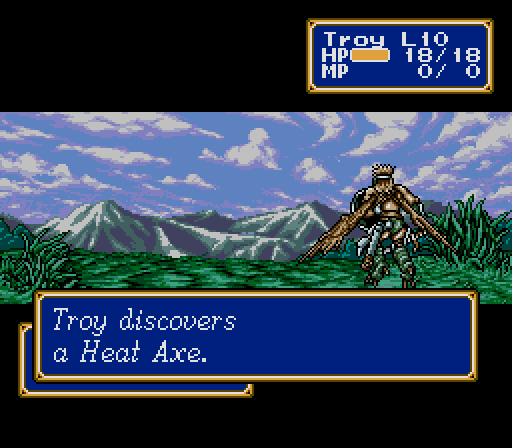
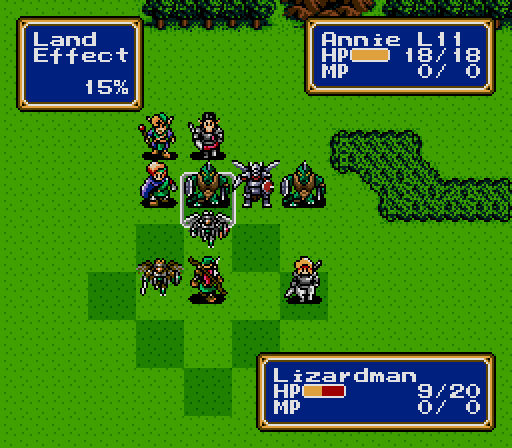
This is the first time Lizardmen are an actual concern, and this one in the middle of the army is particularly dangerous, as it carries a unique Heat Axe. The weapon grants it +11 Attack over the usual Lizardman and the ability to cast Blaze 2.
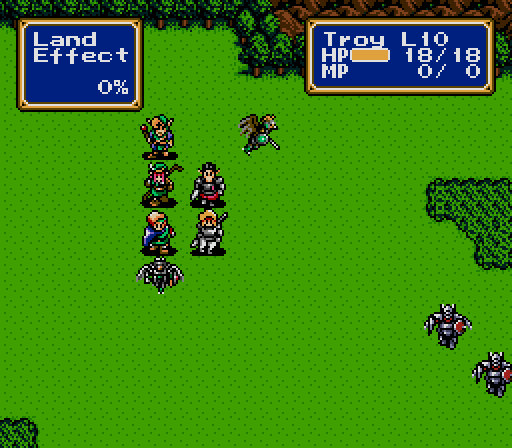
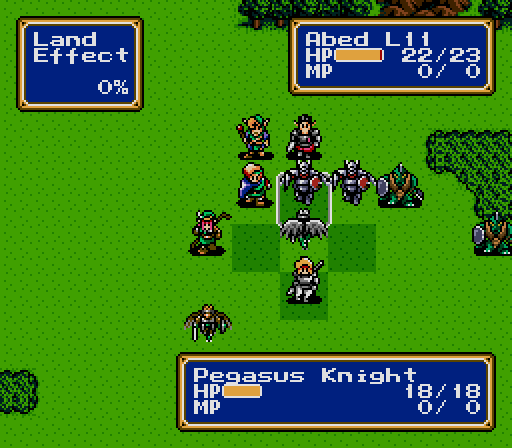
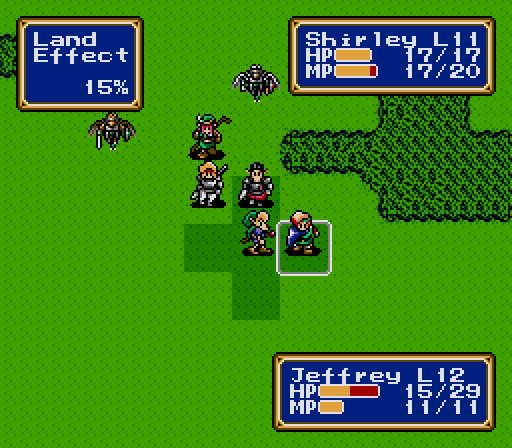
With seven members, the Force is finally big enough to start running some decent formation plays. There's not much we can do with AI triggers to mitigate the danger in this fight, so proper positioning is going to be the best way to handle it. We approach the enemy at a slight diagonal so they can't all reach us at once, and spread out the front line to collapse around any attackers. Troy moves slightly forward to trigger the first wave, which can't quite reach us on their turns.
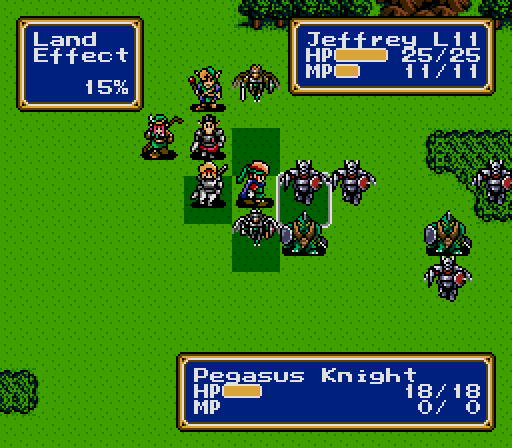
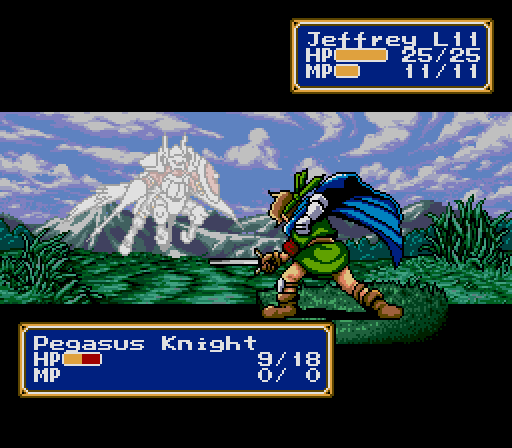
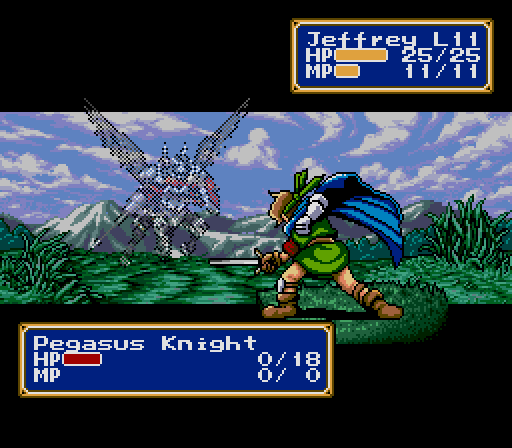
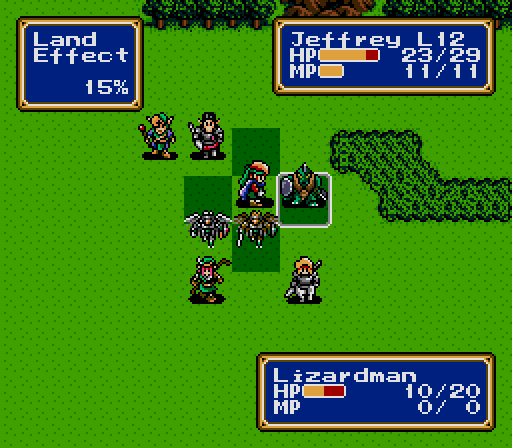
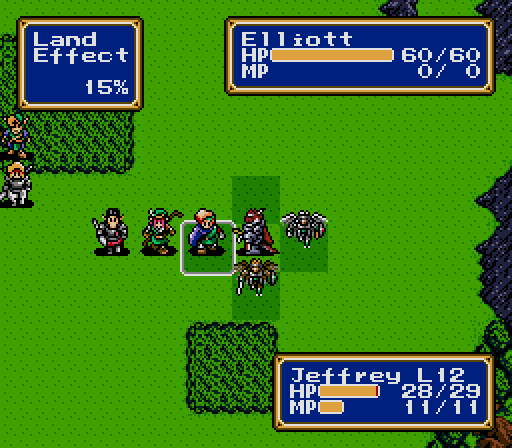
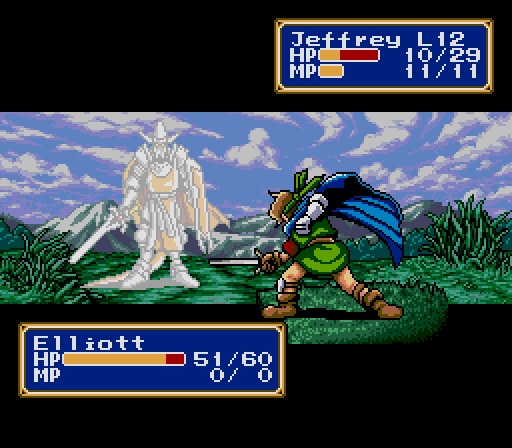
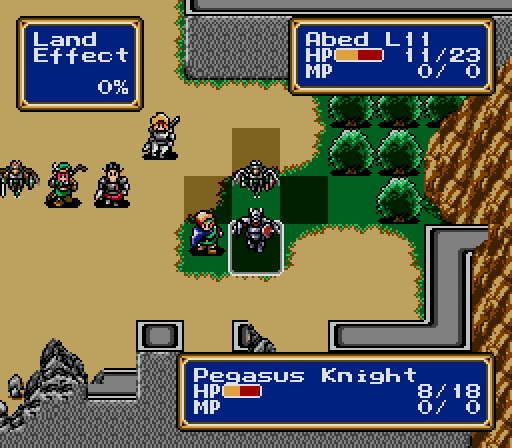
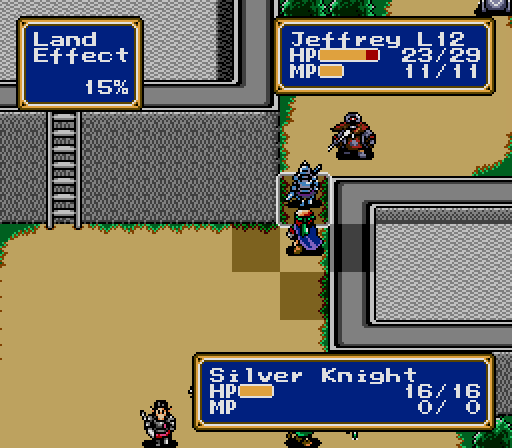
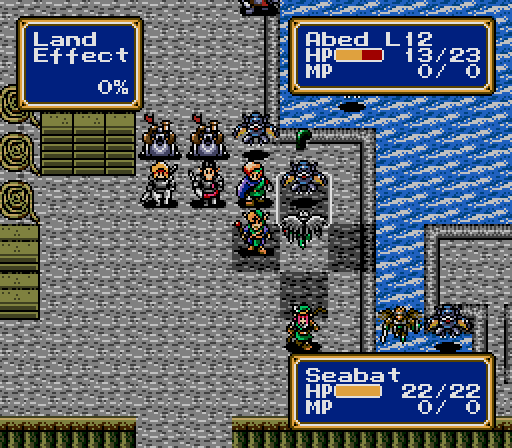
I'd rather have a Pegasus Knight attacking Jeffrey than a Lizardman, so I move him forward to make that happen, with Abed protecting his flank.
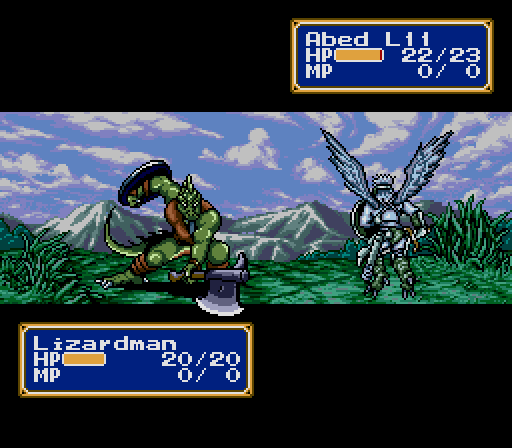
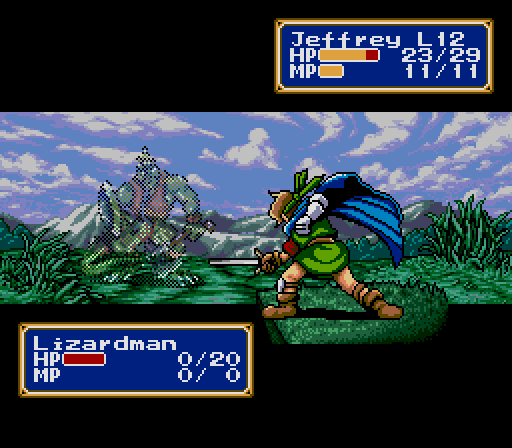
Enemies start to line up for a shot at Jeffrey, including the commander Lizardman, who leaves himself open for a one-two punch. This is the first time we get a unique weapon to drop during battle, although nobody in our party will ever be able to use it.

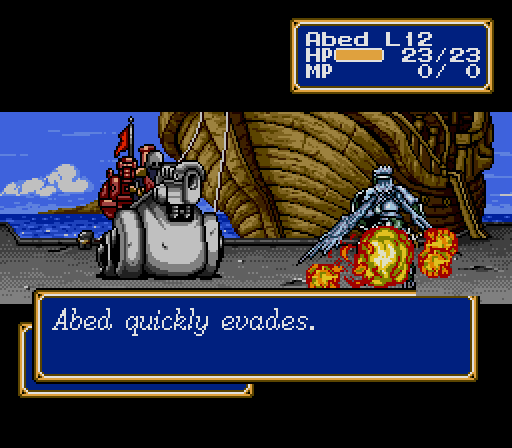
(Abed gains 1 HP)
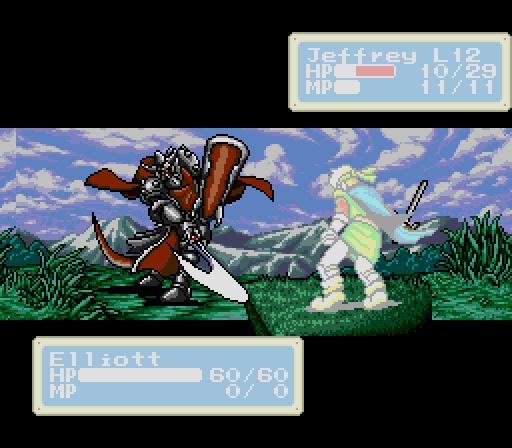
Abed might not have been the best choice to flank Jeffrey, but it's turned out quite well, with his evasion doing what his Defense couldn't.
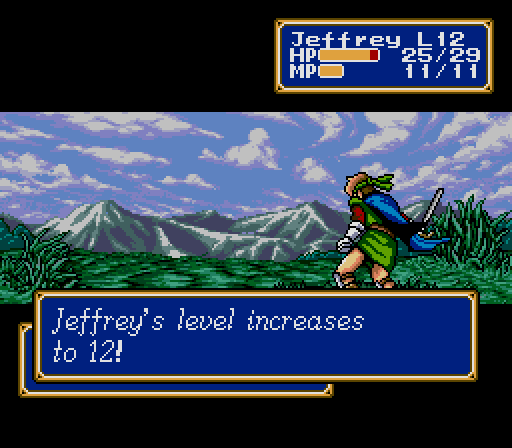
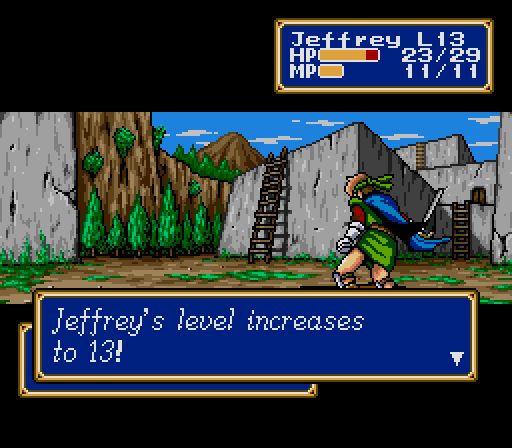
(Jeffrey gains 2 ATK, 4 HP)
Because of our positioning and timing, almost half of the first wave goes down before any of them get a shot at Jeffrey.
We have enough troops now to create a kill-zone and manipulate enemies into it. Jeffrey could still stand to have some more HP and Defense, but formations like this ensure that he's the only person who will take damage, which reduces the demand on our healing resources.
(Fat Neil gains 3 DEF)
Then it's a simple matter of working our way down the line.
This is especially useful with a mix of enemy units, as we can often choose to let a weaker enemy type live at the head of the line while ranged units eliminate the stronger enemies before they can reach Jeffrey. Once we're down to the last few, though, it's better just to kill as fast as possible.

The Priests here were probably supposed to support that last wave, but they don't move from their position.
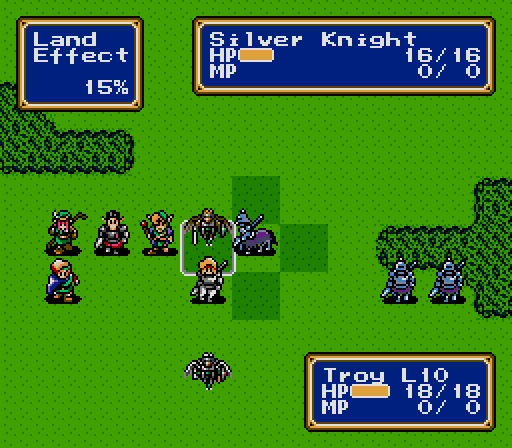
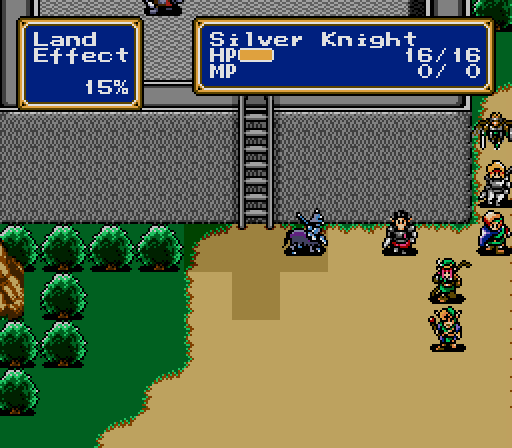
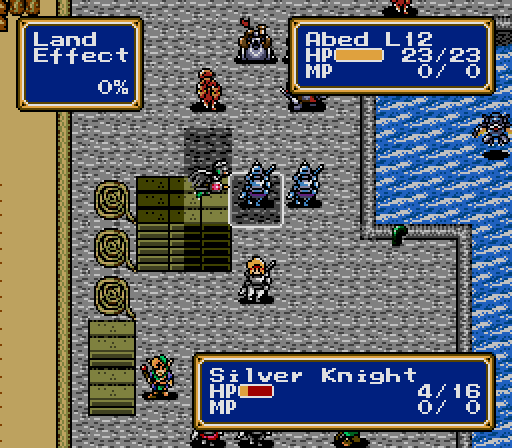
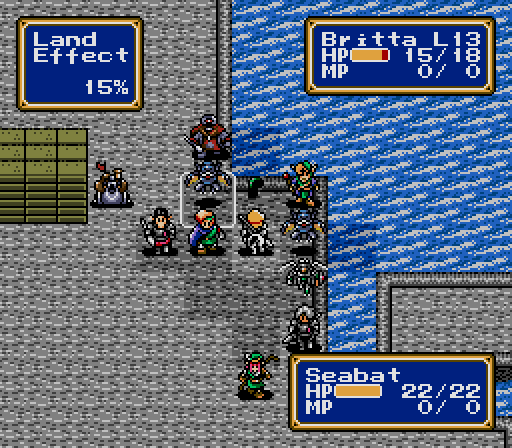
The next wave is four Silver Knights, but they're not very dangerous to our melee units.

(Fat Neil gains 1 DEF, 1 SPD, 2 HP)
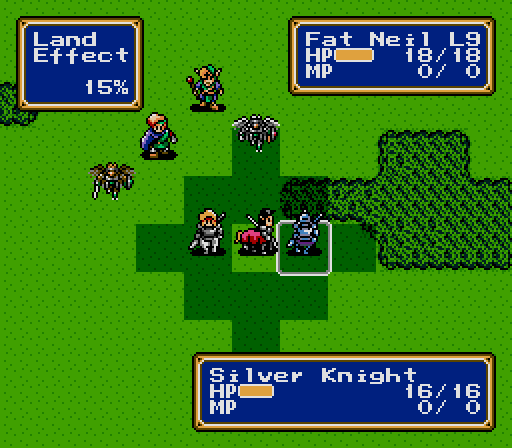
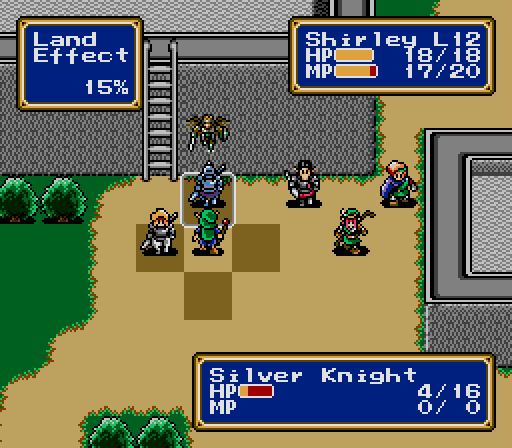
In fact, Fat Neil is strong enough to sometimes one-shot them.
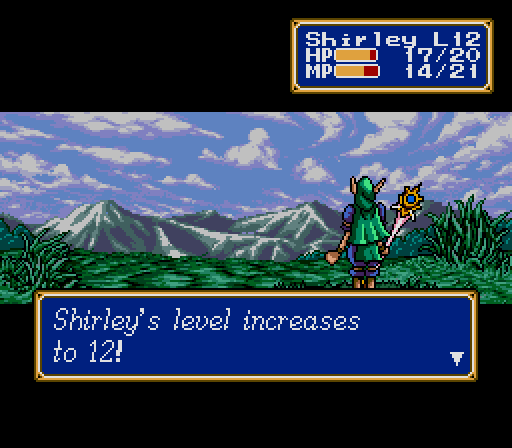
(Shirley gains 1 DEF, 3 SPD, 1 HP, and QUICK)
While healing up before the final group, Shirley learns her buff spell, Quick, which adds 10 to both Defense and Agility.
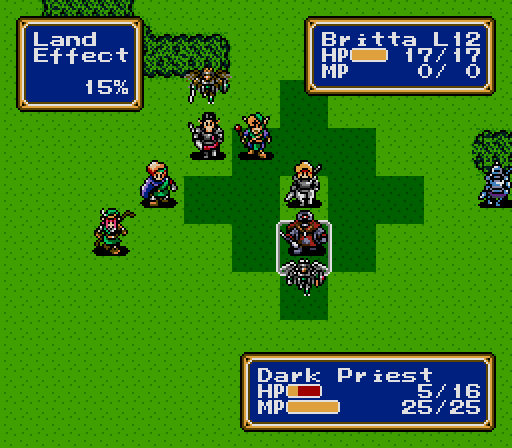
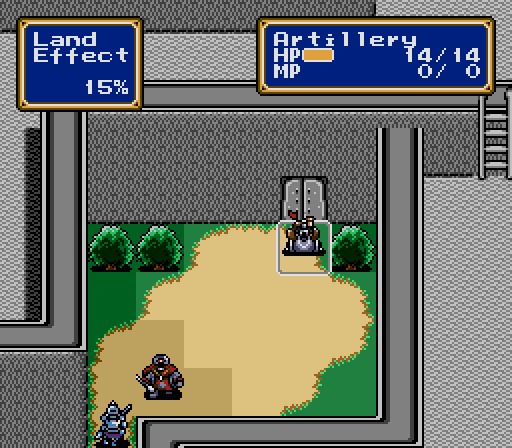
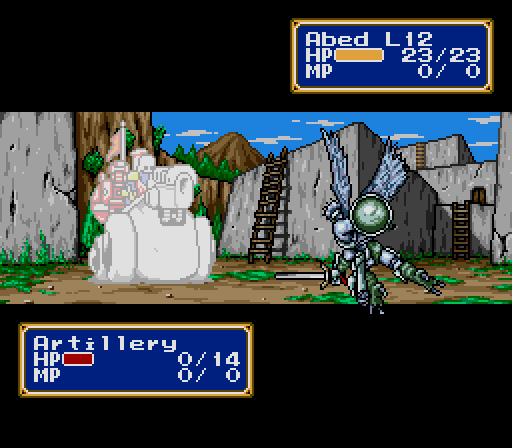
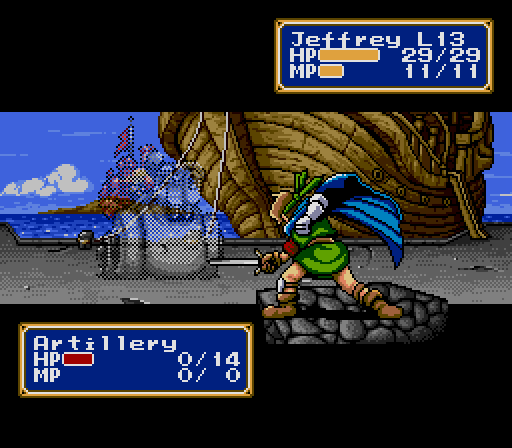
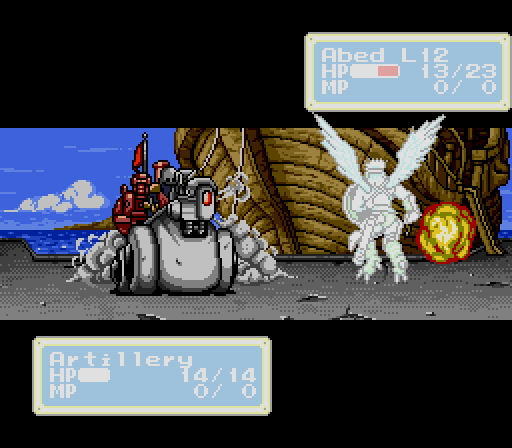
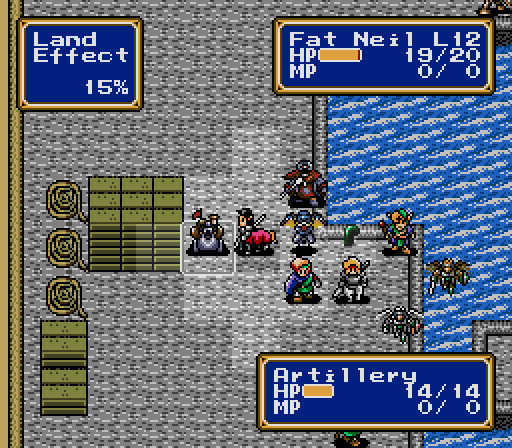
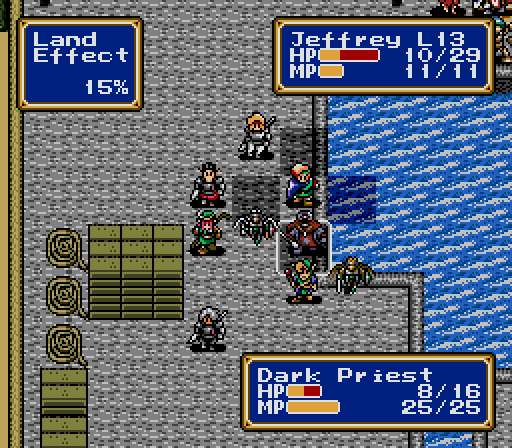
The last group is an Artillery, a powerful ranged unit, a Dark Priest, and Elliott himself. I don't want to take any chances, so I Boost Fat Neil, as he'll be able to make the most of the extra Attack.
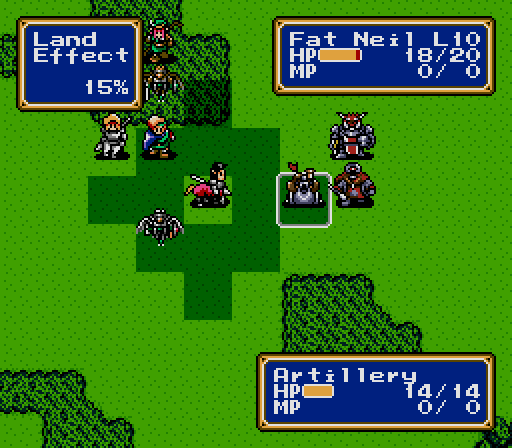
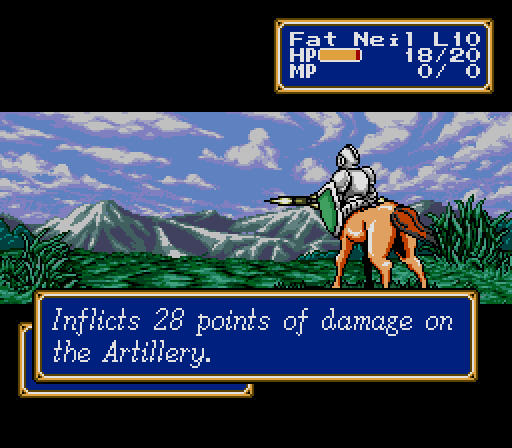
It pays off.
Study Guide - AI Behaviors
Before we end the battle, this is worth a bit of review. So far we've seen a relatively small number of AI modes that determine the behavior of the enemies (approach and/or hold a specific position, advance toward the Force, or patrol a fixed route) and a small number of triggers that may or may not be included in a battle to switch enemies from one mode to another (taking damage, proximity, going past specific areas of the map). There's one more rare trigger we can see in this battle; proximity to Jeffrey. Elliott is a noble warrior who wants to fight Jeffrey in honorable battle, and he won't move from his spot unless Jeffrey gets in range.
Of course, this makes Elliott tragically exploitable as long as we leave Jeffrey far enough away from the front lines. Elliott deserves better than that, though. It's okay, we'll be back to cheesing the AI soon enough.
Of course, if you're playing along and want to avoid taking attacks from Elliott, I wouldn't blame you.
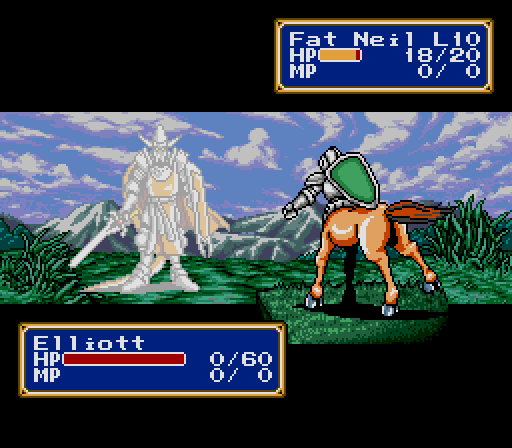
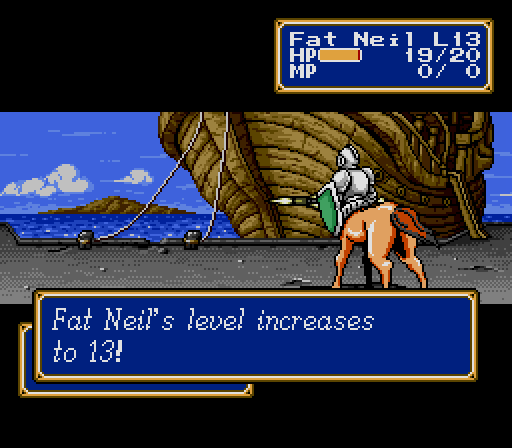
It's a little late to apply Quick, but a lucky double attack from Fat Neil ends the fight.
Victory!
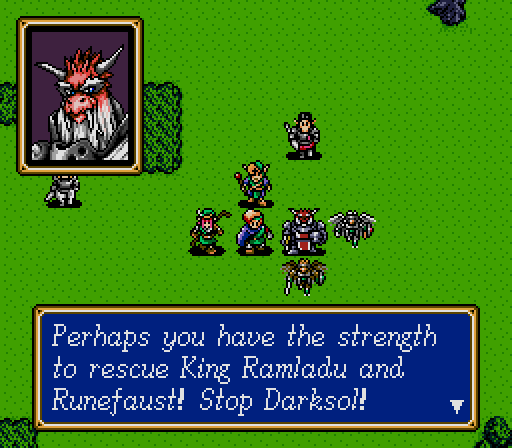
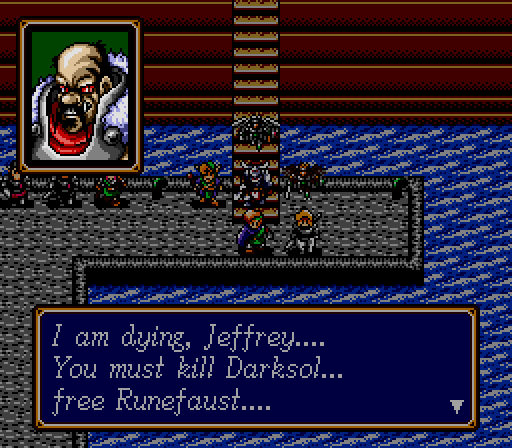
Elliott gets a short, poignant death scene, abruptly interrupted by the reappearance of Pao.
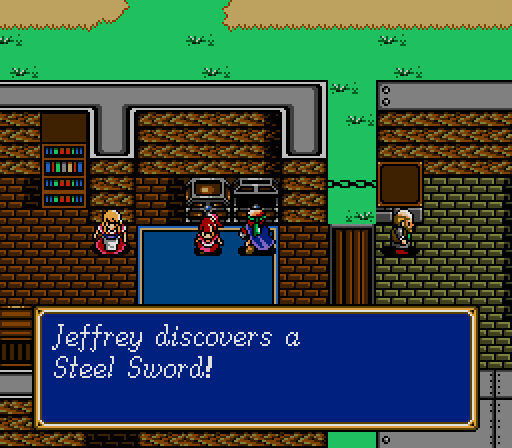
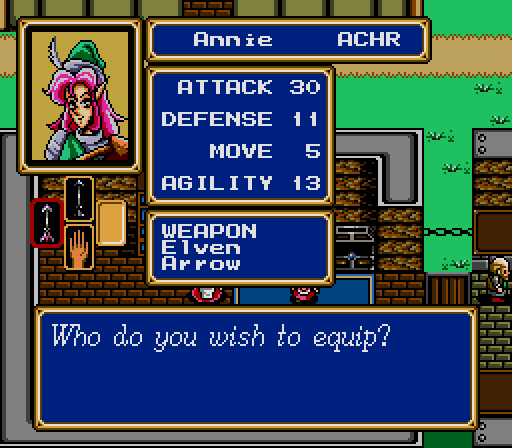
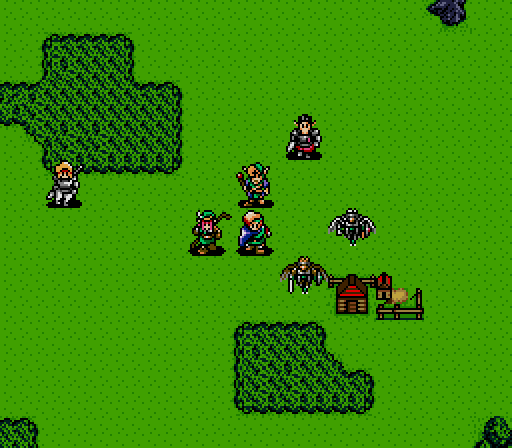
Pao has a new layout and restocked chests, and we find a Steel Sword and an Elven Arrow. Nobody can use the sword yet, but the Arrow goes straight to Annie. Beyond some additional attack power, it's got a special bonus we'll see in a bit. We also sell off the Heat Axe -- unfortunately, characters who can't equip an item also can't use it to cast spells.
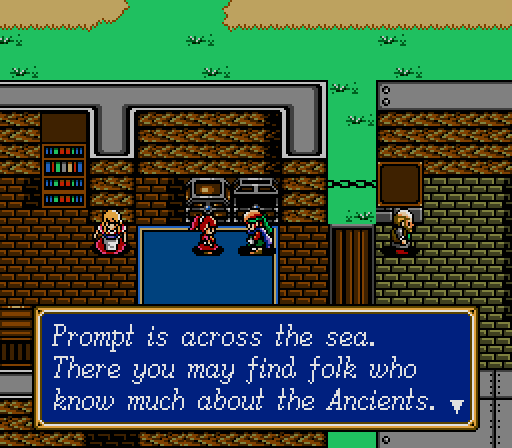
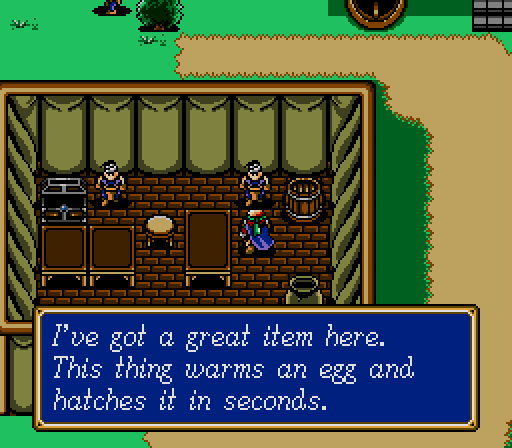
There's also some intelligence about a city we might want to visit, and a guy with an egg warmer for some reason.
And the rat guy seems to have followed us here. Time to move on with all haste.
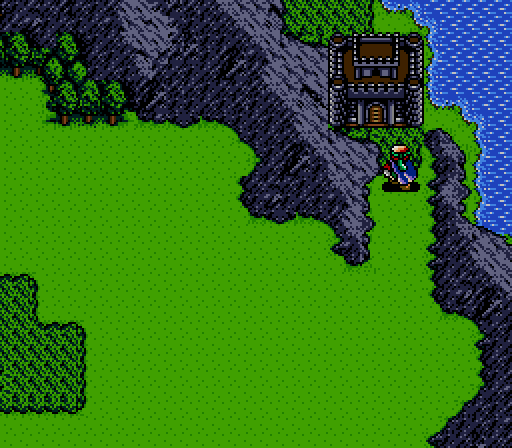
We're close enough to smell the ocean, but a fortress still stands between us and the docks. The frontal assault approach here is a tad risky, but at least there won't be much left of Runefaust's military to make trouble while we're gone.
Battle 13
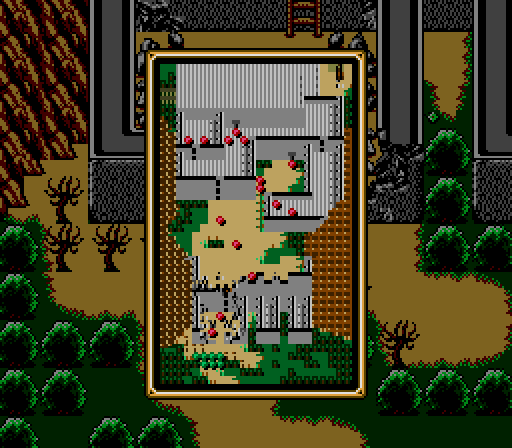
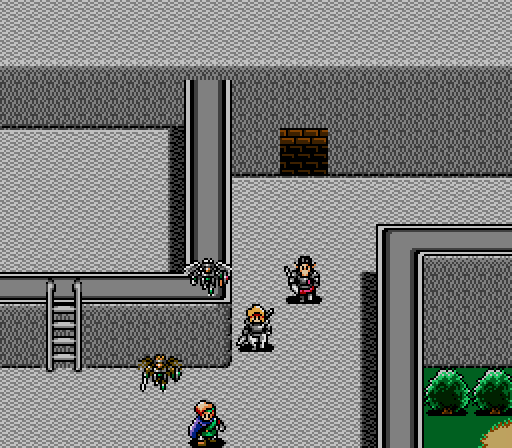
The fortress looks like it's already taken some damage, and the enemies are spread out and disorganized, almost as though somebody's come through ahead of us. There's not much strategy to the fight beyond navigating narrow corridors and rubble. There are two doors into the fortress and two enemies in front of them flagged as bosses; defeating both of them is technically the victory condition, but there's no reason not to go for a clean sweep.

(Fat Neil gains 2 ATK)
The two Silver Knights here at the entrance aren't too annoying, as long as you can get your troops through the hole in the wall before they clog it.
(Britta gains 1 ATK, 1 HP)

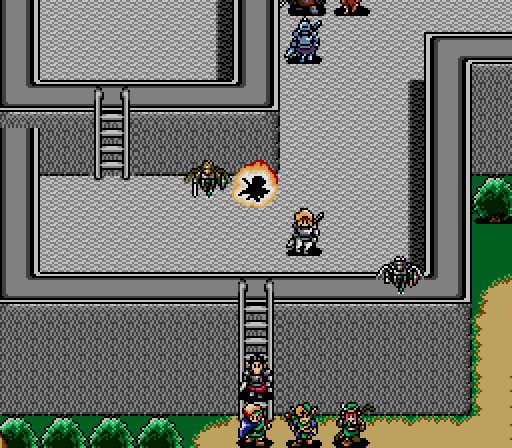
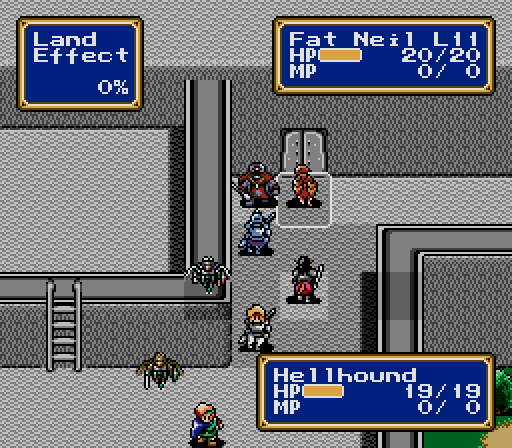
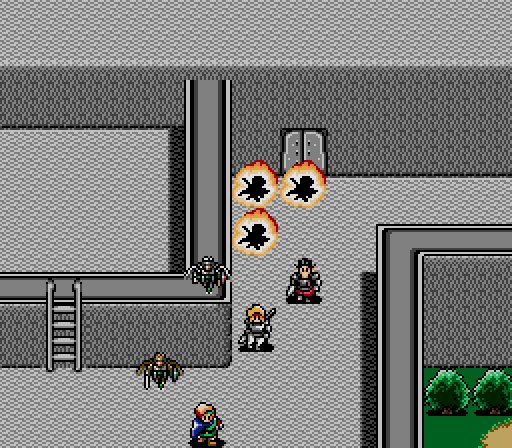
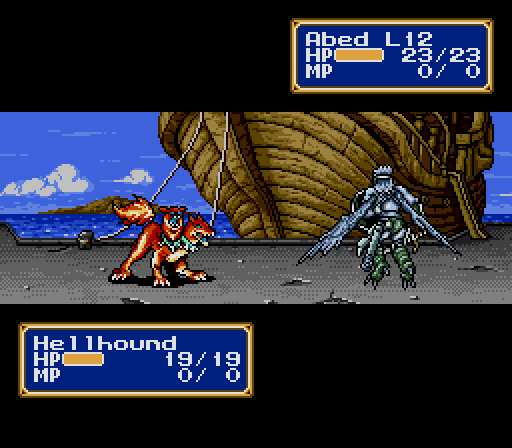
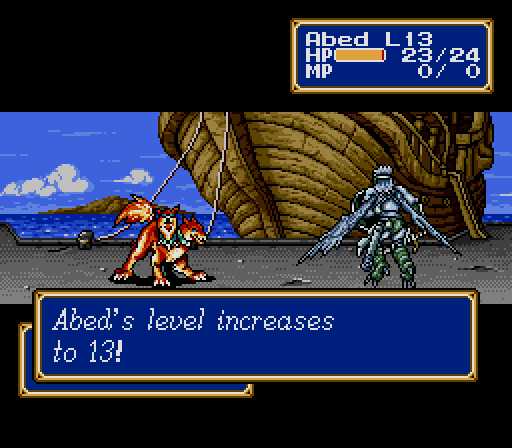
Up the ladder is the new unit in this map, the Hellhound. This is the first of many enemies with an annoying feature -- half the time, rather than a standard attack, they will perform a magical special attack that bypasses defense. The Hellhound, as you might expect, breathes fire.


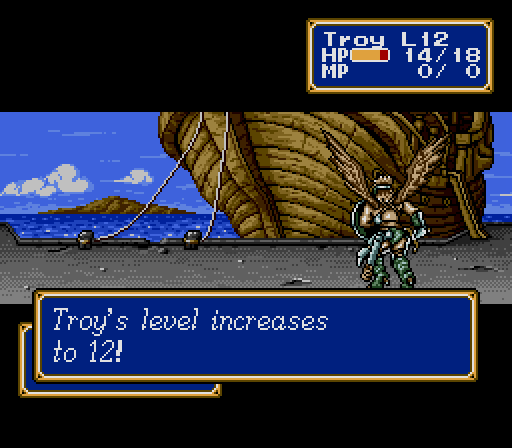
(Troy gains nothing)
I don't want to give it the chance to move.
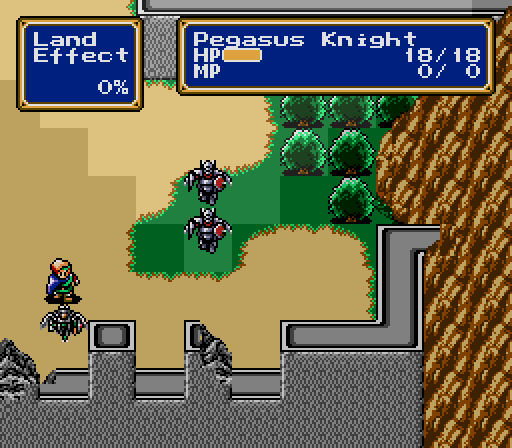
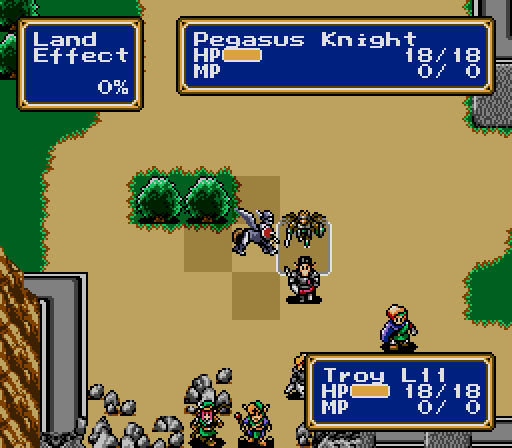
Three randomly-placed Pegasus Knights will attack us in the courtyard here, but they tend to be less of a problem in clear terrain.
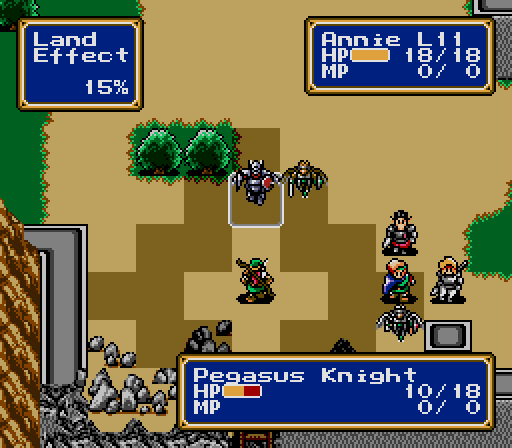
(Annie gains 3 HP)
Annie is demonstrating the Elven Arrow's special property I mentioned -- from here on out, all of the ammunition she gets will have a maximum range of 3. More and more enemies from here on out will have ranged or magical attacks, and Annie's new range will help keep our cheese strategy in play.
(Abed gains 3 ATK, 1 DEF, 3 SPD)
As we start to finish off the enemy, I'm increasingly making the centaurs wait and letting the melee-only characters finish things off. You'll see why soon.
(Jeffrey gains nothing)
The lower door is easier to attack, so that's where we head first.
This draws out a Silver Knight from the upper floor, trying to be a hero. Er, I mean, a villain.

One "boss" down.
We move around and up the ladder, again letting the melee characters take care of business while the centaurs tank.
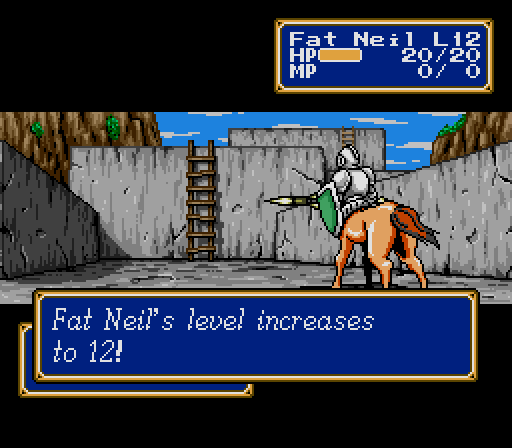
(Fat Neil gains nothing)
I didn't want this Hellhound to go, but I forgot he's the other "boss."
Oops. Oh well, I didn't miss out on much experience.
Accidental Victory!
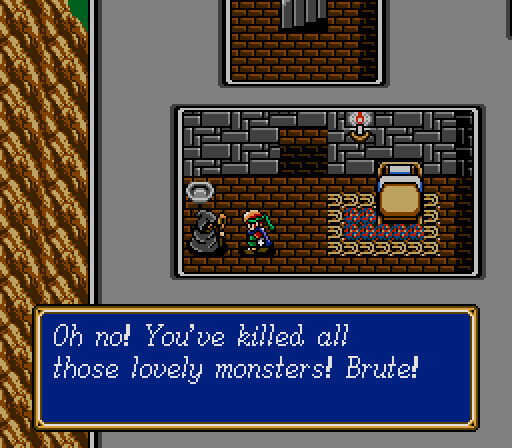
This fortress is apparently Vaguely Evil Town. Everyone inside talks about how they like working for Darkness and how good monsters are, at the same time that they recognize that Jeffrey is a hero, don't attack him, and even sell him supplies.
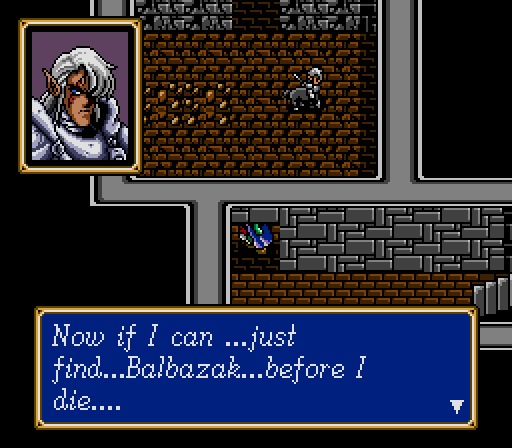
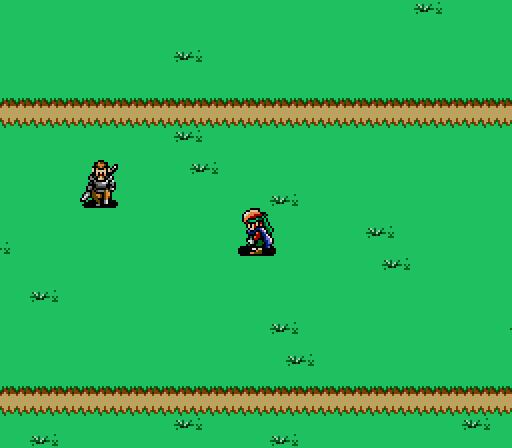
Deeper in the fortress, we find a lone centaur, apparently having stormed the castle himself.
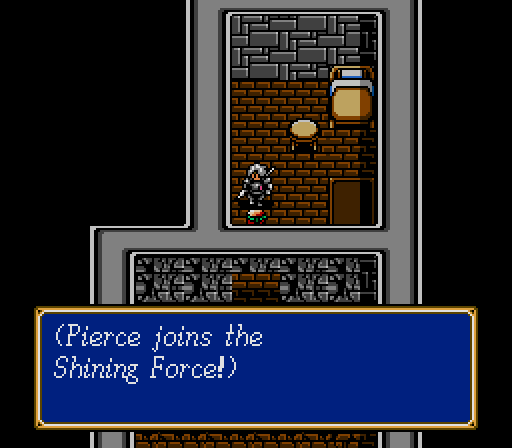
He decides to join and then opens a passage in the wall with his head. I think I know how he got that big scar. You can actually skip most of this cutscene by killing the bosses in the previous battle in the opposite order -- the lower door opens instead, and we can go around and unlock this secret passage from inside. We can't skip Pierce, though.
Student ID
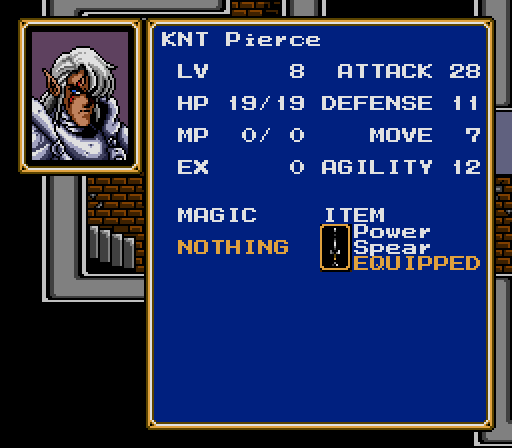
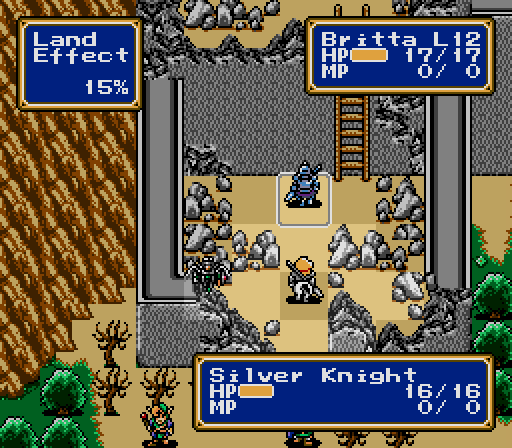
It's funny that the game portrays Pierce the Knight as this badass who razed an entire fortress by himself, because his stats are really pretty mediocre compared to Britta and Fat Neil. In particular, Pierce starts off very fragile, with as much defense as our healer has. We'll have to keep him in the back until he gains a couple of levels. Oh, and I hope you had the foresight to bring an extra Power Spear from Pao, because the fortress doesn't have a weapon shop.

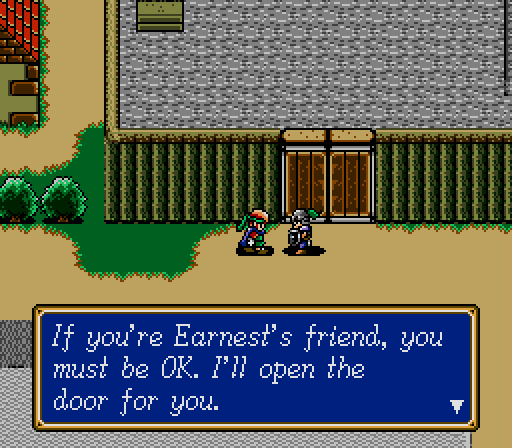
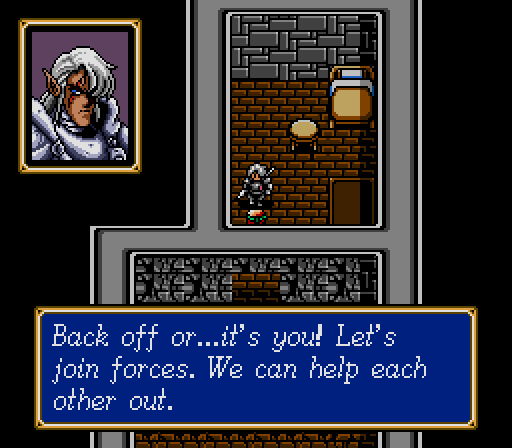
Inside the fortress, all of the Knights milling around have apparently surrendered, even though we're letting them wander around free and not detaining them. The guard to the harbor is somehow a good guy who recognizes Pierce (even though he gets his name wrong) and lets us in. I don't really understand the organizational hierarchy at work here.

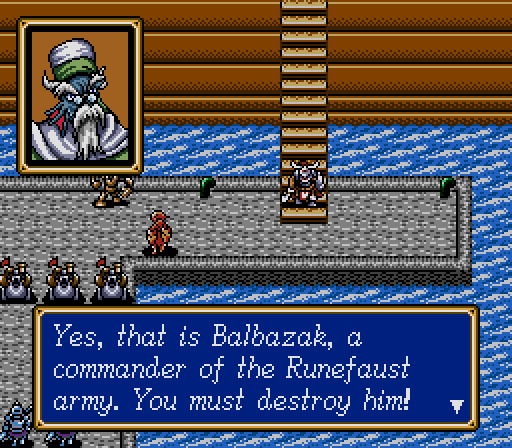
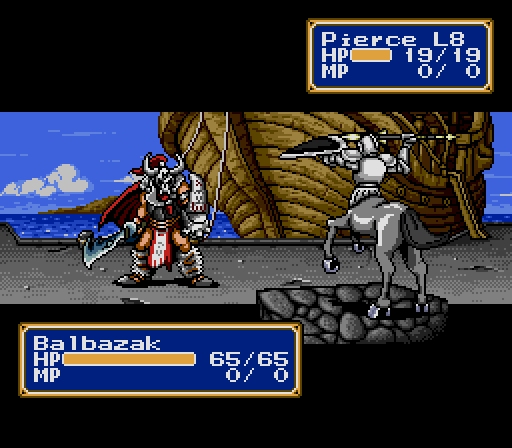
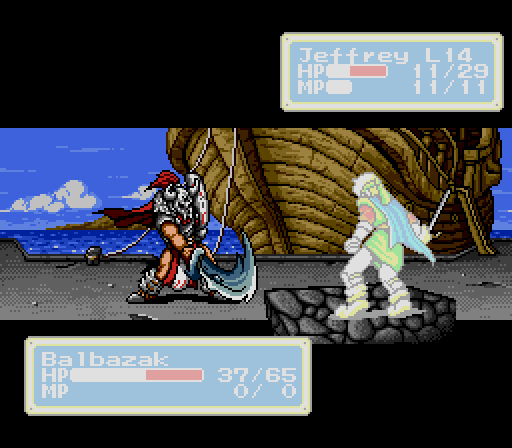
Inside is another of Runefaust's generals, Balbazak. In case the red glowing eyes didn't tip you off, he's actually straight-up evil, so we can kill his ass with a clean conscience.
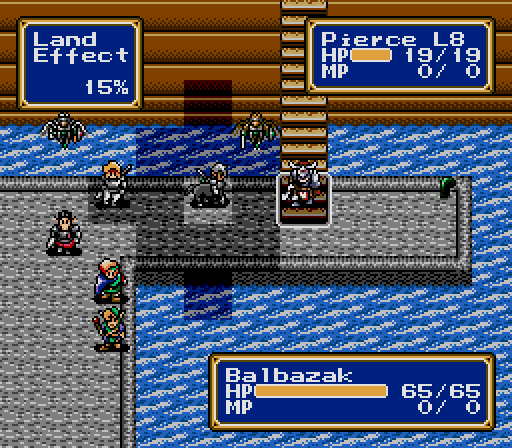
Battle 14
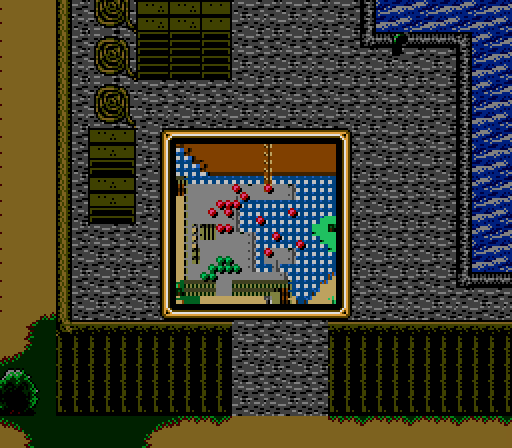
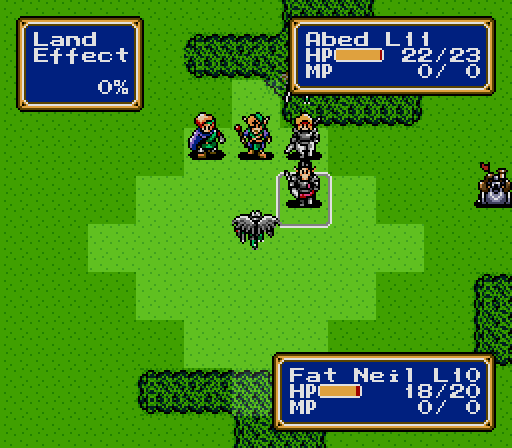
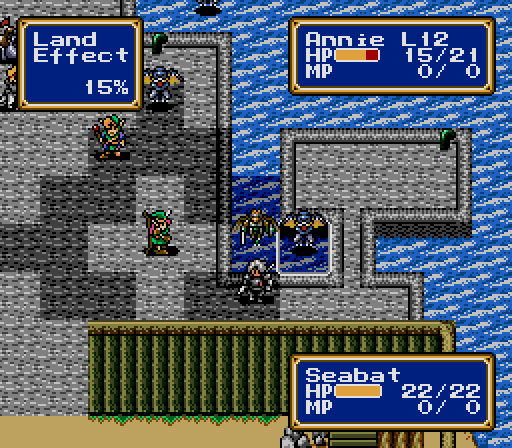
This is a really small battlefield, and the fight will come to us very quickly. Offense is the best defense here, but we have to be careful not to overextend ourselves.
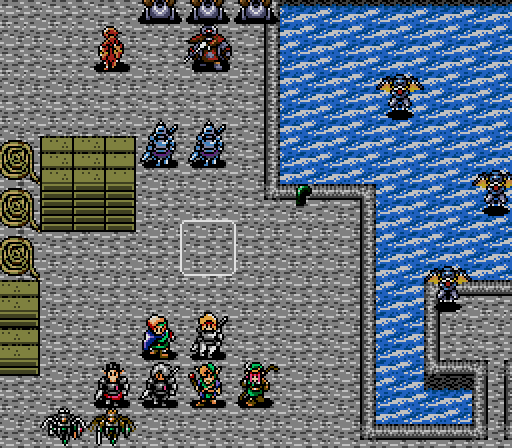
We start by sending the good Knights north to take out the Silver Knights and block the rest of the enemies from advancing.
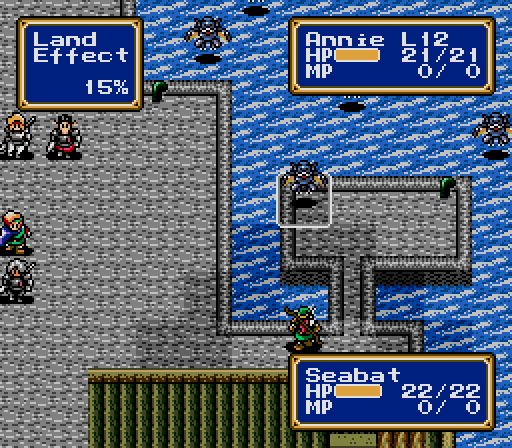
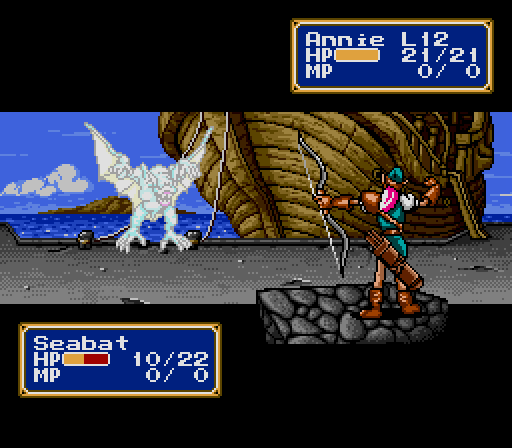
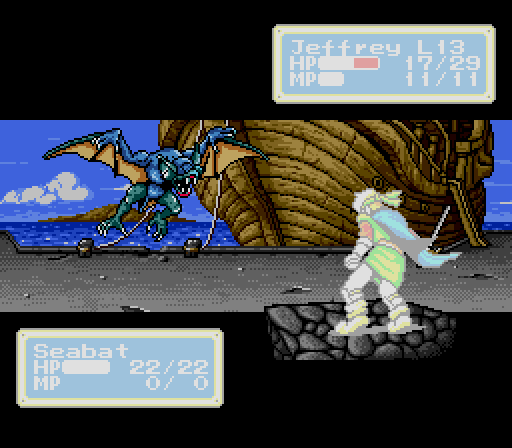
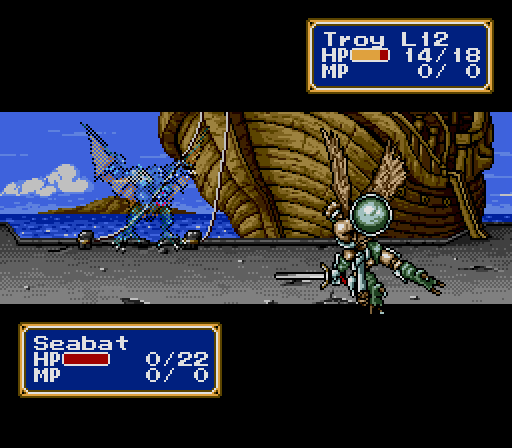
Annie, meanwhile, goes east and starts picking off Seabats. These are the Giant Bat's big brothers, and can put us to sleep just like they did. Unfortunately, they'll be around for a while.
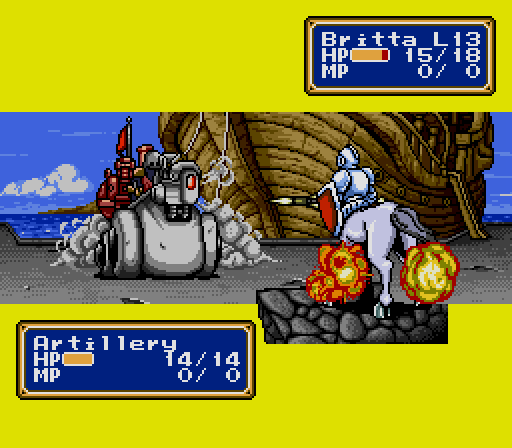
We finally get to see the Artillery in action, but Britta shrugs off tank shells like a champ.

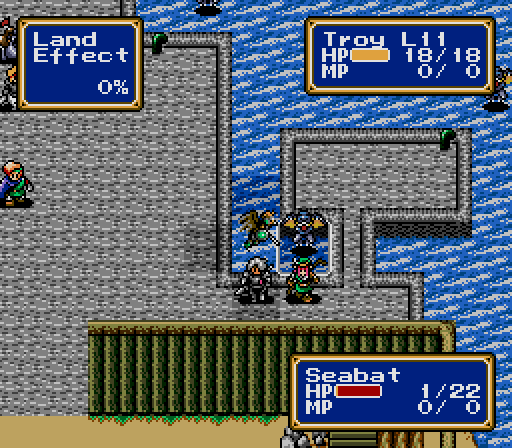
Annie wasn't enough to take out that Seabat, so I send Pierce in to help, but he can't finish it off, so Troy has to go too. I really didn't want three of my eight characters that far away from the main Force, so we'll have to close ranks again as soon as we can.

The Hellhound goes after Abed, but thankfully doesn't breathe fire. Special magical attacks ignore evasion as well as defense, so Abed could have been in a tight spot there. The Hellhound's disadvantage is that its normal attacks are very weak, usually doing only one damage.
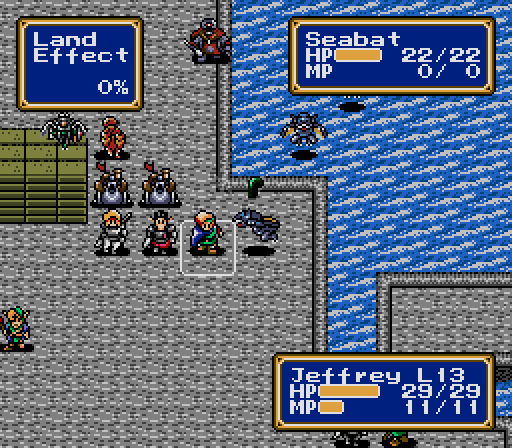
The Artillery are the strongest attackers on the field, so I move up to start taking them out, and also to try to lure Seabats away from my eastern division. It works a little too well.
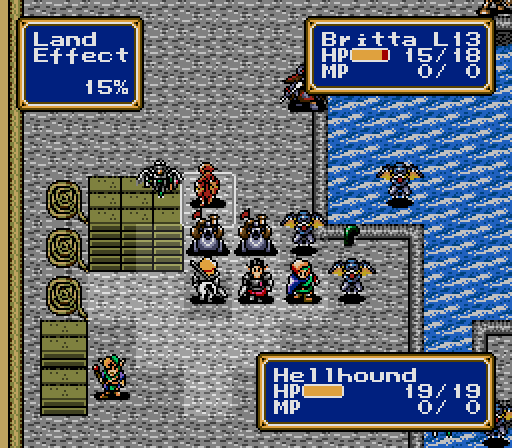
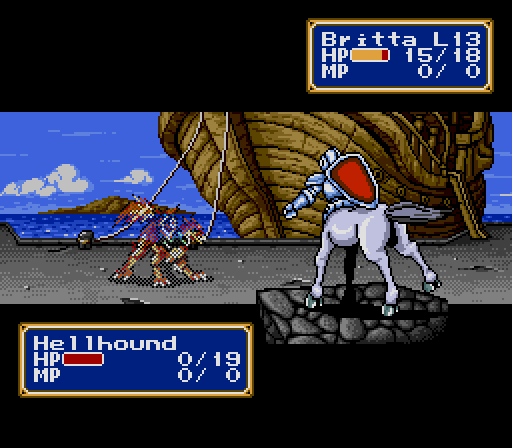
I have Britta take out the Hellhound rather than an Artillery because of its unpredictability.
This backfires a bit as we start to take heavy hits from them and the Seabats.
(Troy gains 2 SPD)
One nice thing about Annie's new range is how it allows for a fighting retreat.

Meanwhile, the rest of the force concentrates on eliminating the enemies that can get to Jeffrey. The kill-zone strategy only really works as long as he's up against one foe at a time.

(Britta gains 2 ATK)
I move Britta over to protect Jeffrey's flank...
(Fat Neil gains 3 SPD)
...and take out the last Artillery before it can capitalize on the opportunity to shoot Jeffrey.
The rest of the cleanup is straightforward.
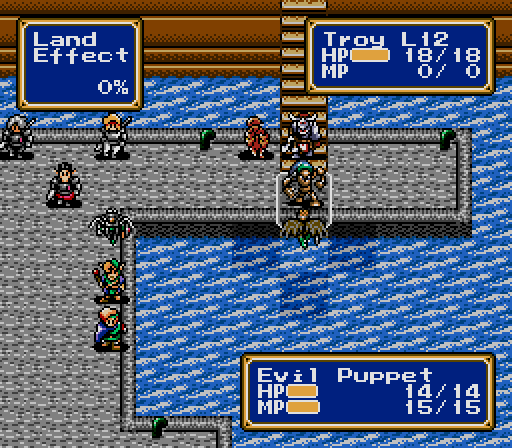
The Evil Puppet guarding Balbazak is a little weird, but I kind of like it. It gets across the idea that Runefaust is running out of troops here, and has to live with whatever they can scrape up.
(Abed gains 1 HP)
(Troy gains 1 DEF)
The birdmen maneuver around to take out Balbazak's last guard.
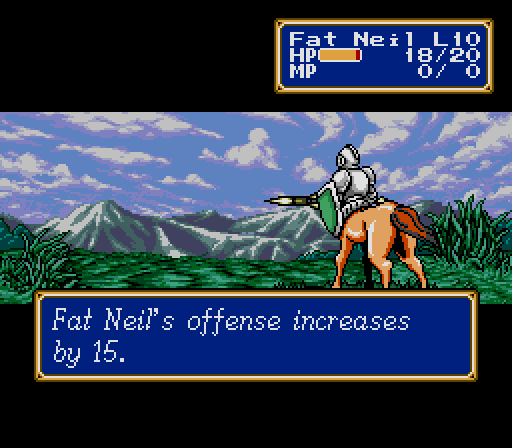
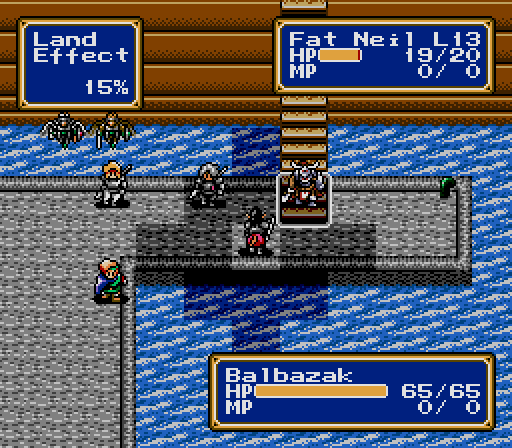
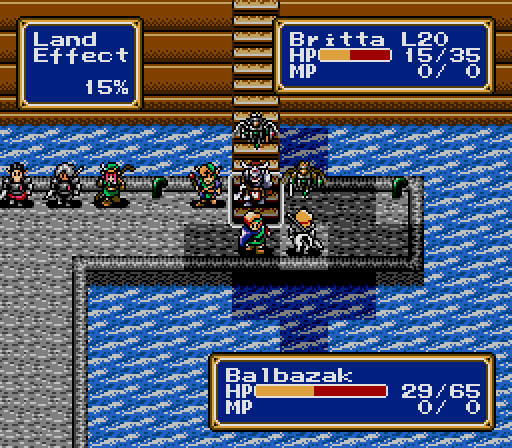
Ordinarily, this would be the time to gang up and take out the boss as quickly as possible. However, Balbazak is unique among bosses in that he (a) will never move, not even if Jeffrey is close, (b) automatically heals every round, and (c) has no ranged attacks of any kind. On top of that, while most enemies are worth less and less experience as our characters level up, as a boss, Balbazak's effective level is so high that the experience rewards for damaging him will not start to diminish before we reach Level 20. This makes him a prime opportunity to train ranged attackers, and the first of four grinding spots I will use in this playthrough. You can also do this with Elliott as long as you keep Jeffrey back, but you can't level Pierce this way, it makes the rest of the chapter too easy, and it dishonors Elliott, so I prefer to torture Balbazak.
In the old days, this is the sort of thing you'd do with a rubber band or a chair leg. I get to use frameskip instead.

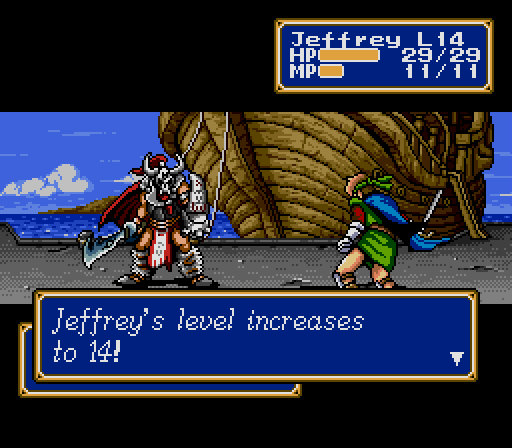
(Fat Neil gains 7 levels, 1 ATK, 3 DEF, 4 SPD, 9 HP)
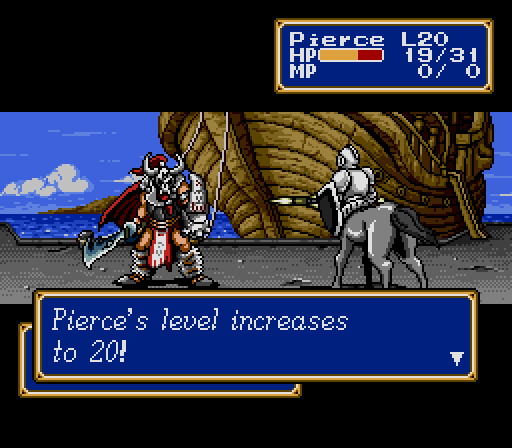
(Pierce gains 12 levels, 8 ATK, 9 DEF, 10 SPD, 12 HP)
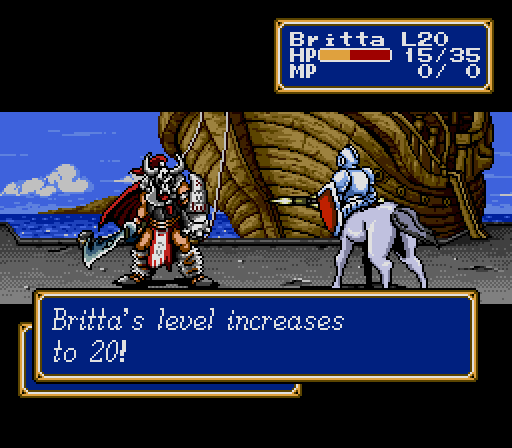
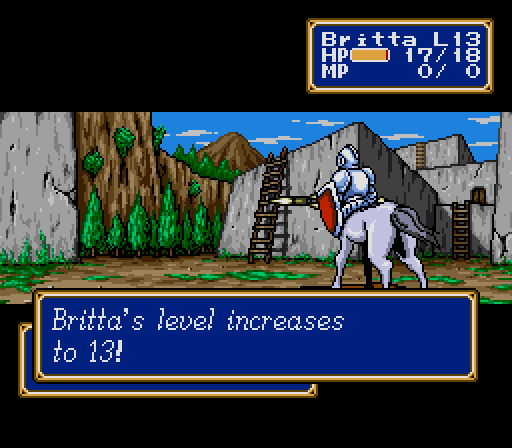
(Britta gains 6 levels, 5 ATK, 4 DEF, 4 SPD, 18 HP)
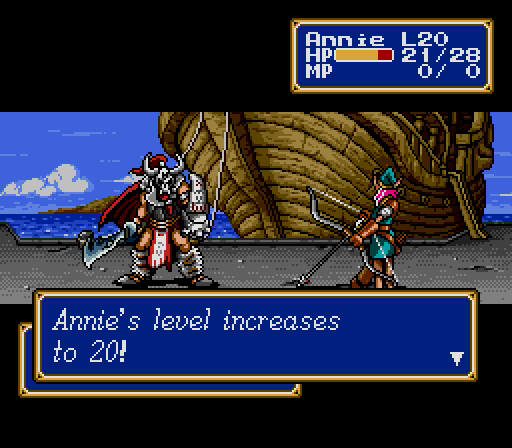
(Annie gains 8 levels, 5 ATK, 7 DEF, 6 SPD, 7 HP)
Characters stop gaining levels at 20, so it's time to end the battle.
(Jeffrey gains nothing)
Everybody who hasn't just maxed out their level gangs up on the boss. As usual, we can count on Jeffrey to hold Balbazak's attention, but that won't last for more than a turn.
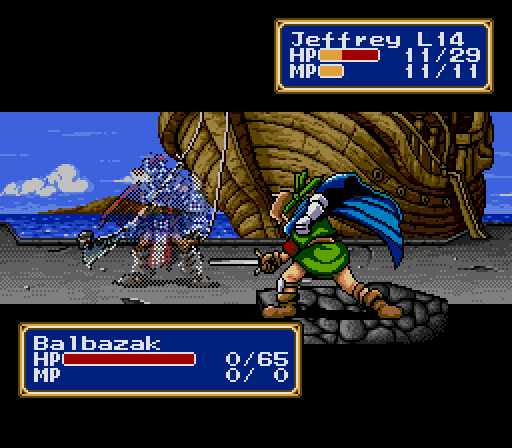
I don't want to risk it, so Britta helps out, letting Jeffrey land the final blow.
Added Insult To Victory!
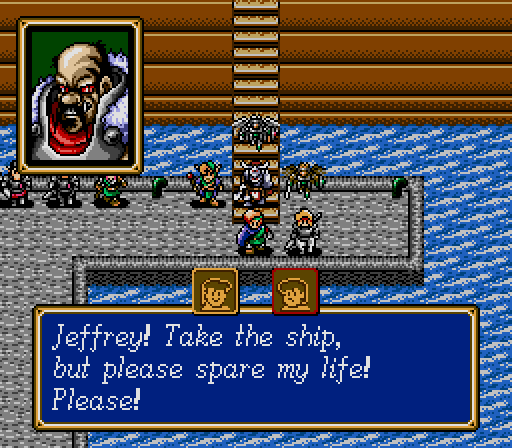
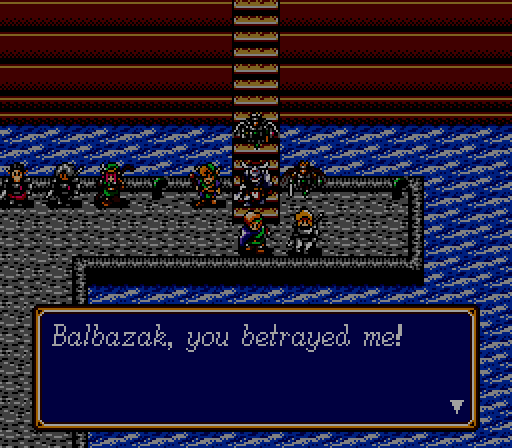
Balbazak's still alive after the battle, and we have the option to finish him off. Why we killed Elliott but show mercy to this guy is beyond me. Anyway, it doubly doesn't matter what we choose, because we're forced to spare him...
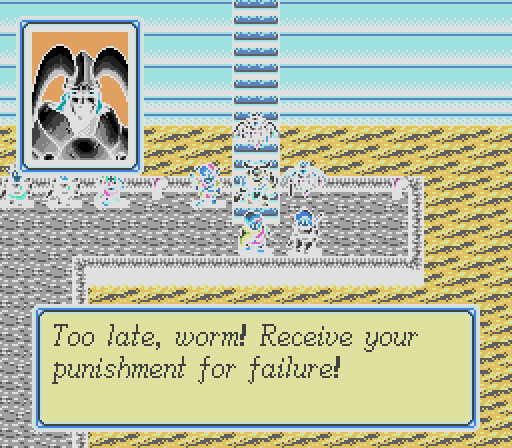
...and Darksol kills him anyway for trying to bargain for his life. He makes a last-ditch effort to be a Noble Villain himself, but come on, look at those eyes. Who is he trying to fool?
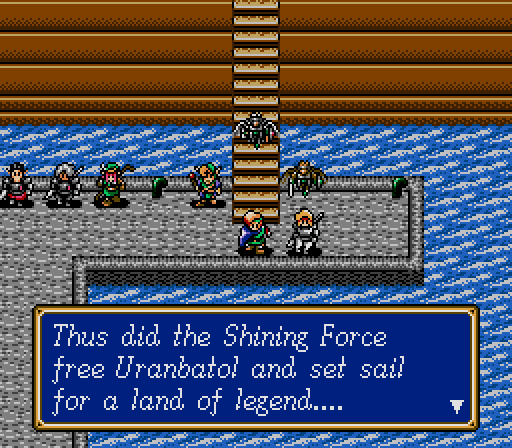
Anyway, we finally have a ship, and it only took us half the game. Time to take the fight to Runefaust.
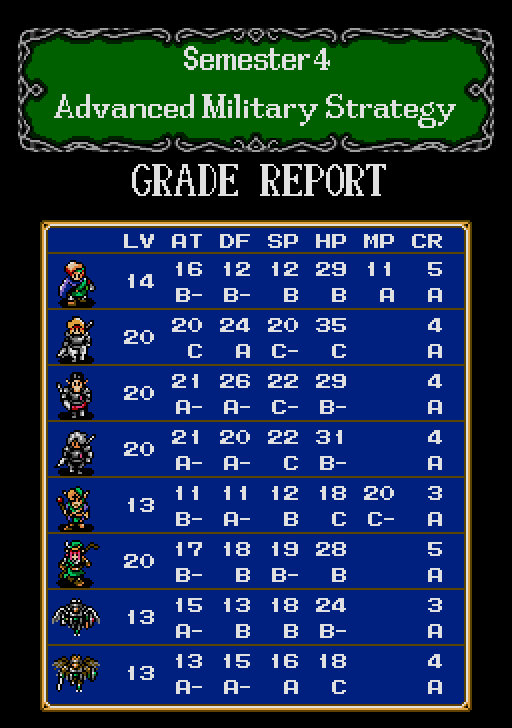
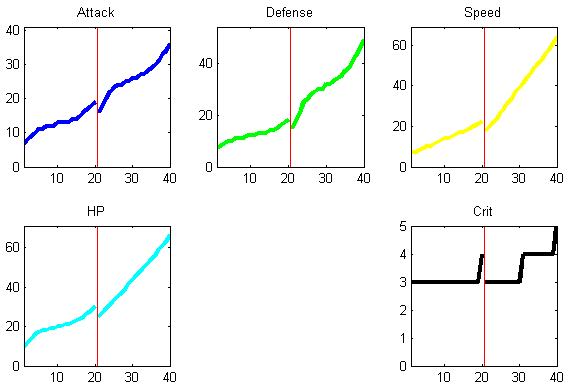
The actual stats for our Level 20 members aren't going to matter so much shortly, but it's interesting to see how the growth rates of our Knights have started to vary. Britta's caught up to Fat Neil in Attack, and her once-dominating Defense has been supplanted by a massive pool of HP. Troy's falling behind in Attack, so he'll be using the Power Ring for the near future, and his low HP is becoming a concern as well. Shirley hasn't gained any MP in three levels either, and her window of viability in melee is basically past. I'll be making every effort to empty her MP pool with healing every battle in the hopes of keeping her current with the rest of the Force, but her grinding point is still to come, so she can at least look forward to that.
See you next time in Semester 5: Intermediate Sailing!