Part 67: Mission 19 - Clash! Devil Vs. The Lord of Hell - Part 2
 : Wärter!
 : Sorry for making you wait, Kouji, but now we’re here to help!
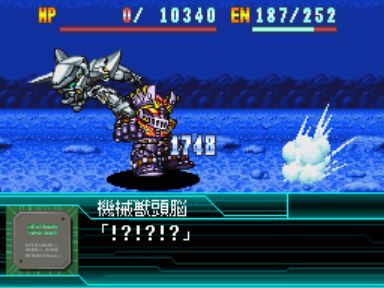
 : Impossible! How did they get here?! This Hell Castle has a perfect camouflage!
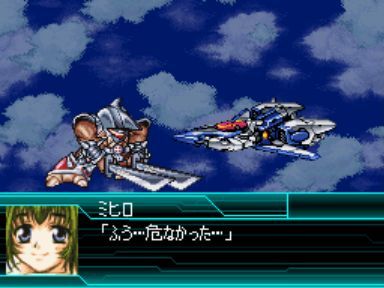
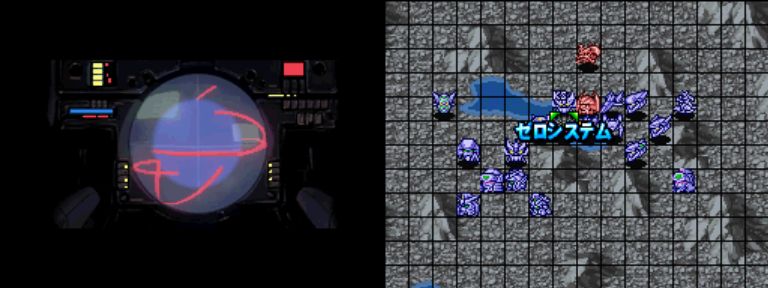
 : Fu…you’re too late. This place has already been wrapped in our net.
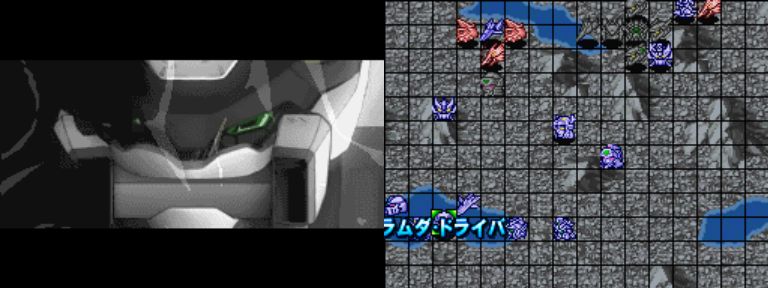
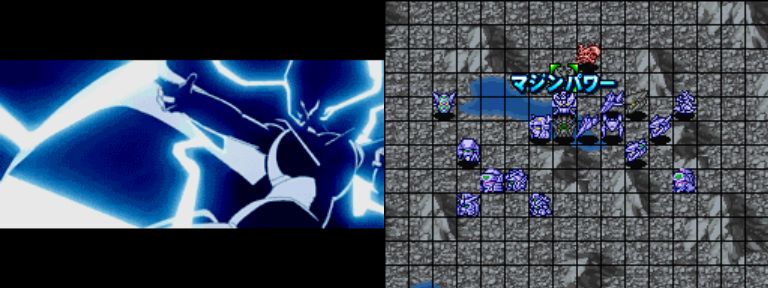
*Danaan emeges*
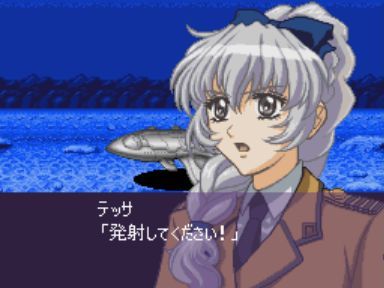
: Captain Tessa! Mithril also came here!: That’s right. I asked for Mithril’s assistance while I was trying to locate Hell Castle.: And, also, with that woman’s help, it was possible to complete Great Mazinger! : Mr. Kabuto! Mr. Tsurugi also asked me to deliver something to you!: Huh…
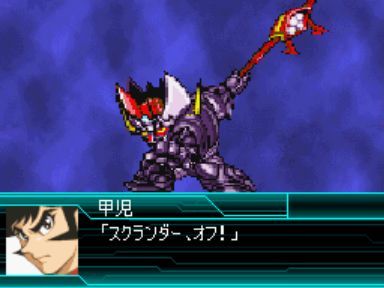
 : Open the top deck! Catapult, lower 30 degrees! Prepare to launch!: That’s!: Take it, Kabuto: Mazinkaiser’s wings!!: Kaiser Scrander: LAUNCH!!
 : This…is the Kaiser Scrander!
 : As a result of re-investigating the facility where you found Kaiser, Tetsuya and I were able to discover the blueprints to “Shin” Great Mazinger and this Kaiser Scrander as well.: With Prof. Yumi’s help, we brought them to Mithril’s base, on Merida Island, in order to complete them both.: Whoa! You’re amazing, Tetsuya! This is awesome!!: Eeh! Damn Wärter! It’s one thing after another with you!!: Take a look, Dr. Hell! The power to stand against evil is infinite!: Silence! Since it’s come to this, I’ll deal with all of you annoying maggots in one fell swoop!!: Bring it on! We’re gonna turn this Hell Castle into your graveyard!: Sayaka, root for us from the Valstork!
 : Alright, Kouji. Be careful.: Get ready, Dr. Hell! We’re gonna settle this right here!!
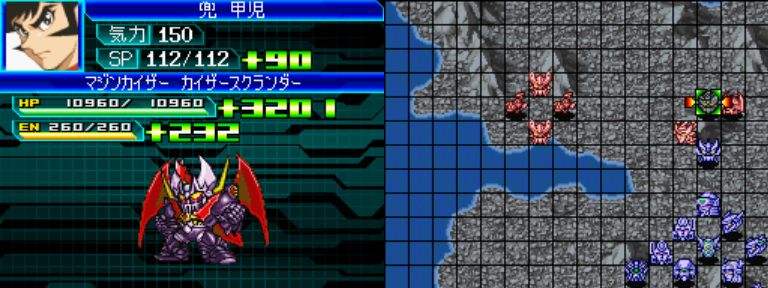
 Bless you, Tessa; the Kaiser Scrander makes Mazinkaiser an even bigger beast.
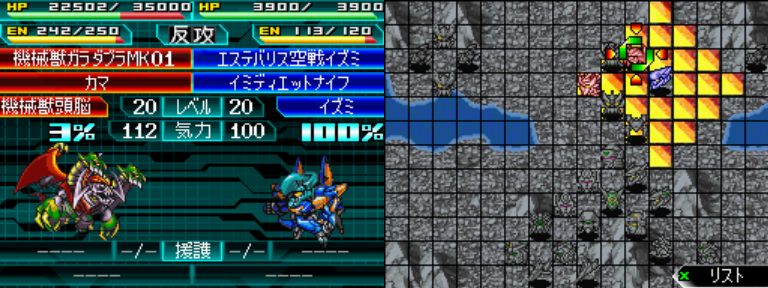
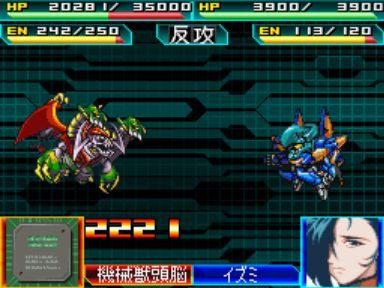
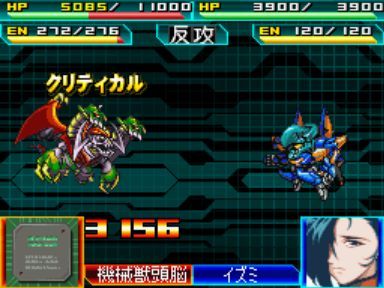
Kouji’s already moved this turn, though, so it’ll be Izumi leading the charge.
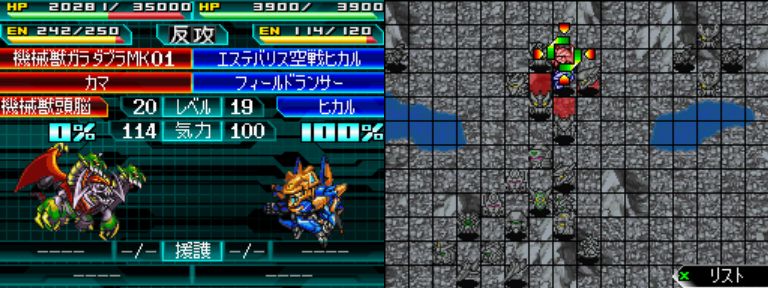
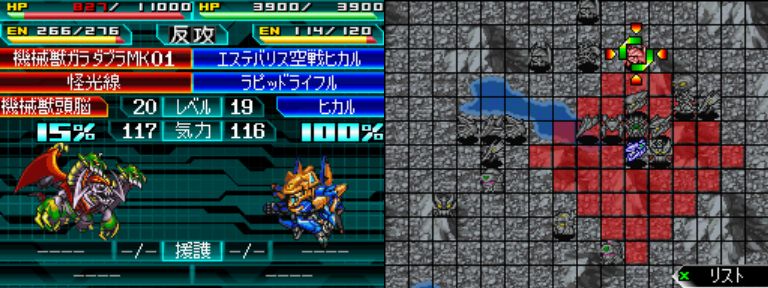
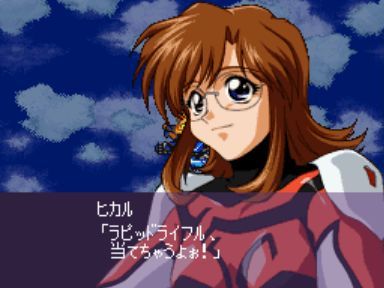
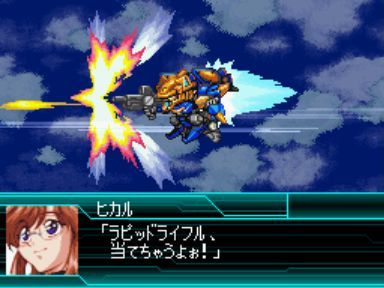
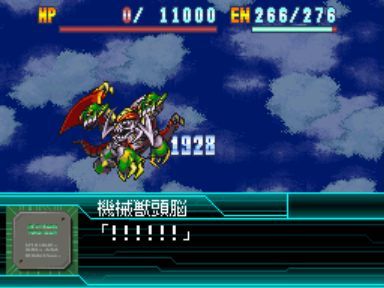
Followed shortly by Hikaru.

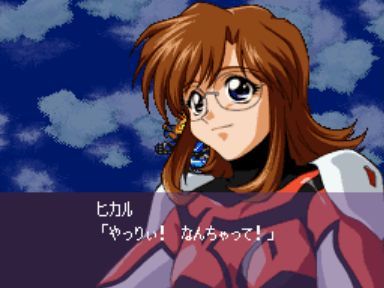
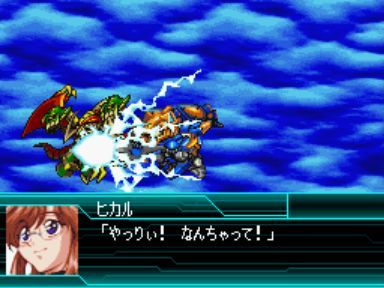
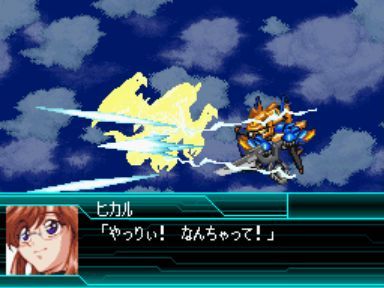
Eh…that’s fine, I guess.
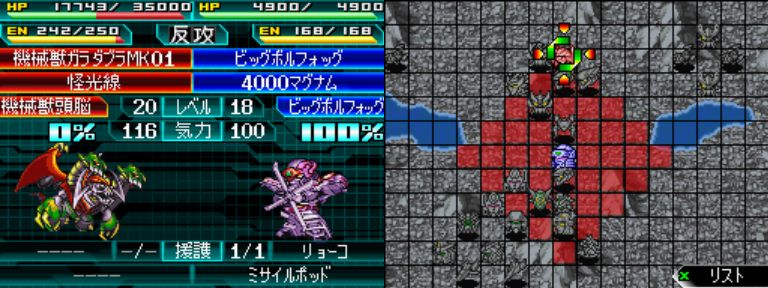
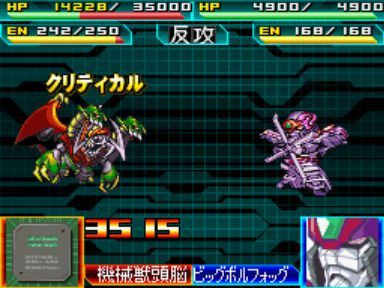
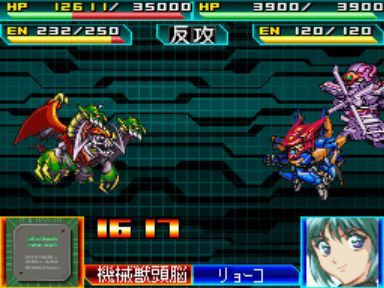
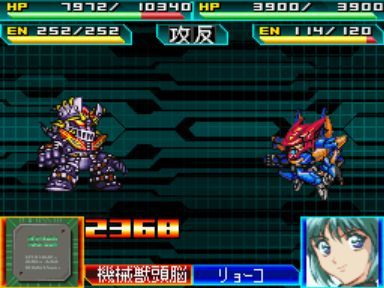
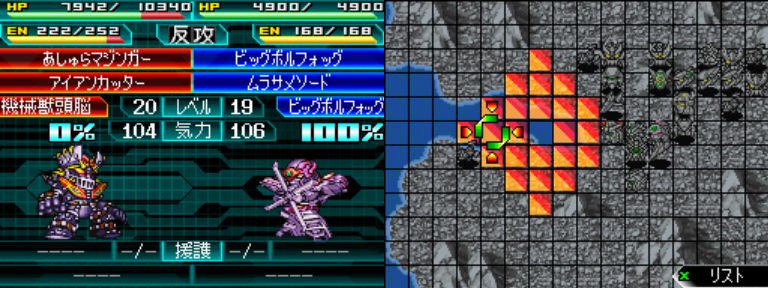
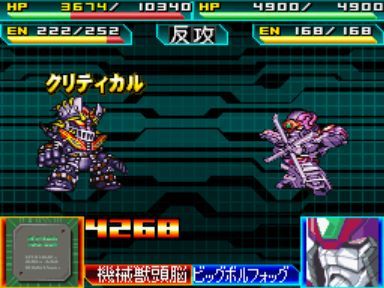
Volfogg is in just the right range to attack and grab an assist from Ryouko.
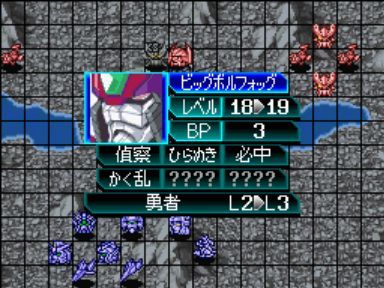
He levels up and gains Hero L3.
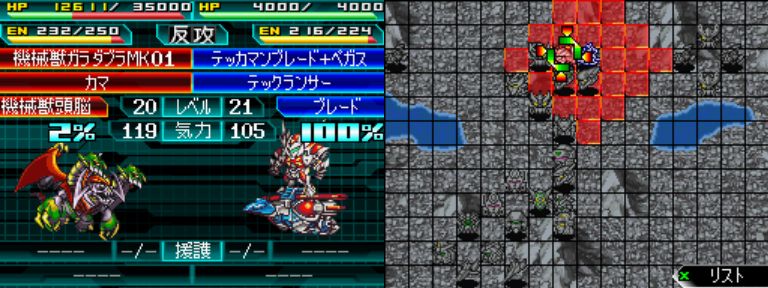
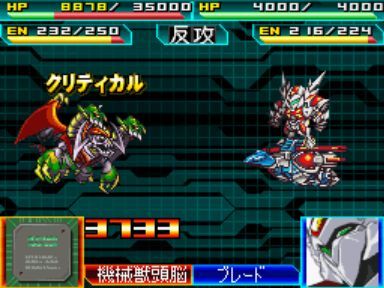
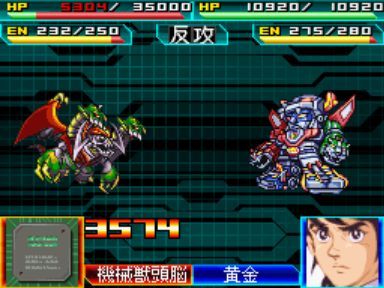
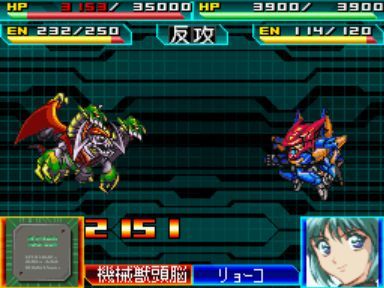
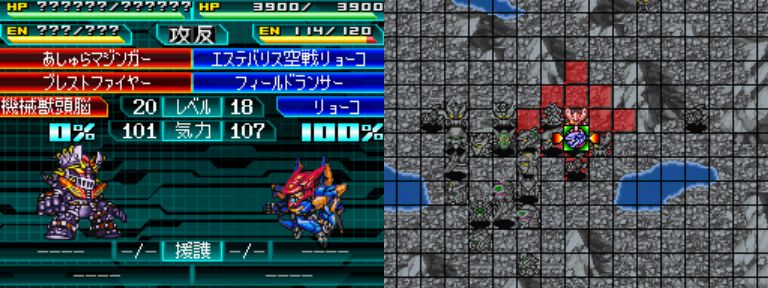
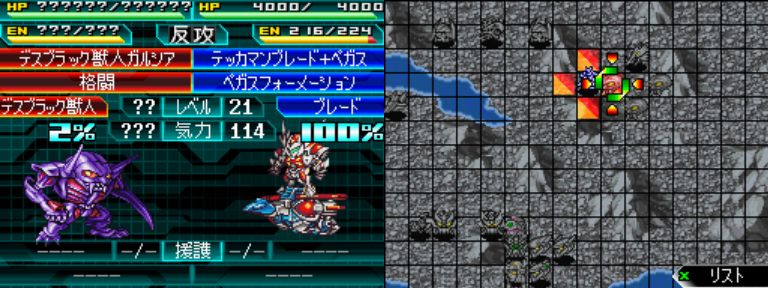
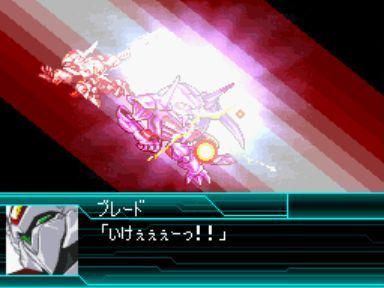
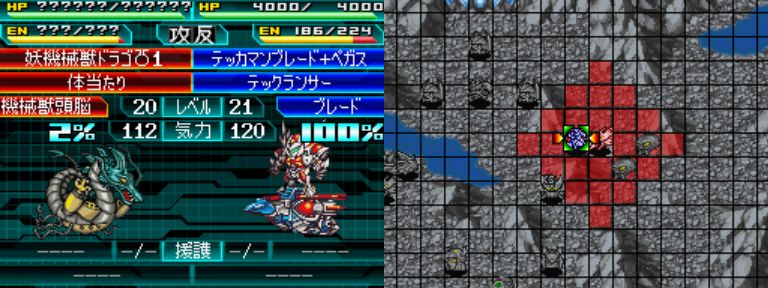
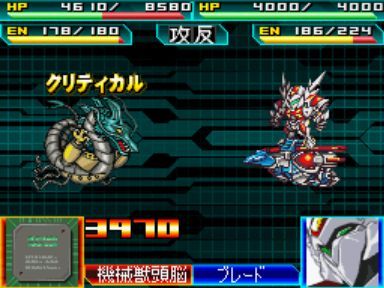
Blade, Golion and Ryouko attack the Garadoublas.
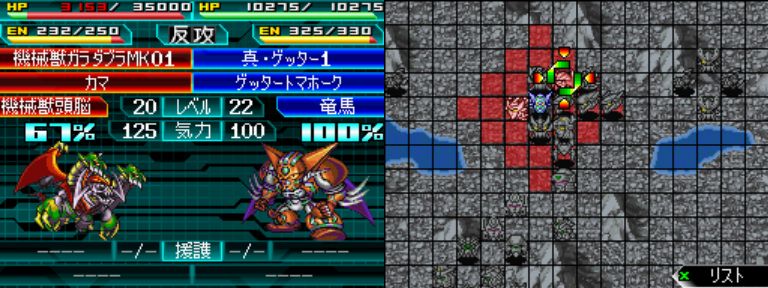
It leaves him just right to be fed as a morale-booster for Getter.

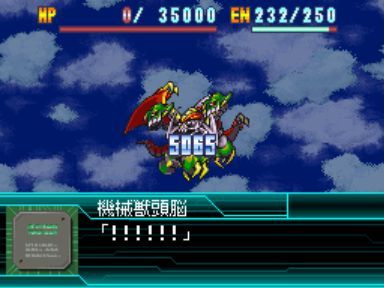
Hmm. I didn’t even need to attack with Ryouko.
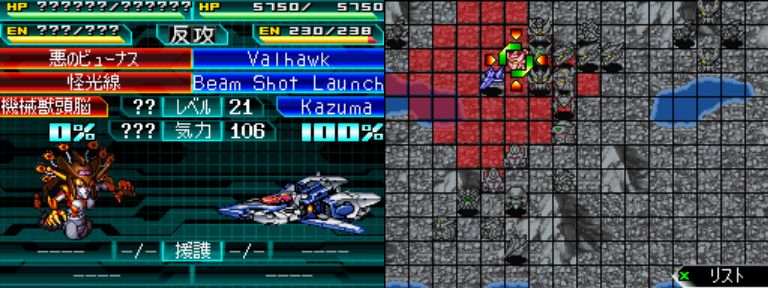
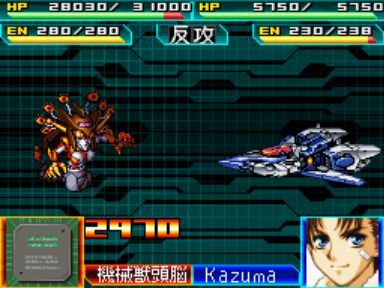
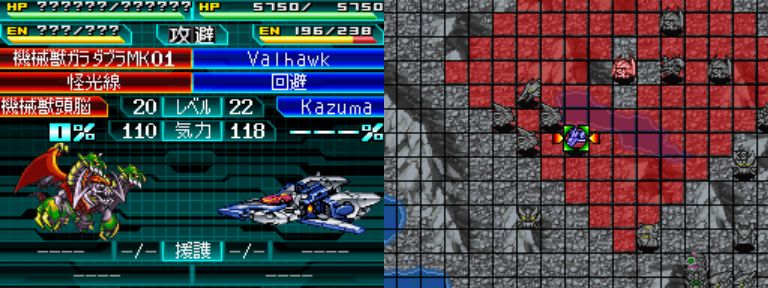
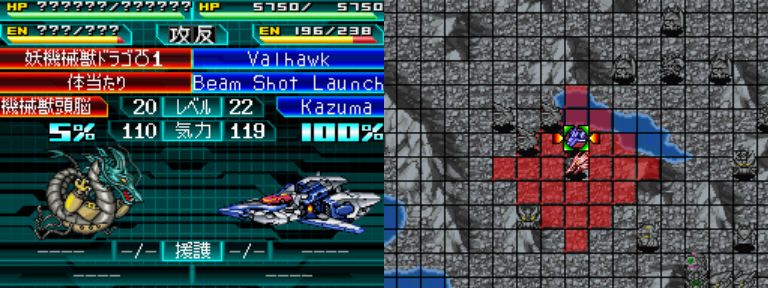
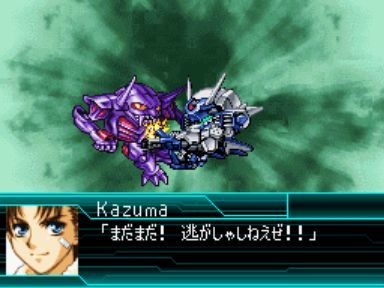
Nevertheless, the remaining troops will go for Venus A, starting with Kazuma.
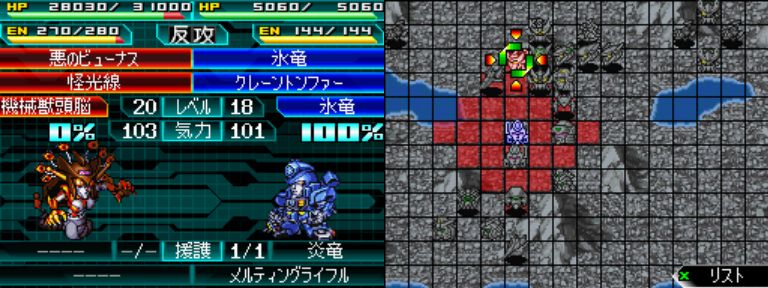
Next, it’s Hyoryuu who will be grabbing an assist from Enryuu.

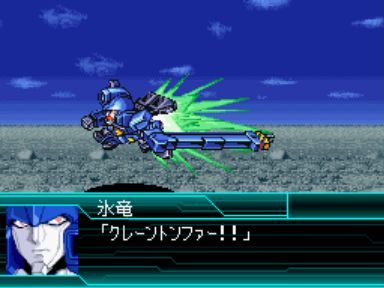
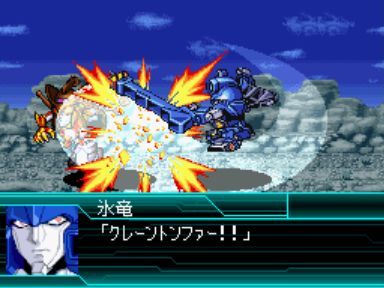


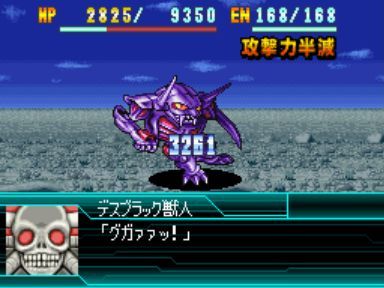
Very nice. Enryuu’s gun and cannon attacks inflict the same damage reducing debuff as Golion.
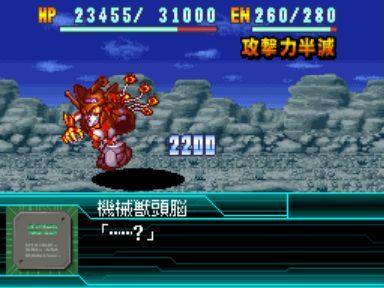
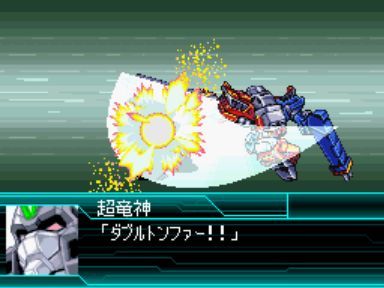
Using Enryuu to pull the combination, Chouryuujin does some extra damage.

Sousuke and Heero move in closer and attack as well.
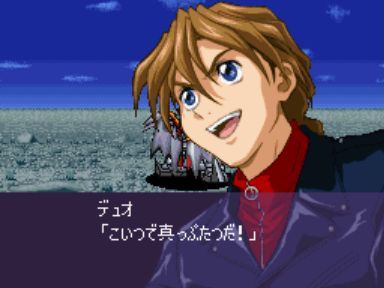
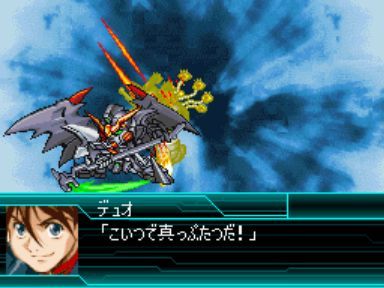
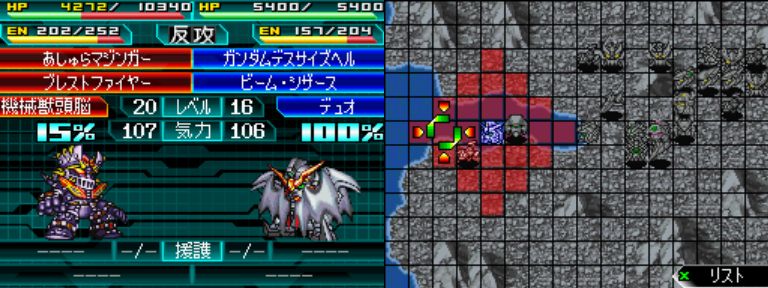
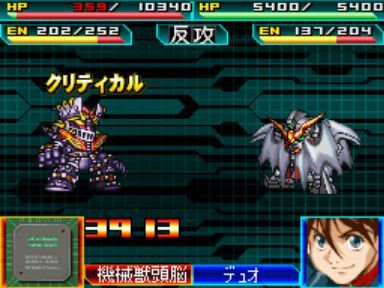
This is closely followed by Duo.

They never crit when I actually want them to…
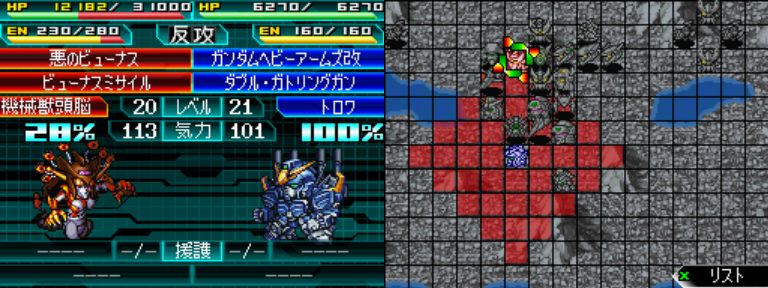
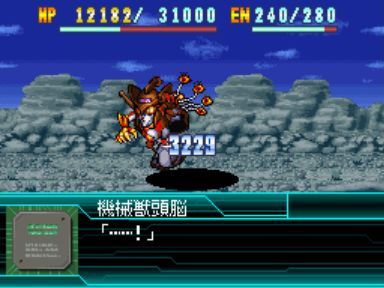
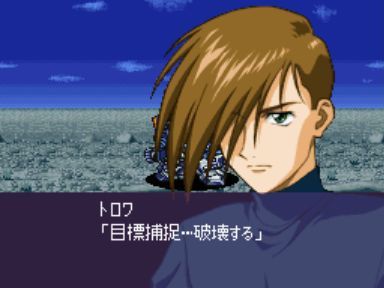
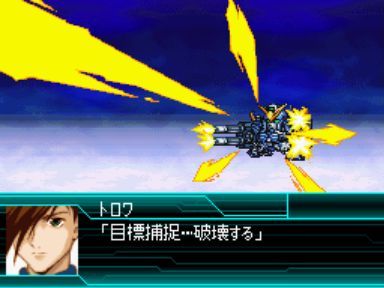
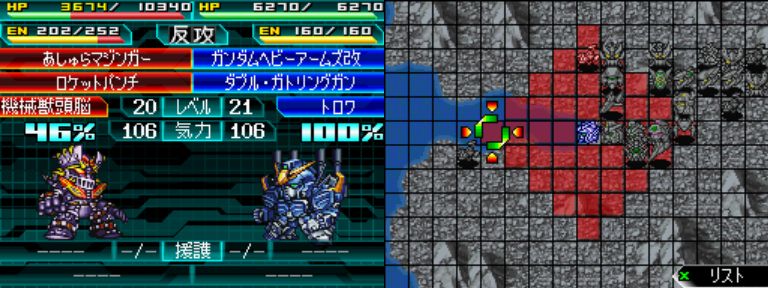
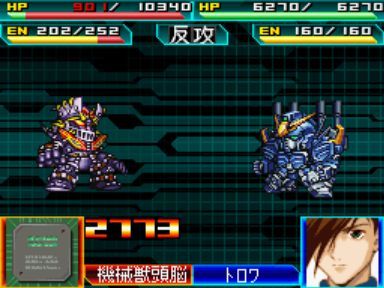
Taking advantage of the command aura, Trowa can move close enough to fire his Gatling Guns and have a good chance to dodge.
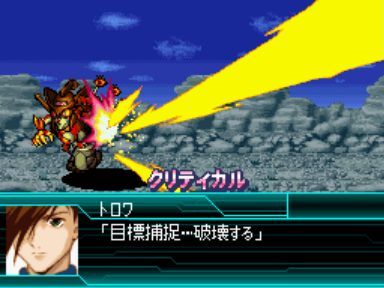
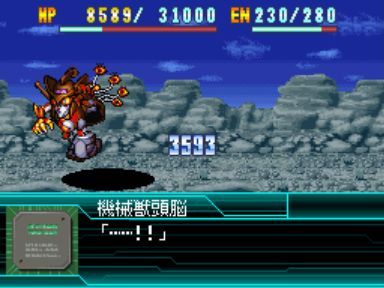
Good, good.
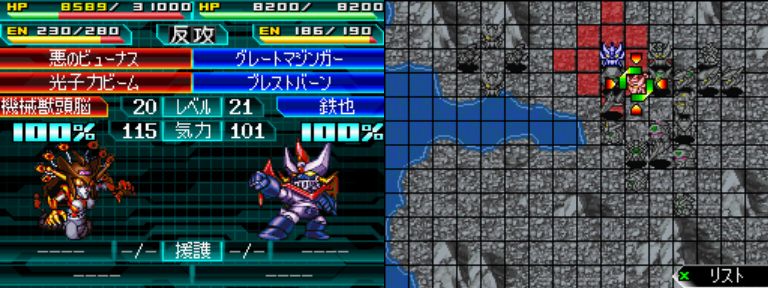
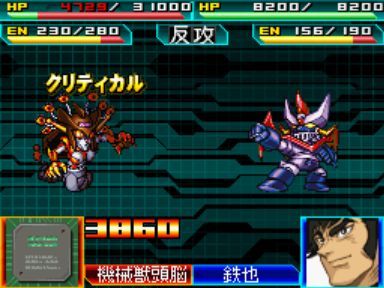
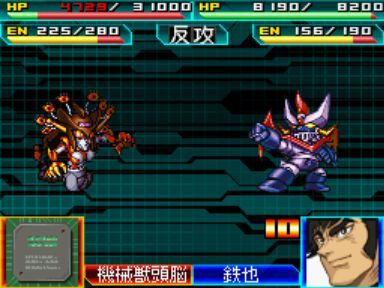
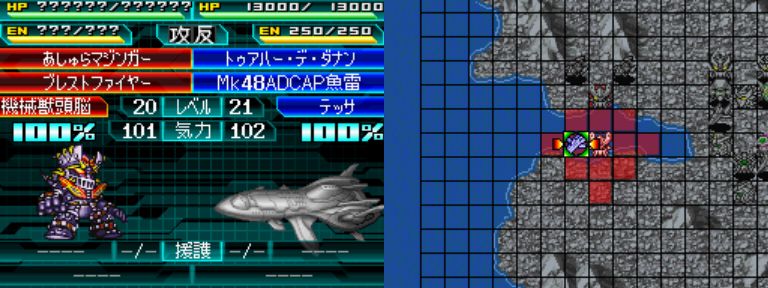
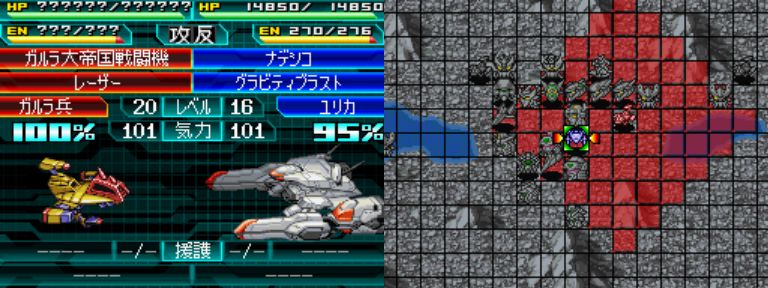
Tetsuya, with Iron Wall, moves close to hit with Breast Burn. Hopefully, he’ll attract that group to the left.
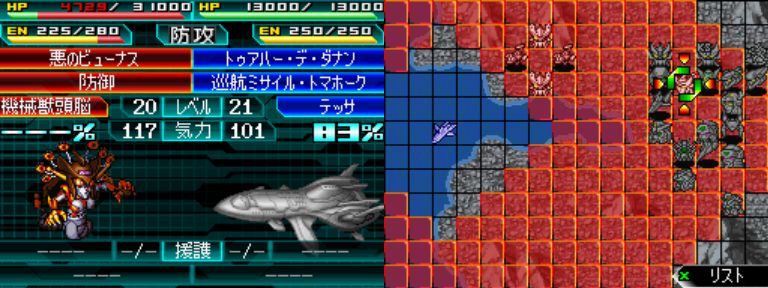
Also, I wonder if the Danaan is strong enough to kill the Venus…?

Nope.
Enemy Phase!
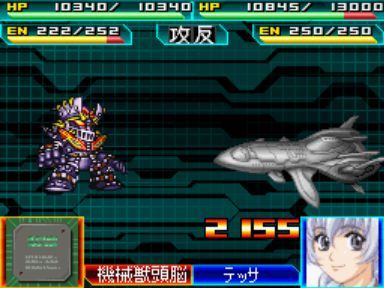
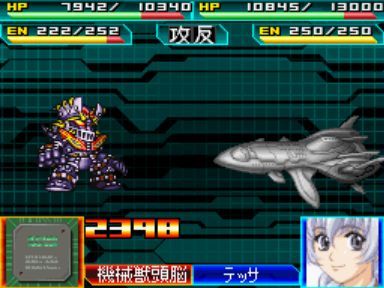
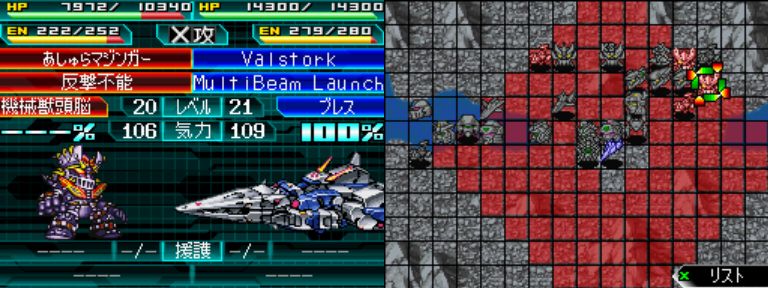
And my plan fails completely. Tessa being so close by makes a pair of Ashuramazingers and a Galra Fighter go for her (and I didn’t use Iron Wall).
At least the right-most Fighter decided to play along.

Not bad. Anything goes to get Tetsuya’s morale over 130.

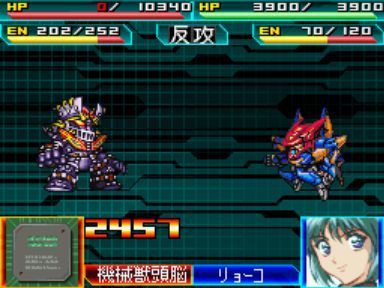
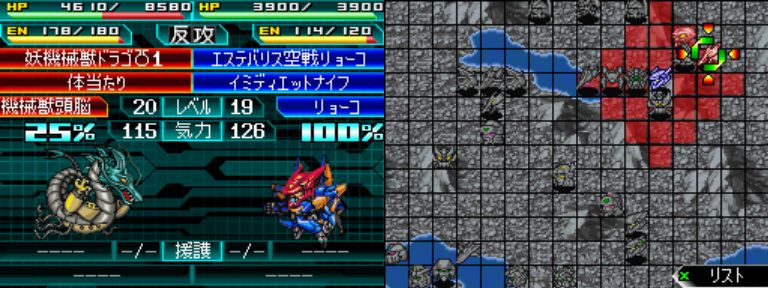
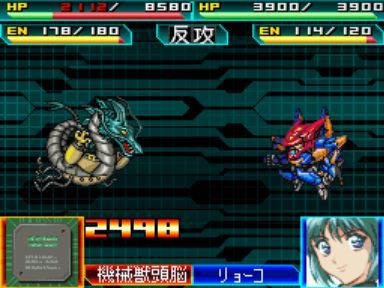
Off to our right flank, the enemy wastes an attack on Ryouko.
While the Fighters can go farther and reach the Nadesico.

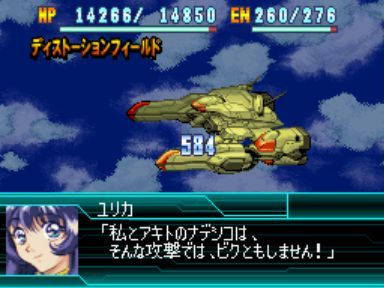
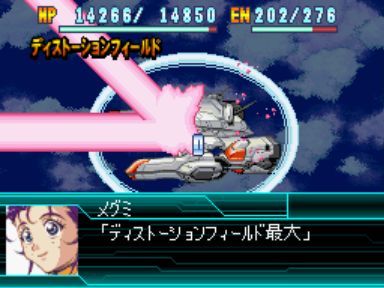
It’s still a wasted attack seeing how Beam weapons have a damage penalty against Distortion Fields.

One more Ashuramazinger gets punished for going after a pilot with focus and a friend bonus.
Uh, oh. This Fighter is being sneaky and went after Golion!

For shame.
The Venus regenerates 20% HP per turn so it’s actually good it went after a unit that can take a good chunk of that in one hit.
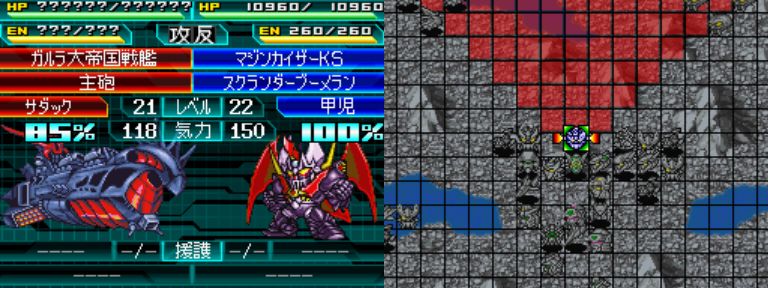
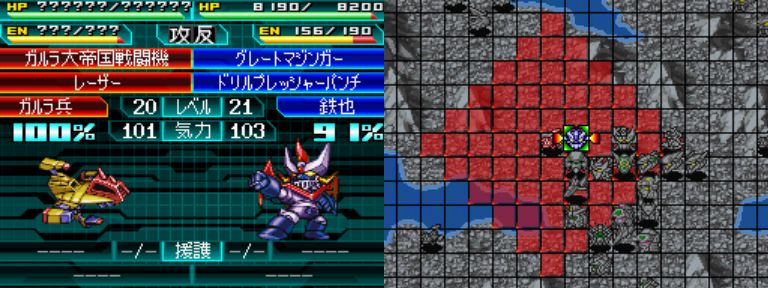
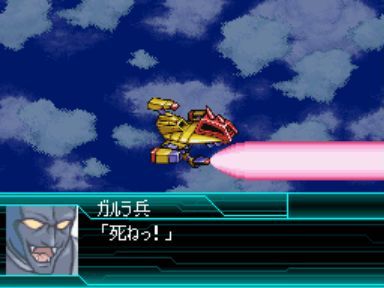
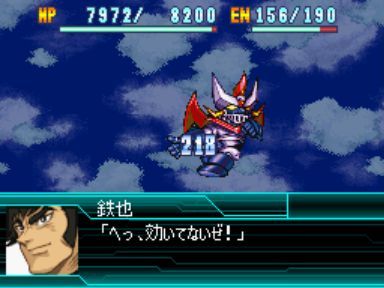
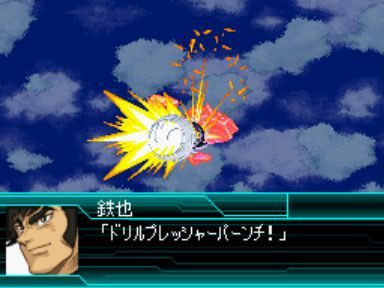
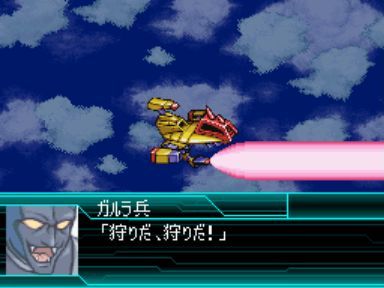
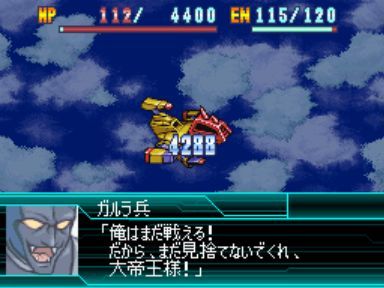
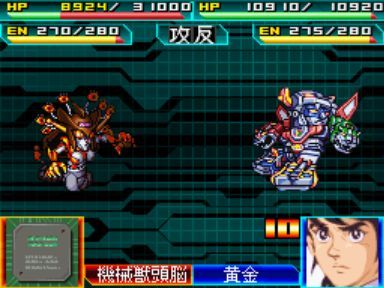
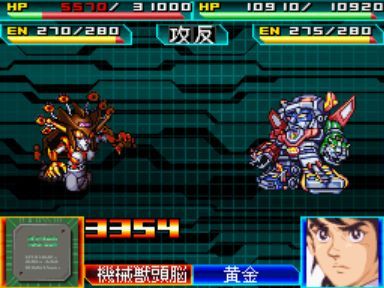
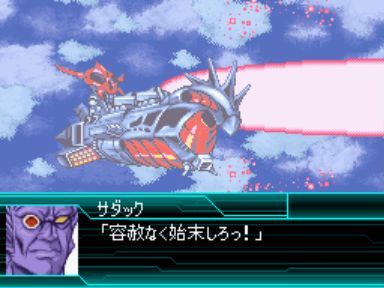
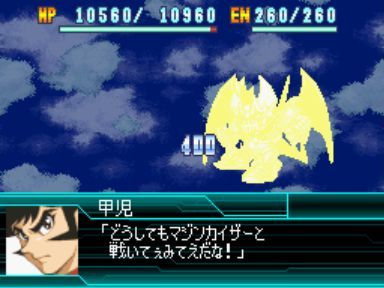
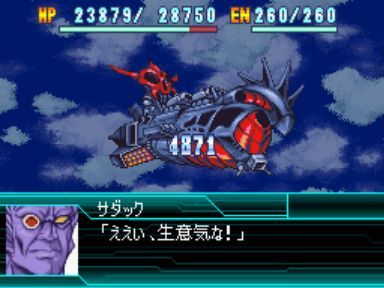
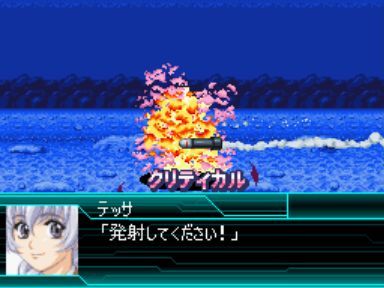
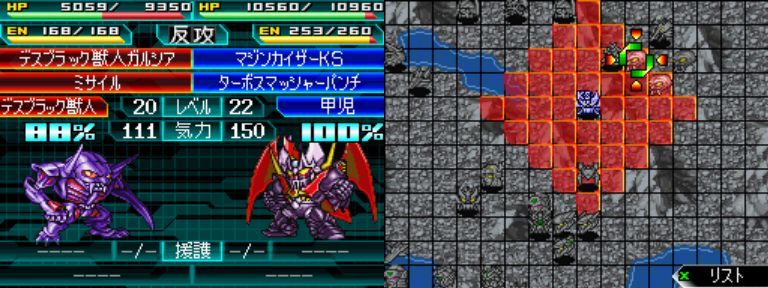
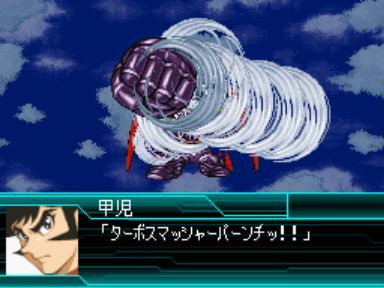
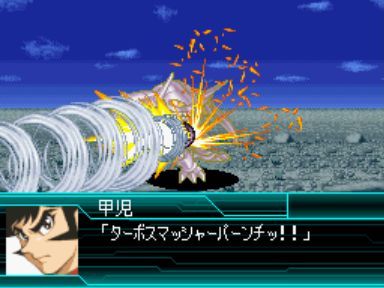
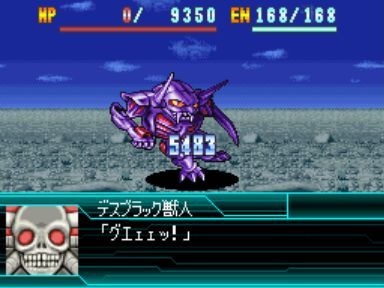
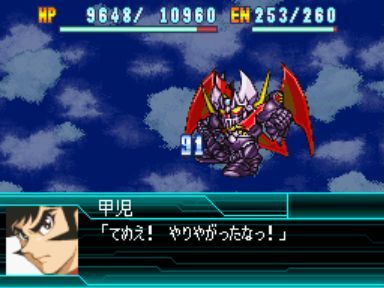
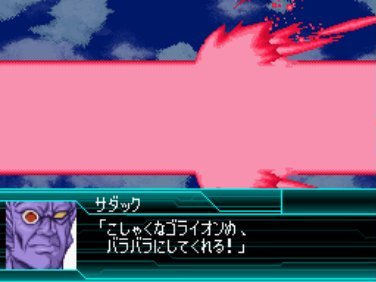
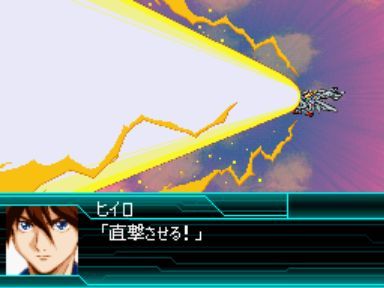
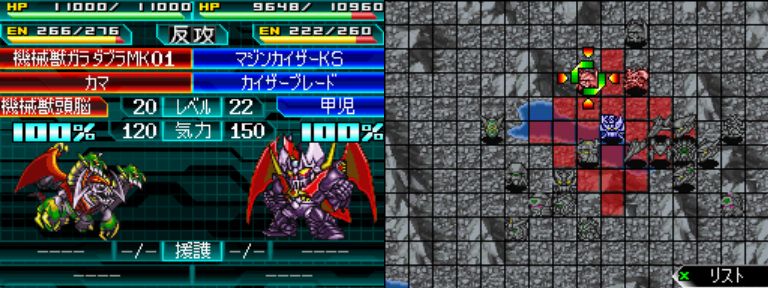
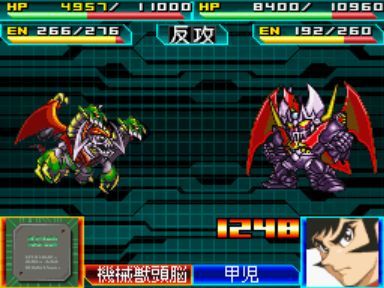
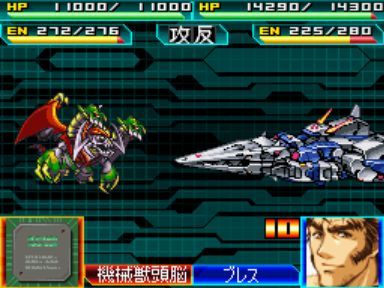
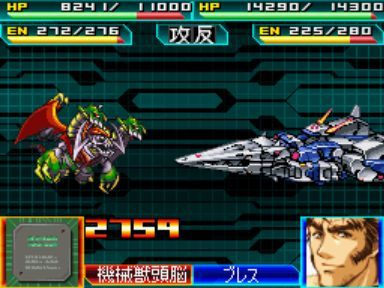
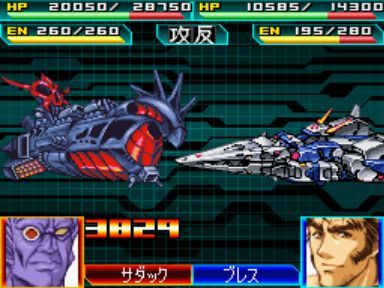
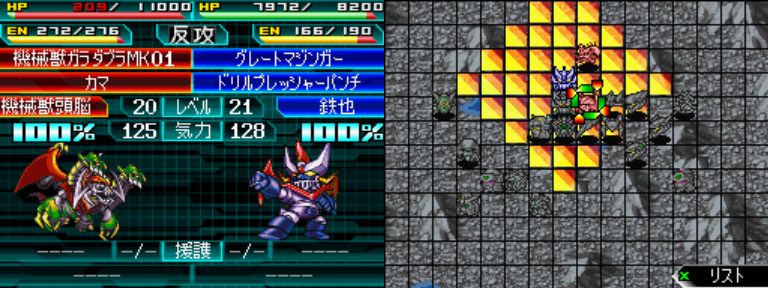
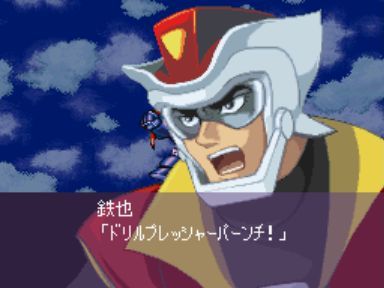
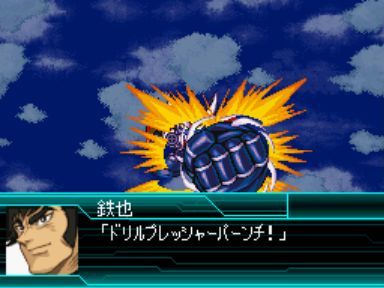
Finally, Sadak tries to snipe at Kouji but these wings give us the necessary weapons to fight back.
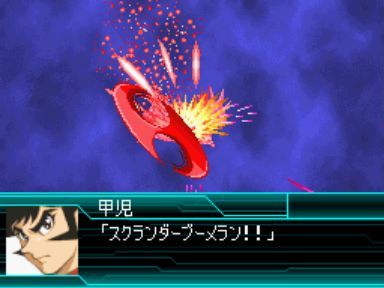
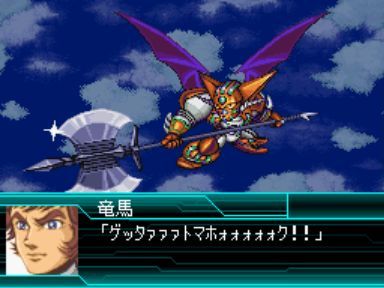
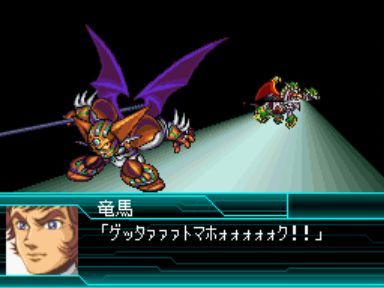
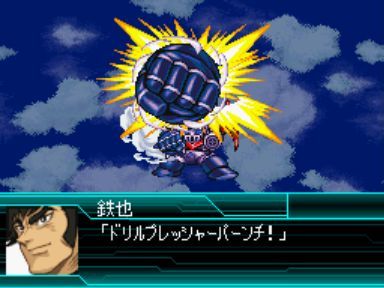
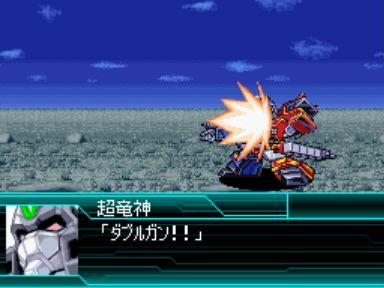
DAAAABURU TOM-wait… SCRAAAANDAAAAAAAAAAA BOOOOOOOOOOOOMERANG!.
Also, how does the Kaiser stay up in the air while its wings are flying off?

Player Phase!
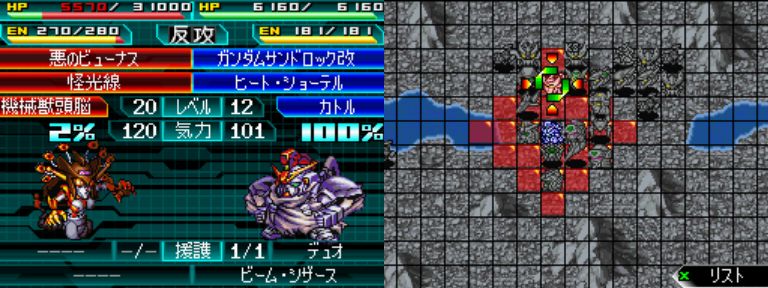
The Venus can already be killed but let’s give some screentime to a couple of folks that haven’t seen much action lately.
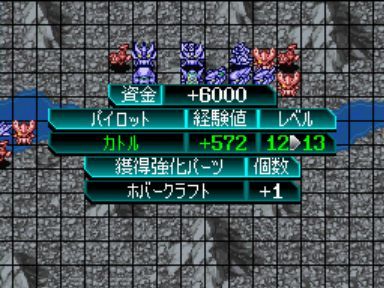
Quatre gains a needed level and a Hovercraft.
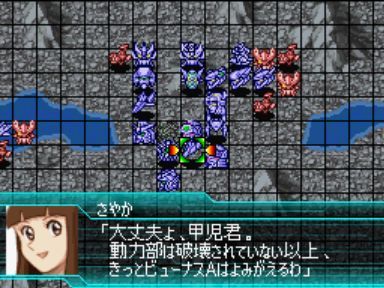
Kouji apologizes for having no choice but to destroy Venus A but Sayaka takes it quite well, sure that it can be reborn in its rightful form now.
The main thing is to be sure to wipe out Dr. Hell.
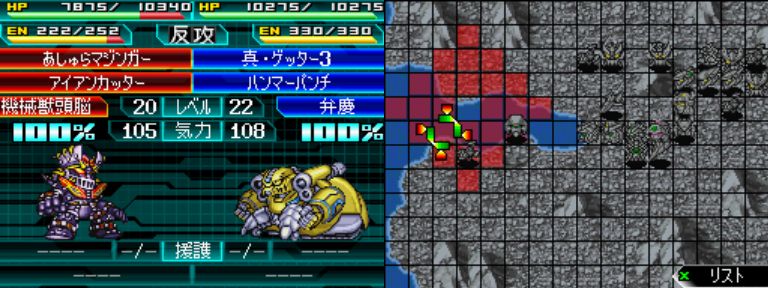
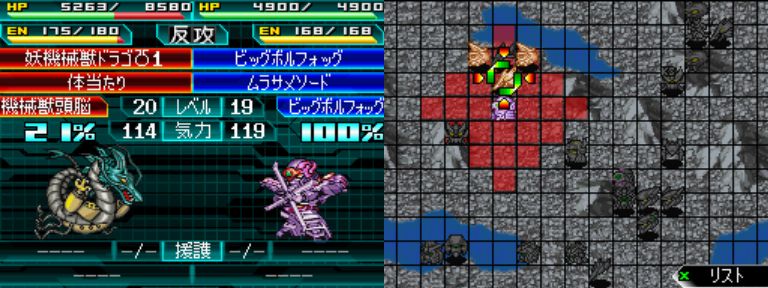
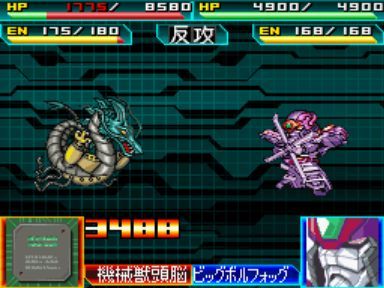
Indeed, it is. So let’s keep going and send Volfogg over to the Danaan’s side to weaken one of them Ashuramazingers (Volfogg still has the Water Jet equipped so he’s ideal for this).
Trowa still has an A-rating in Water but the low crit rate and unupgraded weapons stop him from finishing the job.
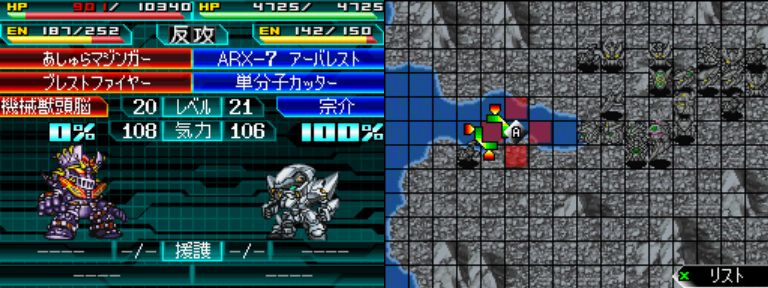
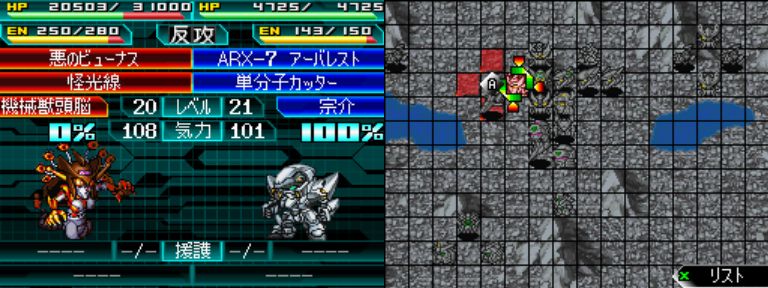
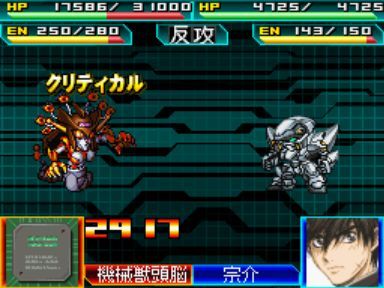
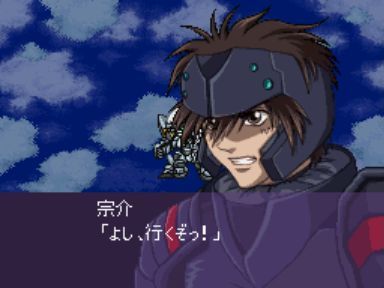
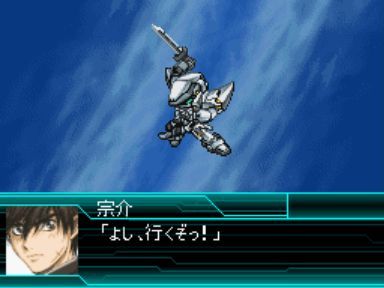
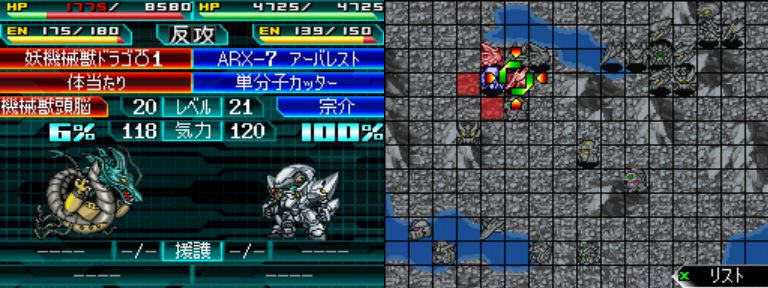
Which leaves us with Sousuke and his Monomolecular cutter.


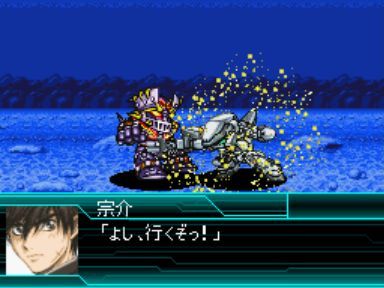
Very good.
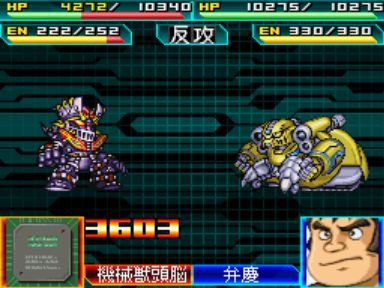
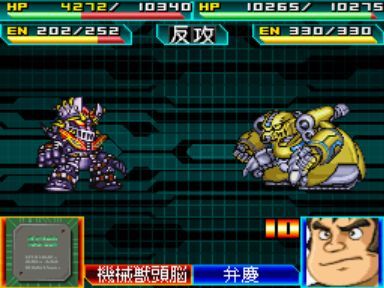
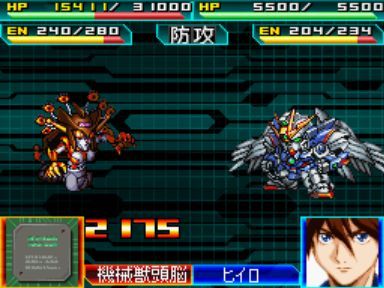
Water battles always call for some Getter-3 action.
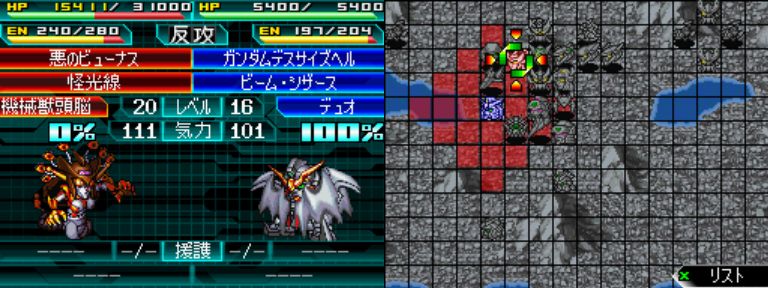
Duo…I am disappoint.
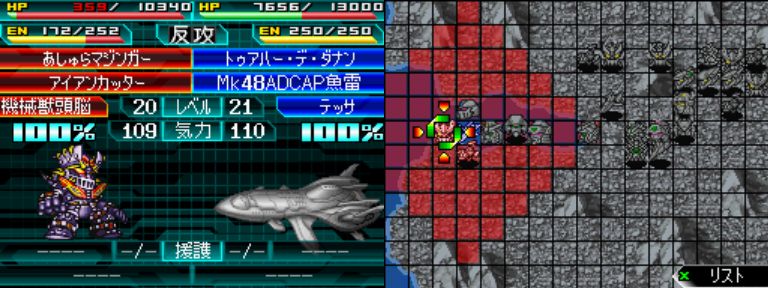
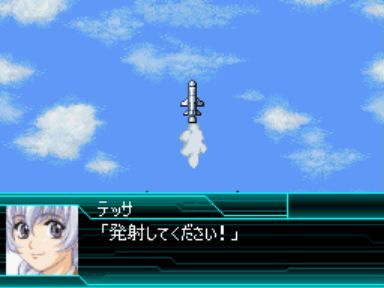
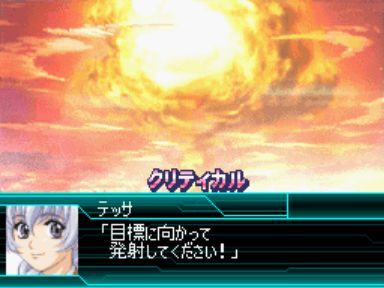
We’ll leave it to Tessa to finish the job.
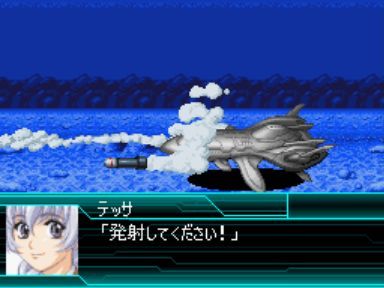
Revenge!

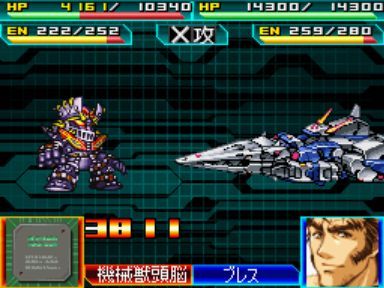
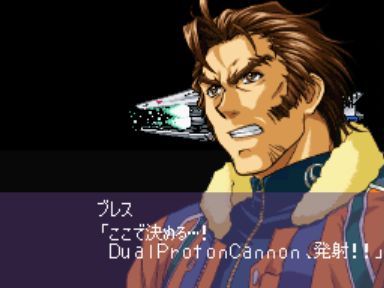
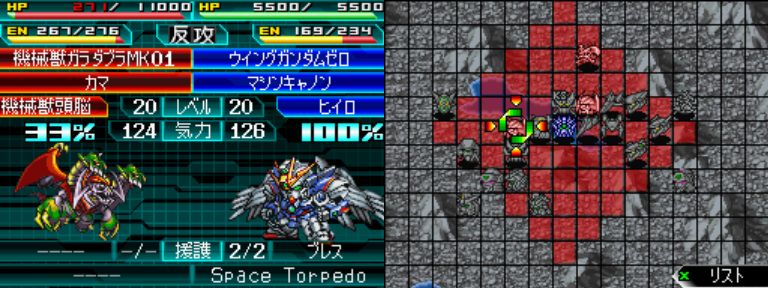
Bless takes this time to have a potshot at YET another Ashuramazinger (you at least need to give Dr. Hell props for realizing that hordes of Garadas and Doublas’ weren’t cutting it anymore).
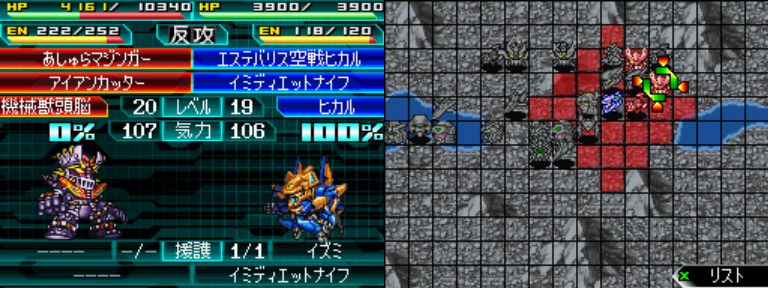
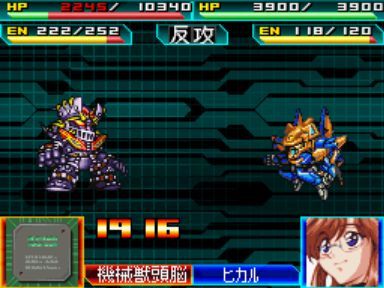
Hikaru nabs an assist from Izumi and leaves said Ashuramazinger in the red.
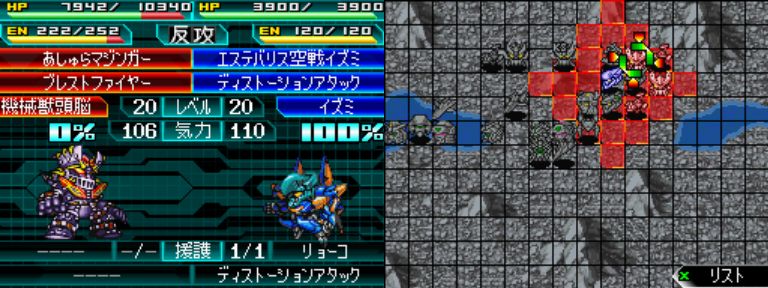
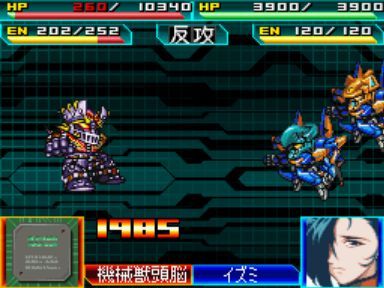
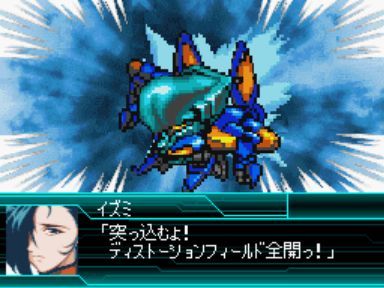
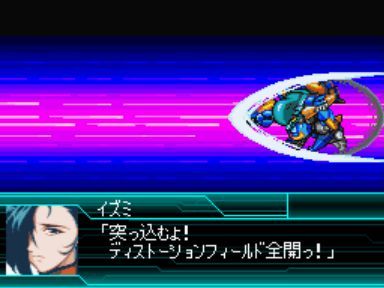
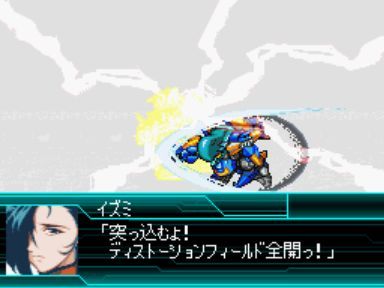
We’ll go back to that guy soon enough. First off, time for some Double Distortion Field Attack (so to speak…).
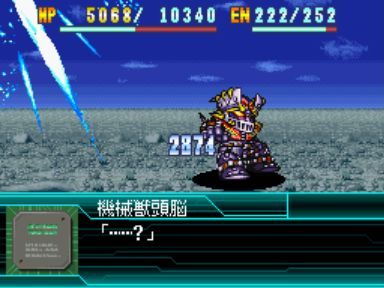
Very nice.

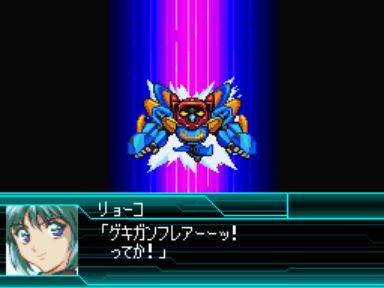
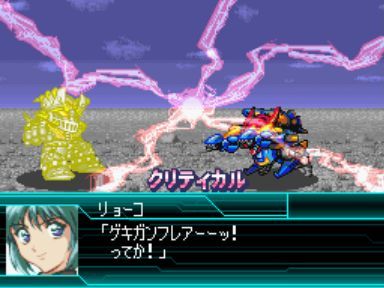
Now, we capitalize on the side-by-side weak enemies and make our first use of Ryouko’s new Combo skill.
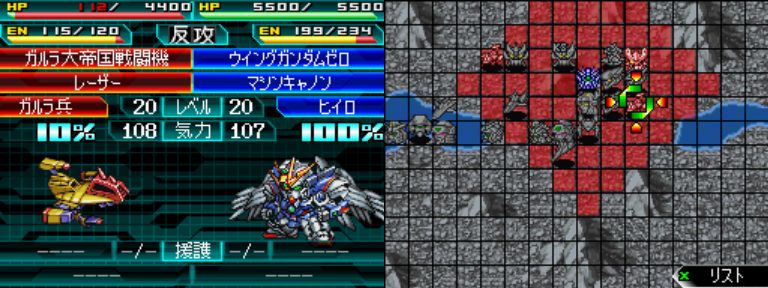
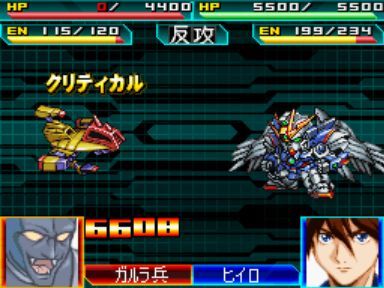
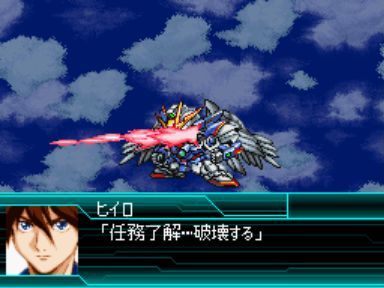
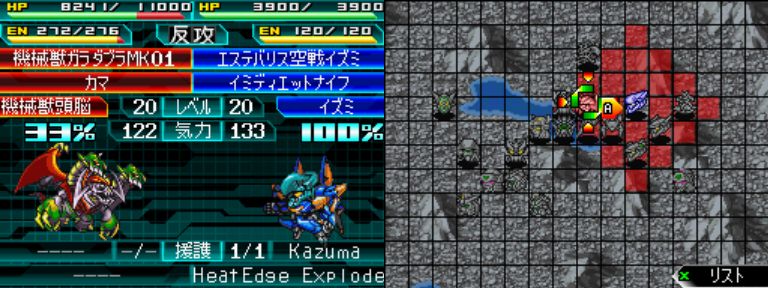
Heero still needs to get that Zero System going so he takes the other Fighter.
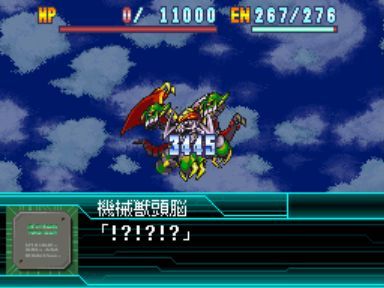
Which leaves Chouryuujin to take the last Ashuramazinger.
Boom.
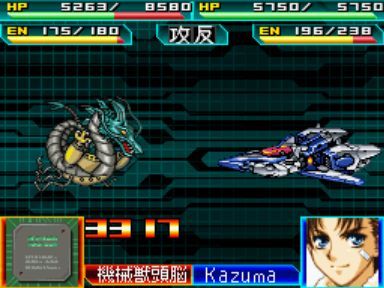
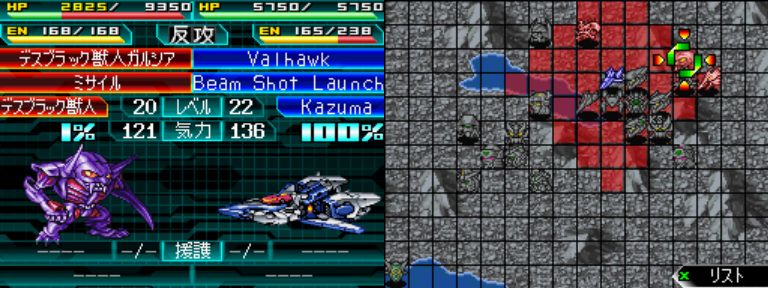
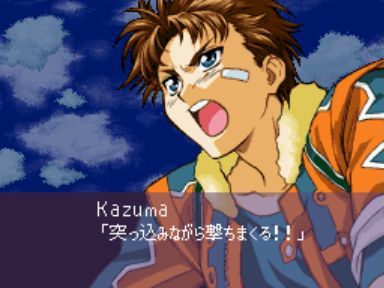
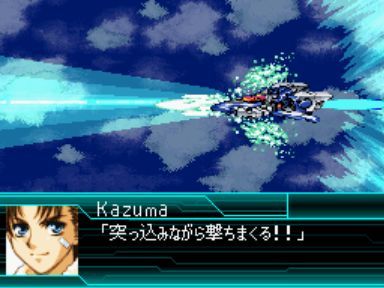
We’ve just about cleared the first wave of mooks, so let’s start the 2nd one by sending Kazuma over.

Thank you for the crit, boy.
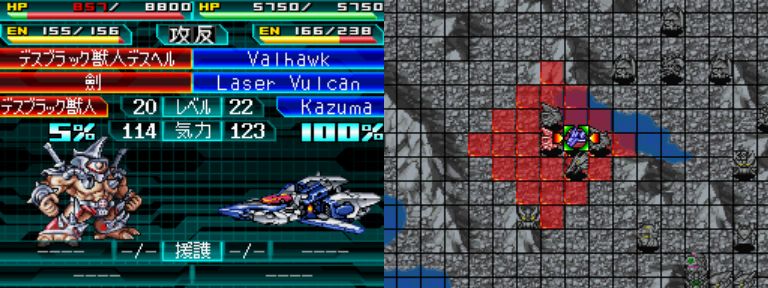
With Kazuma set to soften up the western group, Blade can go work on the eastern one.


Good.
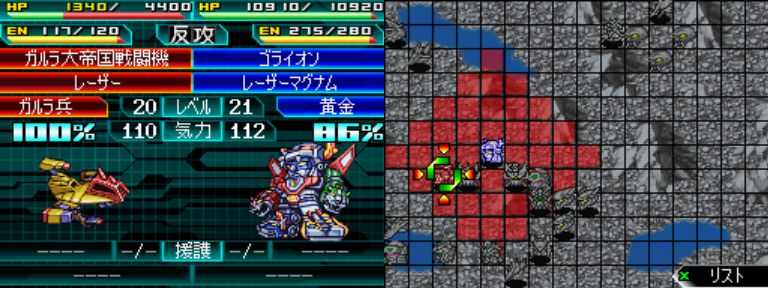
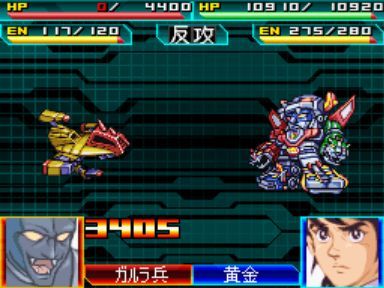
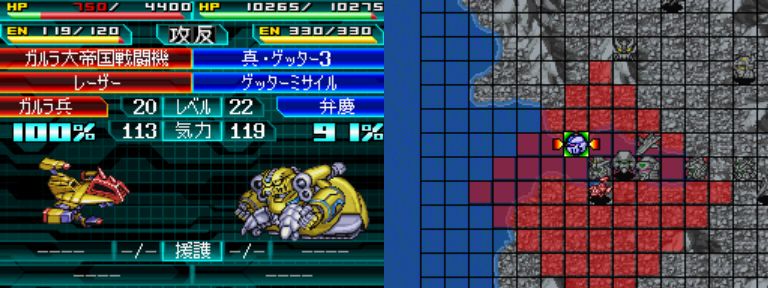
Well, I suppose someone needs to take down that last Fighter and its right in Golion’s way.
Well, seeing how that weakened Garushia is right there…

Tetsuya fails to do the same but its understandable seeing how his morale is still low-ish.
Enemy Phase!
The first Garadoublas wastes his attack on Kazuma.


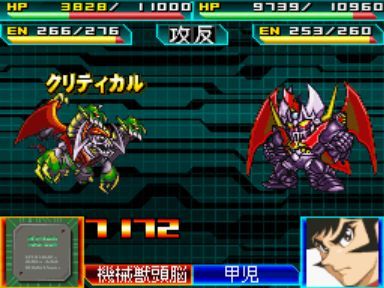
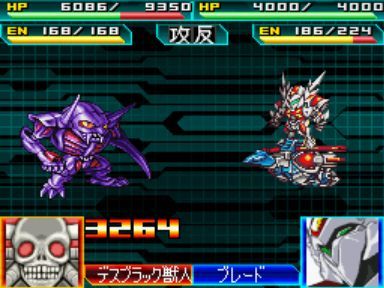
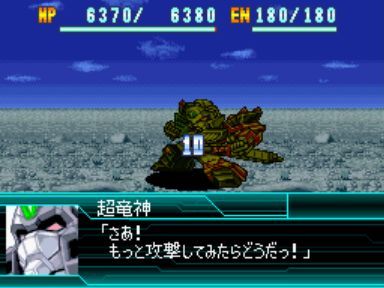
The 2nd goes for Kaiser, dealing piss for damage, and getting boomerang’d in return.
Everything goes according to plan on the western front. All four mooks go after Kazuma.
Three of them get around half their health taken.
The remaining one…
Shame onto those that are killed by Vulcans.
Oh, I had completely forgotten about this Fighter way down here.
Still, no problem.
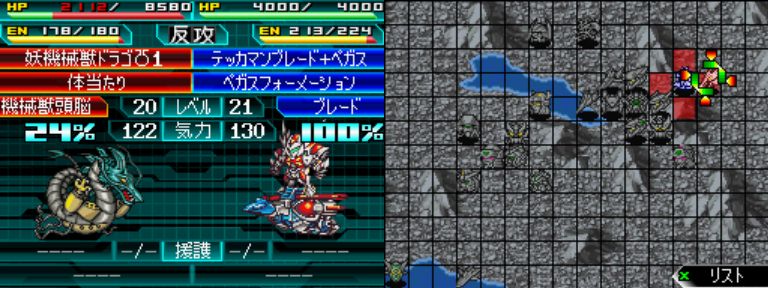
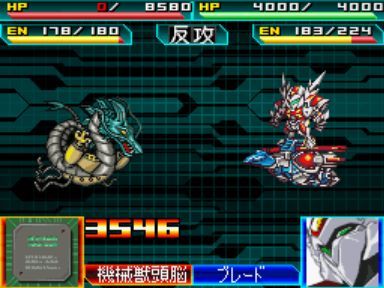
Now, on the eastern front. That Draco goes after Blade and gets lancer’d.
The dumber Garushia goes for Mazinkaiser and allow me to show off Kaiser Blade.
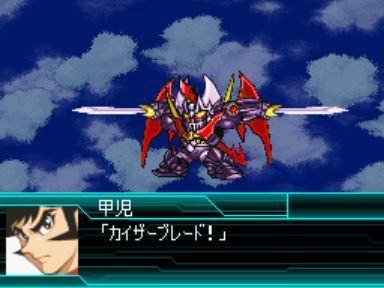
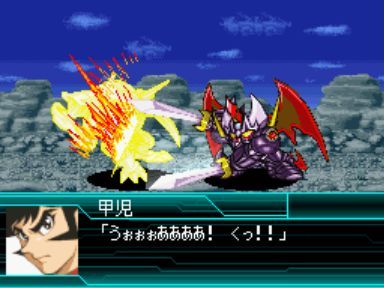

It’s weaker than Fire Blaster but it is 10 EN cheaper and 1 range longer, too.

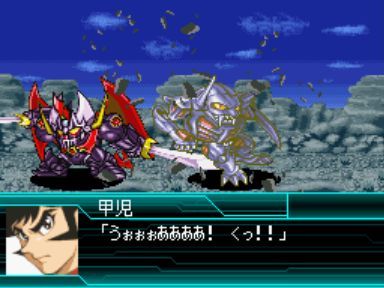
Blade slaps the other Garushia away.
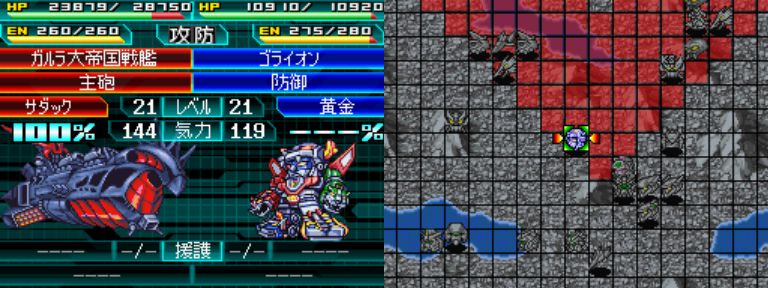
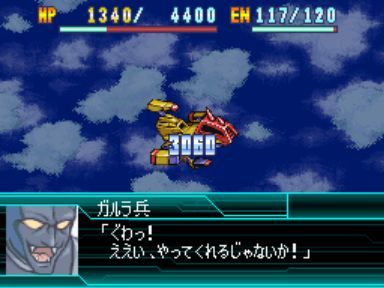
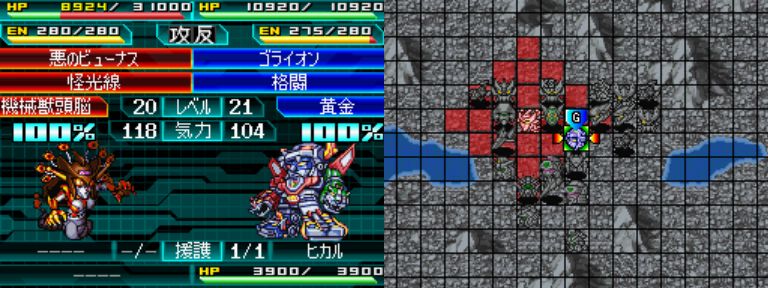
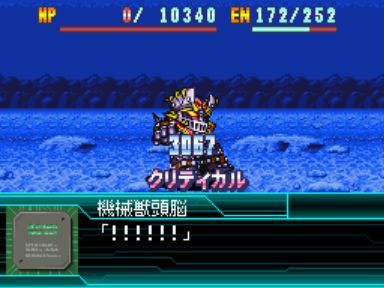
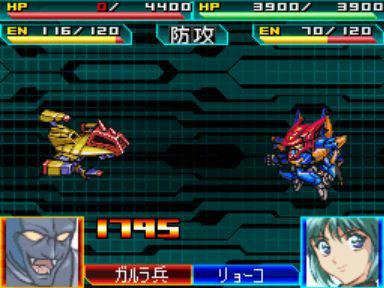
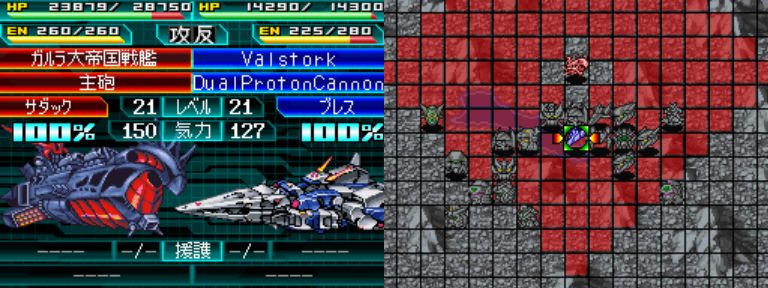
Sadak snipes at Golion, who has no choice but to defend.
 : There you are, Golion! This is a good opportunity to destroy you!
 : You can try, Sadak! And we'll sink your ship and drive Galra off the Earth forever!
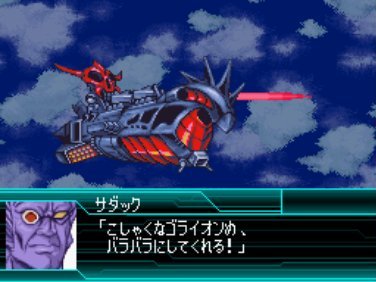

Last picture didn’t run but it was some 1700 damage.
Player Phase!
Volfogg takes it upon himself to get the western Draco’s HP into killing range.
On the other side, Heero is in good position to snipe at a Garushia.
Good man.
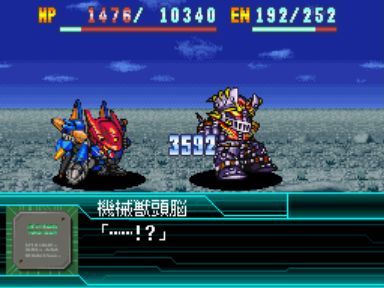
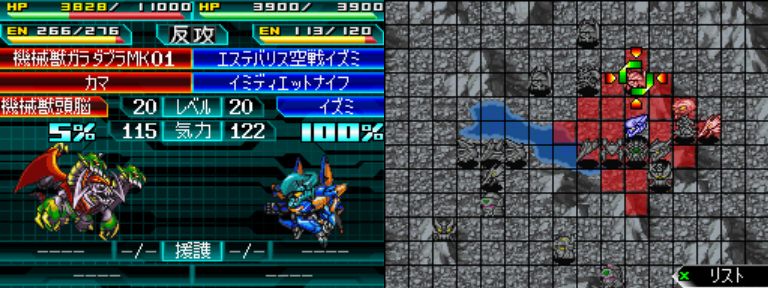
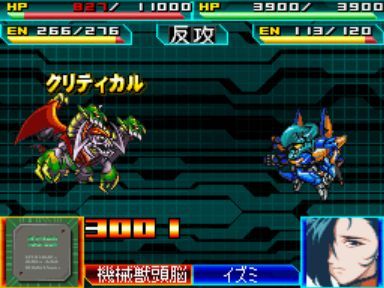
Advancing, Ryouko shanks the eastern Draco for some decent damage.
Seeing how Kouji went through the trouble of severely weakening that Garadoublas, we might as well try to finish it off (else it’ll regen some).
I was hoping that Izumi would kill it but, either way, Hikaru was nearby.
There we go.
Good news, too: that last kill bumped Sousuke’s morale to 120!
Let’s not waste it and take this opportunity to show that awesome Monomolecular Cutter dynamic finisher.
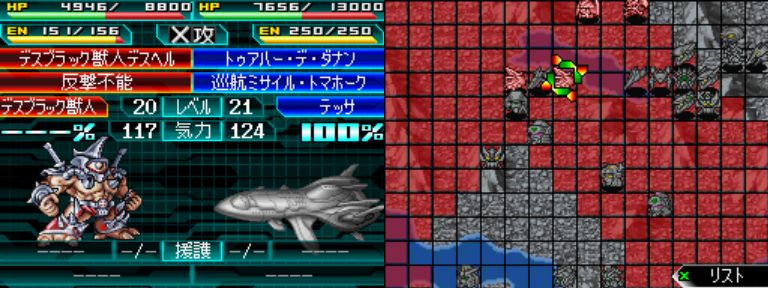
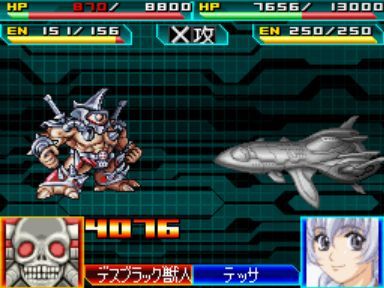
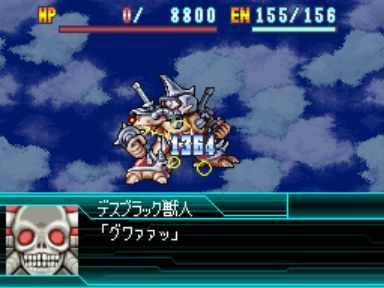
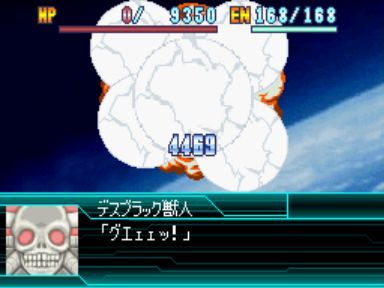
The Danaan can’t really go anywhere else aside from that bay but it can still fire missiles at most enemies.
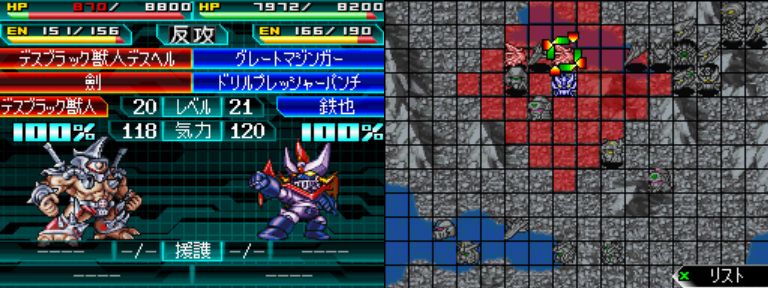
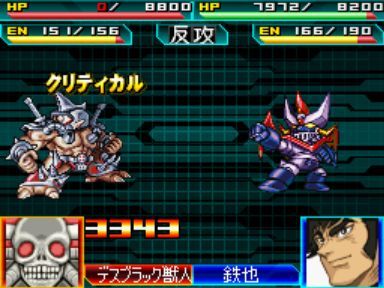
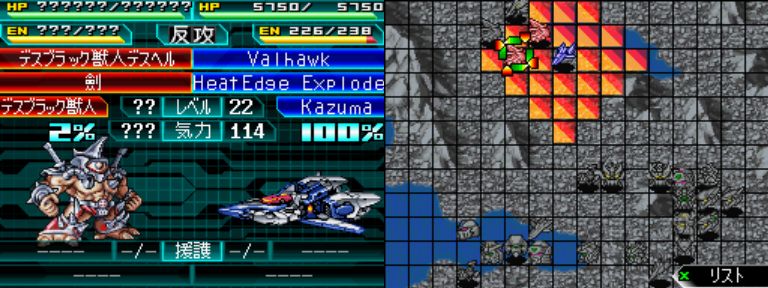
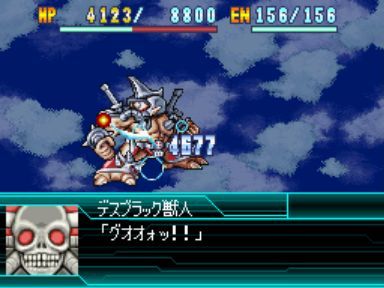
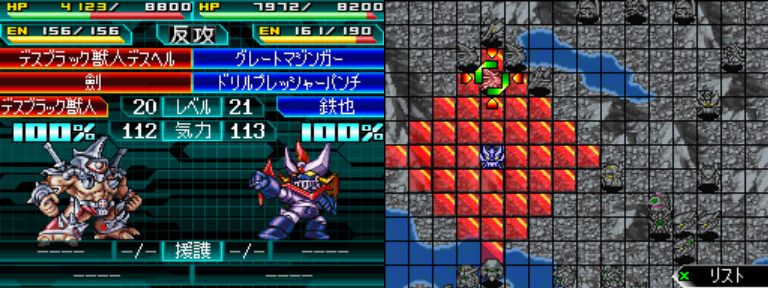
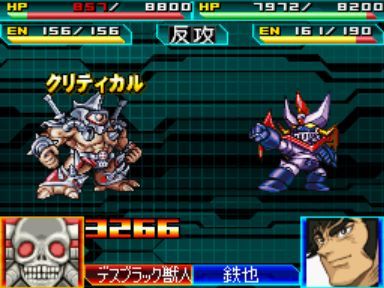
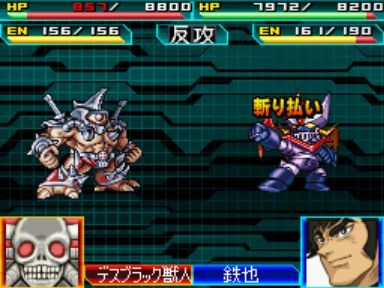
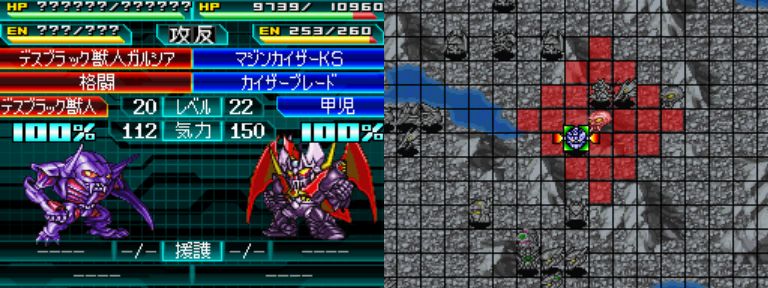
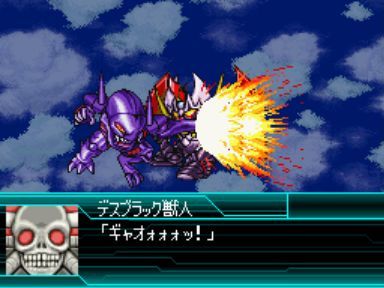
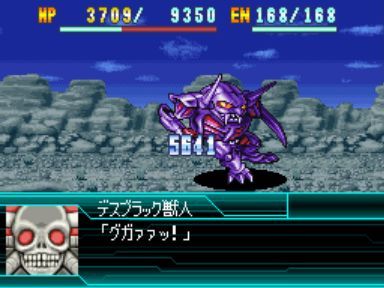
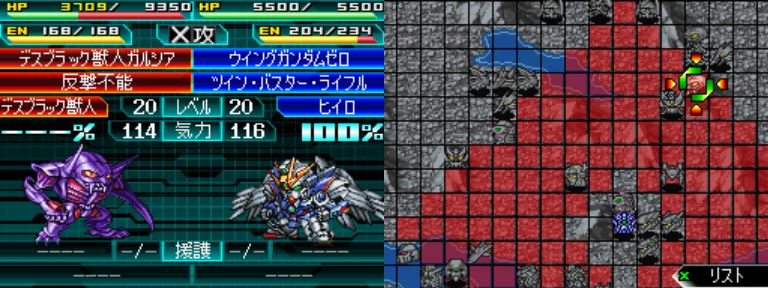
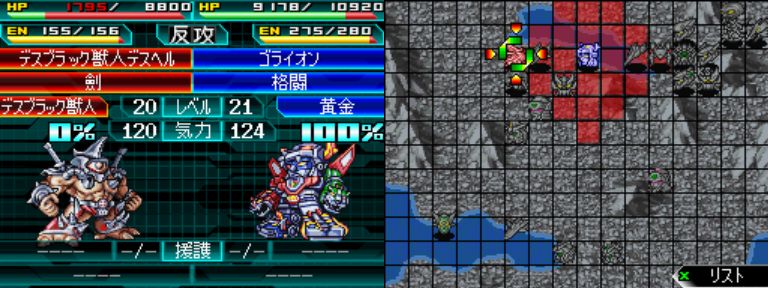
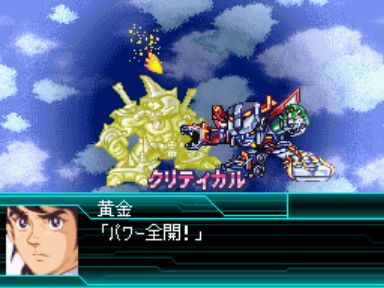
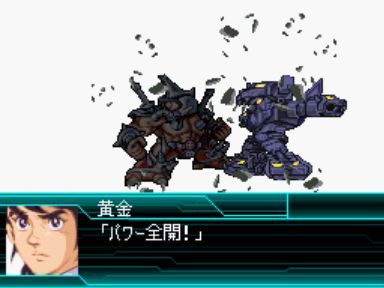
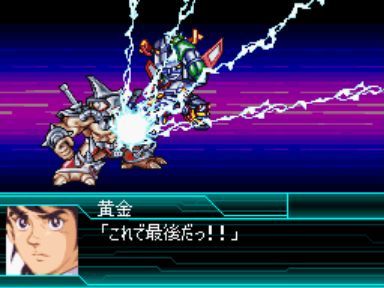
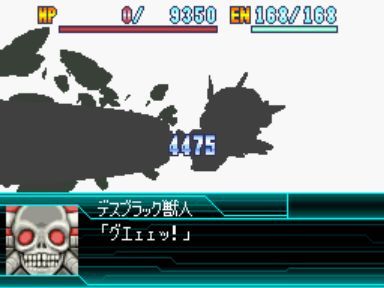
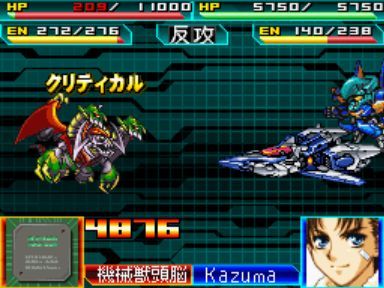
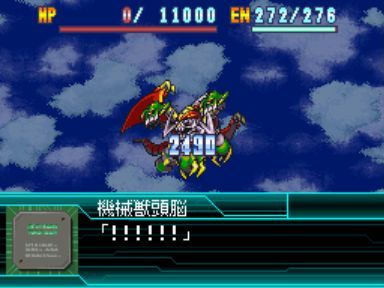
This allows Tetsuya to grab a cheap kill from the weakened Death Hell.
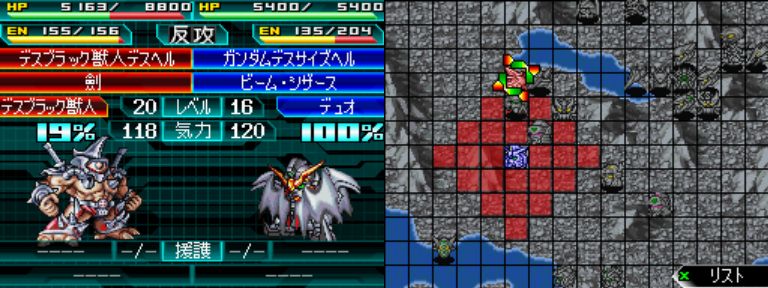
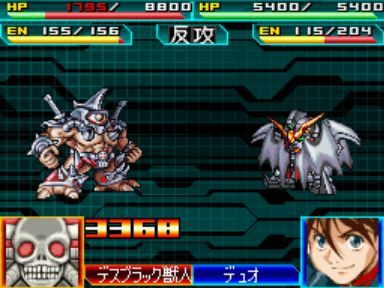
Duo keeps at his usual job as a mook-softener.
And Golion swoops over to finish it.
Ho-hum…I didn’t even need to have Duo weaken it.

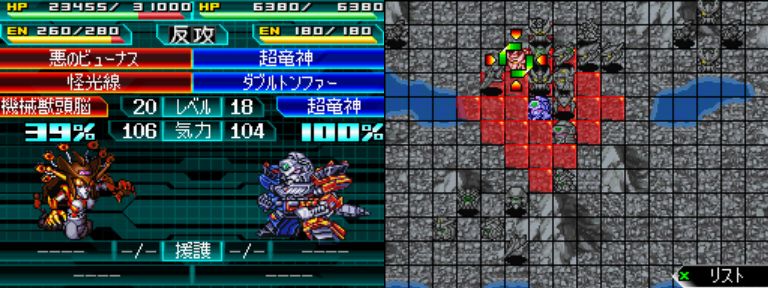
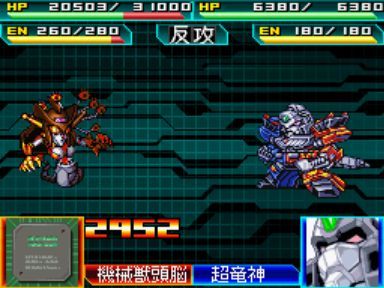
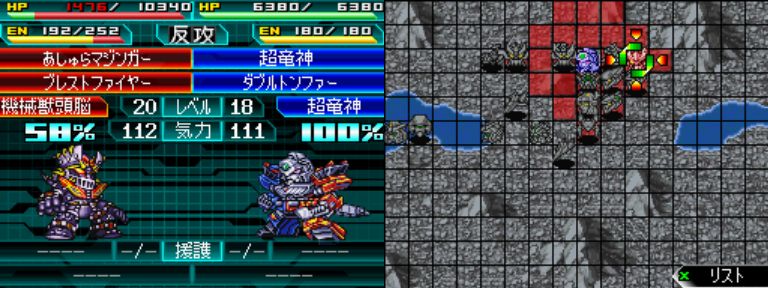
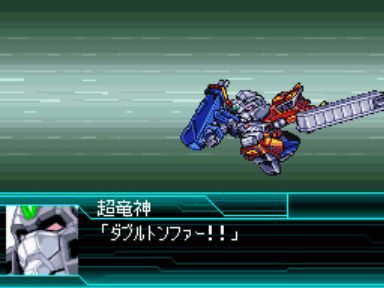
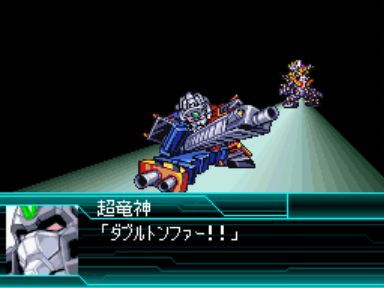
Chouryuujin can’t move in to use his Tonfas but his guns are available.
That’s good.
Kazuma is close enough to take the kill.

Only a few mooks remain.
Blade quickly kills the Drago with a Pegas Combination.

And Kouji draws first blood from one of the other 2 Garadoublas.
Enemy Phase!
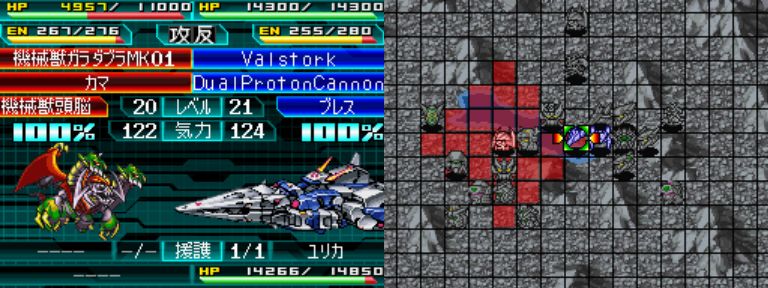
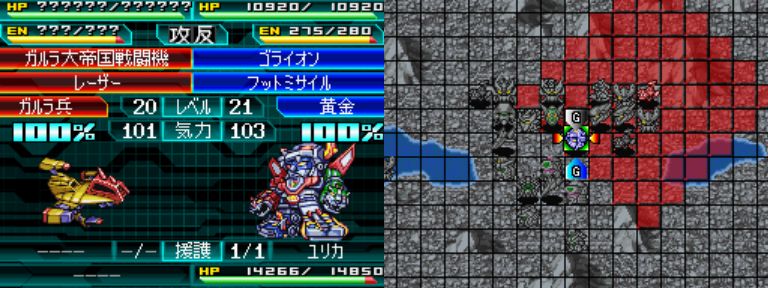
The Garadoublas goes after Bless, who’s protected by Yurika.

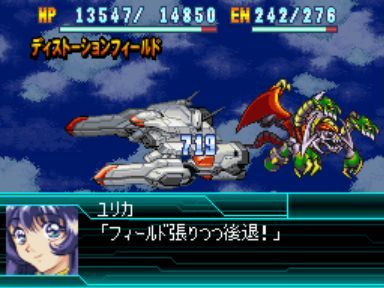

Urk…so close.
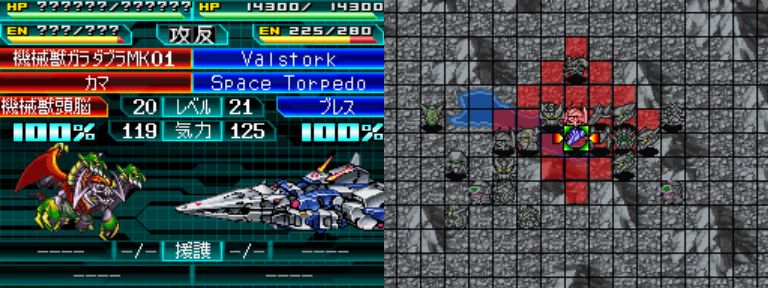
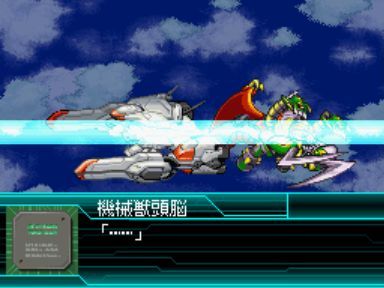
The other Garadoublas comes in close after the Valstork, so it can only counter with its torpedoes.
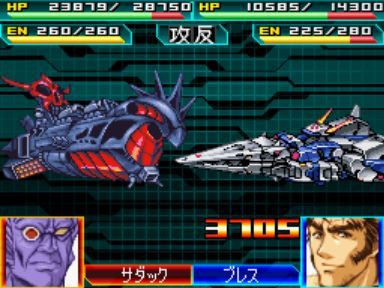
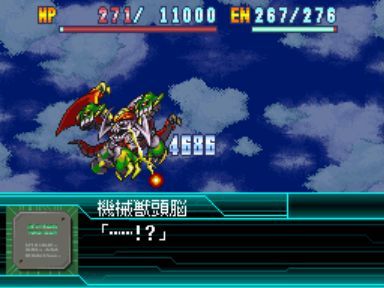
With no protections left, Sadak takes a decent shot at us but takes an even bigger shot back.
Player Phase!
This Garadoublas annoyed me, so let’s take him out in humiliating fashion.
That was actually not bad damage…I guess those Gunfights are paying off.
Heero gets enough morale to activate the Zero system.
The other Garadoublas will die easily.
And he’ll supply the last bit of morale needed for Tetsuya.
There it is.
That leaves only Sadak to be dealt with but who here thinks Dr. Hell doesn’t have a trick up his sleeve?
There’s still some work to be done in this mission and I think this update is already quite long.
I’ll get Part 3 going quick-like and it should be up either tomorrow or Sunday.
See you all then!