Part 7: Cless and Dhaos

Skit: Trinix D. Morrison
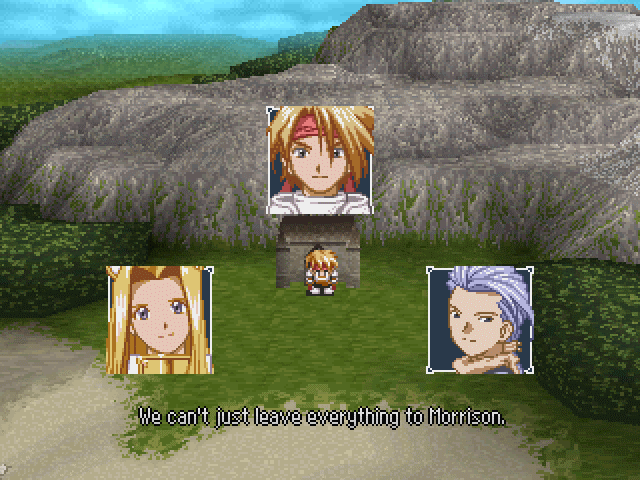
 : It's our responsibility to take revenge for Ami and the villagers.
 : I'll help you. Let's catch up to Morrison.
Before worrying about that, though, let's take a look at an item you can get at Morrison's house if you find the right pixel where it's hidden (you won't if you're not using a guide)!
(WRG)_393.png)
The Gravity Stone makes you immune to a spell that enemies won't have access to for quite a while and by the time you encounter one that does and actually poses a threat you'll want to use better things than this anyway. It's also not available until it becomes, well, relevant in the PSX version hence why this is a GBA screenshot.
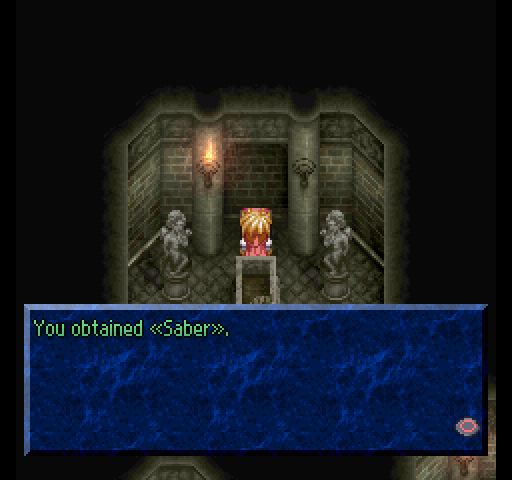
Now's when you're best off getting the Knight's Saber from the wreckage of Cless's home since this way you get to keep it. There's two reasons this is important: 1) the Knight's Saber is the best weapon at this stage and makes combat in the next dungeon bearable; 2) you can't get a second until it becomes both buyable and outclassed. If you just want it for item collection reasons (spoilers: you get a title for that too) then feel free to pick it up whenever.
Skit: Betrayed
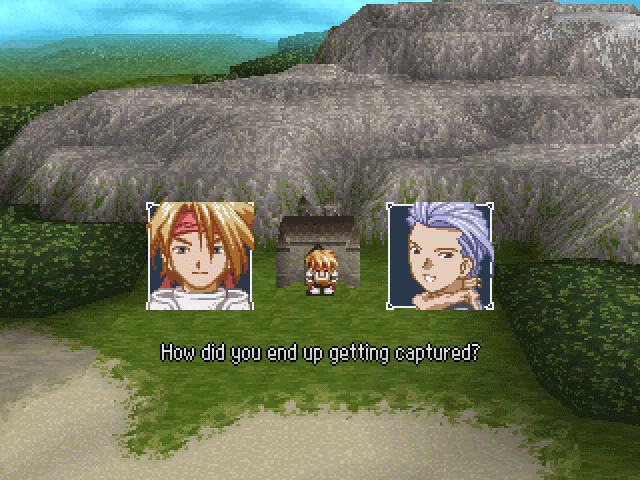
 : I was staying over at uncle Olson's in Euclid,
 : but during the night, soldiers...
 : No way, he sold you out?: I... I believed in him.
 : Well, sometimes people have to do cruel things to survive. Don't let it get to you.
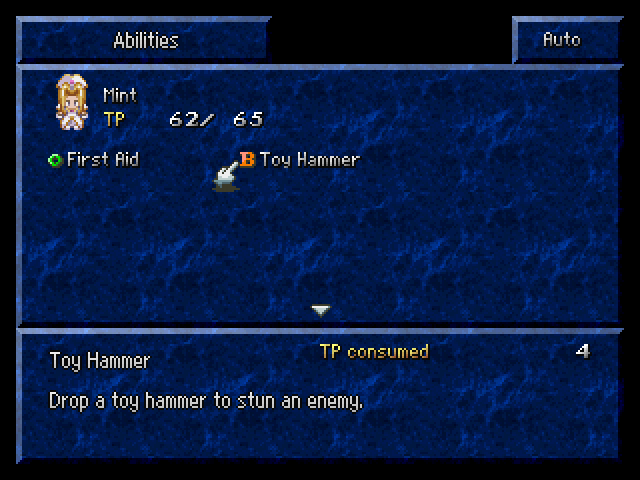
At level 5, Mint learns the ability to drop hammers on things to stun them temporarily. This is more useful than it sounds since it helps make some fights much easier; namely ones with enemies on either side of the party and that specific set-up includes some boss fights.
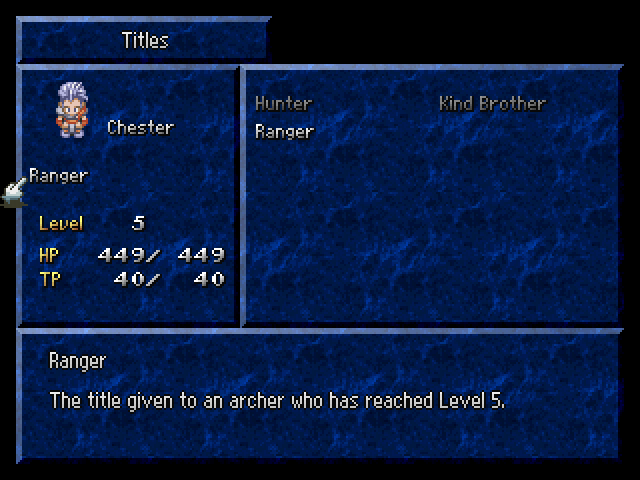
Similarly, at level 5 Chester gains a new title. There's a handful of titles for Cless, Mint and Chester that are acquired at specific levels. Naturally, the levels vary slightly for each of them but they're all thematically appropriate.
Skit: Undergound Crypt
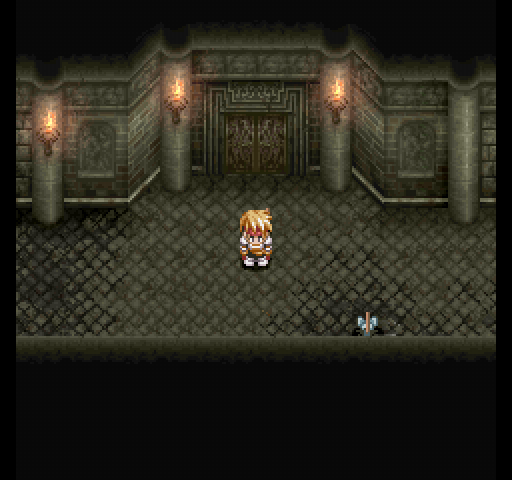
 : Morrison should be somewhere in that cave, right?: Yeah. We'll take revenge for Ami and everyone.
Anyway, we're right outside the dungeon so let's go take a look at what we're up against!

Hey, is it just me or is this a cave? I could've sworn that Trinix and Tristan both said something about a crypt... eh, it's probably nothing.
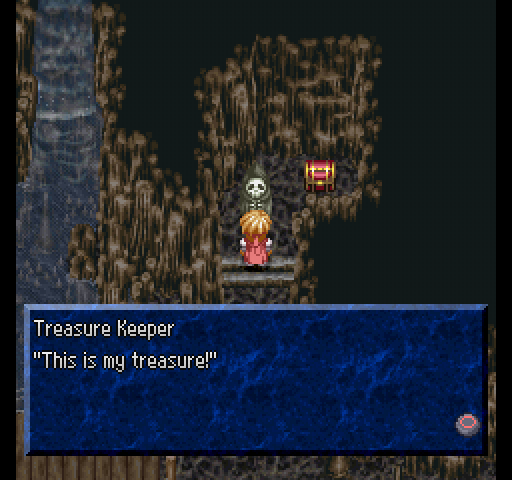
Not that far from the entrance we run into this guy guarding treasure. This must mean that whatever's inside that chest is gonna be useful!
Let's crush this guy... er, these guys!
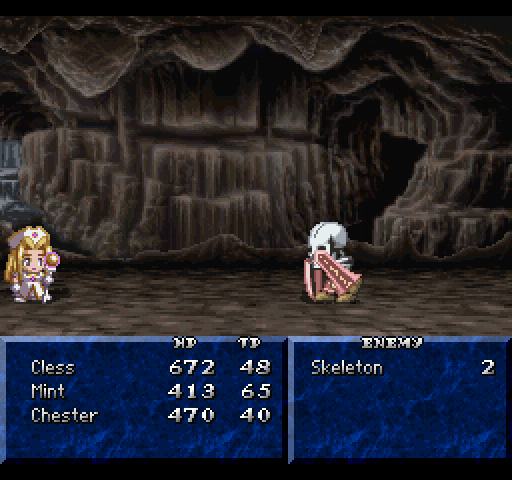
Our mook turns out to be a pair of Skeletons who, somehow, managed to end up on both sides of the party. Sure, why not? Anyway, this fight could potentially be a challenge... if you'd come here right at the start of the game. When you were level 1. And had initial equipment. I don't know why you would do that, but you could I guess. As is, it's just a pretty standard fight but it's a good gauge of how well you'd do in the actual dungeon; if you can't handle this you're not gonna stand a chance when it comes to the dungeon proper.
We went through all that for a
A few steps to the right from our now re-dead Skeleton buds we find Tristan next to a sign of no importance. There's also a treasure chest here but can you spot it?
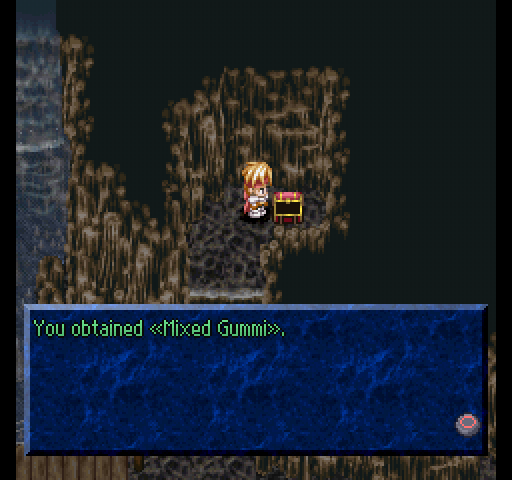
Since I mentioned it, here's a fun fact about the chest in question: sometimes it will outright refuse to spawn! I had to reset the game twice to get it to appear here. This isn't the last time a chest will arbitrarily decide whether it shows up or not.

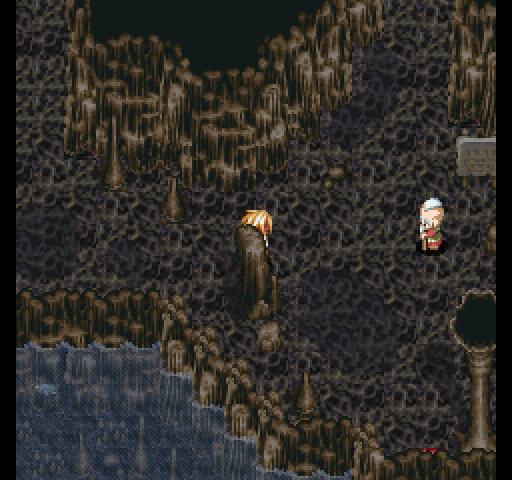
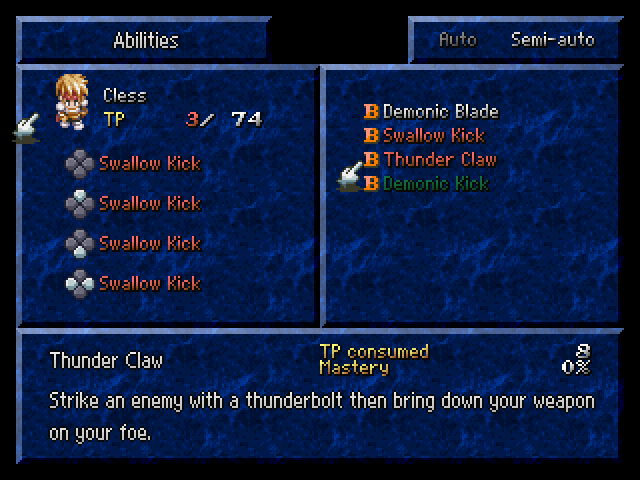
 : There's no doubt that Morrison went to the innermost part of the crypt. You'll have to make your way there. Allow your master to give you a parting gift. I will teach you an
 Okay, so Absolute Zero translated this as an "Ogi" which kinda makes sense I suppose since the whole "artes" thing hadn't been created at the time this game was originally made and all. What doesn't make sense is that when Namco translated the same thing for the GBA they called this a "secret skill." It keeps it in line with the rest of the naming conventions, sure, but it is in no way secret since you just find all the others by talking to NPCs.
They correlate to the equivalent of Arcane Artes in later games since they work in the same fashion - master base artes (use them a predetermined number of times; in this case, it's always 100) and you can use it. This is also why Cless is the only one who can master his artes; he's the only one who gets Arcane Artes.
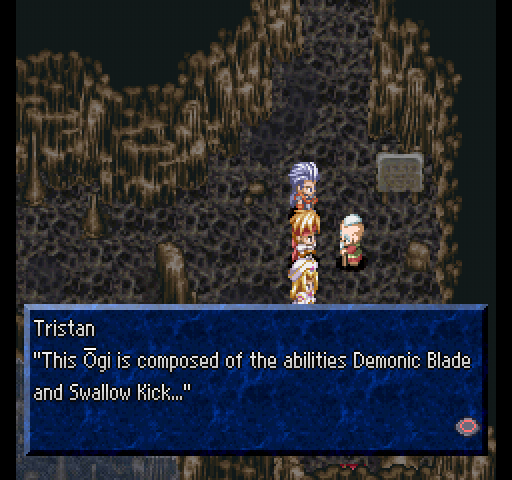
Unlike later Arcane Artes, this one is the only time we'll know the pre-requisites before checking it in the menu.
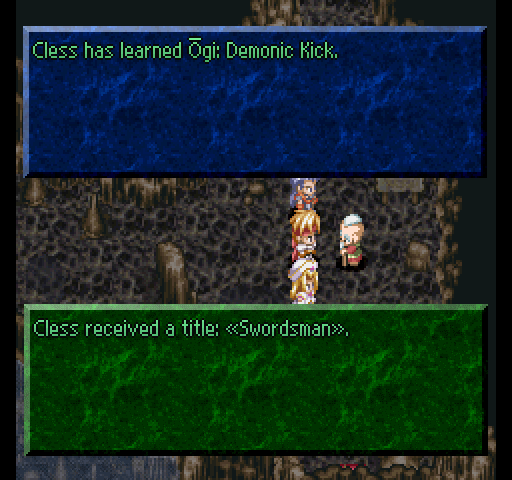
For taking the time to sit through Tristan's needless rambling about how to use this (cut out for your convenience, natch) we get a title out of it. How nice. Anyway, about that hidden chest!
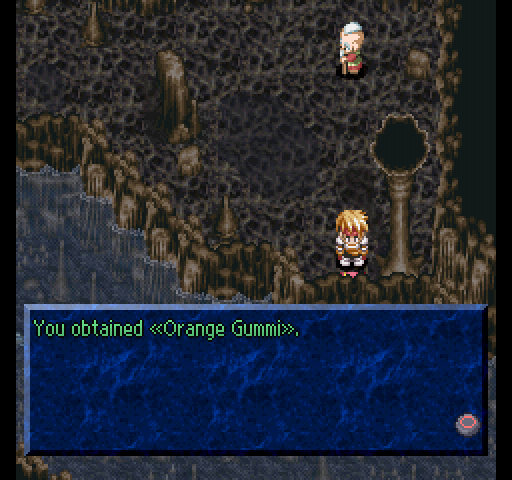
Ooh, a free Orange Gel. That's nicer than it sounds since these things are pretty hard to come by right now. Later on, we'll be buying 15 at a time, no problem, but for now freebies are more than welcome.
We can enter the crypt proper through a door just to the north of here so let's do that.

The dungeon music here is awesome and you should definitely listen to it.
Anyway, in a handful of rooms near the start there's nothing but a coffin. This is pretty out of place, huh? Let's defile these things and loot the hell out of them!
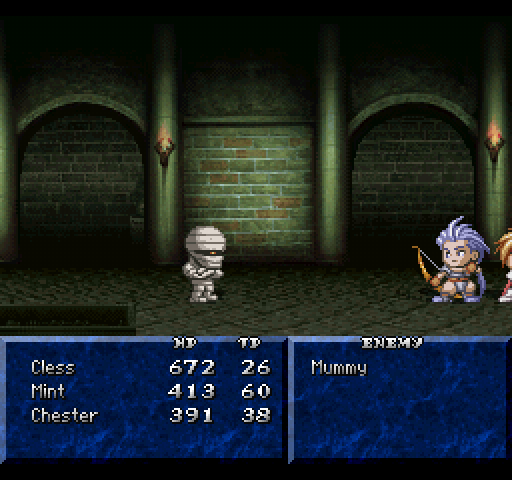
Let's crush this guy too!
For trying, we get into a fight with a Mummy. Some of them attack us from behind, some don't. It really doesn't make a difference to our strategy since these guys are jokes. They only appear here though, and there's only like 5 of them so not using a magic lens here is a way to screw yourself out of a title. Since this guy is a one-time deal (technically) let's take a look at his stats, because why not?
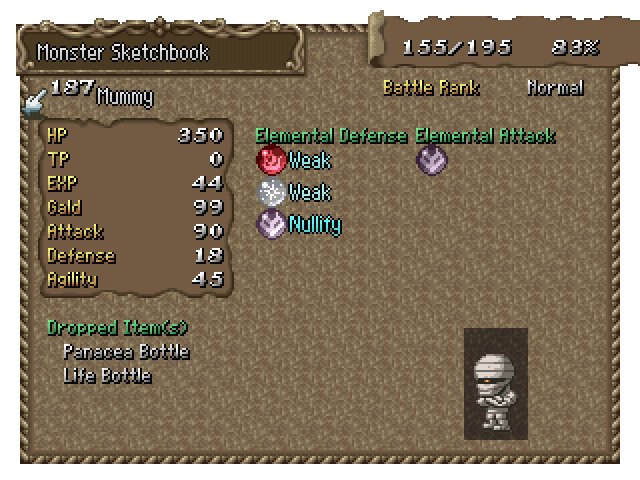
As you'd imagine, nothing particularly threatening there either. A nice, easily exploitable weakness to Fire means that he's less of a threat than most random encounters here at that. The only thing potentially "dangerous" about the Mummy is that if it ever hits someone it MIGHT poison them. Emphasis on might since it's so unlikely I've seen it happen like twice ever.
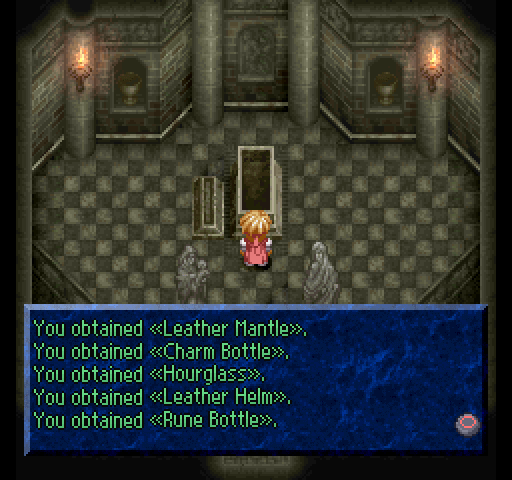
A whole bunch of new items here, but only three of interest. The two leather items are just potential equipment upgrades; the mantle is an accessory that boosts defence by 2 and should go to Mint. The helm is for Cless only and he may have one if you bought it earlier. You probably didn't though since it's 600 Gald and other things are more important.
The three items of interest here are the Charm Bottle, which cuts shop prices by 1/3rd if you use it in a shop and when you open the shop menu don't close it until you're done doing everything you need to use it for. I wouldn't use it though, for reasons we'll see later; they don't stack either so you can't use 2 and get 2/3rd off or anything like that. The Hourglass freezes all enemy actions for around 3 seconds but that's kinda crap so, again, I wouldn't use it. Also, anything you'd REALLY want to use this on is immune anyway. Lastly, the Rune Bottle... we're gonna have some fun with that one. We can use this to identify any equipment with a "?" it its name, such as a ?Sword or ?Helm, but there's a much more worthwhile use for it.
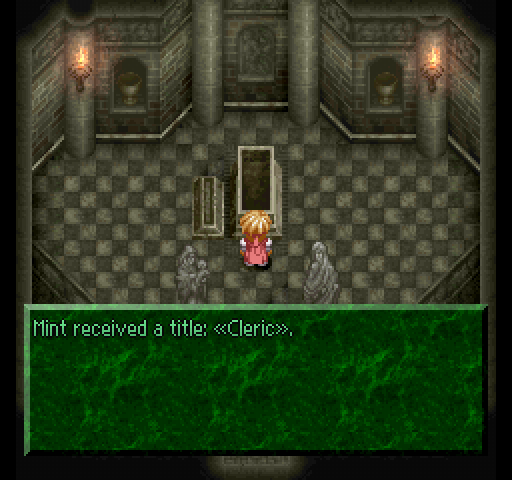
At level 7, Mint gains her first title and you'll probably get it somewhere in this dungeon even if you don't grind for it. It's just pretty much guaranteed to happen unless you run from every fight for some strange reason.
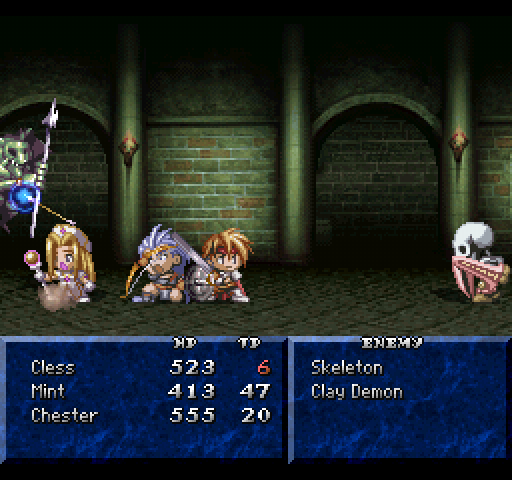
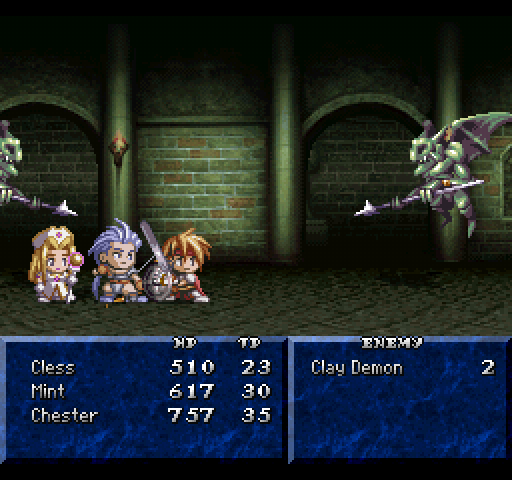
In the crypt, we can encounter the Skeletons that were guarding the Mixed Gel at the entrance but, more importantly, we can encounter Clay Demons down here too. You may or may not recognise this guy as the first real boss fight we had. As you'd imagine, he's even easier now since we have Chester now. In spite of this, his EXP and Gald rewards are completely unchanged and since he's extremely common you'll have a fair amount of cash when you're finally done down here.
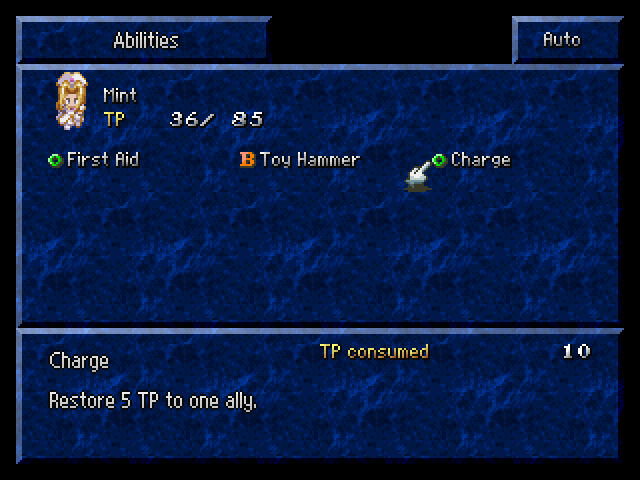
Since he's ever-so-generous with his EXP, you'll also rack up a fair few levels in the process of just running through the place. At level 8, Mint gets Charge which is about as useful as it sounds (not very). It could be more useful if the TP restored was scaled in a similar fashion to gels and the like but at a much lower percentage (like, say, 5% or so), but the problem there is it could be used to give Mint an infinite amount of TP herself. As is, it doesn't even sound remotely worth it. And it isn't. At this early stage, Mint doesn't have anywhere near enough TP to warrant using it since she's not going to have that much to spare in the first place and yet her AI loves using it if given the chance. At later stages, when she DOES have enough TP to make it not a waste, it doesn't restore anywhere near enough to be more than a waste of time, and everyone else is self-sufficient just from cleaning out random encouners anyway. Maybe there's some amazing use for this that I'm not seeing but it restores too little to be worthwhile once the cost is negligible and costs too much to be worth using over gels... which you'd have to give to Mint to offset the cost of Charge.

Chester's arte, also obtained at level 8, is much more sensible and makes sense. It costs 1 TP more than Crimson Lotus, just 'cause, but does the same thing albeit with ice.
And, finally, Cless gains this beauty at level 9. It might not sound like much, but this one arte is a wonderous thing indeed and we'll see just why that is before too long.
Unlike the Rapier which is a potential upgrade over the Knight's Saber depending on your playstyle, this one is just a flatout downgrade. It has a lower Slash and a MUCH lower Thrust making it pretty much useless at this point. I'd personally swap this and the Rapier in the previous dungeon since that'd make a smidge more sense.
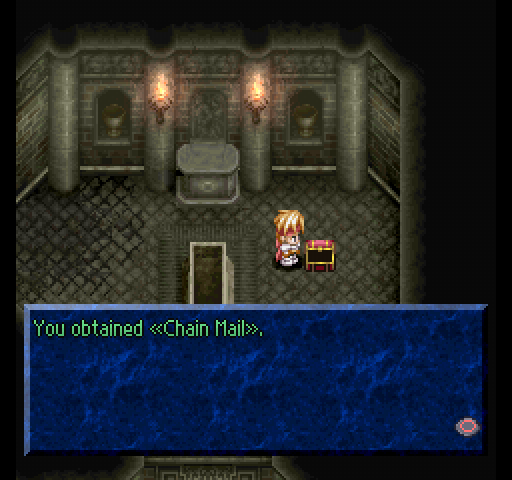
Free armour that, again, is a downgrade for Cless (I bought a better armour from the Peddler at Morrison's House). You could give it to Chester if you like, though he won't get as much use out of it being a ranged character and all.
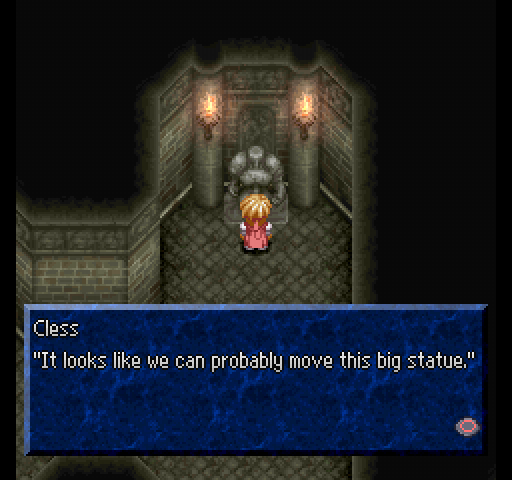
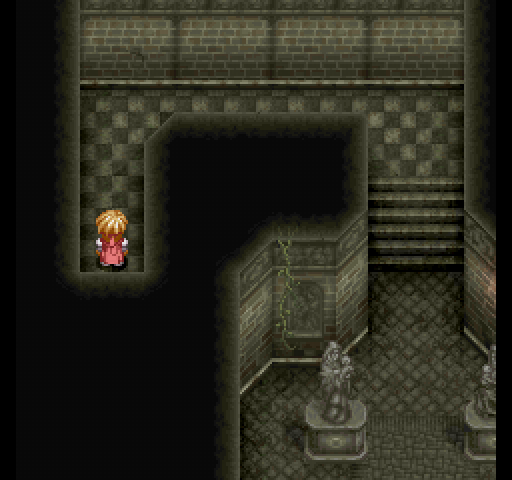
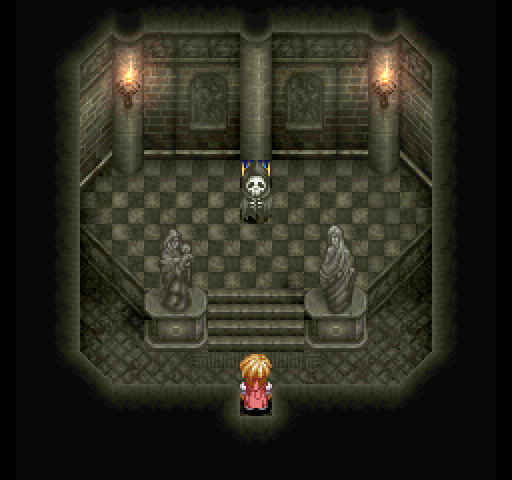
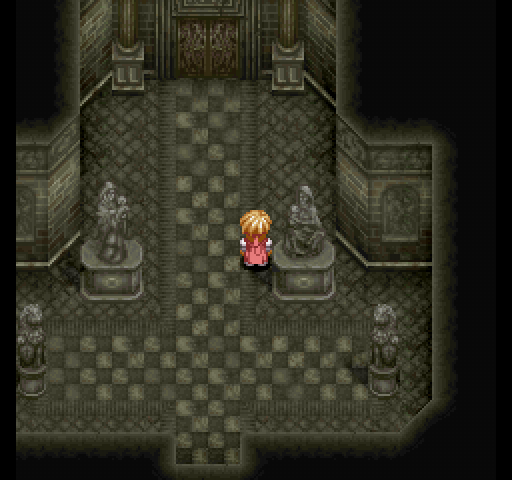
A little bit further along, we come across this oddly conspicuous statue that we need to move. The problem?
 : I swear I just saw it move...
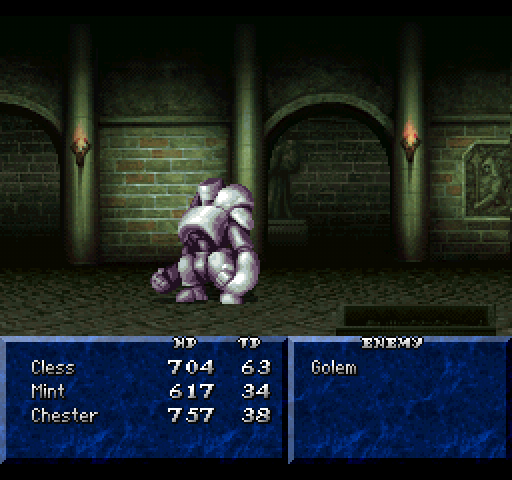
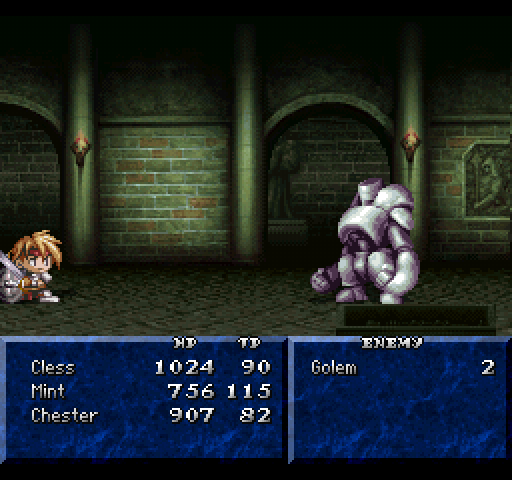
The bugger's a mini-boss.
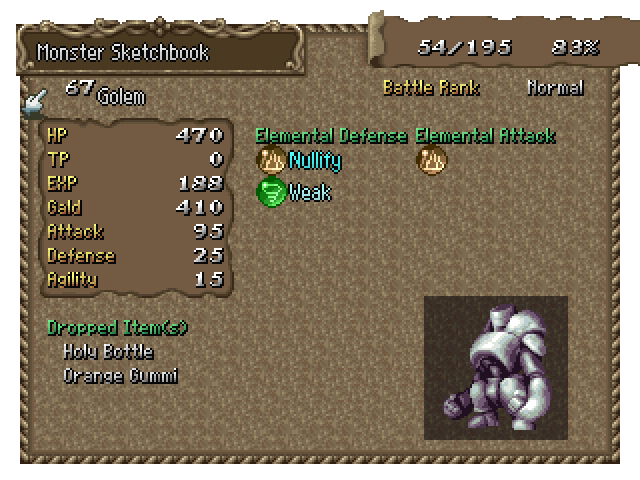
He doesn't seem too threatening until you realise a few things about him; that 95 attack means he's gonna hit like a goddamn truck when he does hit you (he will), that 25 defence means that most of your hits are gonna deal low SINGLE digit damage, he can nullify any and all physical attacks at any given time just to kick your around a bit with his multi-hit attacks instead. In spite of all this, the Golem isn't much of a threat since he has a relatively low HP amount and there's just the one of them.
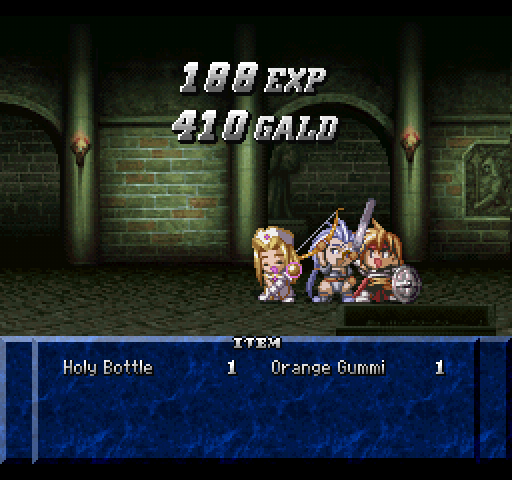
The rewards are quite nice though, and I didn't expect to get both drops from the one fight. The Holy Bottle is a nice item in theory but I'd personally never use it; it's supposed to reduce the random encounter rate but how good it is at that is something I cannot attest to because I feel that if you need to use it you're probably underlevelled anyway and thus need those fights more in order to bring yourself up to speed. Might just be me though.
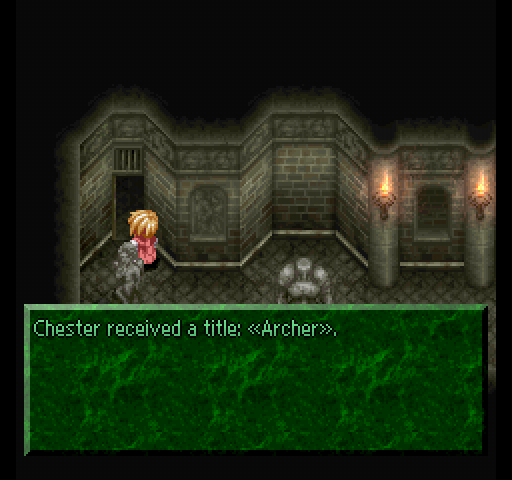
With the Golem beaten, we can drag the statue onto a pressure sensitive plate. This keeps the door on the left open and just before going through it, Chester hit level 10 and got another shiny new title for his trouble.
Inside the door, we hit another one of these guys and a blue chest (something rarer than normal and/or a relatively important item). If the first one is any indication, this should be something slightly more powerful than what we can encounter in this area so it'll probably be another Golem or something.
...Oh. Never mind then.
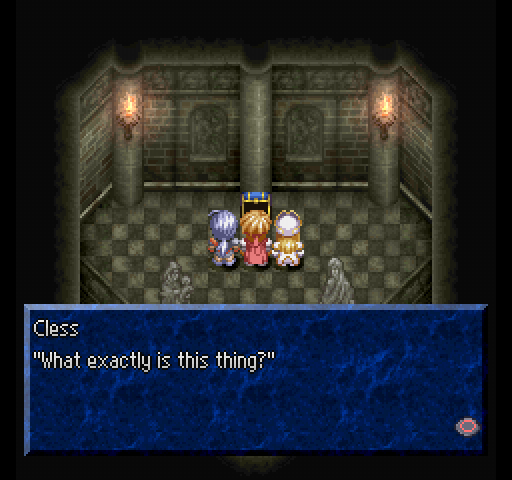 : It seems to be emanating a strange energy.: Well, anyway, are we taking it or not?: If we keep going, I'm sure we'll end up needing it. Let's hold on to it.
This is an important key item. It gets the key item jingle and everything. We need it to go through a whole 2 doors and then it just sits there never used again. So, anyway, with this we get to backtrack to a room at the start of the dungeon where all the rooms with the Mummy coffins are.
This one right here. Now that we can go inside it, we must be getting pretty close to the end of the dungeon. Maybe.
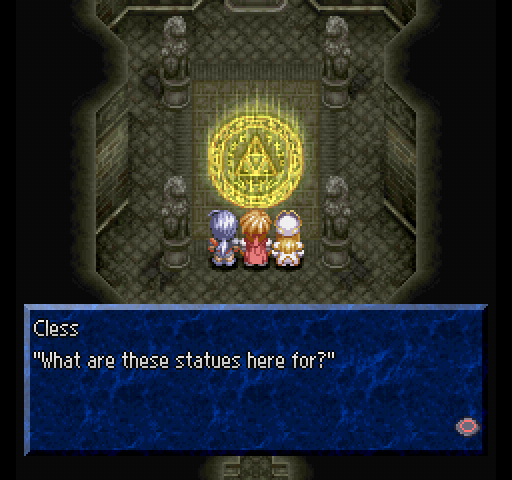
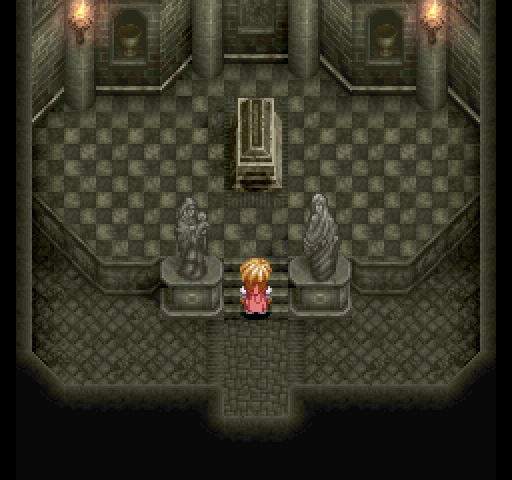
Inside there's 5 statues and a golden circle with a picture of the triforce in it. Makes as much sense as anything else.
Oh, there's only four statues here? Well the fifth is just behind the rest.

I legitimately don't know why this is here. It makes part of the upcoming area completely pointless but we'll get to that shortly.
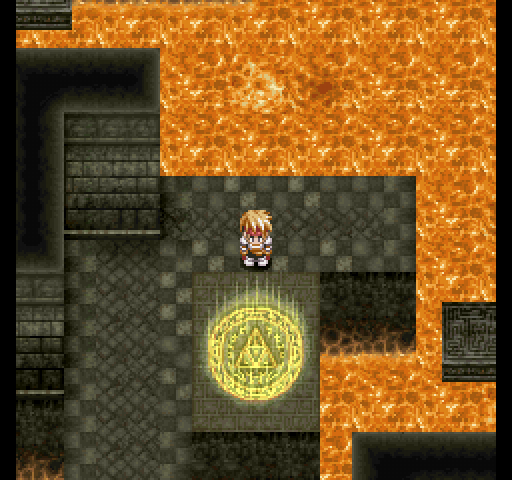
By stepping onto the golden circle, we come across this area which only vaguely resembles the previous one. It's a lot of waiting around for platforms to get to where they're supposed to go and it's not very interesting.
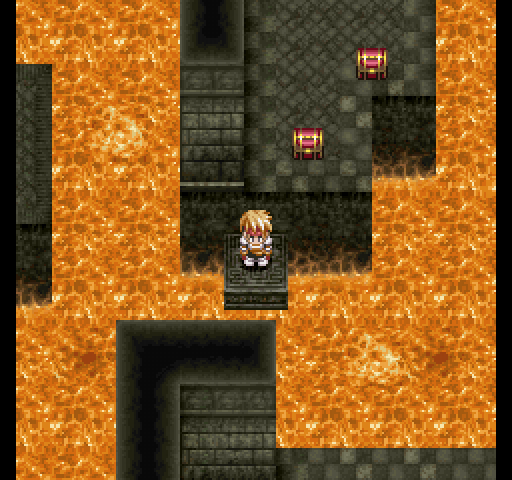
There's a handful of treasures we can find though (3; only one of them is any good).
If we flip this level, it causes part of the first platform to extend slightly. This allows us to continue across to where we want to go.
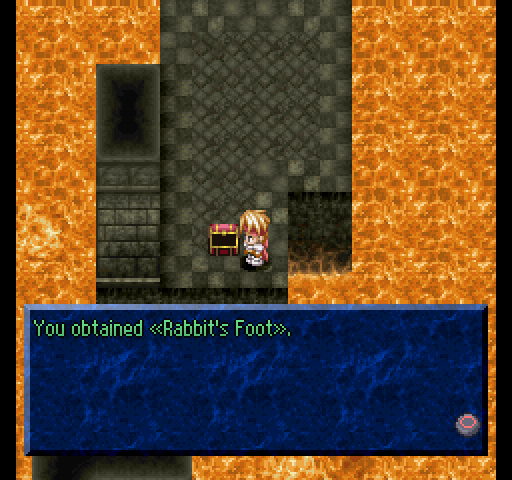
One of the two chests contain a Rabbit's Foot accessory. It increases Luck by like 5 or 10 and isn't worth using. The other chest just contained Milk which, as you can guess, is used in cooking.
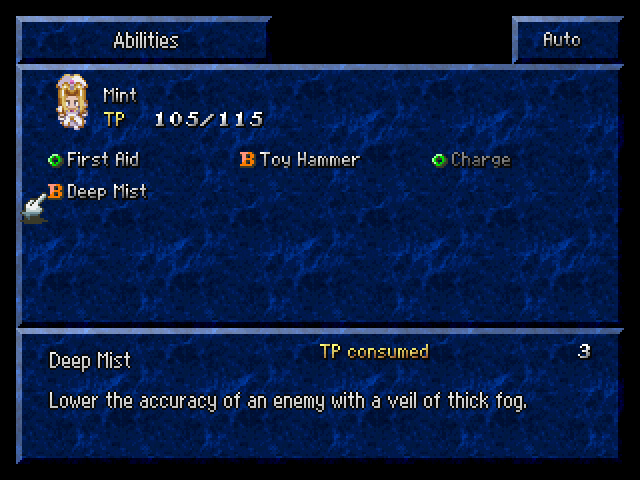
Anyway, one last level up thing; at level 11, Mint gets Deep Mist which is a pretty good debuff for extended fights. The problem, is that when Mint casts it all action in combat is halted while the spell animation goes on. It has a somewhat short animation so its more of a nuisance than anything else but it's not the only spell to do that by any means and the others aren't all quite so short. It gets very annoying in later fights to see the same few animations over and over again.
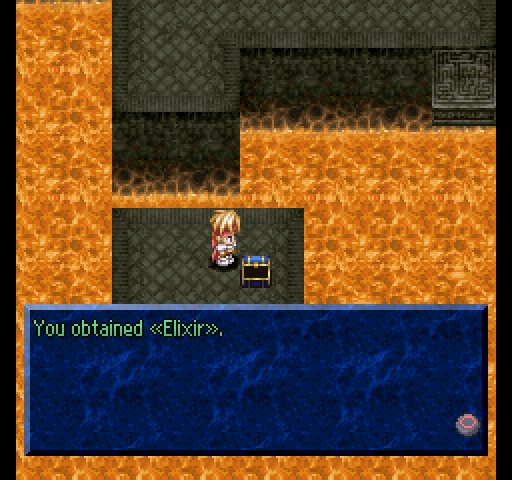
In more "items we'll hardly ever use" related news, we can pick up an Elixir just off to the left of the starting area. As you'd expect, it fully restores a character's HP and TP and should be saved until much later.
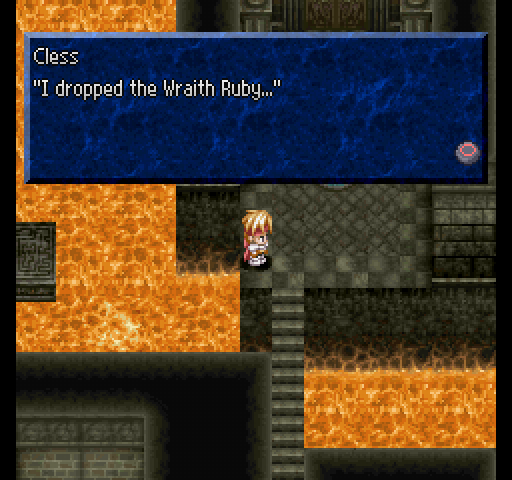
As we finally head off to the right, Cless manages to drop the dungeon relevant item which is a bit of a problem as without it we can't go through the door that leads up here.
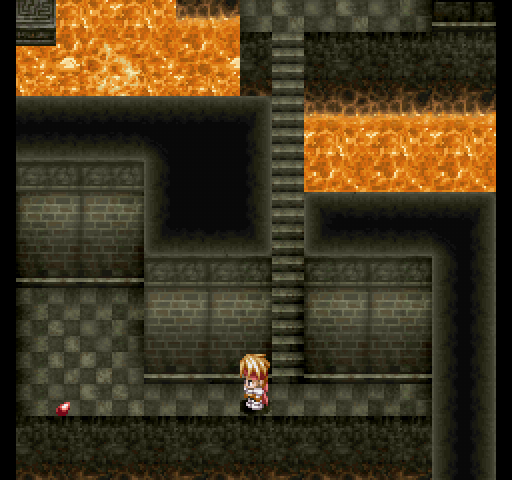
Fortunately, it only lands a quick walk away so this shouldn't be a problem.
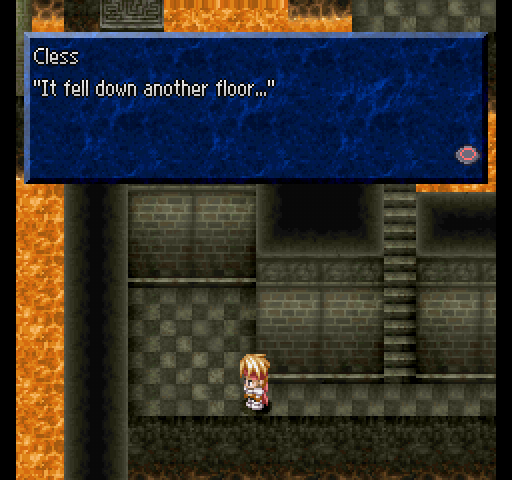
...Oh. Well, at least there's stairs down by the entrance to this room at least.
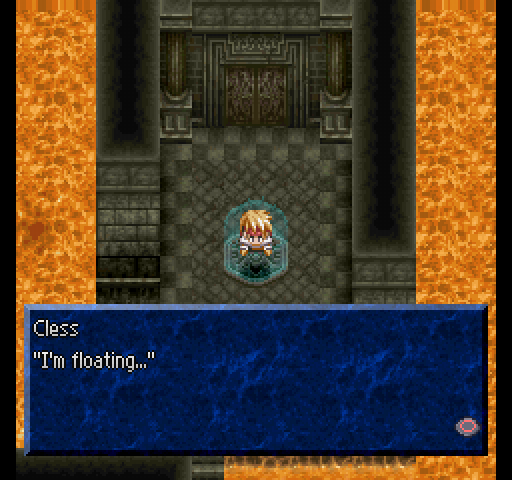
By the door to the next area, we can find this thing that lets us float. We don't need this, but it makes the rest of this segment a bit less painful.
We could just walk through this area to grab this but we're floating for a different reason. Namely, the floor hurts you when you walk on it and if we get the other thing down here we're stuck walking the way back.
Just another pair of Clay Demons. Even easier than the one previous one since we've gained a level or two since then.
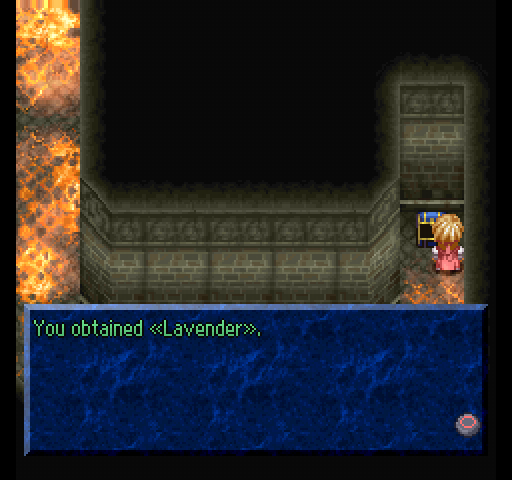
Lavender is another stat-boosting herb. This "just" raises Strength by 1, rather than based on our current stat. Yet again, we'll hold onto this until much later.
We could've walked to the Clay Demons, I suppose, but that'd be a bit more taxing on our (relatively) low HP. Sure, Cless is pushing 4 digits at this point but its still rougher than what we're accustomed to.
And, finally, we managed to reach the end of the dungeon. But first, boss fight!
Half this video length, and it's still longer than fighting one of these guys. There's a reason why I didn't include a video for just that.
Yep, our end of dungeon boss is just two of these guys. One on either side; this could be dangerous but we're more than strong enough to handle this fight almost as fast as the previous boss at this point. Nothing to it.
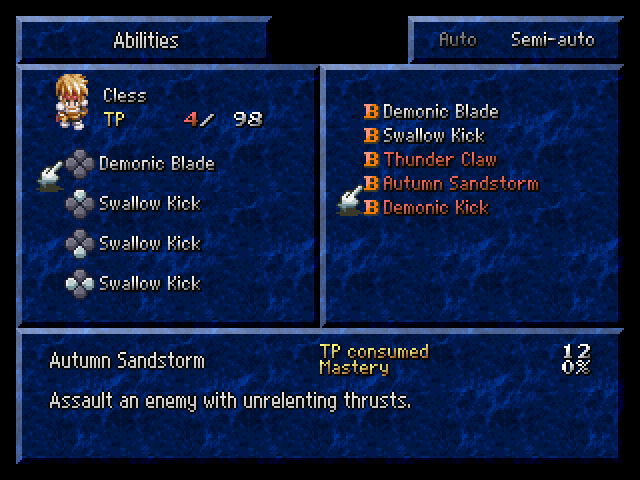
At level 13, Cless gets Autumn Sandstorm which, as the description implies, does a bunch of hits that all deal thrust based damage. It's pretty good for crowd control and will be a great arte for a few areas since the best weapons we'll have access to for a while after this will all primarily deal thrust damage due to their nature.
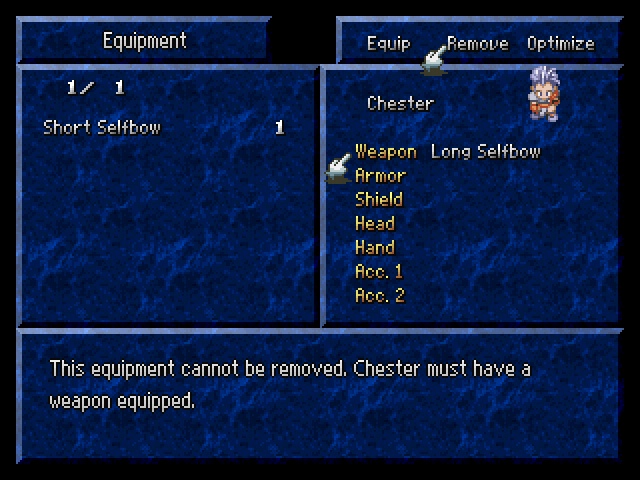
Before continuing, for no reason at all, let's take all of Chester's equipment! Except the bow, because we can't take that.
Watch the cutscene!
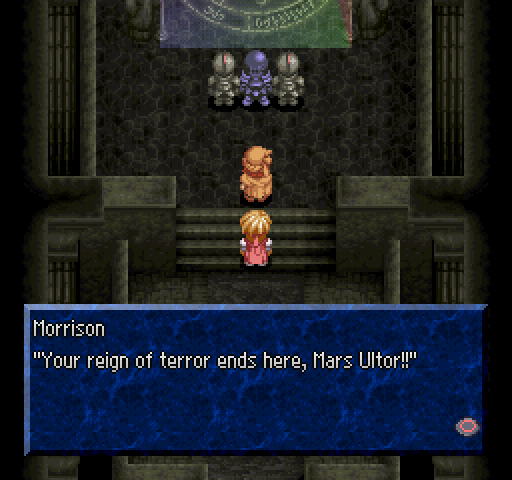
 : I'm glad you could make it, this will be a sight to see... Look, even your companions have come for the show!
 : You all... You would go so far as to get here...
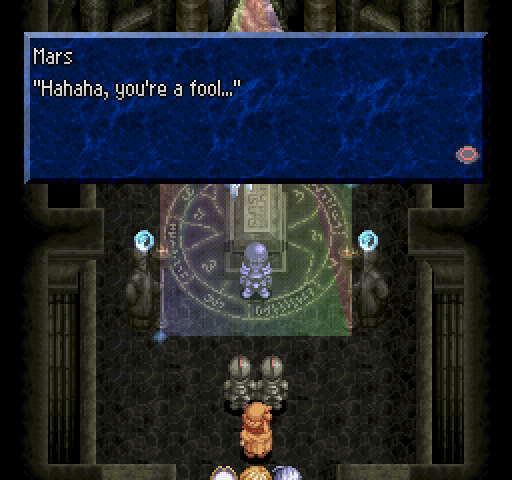 : W, what's happening?: The time has come for the revival of the Ancient King!: What did you say!?: Why don't I tell you about the gift that I've brought back from hell for you. The Valhalla War; I'm sure you've heard of it. That legendary war fought nearly a century ago... In those days, the two most powerful kingdoms were forced to form an alliance just to resist the overwhelming power of a certain king.
 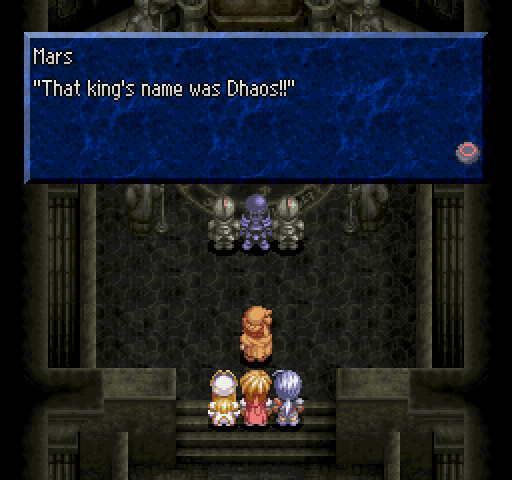 : However, even he was eventually defeated by a group of adventurers.: I knew. After all, the blood of one of those brave warriors flows in my veins. And that doesn't just go for me. Cless, you and the young lady there... You're both the same as me, descendants of those warriors who fought against all odds and defeated Dhaos.: I am?
 : Me too!?: It was not by mere chance that you two were targeted in those attacks. Since ancient times, it has always been your fate to stand against Dhaos. The man before us was driven by his greed to seek Dhaos' revival.
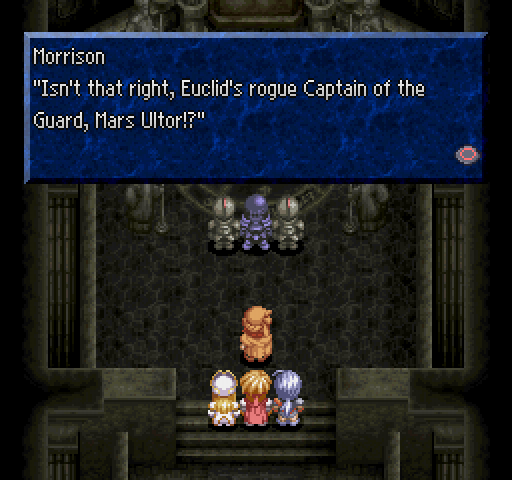 : Hah! The revival of Dhaos has already begun! You can no longer stop it!: Shut the hell up! I don't give a damn about any of this Dhaos stuff or fate business! Bastard... You're the one who killed Ami!! That's all I need to know!: You fools! You're too late!
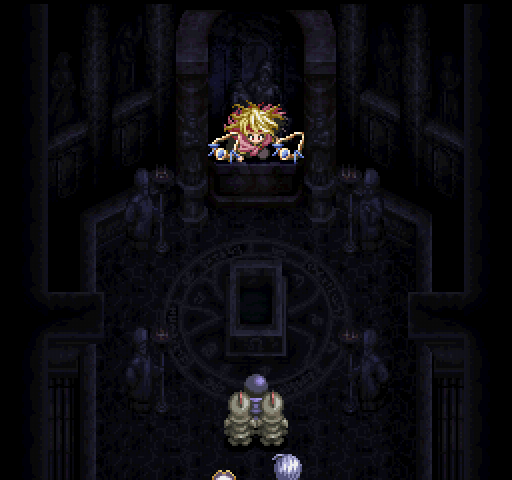 : So this is the Ancient King, Dhaos. Oh Dhaos, Ancient King, heed my command! My name is Mars...
Dhaos is kind of a smug prick so he'll have none of that.
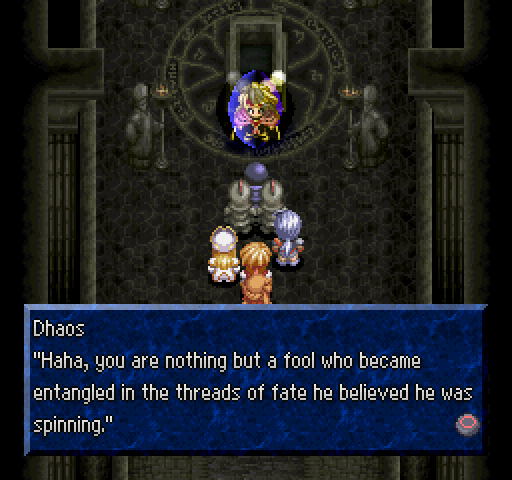
 : The extermination of my enemies, the retrieval of the keys to my freedom, these things were done by my will alone. Why don't you think back? Three months ago when you first came to this place, what happened?: Y, you can't mean!?: I have no more need for you.
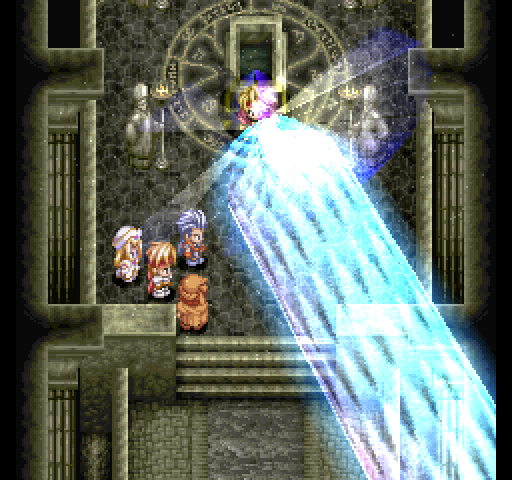
That beam he used here isn't just for show. It didn't just kill Mars et al. either...
They aren't just dead. They got goddamn vaporised. To say Dhaos is out of our league right now is an understatement.
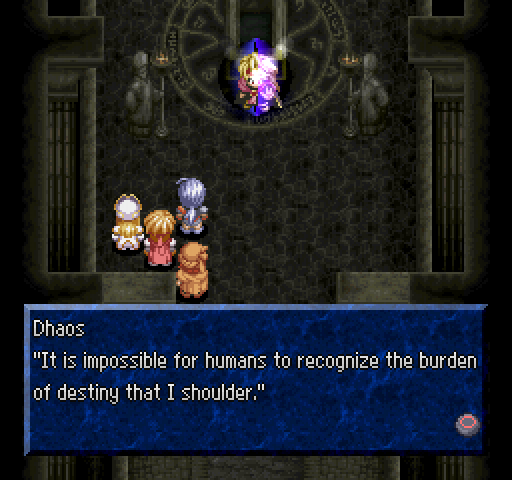
 : Without any hesitation, they continue to blindly chase after their own selfish desires. Now, I must deal with the last survivors of the line that sealed me away... You even saved me the trouble of finding you!! I can no longer allow you to live.: He can't be defeated by the sword alone. I'll use my Methodism to send you to another place. There, you must find the power needed to defeat him. This is our last chance!
 : What are you talking about!?: There's no time to explain!!
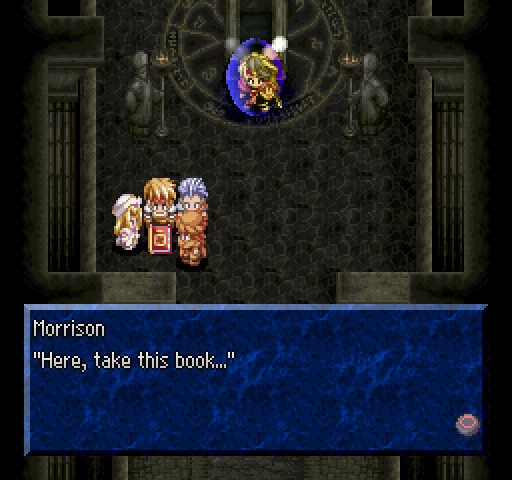 : You must inherit the will Miguel and Maria left to you! I'm leaving everything to you...: Hahaha, die.: Damn, we're not going to make it!
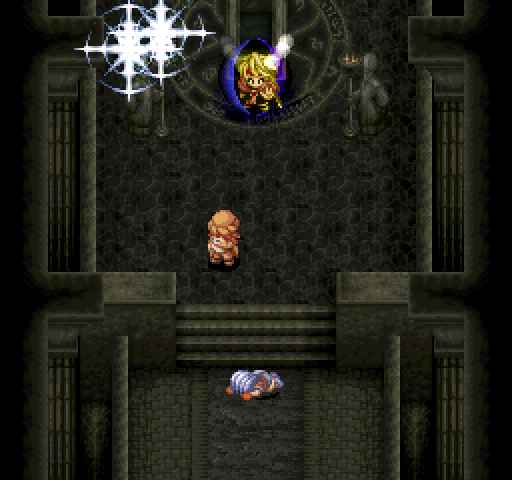
Yeah, Chester sacrificed himself here so we could get away. How nice of Dhaos to let that happen rather than outright murder us while we were talking too!
Speaking of Dhaos, he is more than aware of what Morrison just did for us.
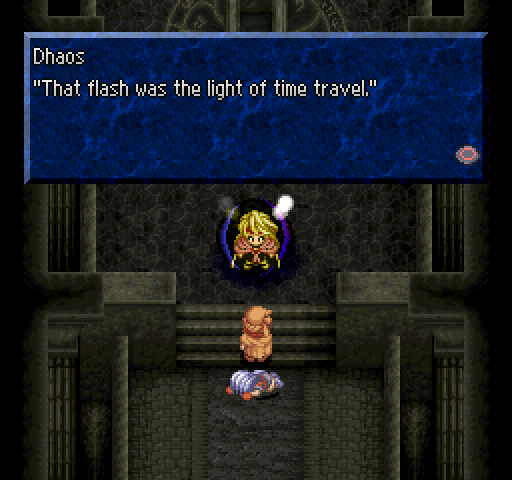 : Where did you send them?: Do you really think I'd tell you!?: Stubborn bastard...: Well, it really doesn't matter where you sent them. But to be incapable of sending yourself... your inexperience shows. Hahahaha, this is where your life ends!!
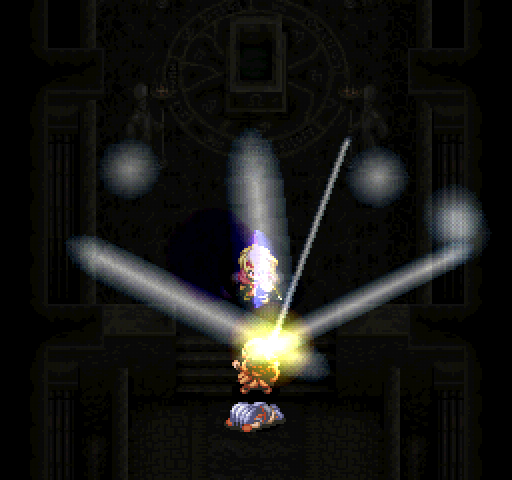

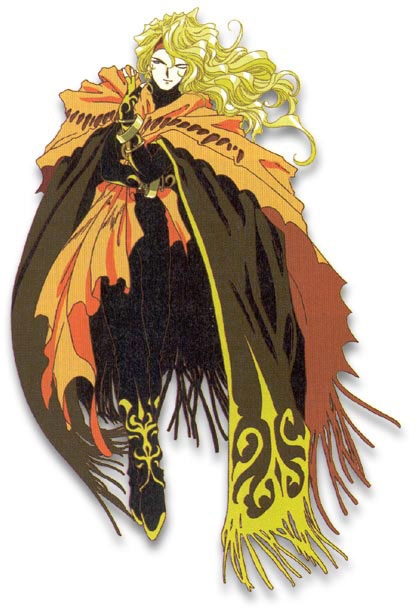
Dhaos official render.