Part 10: IT BELONGS IN A-oh....
Lots to be done in this update. As the evil of the Winthrop mansion grows ever stronger, it's high time we became an occult power house.
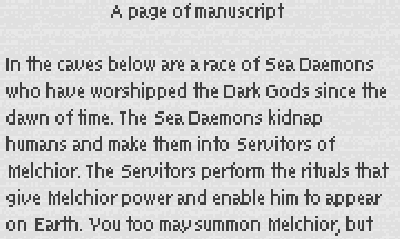
And the best place to find occult power is in a museum dedicated to the occult. How fortunate for us there is one right above us.
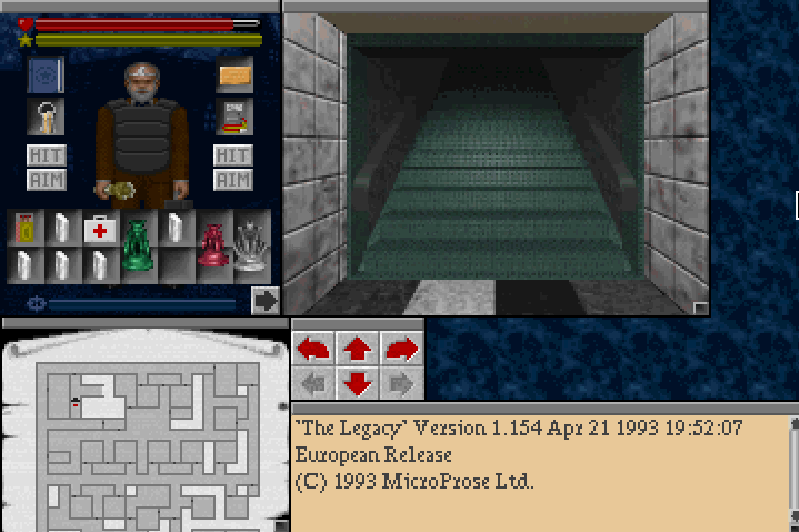
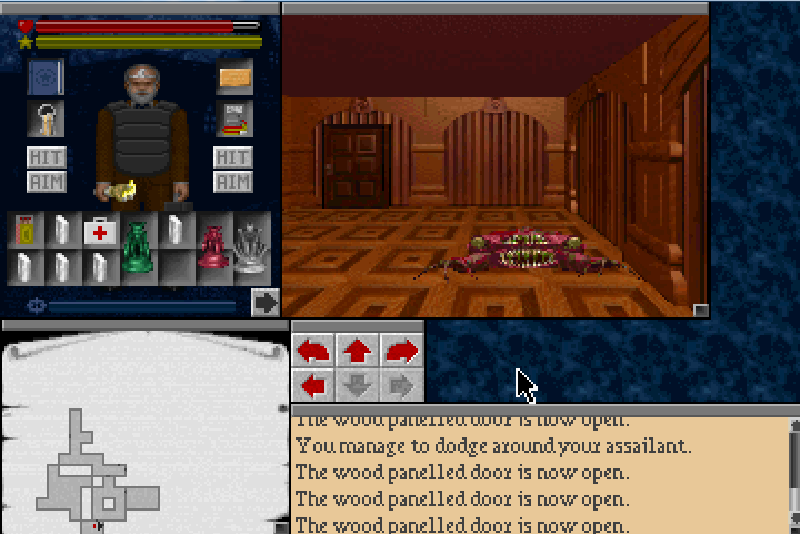
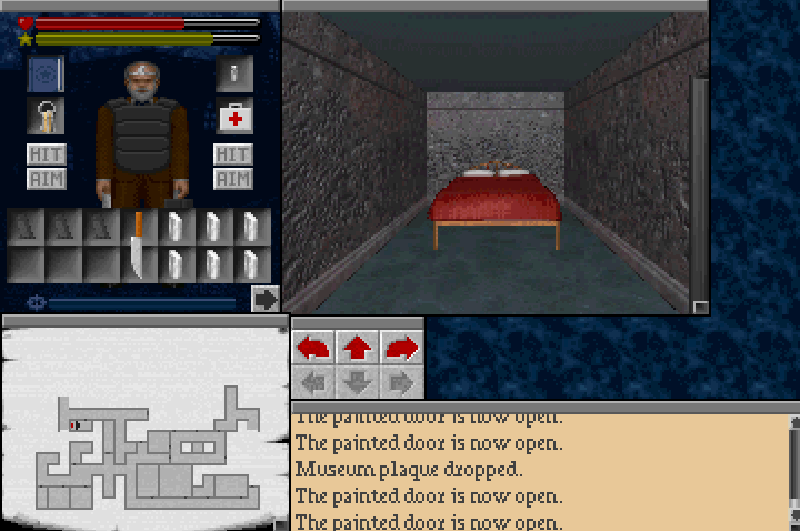
Welcome to floor 3.
I should point out that this floor has by far the absolute worst music in the game, it's just a couple of really shrill notes being played slowly, like someone fell asleep on a keyboard.
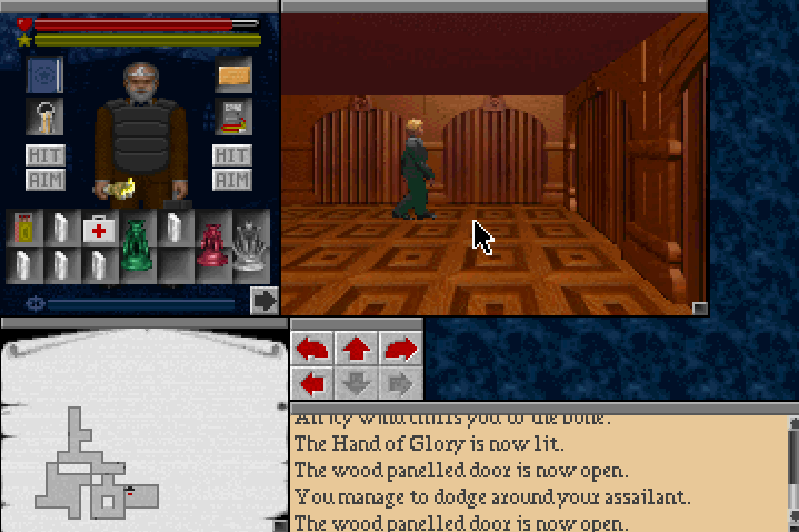
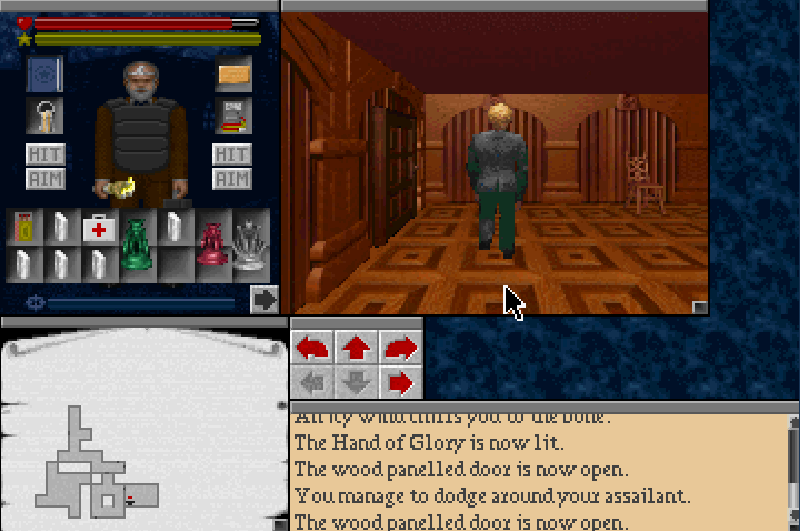
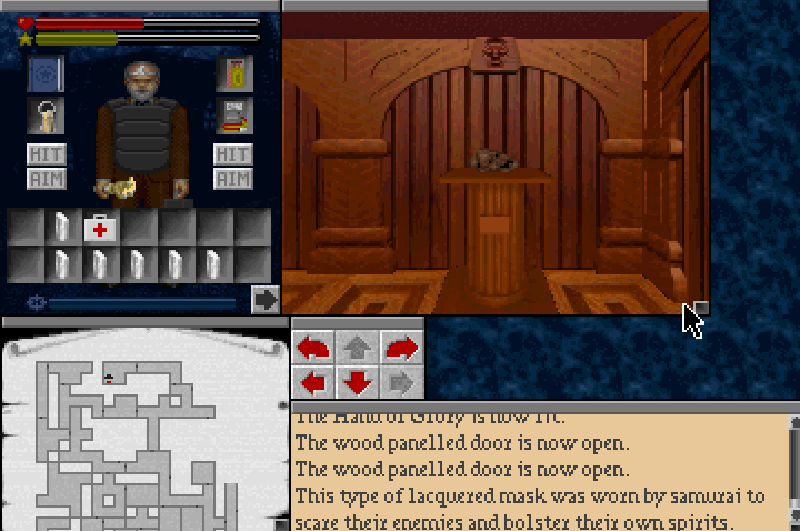
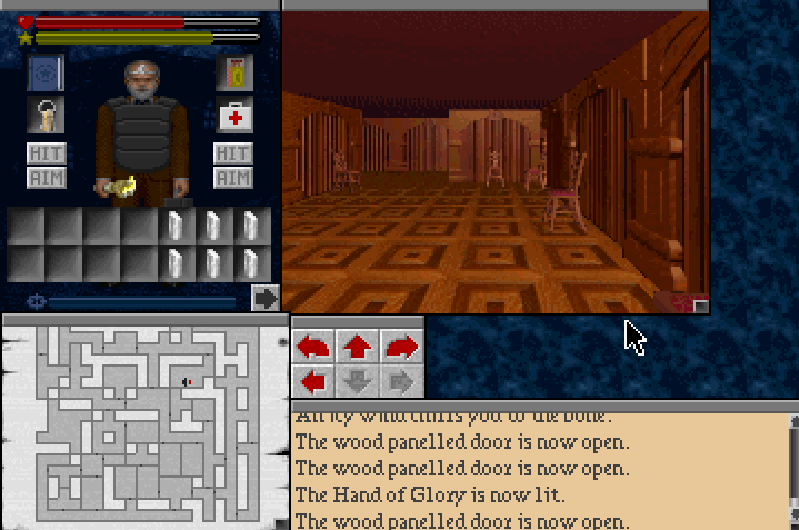
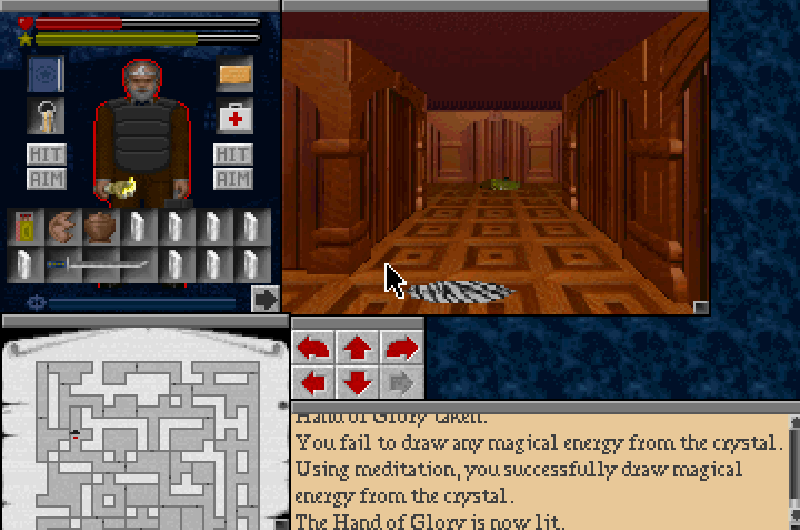
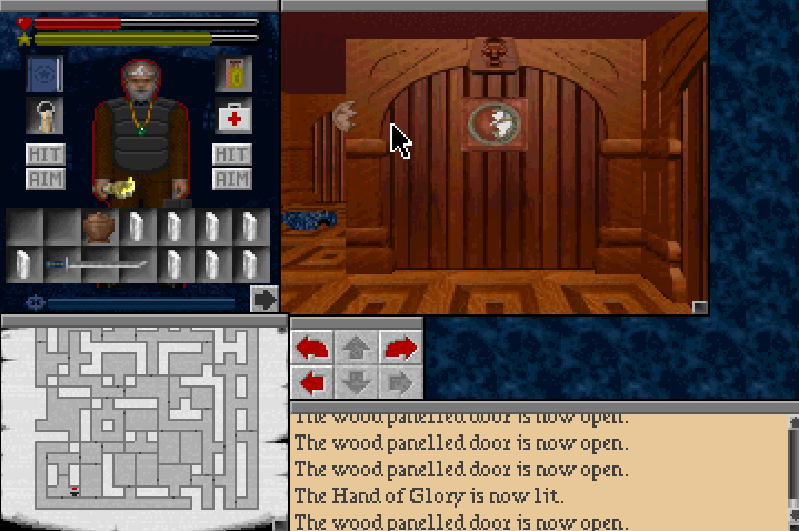
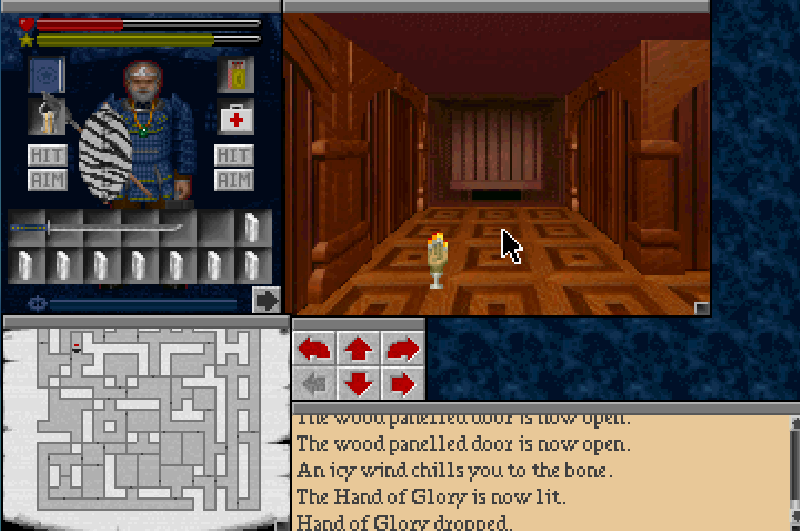
The first thing we're going to want to do is light our Hand of Glory.

There is much knowledge to be obtained in this museum, not just artifacts.

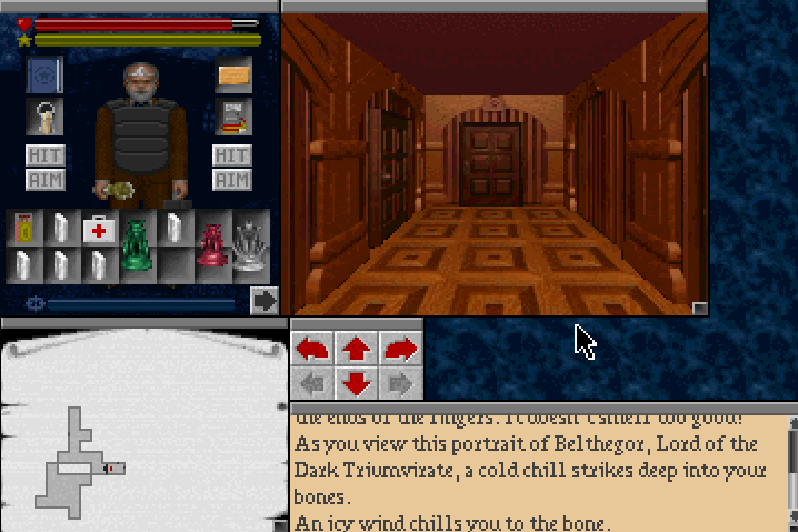
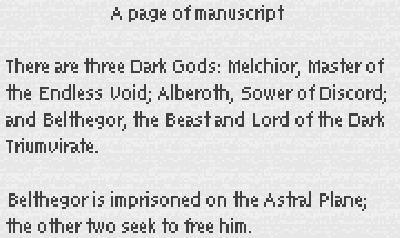
Behold an image of Belthegor, Lord of the Dark Triumvirate. This folks, is our target. You see, we're not in this mansion so we can seal away some lovecraftian horror from the world, postponing some inevitable catastrophe so horrific it will leave us crippled by madness and death. No, no no. We're here because we're gonna find the monstrosity who thinks this world is some kind of play thing, and we're gonna put it down.
Henry right now would be burning a hole in this painting with a cigarette if he had one. Belthegor's time is running out.
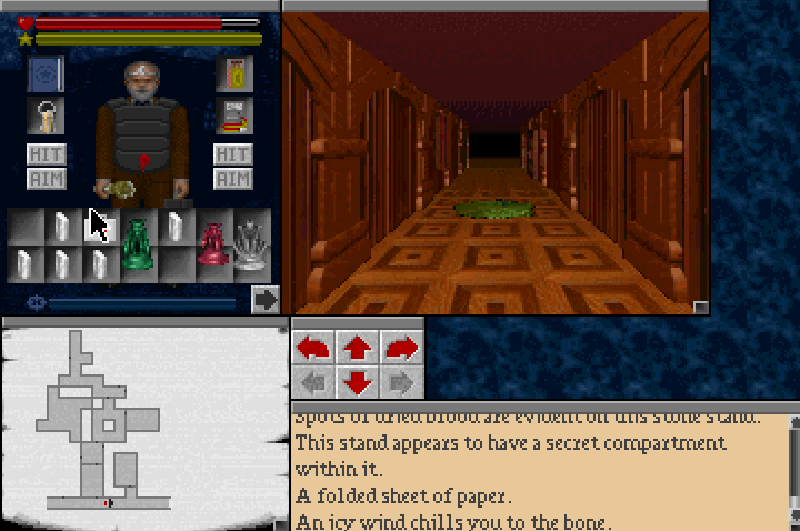
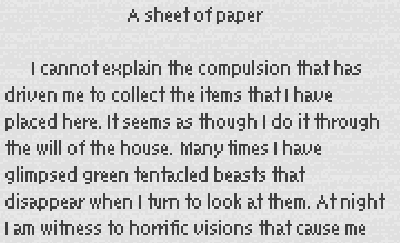
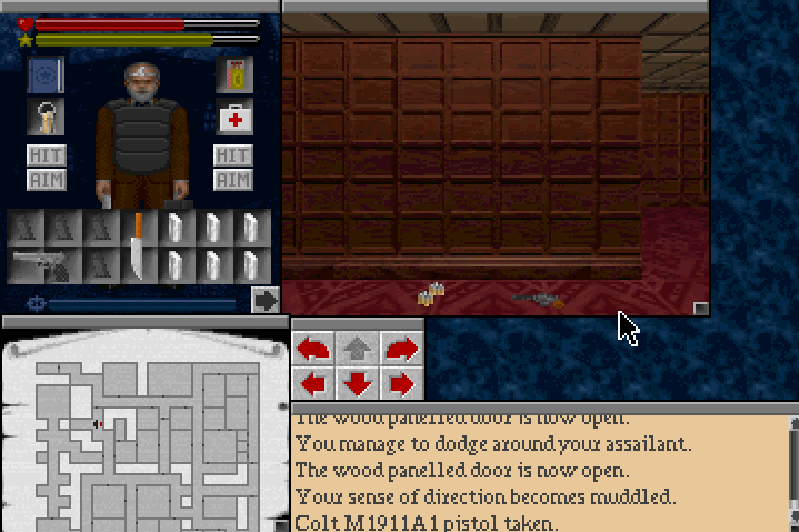
A note lies at Henry's feet.
Much like the ghosts on level 1, there's a kind of monster we'll be seeing shortly that can be side stepped in a certain way. It's the sole reason we've been collecting these statues up until this point. De l'Ancre eh? I wonder if his first name is Billy. Yah?
The reason we've got this Hand of Glory is because the slimes that are absolutely everywhere on this floor are afraid of the light it emits. In other words, if you have it lit, you can walk past them unhindered, it's almost a necessity as they're hard to kill and downright impossible to dodge otherwise.
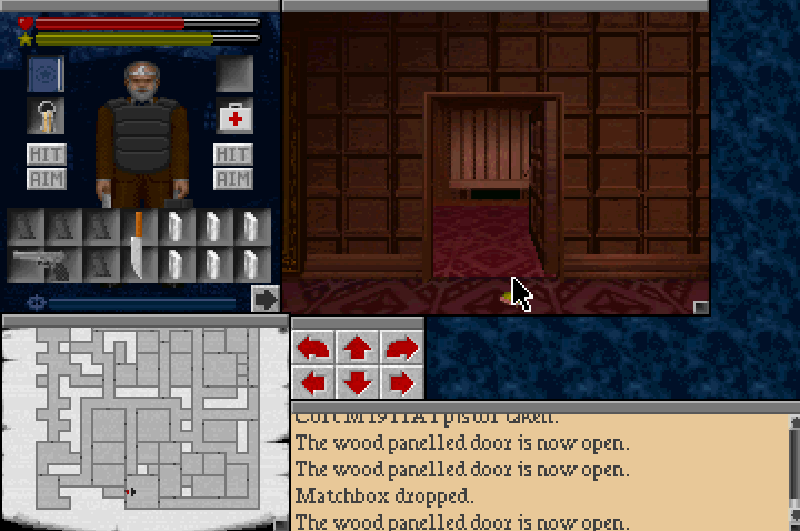
The downside of this is that there are certain tiles throughout this floor that will extinguish the Hand of Glory. It's just a minor inconvenience though, thankfully you've got infinite matches with which to relight it with. One of few saving graces this game has with regards to reusable items.
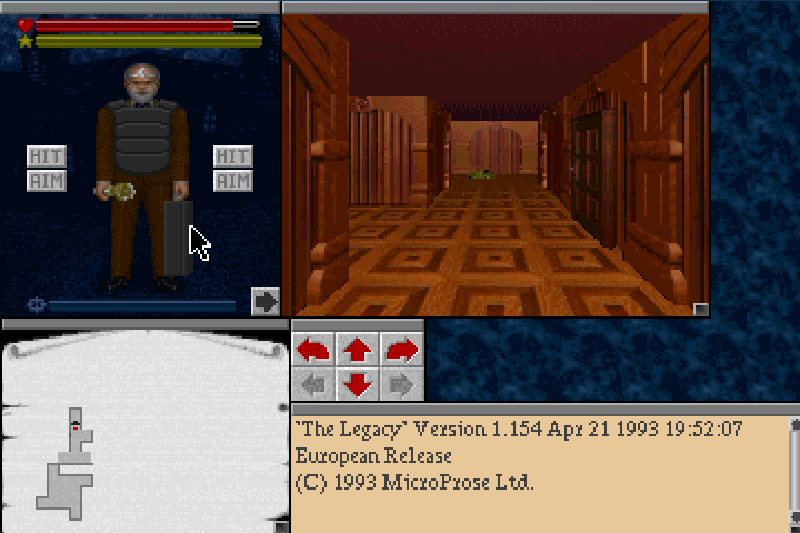
In a room up ahead we come across another mysterious NPC.
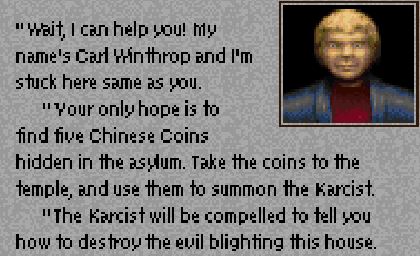

This is Carl Winthrop. I think it's safe to say that's he's lying to you. I'm not even sure that's his real name, there's certainly no one in the family tree by that name. Although if that is the case, I'm not really sure who he's supposed to be exactly.


He seems awfully eager for us to summon the Karcist.

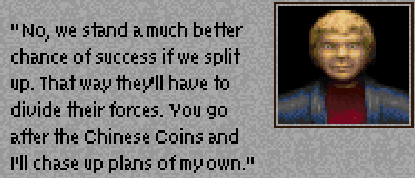


Yeah, he's also a touch unstable too.


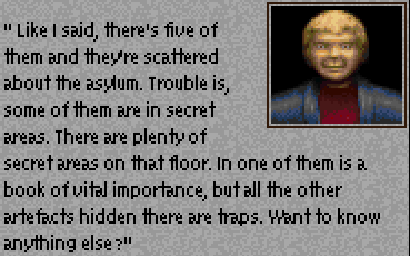
Ookay then.. He doesn't attack you at this point, oddly enough. He just proceeds to wander around the room. If you can keep him calm and ask him the right questions he'll generally just give you more unhelpful information, like telling you to try and reason with the monsters, and casting dimension door on the blue runes. You can also give him a med kit too. We won't be doing that.
Anyway he has a few notes lying around.

Hmmm, it's almost as if he's not being entirely upfront with us...
The other note is far more terrifying.

Aaah he works in marketing!!!
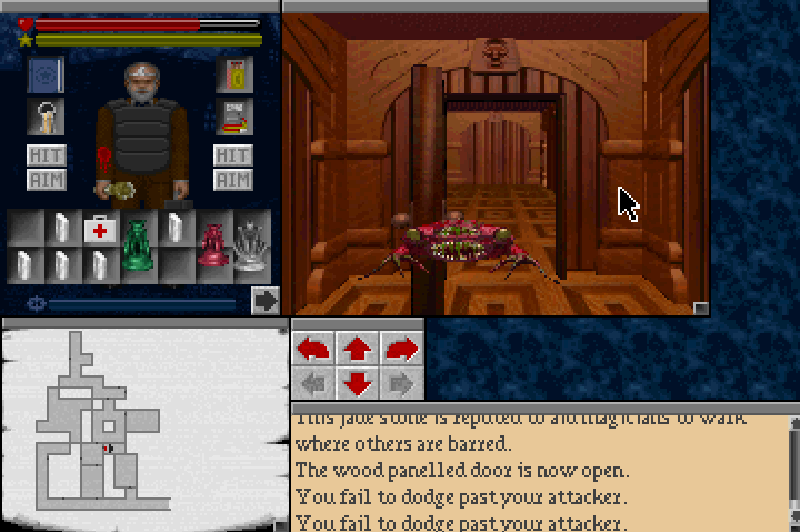
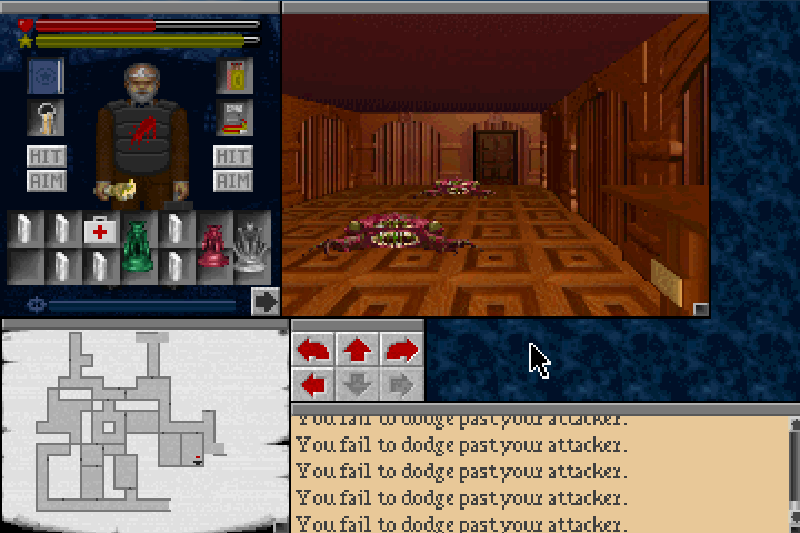
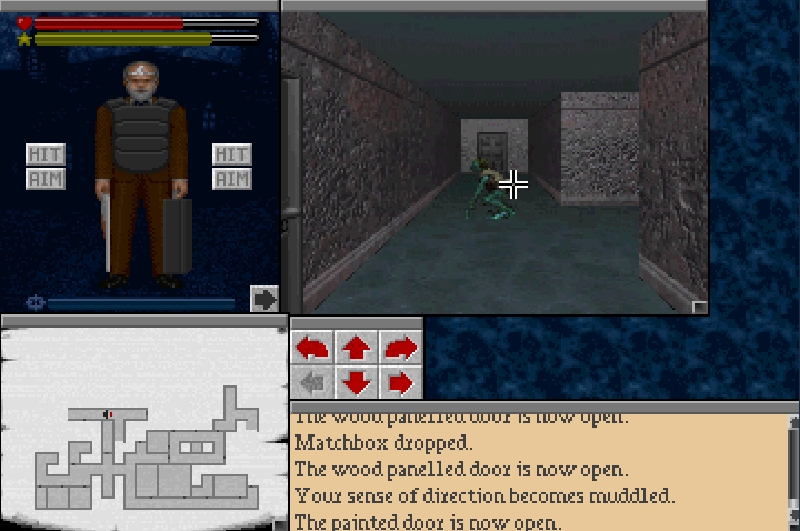
Stumbling around the floor some more, we run into these little buggers.
These are the Night Crawlers. They can hit you pretty hard and they're difficult to dodge. I'm not really sure how tough they are to kill as we'll be employing the work around method. But they also fit into the really annoyingly flat monsters that are hard to get good screen shots off.
The major annoyance with this floor for me, is that I get really lost easily. I'm pretty good at knowing where everything is in the other floors. But this particular floor, I just lose track of where half of everything is. If I could I'd be making a bee line for the room that we need the statues for but I've never bothered to remember exactly where it is.
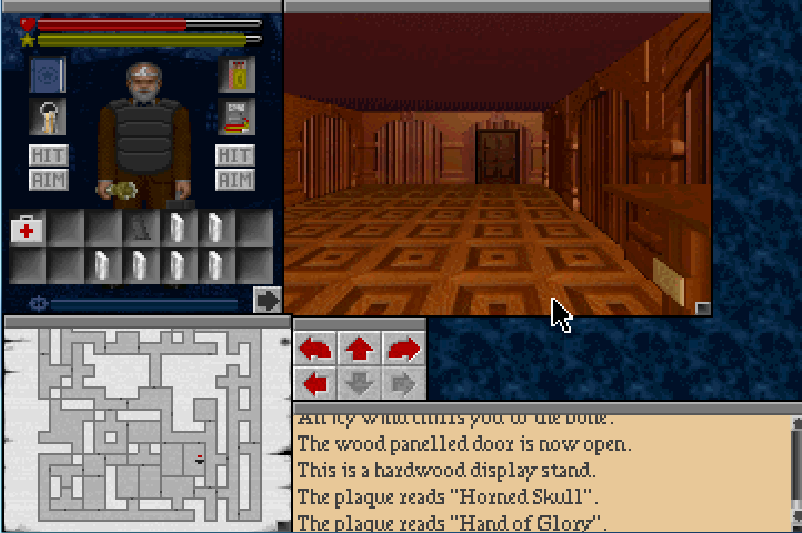
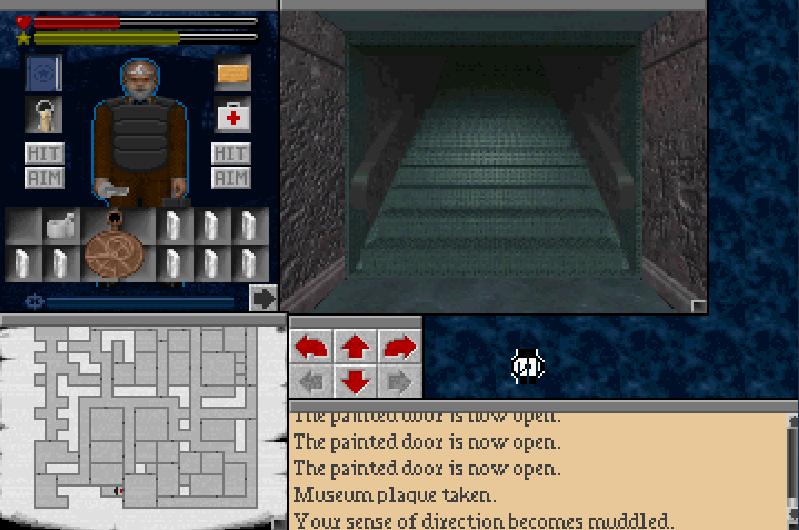
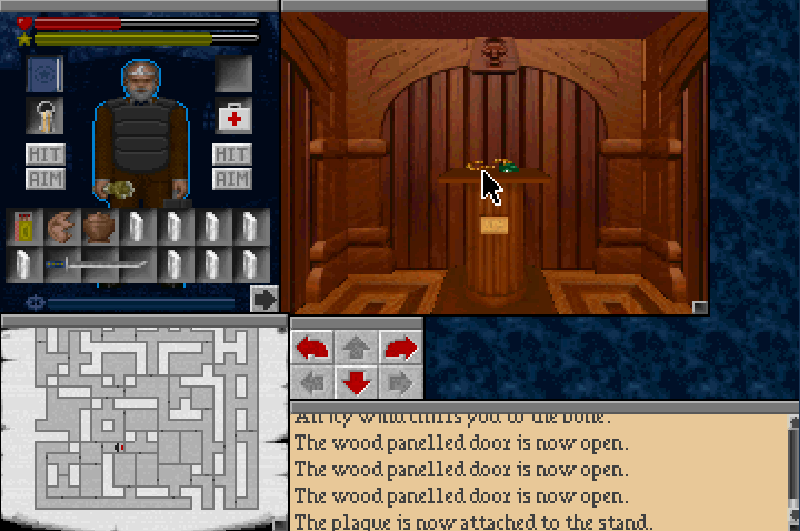
We find our first museum exhibit.
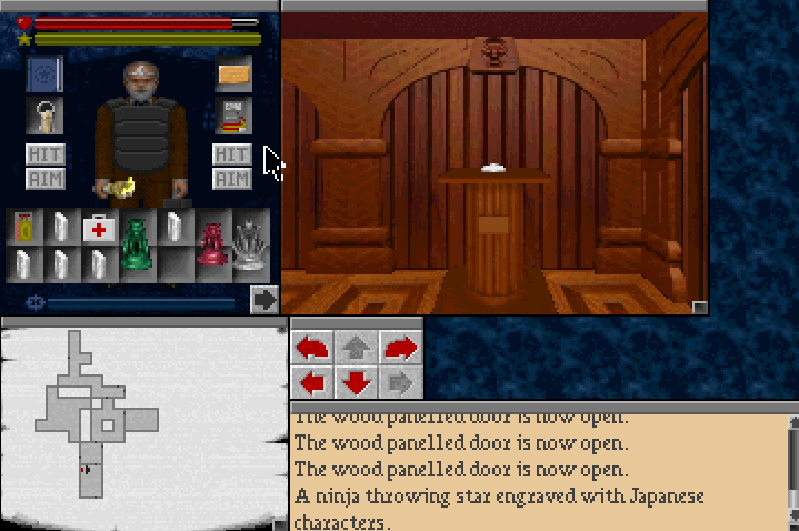
The Shuriken.

The trick with some of the exhibits, is that they're missing their corresponding plaques and this for some reason, makes it impossible to pick up whatever item is on them.
We luckily happen to have the plaque we found on level 1 for this exhibit however.
The shuriken itself is unique, as it's the only throwing weapon in the game. I have no idea if it's actually any good though, I generally don't bother with it. You do get a small sliver of experience for returning the plaque though.
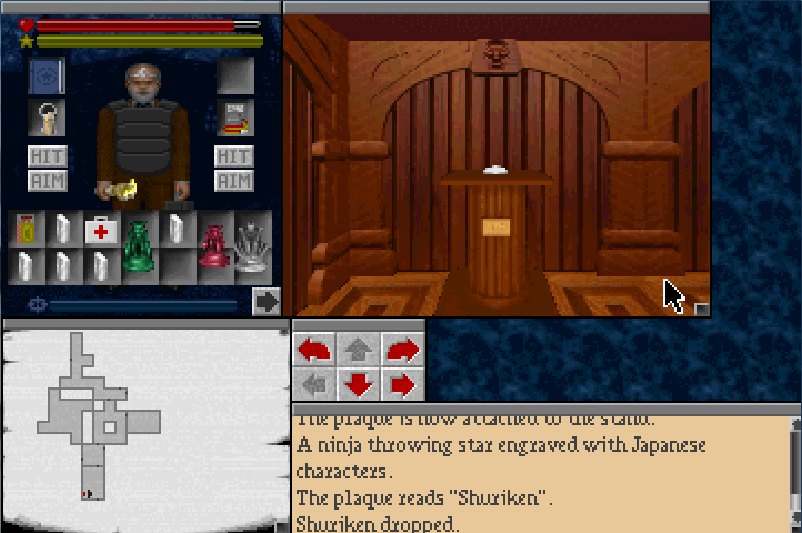
There's also an identical pedestal next to it. I put the freed shuriken upon it because, I dunno, maybe it does something.
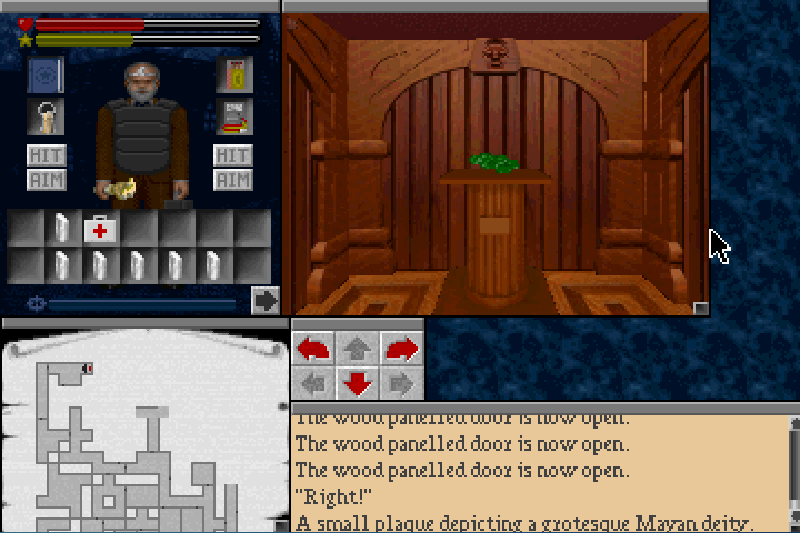
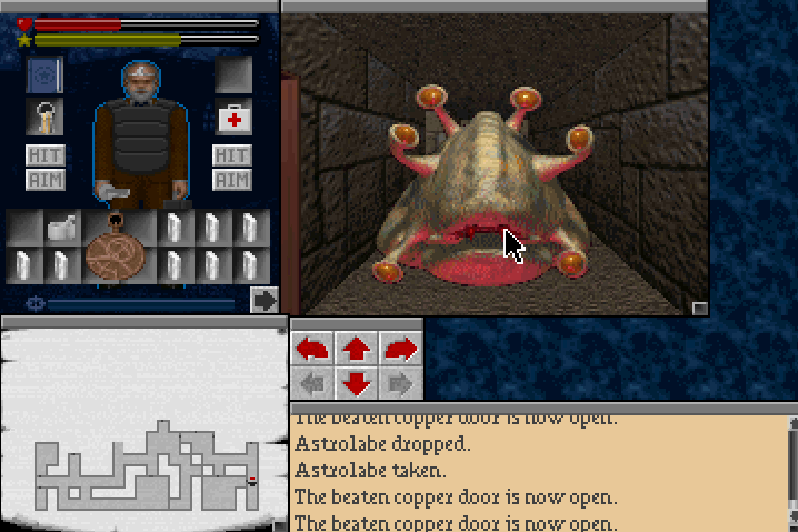
Further on we find a sinister looking statue room.

If we click on the giant statue...
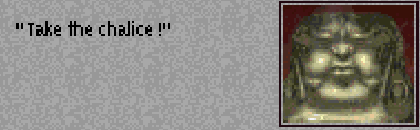
The sinister looking Buddha statue tells us to take the chalice in the room.
I was always told never to listen to giant talking statues. If you try and take the chalice, you die by the way.
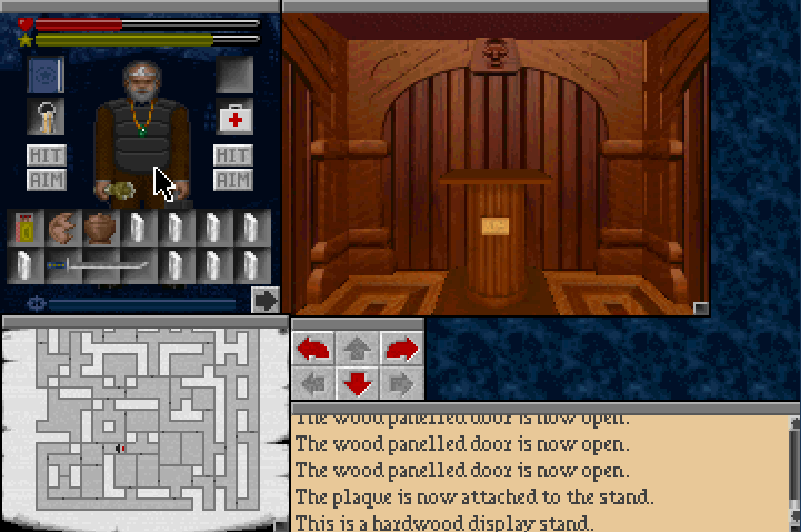
There is something special about the pedestal it's rests upon though.
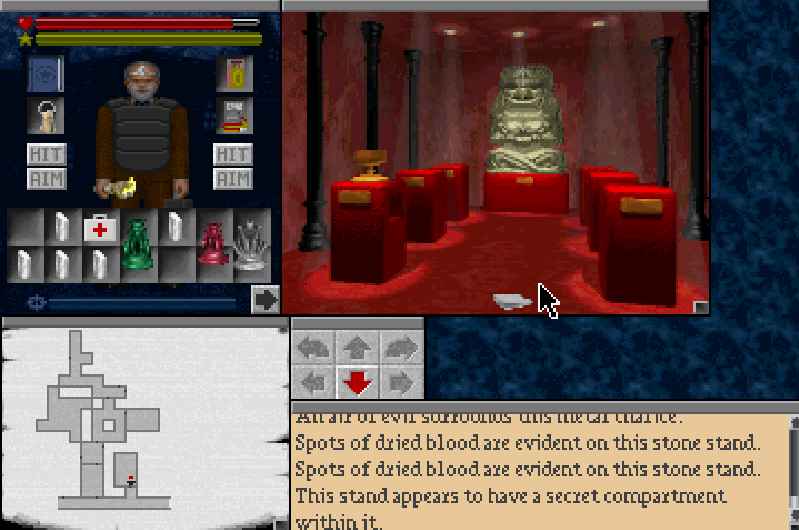
A secret compartment!
With a map of the first three floors! Just what I always wanted.
I stupidly stop paying attention to my surroundings and waltz straight into a slime with an unlit Hand of Glory. This is a recurring theme for me.
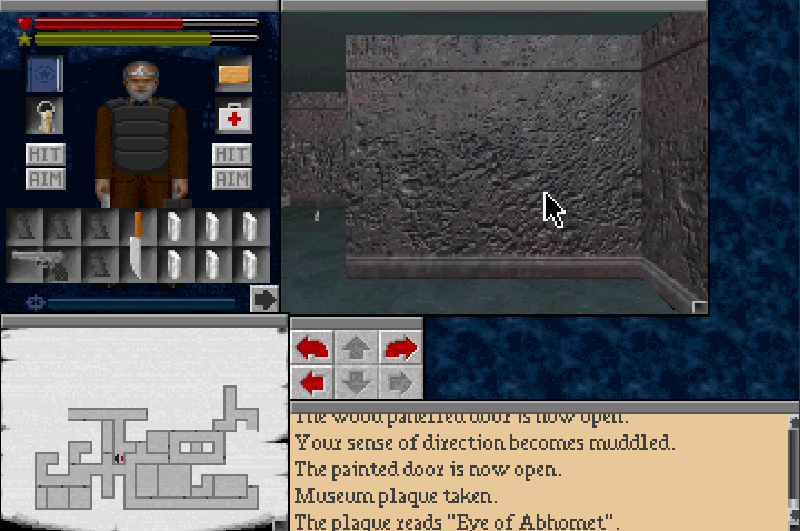
Up ahead we find another new exhibit.
It's the Eye of Abhomet. But with no plaque in sight.
Argh I get bit but one of the night crawlers as I struggle to dodge past them.
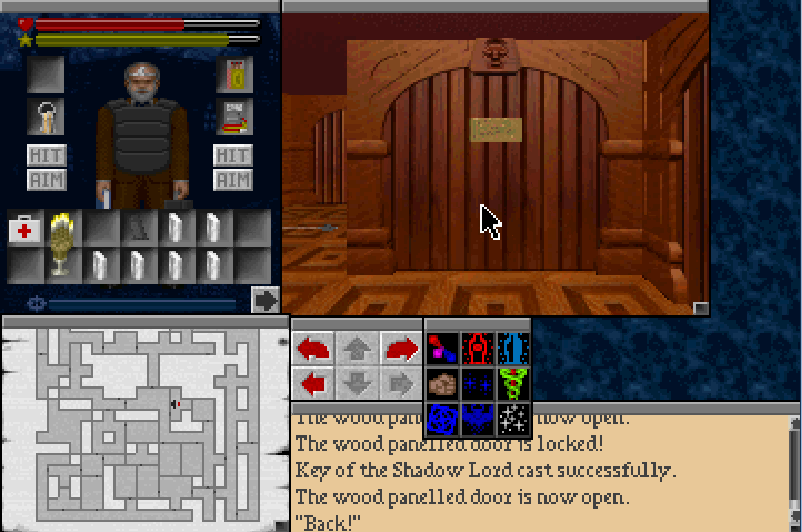
At this point there are no more keys to unlock any of the doors and our mechanical skill is not gonna help us much further.
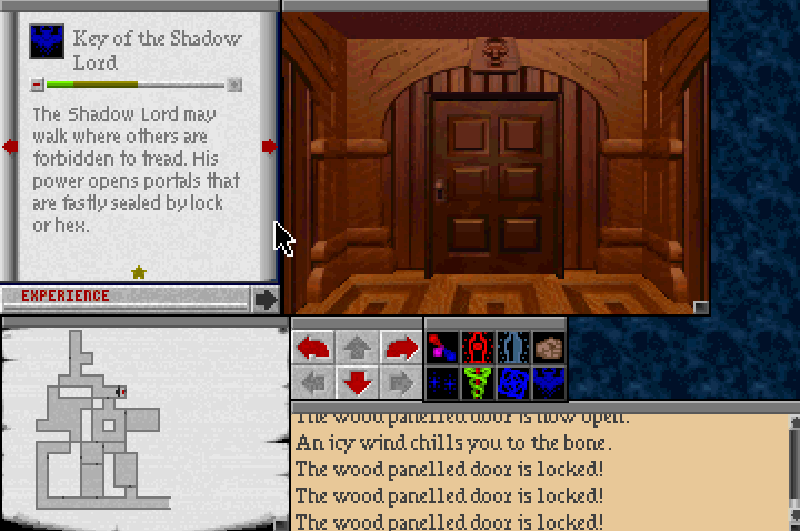
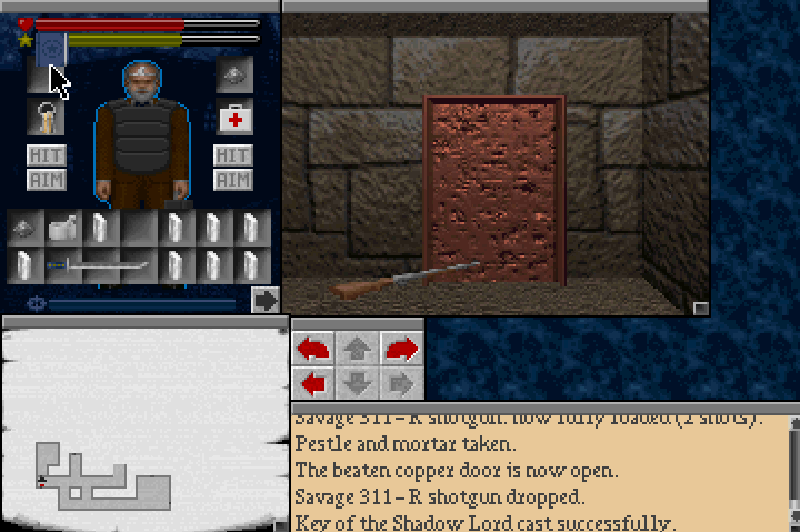
So I dump all my experience in the Key of the Shadowlord spell.

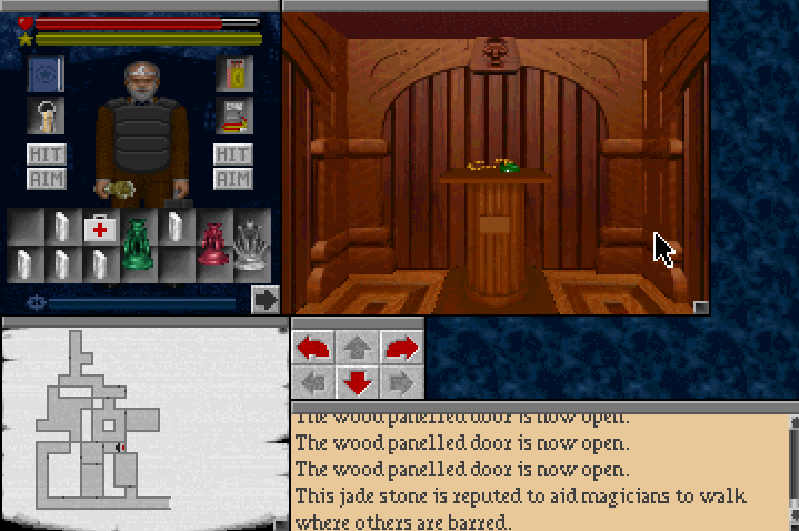
And the door opens on the first cast of it. This spell is just great.
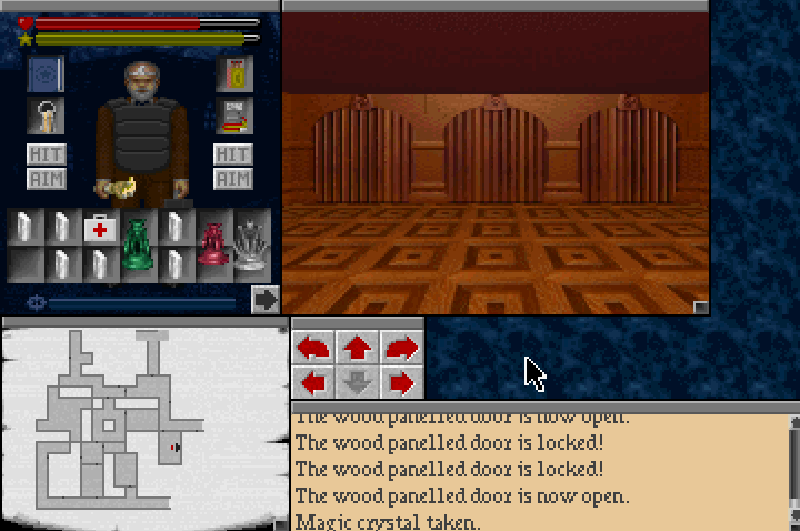
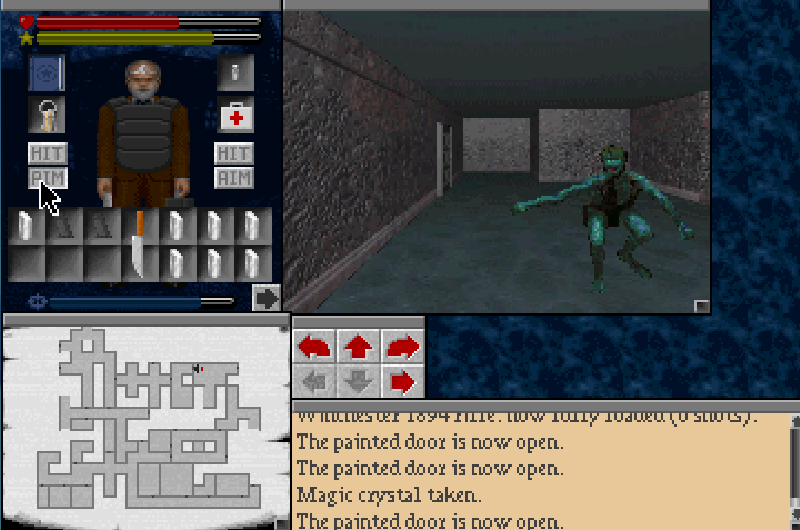
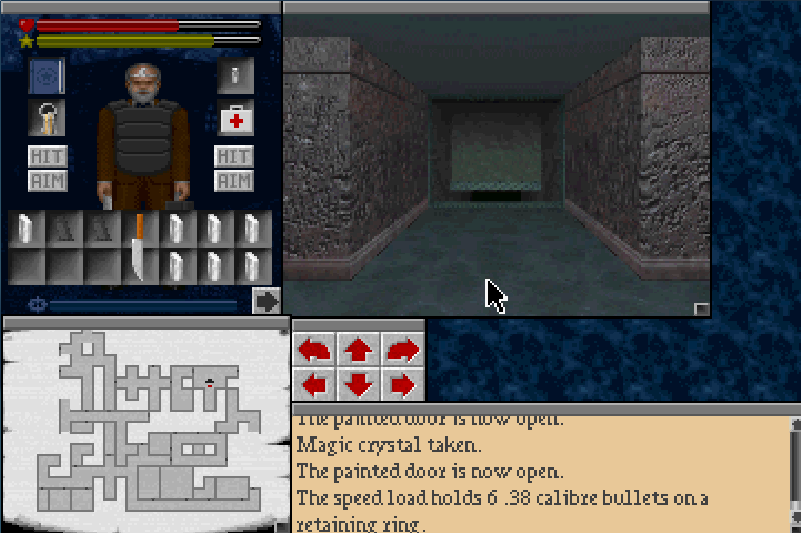
Some magic crystals were found and note too!
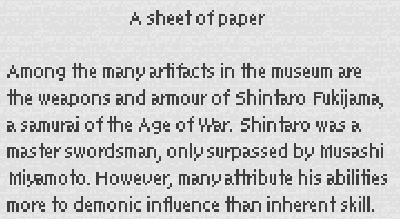

The weapons and armor of a demonically possessed samurai? Yes please.
Ugh I hate getting lost in this place.
Okay I think this is the room. Just need to dodge past this Night Crawler and lock him out.
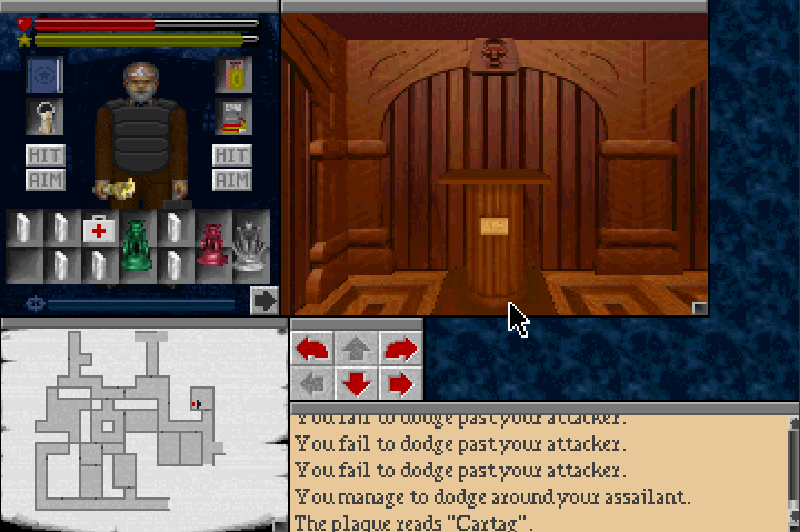
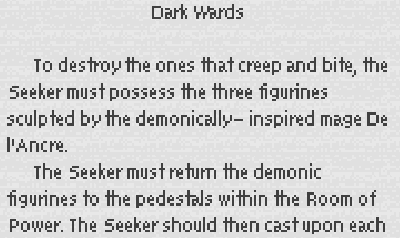
Three pedestals, three different names. You work it out.
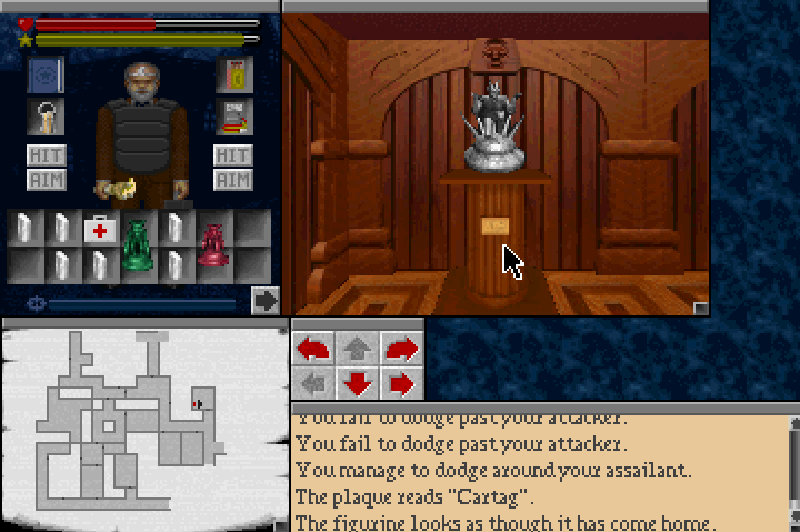
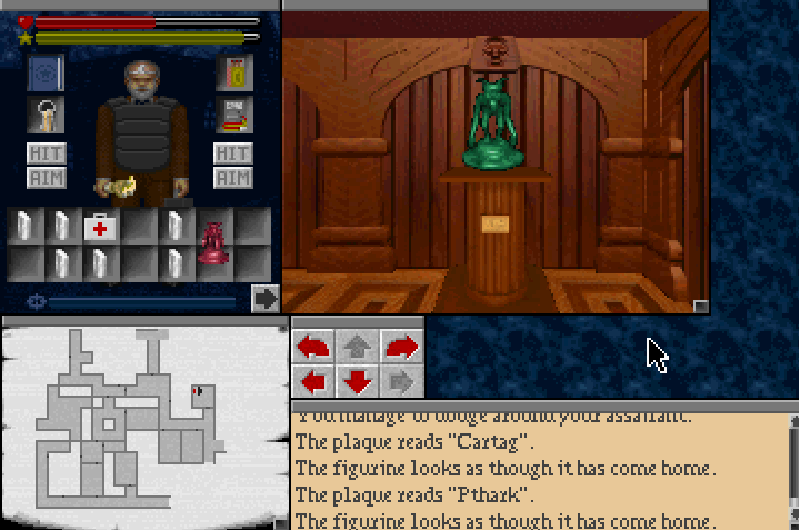
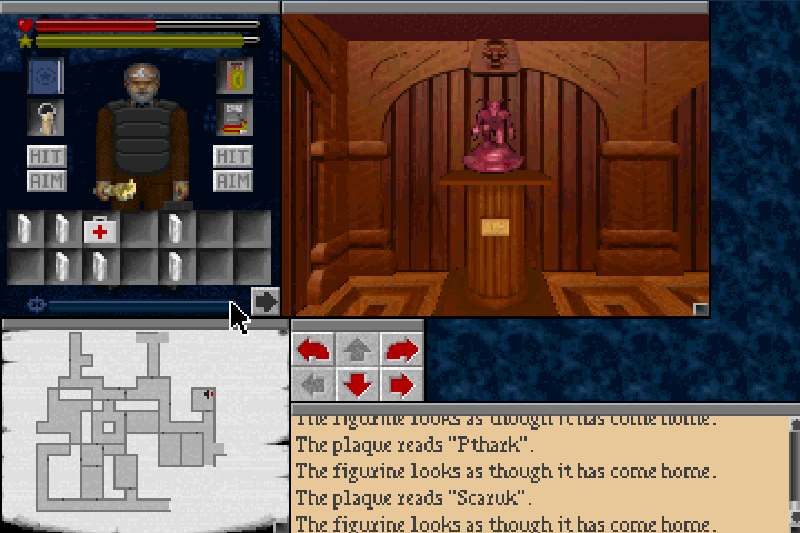
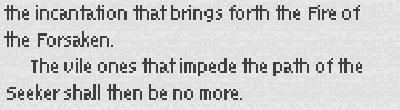
Alright, now that the statues are back in their rightful places we need to destroy them. They can only be destroyed by casting Flames of Desolation at them. I spent all of my experience on Key of the Shadow Lord so my skill at doing this will be a little bad but not impossible.
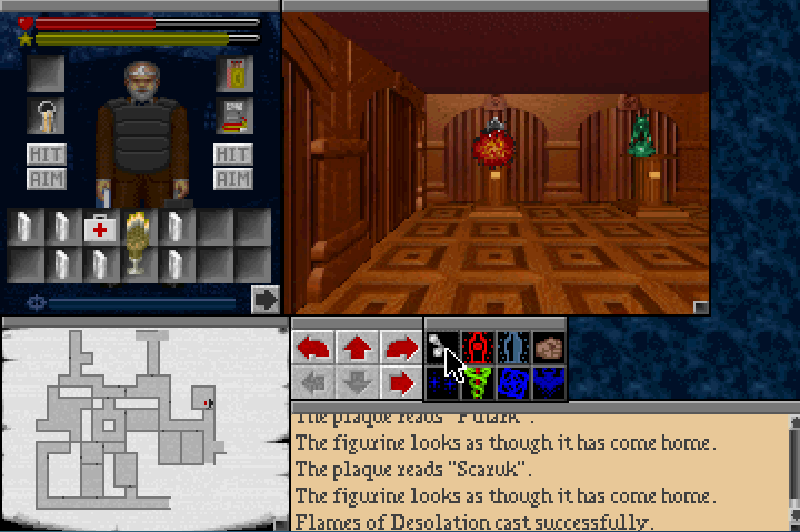
Henry is thankfully not too bad at casting and the fireballs launch rather successfully. I still need to cast a few before they actually hit anything though.
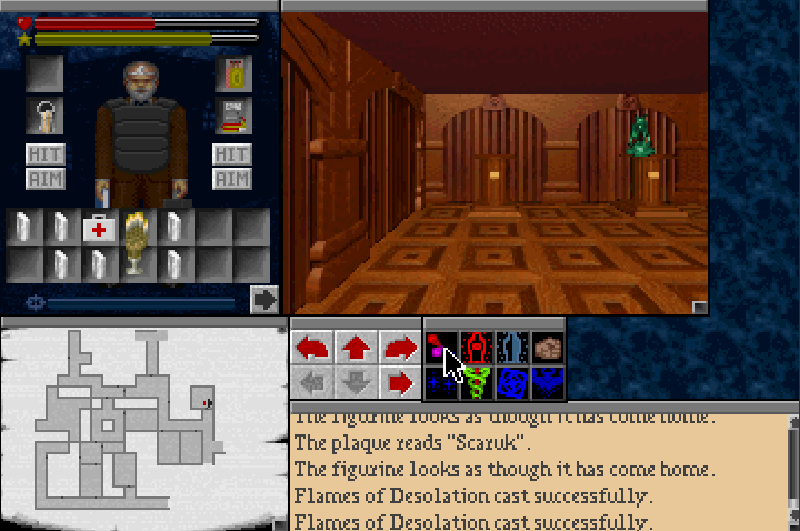
Boom!

Pow!
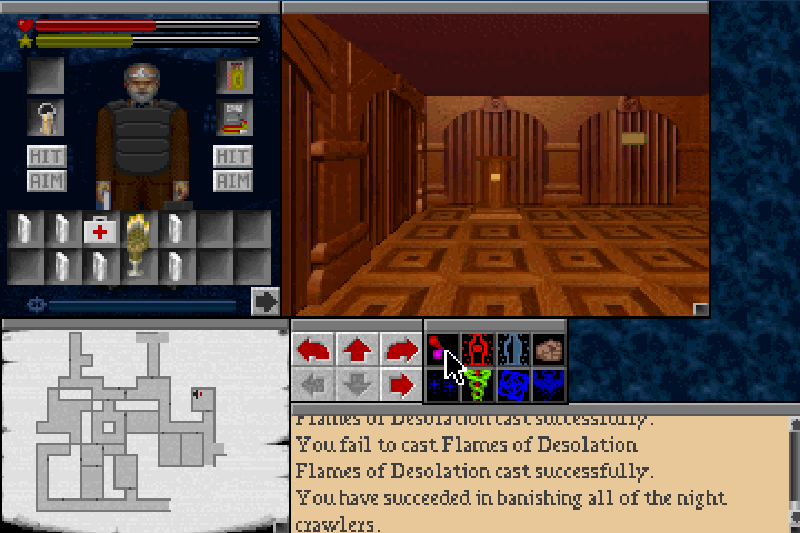
Crunch!
This is all followed by a scream, and the nightcrawlers are no more. That makes the rest of this floor a rather relaxing stroll.
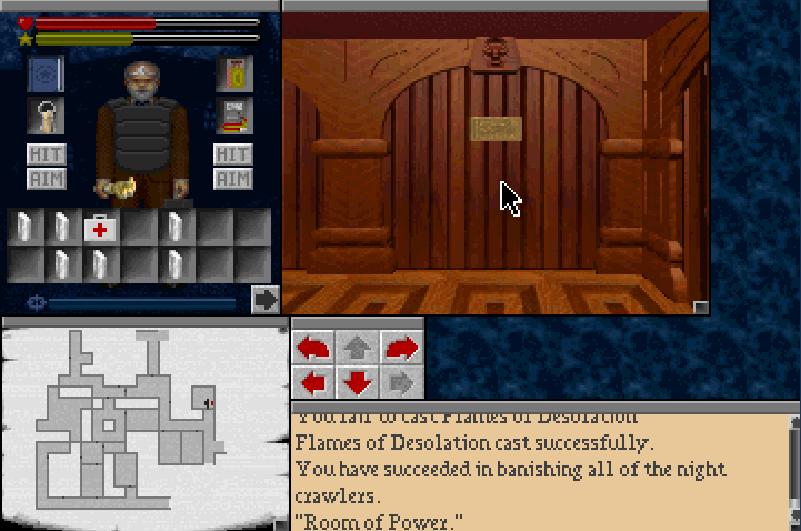
There's also this plaque in this room saying it's the Room of Power. There you have it.
We find ourselves at the head of the other stairs we found back at the asylum.

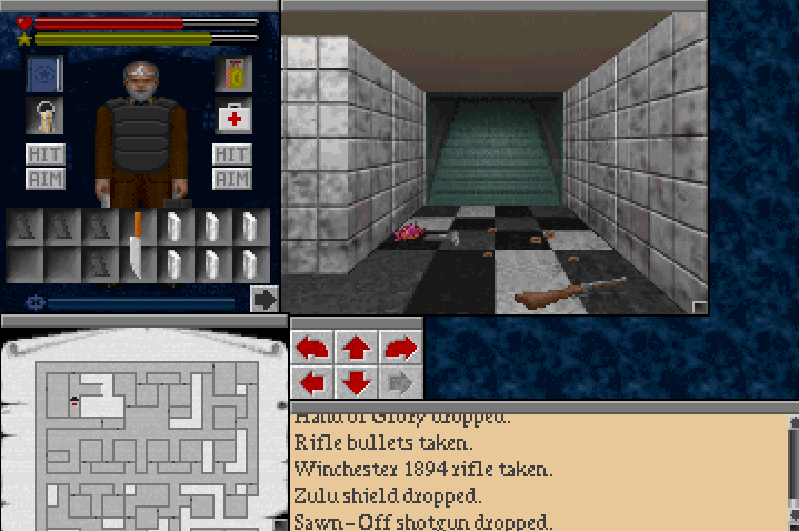
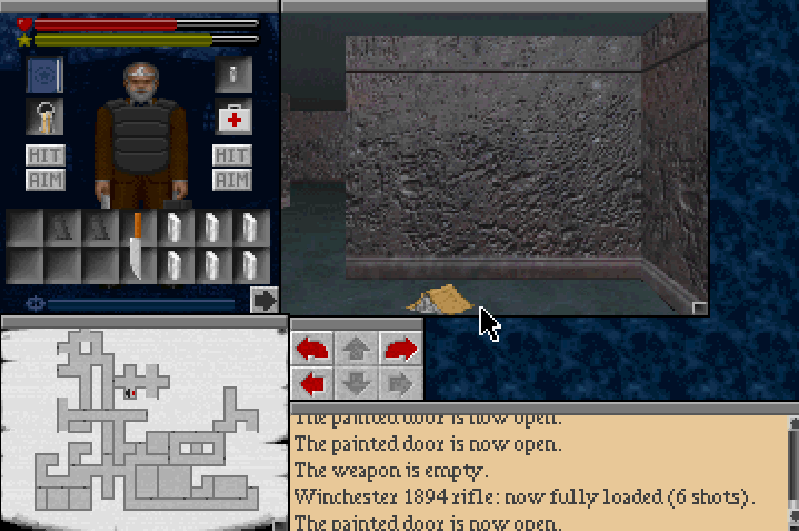
Nearby is a Winchester Rifle. This isn't too bad actually, there's a good bit of ammo for it on this floor. It's got a decent sized ammo capacity and it hits pretty hard too. We'll take it with us.
We also find a new spell next to it too.
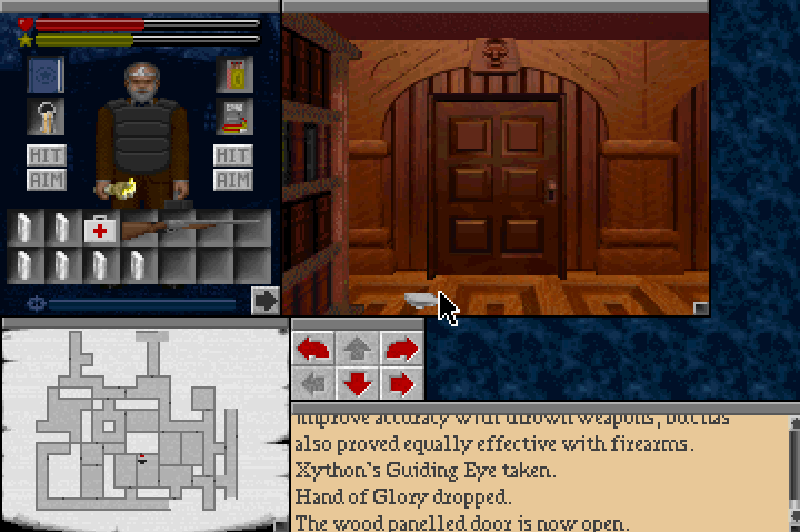
Xython's Guiding Eye
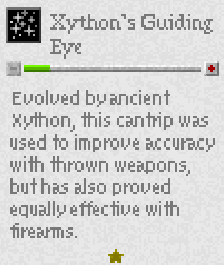
It's an accuracy buff spell. I don't really use myself I mainly keep forgetting to and I'm about as good at hitting with guns as I'm ever going to be.
We find another note nearby from Miles Mayhew.
Looks like Lurker buddy's been playing hide and seek with him, the cheeky little scamp.
A bookshelf that contains some Japanese wisdom.

This is quite a useful piece of information.
In this room we find an exhibit that had a plaque next to it that says "left!"
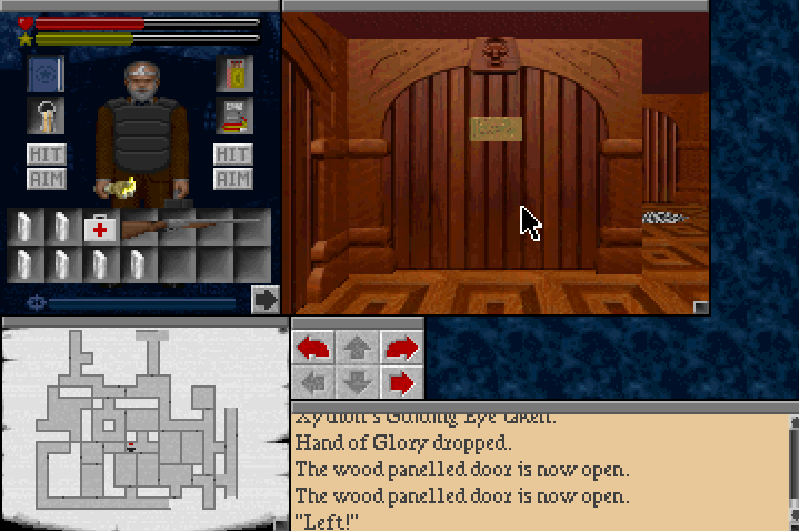
What this means is that we can only approach the artifacts by sidestepping left. There's a few of these on this level, it's not too inconvenient.
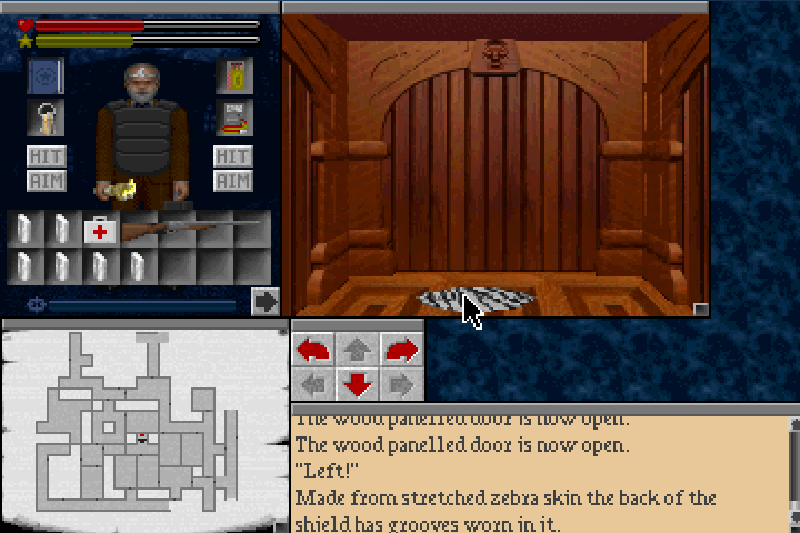
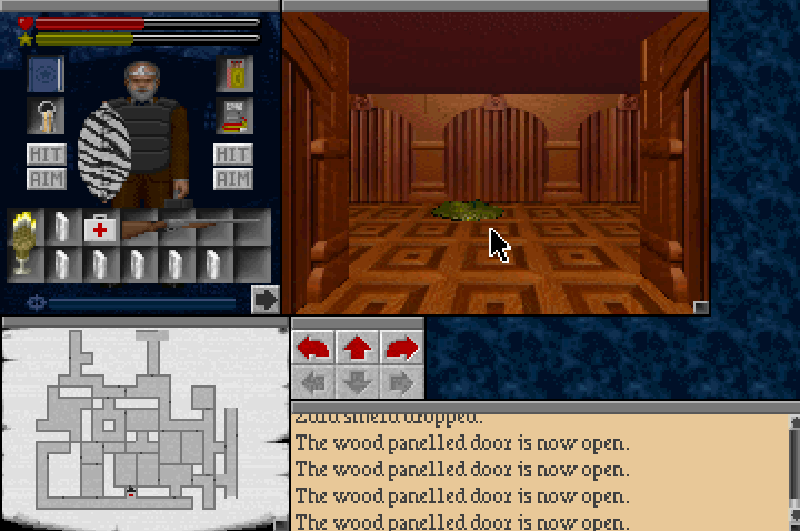
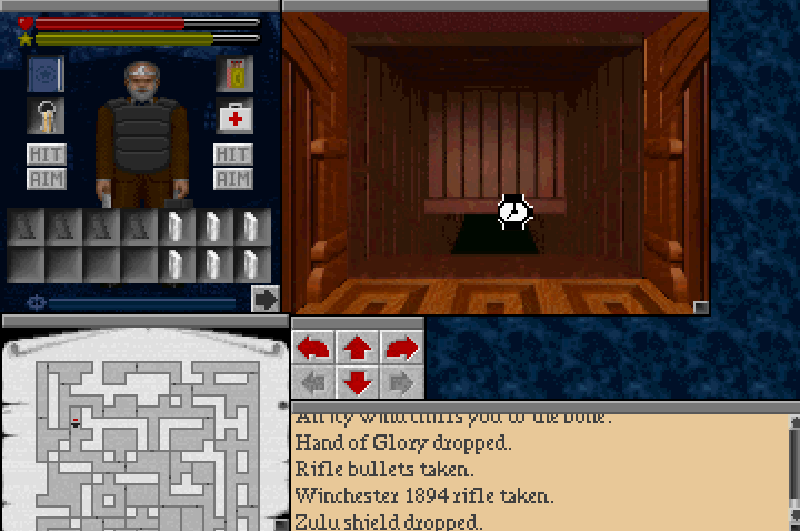
It's a Zulu shield! We'll be holding onto this, but it's a bit bulky to carry around, so we'll make a new stash for now.
Problem is, I need to put my Hand of Glory away to get the shield to the stairs, and there are slimes in the way.
There is a trick to this though. You can still move around if you are drag clicking an object. So you just have to hold the shield with the mouse to take it back. Be careful though, while attempting an attache caseless run of this game I accidentally heading up some stairs whilst holding an object in the mouse hand and it froze the game.
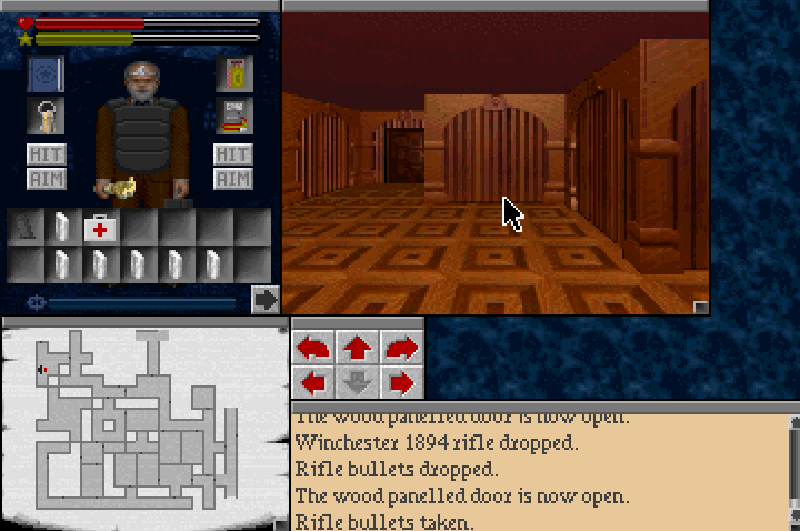
Woo some rifle ammo!
Another exhibit.
This time it's a Mayan Jade effigy. We'll be wanting to take this, once we find the plaque. This is the object you need to hold in your hand if you want to avoid taking damage while shifting between the planes.
We find some more of Robert Prentiss' musings.
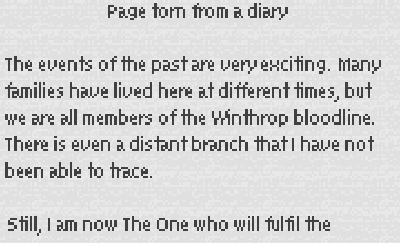

I'm wondering if the distant family that he mentions is referring to Carl Winthrop. That guy is such a mystery to me.
Another museum exhibit.
This time it's a samurai demon mask. I think wearing this reduces your fear of monsters making it totally useless. I might try and get it simply for completions sake if I can find the plaque.
We find a portrait of the Karcist, looking like an extra terrestrial dressed like the Sorceress Edea.
Nearby an old book extract.
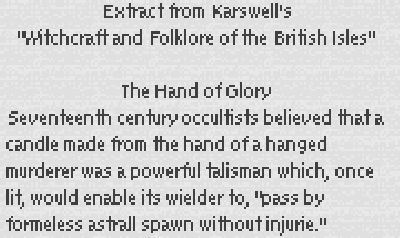
It's a bit vague but it's the hint that the hand of glory is the key to evading slimes.
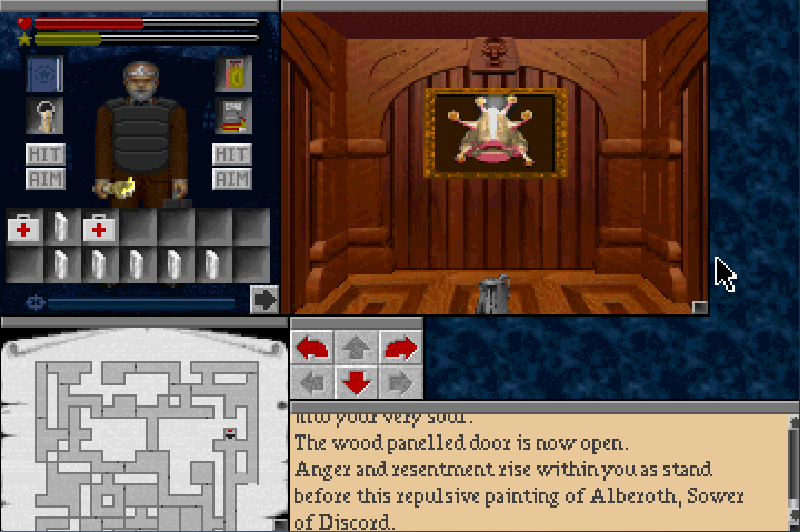
Alberoth, Sower of Discord. He's got some oil at his feet. I swear they give you way too much fuel for that lantern.
On the other side of the museum we find the Japanese exhibit, holding the symbol of the Fukijama clan.
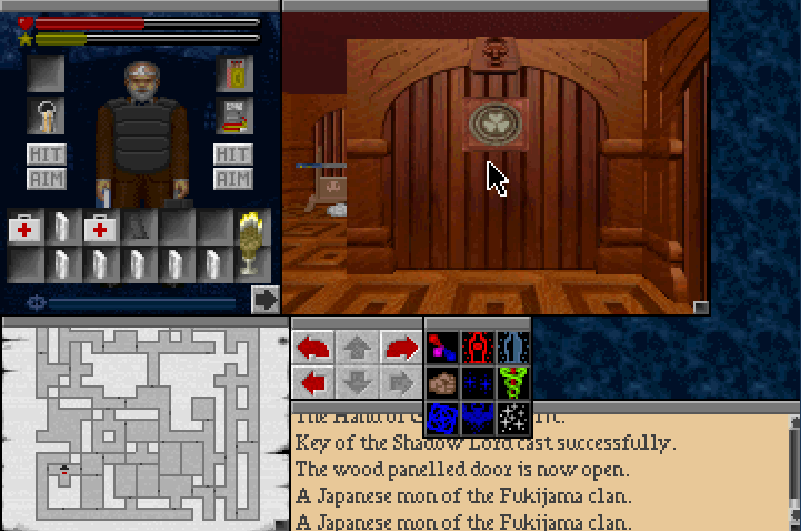
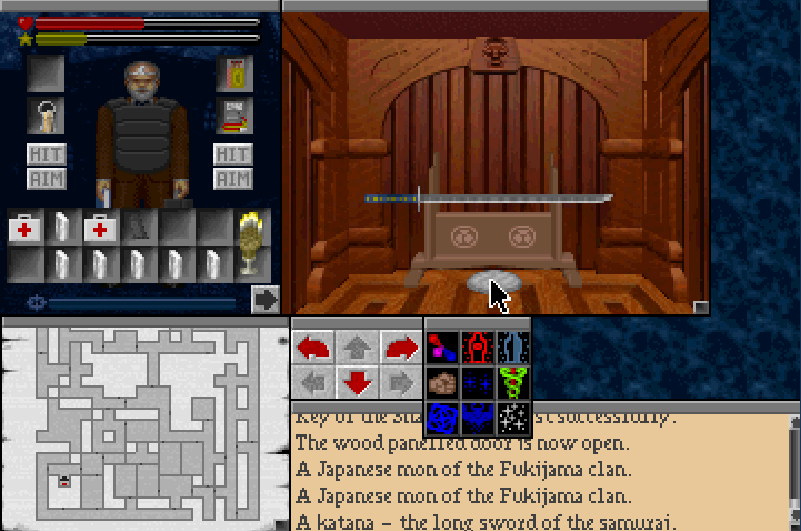
In between them, an old katana rests. We could take this right now if we wanted. But it's missing something. If we could infuse it with the spirit of Shintaro Fukijama, we'd have a weapon with no equal.
In a nearby exhibit rests Fukijama's armor. We would be able to pick this straight up.

But the clan symbol is cracked! A shameful display!
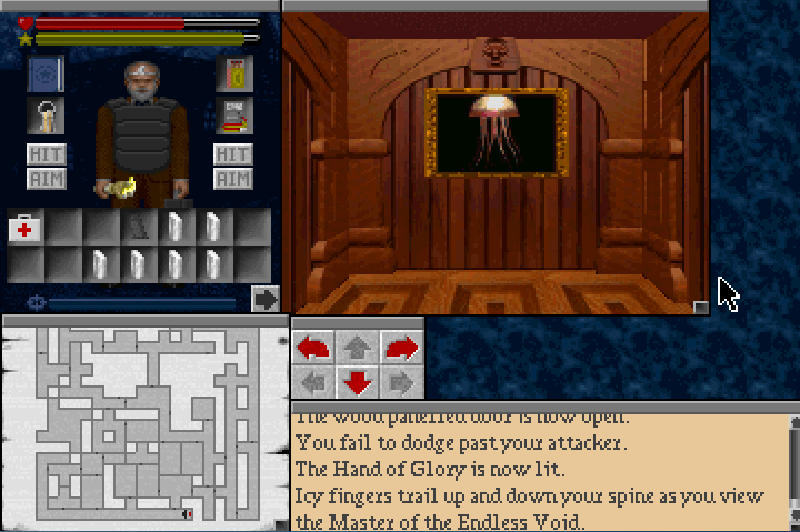
Here we have Melchior, Master of the Endless Void. Just another obstacle standing between us and Belthegor.
In this room we have two empty pedestals, one that once held The Hand of Glory and the other, something called the Demonic Skull.
An exhibit we must back into.
A Zulu Assegai spear! This is a weapon that works great in conjunction with the Zulu shield. They prove exceptionally effective against one particular enemy. So we'll save both for later.

A locked safe.
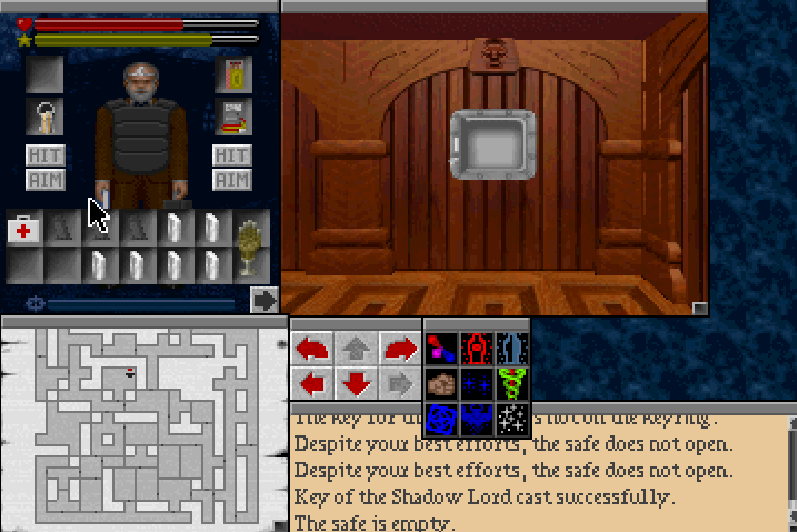
With nothing in it. That's just dandy.
And a room full of chairs. That's about all there is to see in the museum. But we're not finished yet.
We're not done till we've got the power we seek.
So it's off to the basement level again.
With all the ordinance we can carry.
It's safari time!
Deep in the basements there's a good number of false walls abound and behind them..
Are these suckers. Ghouls. They're quite slow, they've got a good chunk of health and have an annoying habit of being able to poison you. Besides that, they go down with a good few rifle blasts to the head. Normally I just run away from them as they're not too much of a threat, but I figured I've got the ammo for it, why not?
The first thing we pick up from here is a plaque for the Eye of Abhomet.
There's also a small sanctuary down here too.
Aww there's even a little ghoul down here too.

It's kind of hard to tell but this ghoul is somewhat smaller than the others. I'm not really sure why it exists.
Another tome.


That's some information that will come in handy for later when we take on the fish people.
There's ghouls all over this maze of a floor.
There's a few staircases down to the levels below. However, if you recall a previous note Ellen left on this floor, they're all being guarded by Alberoth. Thing is, to be able to defeat Alberoth we need something from down there. So how do get down there without running into him?
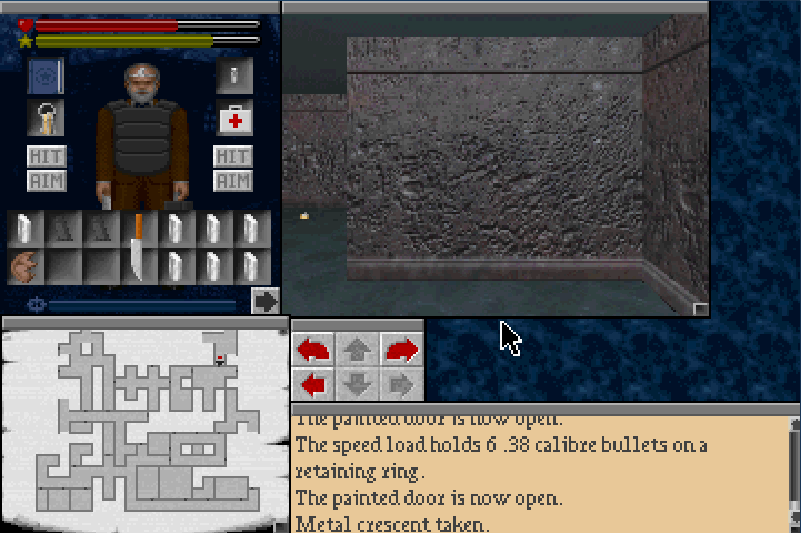
The missing half of the Fukijama clan symbol!
We pick a new type of ammo.
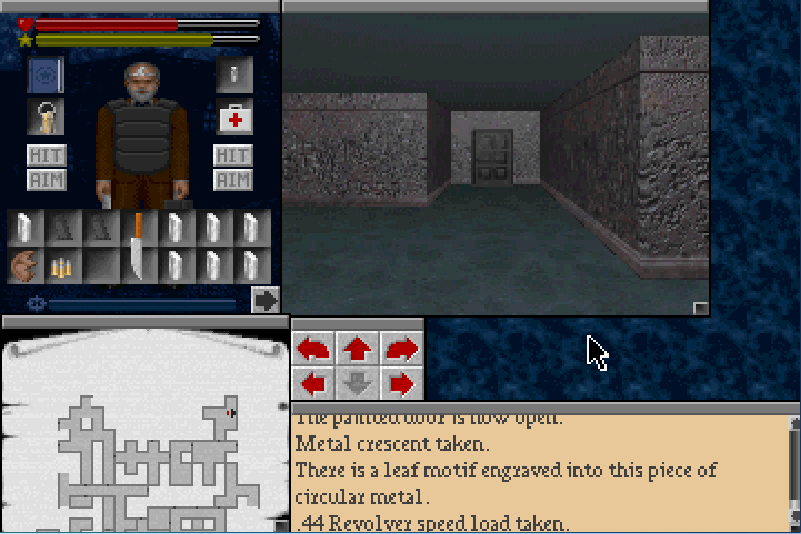
.44 caliber you say? We'll be hanging onto this for now.
This room is strange.
You are too full of dread to walk around in it normally, so you need to strafe everywhere. And look Shintaro Fukijama's remains!
Now we're still missing one last thing...
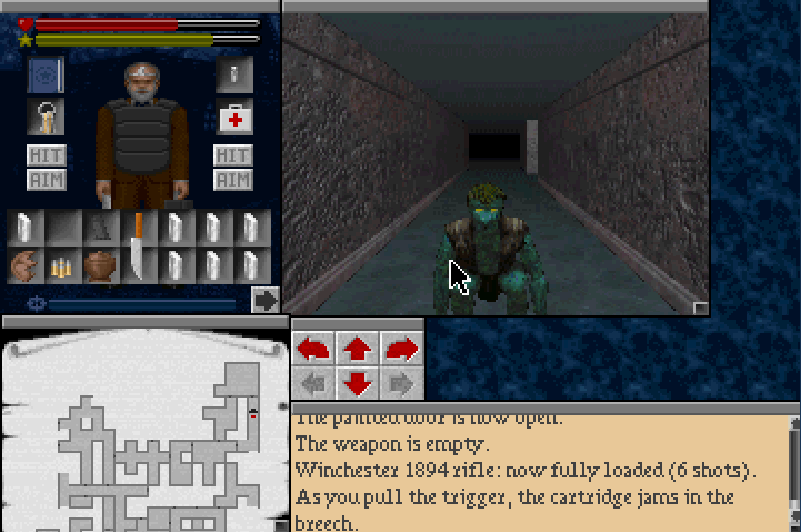
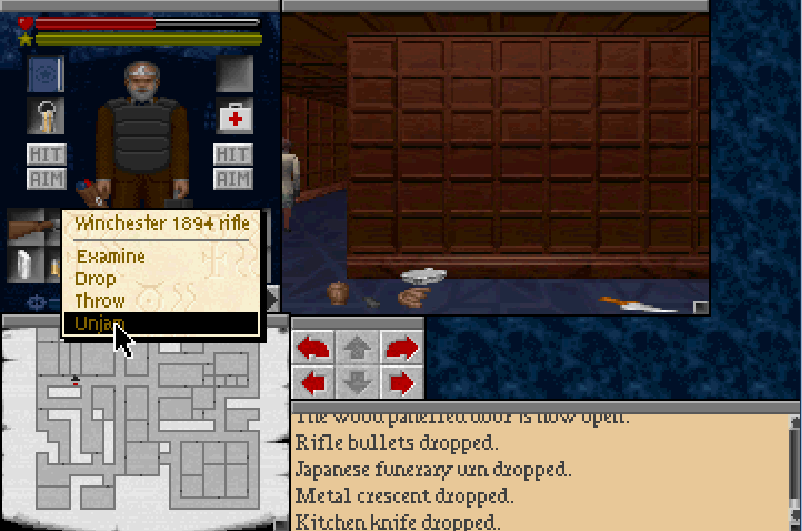
Whilst dueling with a ghoul, my gun jammed.
So I had to get in up close and personal.
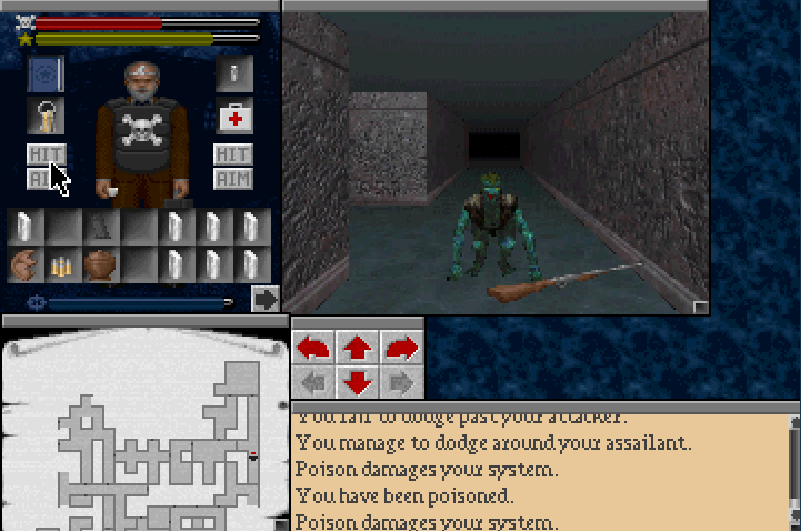
Which led to me getting poisoned. A quick gulp of some holy water I stashed down here took care of that though.
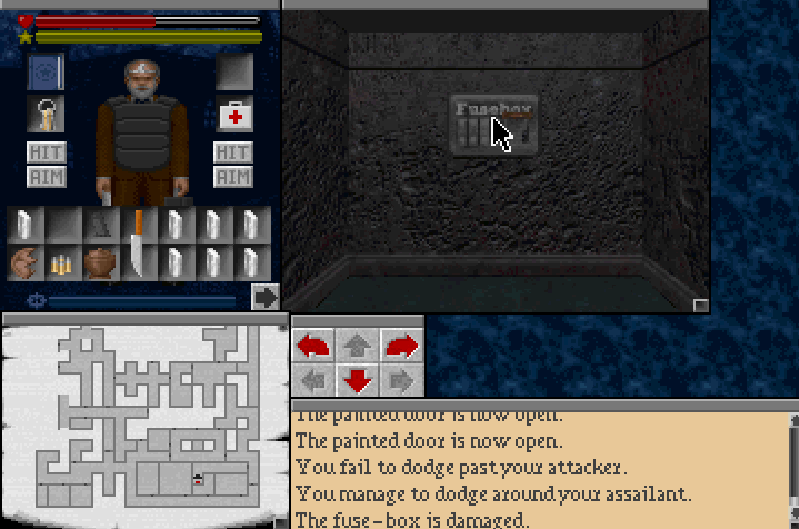
The fuse box for this floor is damaged but I left my electronic kit up on another floor. It's not too big a deal to try and fix it though, most of this floor is still illuminated for some reason.
We go back for our tool kits and unjam the rifle.
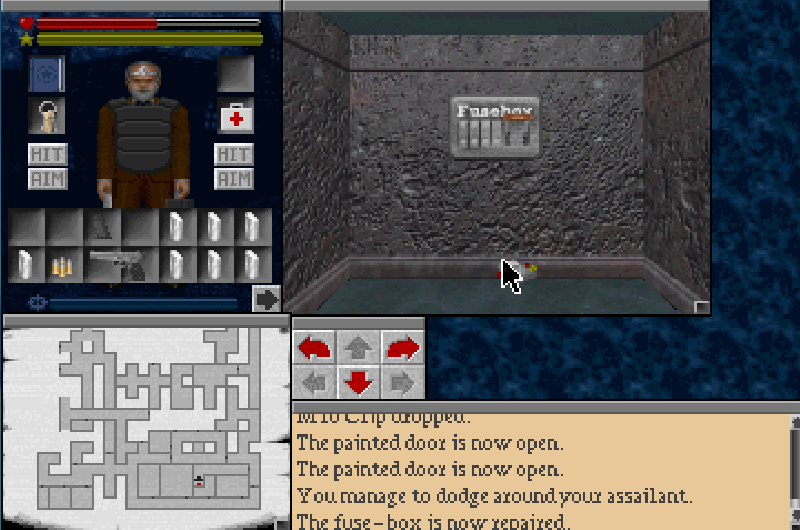
and quickly repair the fuse box. This is the last one in the house I believe.
Finding a note as we do.

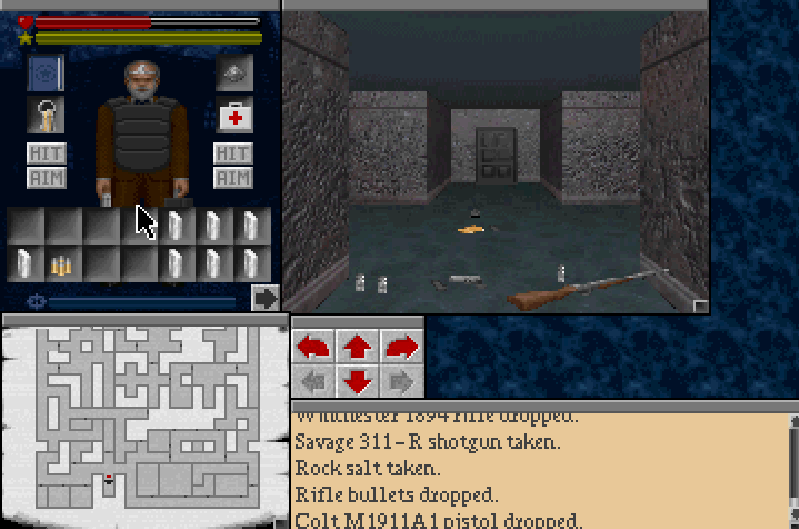
Okay it's time to find our way to the floor below. I'm taking the Savage 311-R rock salt firing gun with us.
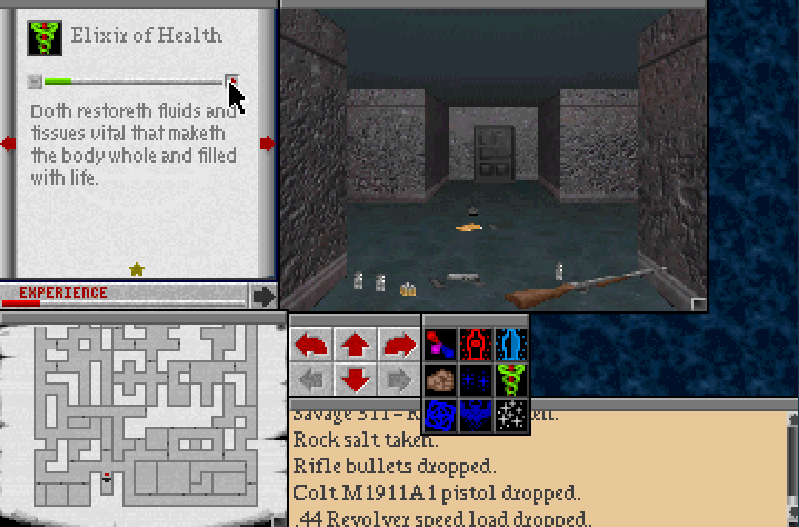
I'm also gonna give Elixir of Health a boost for later, now that Med Kits are becoming something of rarity.
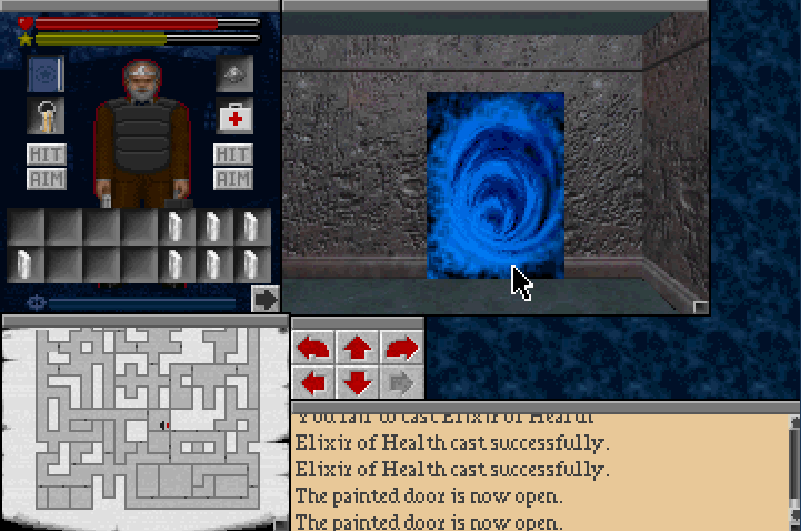
There's also an opened portal on this floor. I think there's on up on the museum level too I think, but I'm not sure where. You can only see that they're open when you walk right next to them, otherwise it just looks like an ordinary wall.
There's also a spell I neglected to find the last time I was down here too.
Belgor's Mental Violation
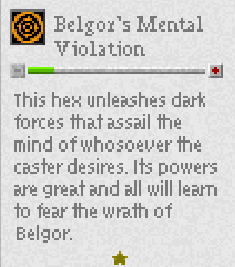
It's some kind of mind based attack spell. I've never used it. As I've stated previously, there's only really one offensive spell we need and we've already got it.
This trap door, shall be our means around the astral bouncer that is Alberoth.
Welcome to the second floor basement. There's actually two seperate areas with different tile sets down here. We'll be seeing the other one later on. For now lets just get what we came here for and get out.
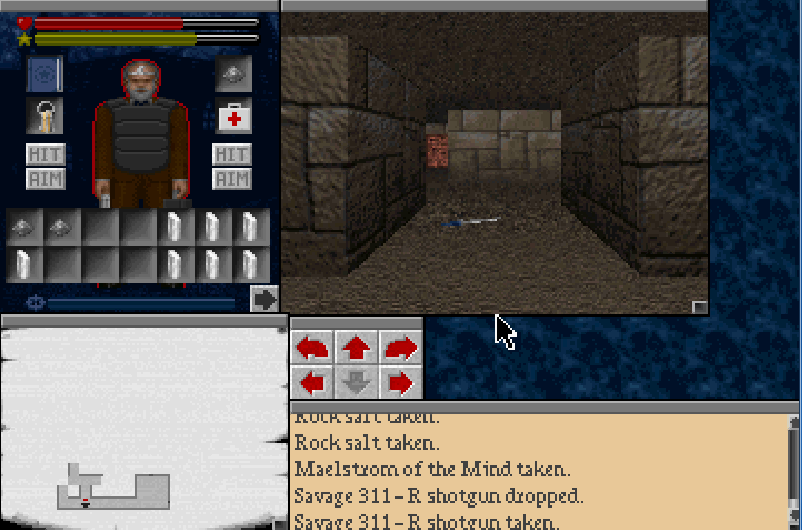
We immediately find some more rock salt, and yet another new spell too.
Maelstrom of the Mind
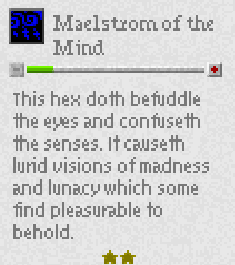
Another mental attack spell, I'm kind of perplexed that there's two of these. Might be more powerful, who knows? Certainly not me that's for sure.
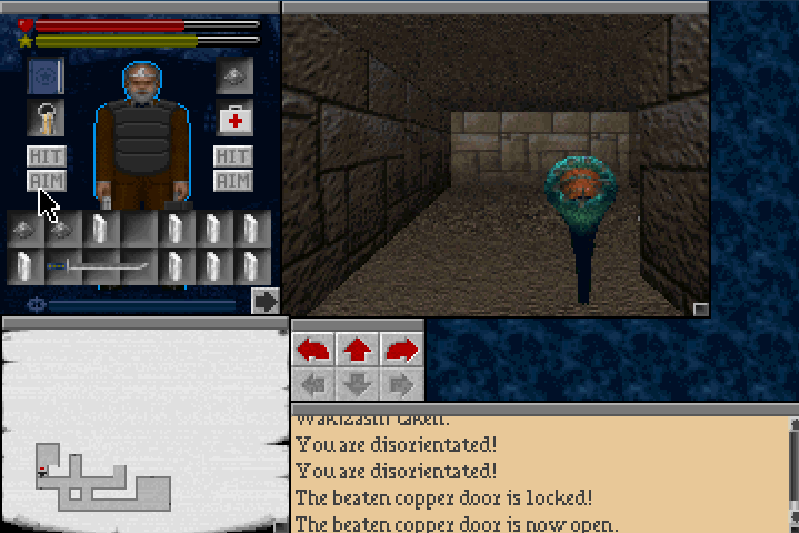
and here is the object we came down here for, Shintaro Fukijama's Wakizashi. We can't just walk straight onto it though, or it will teleport us to a different turn in the corridor. Stepping on the turn however...
And there it is. Meet the Wakizashi. It's at last an upgrade from our kitchen knife, the only problem with it is that it's a touch slow for the damage it does. But we didn't pick up so that we could use it as a weapon.
We get jumped by a Death Leech!
These things are what the rock salt shotgun is for. They're kind of annoying for many reasons. Mainly, they wait in ambush for you on various tiles, they're also hard to get good screenshots off too. I think these are the things that were hiding in the toilets too.
Anyway, they're not too much of a problem, one or two rock salt shots will pen them in the dead book. Any old melee weapon will suffice though if you not fussed about carrying it around.
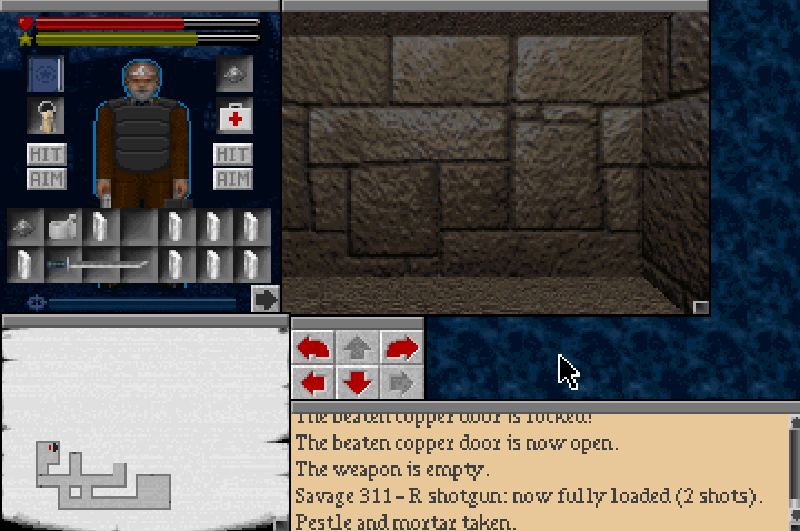
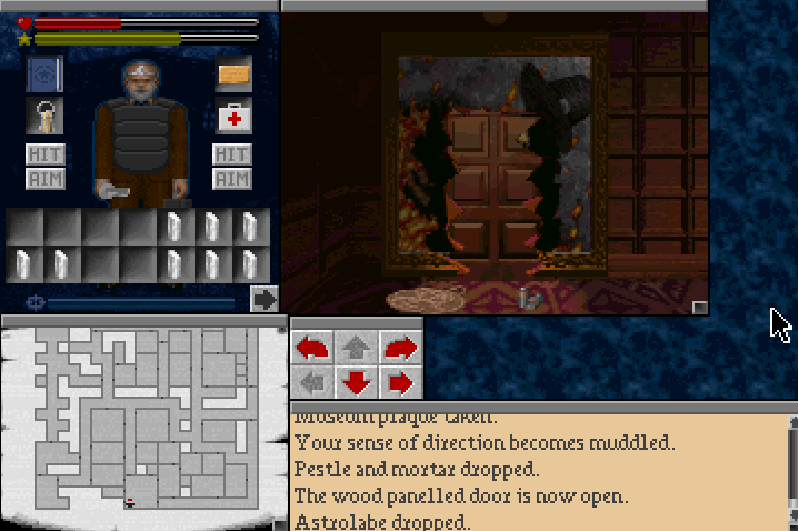
We manage to find an old mortar and pestle lying down here. We'll need it later so we might as well take it with us now.
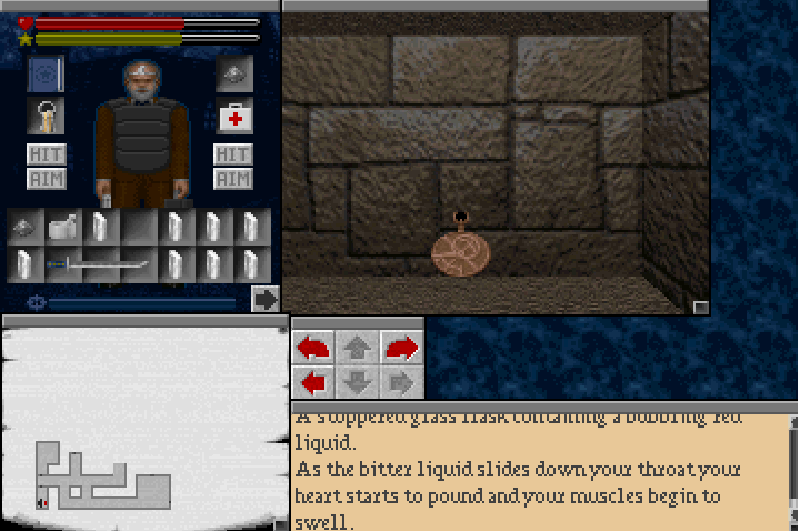
More importantly is this locked door. You definitely want to open this while you're down here. It hold to the key to getting rid of Alberoth for good.

Inside is a flask of red liquid which boosts your strength when you drink it. I'm not sure if it's a permanent or temporary boost. But it's not like it's going to do all that much anyway, so you might as well drink it as soon as you get it, for whatever small health upgrade it might give you.
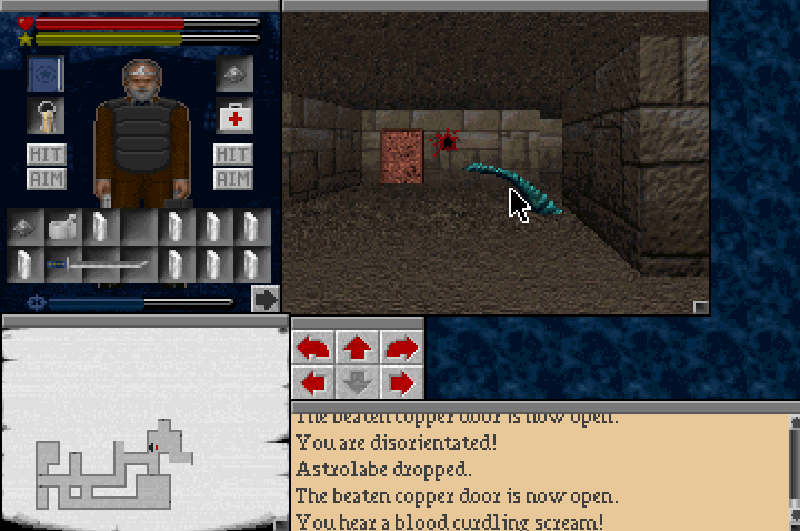
The more important item in here, is the Astrolabe. It's a bit bulky but we'll definitely want to take it with us.
Boom! Rock salt hits for mass damage!
Up ahead we find three separate documents lying on the ground.

This is what this Golden Torc business is all about, we'll need it to avoid the Wrath of Melchior.

This is a rather unusual note, from the guy who we spoke to through the mad house wall.
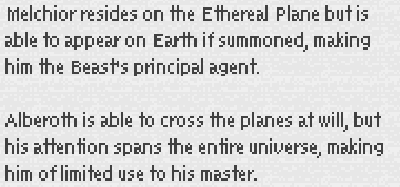
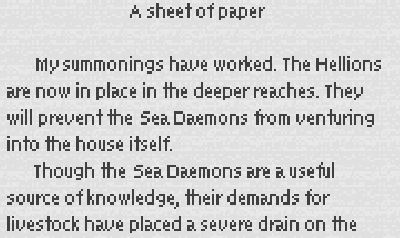
This note shows us that Alberoth's really not all that interested in this caper to invade earth. This makes him the weak link in the Dark Triumvirate and one we shall exploit.
Speaking of Alberoth....
Here he is.
Alberoth is a beast and a half. You can't hurt him at all so don't even try. You can't dodge past him either.

He also flings powerful spells at you that do all kinds of nasty damage.
The trick to him is that one of the stair cases down to this level has a door right next to him. You can slip through this door and head straight for the stairs. Alberoth prevents you from entering this door from his end so you need to make sure you enter the floor through the trap door.
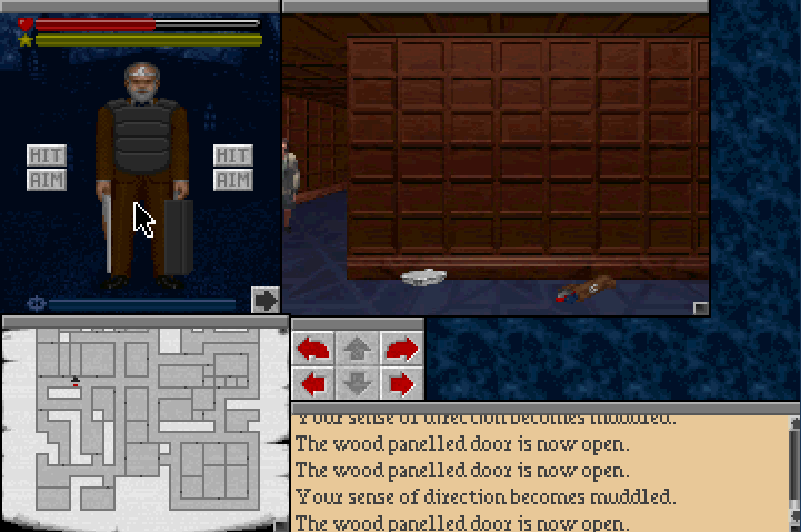
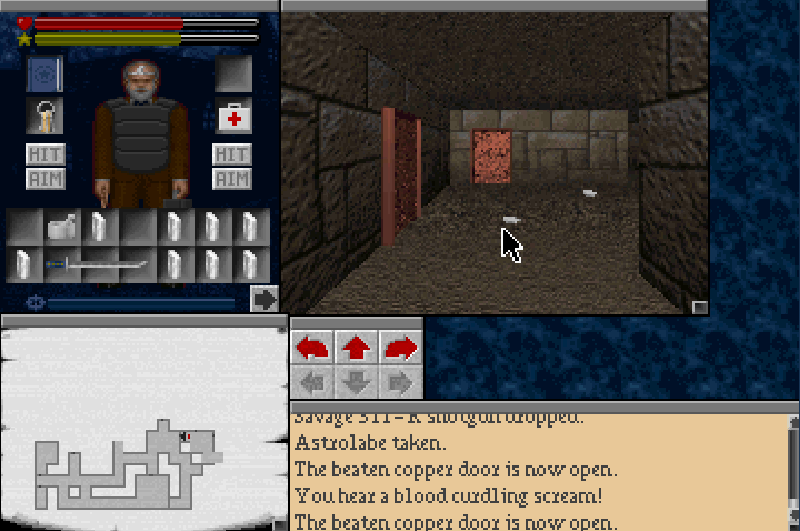
With the wakizashi in hand we can return to the museum, making sure to pick up the urn and mon clan symbol while we're at it.
But not before dumping the Astrolabe at the foot of the painting door.
Back at the museum at last....
After about ten minutes of searching I find the Eye of Abhomet display and grab it.
This item is kind of junk actually. It's supposed to act as a key to certain doors later in the game, but it doesn't seem to work.
I take it anyway because it looks swell.
We fix up the busted clan symbol giving us access to the best armor in the game.

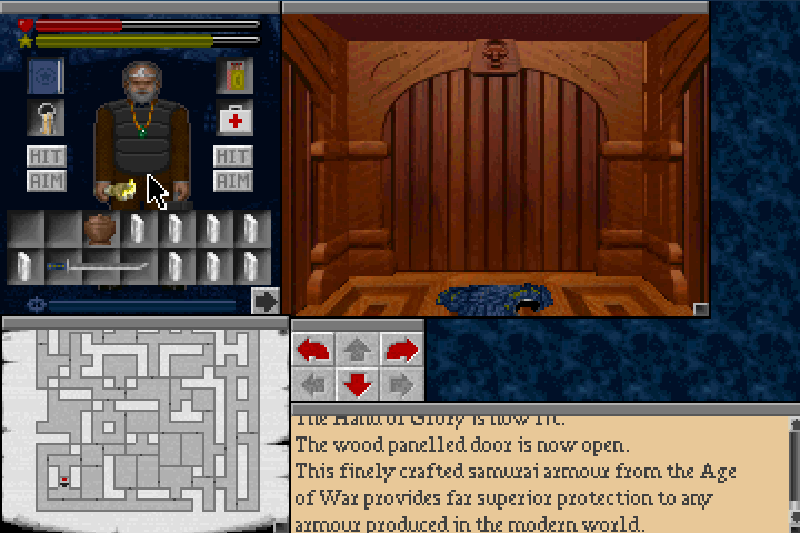
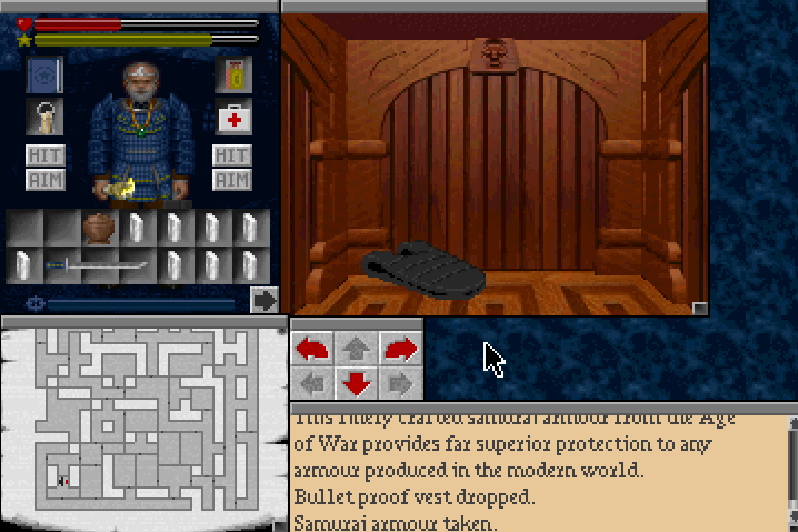
So long Kevlar, but we follow the code of Bushido now.
We bring honor back.

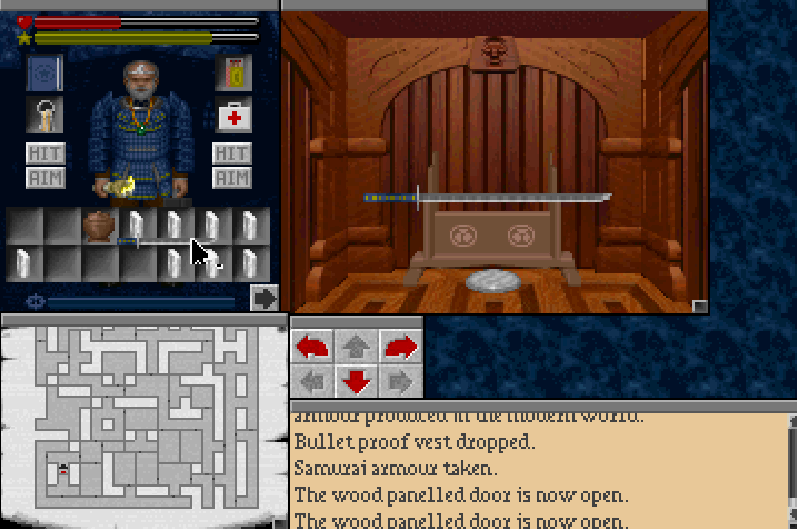
His blades united at last.
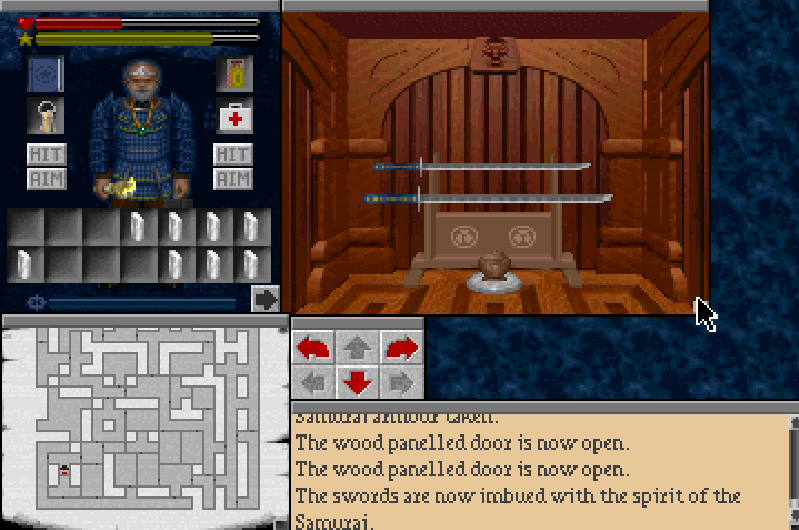
His ashes restored.
And with that the blades are now infused with the dead samurai's spirit. And it gives us access to his Katana. This is the most powerful melee weapon in the game bar none. It does massive amounts of damage and can even harm monsters immune to physical damage. It will never leave our side. It's only down side is the fact that it's enormous and therefore takes up a lot of inventory space. But then again it's supposed to be wielded in your hand, why aren't you wielding it?!
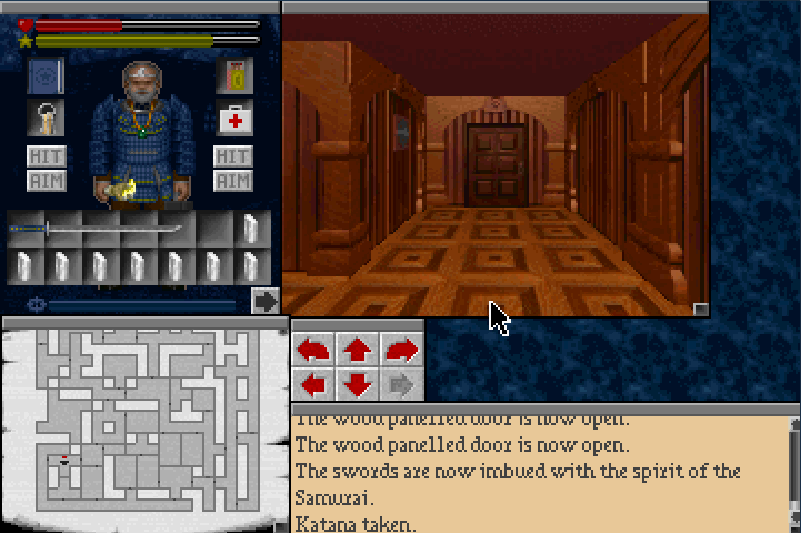
Why, to get out of the museum, you cry. Fair enough. We will be back for the Jade Effigy when we can, but otherwise this floor is more or less conquered.
We combine the shield and assagai into the it's super combo thing that looks really awkward, and take it down stairs for later.

And we head back to the mausoleum. It's time to do what Marcus Roberts failed to do.
Next time we take the Golden Torc of Gothua for ourselves...