Part 11: Tomb Raiding.
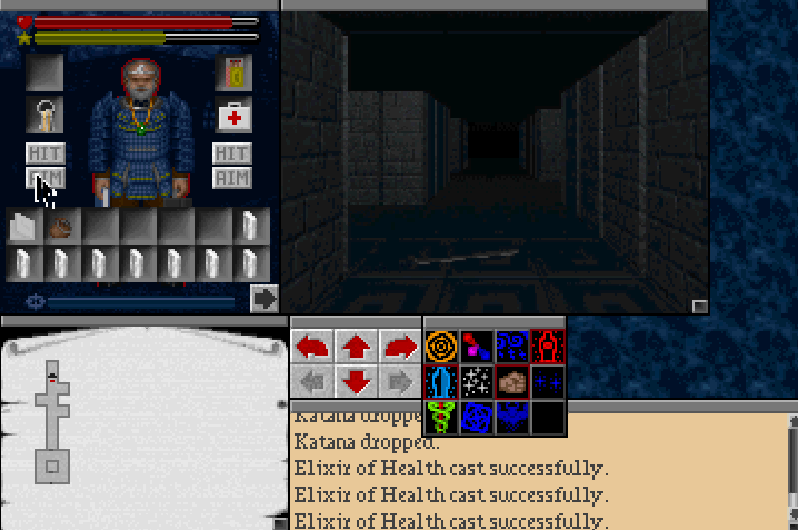
Let's tackle the family Mausoleum. But first we'll put a touch more experience points into Elixir of Health.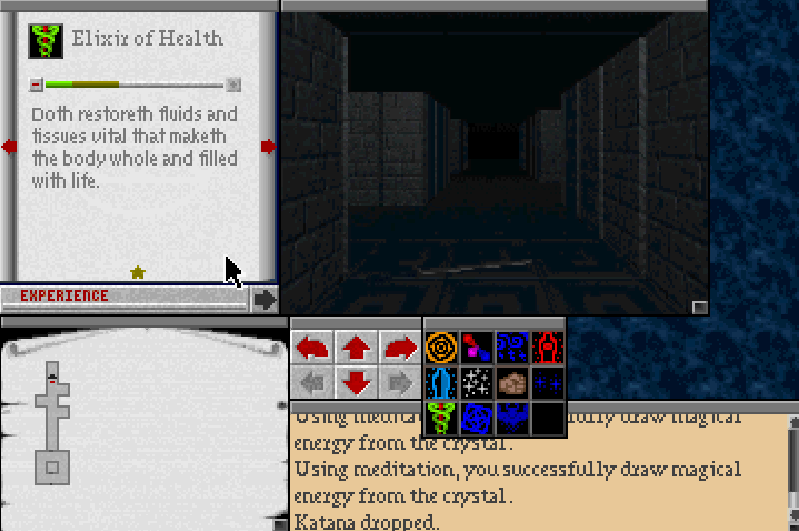
Oops I think I might need to grab the torch before heading down here. I'll save spell points and experience that way rather than trying to case Sight of the Dark Walker.
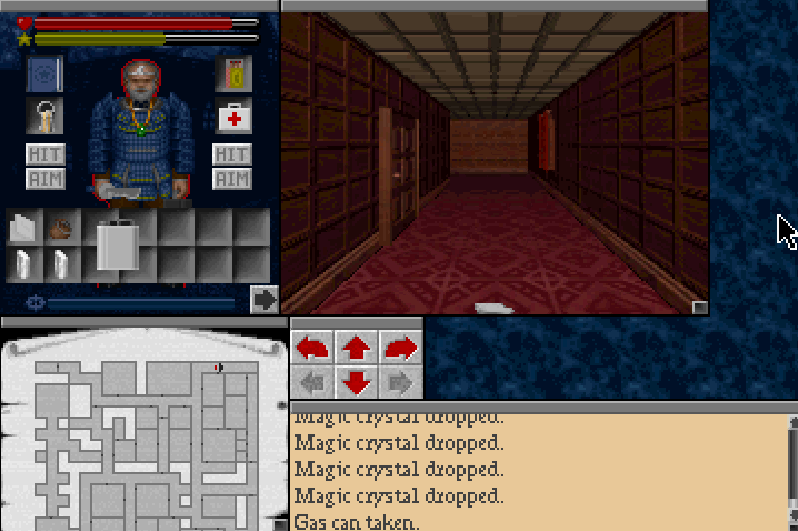
On the way up I make sure to grab the gas tank.
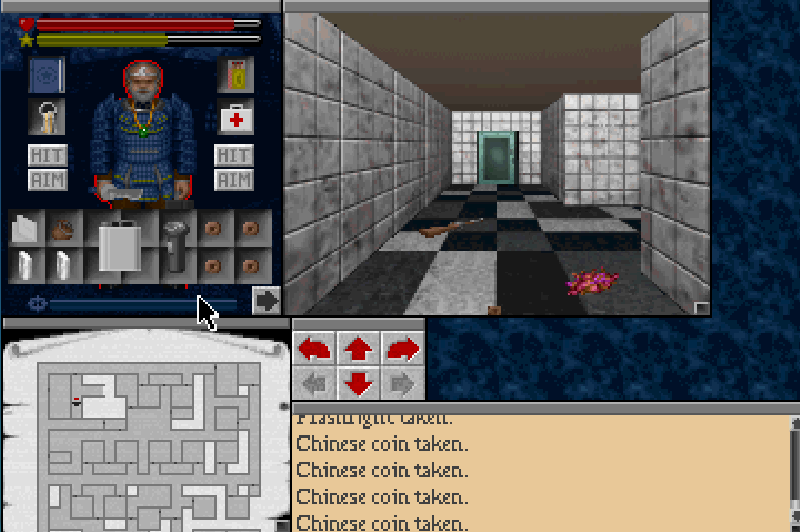
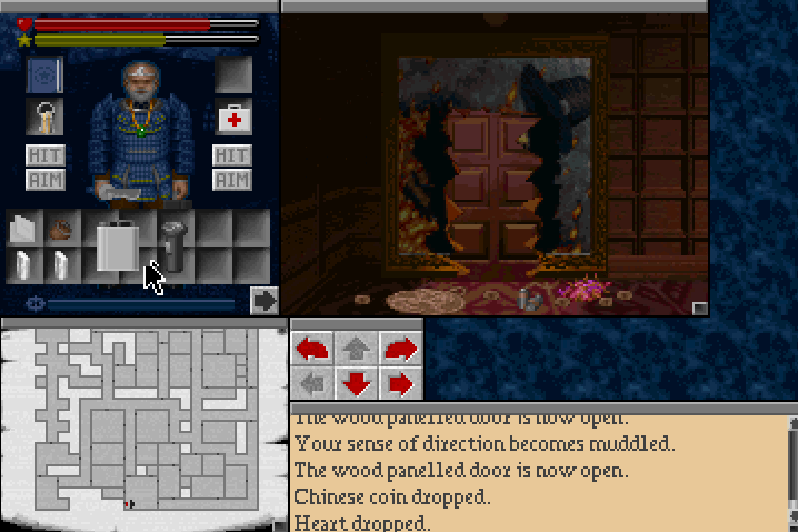
And I take the time to grab the Chinese coins and the heart of the Karcist. We'll be needing them all very shortly.
Two trips later and everything is where it needs to be for now.
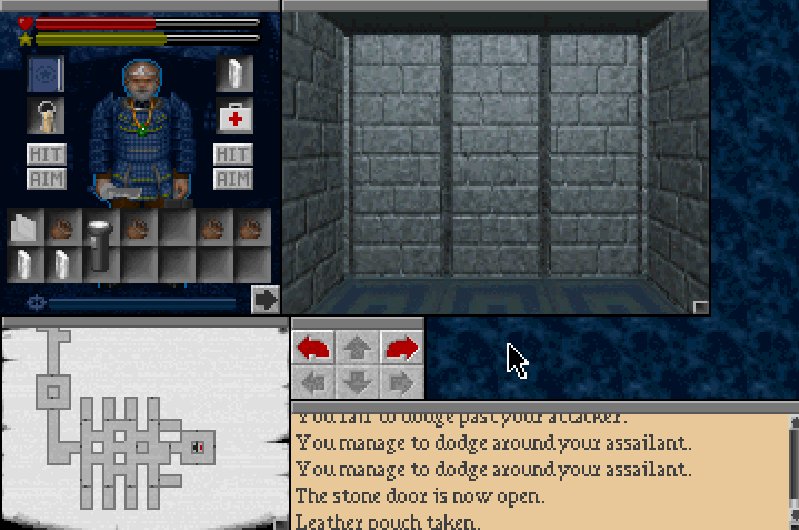
Ah that's better, thankfully no shotgun zombie to mess with my progress this time!
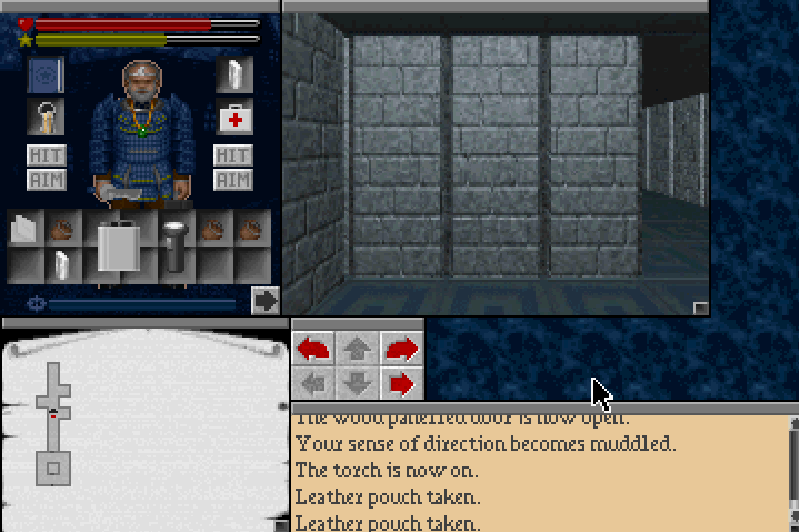
We grab some of the coffin dust I stashed down here earlier.
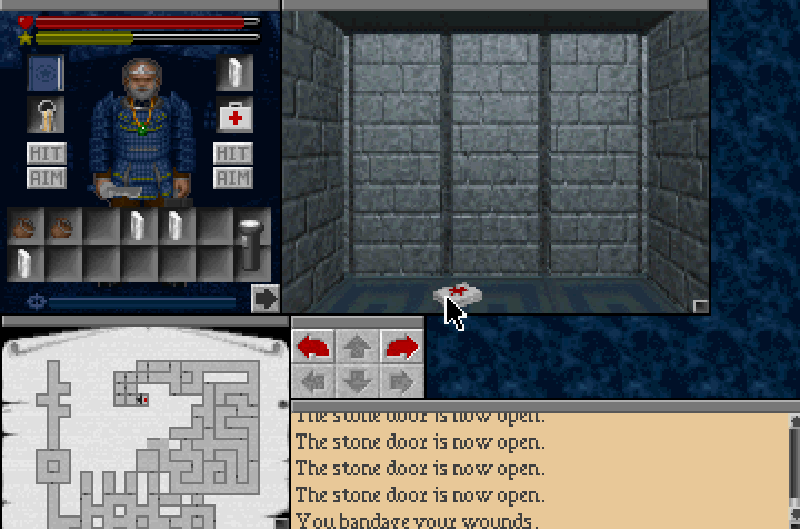
This plaque warns us of the impending flood.
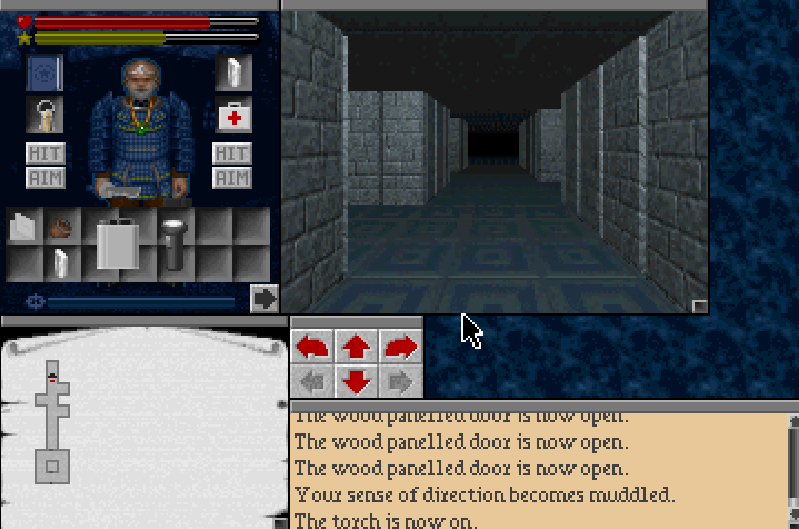
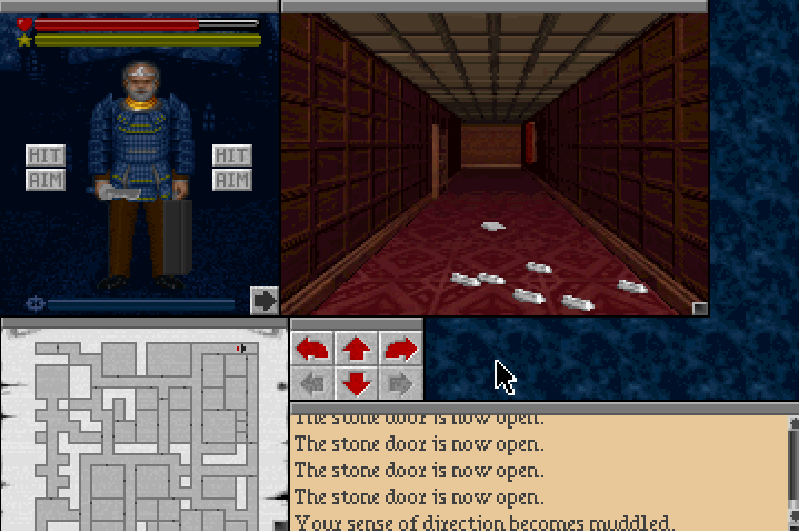
This level is very combat intensive. There isn't much in the way of puzzles, or documents for that matter. It's quite a little maze, and the doors look identical to the walls, which would be a nuisance if we didn't have that convenient map, which points out any door for us.
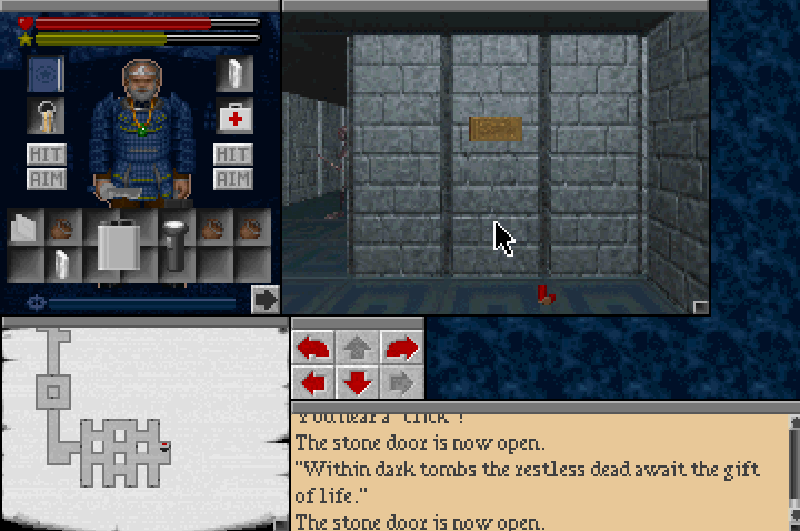
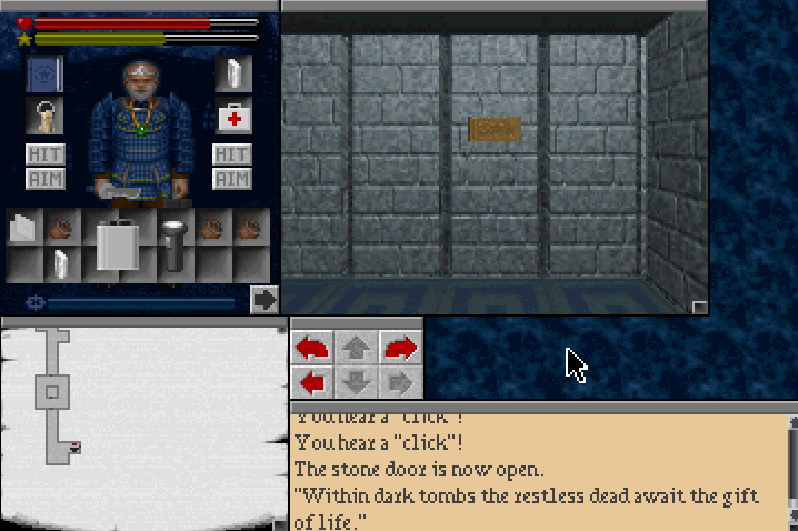
Further in, this plaque says "The final door shall open when the dead are returned to death."
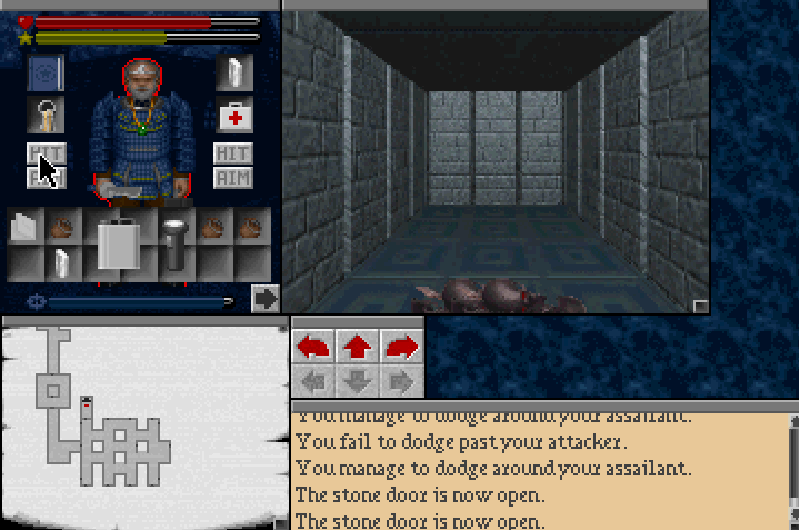
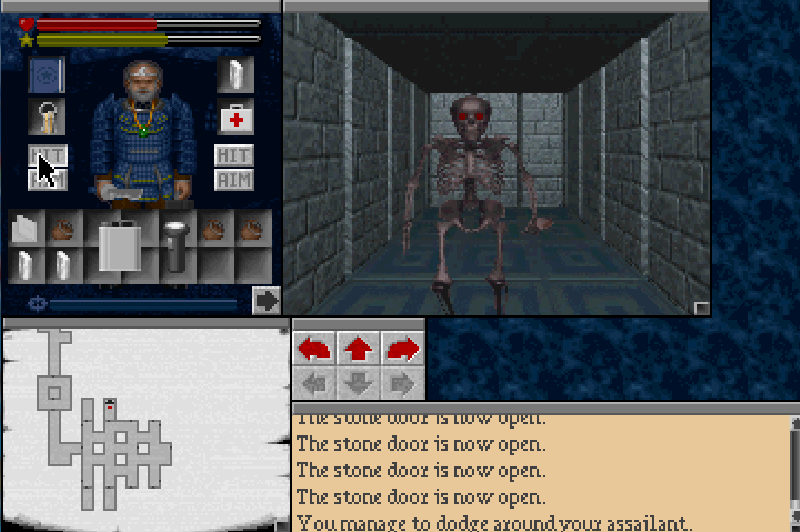
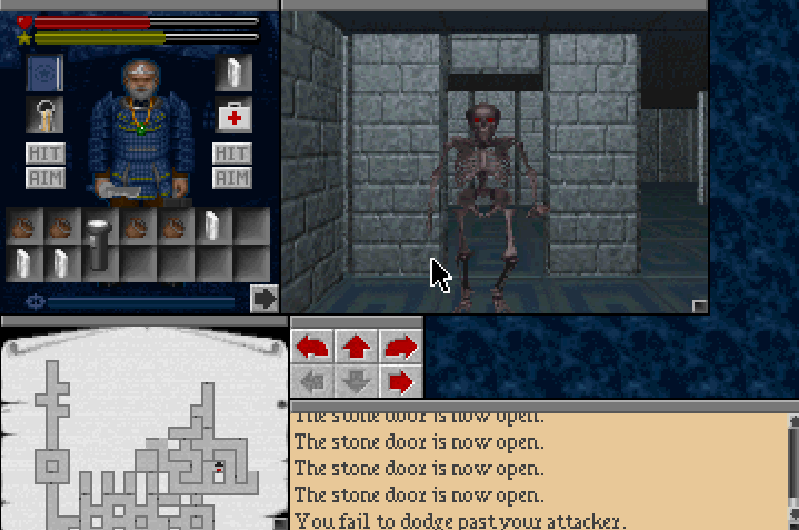
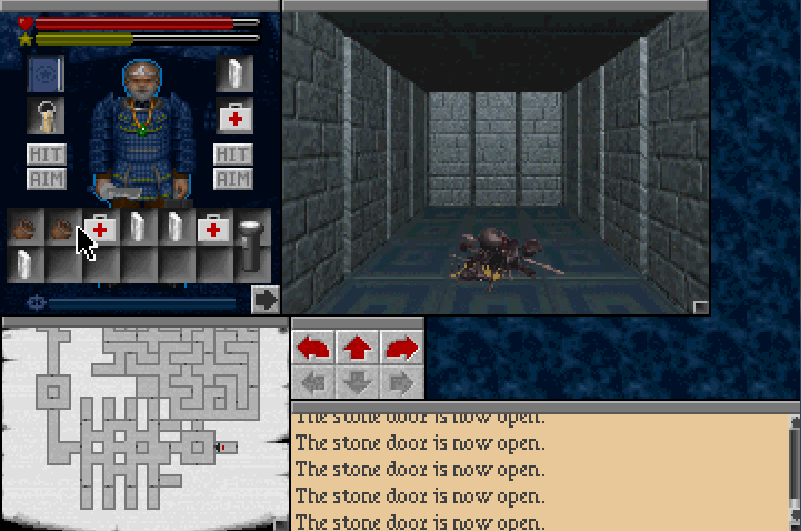
Oh look, here comes some of the dead now.
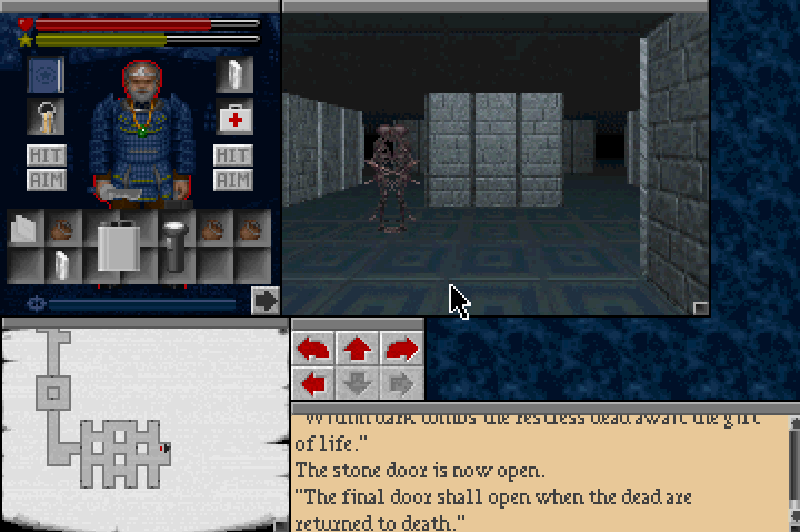
Skeletons!!! These things are the reason I didn't want to take on this place earlier. It's not that they're particularly tough to kill. But they can land a good few hits on you. And they come at you in enormous swarms too. The damage adds up rather quickly.
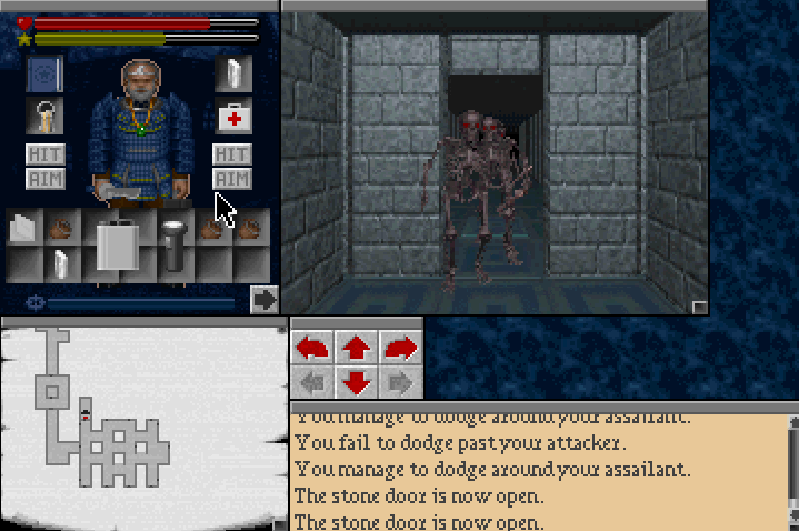
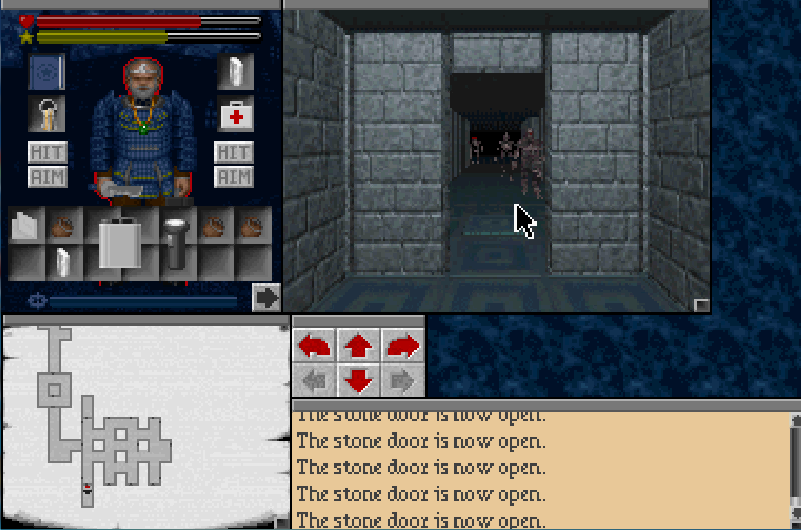
Swarms and swarms of them!
The trick is to lure them into some side rooms where there are dead ends and kill them there. There's good reason to do this.
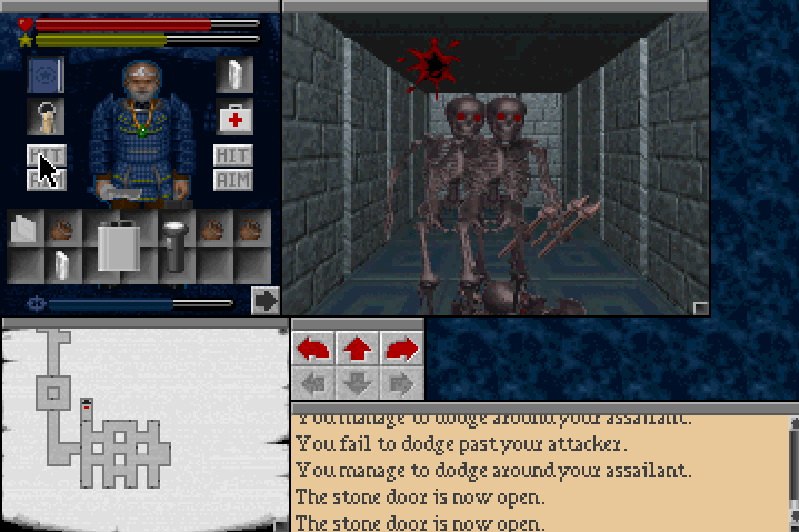
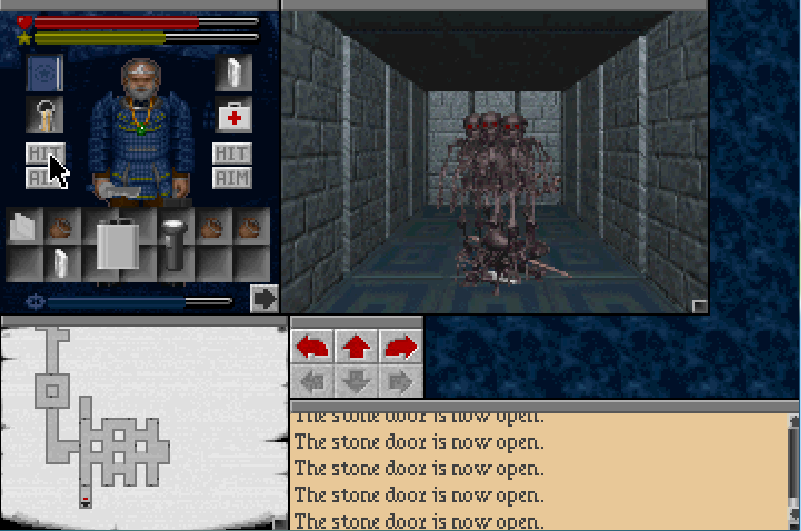
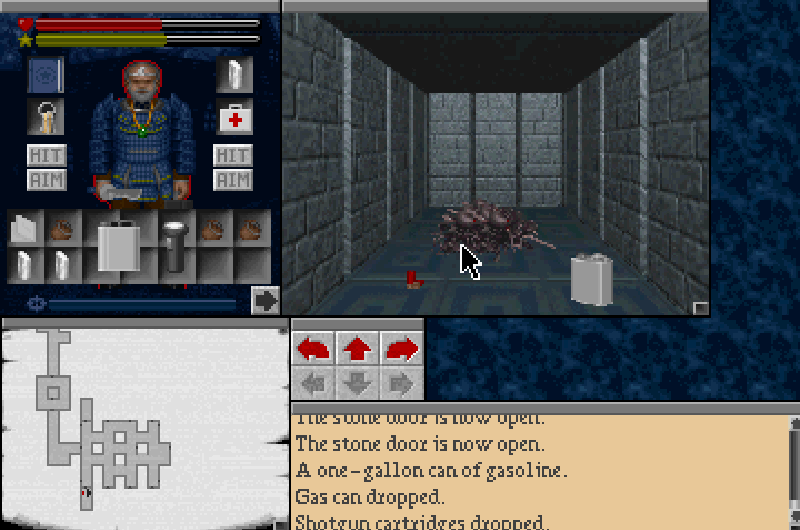
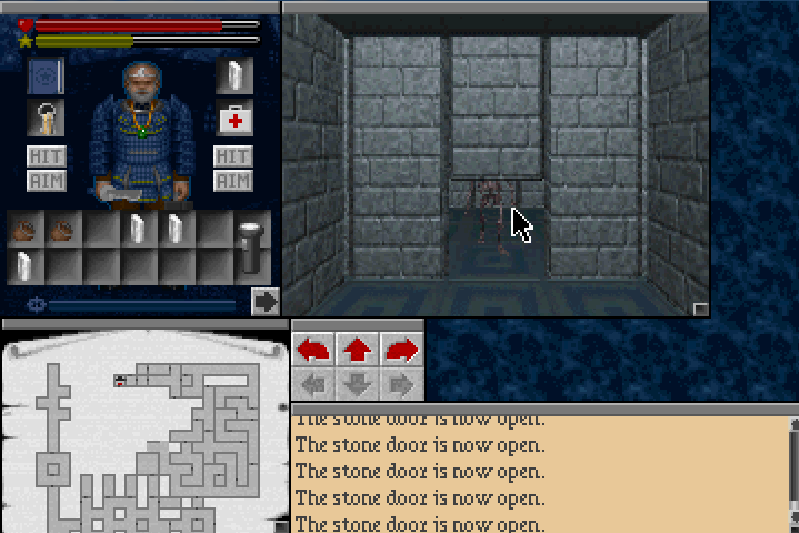
Bang! Look at that! We finally get to see the Katana in action and my god does it pack a punch. It can bring down any skeleton in one or two swings. You may be noticing that the skeletons don't seem to be dying like normal enemies. They appear to be just collapsing into a pile on the floor. This is an important point.
You see, once the skeletons are killed, they're not permanently dead. If you happen to walk over the tile a dead skeleton is occupying. It will reanimate itself and carry on trying to spear you.
Seeing as you have to kill all of them in this small part of the level to progress, it's in your best interest to lure them to places where you don't have much of a chance of bringing them back to life again.
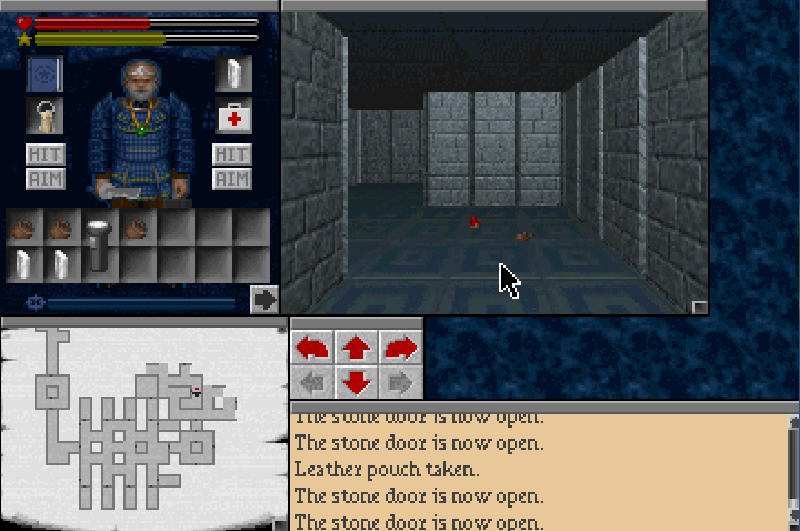
Skeletons are also kind of unique in a way. Unlike pretty much every other creature in this entire game, a good few of the skeletons are carrying items you can pick up off of their bodies. It's a bit hard to see, but one of the bodies dropped a magic crystal. They also tend to drop ammunition for the Sawn-off.
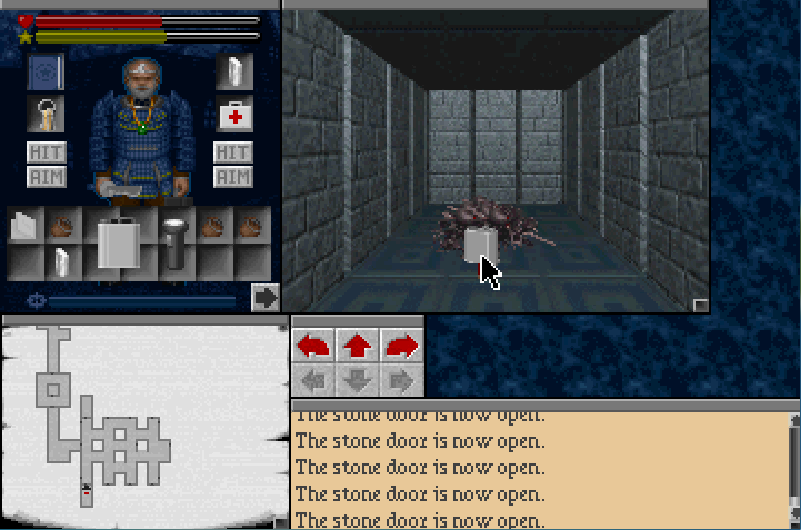
One of them even dropped another gas can. Although one is all we really need.
With the skeletons all piled at the back of this room, we are free to wander around the rest of the area unmolested.
Seriously, there are buckets of these things.
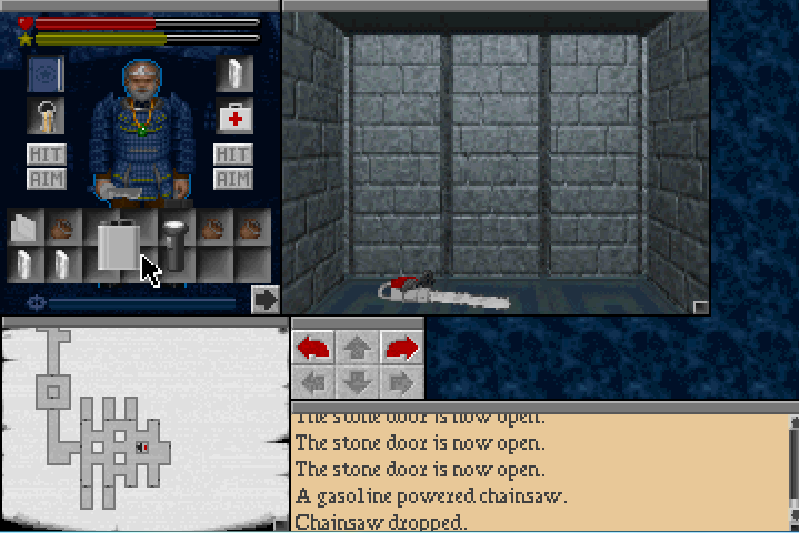
And at last we find the reason we've been carrying this gas can for, the chainsaw.
I'm pretty sure this weapon is on par with the katana in terms of sheer damage out put plus it take up far less space in your inventory too. It is inferior to the Katana for two important reasons however.
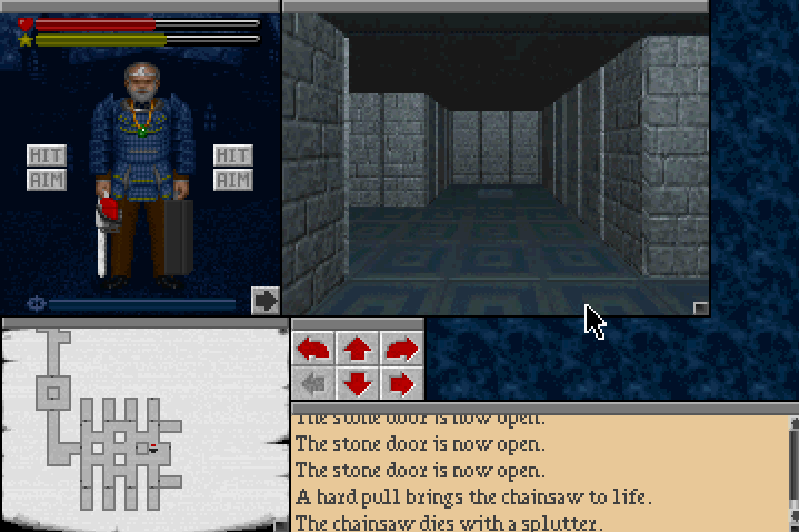
1) It takes fuel, while the katana does not. Now I'm not really sure how the game measures the duration of said fuel, but this does put a timer on how long you can use this thing for. Plus the gas cans for it take up a good deal of inventory space.
2) You need to rev it before you're able to use it. You'll need to do this every time you enter a new area. When you do this the thing makes a terrible racket that persists until you turn it off.
It might be worth trying to grab it and using it on the rock fiends in the first floor basement early on. But otherwise, it's not really worth bothering with. I always make sure I'm fully kitted out before coming in here, so the Chainsaw isn't really worth the quirks of using it by this point.
We find some more coffin dust, but we haven't really covered what this is used for.
Simply put, it's used to make the skeletons dead for good.
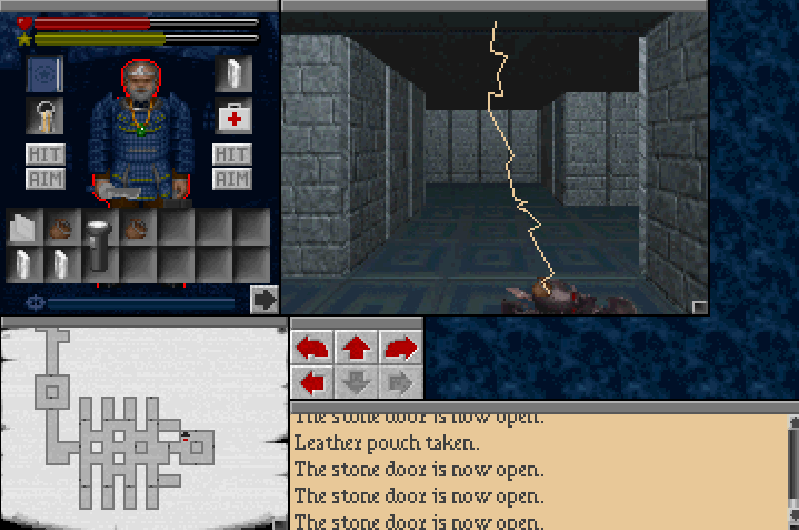
Just dump it on top of a pile of bones and there will be a lightning flash and the bones will have disintegrated.
There are far more skeletons than pouches of coffin dust however, so make sure you use it sparingly.
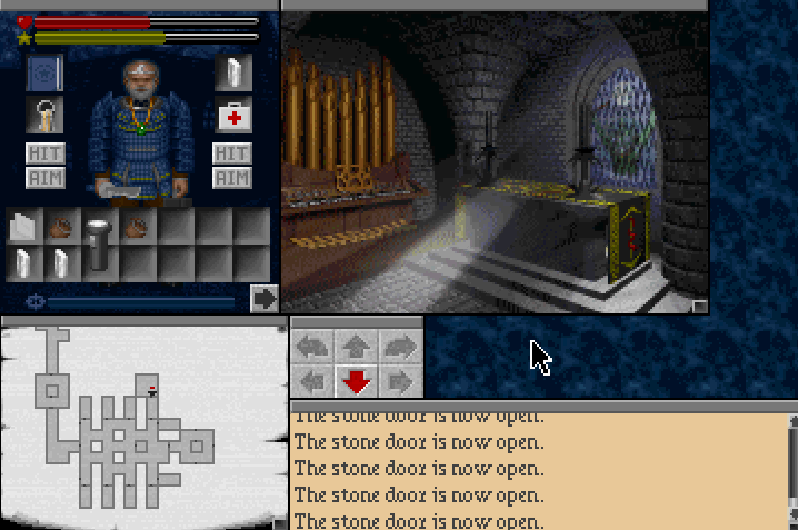
Up ahead we find a miniature chapel. With a church organ in it.
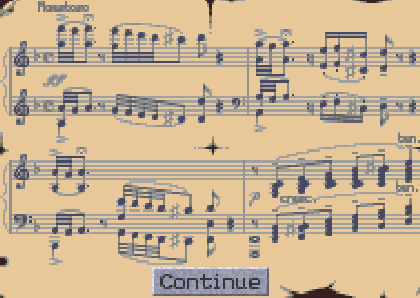
Let's try out the sheet music.
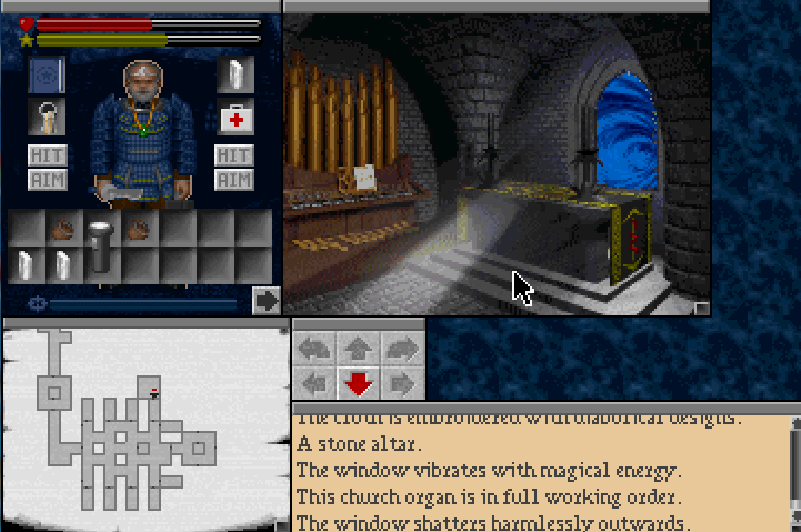
The game plays the first few notes of Bach's Tocatta and Fugue in D minor making the window of the chapel shatters and presto! We've got another means by which to enter the ethereal realm, thereby making the Dimensional Gate spell even more useless.
We're still not going in there yet.
The rest of this level is really just a small maze. With the occasional skeleton, magic crystal, pouch of a coffin dust and med kit.

Awww it's a baby skeleton

This skeleton had a spell book on him!
Sword of the Shadow
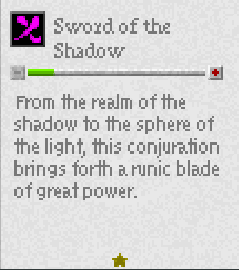
It's a low level offensive spell. What fun!
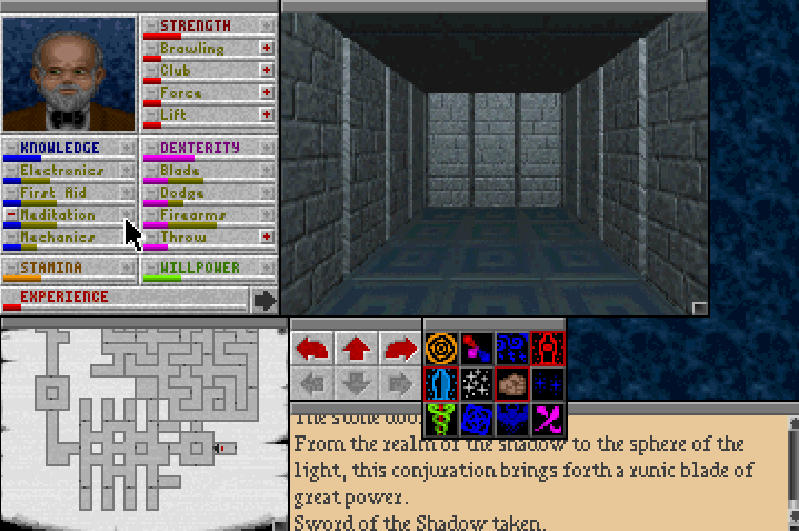
I dump a few more points into meditation. We've got a lot of crystals we're gonna burn through soon and we wanna make sure we get a bang for our buck out of them.
Finally we find the Golden Torch of Gothua!
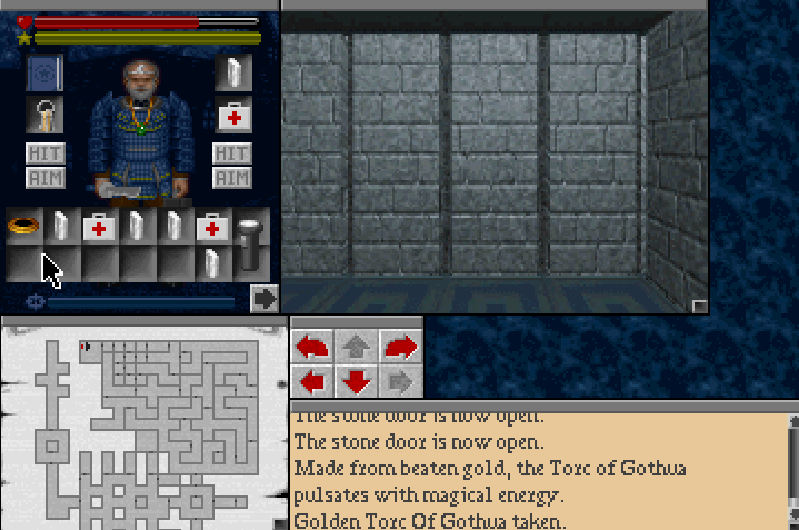
I didn't plan to find this thing last, but I occasionally get turned around in this place.
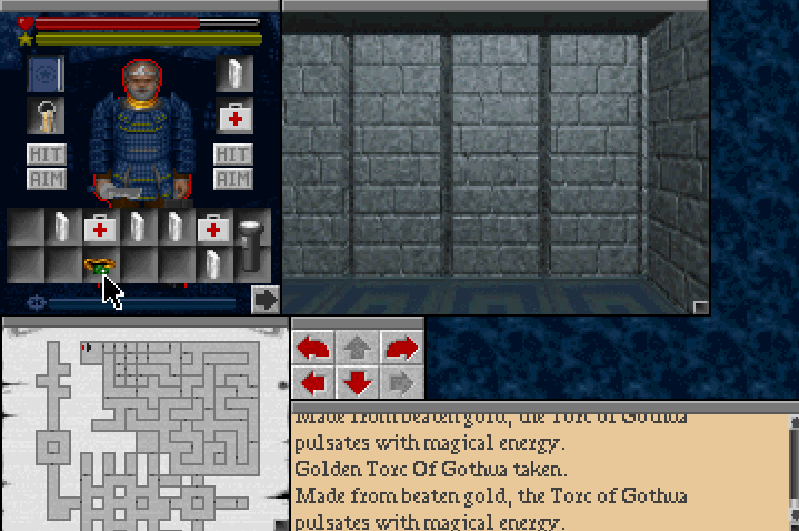
We can take off our Key of Abhomet now, seeing as we're only wearing it for fun. The Golden Torc is an absolutely vital quest item we must posses to win the game. I believe it also provides some measure of magical protection but don't quote me on that.
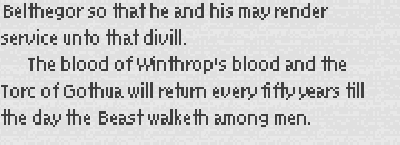
We find a very old book next to it.

I think it's high time we took care of that Karcist fellow.
First, let's stock up on magic crystals.
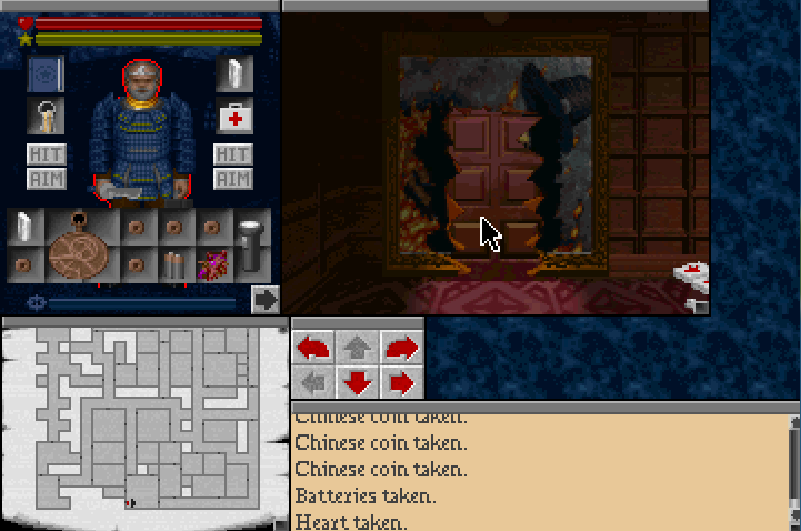
We'll be taking all the Chinese currency we can find, the Karcists heart, some batteries and an astrolabe for good measure.
Behind the door is a set of stairs leading to a single room.
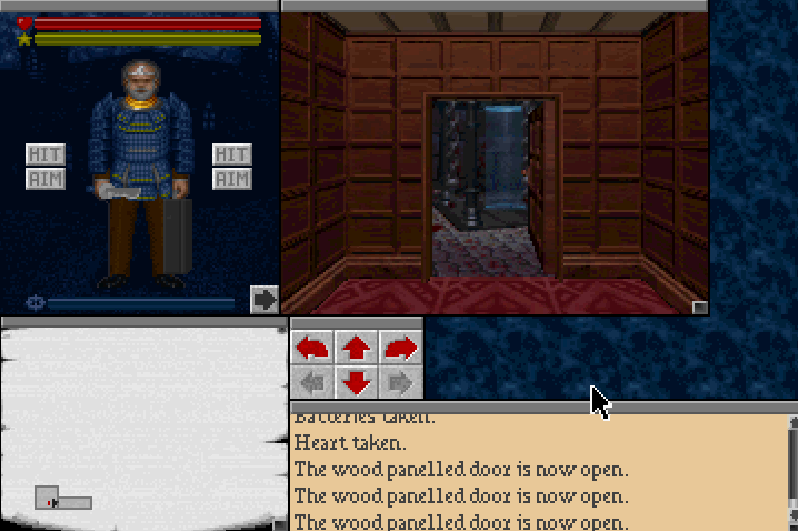
We shall see what lies beyond that room. Next time..