Part 31: From Filgaia to the New Moon.
Last time, we stormed Ka Dingel, defeated Boomerang whom was promptly killed by Zeikfried, blew up the elderitch abomination that is Alhazad, and now we're going into outer space!


This animation always plays when going between Malduke and Ka Dingel, as does this song. It's a bit curious because you'll only hear it for a brief moment, and you can't hear the whole thing. Not that it's really worth it, as the song itself is very repetitive. The original game had a version that was much longer but again you could never hear the whole thing because the scene just doesn't last long enough. It's a pity, because it's a rather pretty little tune.
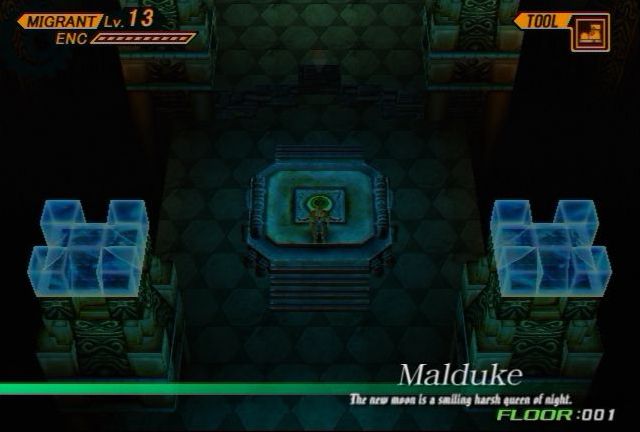
The new moon is a smiling harsh queen of night.

Malduke has it's own theme as well, and although it's not that great, it's infinately better than the song the original game had, which was just boring. This one at least gets your blood pumping a little.
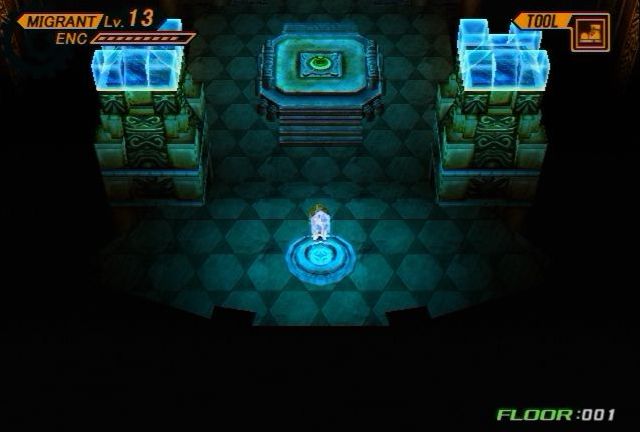
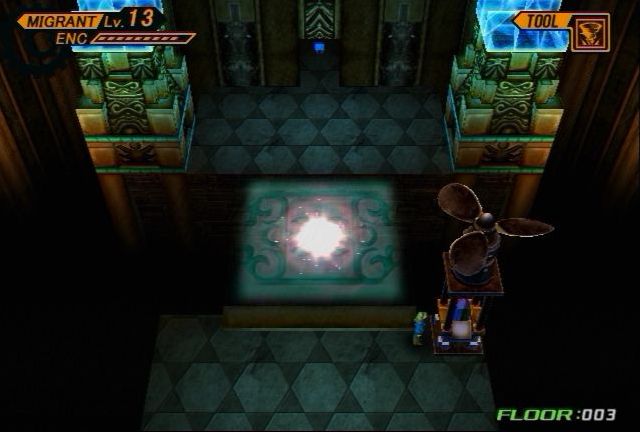
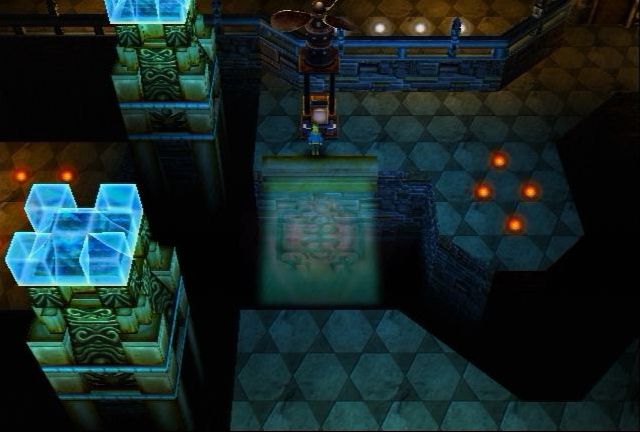
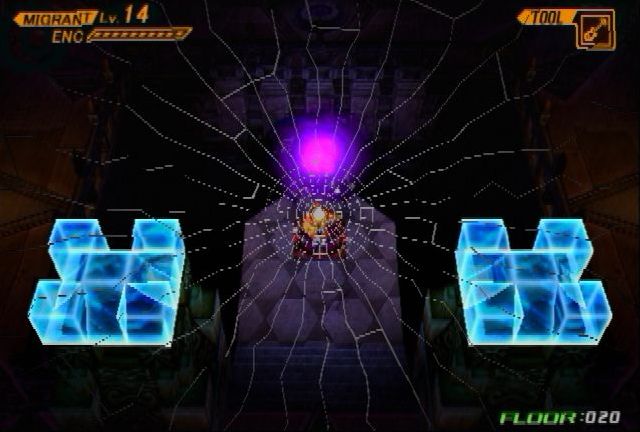
The way forward is blocked at first, but there's this crystal which we can use.
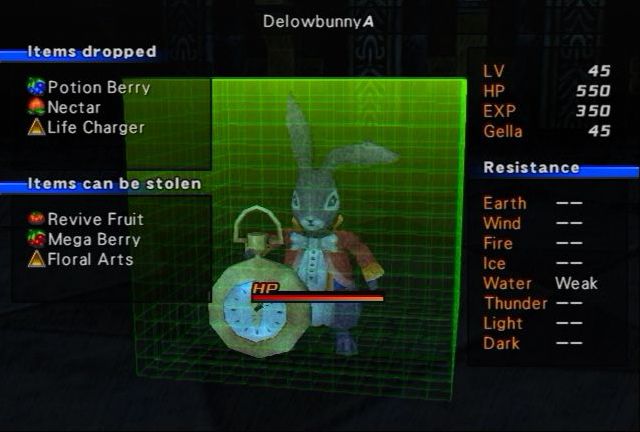
The enemies here in Malduke are weird. Most are not that tough, especially these Delowbunnies. The worst they can do to you is use Reset, which causes the battle to reset from the very beginning. Used items and Cartridges return, HP and MP return to original values...and it's Downloadable. So if you're up against a rare enemy and you need that rarest steal, you can use Reset to abuse it.
Of course, I still don't have Jane and Emma yet. By this point in the game you can actually find them if you want, but I want to finish the game without them first.
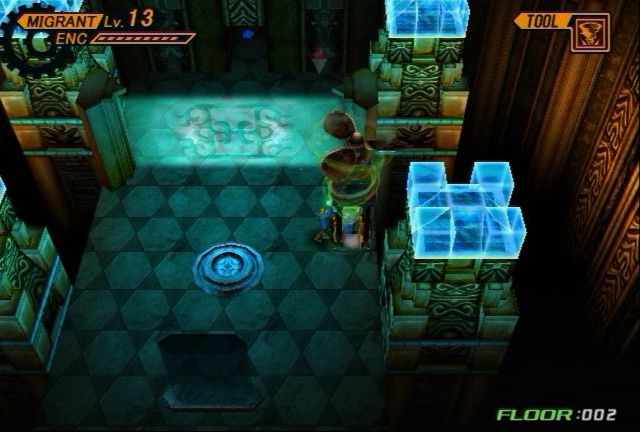
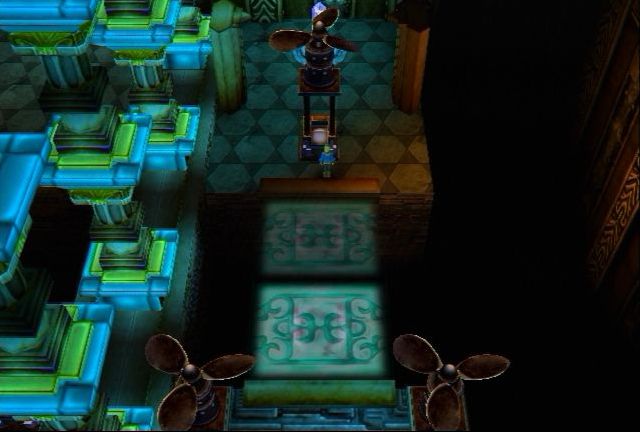
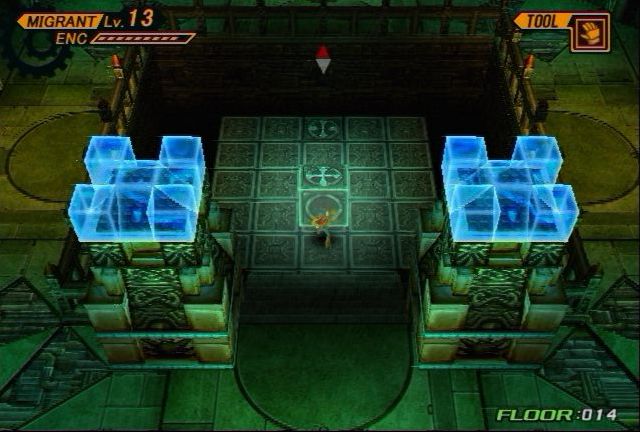
Here's the main gimmick for the first part of the dungeon. There are these things sitting on the ground that you can Wind Staff up, and they'll give you a Defense Unit. Taking the Defense Unit will remove the force field allowing you to proceed.
However, there are more of these things without Defense Units that you need to put in to activate force fields so you can proceed. It's an interesting puzzle of figuring out which ones need them and which ones don't.

This room is just to clarify that indeed the player knows what's going on, and takes one defense unit to give to another.
Ah, I hate these enemies. They aren't that strong, and half the time will skip their turn (instead of using a party-wide Lightning), but when you destroy them, they always get a last counter-attack in for 300 damage. The EXP and Gella simply isn't worth the damage, so I just Strategic Evac out of these fights.
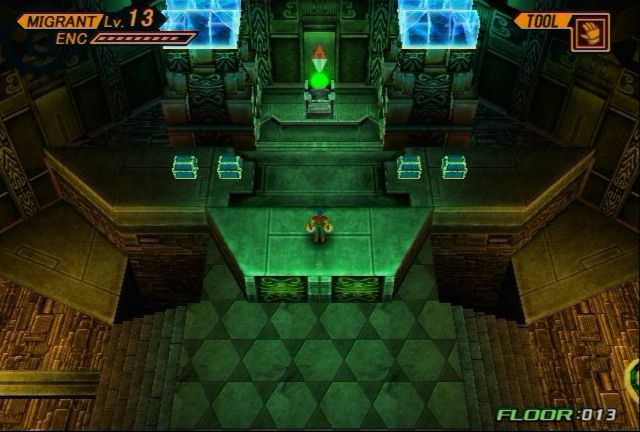
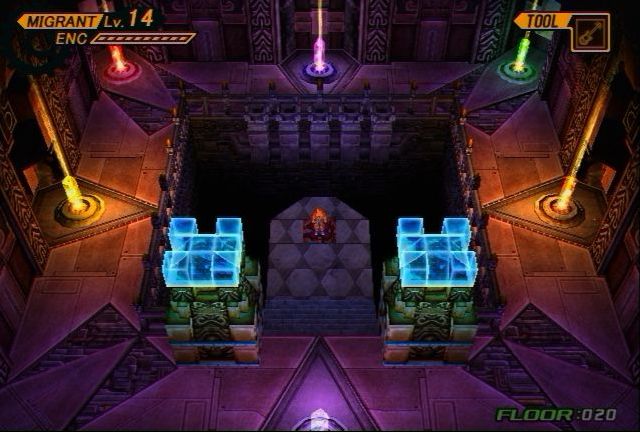
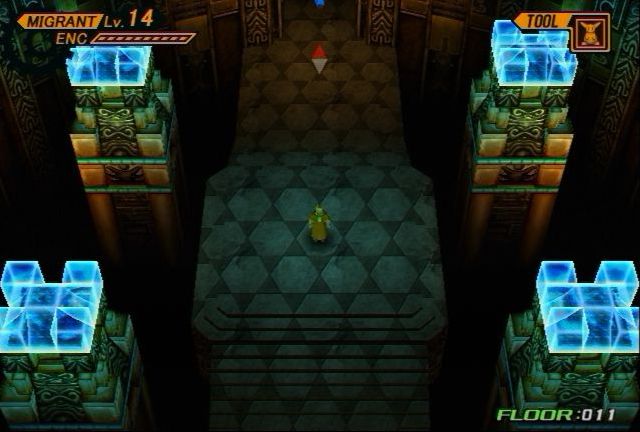
After those three "tutorial puzzles", the game stops fooling around and places you in an open ended area. This room alone connects to at least three others.
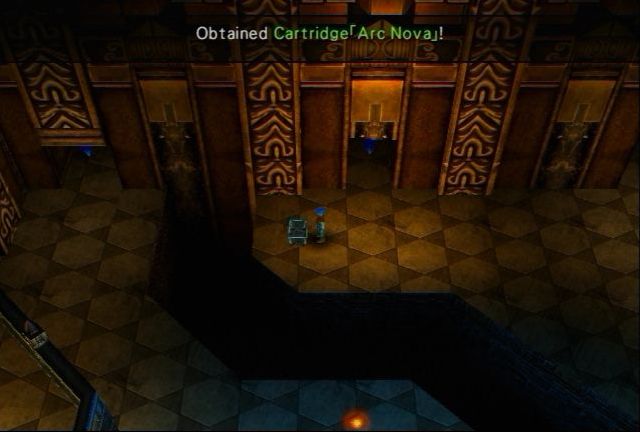

...that thing's actually surprisingly appropriate for this. This is Arc Nova, Rudy's final Cartridge, and it is simply amazing, and does everything Gatling Raid can't: hit everyone. Solid Storm and Hound Mine only hit groups, and the missile one hits random enemies, but Arc Nova will hit everyone for a very nice 4 Tech Constant. It's only downside is that your REA is going to suffer and your ACC drops too, but Lock-On solves the second problem and the first problem isn't a problem at all, so long as Rudy gets his turn eventually. In round based RPGs where speed determines who goes first and nothing more, I personally find the speed stat to be the most useless. I know there are plenty of other people out there who disagree, but as long as they get their action out, you can plan around your characters being slow.
Anyway, you want to get rid of this first bridge here. You can go back, but...
The next room allows you to loop around. You can then turn off these to bridges by taking a door next to the Arc Nova chest, so now you just got 3 Defense Units by sealing off an area that you don't need to go to at all.
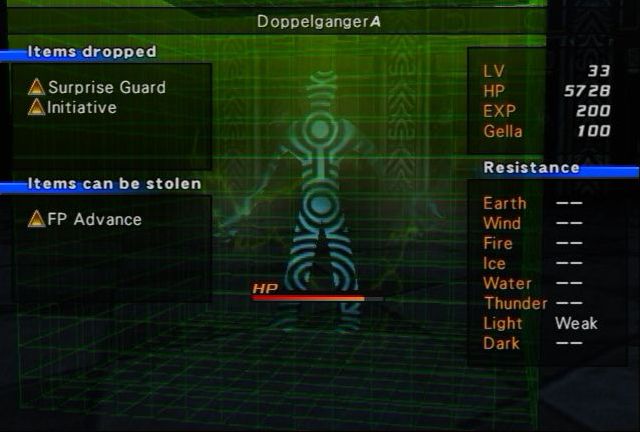
You also can find Dopplegangers here, and I got lucky and got the Initiative on them, so I used the surprise round to Voyeur them. They actually have 6666 life (Jack got a hit in) and they have some really nice PS they can drop or have stolen. Remember these guys: I'll be back.

They also transform into Rudy's new character model, so if you're trying to scan every single enemy in the game (bosses automatically get added to the monster book), make sure you get this version of Rudy again. And yes, each type of doppelganger counts.
Even more annoying, the new Doppel-Rudy will use his new ARMs as well. Typically I noticed they tend to use the weak ones as normal attacks, and only counter attack the strong ones if you hit them with a strong one. This would make me scared of a Gatling Raid from them...but they never survive mine in the first place.

You see this bridge here? Don't build it, because the door leads you to nowhere (five VIT gems), and you might as well save your Defense Unit. In fact, when you're done with this section of Malduke, you should have one Defense Unit left over, so don't use it here because it's a trap.
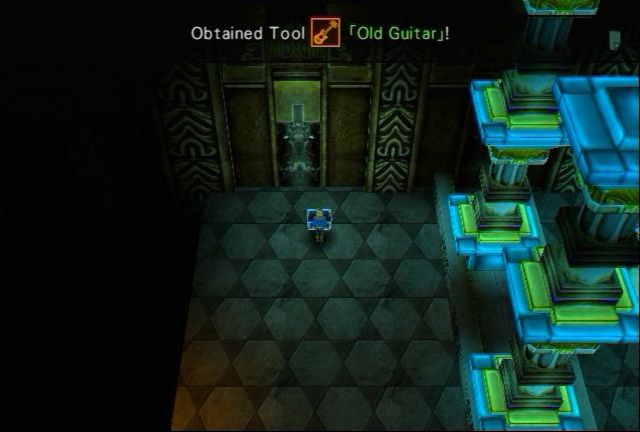
The Old Guitar is Jack's last Tool, and it will automatically start a random battle (if possible) and can be used to trigger most of the Bonus Boss fights.
This last Defense Gem you steal will power down the force field blocking your way forward, as well as the two platforms allowing you to go back. There isn't much loot here, but don't leave without it, so you don't have to backtrack. Just remember, make sure you walk out of this area with an extra Defense Unit. You won't regret it.
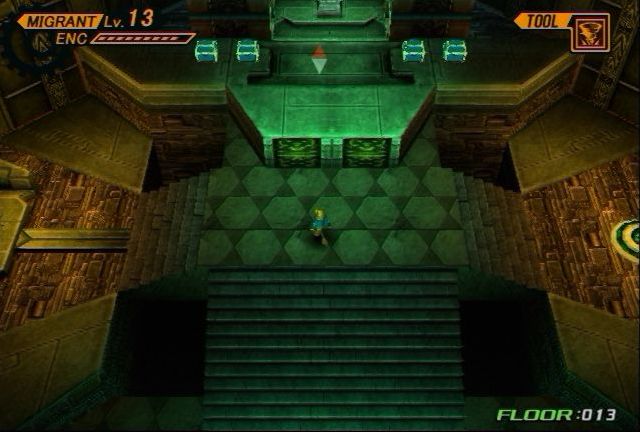
Getting through that area creates a Jump Boots pad here so you can progress further into the dungeon without going through that annoying section again.
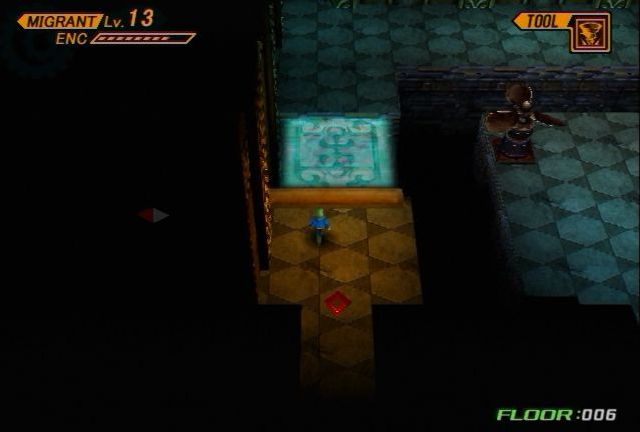
There's also a full-heal save crystal here as well.
Yup, this part of the dungeon has stayed intact. You need to go into three side areas to unlock the door ahead. So this calls for a special song.

This is a song I recently discovered when I went into OC Remix to see if they had any other good Wild ARMs stuff. I was not disappointed. This song is a combination of Into the Wilderness and Crystal World from Final Fantasy IX. Since this next part revolves around crystals, I might as well use it here.
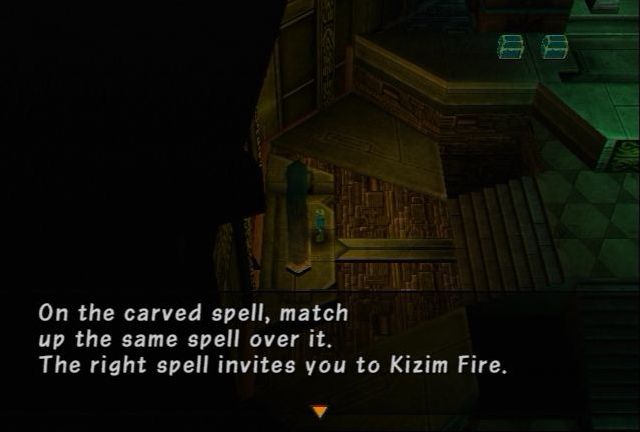
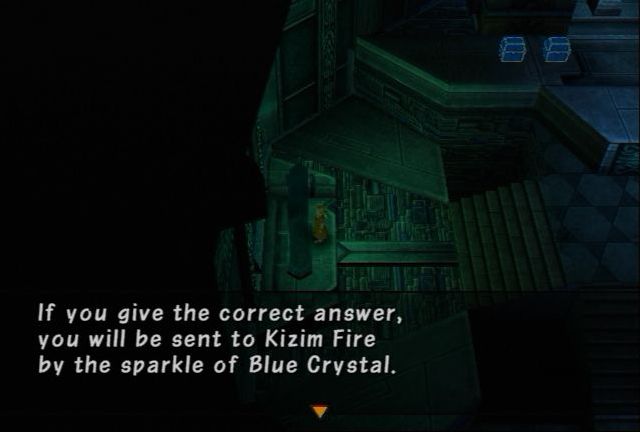
Green crystal first. All of them actually lead to a part of Malduke that just uses a different lighting scheme, it's not as elaborate as the original game practically warping you to weird places. The pattern here is pretty basic: on the left is a tablet telling you what to do, and the crystal on the right takes you through a puzzle where you need to do stuff. When you clear the puzzle, you warp to the upper level, where you can grab the Kizim Fire piece and loot four chests.
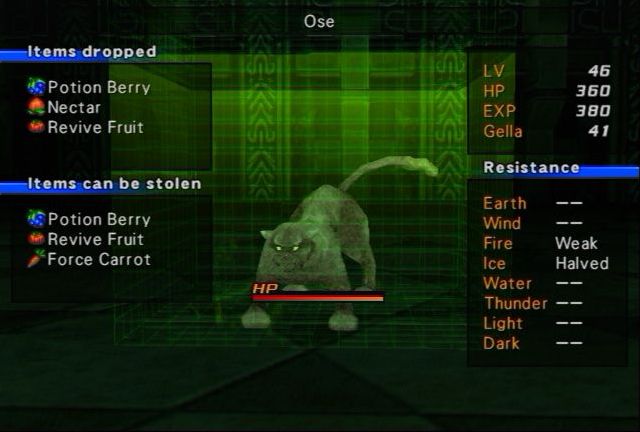
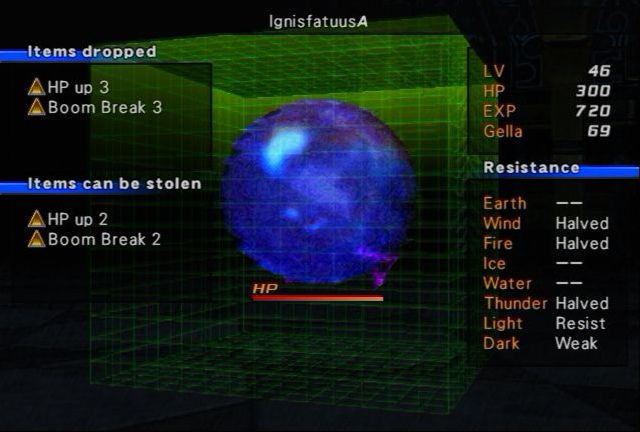
These three areas also have completely different random encounter sets, which you probably won't notice because encounters are pretty rare in the puzzle rooms. These are a step up in difficulty. Example: this Ose will split into two if you don't kill it in one hit, and will keep multiplying. It hits pretty decently as well. For the most part though, I didn't encounter many enemies in these alternate areas, so I won't bother with showing Voyeurs for any of them except for this one.
...huh?
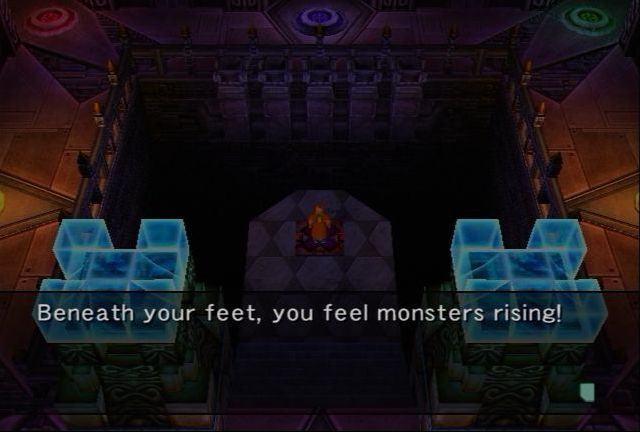
If you use the wrong spell, a giant, faster than wind, will await you. It is called Berial...
This scared the shit out of me the first time I played, because I thought if I screwed up, I was going to get ambushed by a golem and die horribly. This is not the case at all. If you mess up every single part of the puzzle (as opposed to just part of it, which teleports you back to the main area) then you'll get sent to the Sealed Crystal where the golem lies. These are Bonus Boss enemies, and are more difficult than the final boss. Meaning I won't fight them yet.
Okay, the thing with "spells" really refers to this kind of puzzle again. There's a plus shaped mark on the floor. Cover it up with a block, but you have to cover it with the face of the block that has a plus. We've seen these puzzles before, and frankly, the ones on the Ghost Ship were much much harder. There's four rooms of this easy nonsense, so I'm not going to show any more than this.
If you want to fight Berial, there's also a triangle shaped mark on the blocks, which you need to use to fight Berial instead.
Now we have the Kizim Green, in addition to an Ambrosia, Migrant Seal
 , Lucky Card x3, and 5000 Gella. With this extra Migrant Seal, I can now cancel all random encounters in this dungeon.
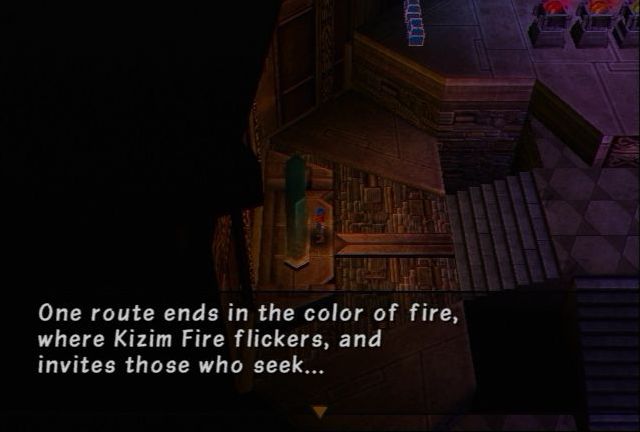
The opposite route that ends in purple. There waits a giant in purple armor. It is called Lucifer...
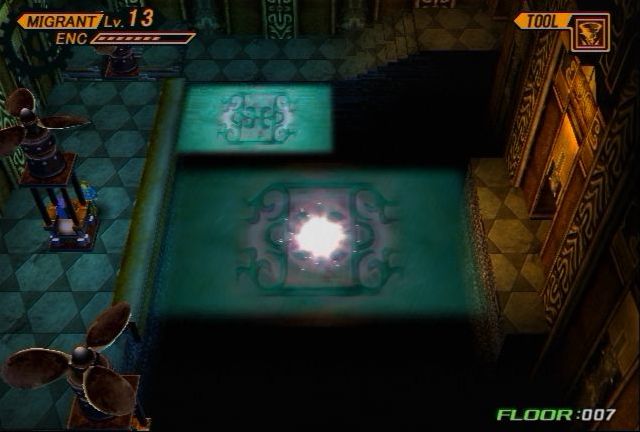
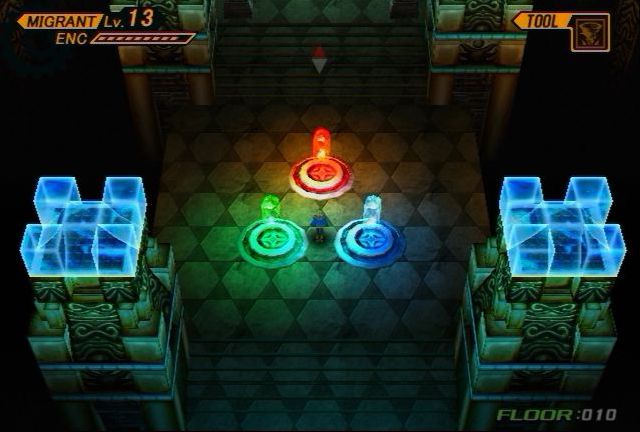
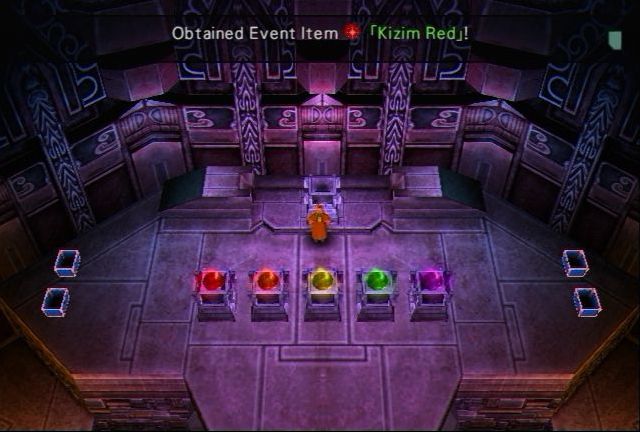
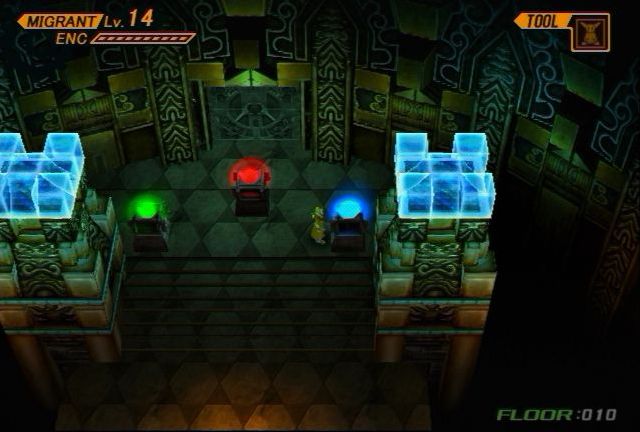
Welcome to section red. In front of the Kizim piece are five crystals, going from left to right, Red, Orange, Yellow, Green, and Purple. This is going to be the key to figuring out this puzzle.
The puzzle rooms only have a small mark on the floor, that you can examine to get this message. However, this doesn't trigger a battle: using the Guitar on the platform does.
Bring it on.
When you use it, you enter a battle against a Power Turask, a strong enemy but not a threat. Much weaker than the normal Turask. The only concern is that this fellow loves to use Great Booster on itself the first turn...so if you just delay Cecilia to act after Rudy, you can use Cancel and prevent Great Booster from having ANY effect. Ice Crystal helps finish it off.
Doing so triggers these four crystals to appear. You want to enter the Purple crystal first. Then, you'll enter a room surprisingly similar to this, and repeat the process again. Wake up a Power Turask. Blow it up. Enter the next crystal. Going PGYOR takes us to the Kizim.
Easy. The chests contained PS Assist Blitz, Gella Card x3, Alter Part and PS Regeneration. Regeneration is nice. It restores 25% HP every time the wearer gets a Force Level Up or Condition Green.
The wrong answer will send you into the deep darkness, where the giant, Sado, awaits.
Blue area last.
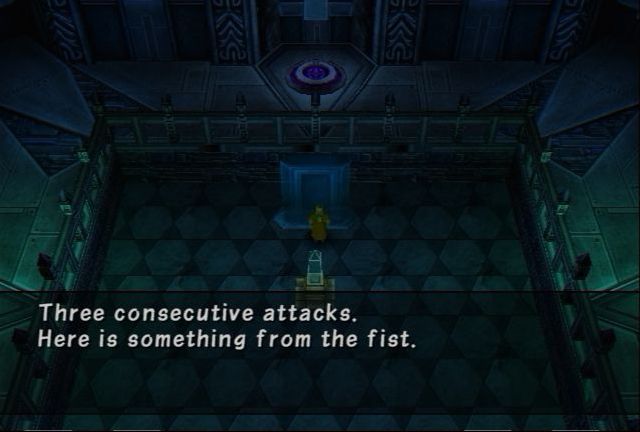
This puzzle area simply has you use tools based on the hint the tablet tells you. The three consecutive attacks refers to the 1-2-3 punch from the Power Gloves. This is the only time in the game you'll ever use it. Punch the crystal three times to get through. Use a different tool or only punch once and it'll turn red, and the teleportation crystal will still appear, but it won't take you through to the proper end.
Use Wire Hook.
Middle: Change the shape illuminating the light. On the way that light illuminates, eternal shape awaits.
Really elaborate way of saying Use Change Staff.
Right: In the fire torrent, open the way you should go.
Use the Flame Staff. Next room.
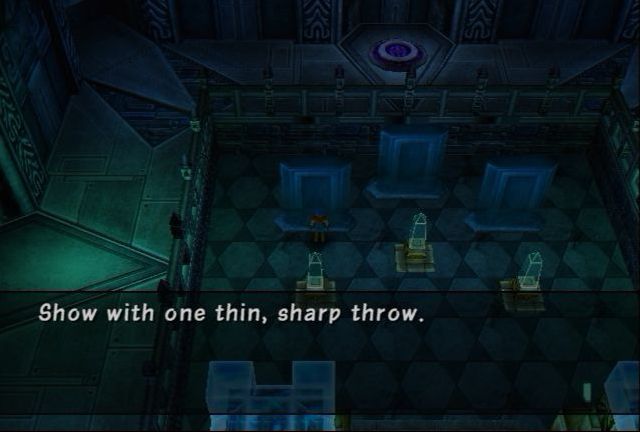
The right most one has the same description. You need to use a chain of bombs to hit both. Doing so will turn the center two red, but that's okay. Even if it turns red, you can use the right tool to turn it blue and proceed.
Left: Show here the rising power, the whirling power.
Use Wind Staff.
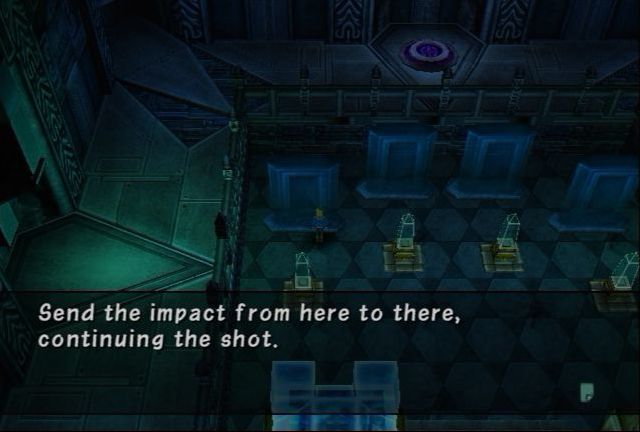
Right: Bring the breeze, which was transformed.
This one is tricky. It implies that you need to use the change staff and wind staff together on this one...but you actually need to use Hanpan, because he is a Wind Mouse.
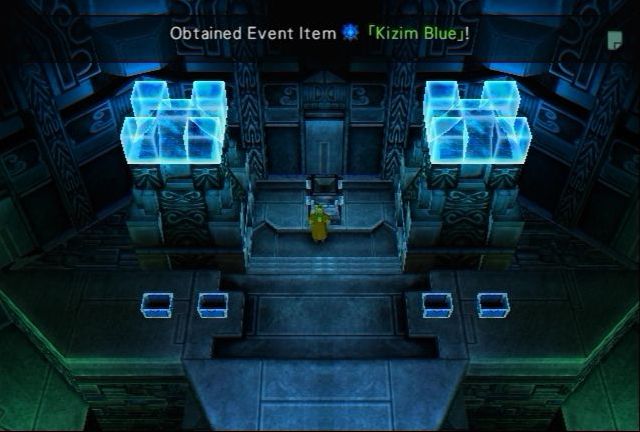
Kizim Blue is ours. Chests contained PS Penetrator, Gimel Coin xz3, Mega Berry x, and a Crest Graph. Penetrator ignores the enemies DEF when you hit with a critical hit, and by extension, Finest Arts.
Place the three Kizim pieces in this arrangement to proceed on. Be sure to run back and heal really quick at the save crystal.
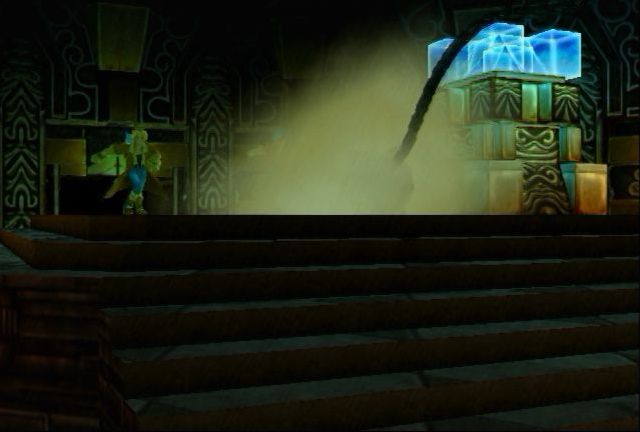

The party runs forward, but something attacks?
It completely misses the party, but the dust is everywhere.
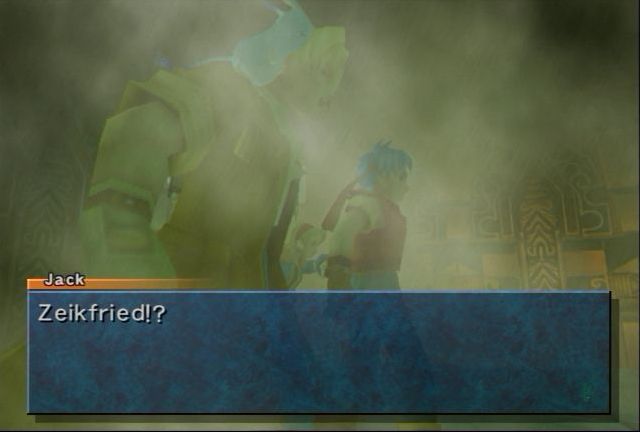
 : But, this welcome... Isn't it too direct for him!?
 : No... This isn't Zeikfried...
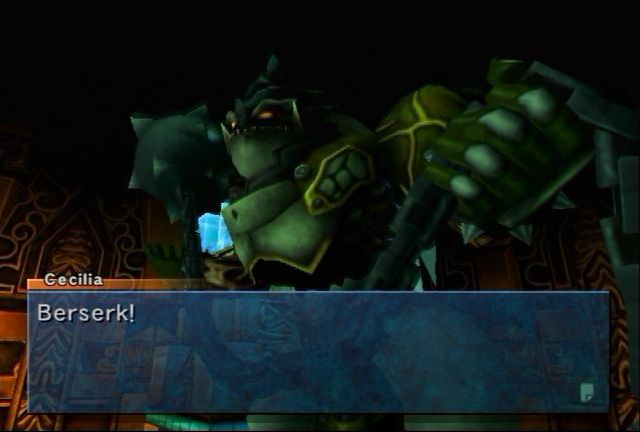
 : Very good! And here I thought you'd forgotten me... Bwahahahahaha! At last I get to finish you off! Bwahahahahaha!
  : But... But you... We...
My sentiments exactly.
 : You thought you killed me? Never! Worms like you could never kill me!! Bwahahahahaha! Indeed, I lost at Volcannon Trap, but it was not to you! Gufff... My body was wasted, but... Zeikfried secretly regenerated me to carry out his bidding.
 Dammit Boomerang! This is why you don't leave someone's corpse on another person's bed!
: You would wield your devastating ball and chain under Zeikfried's command?: Zeikfried prepared the battlefield. I only go there and crush humans. I destroy everything that displeases me! Such as you... Your friends... Everything you care about! All gone!! Bwahahahahaha!This is again why I like Berserk. He's simple, and openly admits it. He just wants to crush stuff. Boomerang will kill people only in a fair fight. Berserk will kill someone if he thinks they'll try to start a fair fight. It really shows how similar yet how different the two are.
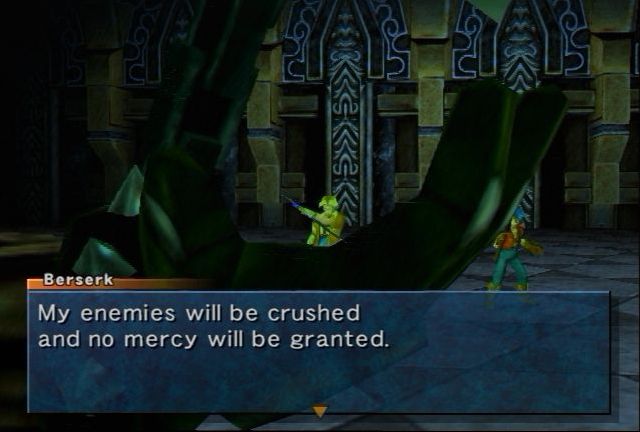
 : This will be executed quickly and as intended.
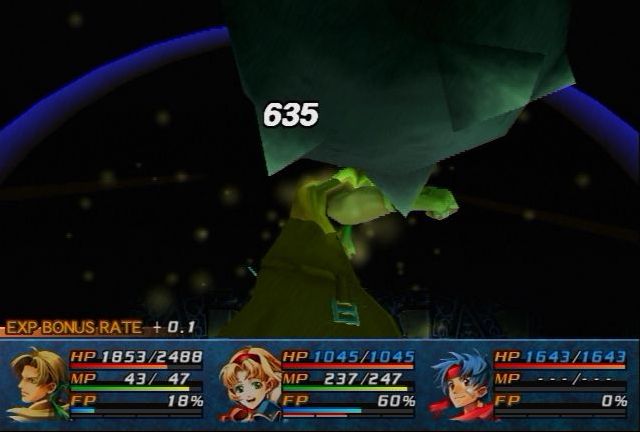
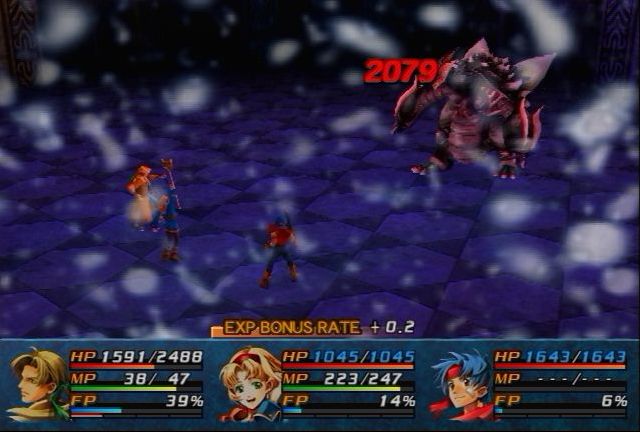
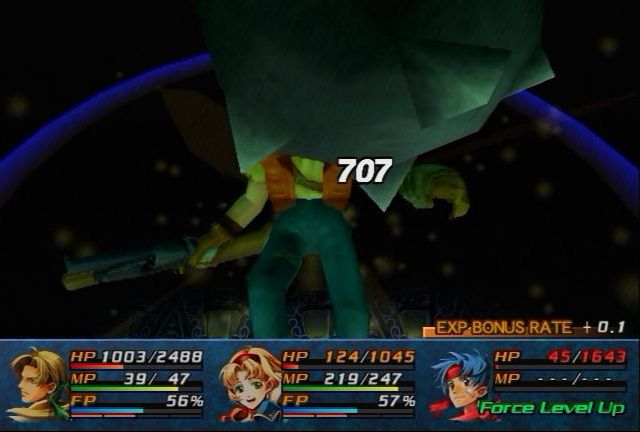
I honestly miss fighting Berserk. It's no secret that my plan for victory is damage racing the enemy. Thing is, Berserk loves doing this too, although he doesn't feel as hopelessly powerful this time around. Here's his attack against Jack. Granted, I already cast Soft on the party, but it doesn't feel as deadly as before.
He's still got his good ol' Berserk Break, which hits everyone. Okay, I take that back. Without Soft, Cecilia would have been crushed right here.
He also loves to counter attack with Disrupt Hammer, and I'm very lucky Rudy survived.
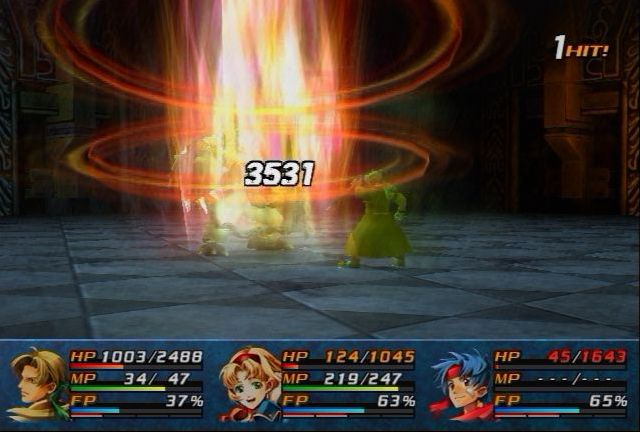
However, this battle shows me I have very poorly underestimated the power of Maximum Risk when it's Accelerated. He doesn't even have Quick Step on him right now!
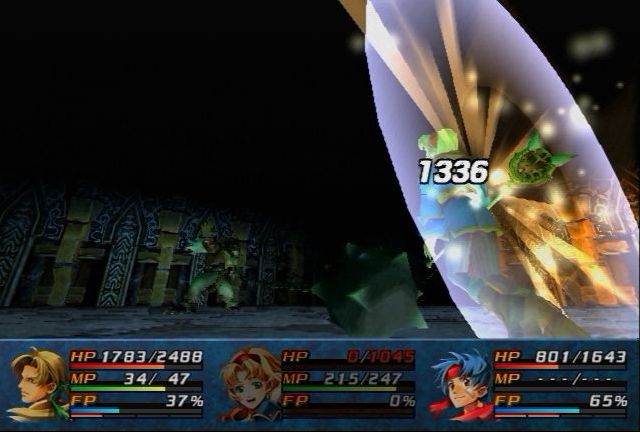
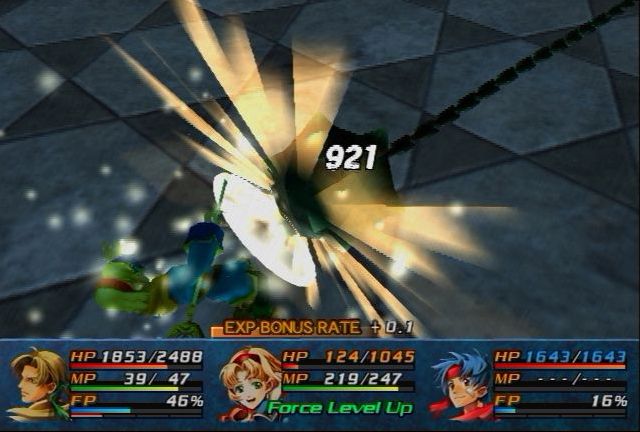
However, Soft wears off and no Electrolytes can save Cecilia now. I take back what I said. Berserk is just as powerful as I remember.
Jack revives Cecilia with a Revive Fruit, but then Berserk pulls off another Berserk Break taking her out again and defeating Rudy after he only got one Gatling Raid off.
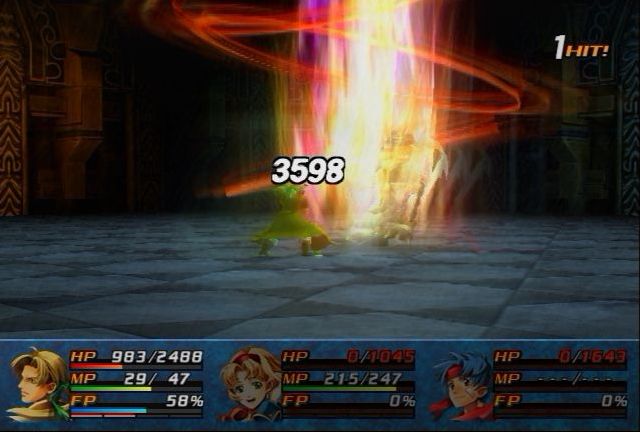
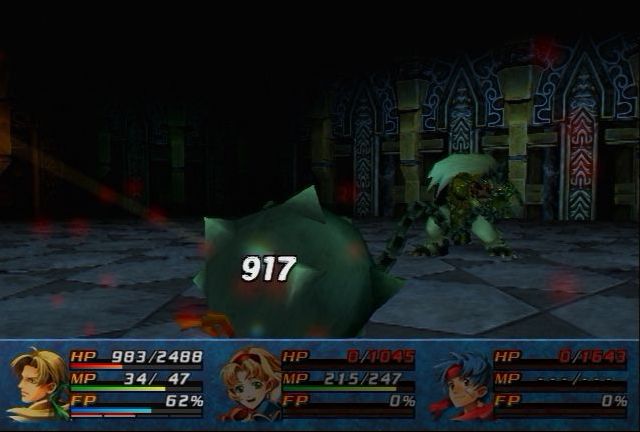
I realize reviving Cecilia is futile since Berserk seems to favor her by virtue of the RNG wanting to humiliate me, so I pull off another amazing Maximum Risk, and Jack wins the battle singlehandedly.
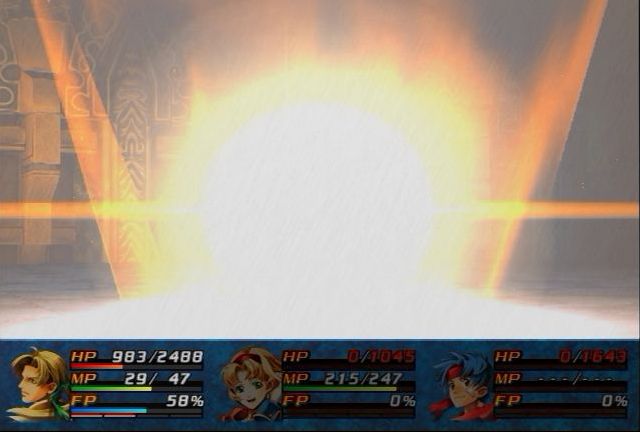
Then Berserk just spontaneously explodes. No, really. He leaves behind 25000 EXP, 9500 Gella and PS SOS Auto Guard.
In the end...nothing remains of Berserk. No last words, no memories, just silence. His return was really nothing more than a silly gimmick to pad out Malduke a little bit.

End of update status:
 : Level 47
--ATK Bonus: 45 (Lv. 4)
--Bullets: 14 (Lv. 11)
: Level 48 → 49: Level 48Gella: 22472
Migrant Seals: 14
Ex. File Keys: 5/25
Fuck-Ups: 28
Version Differences:
Malduke is less mazey.
The Kizim pieces are in different parts of Malduke, not...weird alternate reality places.
Berserk appears once more for a final battle.
A Saying A Day
 : (September 7th) Today's saying is that you can't eat it, even baked or simmered. What is a four legged thing, which can't be eaten if baked or simmered? That is nothing but a table. This saying refers to elegant words used to say something very simple.: (September 8th) Today's saying is, 'like after the festival.' There's lots of trash after a festival. Also, crows come in to eat the leftovers. So,let's put trash in a trashcan. The festival lasts until you get home, the saying says. I don't feel like talking about this. I heard of such a terrible ending to the Adlehyde fair.: (September 9th) Today's saying is that some are better, but others are worse. This can be nice to think about, when you're feeling sad. Humans tend to feel that if you look up, lots of people are better, but if you look down, there is nothing left. Hey,didn't I just create a nice new saying by myself?
Next Time:

Said seats also include complementary popcorn..