Part 42: You wouldn't like Asgard when he's angry.
Well, the Four Witches story is finished. Let us never speak of it again.

The next Bonus Boss on my list of victims is the Black Box, which to fight you need to open up every other single chest in the game. There's quite a few you can only reach with Tools you don't have at the time, not to mention Duplicator chests I had to skip so far. The other two chests had PS Full Libra 2 and PS Surprise Guard.
Song selection is from Feeling Wind, an arrangement of a song from Twilight Venom, actually! The Three Treasure Hunting Girls refers to Loretta, Mirabelle and Jerusha; a crest sorceress, crimson noble and Popei Pipepo (I suspect these are what Hanpan is) respectively. They spent the majority of the anime trying to get rich...and never succeed.
There's also this chest which was behind a Duplicator Door all the way back in the Sealed Library.
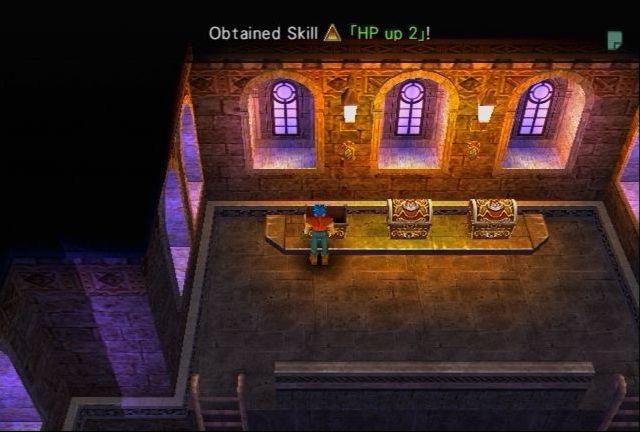
Lolithia's Coffin has two chests in the room Lolithia was found, but you need the Jump Boots to get them. One on each side. They contain PS Critical 1, and PS Boom Break 2.

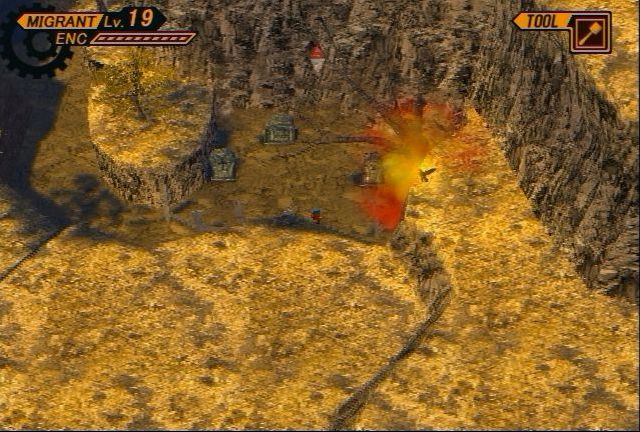
In the Mountain Pass, there is this platform that you can use the Jump Boots on to reach more chests, as well as a room I think you can only encounter Trolls in, if you want to farm them for PS Regeneration. Chests contain PS Gaia Stop 3 and PS Remove Trap.
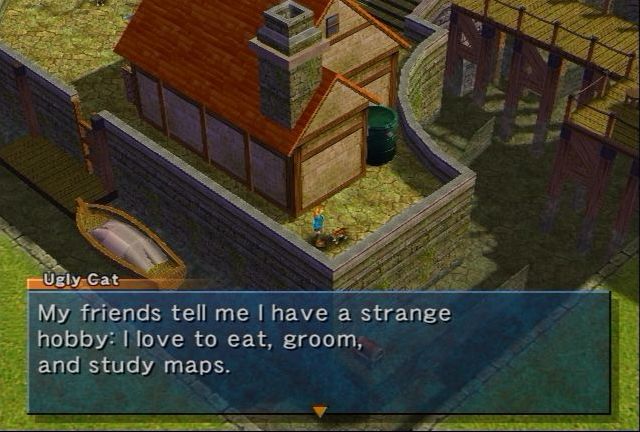
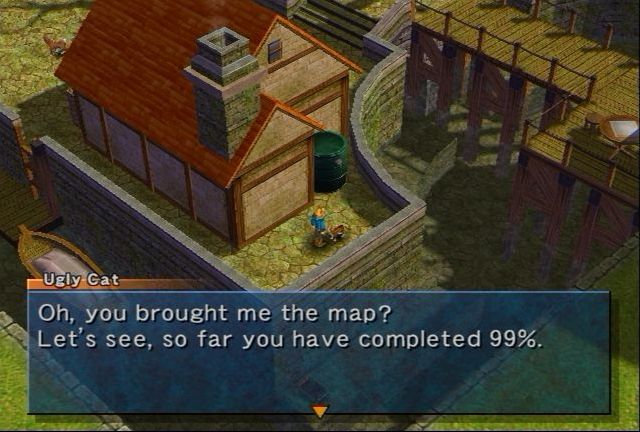
There is also this kitty in Milama.
Ugly Cat: My dream was to travel the entire world and create the most accurate map ever... But you know I'm only a cat. I cannot possibly accomplish that... ...So, I need your help. Would you please travel all around the world and fill in the empty spots on this map? ...Please, wonderful wanderers. This is all for the pretty cat purring before you!
Oh god, not this side-quest again. I'm just going to quote Darkhamsterlord on this one, he said it better than I could.
DarkHamsterlord posted:
I love that Media.Vision went from a brown background and a brown ocean in Wild Arms 3 to a blue background and blue ocean in Alter Code: F. It's almost like they were trying to be mean to completionists.
 Yes, yes they are. Anyway, I'm sure you might have noticed that chest hidden behind the chat box. There are three chests in Milama that you need to turn a wheel with the Mighty Gloves to raise the floodgate, so you can actually reach those chests. You also need the Jump Boots to grab two of them. They contain PS Angel Quill 2, a Duplicator, and PS Olive Branch 2.
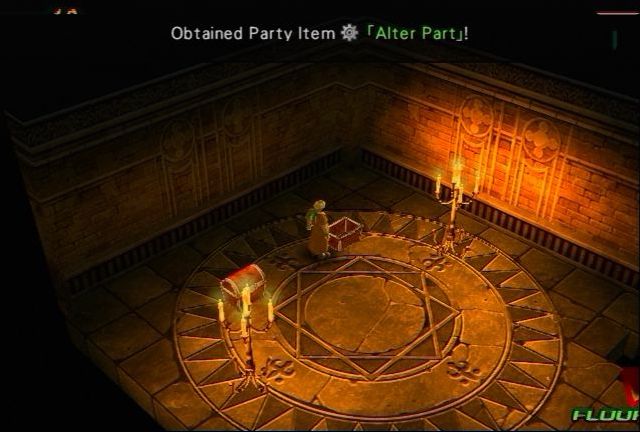
The Guardian Temple also has another Duplicator door with this and a PS Resist Up 2.
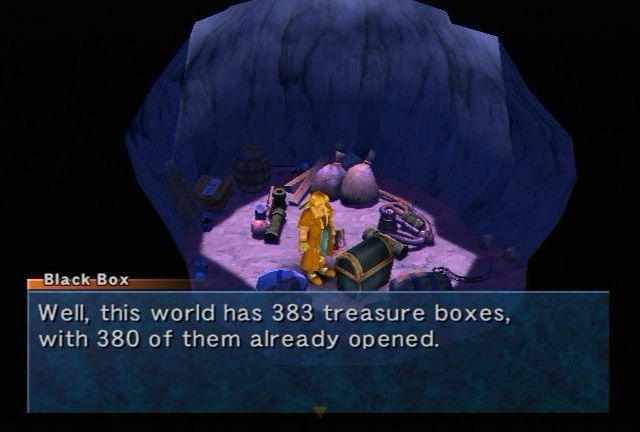
This chest in the Port Timney inn requires a Duplicator too. I also stopped by the Black Box to see how well I was doing. Only 9 more to find!
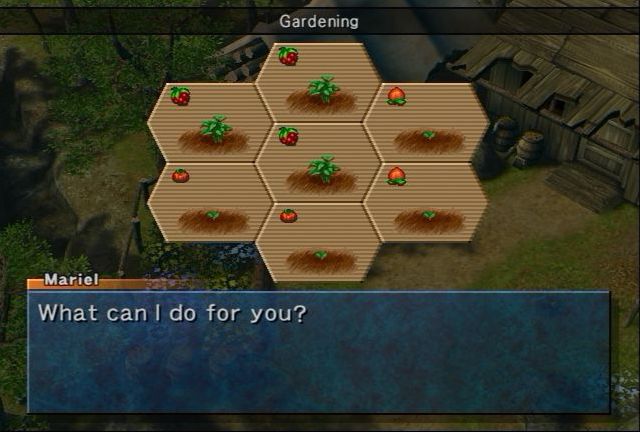
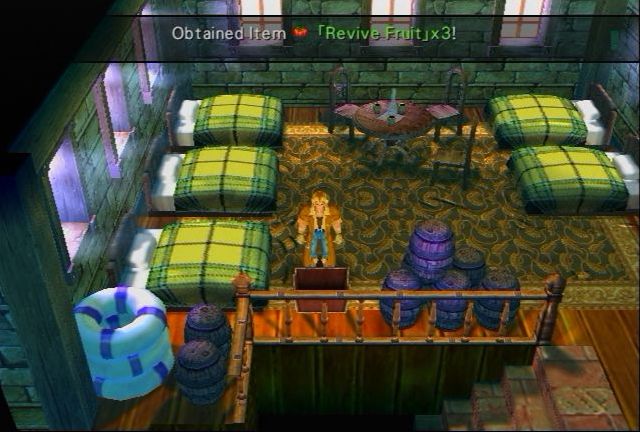
I also drop off a ton of Mega Berries, Revive Fruits and Nectars at Mariel's place. I'm pretty close, above 80% for all three, so I want to finish this soon.
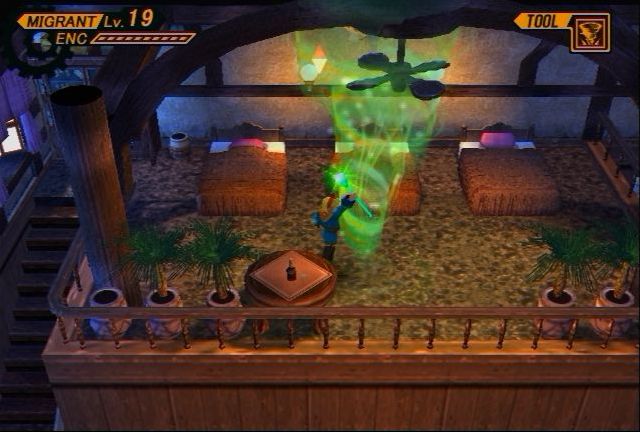
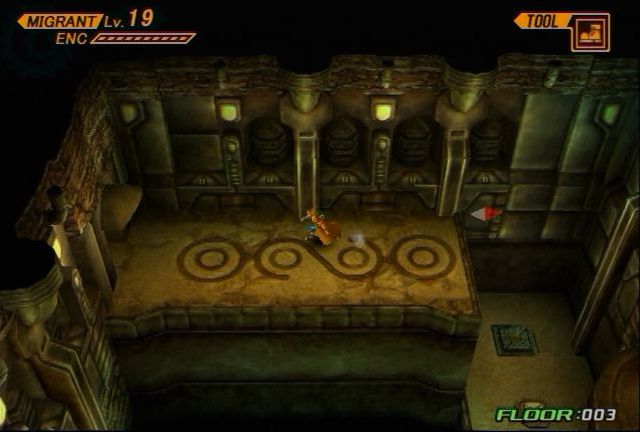
This isn't a chest, but if you spin this fan enough with the Wind Staff, a cabinet will open up, and if you examine it you get a Crest Graph.
I also pick up
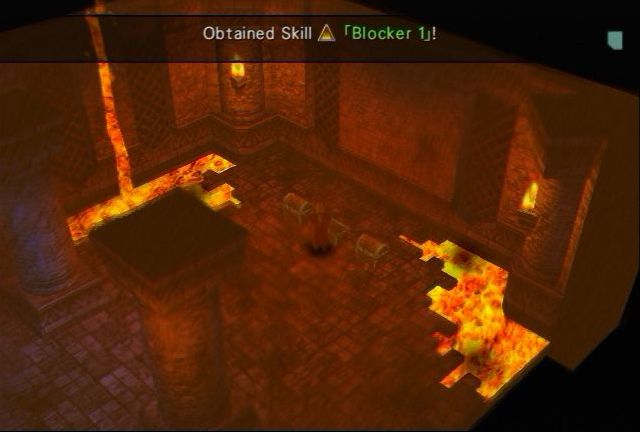
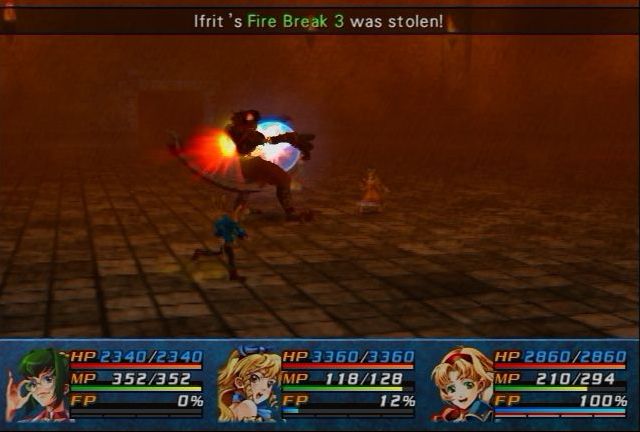
Volcannon Trap has 3 chests on Jane's side that you need the Jump Boots to reach. The other two chests had PS Fire Break 3 and 10000 Gella. Volcannon Trap also has enemies that drop PS Fire Break 3, which I need at least three of. In fact, I need 3 of all four level of Fire Break before I take on Ragu, but you can only find Fire Break 4 in the Abyss. There's also a Duplicator chest in here I missed with a PS Regeneration.. Good thing I decided to double check, otherwise I'd have to go through the entire game wondering what chest I missed.
Booyah. I only needed one, because for some reason I already had one before walking into the dungeon.
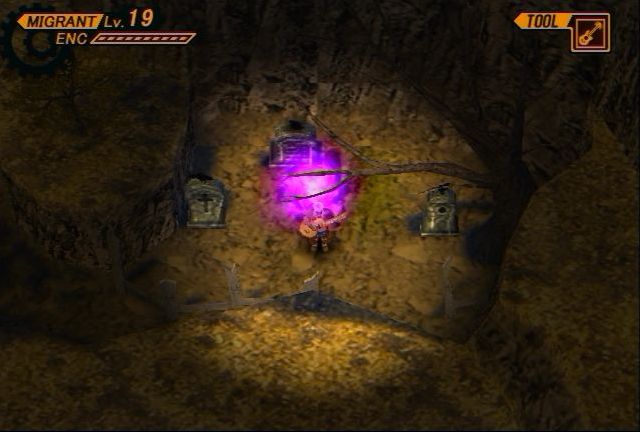
A jump boots spot in the Giant's Cradle grants access to 3 chests. PS Windbreaker 3, 3 Small Flowers, and 10000 Gella.
I just have one problem with this statement, because the last two chests I need are not in this world.
You see, when you use an Elw Shrine while carrying too many Teleport Orbs, it will glitch the system. Remember back to the books in the Forgotten House's basement, where it talked about using "other devices" for Elw Shrines...they referred to these.
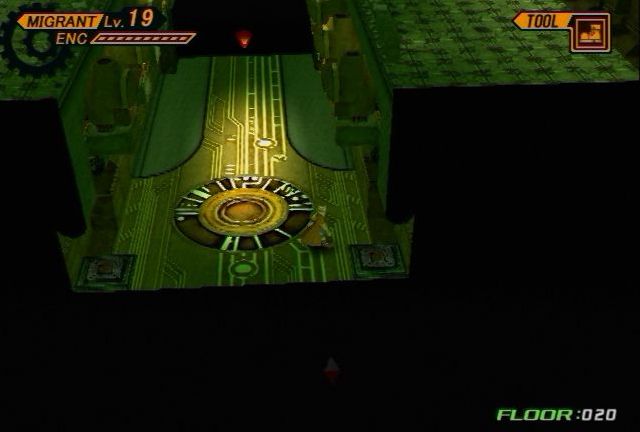
Doing so will cause the Satellite to glitch out, sending you somewhere else.
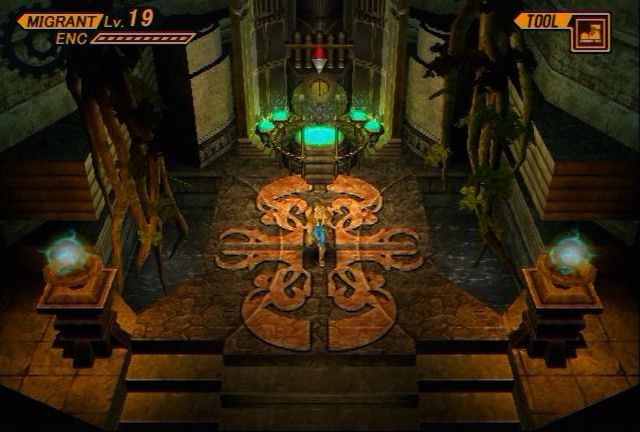
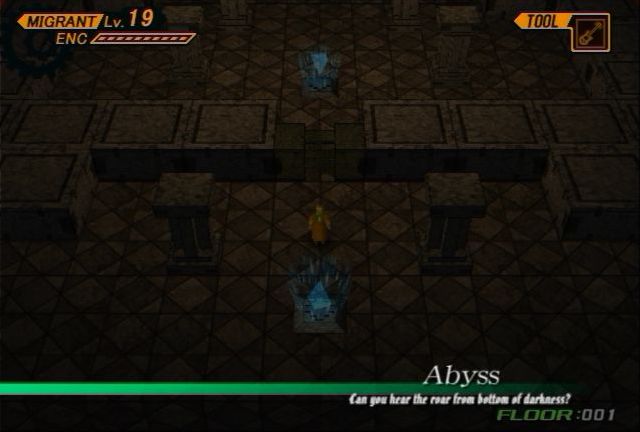
This Elw Shrine's entrance text is Last Resort. The other Shrines used Raypoint Xth. So where are we?

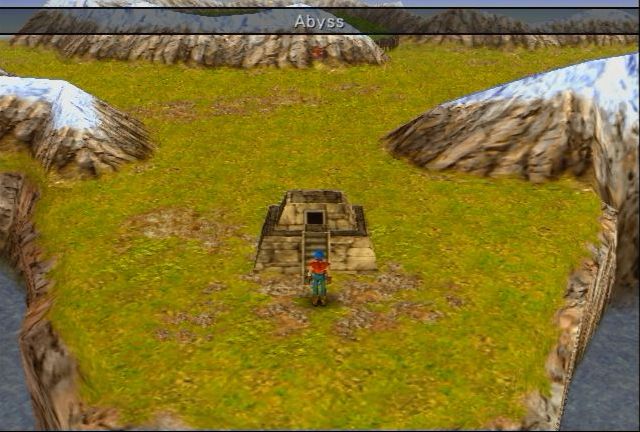
Huh, what's a Elw Borea monkey doing here?
Ward: The gulf called ABYSS... The King of a Hundred Monsters, is imprisoned there...
 Yup. We're on Elw Borea, and this is how you reach the Abyss.
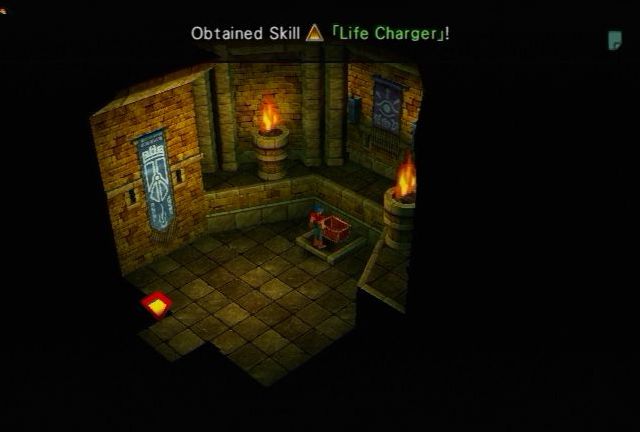
Anyway, to get the two chests in the Shrine, you need to use the Detector to find the secret passage. Inside is PS HP up 3, and a Crest Graph.
Hahahahaha no. Not yet.
Walking around, you can also find other items, like PS Full Libra 3, and PS Resist up 3. These aren't chests though, just random items.
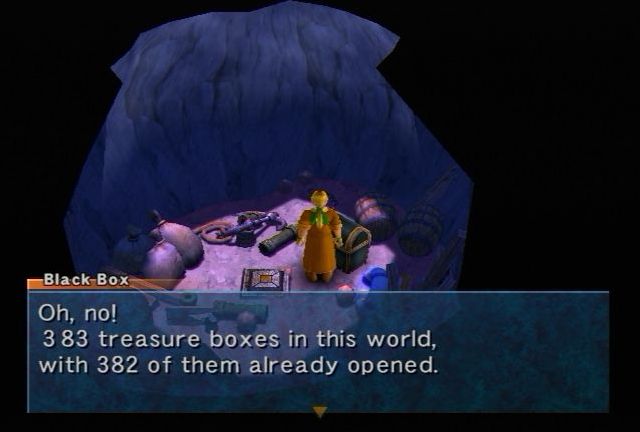
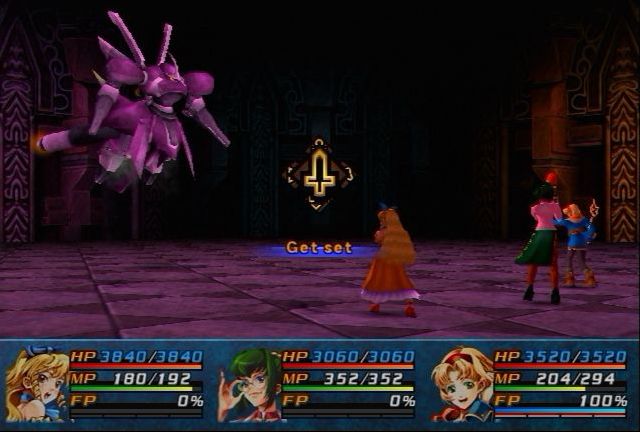
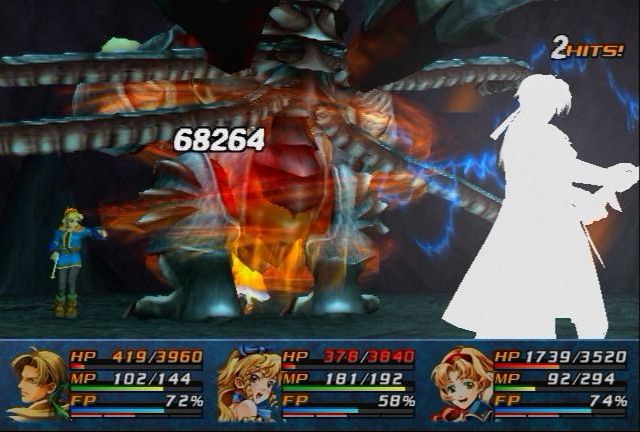
Black Box: What am I to do? What am I to do? I am the only one that is left... Vrrrr! What? You're not going to open me, are you? Are you, are you?
 : Yes || No.
Black Box: It is not good to do this and that... Only children want everything... What right do you think you have? I don't care if it will cost you a lot. Well, I will teach you a lesson... Touch, touch ♪

Huh? It split itself into three?
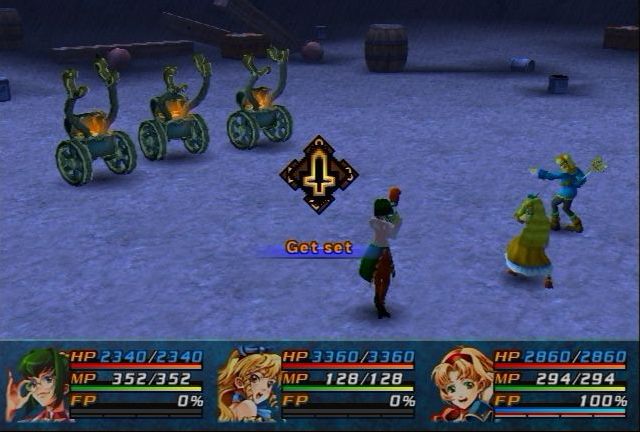
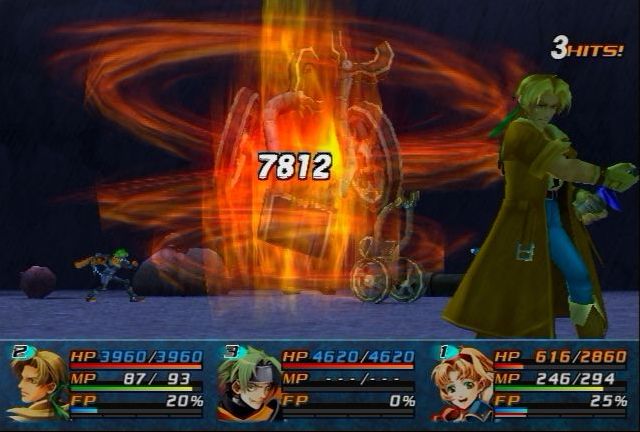
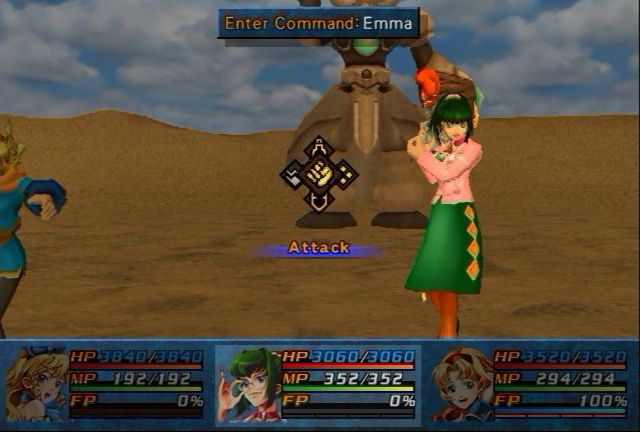
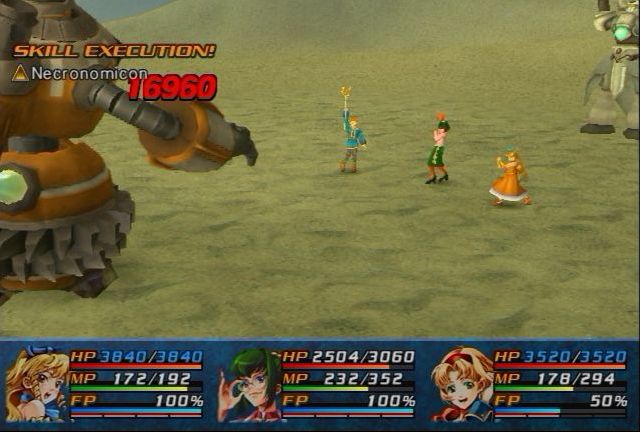
Anyway, this is Black Box, probably one of the tougher bonus boss fights. They are each Lv 80 with 27k HP. They halve all elements except Light (normal) and Dark (full resist). Status effects won't work at all, and they have three attacks. Gimmick Hand is a basic attack, and is pretty powerful because of their high ATT. They also have Suppressed Curse?, with high Dark magic damage, and Paradigm Pollution (downloadable) for non-elemental damage.
Song selection is the same as the last one, just the actual vocal version from Twilight Venom. Normally I wouldn't include Twilight Venom songs...but this one is rather fun and already got arranged, so I'll include it here. It's in Japanese and has the three voice actress' singing.
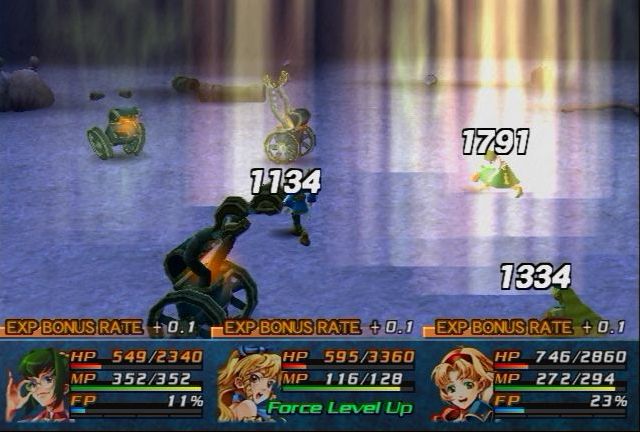
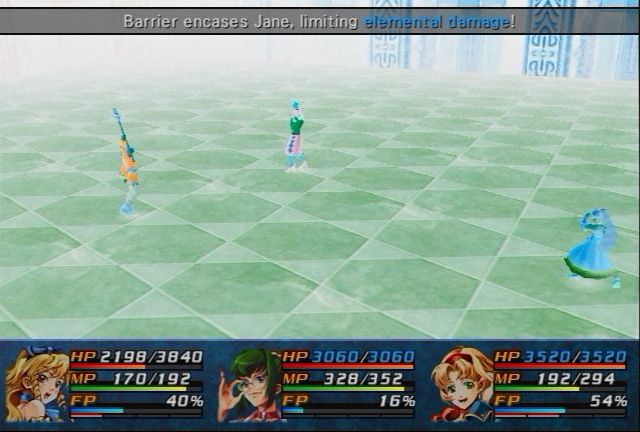
I wasn't joking when I said their magic attacks were powerful. Jane and Cecilia even have Hard cast on them to resist magic attacks further.
Do not underestimate the Black Boxes.
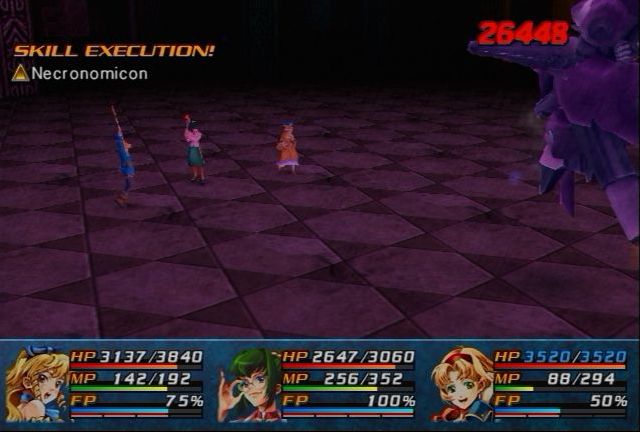
This may seem weak, but Rudy doesn't have Great Booster on him because they took out Emma too son, and Cecilia put Rinse & Repeat on him so he killed the same Black Box next round.
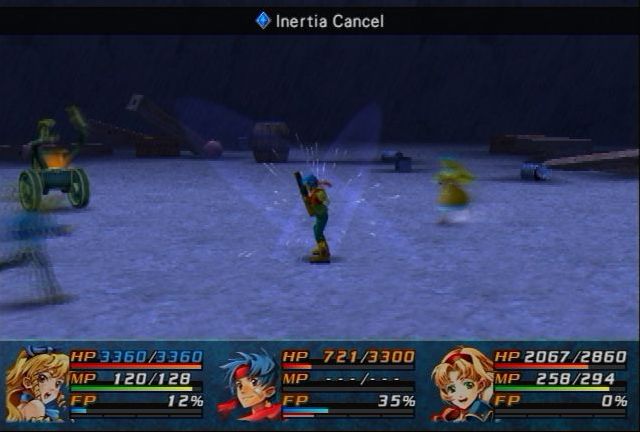
I haven't gone into too much, but there is Inertia Cancel which lets me get an addition action of my choice by sacrificing a Counterattack and 25% FP. This battle is a damage race, so it's worth it.
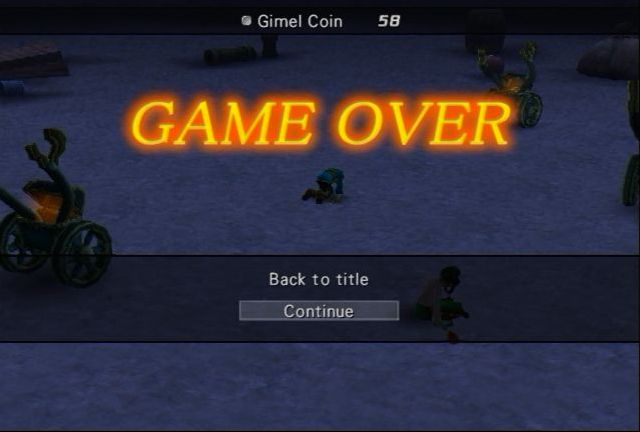
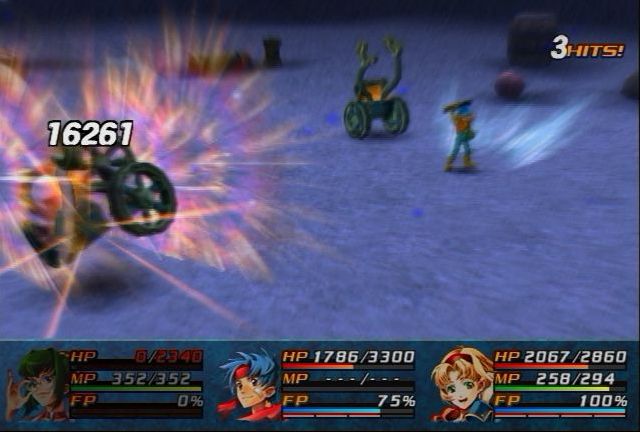
A poorly timed Suppressed Curse? takes out Rudy, so Jack and Zed fill the void, and deal the last bits of damage. They weren't buffed at all for this fight.
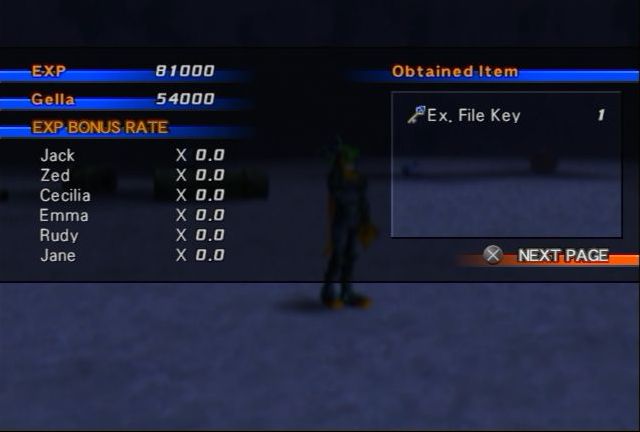
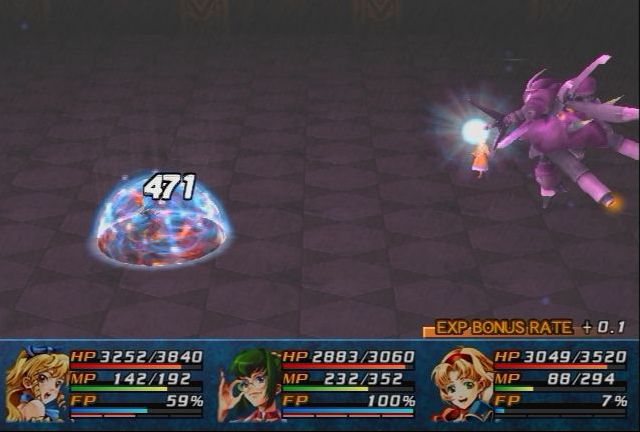
The prize is yet another Ex File Key.
Fortunately, I tackled this part during the day and I recruited some help for this part.
Krysmphoenix posted:
FUCKING 100% COMPLETION!
Ahem.
So, I believe I mentioned you can get an Ex. File Key for 100% completing the world map. The issue with this is that the map is huge, and is on a blue background with a blue ocean, making it rather difficult to figure out where I'm missing portions of map completion.
So I'm asking for a bit of help. Over the next couple hours I'm going to be attempting to find this godforsaken tiny square that I haven't flown over, but if you guys can find it for me, that would make this so much easier. I have a map for you saved as a PNG to avoid whatever the hell JPGs do to images.
If you guys could go through this image and find out if there's a tiny square that looks off, let me know. The sooner I can find this tiny square, the sooner I can get into the Abyss, which I'm hoping to start and complete tonight.
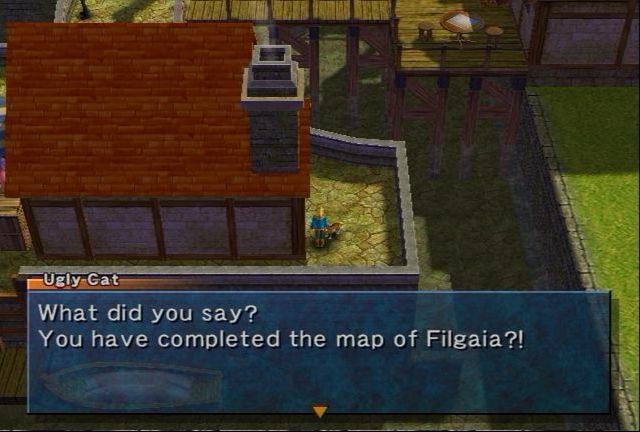
Ugly Cat: Wow! So this is what the modern Filgaia looks like. Although I cannot leave Milama, I can now imagine running around the wild frontiers of Filgaia. Thank you, wanderers. Please accept this gift as my appreciation. It is inside the metal drum over there. Don't mind the cat nip in there thought, leave that for me.
 I hope you will find that item useful in the future.
Obtained Party Item [Ex. File Key]!
Anyway, moving on. At the graveyard in Rosetta Town, there are a couple of birds (are they ravens or crows, I can't tell?) that you can hit with the Grenade to have them land on a gravestone.
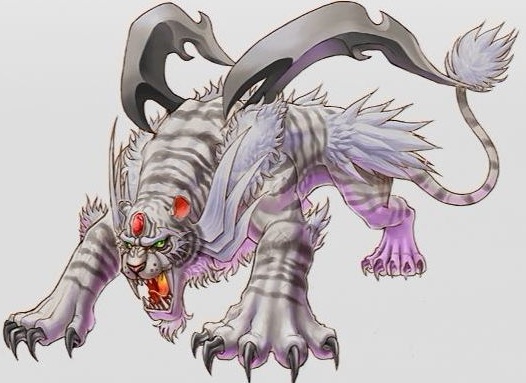
When they all land, they create a Sealed Crystal with a Bonus Boss within.
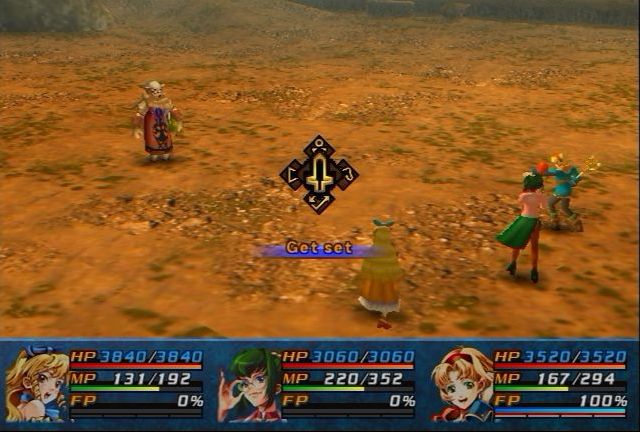
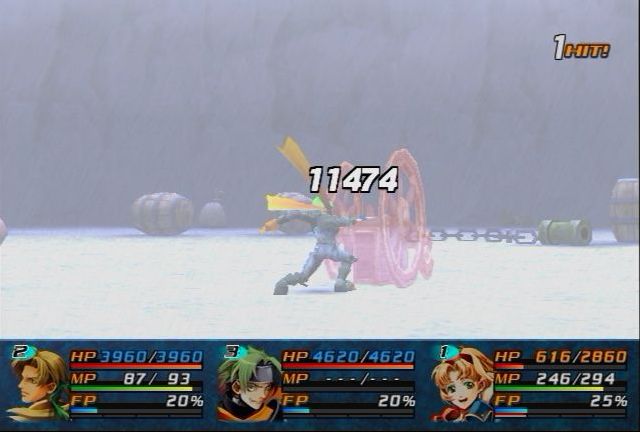
Melchom Lich is a joke. He's Lv 60, with 45k HP. Weak to no elements, immune to status effects, and only has four attacks. The Value of Money is a basic attack that's decently powerful with it's 540 ATT, Graviton that hit's everyone, Unlucky, and Gella Buster which he uses every other turn. Gella Buster, and has a chance of destroying 10% of your current Gella.
Now why does this matter? Because Melchom Lich has a undefined amount of Gella that he can drop. Upon defeat, he drops an amount of Gella equal to what you currently have. I grinded for a little bit and got some MP Repairs, and I'm currently sitting at I think around 479k Gella. So he'll always double your Gella. Better yet, use a Gella Card, and he'll triple it!
For some reason, I took of FP Advance on Rudy, so I had to wait a few turns to get his FP high enough to use Gatling Raid. Strategic timing of Cosmic Cog can prevent Gella Buster from being used...not that it mattered with the high amount of Gella I had. I wanted to get some extra, and I got really lucky and got 2 MP Repairs in one battle.

 I knew I was getting a lot...but holy shit. That's like 10 MP Repairs right there!
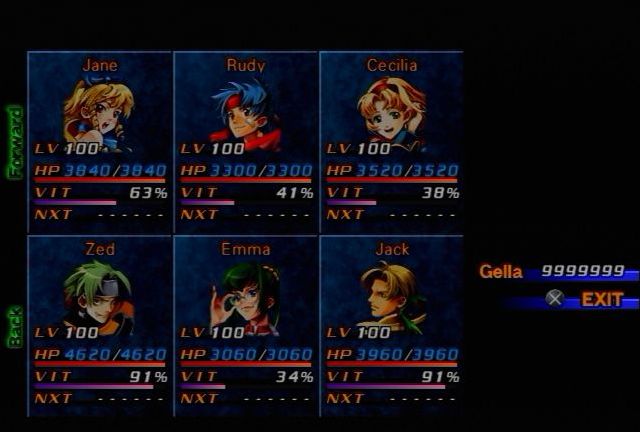
...that I can't carry.
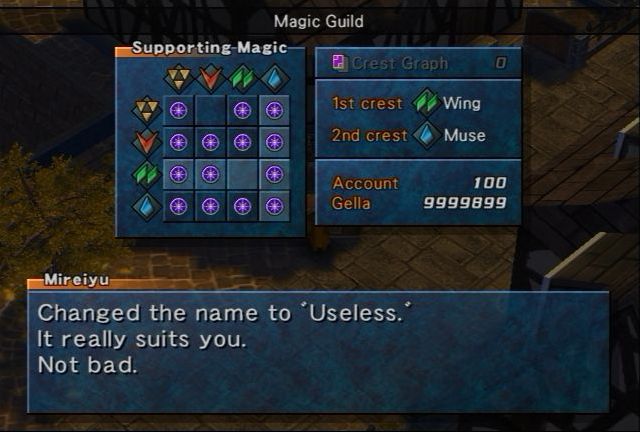
I notice I still have an unused Crest Graph, so I bind

 And then promptly realized I just spent 600 Gella doing that, so I have to sell a few crappy items to get back to the max.
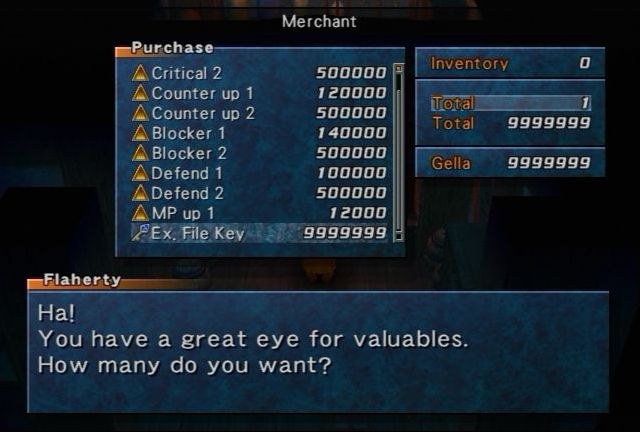
And I get yet another Ex File Key. It's a bit depressing getting this one, because then I realize I'm going to have 0 Gella for a while.
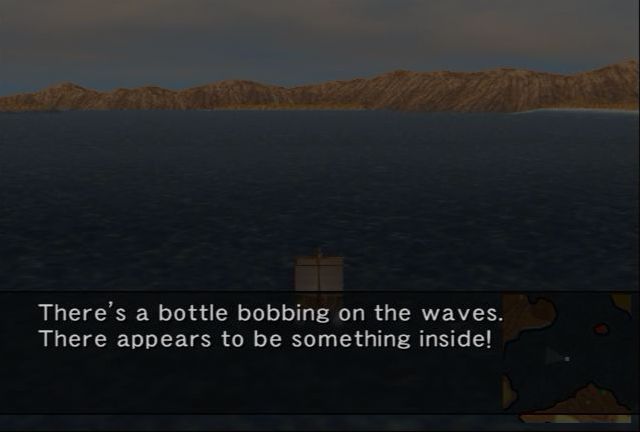
Well, it's time to take down the Golems, but this item here on the Inner Sea is worth checking out...kind of.
Rolled up inside the bottle, is a letter. "Wanted: A Special Friend! I'm the captain of a merchant ship. No salty old dogs for me, I want a cabin girl who doesn't have her sea legs yet."
The letter oozed with a repulsive aura of desperation that went beyond merely stupid. Reading further would be cruel. As if putting this repugnant unrequited libido to rest, the party replaced the letter, weighted the bottle, and hurled it out to sea. Staring wordlessly as the bottle as it disappeared into the depths, the party's mood plummeted with it...
Bartholomew...

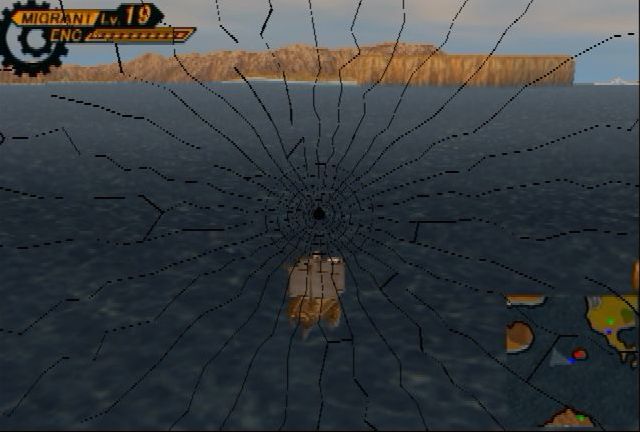
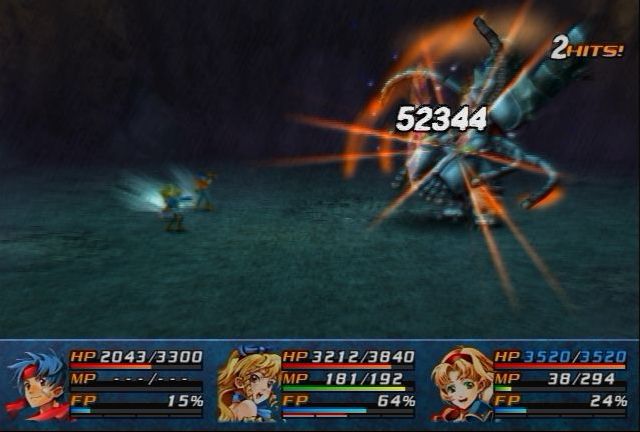
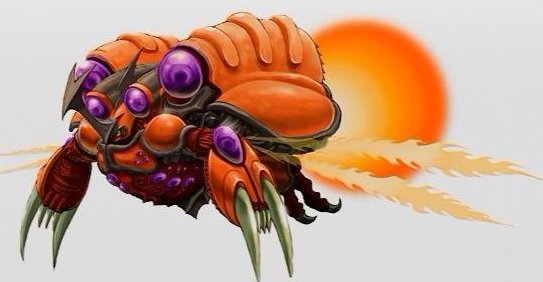
Anyway, the only way to encounter Leviathan is in the Inner Sea. The Outer Sea is safe and great for Mega Apple grinding, but the Inner Sea is dangerous, and you have a risk of any random battle being this instead.
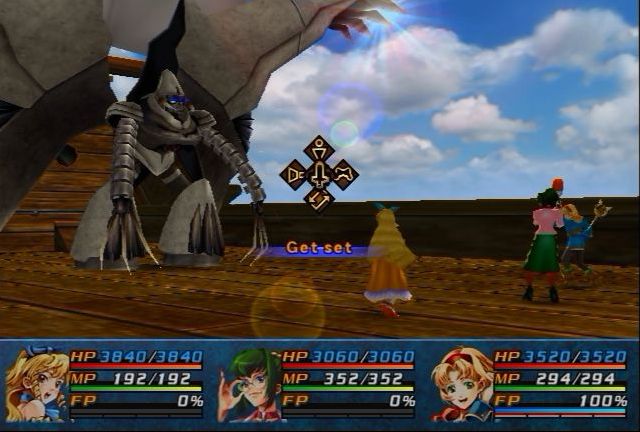

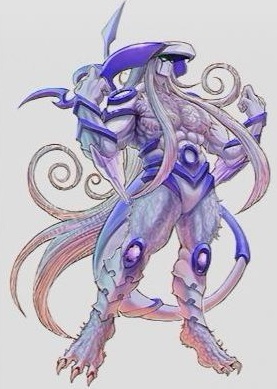
This is Leviathan. It's got a few tricky moves. First things first, it is Level 90 (like all post-game Golem fights), with 210k HP! This is going to be quite the slugfest. It halves fire, Earth, Ice, Light and Dark, for some reason is normal to Wind, Activates to Water, and is Weak to Thunder. It also is immune to status effects.
Leviathan has lots of moves. First of which is Water Zone, which it will always use if there isn't a Zone effect in place already. Fortunately, I have Thunder Zone. Second, it's got a couple of non-elemental attacks that aren't too dangerous, and an equal amount of Water-elemental attacks that aren't that dangerous either. Lastly, it's most powerful attack is Cyclone which hits everyone for Water damage. However, with Thunder Zone, it only dealt 600-900 damage to the party without Water Breaks equipped (which in hindsight, I should have used).
Another oddity about Leviathan is that every 3 rounds, it will switch between Flying Mode and Land Mode, basically giving it the Flying sub-type. All that does is just make it more difficult to hit with melee attacks, but Rudy's ARMs and Magic are not effected at all.
The song playing here is G's Roar, the standard Golem theme. This isn't a remix or arrangement, I just like this song and want to hear it more.
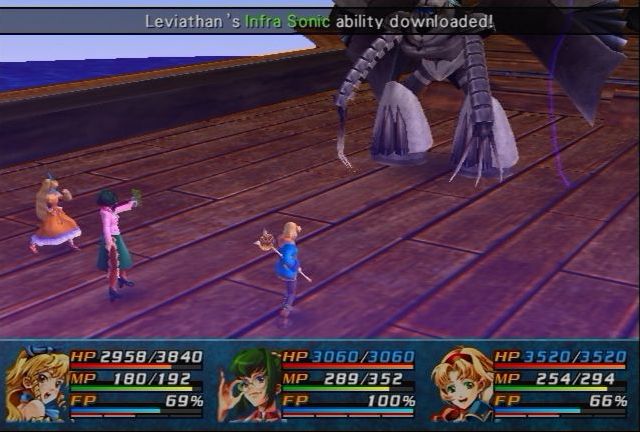
The only downloadble move that Leviathan has that Emma doesn't is Infra Sonic, which just is a non-elemental TC 1.5 move, weaker than Agony Effect and Paradigm Pollution. There's a version that hits one target or multiple targets, but that doesn't matter since it's still weaker.
I don't need the boys to kick Leviathan's ass. Jane's got Healing down pat with my endless supply of Potion Berries thanks to the Rat Monkeys, and Emma and Cecilia can blast away with Thunder-elemental attacks. Cecilia uses Materials (31k damage, seen here) when possible, Tesla Coil (13k) when not, and Love Charm when out of MP. Emma uses Voltage Spark (9k) and Download to keep her MP high. This strategy uses minimal resources and is generally safe to use. I guess if you run out of healing items it could be a problem, but Emma also has Critical Heal which hits all allies for 9999 healing. Generally bosses won't counterattack Materials, and are less likely to counterattack magic, but Cartridges and Fast Draws seem to get counterattacks quite frequently if the enemy is capable of counterattacks.
Upon defeat, Leviathan spontaneously explodes. Like I said, a slugfest, but all post-game bosses are going to be like this no matter what you do. The prize for victory is PS Water Break 4. Not that great, but...well, the real reason is something we'll see later on.
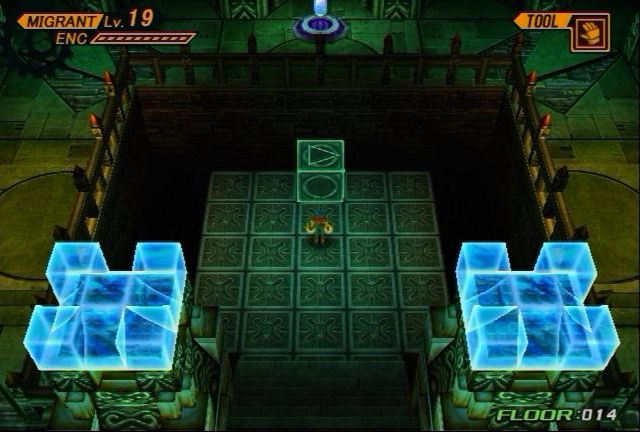
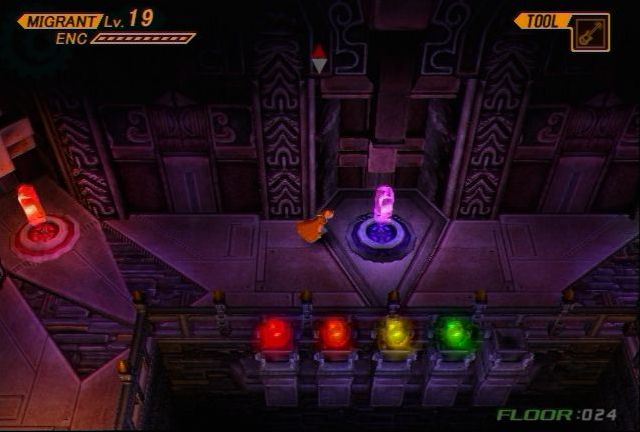
Anyway, our next three Golems are in Malduke, in the colored sections. You have to solve the puzzles incorrectly, so in this case, I have to solve it so that the Triangle is on the square, instead of the Plus. This gets annoying for some of the later ones.

And they are also in Sealed Crystals.
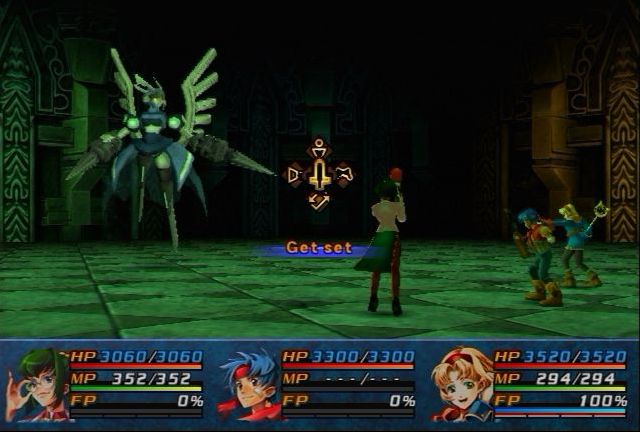
Meet Belial. Belial has 220k HP and halves all elements, effectively turning it non-elemental. Instead of having a Zone, Belial uses Optical Camouflage, which just doubles it's Evasion.
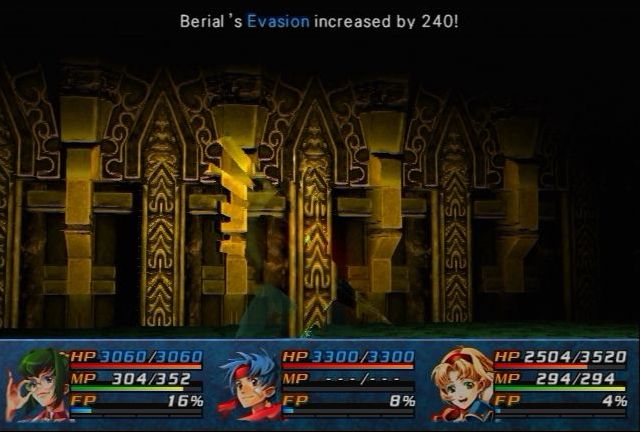
It also, you know, actually works like Camouflage, causing it to blend into the background, a very cool touch. Belial is very fast, so I opt for Rudy's Gatling Raid instead of Jack's Laser Silhouette.
Yoink. Single-target Non-elemental TC 2.25. Hyperion Blaster (which I got all the way back at Giant's Cradle) has TC 3. What is with all these pointless Downloads?
Belial's also pretty powerful physically, but only hits one character, so a Damage Race is pointless. Besides, Rudy wins with Jane's healing. Belial drops PS Defense Up 4, which is actually kind of awesome.
Anyway, to reach the boss of the Red area you need to go from Red to Purple chromatically.
The next Golem is Lucifer, with 240k HP, halving all elements except for Light (Active) and Dark (Weak). It also likes using Bright Zone which doubles Light damage, but I don't have Dark Zone to use against it instead. Lucifer feels like the strongest because it has two attacks that hit everyone, and will often counterattack even spells with Photon Bullet for single-target Light damage. (I forgot Ray Breaks...)
To take out Lucifer, I use Anti-Magic Zone to reduce it's magical attacks while I get the buffs up.
Then switching to Magic Zone once those buffs are up, to boost Hell Scream, Tenebrae and Screaming Mad. This strategy is effectively the same as Leviathan's, except I don't deal as much damage because Magic Zone doesn't boost Dark damage as much as Dark Zone would. I probably could have finished the fight faster if I used Jack or Rudy, but everyone was just at really terrible Luck so I decided I'd just go with this strategy again.
Oops, looks like I was wrong about Materials not causing counterattacks, as Cecilia still got hit by Photon Bullet quite a bit. Not that big of a deal though. With Holy Man Sorrow up, I'm not concerned. It's another slugfest, but that's the same for all Golems. Prize is PS Ray Break 4.
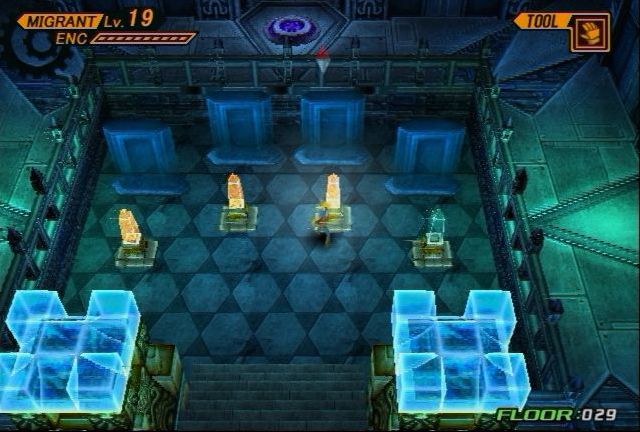
The last Golem is in the Blue Area, and to get to it, just punch everything once with the Mighty Gloves. The only thing that requires Rudy to use the Mighty Gloves uses a three-hit punch.
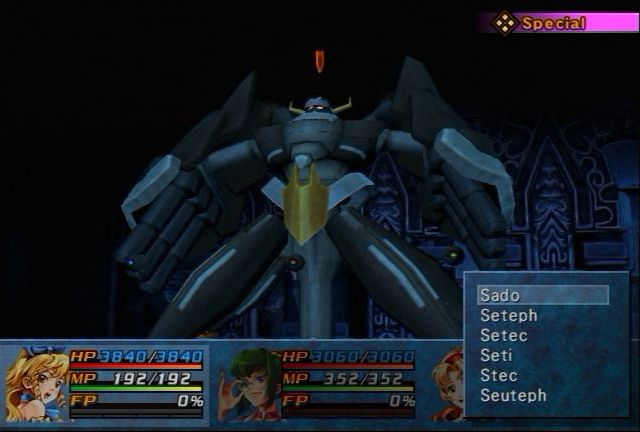
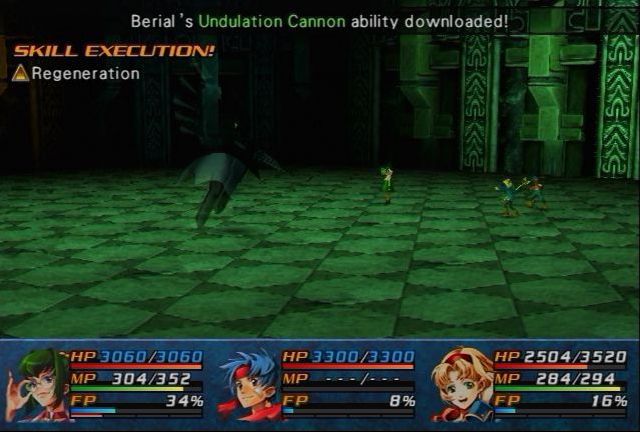
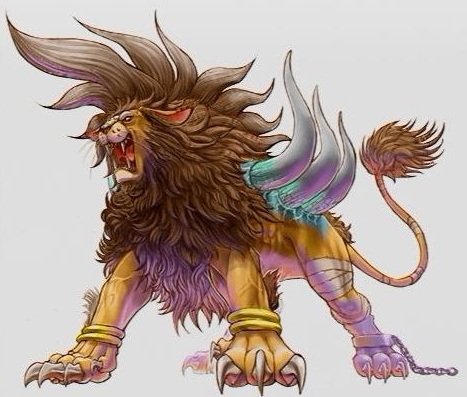
This is Sado, and it's got 200k HP, and is only Weak to Light and Activates to Dark. The five minions each have identical stats, with 12k HP, the same elemental affinities as Sado, and they only use Undulation Cannon.
Once I get Light Zone up and Great Booster Cecilia, the minions go down to a single Flash Hit. They were only dealing about 400-600 damage per round, but that's damage I still don't want.
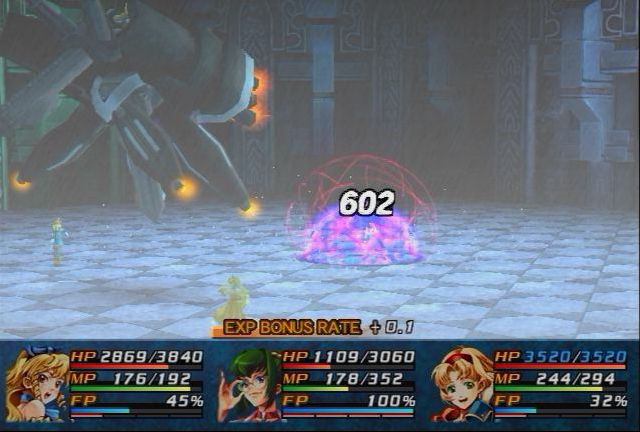
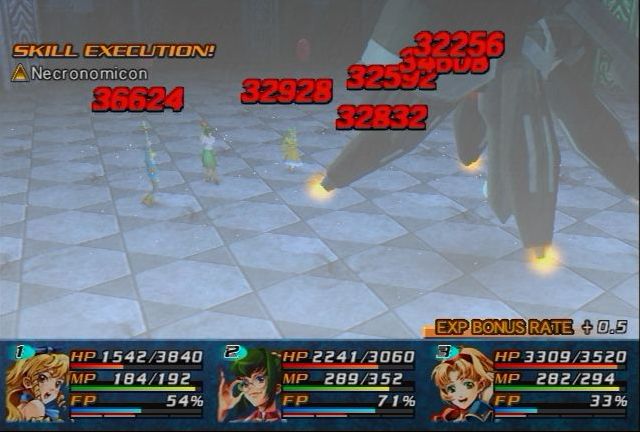
Beyond that quick gimmick, the fight is nearly identical to Lucifer's, as Sado doesn't revive it's minions. Heck, even the attacks are similar, and you can get Dark Zone from Sado. Shown here is Blackhole Bullet, which looks exactly like a palette swap of Photon Bullet. So I just use the same strategy all over again. The prize here, is unsurprisingly, PS Dark Break 4.
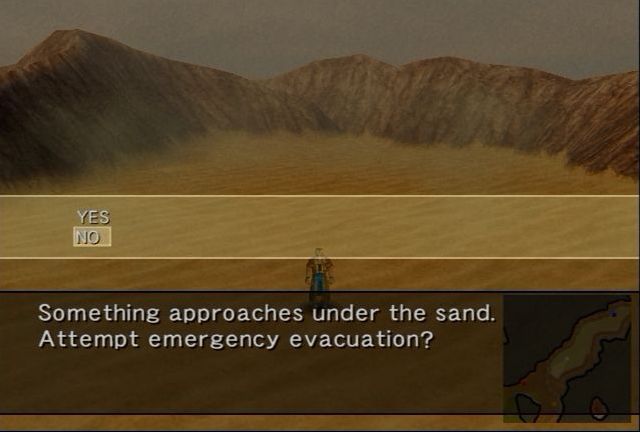
The last Golem is in the North-Eastern desert, which you can only reach from the South-Western desert and cross the corner of the world map on the tiny bit of "river" in between. Just run around and you'll get this message; no need to enter battles like you did for leviathan.
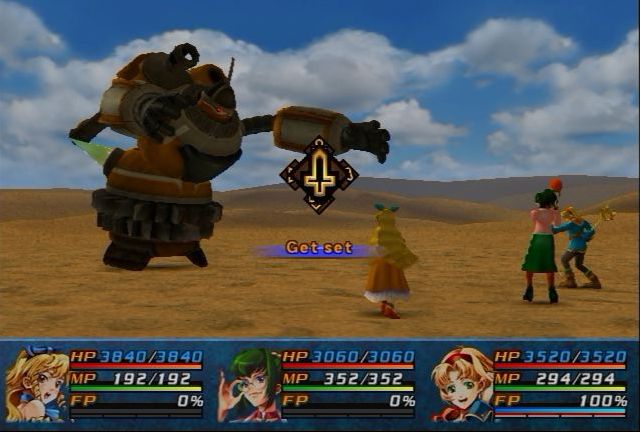

Huh? Why is the normal battle theme playing here?
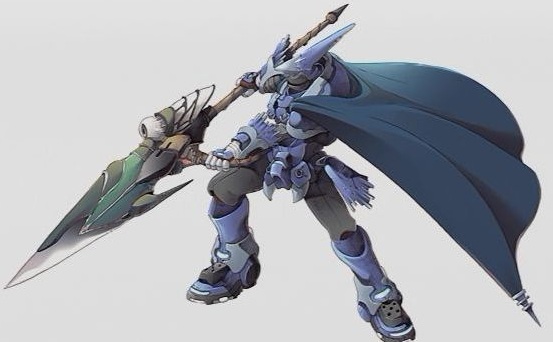
This is Barbados, with 180k HP, Active to Earth but Weak to Wind. Oddly enough, he doesn't have Earth Zone. However...
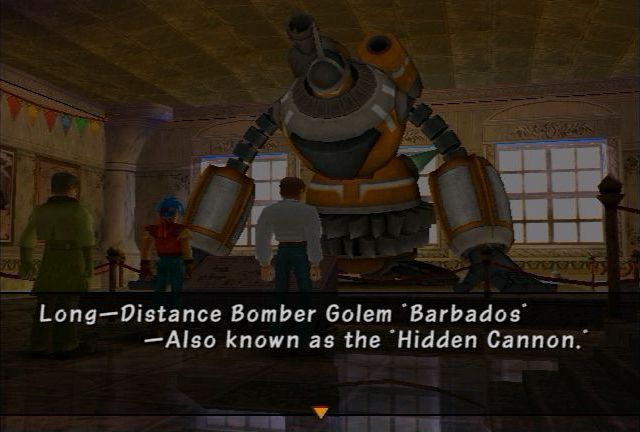
Krysmphoenix in Update 5 posted:
Its shoulder holds an electromagnetic long-distance cannon as well as hidden gun ports. It's believed it was able to communicate with New moon, and it's cannon was an ultimate weapon that shot beams of lightning.
The more I read about these Golems, the more concerned I get. That sounds like some kind of super-powerful instant-Game-Over type of weapon. I'd hate to have to deal with that.
 Guess what I get to deal with! Fun Fact: If you SOMEHOW are able to bypass Malduke Gaze (like, say through Phoenix or Cosmic Cog or What Can You Do?), Barbados will keep using it and has infinite HP. You cannot win in a direct fight without dealing with Malduke Gaze first.
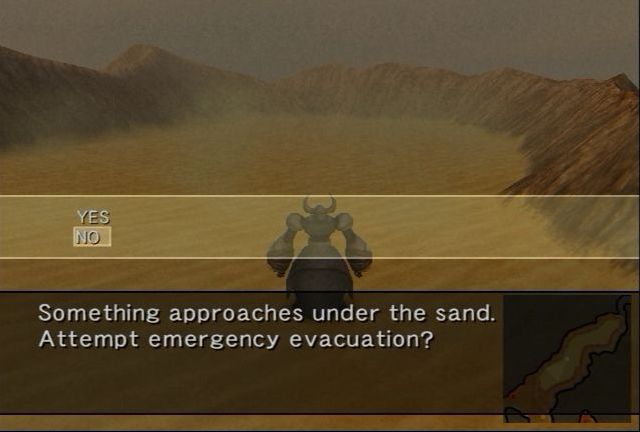
To deal with it, you need to walk around on Asgard to get the battle message instead.


When you do so, you get a special cutscene instead. Note that it's playing G's Roar here, which I'm replacing with Rocking Heart's G's Roar. This is the final Golem fight, and probably the most badass.

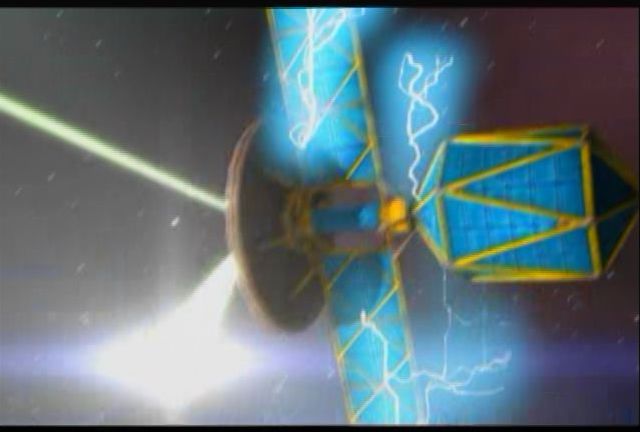
Barbados' signal reaches Malduke.

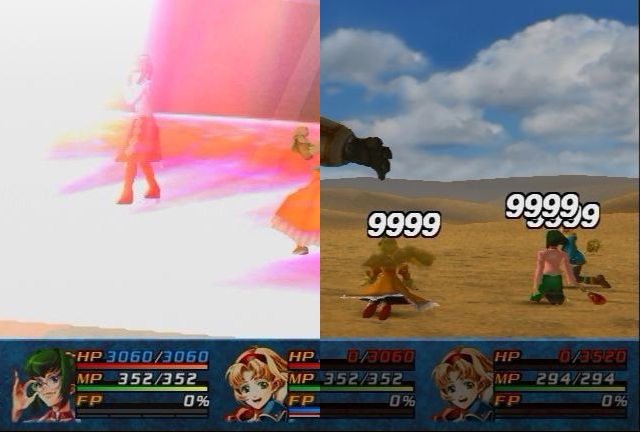
Which then charges up and fires. Oddly enough, this isn't the world-destroying kind because Zeikfried/Mother hasn't super-powered it with darkness yet.

As the red light descends, Cecilia clutches the Teardrop, while Asgard only looks up and...
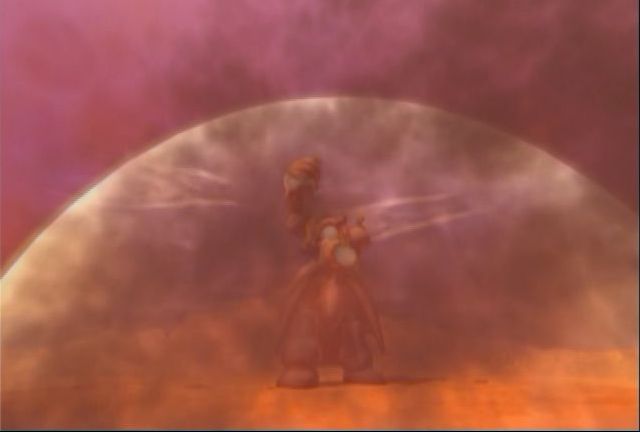
Blocks it with one hand.
On the other hand (pun unintended, but kept anyway), this should show how dangerous the destruction of Ka Dingel was. If Malduke Gaze deals 9999 damage, and Asgard could easily block it, just how bad was that explosion at Ka Dingel because of the subspace interference bullshit?
As you fight Barbados, Asgard sits in the background with his arm up. Barbados won't use Malduke Gaze again, because it knows it won't work.
I'm lazy so I just use the same strategy again, using Magic Zone instead of the Wind Zone I don't have. Barbados isn't that dangerous compared to the other Golems. The only attack he has that can hit everyone is Earth-elemental, and with Holy Man Sorrow on top of Great Booster it's not a threat.
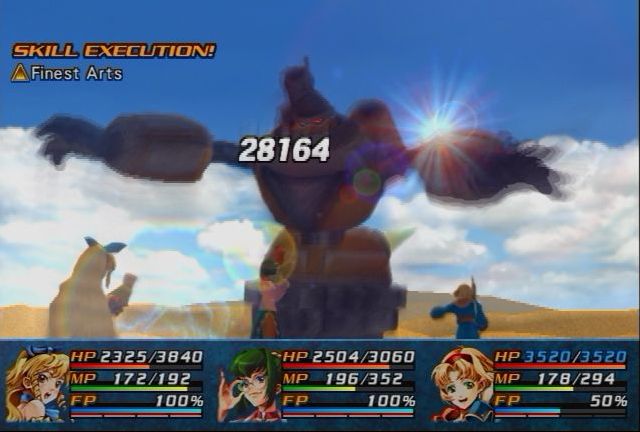
Jane gets a few Finest Arts in too, which helps the damage output since Barbados counterattacks with missable physical attacks. Did I mention Jane's Evasion at Lv 100 is 999?
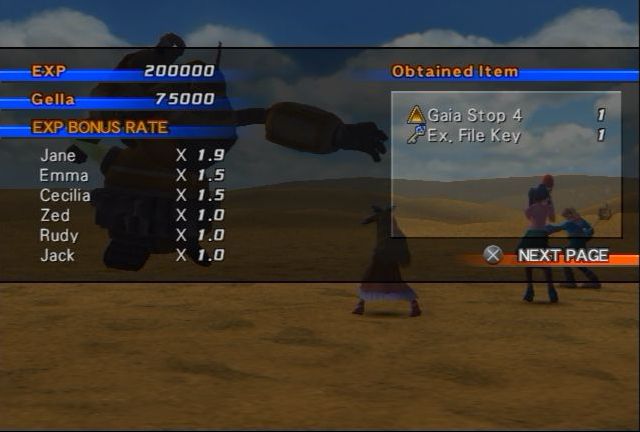
No death animation, just hands out the rewards. The Ex File Key appears for your final Golem fight, no matter what order you take them out in.
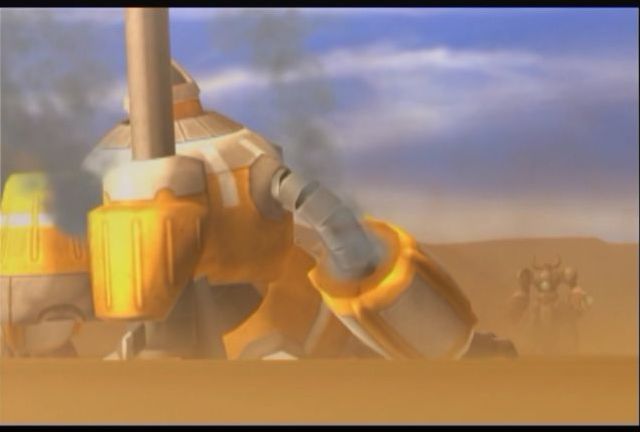

Speaking of Golem fights...it seems as though Barbados knows it can't win with Asgard around.

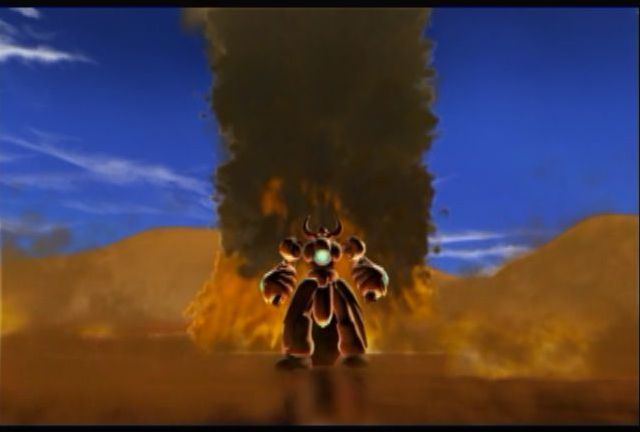
So it launches out a series of missiles aimed directly at Asgard.
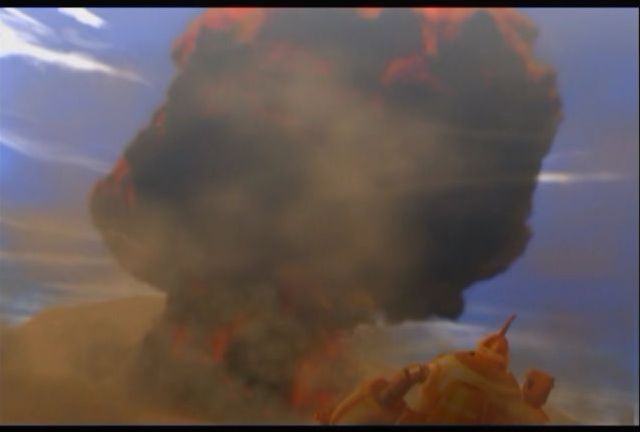
The explosion is powerful enough to generate a small and rough mushroom cloud....
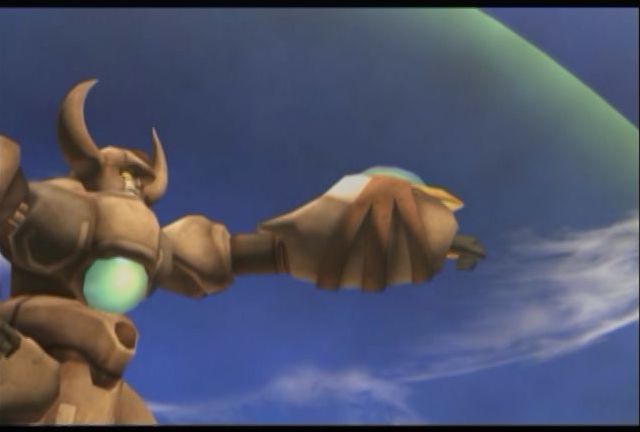

But Asgard is the Fortress of the Gods, and will not be taken out so easily.
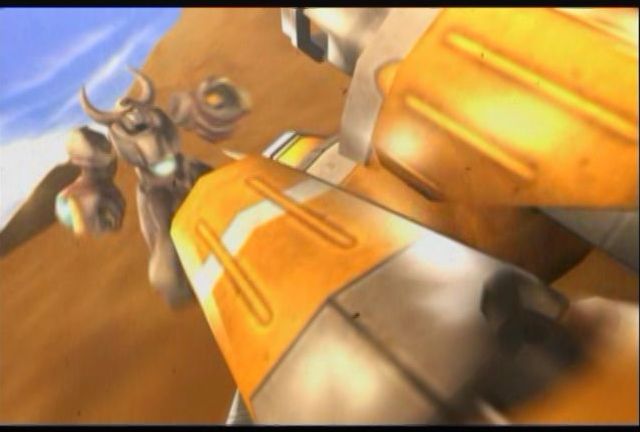
With one last ditch effort, Barbados goes flying at Asgard.
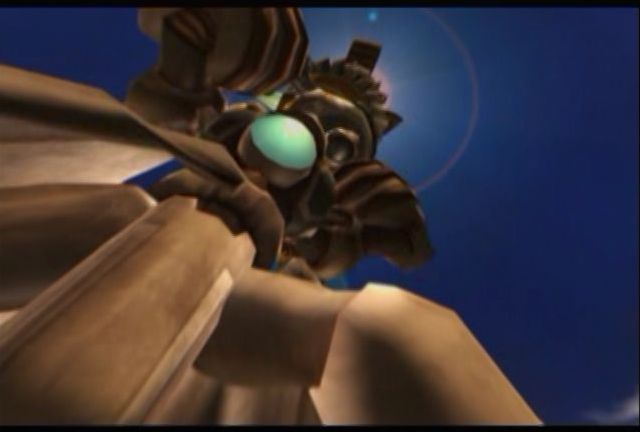
Only to be merely picked up and thrown aside.
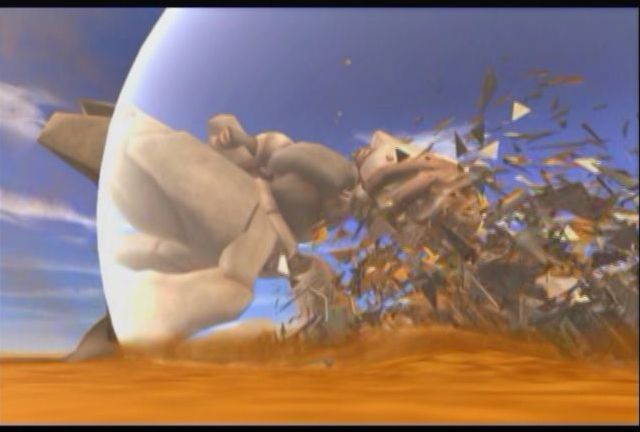
Asgard throws aside his non-violence in light of necessary self-defense, and unleashes a barrier right into Barbados.
They weren't joking when they said that Asgard's defensive barriers are perhaps the most powerful weapons all of the Golems.

Alright, bear with me because I have one last Bonus Boss I want to take out for this update, and it will be the final Bonus Boss, excluding Ragu.
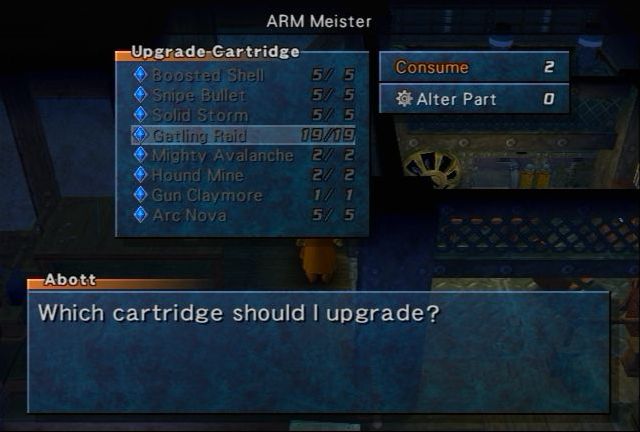
Anwyay, I stop by and use some of the spare Alter Parts I have, giving Rudy 5 Arc Novas total, and 19 Gatling Raids.
Song selection here is Zephyr's, the ending theme from Wild ARMs 2...I think. Like I said, my memories of 2 are rusty. Anyway, of the songs I have left, all but two are from Alone the World. This one's pretty energetic although a little jazzy. Same could be said for the Devil's Playground songs, so I guess it fits?
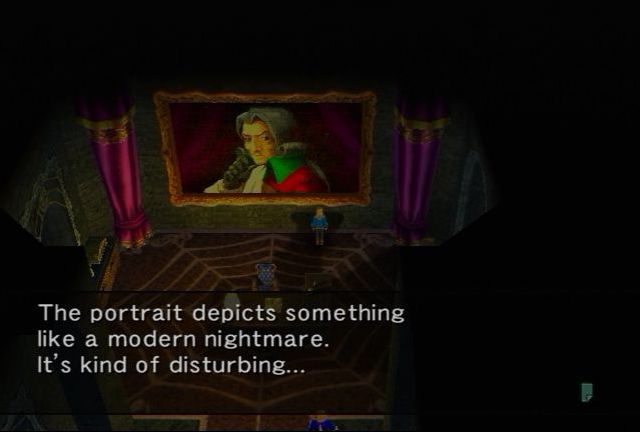 In Devil's Playground, once you beat the Veteran League (I think, not sure) you can walk into Pegucchi's room and talk to him, although he's just a narcissist and says nothing of value. This picture shows everything you need to know. There's also a book in the room worth reading.
Future Devil Registration posted:
Welcome to the battle arena!! For those of you who wish to be the future Devil, please register here first. It is quite simple. All we need is the date. For example, if the month is August of the year 731, write down '08/731.' Remember, the two digits for the month, then a slash '/' and finally the year. It's easy right? Now all you have to do is polish your skills to become the next Devil.
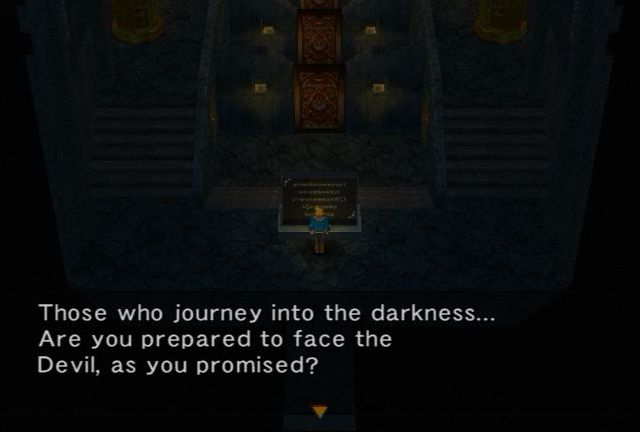
Or, have you forgotten your promise? Will it be another 100 years before you are ready? If you are prepared, keep walking fearlessly into the darkness. Whatever you do, don't turn around.
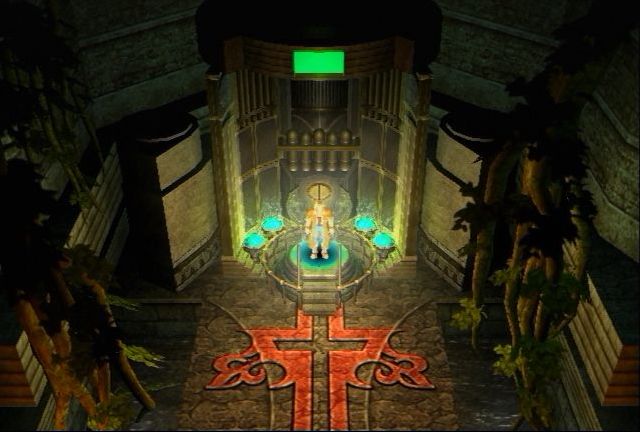
So, ominous message aside, there is a door in Pegucchi's office that leads to this area, and this door opens when you beat the Master League. Four Duplicator doors block your way, but I have plenty.
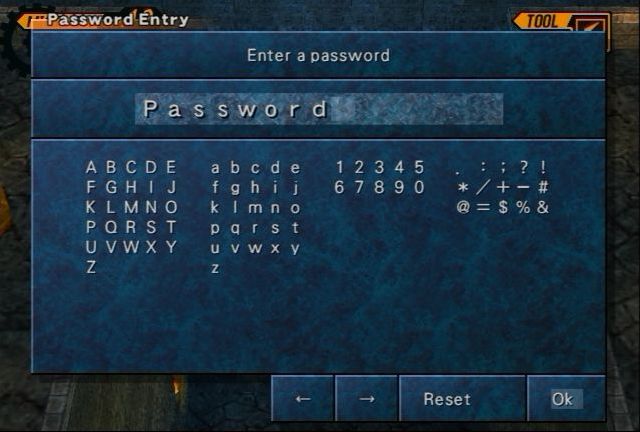
The door at the bottom requires a password, so naturally I assume Zed programmed the security on the door and guess Password.
If the time has not yet come, then I, the Devil, shall continue to await the promised time...
The real answer is the month's date. Remember the book? So the password for me would be 10/2011 because it's October, 2011, and I coincidentally I made sure my PS2 was set to an accurate time. (No, really, I happened to make sure it was set properly after getting bored waiting for it to read my disk.)
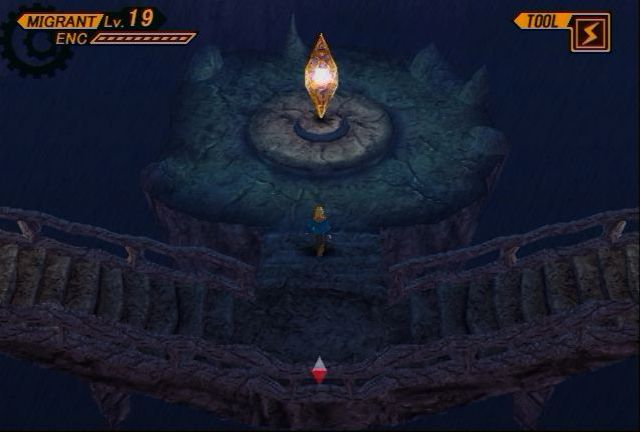
It leads to a room with a large staircase made out of...bone? Weird sounds pop out from within the room. This is rather spooky, considering everything else in the game.
Anyway, time to wake up the crystal by playing it a song.
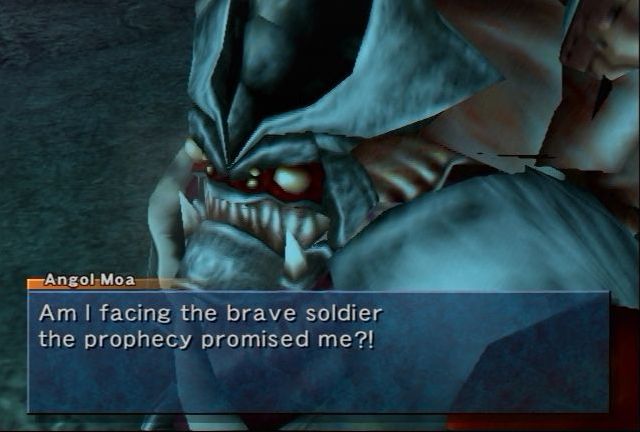
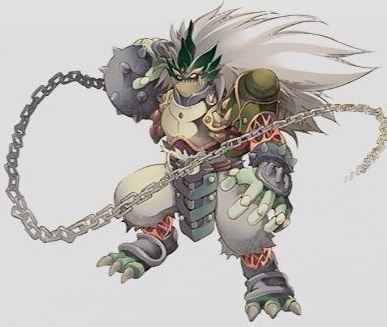
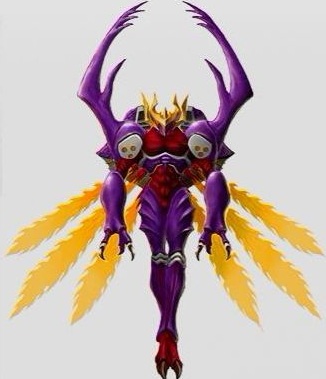
 Woah, he's hideous!
Angol Moa: No... I do not believe you are the one... Who are you, then? It doesn't matter. I will squash you like a bug. But, don't worry... You won't live long enough for regrets.
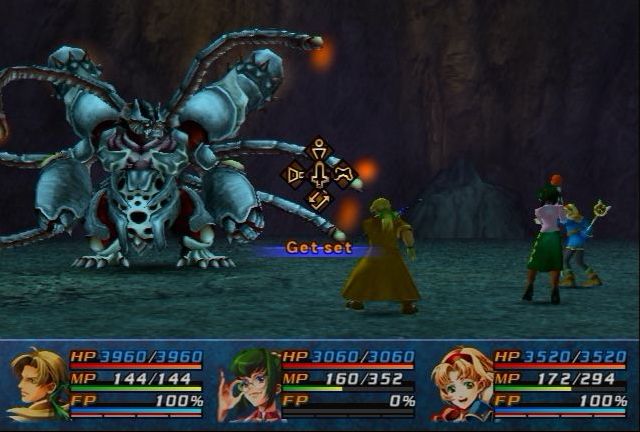
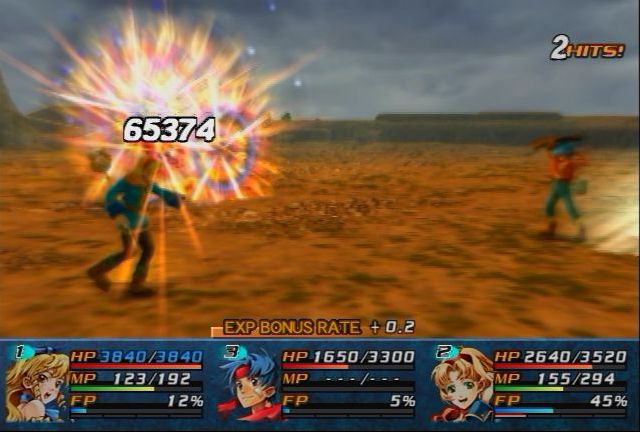
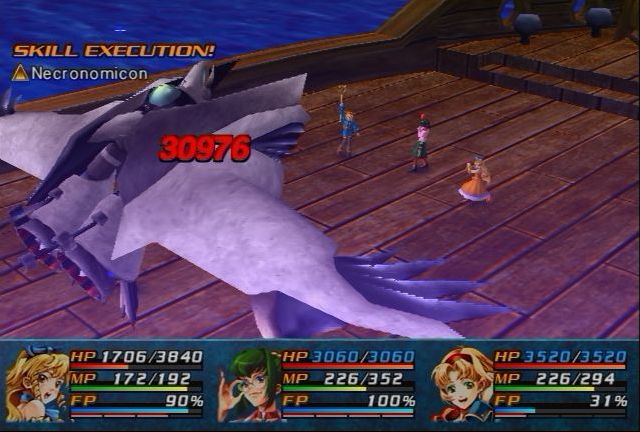
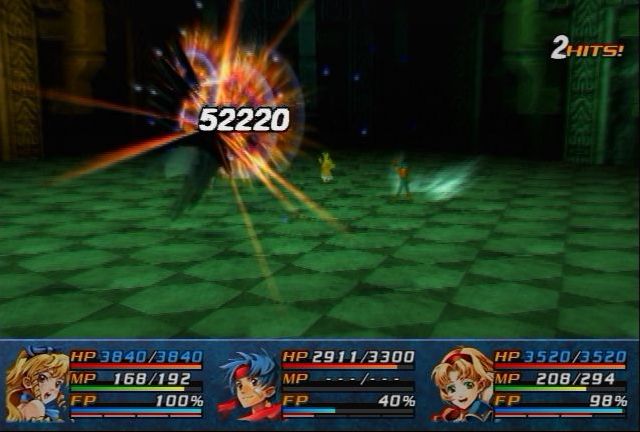
Meet the King of Angol Moa, although they left out the King part for some reason. Angol Moa has gained a reputation in the Wild ARMs games as being the most powerful Bonus Boss that doesn't have Ragu O Ragula in it's name. Case in point, Angol Moa is Lv. 95, has 300k HP, and fully resists all elements. Angol Moa himself likes using using Agony Effect and Screaming Mad (also his Counterattack) to great effect with his 900 Magic stat. He also has Renovation...but that's useless since it only heals a couple thousand HP.

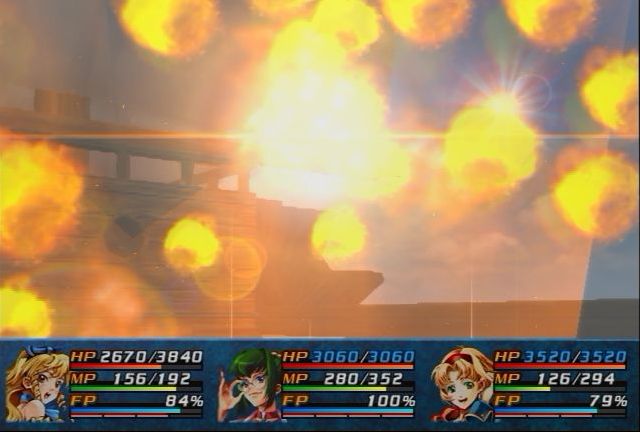
But the real kicker is The 7th Moon, which he only uses once every three rounds. It deals non-elemental damage to everyone, and his is signature technique. (Don't mind Cecilia's PS Regeneration kicking in.) Jack is out because I want to see how he stands up to Angol Moa, who is close to Ragu in power. This fight determines who I use for Ragu.
Fully buffed, and with Chop-Chop, Jack is quite a force to be reckoned with here, and this wasn't even with Accelerator! Unfortunately, I thought this might be the killing blow, and my foolishness gets Jack taken out this round.
Rudy finishes up Angol Moa, with a 8-bullet Gatling Raid that's still pretty impressive. At full strength it probably would have done closer to 65k. So it looks like I'll use Jack for Ragu, but the strategy I'm working on...may not quite work with Jack, so I may have to switch to Rudy. When all is said and done, Angol Moa drops PS Resist Up 4. No one else says anything too interesting, or even notes that Angol Moa is gone.
End of update status:
: Level 100--ATK Bonus: 114 (Lv. 8)
--Bullets: 10 (Lv. 7)
 : Level 100
 : Level 100
 : Level 100
--Downloaded Paradigm Pollution, Infra Sonic, Light Zone, and Dark Zone.
 : Level 100
--Bullets: 20 (Lv. 15)
 : Level 100
Migrant Seals: 19
Ex. File Keys: 20/25
Fuck-Ups: 51
Version Differences:
Golem fights aren't changed dramatically. They aren't too interesting, but hit hard and have a lot of HP. Barbados though, really shows how badass Asgard can be.
Angol Moa's name got changed from the standard King of Angol Mois, but it's a name that gets butchered a lot no matter what game you're playing.
The Black Box and the Ugly Cat exist completely to annoy players.
Ex File Key:
Whew! Four new Ex File Keys! The first one was from the Black Box, giving us the 10th Key, for Illustration Gallery 08. More bad guys!

The next one was from the Ugly Cat for 100% Map Completion, that was the 19th Key, for Illustration Gallery 15. In the Japanese version, this was Voice Collection 7. Last of the elemental Guardians.
After that was the 10 Million Gella key, the 9th Key for Illustration Gallery 07. More status window portraits.


And finally the one for the golems, the 7th Key, Illustration Gallery 05. Battle window portraits for the last four. Also random Bartholomew.


A Saying A Day
A few extra today because I skipped these on Tuesday, because I ran into the character limit.
 : (October 17th) The saying is that if you touch a Guardian, nothing bad will happen. This is from Basker, where the statue of their Guardian is taken care of. For some reason, people always seem to want to touch it. Some people do it for good luck. Some people do it to make a wish. Some people do it just because. You hear stories though........ A lot of prayers and feelings are focused there, and supernatural things may happen.: (October 18th) A saying is that after 3 days, you will get tried of looking at a beauty. You just think that you get tired of hearing sayings after three days? Didn't you? I think the idea is that beauty alone isn't enough to keep your attention. I think that sayings are though......... What? Do I get tired of it? I've never thought of it. What one likes, one does best.: (October 19th) Today's saying is, 'curses come home to roost.' The idea is that cursing someone sets things into motion that go beyond the curse. One way or another, it will always come back to haunt you. Sometimes the person gets you back. Sometimes you just get so fixated that you get hurt yourself as a result. The best way is to not curse anyone. Maybe you could talk to them instead. Or maybe tell them sayings.........: (October 20th) Today's saying is that there is no royal road to learning. Once there was a prince who was spoiled. He thought that everything should come easily to him, because of his station. He never wanted to study his letters or his mathematics, or even his swordplay. He felt that he shouldn't have to. Instead of inheriting the crown when the king died, he was passed over for his brother. His brother had done his homework.: (October 21st) Today's saying is that a great desire grins at a little desire. A person who has a great desire thinks a person with a little desire is a sucker, and grins at him with a superior attitude. But as in martial arts, a mature man knows that both desires are nothing. This is why a great desire never beats a little desire.: (October 22rd) Today's saying is that you can't step twice on the same piece of water. Whether it's a river or a lake, water is always in motion. Even when you step in the exact same spot, the water under your feet isn't the same as it was. I think there's a deeper meaning here...............
Next Time:
Lasciate ogne speranza, voi ch'entrate.
(Also, a special guest commentator...kind of.)