Part 78: Trial Map 1: Valley of Death
Before we get into the first map, I want to briefly go over the three "rules" of trial maps. First, you gain absolutely no experience on trial maps. Unless you have some stat boosters sitting with Merlinus, your characters will permanently be whatever they were when you finished the game. Second, there are no shops or anything of the sort in the trial maps, including Merlinus's shop. Again, whatever you ended the game with is all you get. And finally, the game doesn't save anything you do in Trial Maps. Feel free to throw around Boltings and status ailments with impunity, because everything gets reset to your final save's status after clearing the maps.Sure hope you didn’t throw all your good stuff at the last few maps in the plot!
Honestly, I’m not really sure why they went with this system.
Trial Map 1: Valley of Death
There's also no plot for obvious reasons.
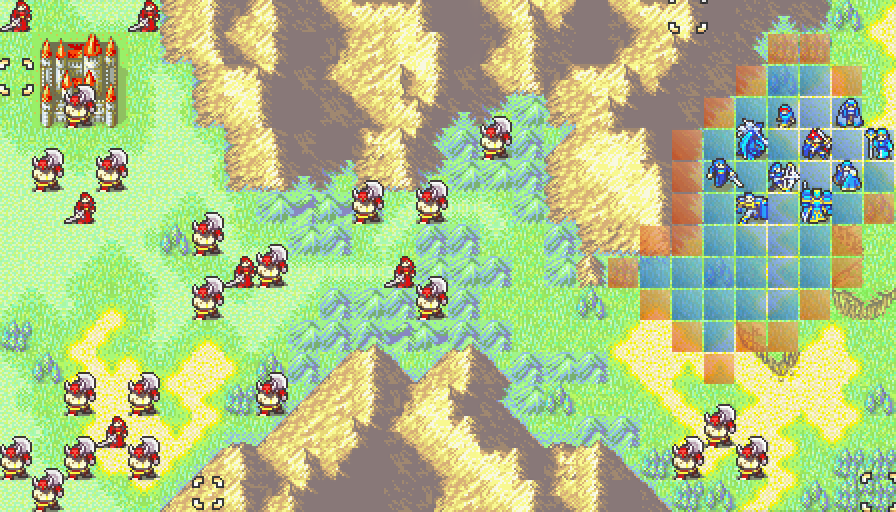
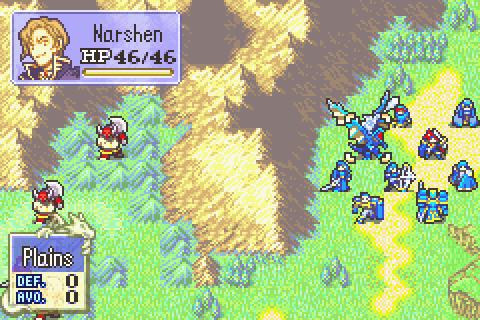
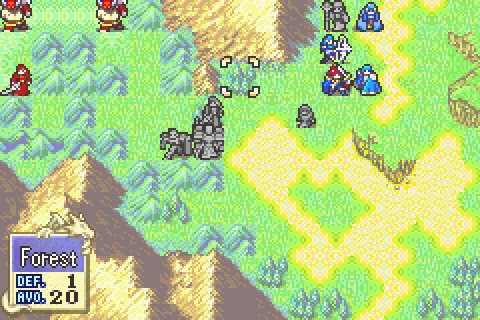
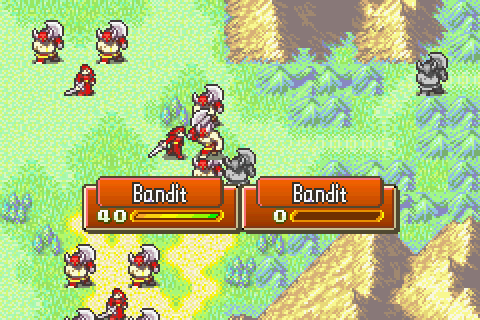
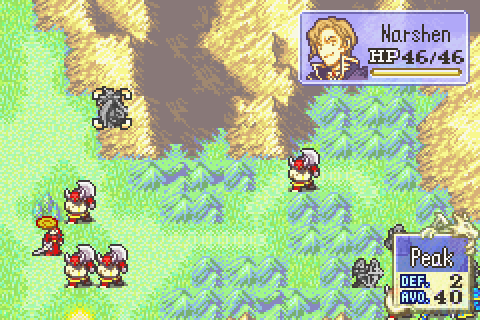
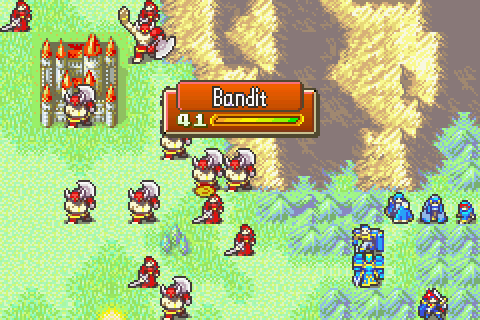
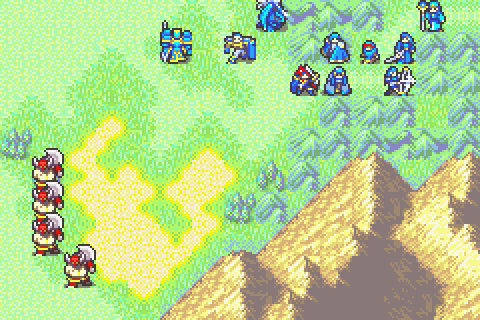
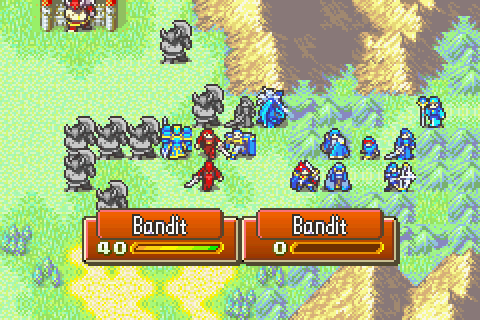
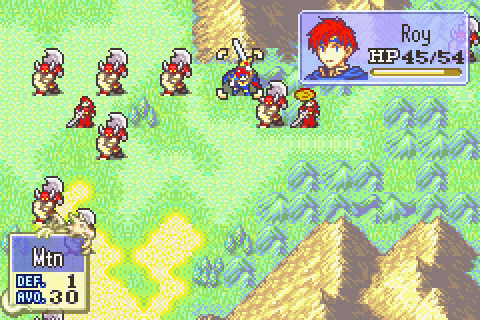
So, Trial Map 1. Short, sweet, and full of berserkers. Let's meet the opposition.
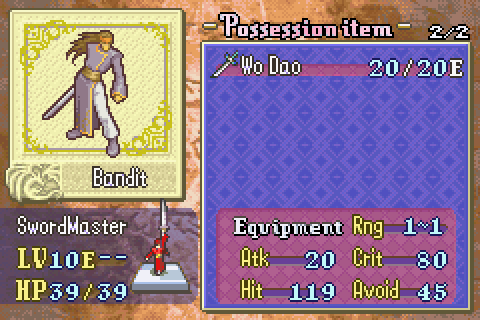

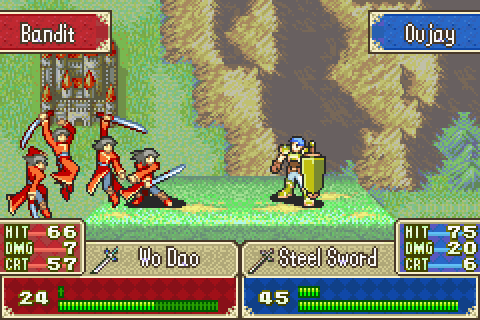
The enemies themselves are pretty weak, and the only real danger comes from their weapons. The Wo Dao swordmasters in particular may only be packing 20 Atk, but when it's basically a guaranteed crit, you do have to tread a little carefully.
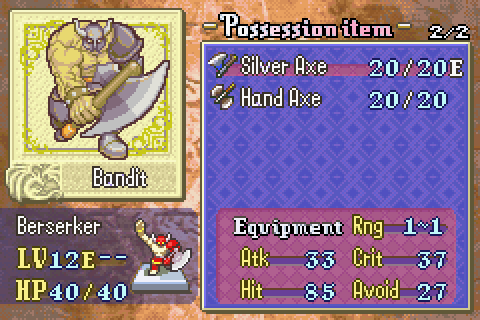
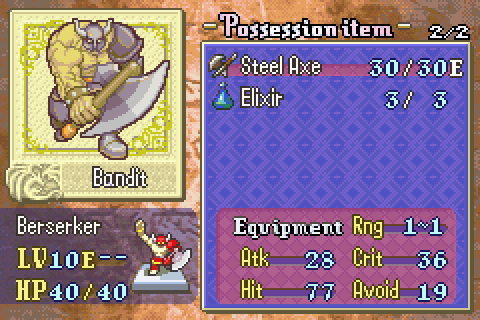
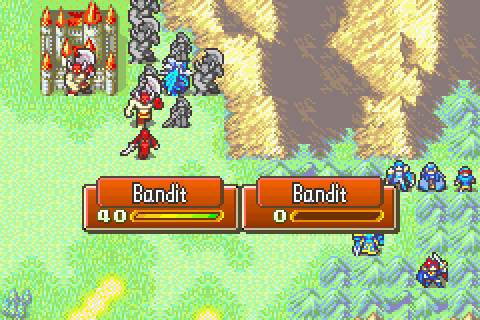
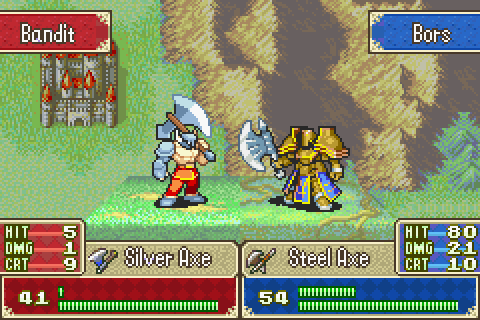
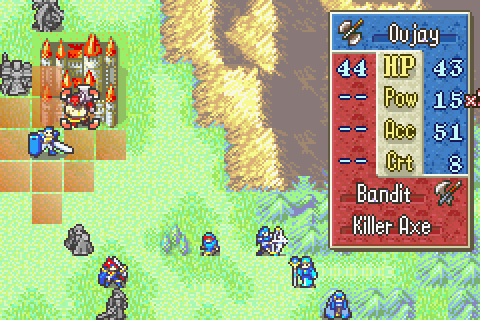
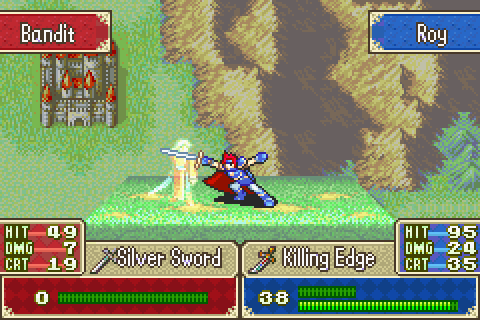
Same story for the boss. Mooks in Zephiel's castle were stronger, but no one likes getting a Killer Axe to the face.
Maps like this are a nice reward for anyone who goes to the effort of actually training someone with some Actual Defence. They’re basically invincible here.
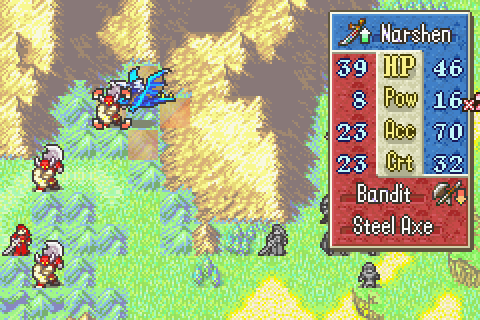
And then we have this guy.
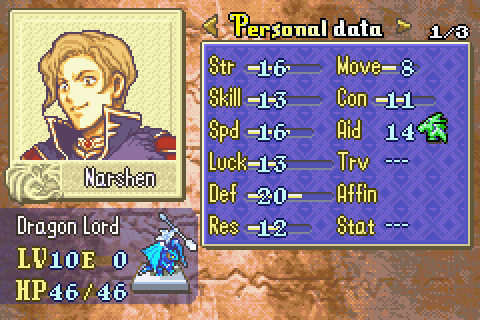
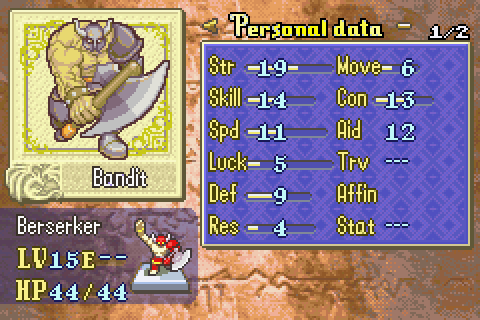
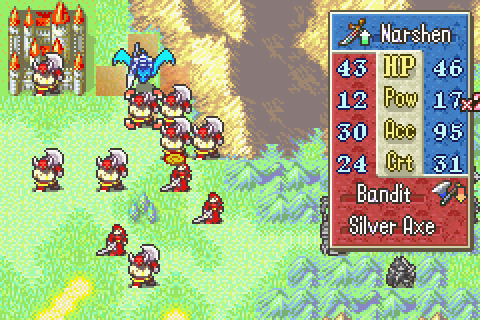
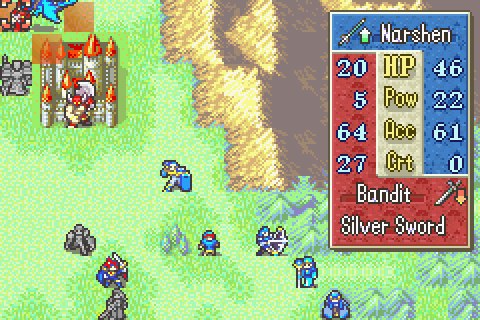
Narshen is the first of the Trial Map characters, where we get to use our enemies and NPCs for shits and giggles. Narshen is unlocked by beating the game for the first time, so you get him at the same time as you unlock Hard Mode and the Trial Maps themselves. He comes exactly like he was in Chapter 16, so at this point he's a little weak and a little slow, but he makes a damn good tank with his Runesword and comes with a second Delphi Shield if you wanted to use two flyers on the Trial Maps.
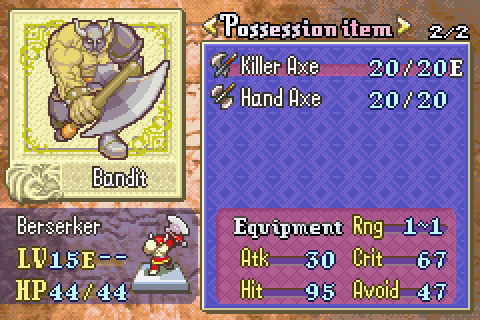
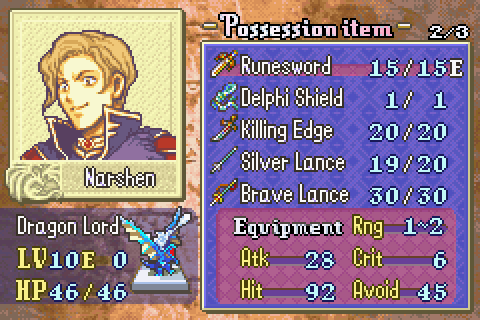
And, if nothing else, it’s a free Runesword and a free Brave Lance. Not too shabby.
Well, not exactly. I took the liberty of...improving his arsenal before the chapter. By default he comes with a Runesword and Delphi Shield.
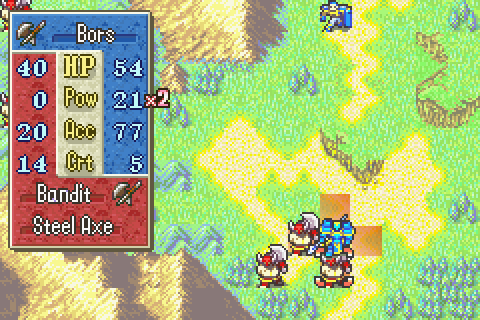
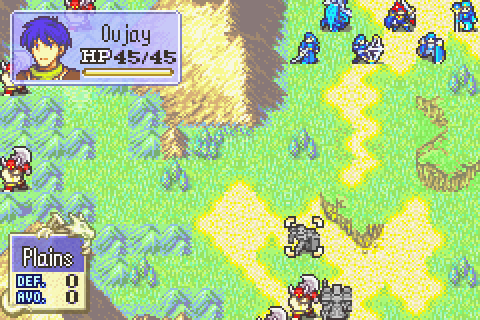
Bors and Oujay start by taking the southern berserkers, and the rest of the crew starts moving forward.
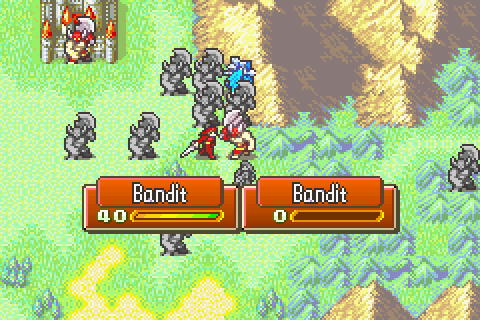
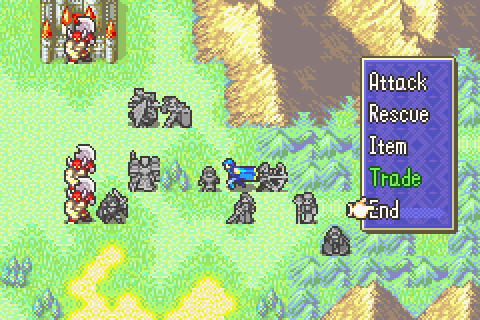
Meanwhile, let's take Narshen for a spin.
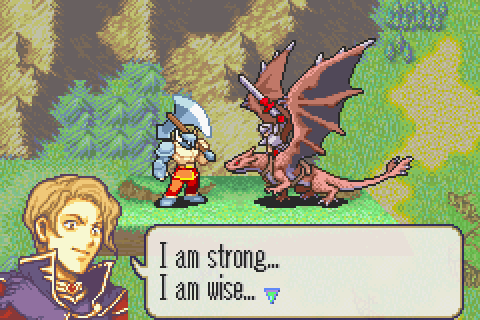
I strongly feel otherwise.
Somewhat annoyingly, he does his little spiel the first time he attacks. Thankfully, it's only once, and he also gets to keep his boss sprite in combat.
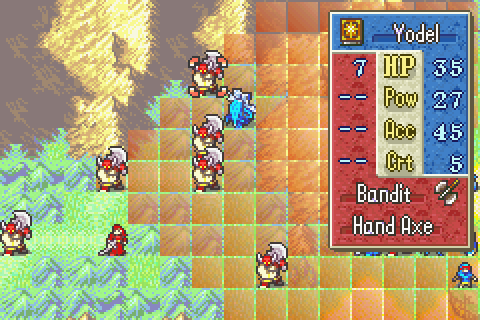
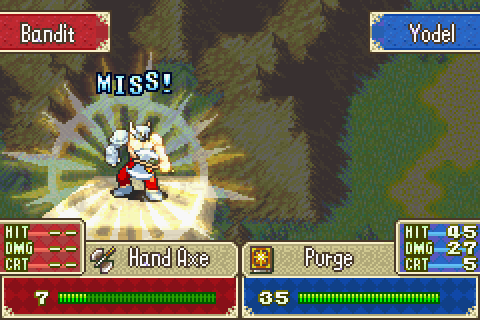
Yodel tries to pick off Narshen's kill, but is unsuccessful.
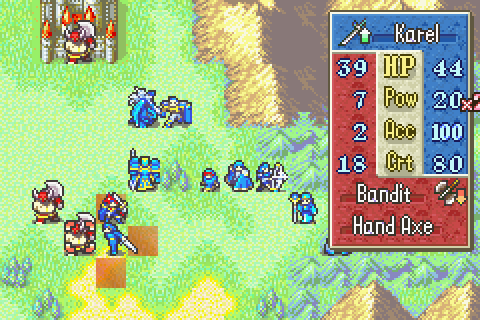
Karel and Oujay form up as the front line for now.
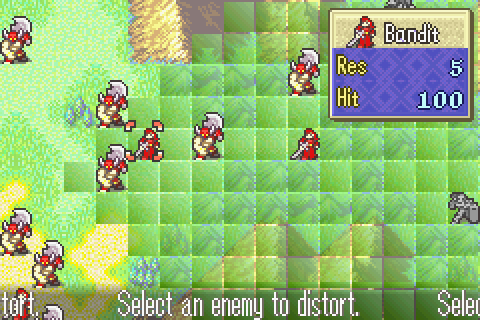
Niime carefully selects one last berserk victim. I could have hit the one in the middle last turn, but I wanted one that was further out and would attack the berserkers closer to the castle.
I can understand he’s able to reliably hit stuff and he’s got weapon advantage, but if it were me, I don’t think I could have resisted the opportunity to invoke Berserkception.
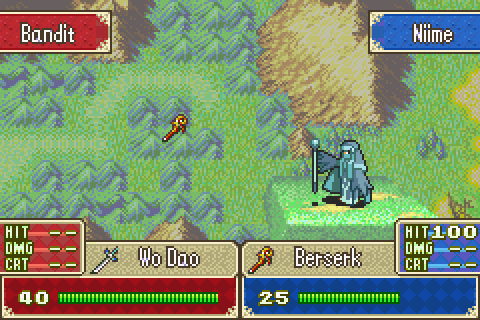
And then the game glitches out when the Berserk staff breaks.
Yodel's not the only one who can have a little long-ranged fun.
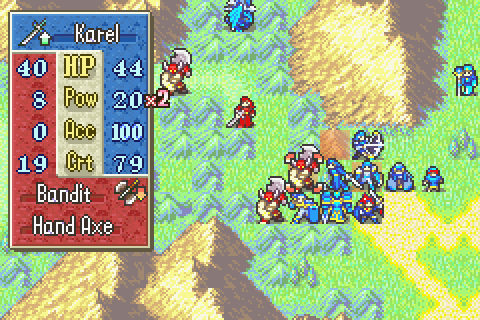
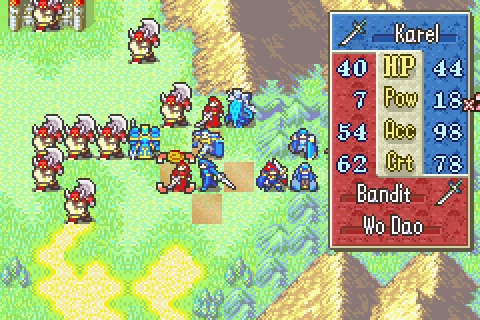
Our swordmaster friend gets to work. It's a good thing he's fast enough to double these guys, because he's a point or two shy of killing them with one crit.
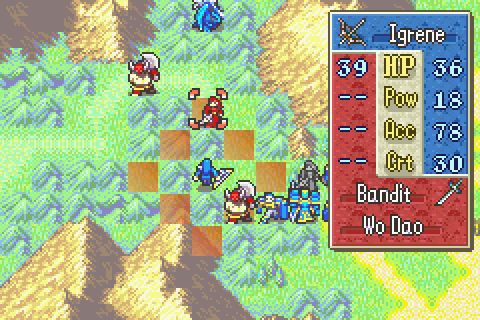
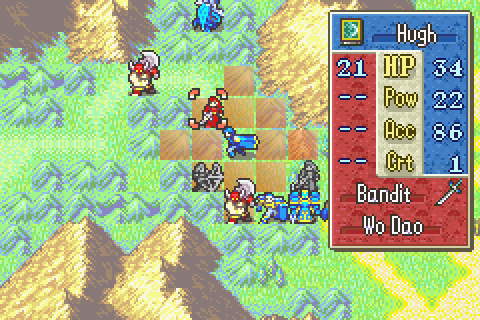
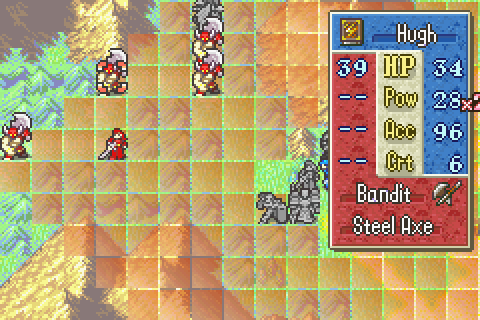
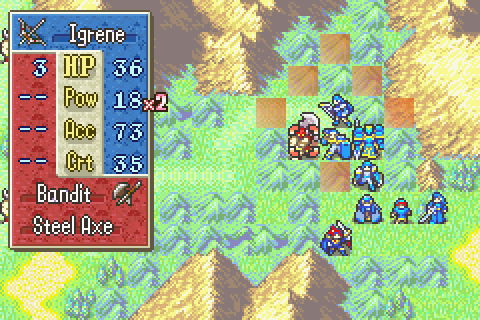
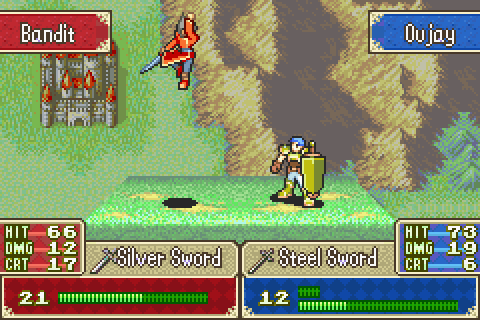
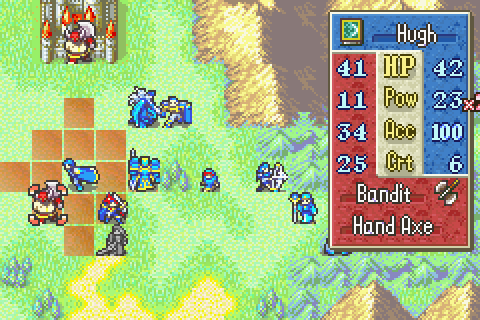
Karel and Oujay clear out the roadblock, letting Igrene and Hugh deal with our Wo Dao friend.
While the main army works its way through the mountains, Narshen heads out on his own. With his Runesword, he's functionally invincible, and he can just fly away if things get too hairy.
Damn I love Runesword abuse. Even on top of everything else in Fire Emblem’s mechanics that break down at certain levels of numbers, being able to attack and heal in one action is just kinda silly.
He proves to be a pretty popular target.
Igrene picks off this guy, and there's nothing to do but move forward. Narshen continues to to hang out in the murder zone.
The best thing about the Runesword is that the game in which it was nerfed somewhat (by making Str and Mag separate stats and running it of Mag) also introduced a magically-proficient sword user and several characters who could use the health-leeching attack on their own. Good times.
A couple berserkers run off to use their Elixirs, but they're just prolonging the inevitable.
Well, he's boxed in, but otherwise I'd say he did a pretty thorough job.
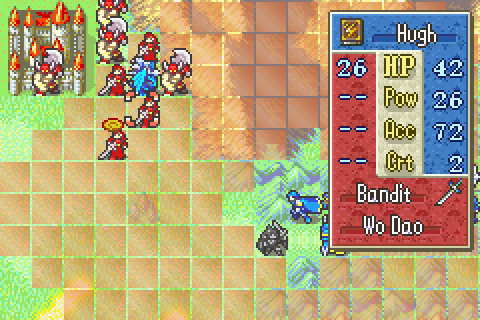
Hugh drops a swordmaster to give Narshen an out, which he uses to retreat for the time being. See if you can spot the mistake I made that should have ruined this run!
Just a tiny bit off...
The first reinforcements also pop in from the south.
A few berserkers go after Bors, but they couldn't hurt him even if they wanted to.
Yeeeepppp here we go.

Thankfully this guy misses, because...
...our berserk friend chooses the swordmaster he can definitely kill over Oujay, who he would simply probably kill.
I don’t think the AI acknowledges crit-probability in advance.
Well, you served your purpose admirably and even chose not to kill my dudes when you had a chance, but Berserk is about to wear off. Thanks for your service, pal.

Narshen tops himself off by killing a berserker. The Runesword is a really nifty toy.
After an effort from everyone on the team, the enemy has been whittled down to these guys and a single swordmaster up behind the castle. Almost home now.
Hugh and Karel knock out the beserkers, and Bors and Narshen deal with our remaining swordmaster.
Here we go, Oujay. Time to redeem yourself from earlier.
Well, well, look at you. Won a coin-flip for accuracy and pulled a crit out of your ass.
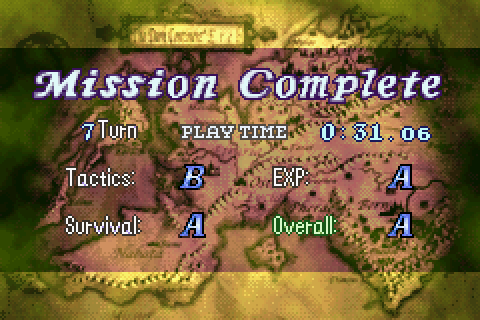
Well that wasn't so bad. All the trial maps are scored on three factors: Tactics, Survival, and
Three turns - three - Jesus Fucking Christ. At least FE9’s Trial Maps were subtle in their attempts to fuck you via the ranking system.
We can definitely do better, but we're going to need to get creative.
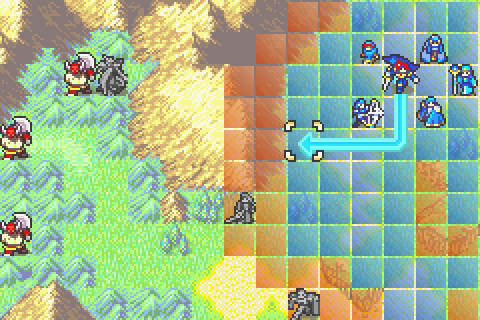
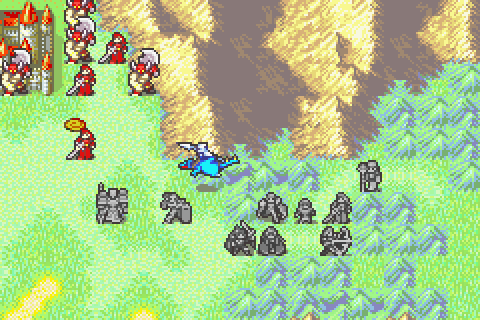
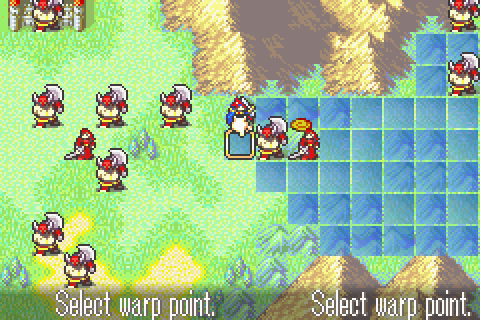
First, we put Roy right at the edge of Yodel's movement range.
Then, we warp his ass to the other side of the map. This is a mountain tile, so basically every single enemy nearby will have a 0 hit rate.
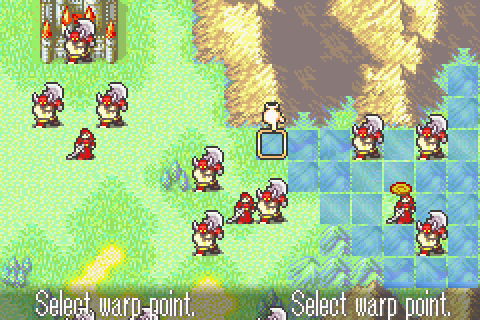
Turn 2, and we have a new problem. Roy can reach the boss - and he or someone else needs to, so I can seize the throne on turn 3 - but we've got a berserker in the way. The solution?
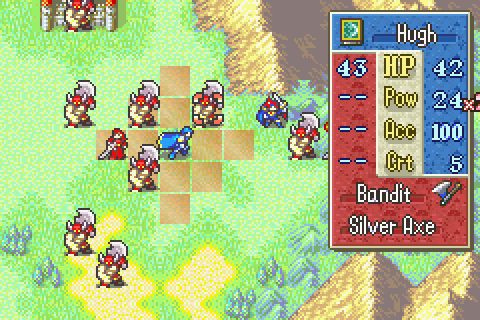
More warping, naturally. I meant to send Karel, but I accidentally moved him before warping. Hugh works just as well. As long as he's in the forest, the only enemy that poses a threat is the swordmaster, and Hugh's freakishly high defense means he'll only have like 5 Mt anyway.
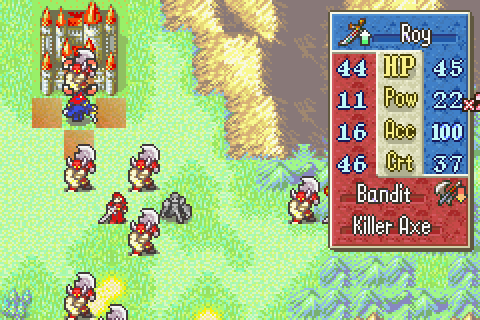
Taking out that berserker means Roy can kill the boss this turn. As long he doesn't get ganked by the swordmasters behind the castle, we've got this one in the bag.


Goddamnit, IntSys.