Part 79: Trial Map 2: Fog Warfare + Trial Map 3: Castle Defense
Trial Map 2: Fog Warfare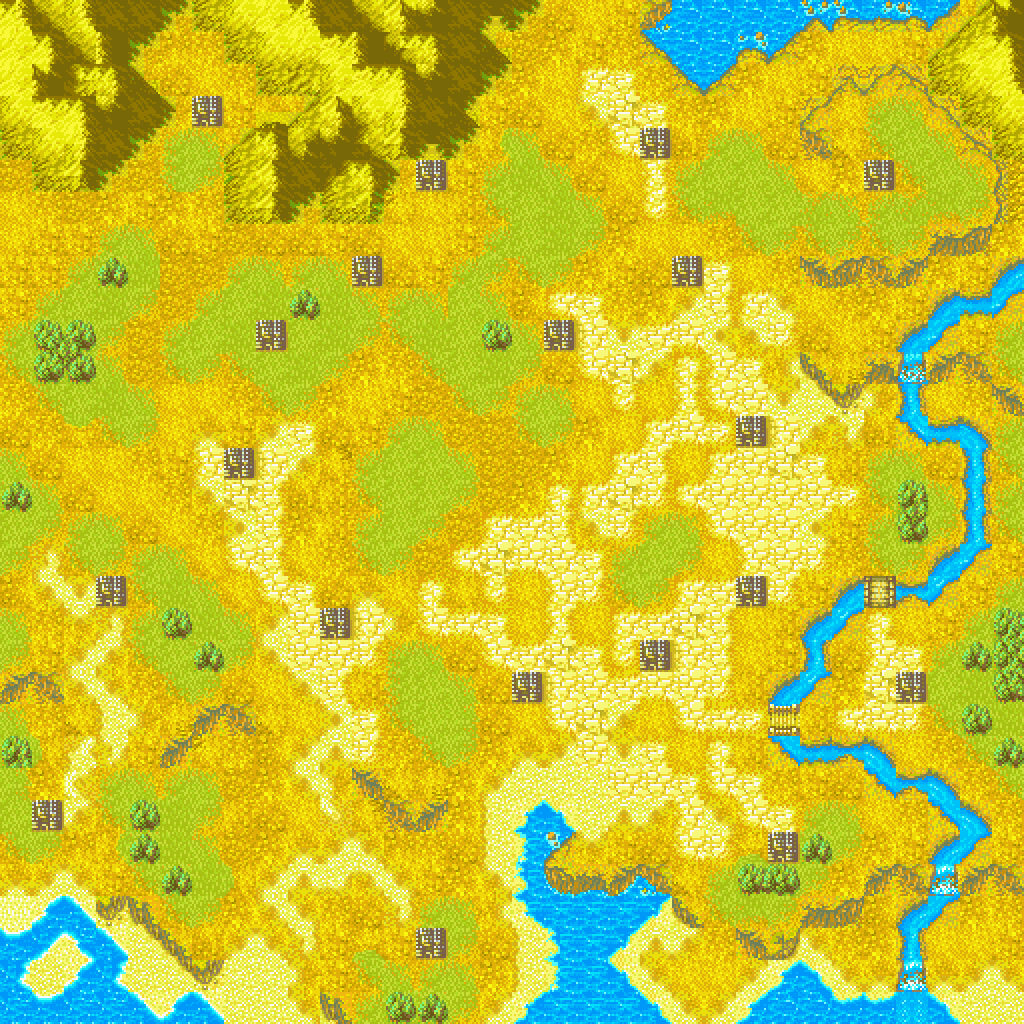
Trial Map 2 kind of makes me sad, because the idea behind it is actually really good.
Take Roy and crew, throw them in the middle of a big map with lots of fortresses, add fog of war so the enemy can come from anywhere, and spawn a wave of reinforcements from a (seemingly) random set of fortresses each turn. Victory is attained after surviving 20 turns.
This could be really good. If the enemies aren't complete pushovers, you have to make sure that your units are in good shape because you never know if an enemy is going to spawn nearby. To its credit, the first few turns are like that.
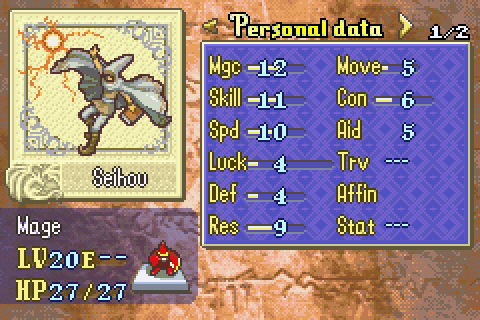
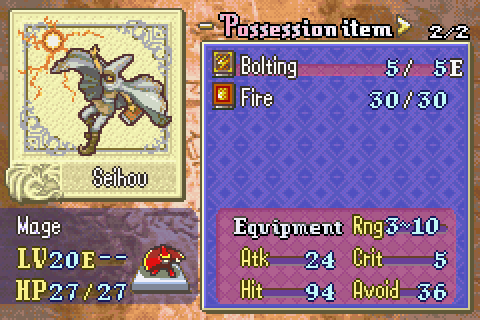
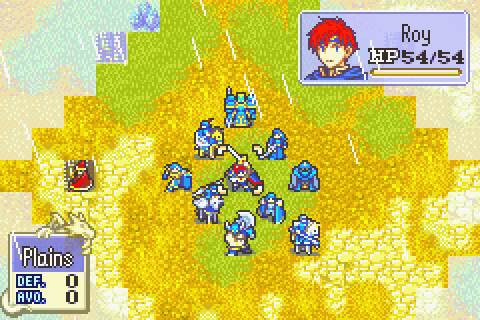
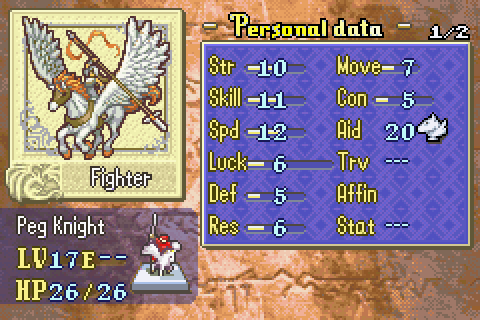
Well...halfway there, at least. The enemies aren't very strong stat-wise, but like the Wo Dao swordmasters and Killer Axe berserkers of Trial Map 1, they have plenty of good equipment. Among other things, there are peg knights with Spears, Silver Bow archers, a Sleep druid, Light Brand mercs, and mages like our Bolting friend here.
The problem, as you probably figured out, is that these guys simply don't have the stats to be a threat, even with their shiny and powerful equipment. By the time three or four turns have gone by, you can pretty easily attain a rout. From there, it's just a matter of eliminating the three or four enemies that pop up every turn or two and trying not to fall asleep before turn 20.
As an added bonus, the turn limit is 21 (due to the victory condition being survive 20 turns), so you're guaranteed an A for time. If you're not careful, you might end up losing someone and miss the A in survival, but really, this should be a gimme S-rank.
Trial Map 3: Castle Defense
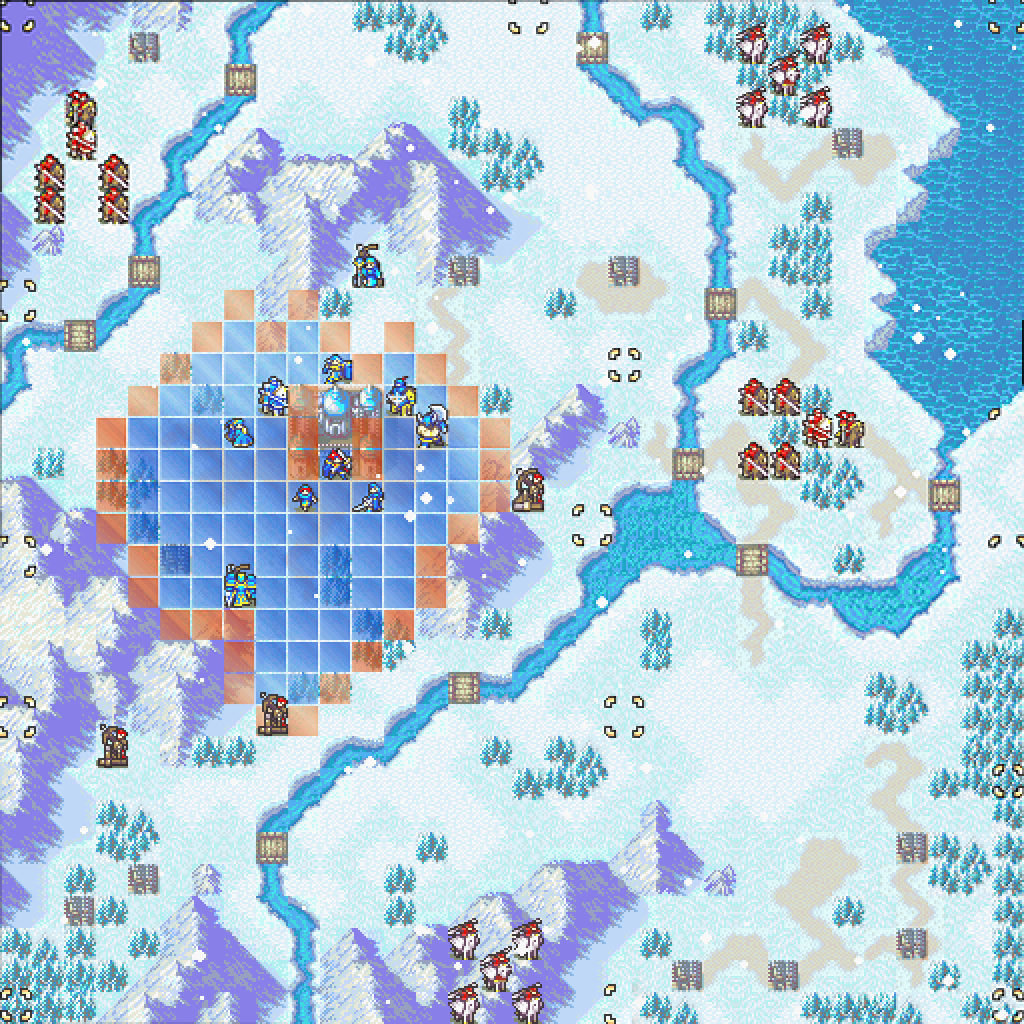
Trial Map 3 is marginally more interesting at first, in part because there's actually a failure condition. You're charged with defending the throne for 20 turns, and if you lose the throne, the map immediately ends and you get an E for the turn ranking. The flip side of this is that it is a defensive map, and like Trial Map 2 you automatically get an A for time simply by surviving the 20 turns.
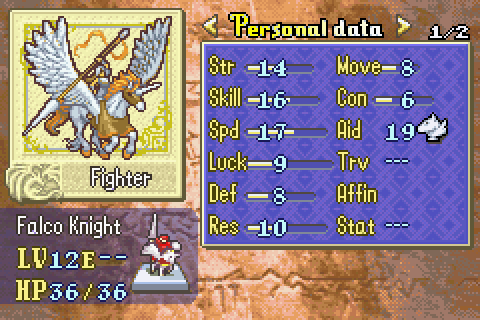
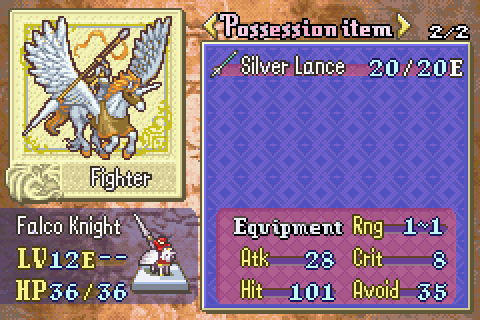
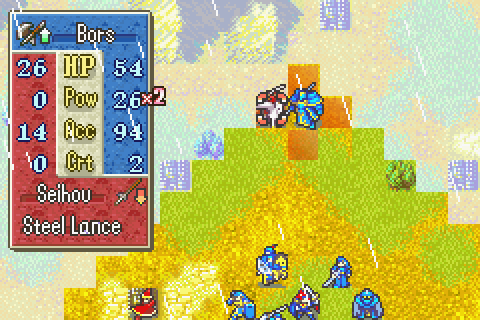
Each group of enemies is led by a Silver Lance falcoknight or paladin. As you'd probably expect, things are about to go downhill from here.


These enemies just aren't a threat in the slightest. The Steel Lance peg knights, for example, have 4 AS, a pitiful hit chance, will inflict ~10 damage to my mages, and will get their shit wrecked if I look at them funny. The only way these guys are threatening in the slightest is if you don't sit anyone on the throne, one of them might fly past you and cost you the map.
To add insult to injury, reinforcements only spawn in once every 4 turns, and for every interval but one, it's just another squad of three pegs/cavaliers and a falco/paladin. Given that all of the groups are in striking range by turn 2, between proactively killing them and their suicides on the enemy phase, there's no reason you shouldn't have a rout by turn 3 or 4 at the latest. This might have worked in Trial Map 2, where they threw new enemies at you almost every single turn, and you had a vague idea of where they spawned in at best. Here, the entire map is freely visible and there's only five rounds of reinforcements for the entire map.
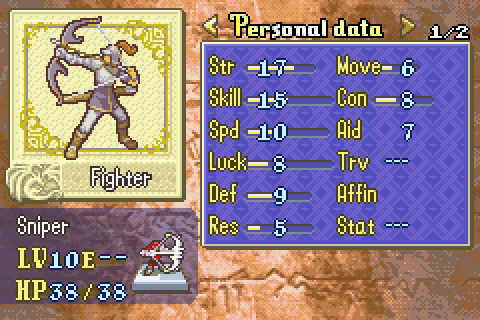
This. This right here is probably the most dangerous thing on the entire map. A reasonably strong sniper sitting in a ballista. Say what you will about how lazy Trial Map 1 was, but it was an interesting challenge and it required you to get pretty creative if you wanted to get the S rank. Here, there's just no challenge at all. It hands you an S rank on a silver platter and asks if maybe you'd like a massage while you're at it.