Part 4: Update IV: Moving Up In The World Redux
Update IV - Moving Up In The World ReduxLast time, we screwed around in the cellar for a bit and completely cleaned that sucker out. With that done, we have a key that needs using...
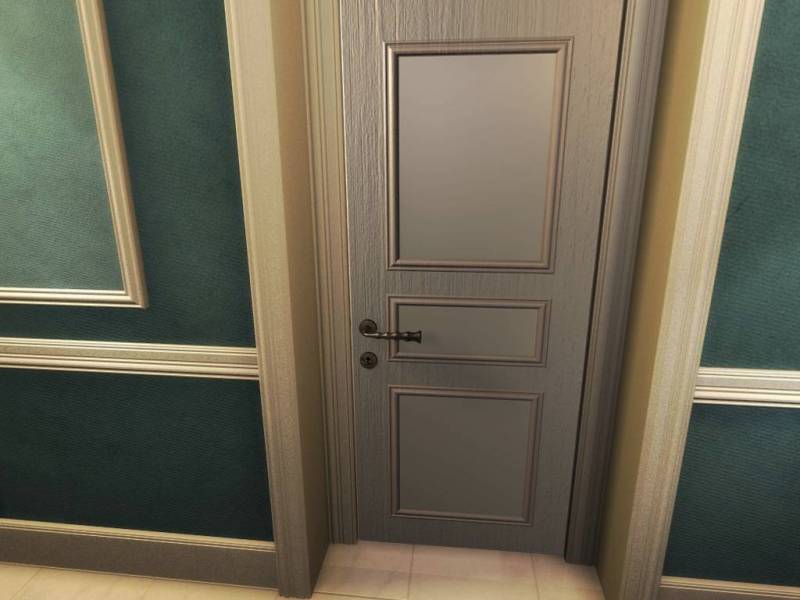
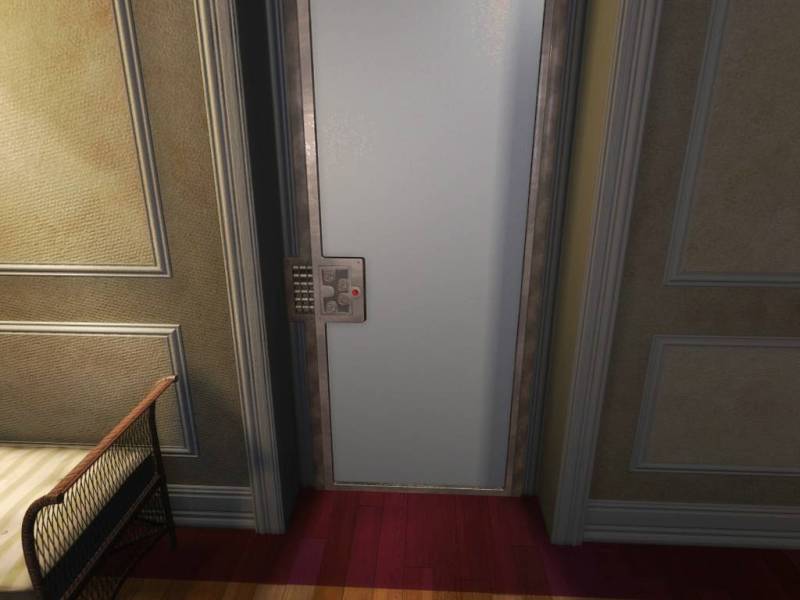
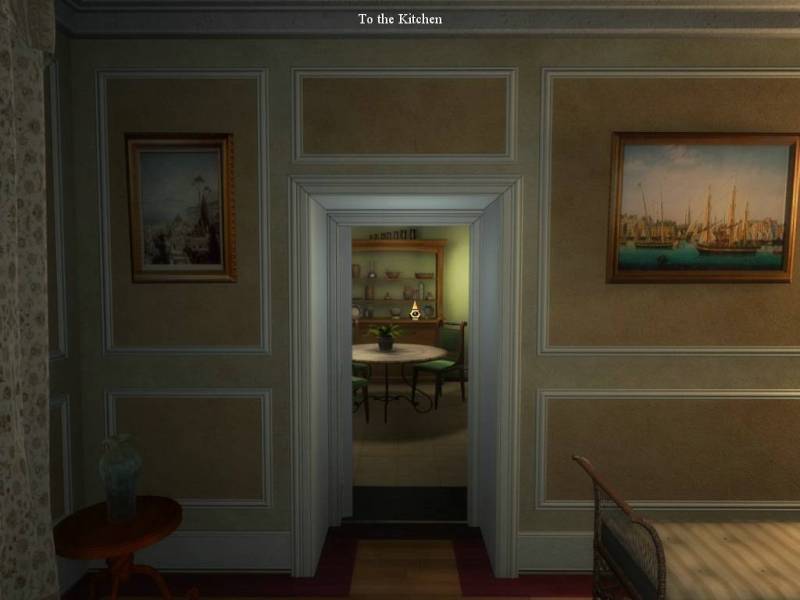
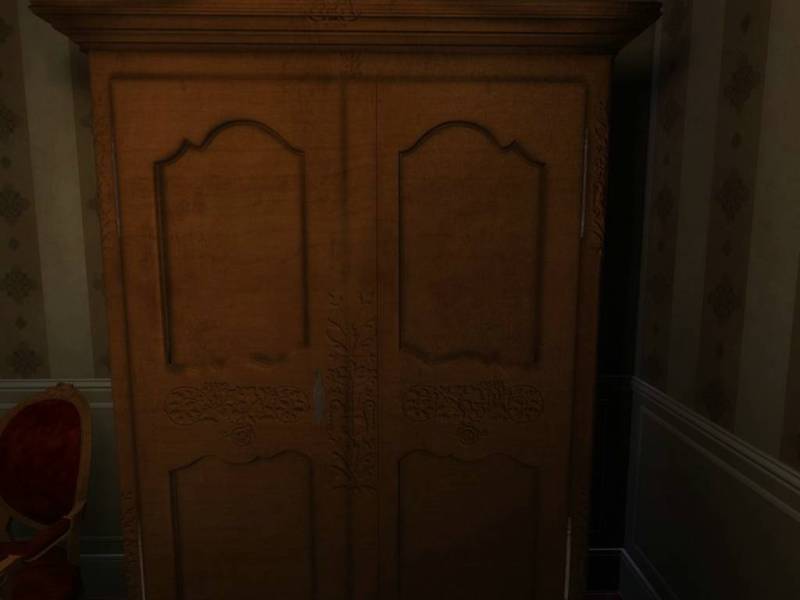
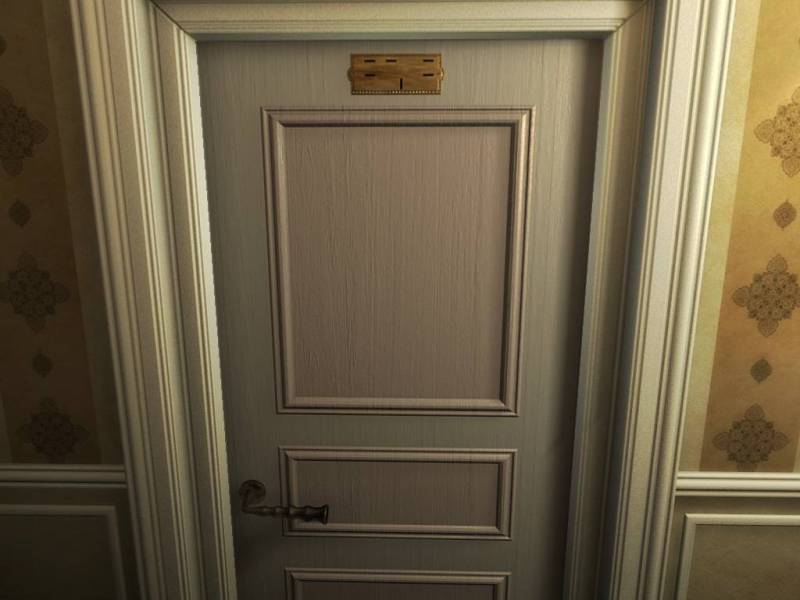
...in this door in the dining room, in fact. So let's stick that key in...
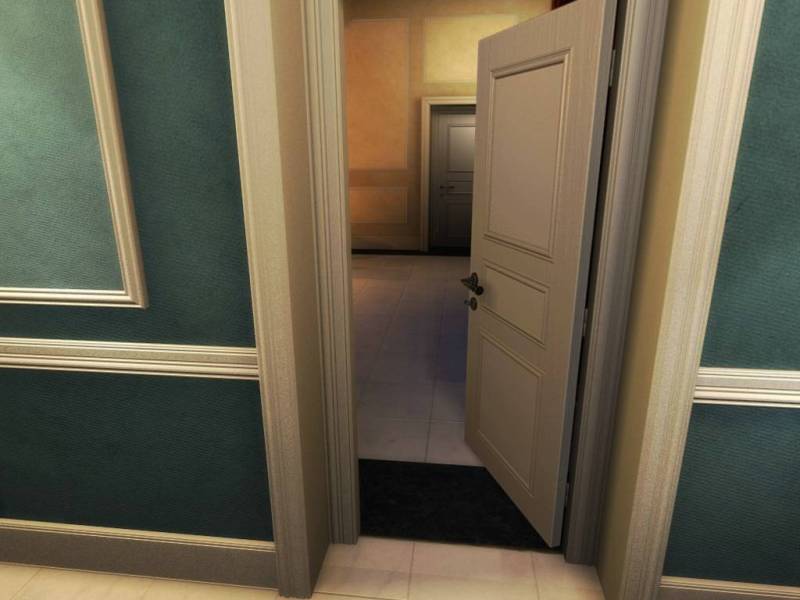
...open that sucker up, and make our way to...
Room #16: The Bottom Of The Main Staircase
Nothing interesting in here beyond the staircase itself. The door isn't interesting either...

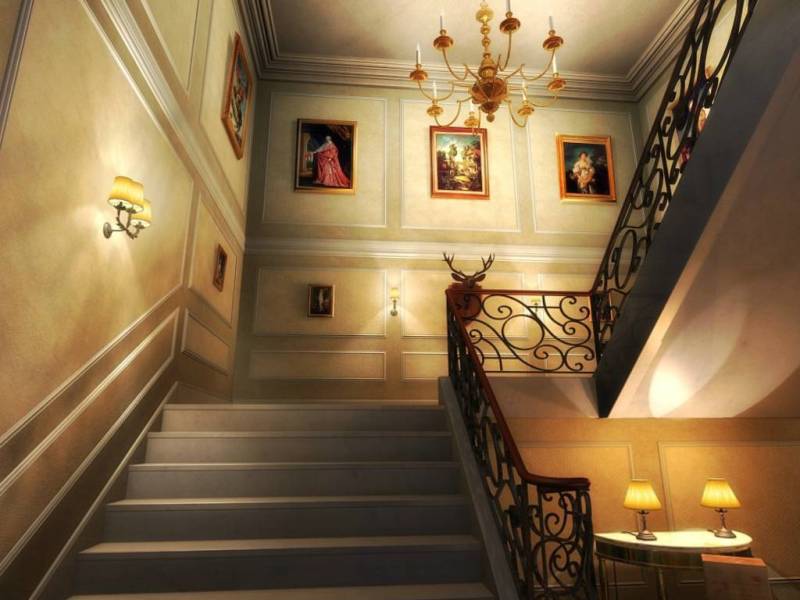
...it just loops back to the very beginning of the game. Luckily, we're mostly done with those bolted railroad doors. And with that, up the stairs we go!
Room #17: The Top Of The Main Staircase
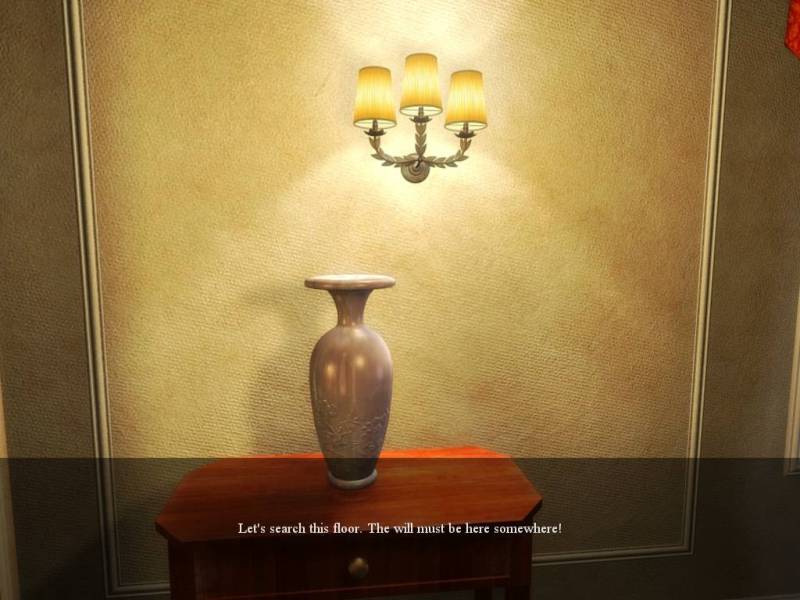

Well, it doesn't HAVE to be here, really - it could just about be anywhere. There's still a bundle of safes around, and that big one in the workshop we didn't open just screams "important" to me. Anyway, this is where the game finally opens up a bit. At this point, you're no longer blocked by those damn bolted doors and are free to go exploring a bit. So, let's do that now! ADVENTURE HO!
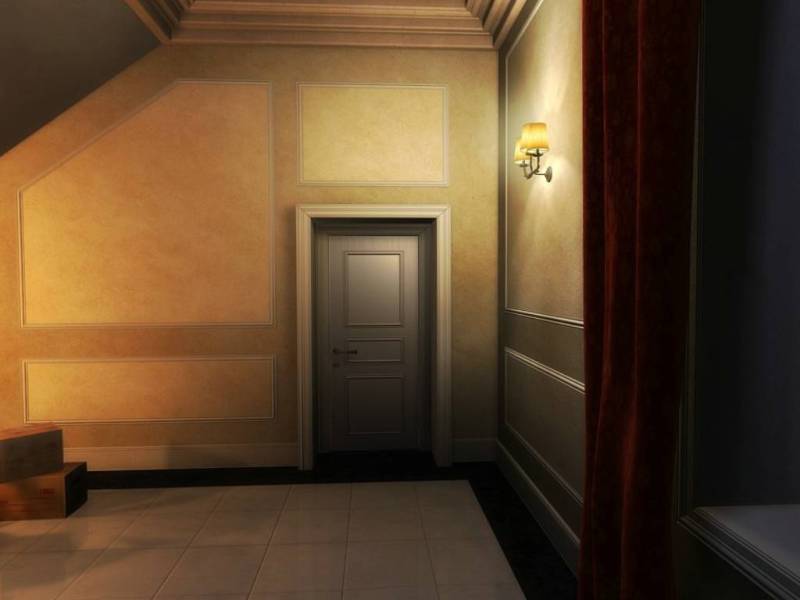
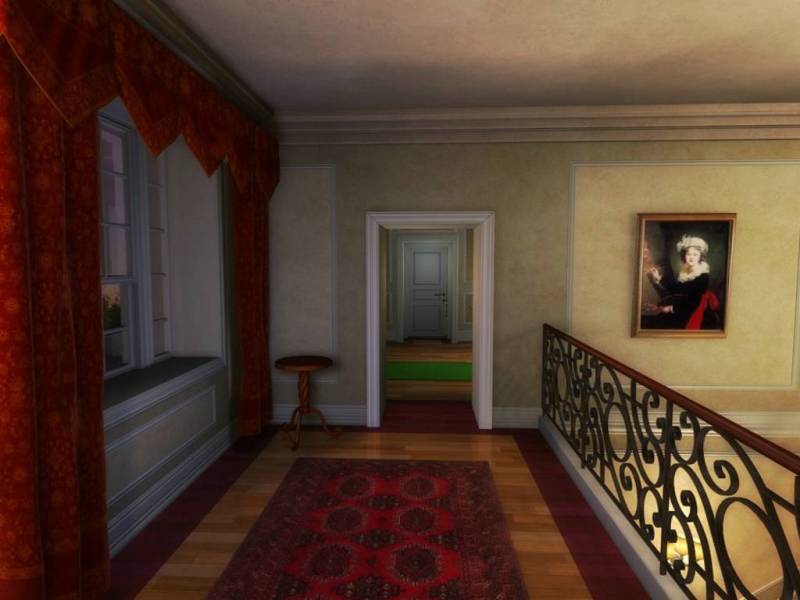
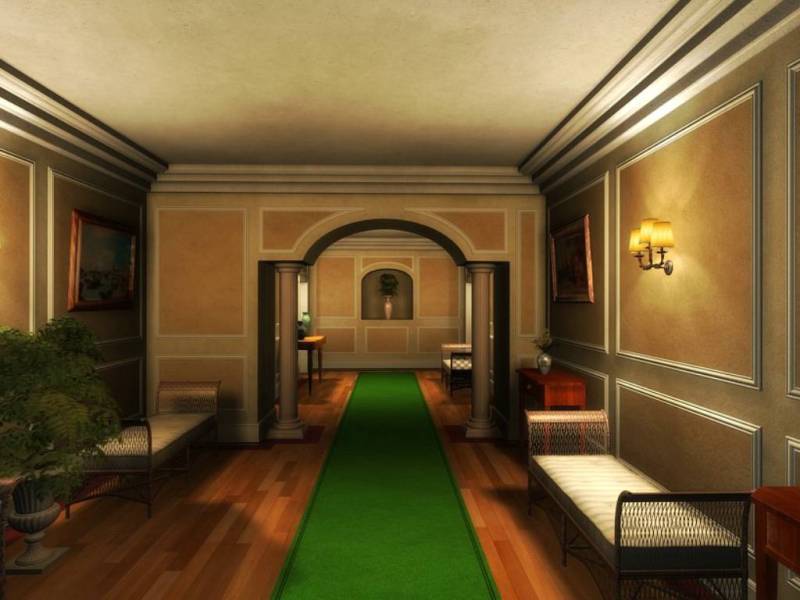
Room #18: The Central Corridor
Nothing interesting at all in this small room, it's just a connector to more interesting places, although it does have one door:
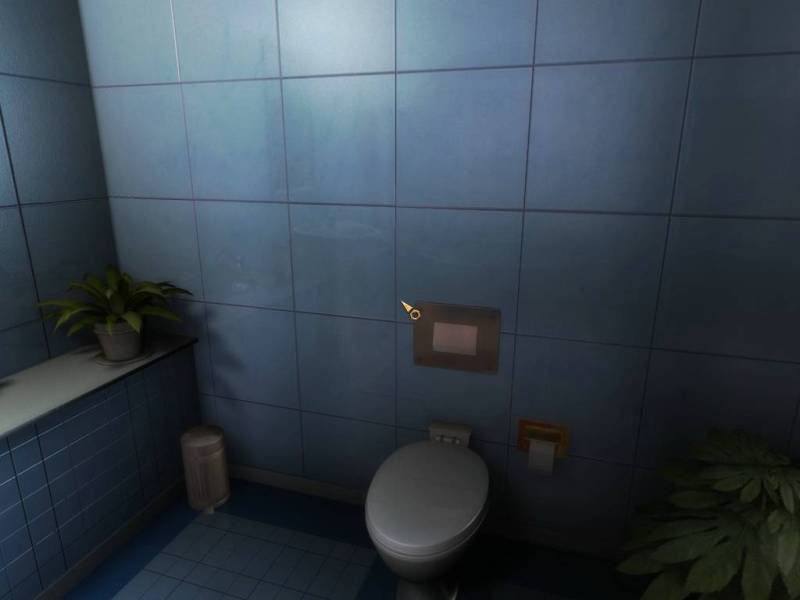
Room #19: The Toilets
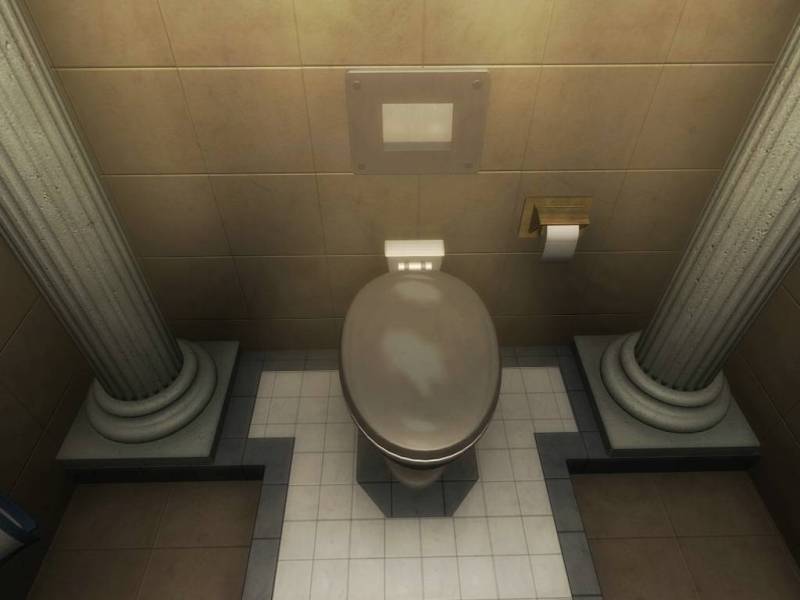
Well, just like most of them in Safecracker 1, these toilets are completely pointless. But at least they're here so that I don't wonder why they aren't there. Onwards!
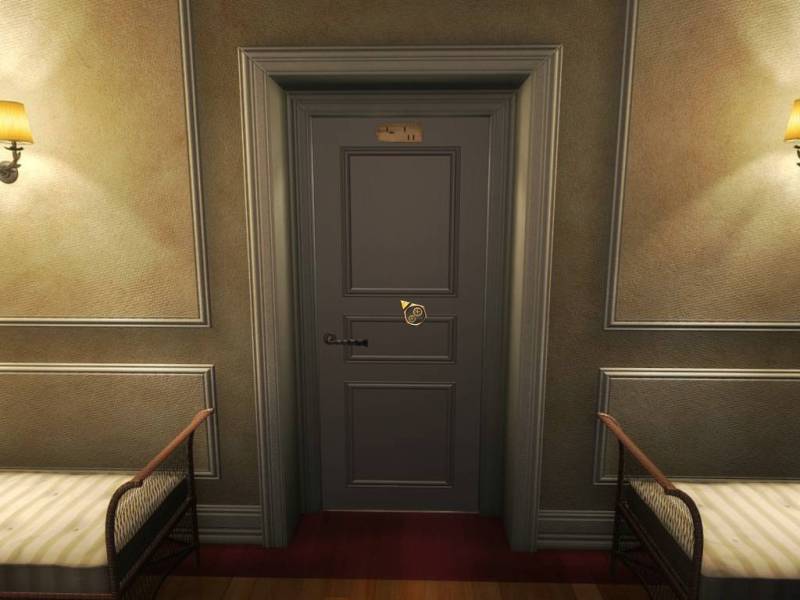
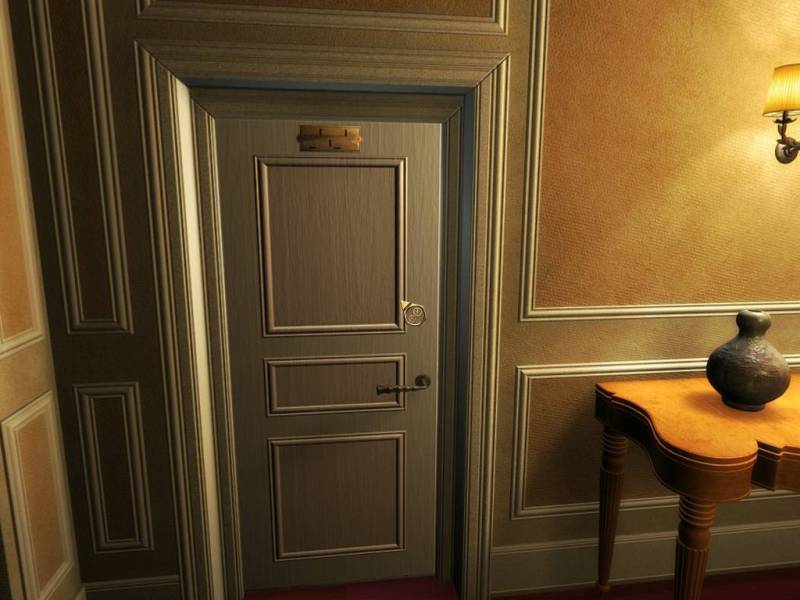
Room #20: The East Corridor

Both doors are locked. Oh well, we'll have to come back to them later. That first door just screams "endgame", though.
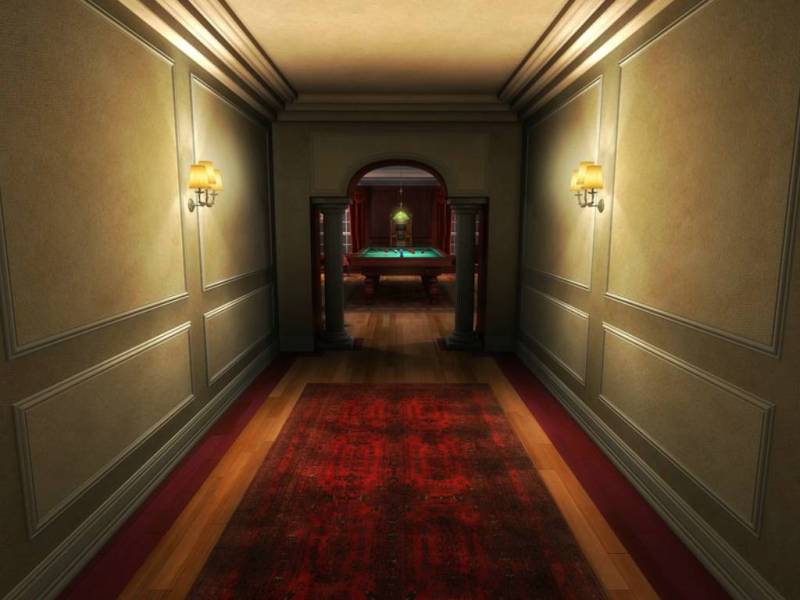
Anyway, we make our way down the corridor and find a more interesting place:
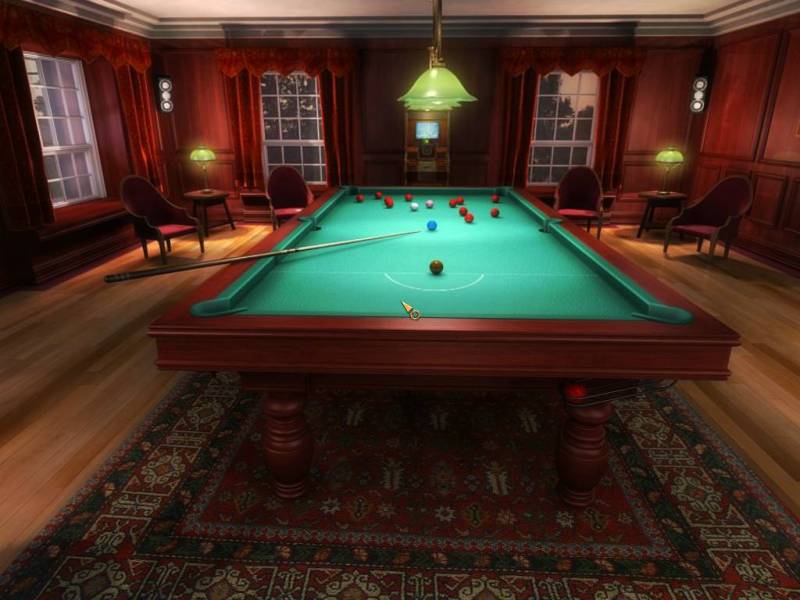
Room #21: The Games Room
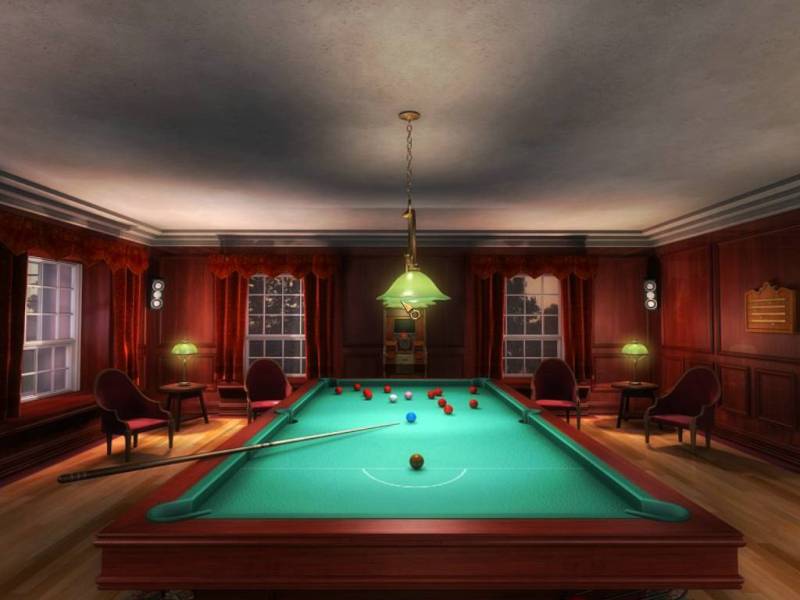
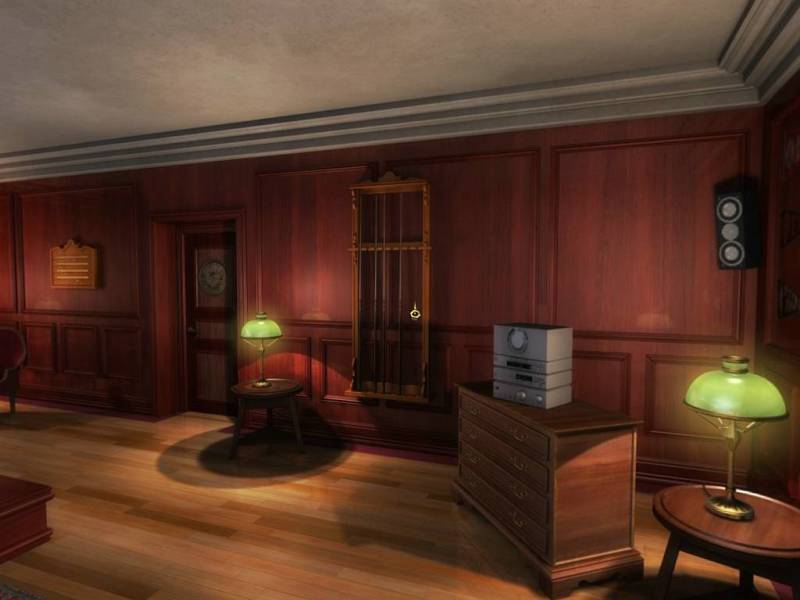
Hrm, kind of a shame - I'm more of a pool guy than a snooker guy. Also, interesting looking arcade-ish machine in the back, locked door on the right. Moving on, we backtrack and make our way down the other way:
Room #22: The West Corridor
Unlocking the bolted door we found in the kitchen here.
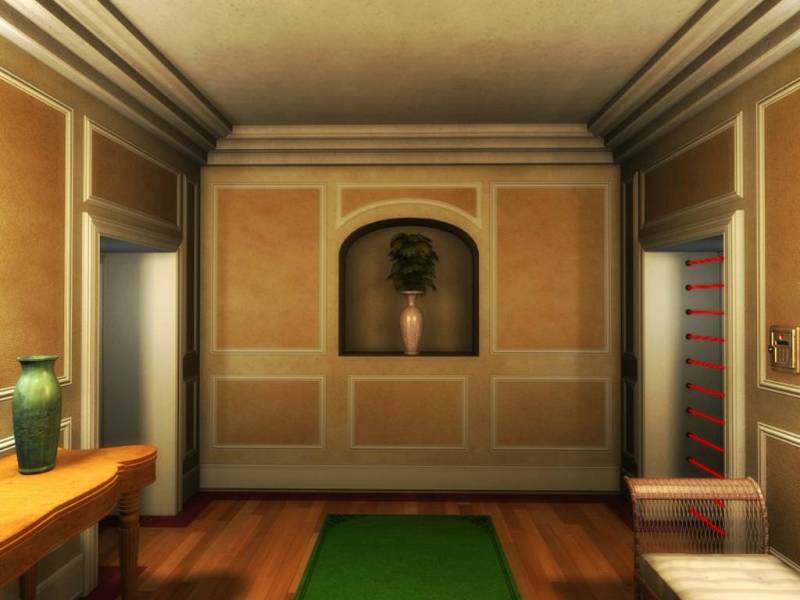
Some stuff around here (also, MORE LASERS!) that looks interesting, but let's start with the first door:
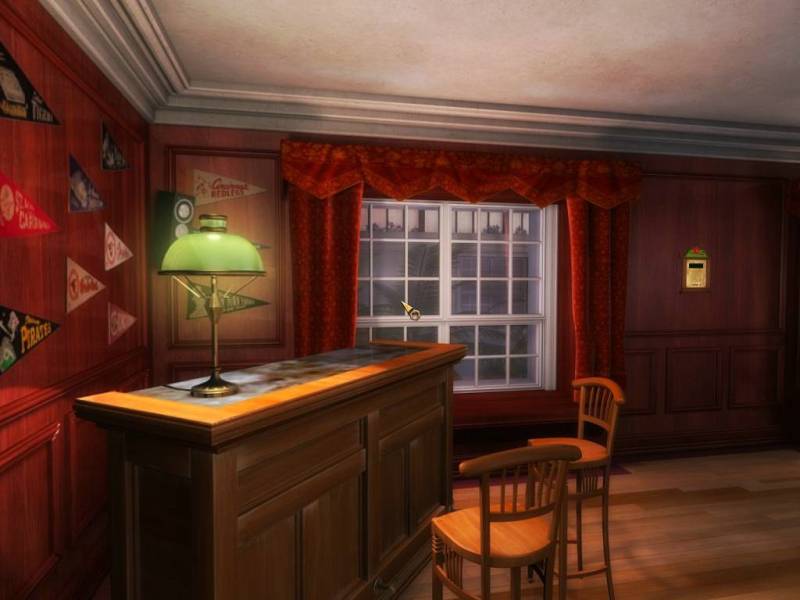
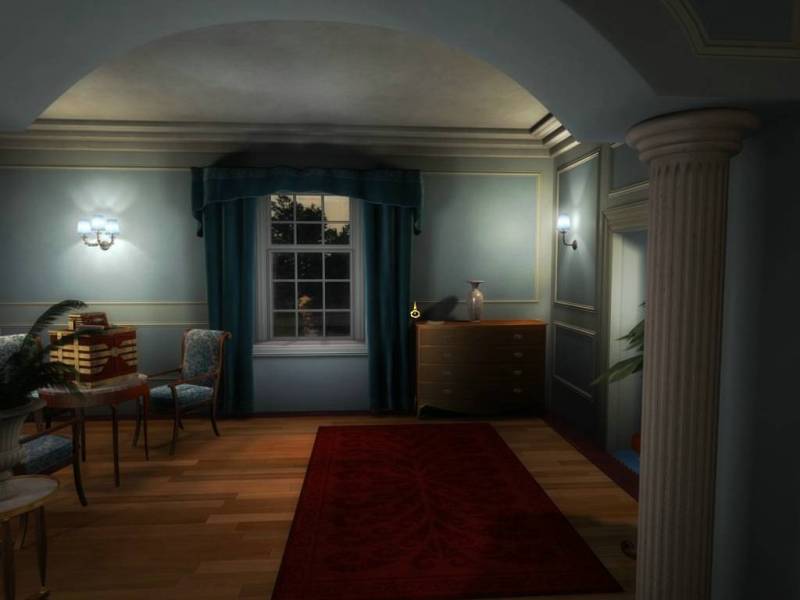
Room #23: The Dressing Room
Well, at least this room isn't entirely pointless! However, that puzzle there looks like it needs something we don't have, so let's back out and head down the next exit:
Room #24: The Blue Bedroom
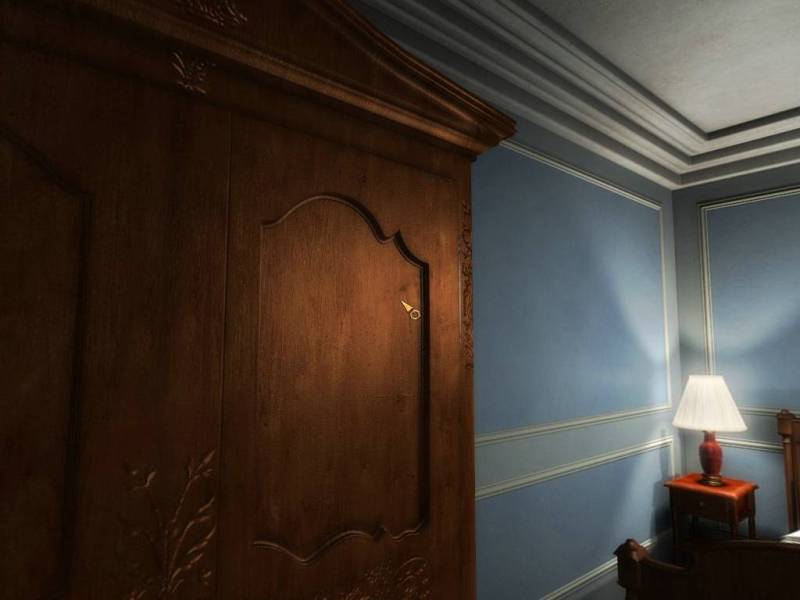
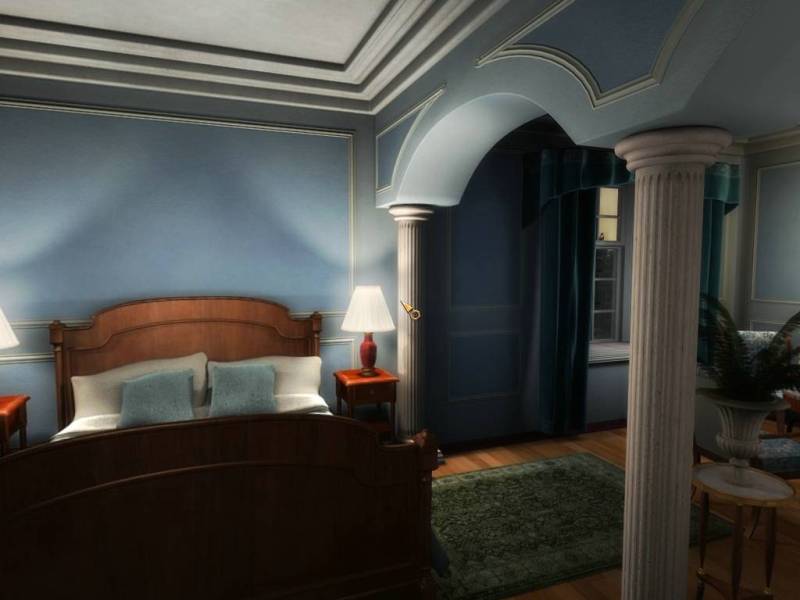
Spiffy! Another interesting looking contraption here, but we can't do anything with that one just yet.
We find another bathroom here:
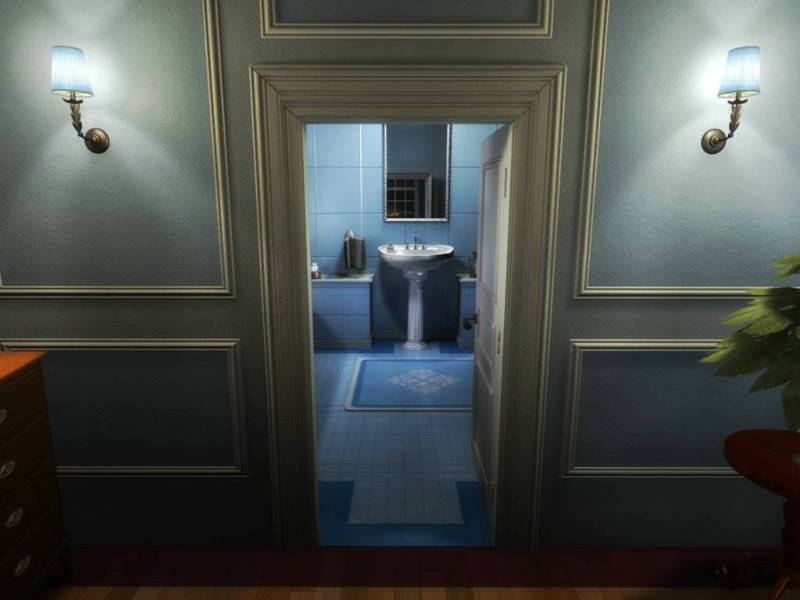
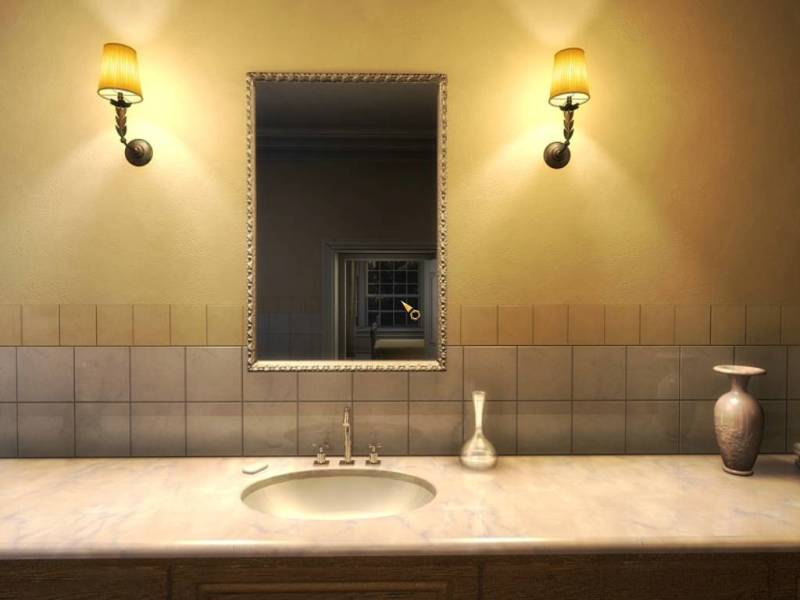
Room #25: The Blue Bathroom
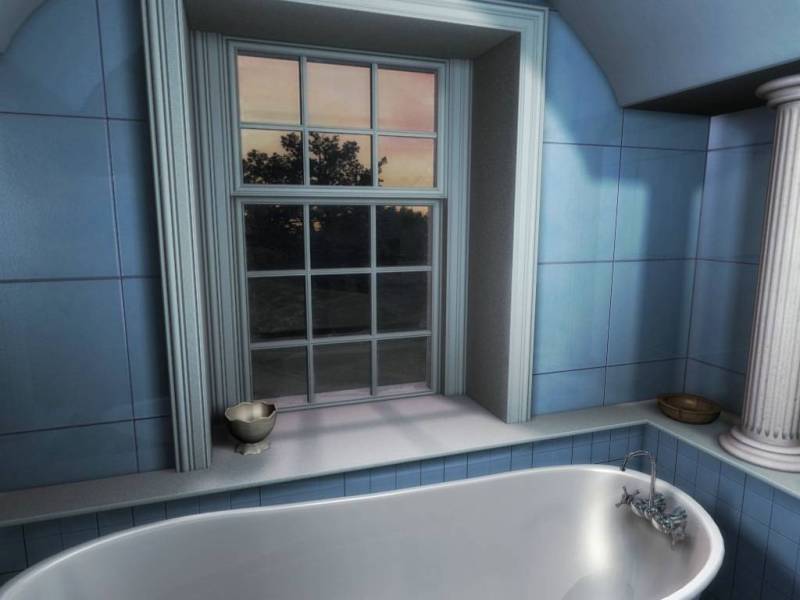
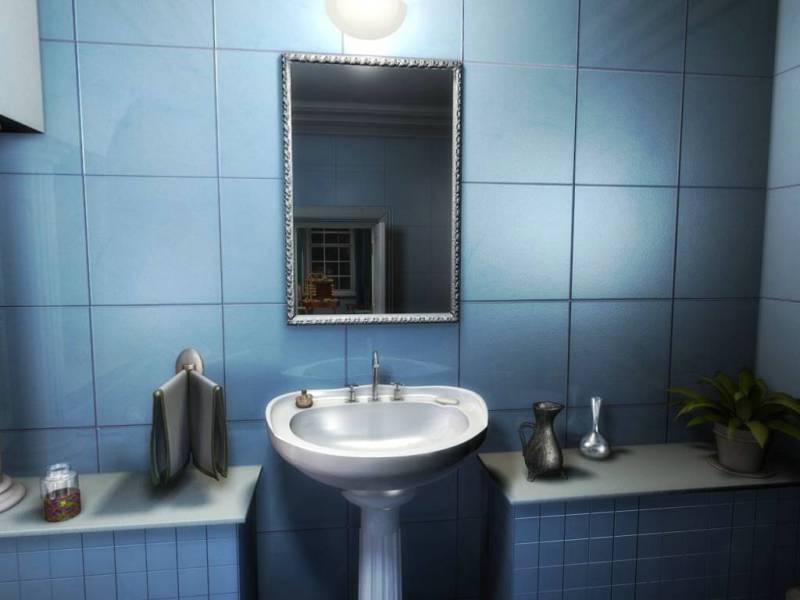
It's also entirely pointless, but once again, it at least makes sense that it's here. Now, there are two letters we can currently take a look at.
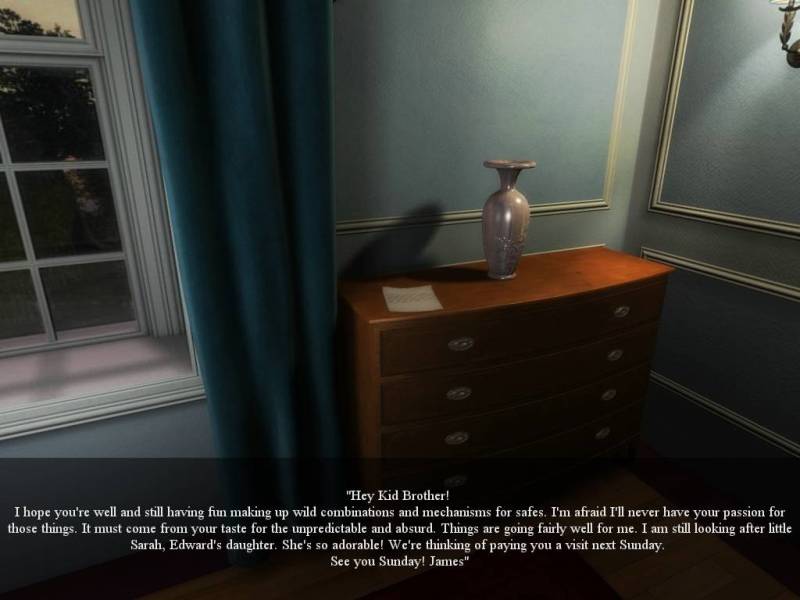
One's in the blue bedroom. Calling an interest in safes and combinations "unpredictable and absurd" makes me feel kind of weird inside, what with me having a bit of an interest in the same thing. Also, more names! We can sort of establish a bit of a character for each member of the family with these, but I wonder what the point of it all is?
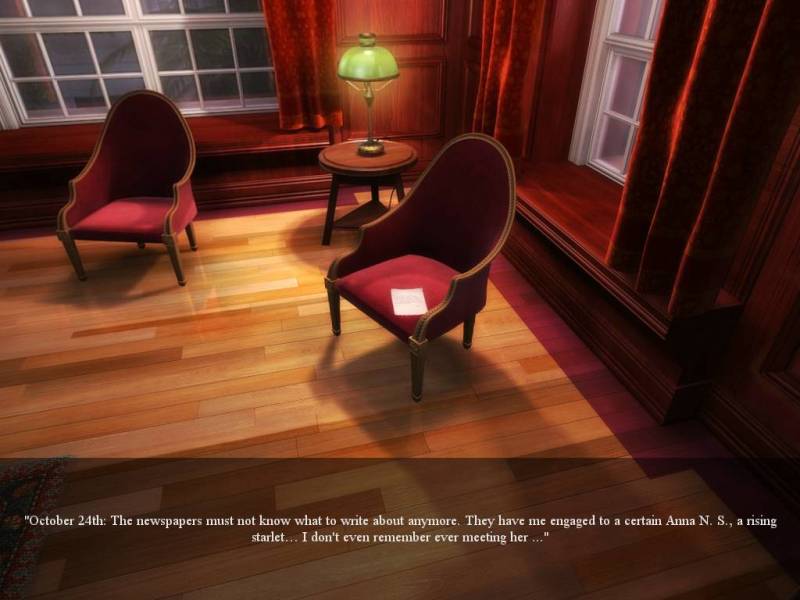
The other one is a diary page found in the games room. This one just confuses me - is it some kind of hint? DWA (read: The devs) must have placed it here for a reason, but I could never figure out why. Anyway, since we're here in the games room...
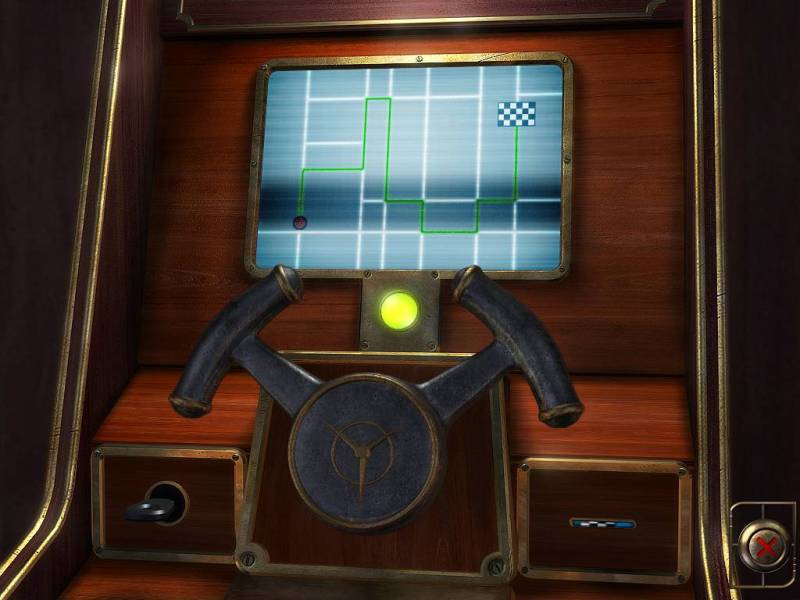
Puzzle #12: The Racing Arcade Game

The MC says something here about DWA still being a child at heart. Once again, I kind of feel weird about this, but what the hell.
Anyway, we shove that GPS keycard we have into the card slot, turn the key, and the screen lights up with this display. We then have to make turns in the way the course indicates.
So, looking at it, that results in the following commands: Right-Left-Right-Right-Left-Right-Left-Left-Right-Left.
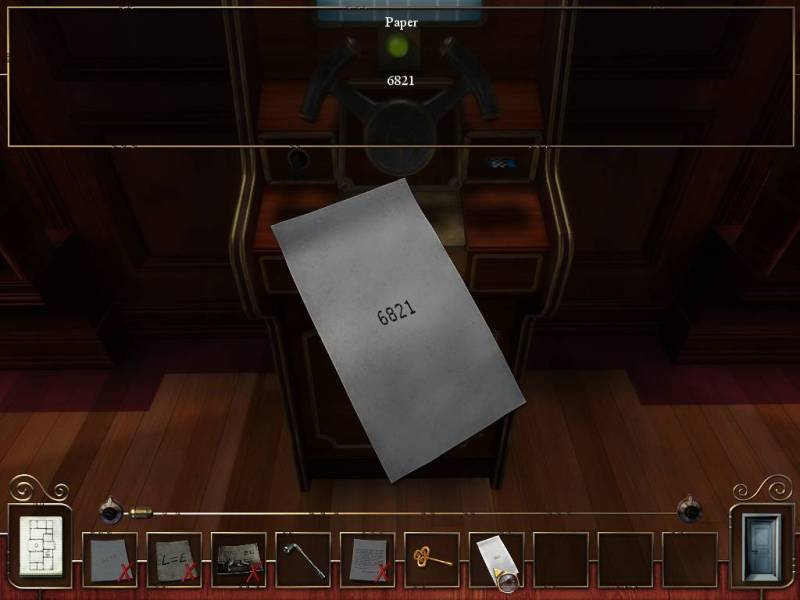
With that done, a slot down on the machine prints out this paper. It's essentially guesswork as to find out which one of the many keypads this is the combination for. That's another part I don't like about this game - there's a ton of puzzles that are just keypads. There were a lot less in Safecracker 1. And while this may be nitpicking, I also don't like that a lot of the puzzles aren't safes. In Safecracker 1, almost every puzzle was some sort of safe, whereas in 2 we have all sorts of crazy shit. Oh well, moving on, we've got a puzzle to solve over by the laser blockade we saw earlier:
Puzzle #13: The Wired Keypad
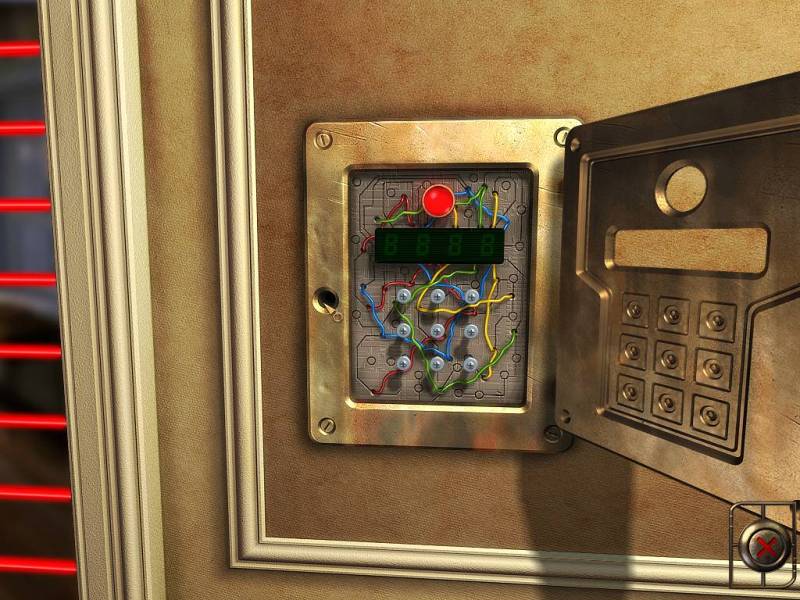
This keypad starts off closed, but we can use the special pipe key to open it up and see this. The solution to this one is rather simple - check the wires. They actually form numbers, which make up the combination. The wires are layered above one another, and looking at it from top to bottom nets you the combination - 2-4-9-3. We punch that in, and...
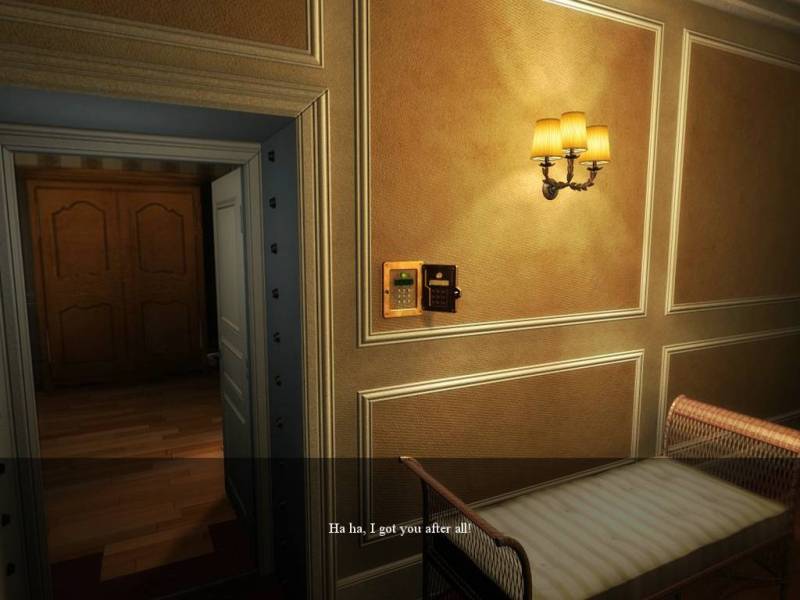
...lasers are gone! We sure got him, MC, we sure did. This lets us move on to:
Room #26: The Yellow Room (fucking really?)

Red light spotted! But first, there's a letter nearby:
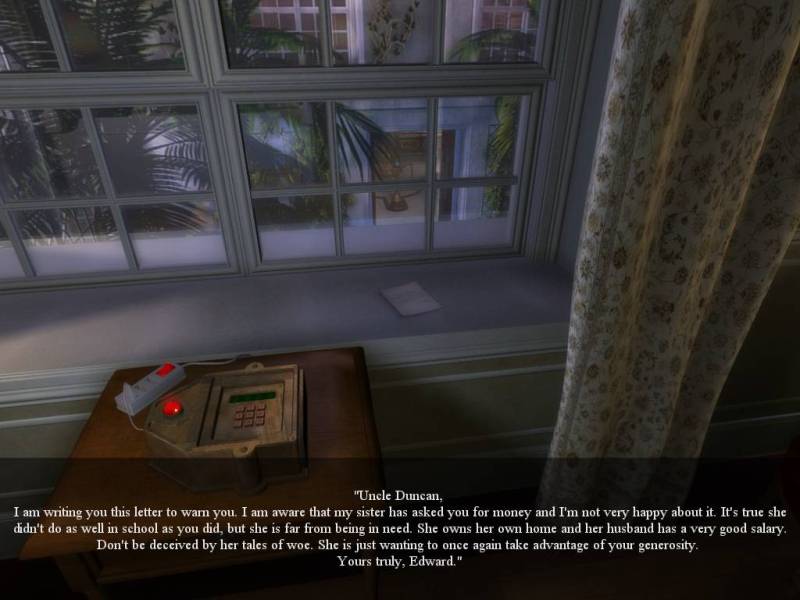
Oh boy, family feuds! The plot thickens - I guess. I mean, in the end, we only have this guy's word for it, so eh. Anyway...
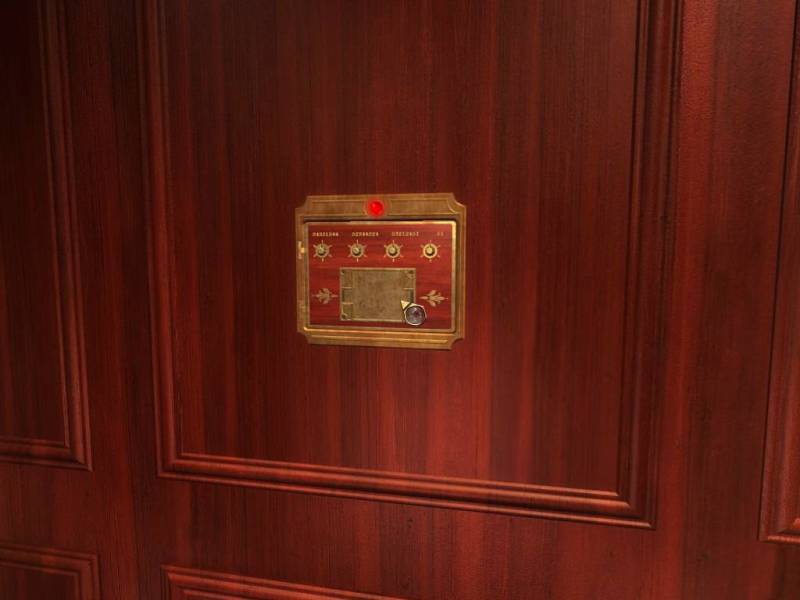
Puzzle #14: The Powered Box
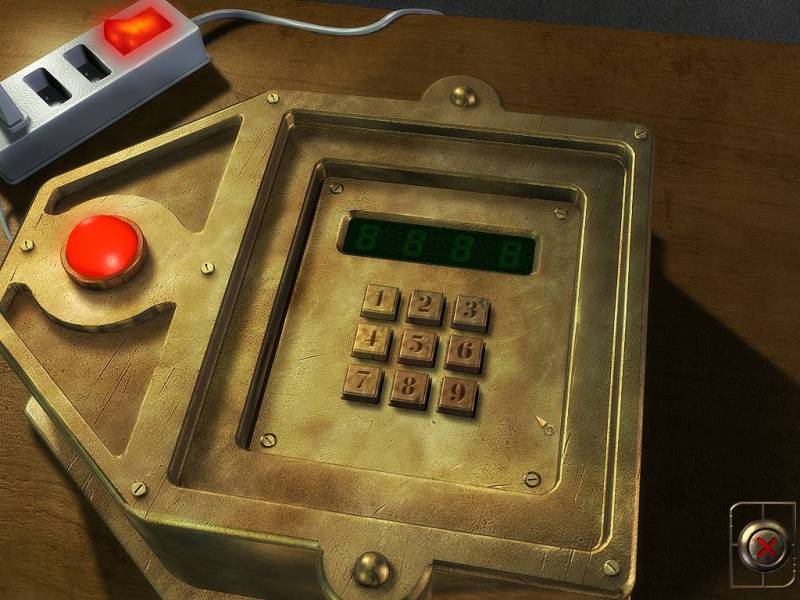
First step: Try 6821. It doesn't work. Damnit.
Second step: Fuck about for some time, trying to figure out the combination with no success.
Third step: Turn off the power strip.
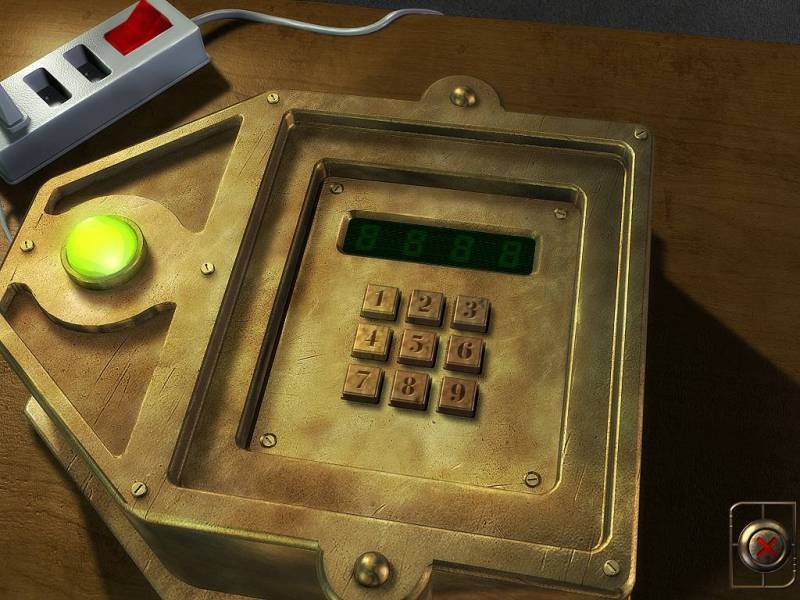
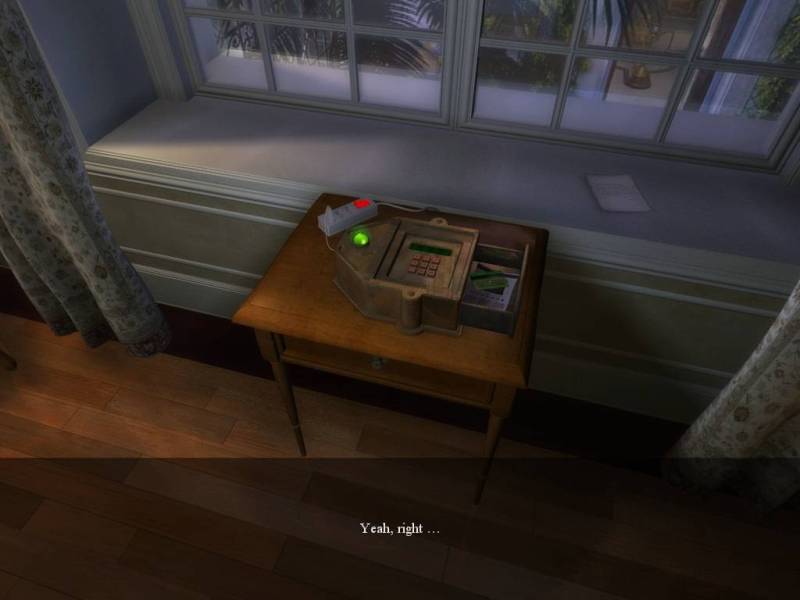
I have to give credit to the voice actor here - the reading of that line perfectly fits the kind of guy that spent a long time puzzling over the combination and finally noticed the forest for the trees. Anyway, we get a magnetic card and a sheet with snooker rules out of that. Snooker rules, eh?
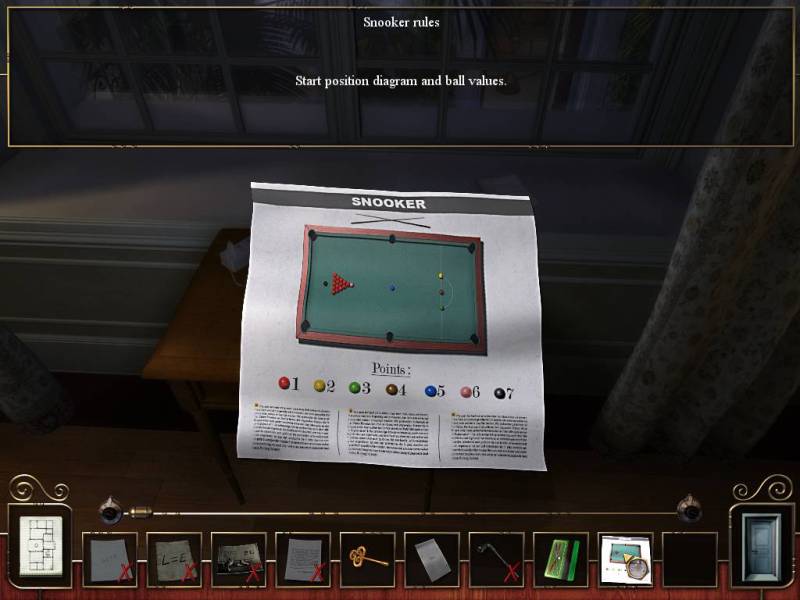
I've got a sneaking suspicion where this will come in handy. However, first we've got another door to look through:
This leads us to...
Room #27: The Yellow Bathroom
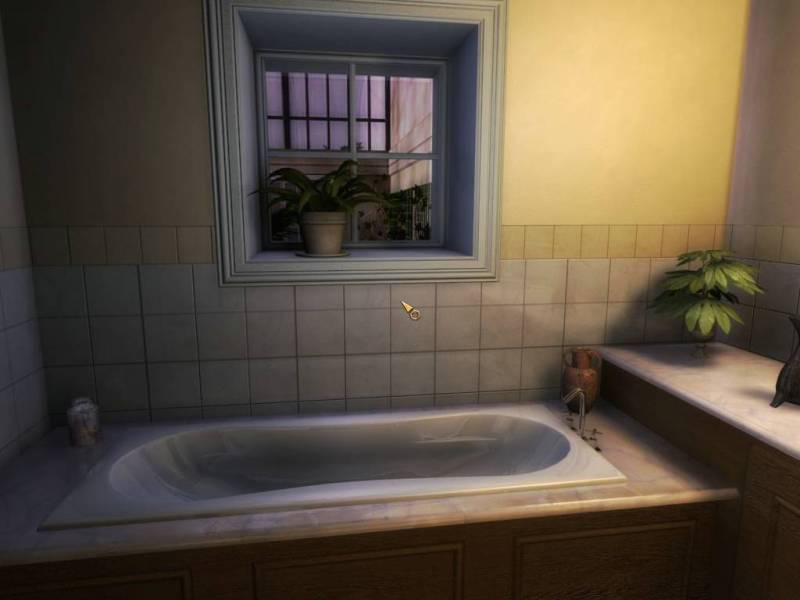

You know the score by now. Anyway, back to the games room!
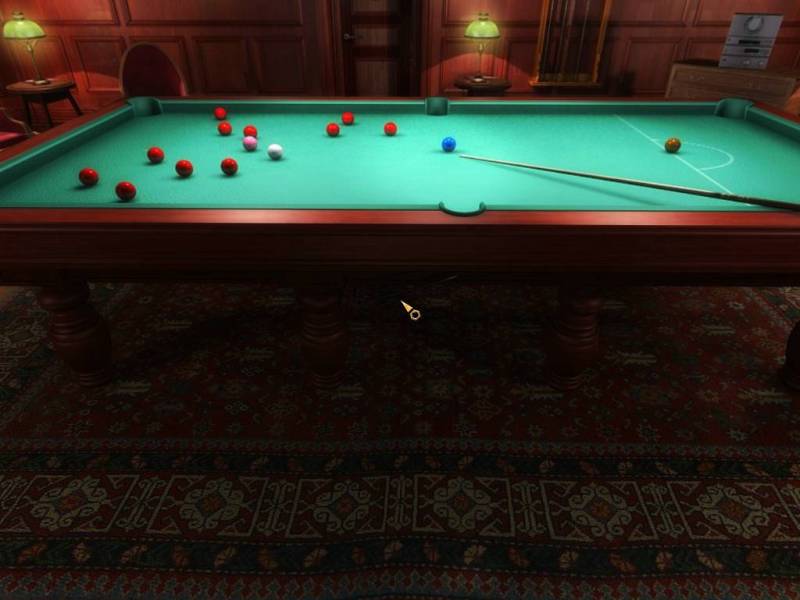
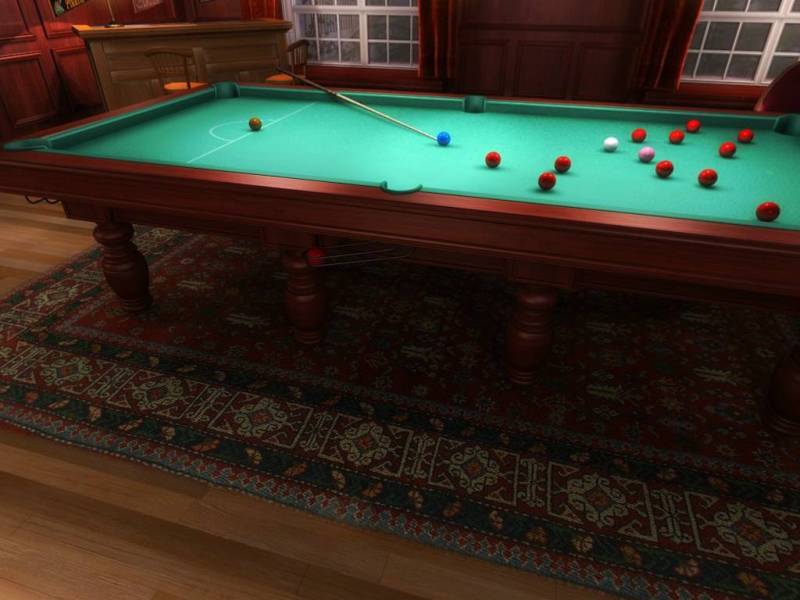
Let's take one good look at that table, and then...
Puzzle #15: The Snooker Keypad
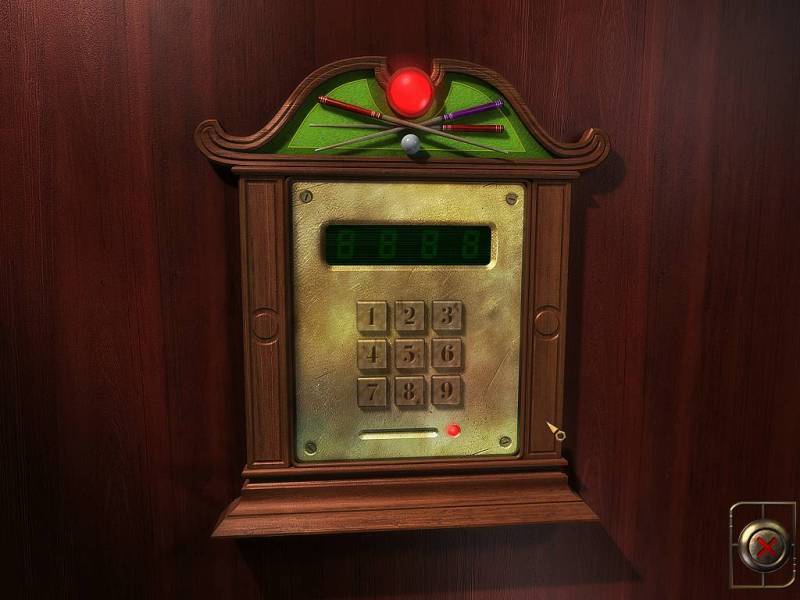
This is another puzzle where I completely misinterpreted the clues. I thought the four ball holders below the table were the key, but it turns out I was completely wrong (mostly because one is empty, and there's no zero on the keypad).
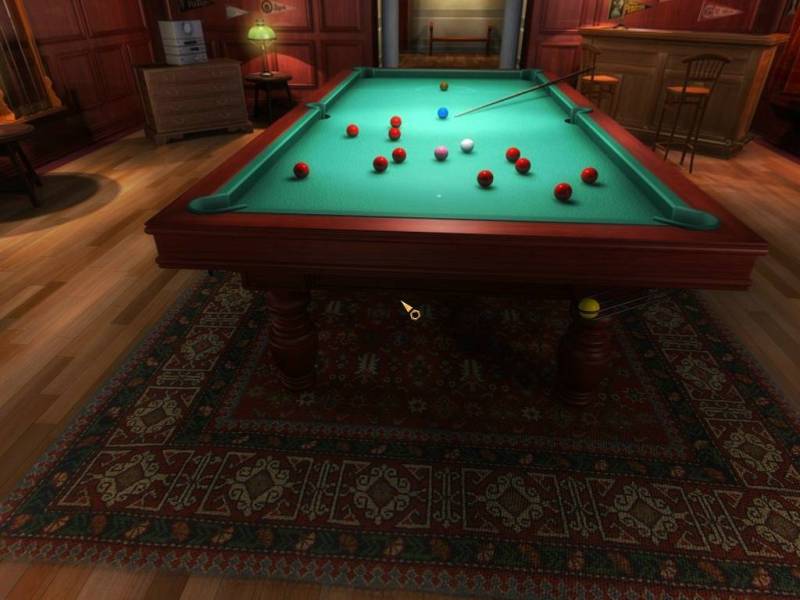
Instead, you take a tally of the balls and notice the following are missing: Two reds, one green and one black. Take the point values for that, and there you go - 1-1-3-7 is the combination.
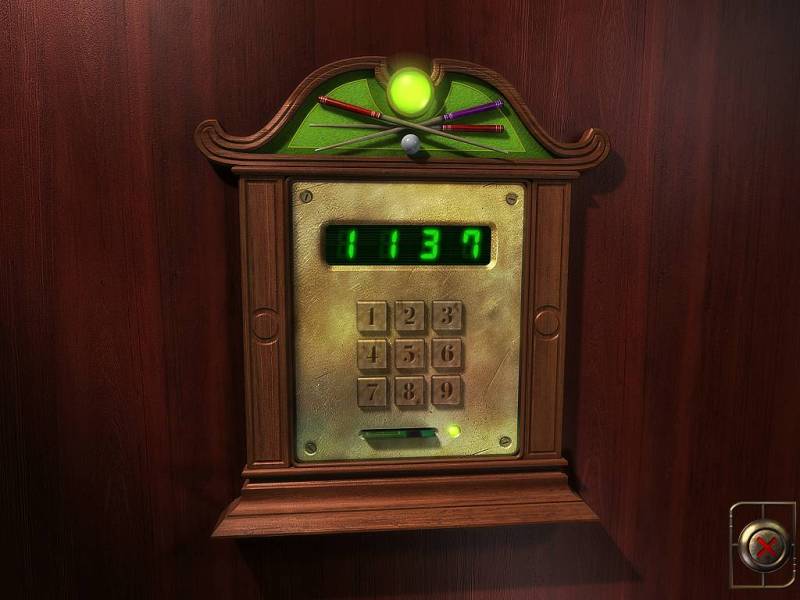
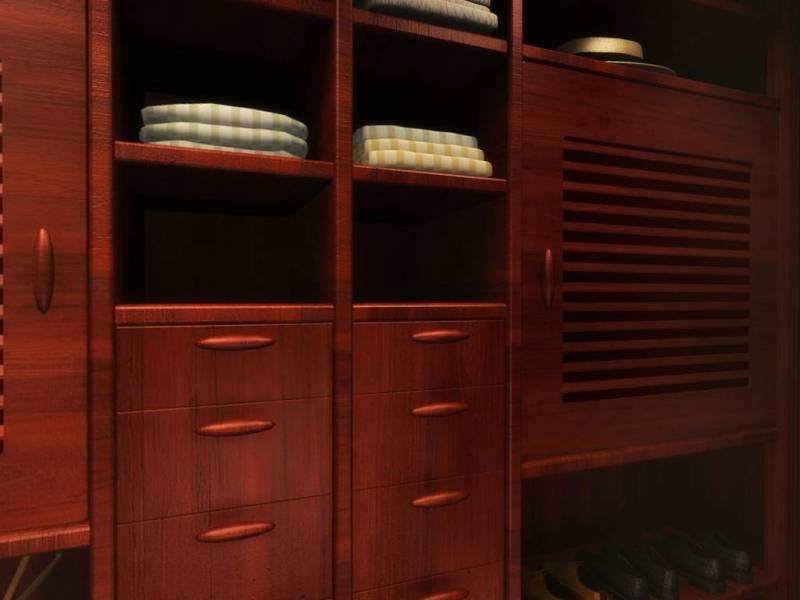
With that solved, we find a fountain pipe and a lever in a cupboard that opens up below the keypad. Let's take that pipe and take it where it belongs:
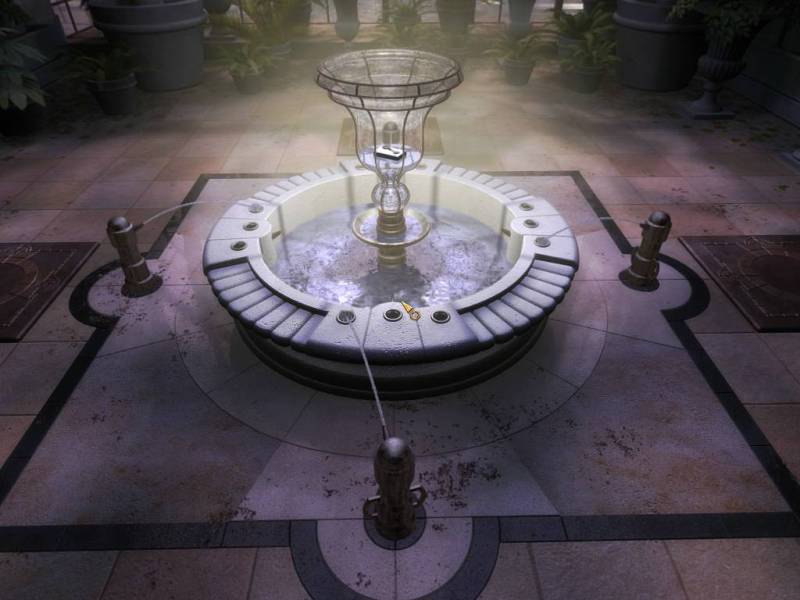
Now that we've got all four of these in their spots, they start squirting water into these holes on the fountain. This opens up another puzzle - whenever you step on one of the pressure plates next to the pipes, the pipe shifts by one hole. Only one hole actually lets the water through into the fountain.
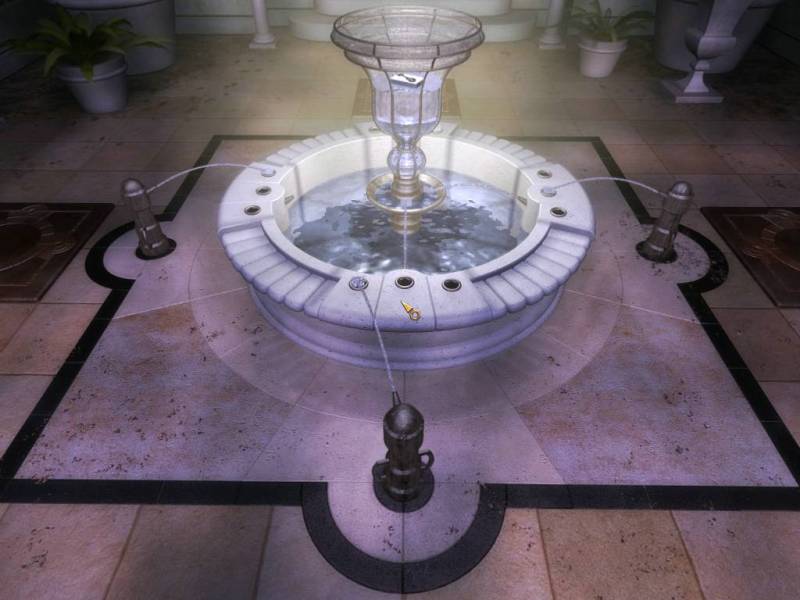
Here's a shot of two pipes in the correct position. You can see the key has floated up a bit, but not yet all the way to the top, which is where we need it. So we need to make sure all the pipes are in the correct position while circling around the fountain, stepping on plates as we go along.
Now, for some reason, I can't quite work this puzzle out. I must have solved it by accident my first time around. So I'm just going to end this update here, and next time I'll have this figured out properly.
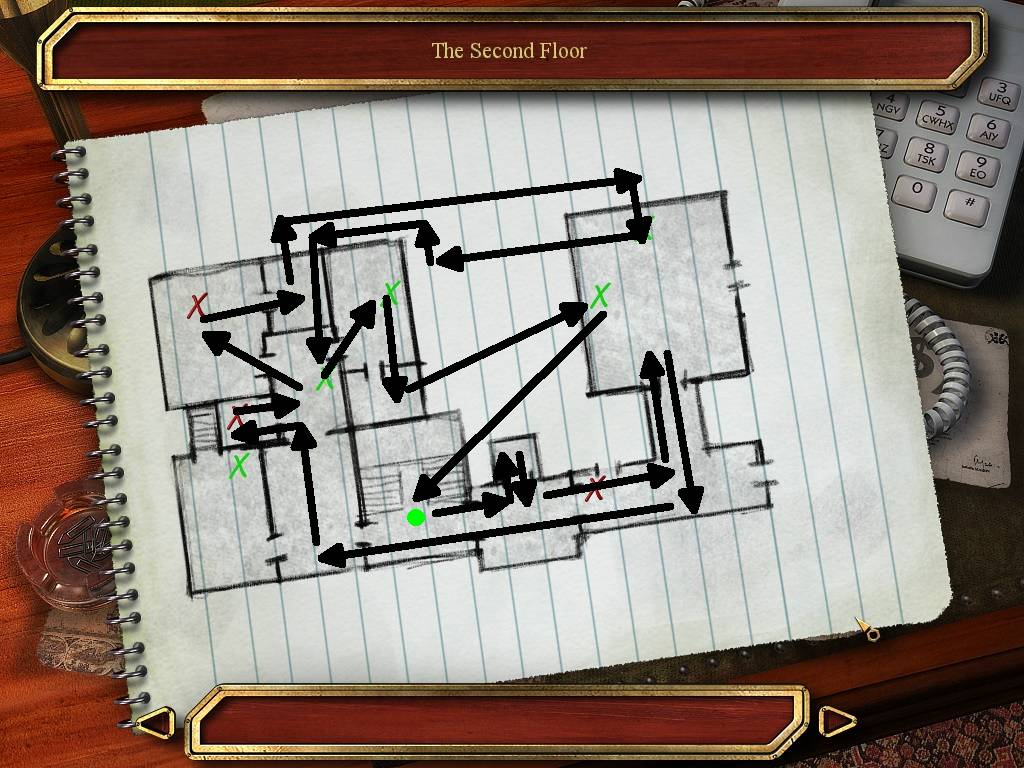
Also, because the upper level is a bit confusing, here's a diagram showing my path. Start with the arrow going away from the green dot. Going out of bounds simply means "I didn't have any room to draw the proper path".
And there's two more points on SC1 vs. SC2 I probably won't be able to weave into the LP, so I'll just add them here:
#1 - Atmosphere and world design: This is something that has been bugging me the entire time now - the Adams mansion is just BLAND as hell. Beyond the workshop and maybe the games room, it seems just like a stereotypical rich dude's mansion, and it doesn't make the place interesting to explore.
Contrasting that to the first game, every room felt a lot more alive to me. There were interesting little trinkets lying about, computers and such I could interact with, books I could read, and while there may have been a lot of offices, they all had their own little distinct style. Combine that with the fact that there's a lot of rooms in the second game that don't have puzzles in them and that clues are pretty much never in the open, and you've got a very boring world that isn't worth looking further into. The letters are the only saving grace.
Honestly, an opportunity was missed here to do something different. In the first game, the isolation was intentional - you were, after all, breaking and entering in the Crabb estates in the middle of the night. Here, it's entirely different - you were hired by the Adams family to find the will. Why couldn't they be in the mansion with you? They could have brought some more story development here, maybe harder puzzles where the family members try to solve them with you, that kind of stuff. Without stuff like that, the only things this game has to hold it up are its puzzles (which are a mixture between interesting and dreadfully straightforward) and its atmosphere.
However, with nothing to really interact with and no threats whatsoever (at least the first game had a time limit), there isn't much to actually build atmosphere with. And speaking of things to build atmosphere with...
#2 - Music: This is something I haven't touched on at all. You might have noticed that I posted all the music of the first game in the LP of that game. You might have also noticed I didn't do this for this game. The reason being that much like the mansion, the music in this game is BLAND. String music and semi-creepy "ambience" music galore here. The former is just generic as hell, and the latter doesn't fit the atmosphere (since there's no threat at all, and not even any rooms that could be considered a bit creepy - whereas Safecracker 1 had the secret rooms and Crabb's inner sanctum).
In the first game, there were only short - usually sub-10 seconds - loops, but those loops had character. There are a few "classy" tunes for rooms like the big showroom and the library, there's the funky Egyptian tune for the Egyptian room, there's a variety of smooth, jazzy tunes for a lot of offices, some kind of creepy tunes for the cellar and the like - it helps build a character for each distinct room, something the second game fails terribly at.
So, in short, I don't get the same feeling of an interesting, alive world in the second game that I got from the first one.
And one more technical note - astute viewers might have noticed I made over 110 screenshots for this update according to filenames, but only used a fraction. Why is that? Because this game is incompetent, it seems. There seems to be some sort of unnoticeable flickering that goes on that makes half my screenshots straight up unusable. You can see the effects of it in some of the earlier updates (note the shots of the slider puzzle where almost all of the buttons just straight up disappear). Subtitles disappear, puzzle components disappear, text disappears, it's a mess. It's gotten to the point where I take every screenshot where something could disappear three times, and even then more problems arise - for instance, I thought the wired keypad was safe, but the shots I took of the closed keypad had the entire front part missing, just showing the keypad as if it was opened, except with all the buttons missing, which is why I don't have a shot of that. Occasionally, I'll go back and take another shot, but honestly, a lot of times I just can't be arsed reloading an earlier save and going through the motions again.