Part 4: Like Reading Rainbow, with 100% More Mummification
So it turns out that I put the code for the basilisk drawers in backwards. Let's go fix that.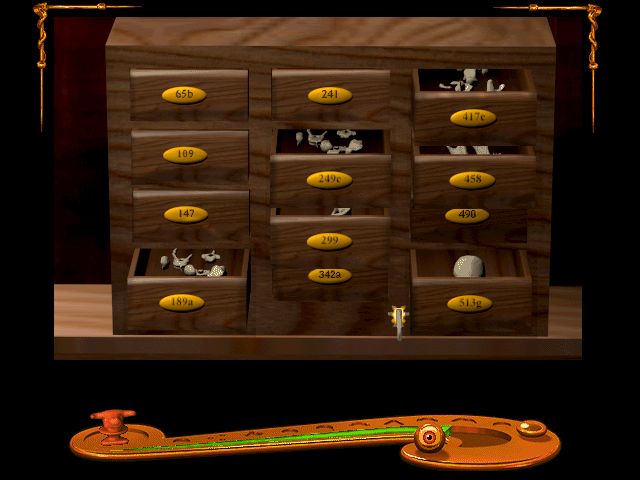
Entering it in correctly this time opens the cabinet underneath.
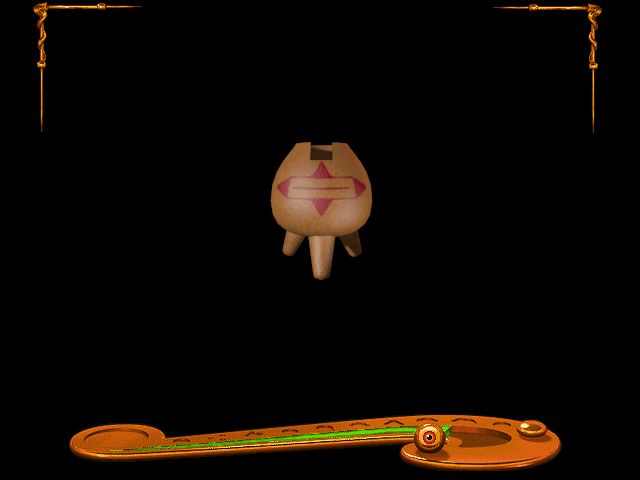
It contains another pot, with a diamond pattern on it.
We'll leave it here for now. As I can only hold one item at a time, trying to take it would just cause me to leave my bullhead talisman behind, and I'm strangely fond of the thing.

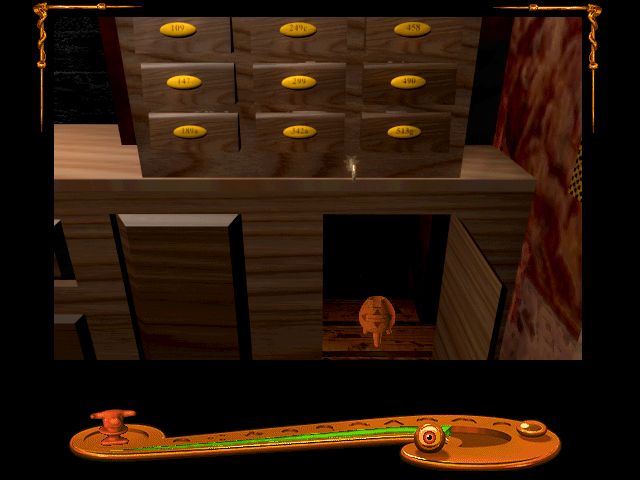
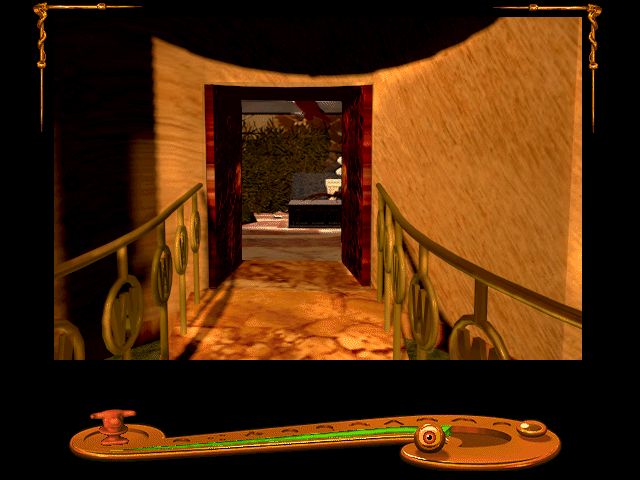
Finally, into the museum proper!
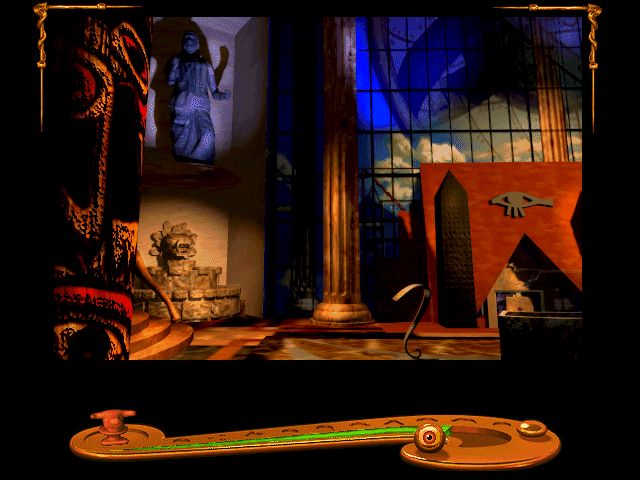
There are a lot of places open to explore now, so picking a direction can be a bit daunting. Let's look around.
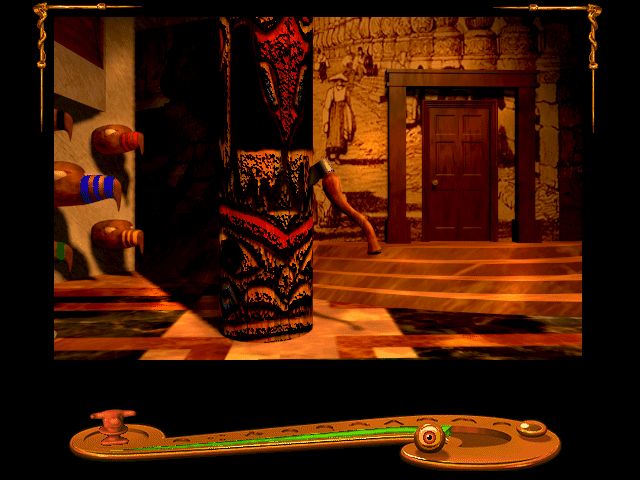
Well, that's where the missing axe went.
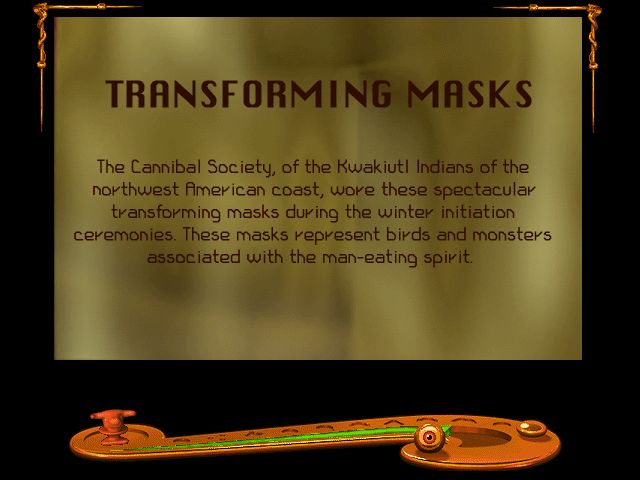
 The proper term is now Kwakwaka'wakw. The origin myths do seem to include shapeshifting. Scholars seem to be divided on whether any historic cannibalism was symbolic or actual. Good times.
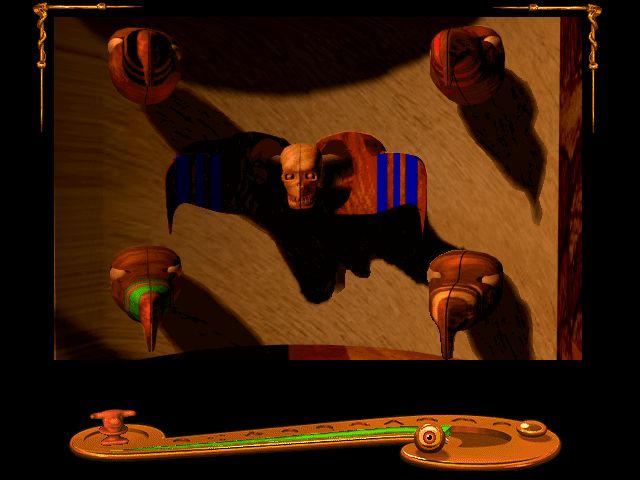
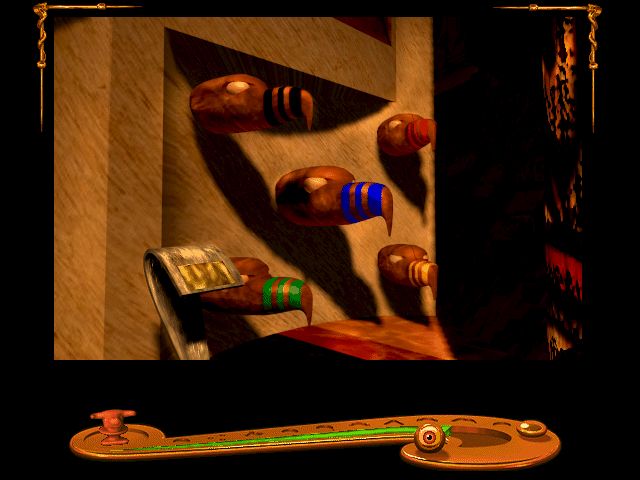
The masks pop open on their hinges when you click them.

Clicking the middle mask makes it pop open a second time, revealing another talisman!
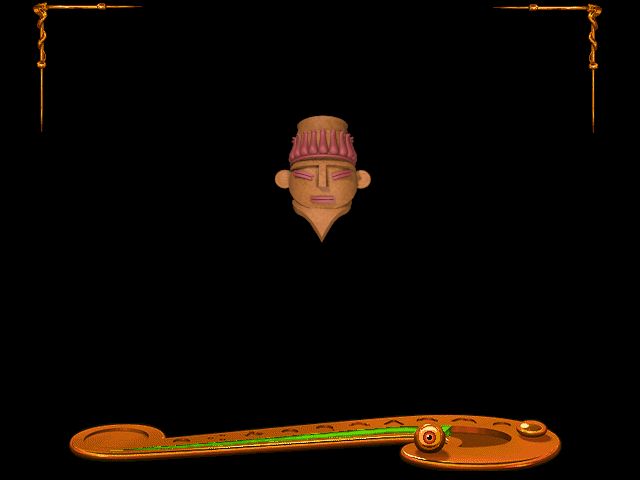
This talisman has a teardrop-shaped lid, but not many other identifying features. We'll leave it where it is for now.
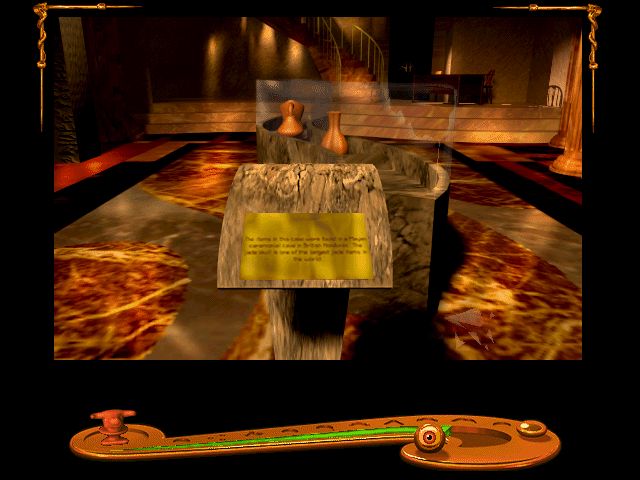
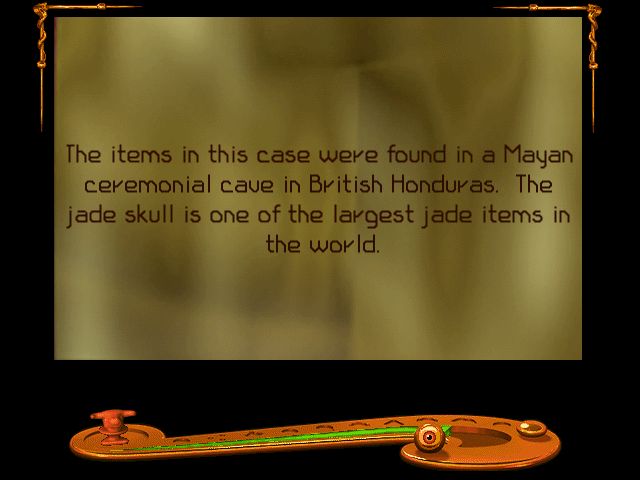 While this certainly seems well within the capabilities of the culture, there doesn't seem to be a specific jade skull that this was based on.
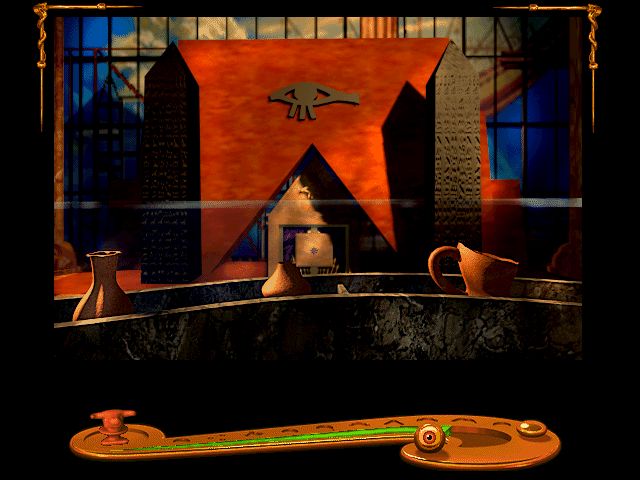
Aforementioned skull is also missing. Hmm.
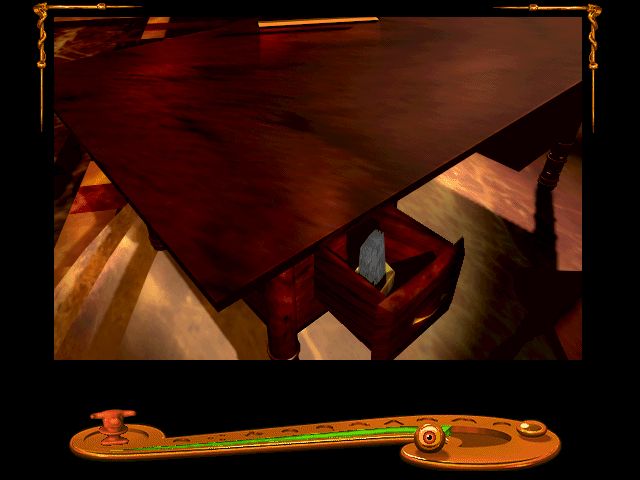
The museum's front desk has some brochures in the drawer.
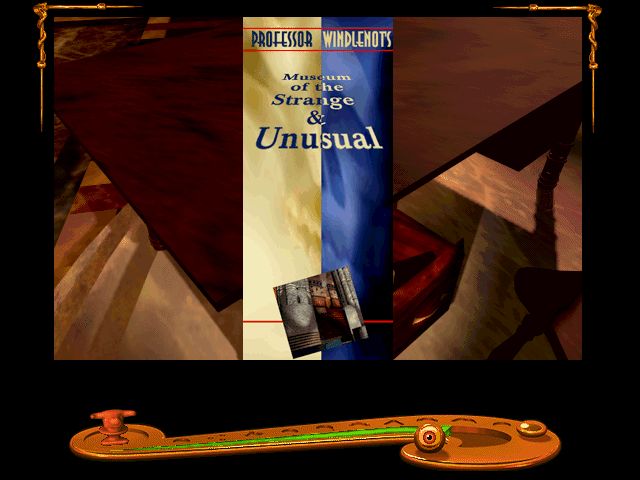
The brochure doesn't seem to have anything we can work with yet, but we'll note it for future use.
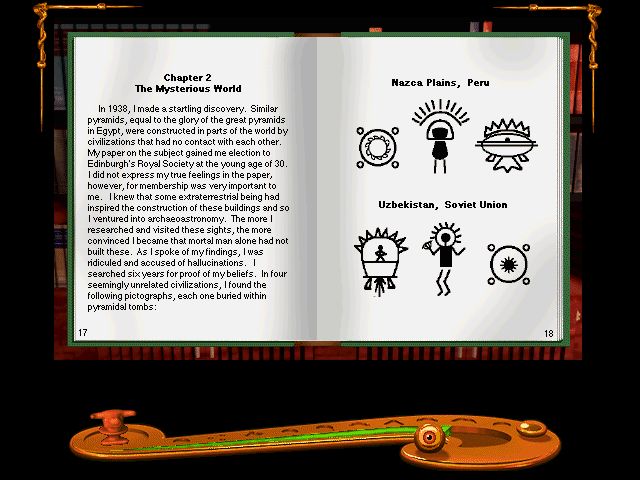
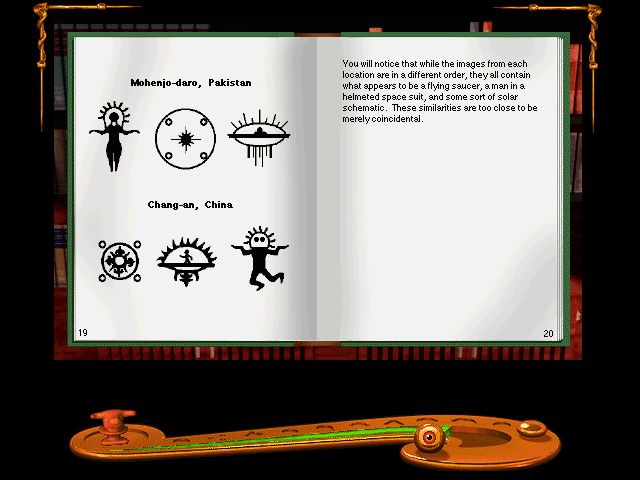
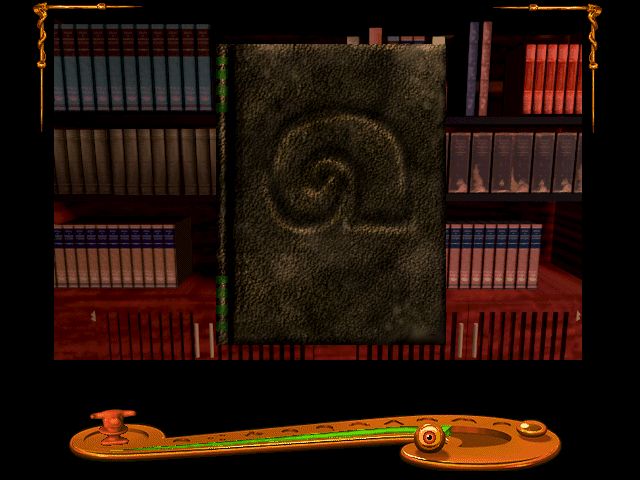
The swirl pattern in the second picture happens to look like the one that Windlenot's corpse was found drawing.
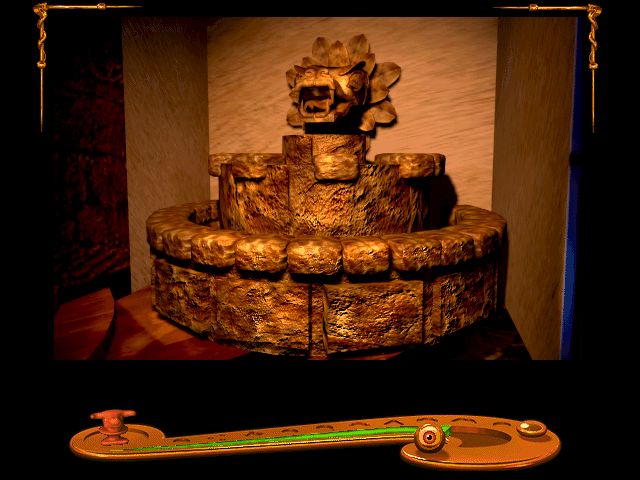
There's a quetzalcoatl fountain in the corner, but it's dry at the moment. After our earlier boat escapades, though, I'm not about to try filling it.

There are some stairs leading down to an Egyptian-themed door. Ehh...not now.
There are some stairs leading up, too. As there is currently danger music playing, I'm not going up there. I'm pretty sure the chandelier would bite me.
The doors behind the staircase are also locked right now.
A little bridge leads over to another room. You can just barely see a giant spider display from here. Pass.
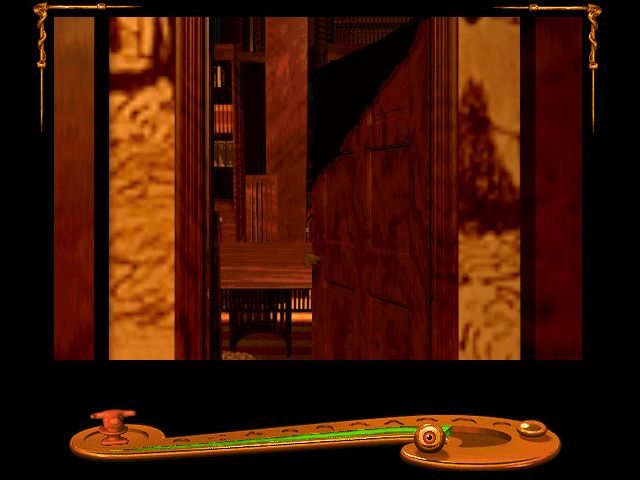
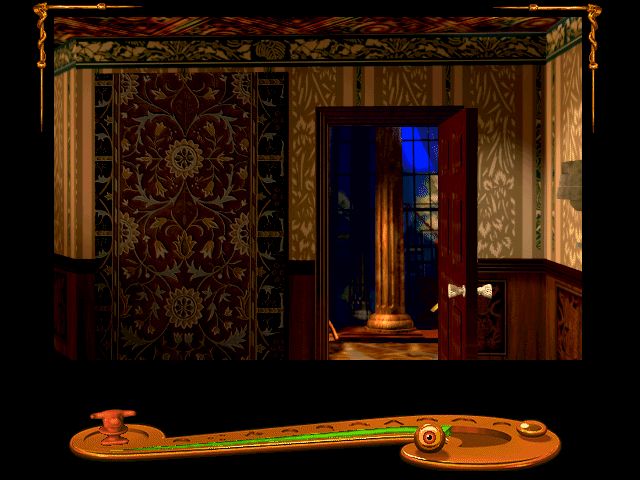
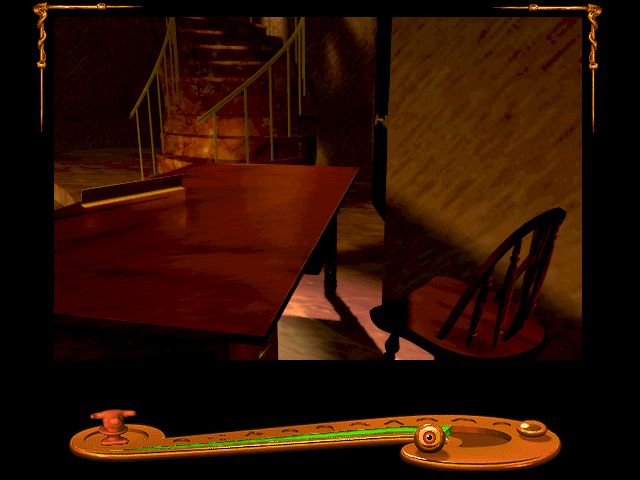
The last door on this floor opens up to a library. Hey, jackpot!

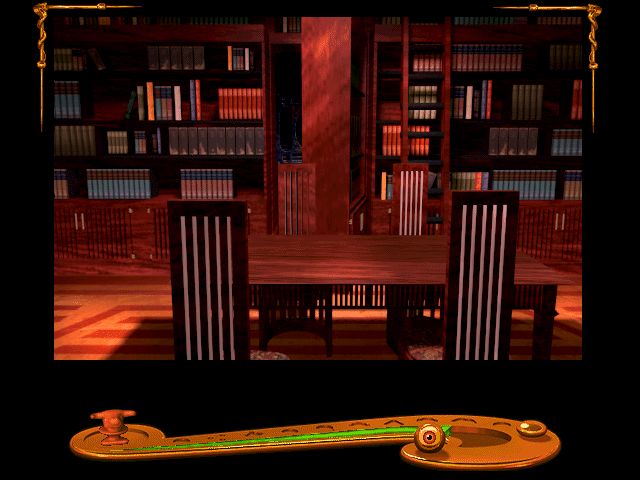
Let's get our read on.
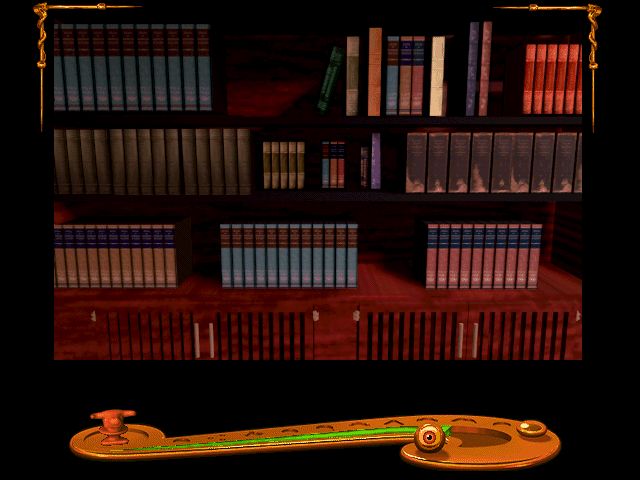
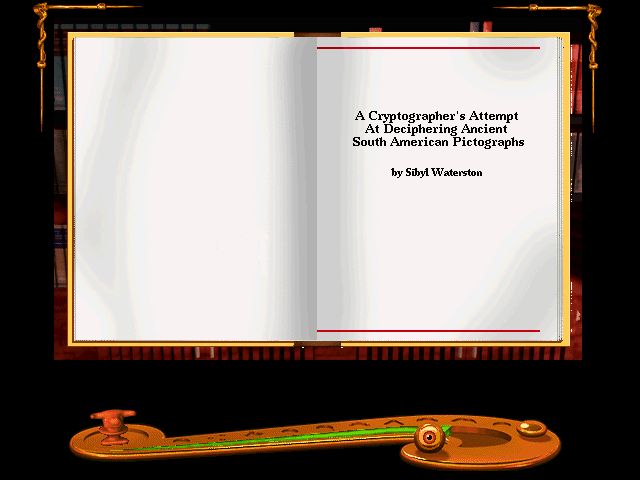
There are 4-5 books that we can look at over here.
Let's start the night with some more crazy, shall we?
Windlenot does not disappoint.
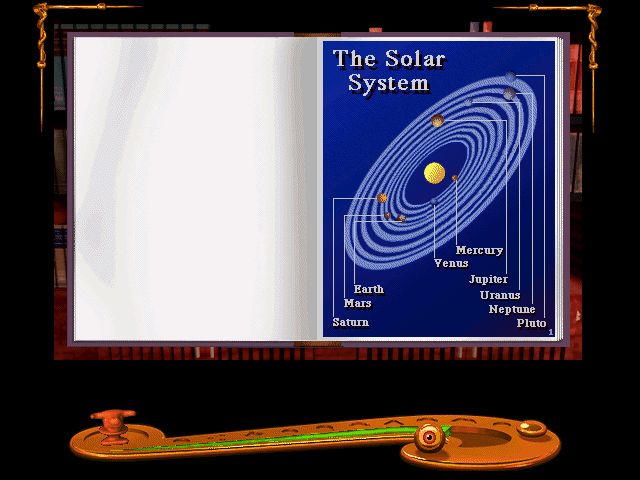
Ah, Pluto. I have to admit, I never expected this table of all things to go out of date.
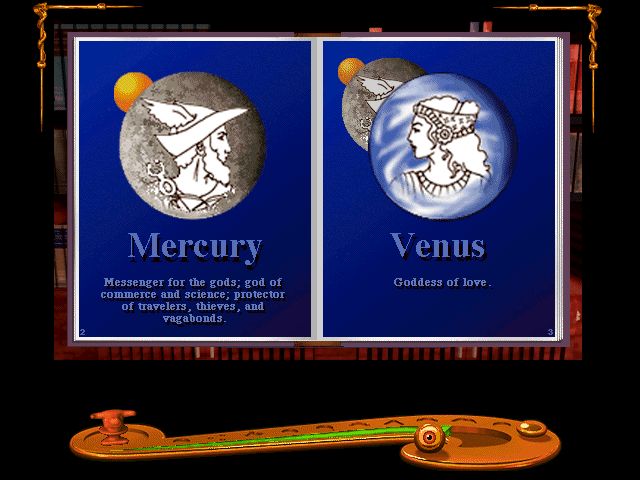
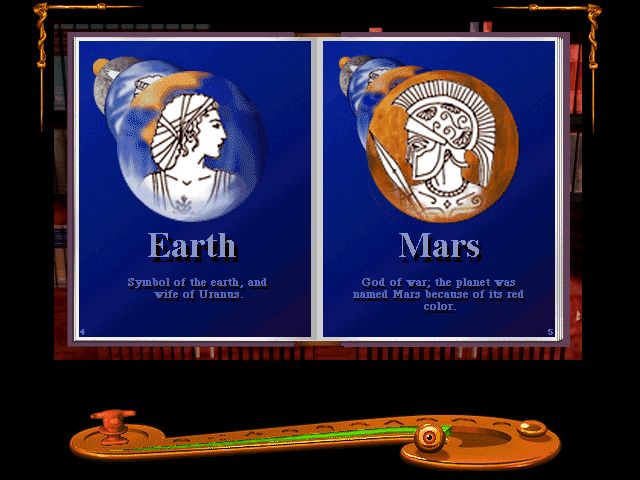 This is all basically sound (mythologically, anyway).
Looks promising.
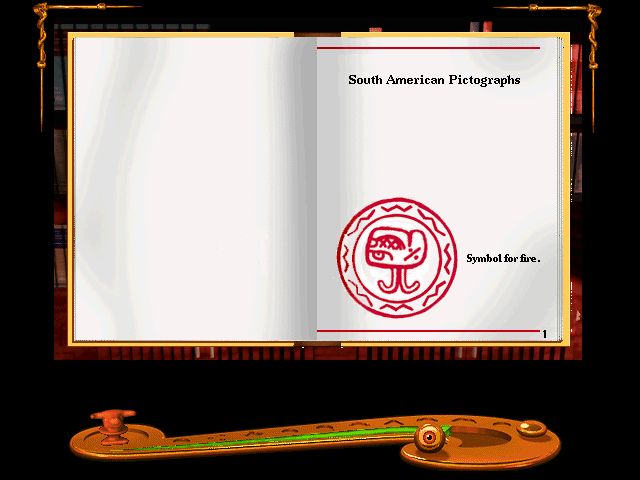
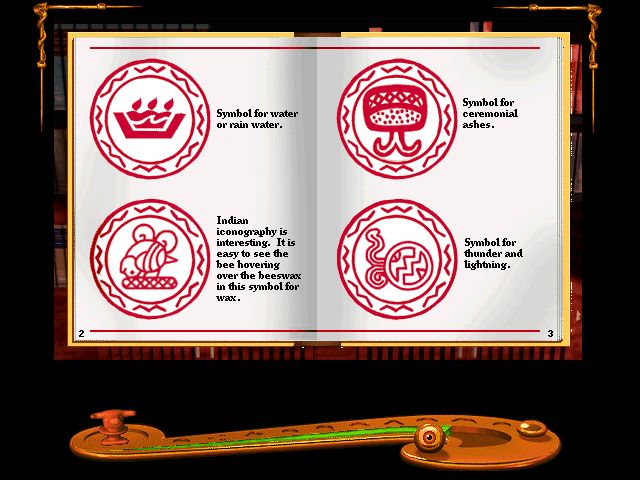
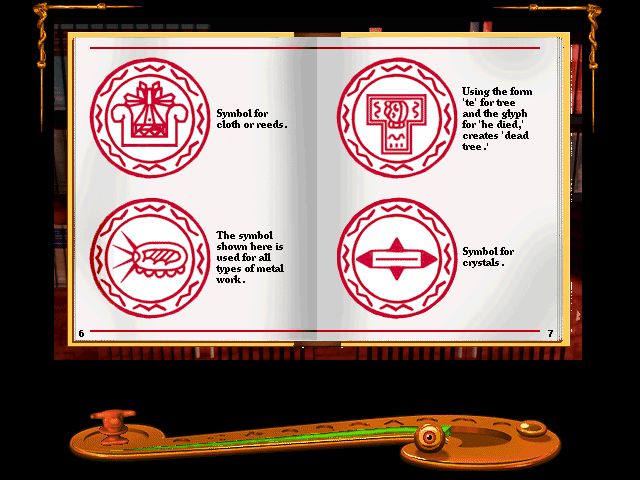
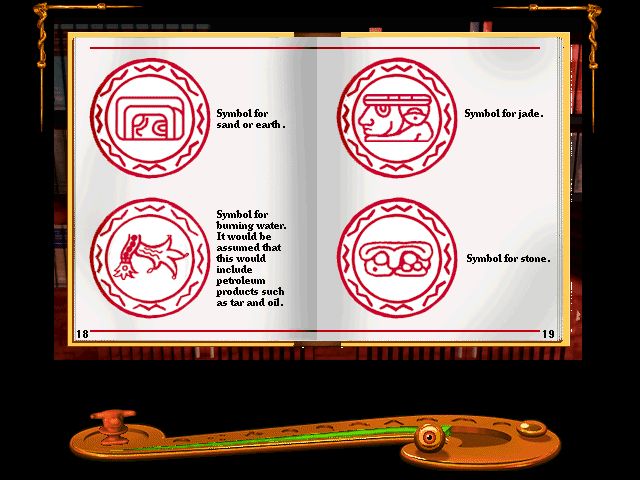
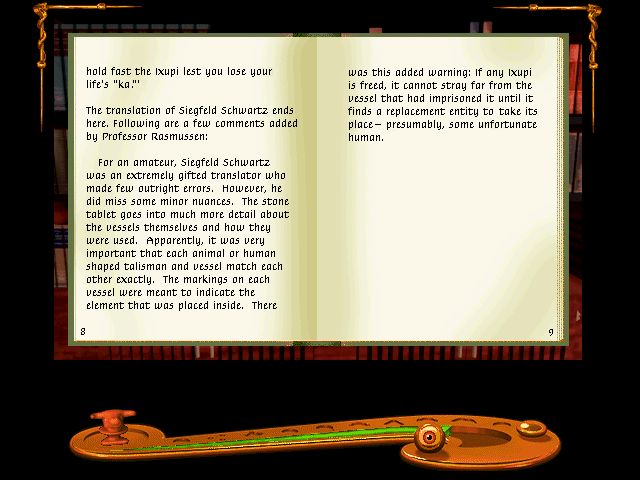
We now have a pot identification key! For the sake of
* Fire: unknown
* Water: unknown
* Wax: unknown
* Ash: unknown
* Lightning: unknown
* Cloth: unknown
* Metal: unknown
* Wood: unknown
* Crystal: Cabinet in Windlenot's workshop
* Sand: unknown
* Tar: unknown
* Jade: unknown
* Stone: GONE. Ate Windlenot.
We have also found 2 unmatched talismans.
The last book over here simply shows the swirl pattern mentioned before.
Get ready. It's backstory time!
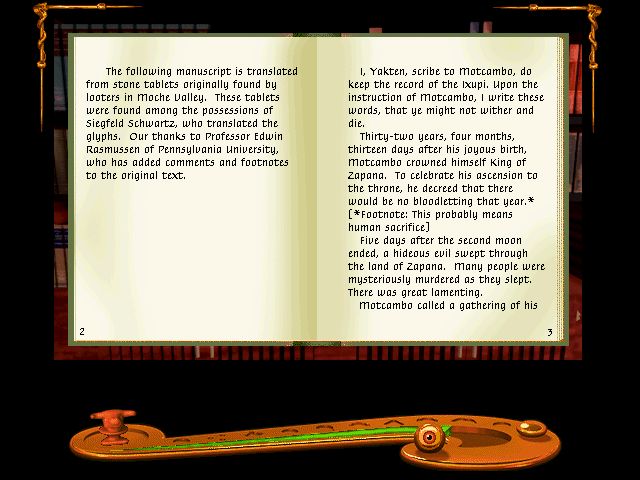
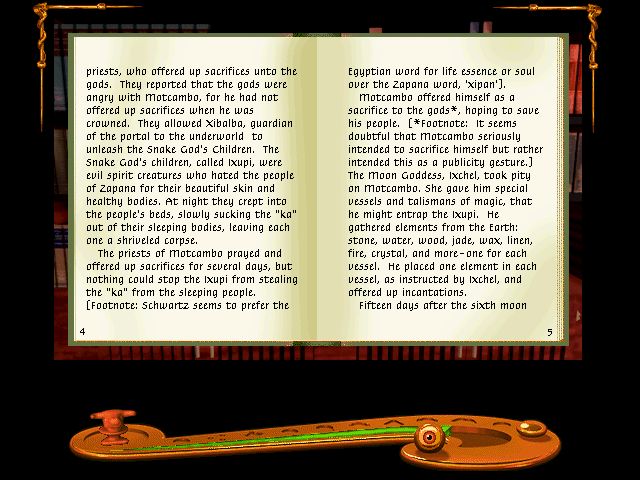
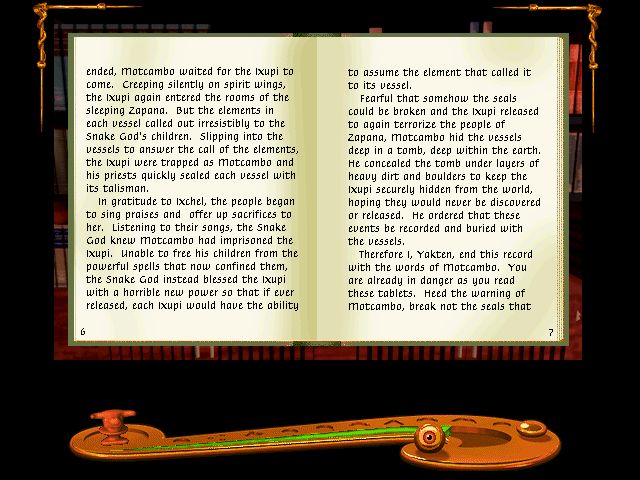
 Ixchel and Xibalba are taken from mythology. The rest is basically invented for the game.
That's it for over here.
The other side of the room doesn't have any interesting books, but you can push the ladder over and check out the top shelves.
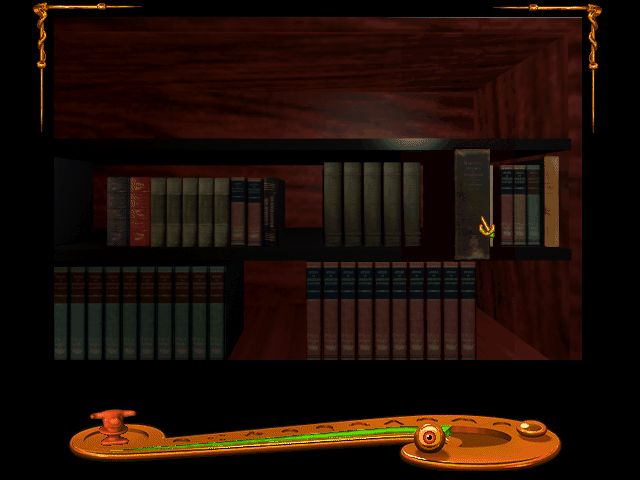
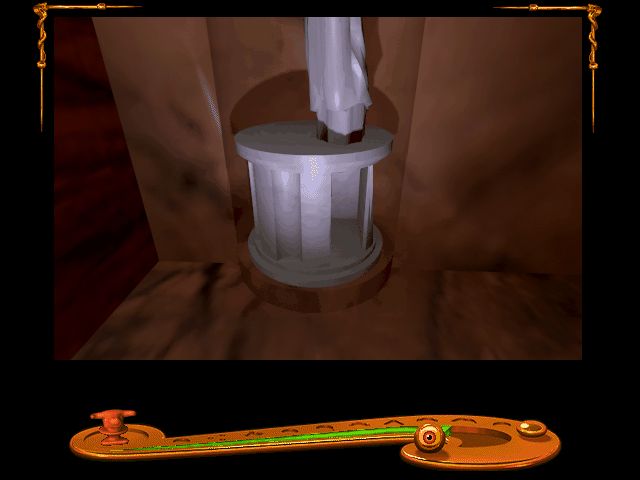
Pulling a book out opens up a small niche in the neighboring statue!
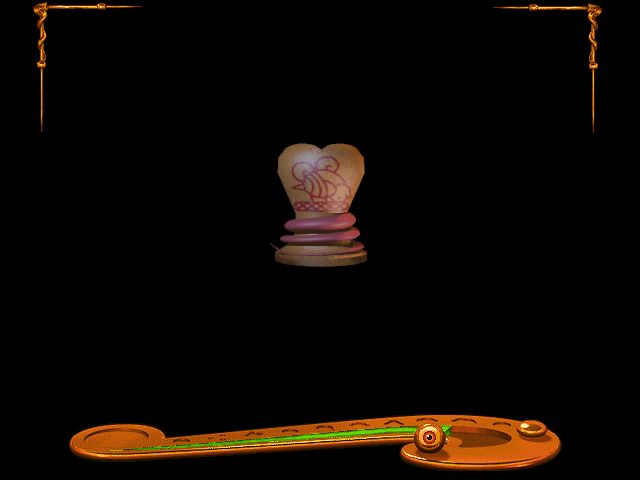
We've found the wax pot! Let's leave it for now.
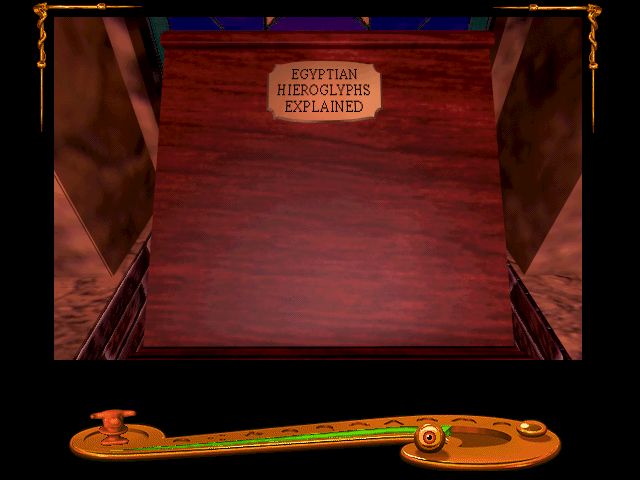
Down on the floor again, we find the place the Hieroglyph book should have been.
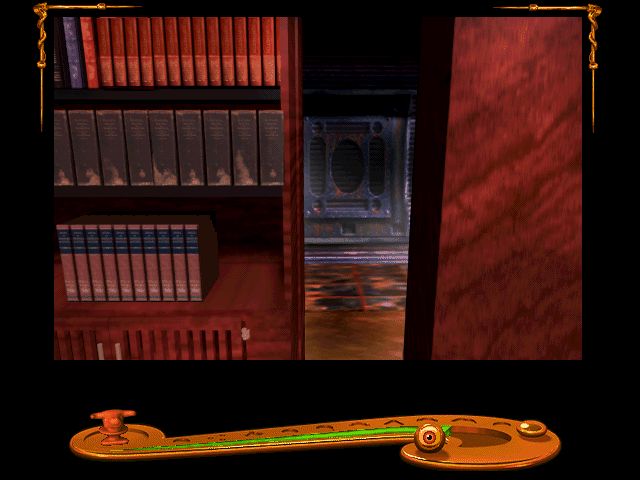
The only thing left in the library is a service shaft, which is probably the creepiest place I could pick to explore next.
So of course this is what we're going to do.
