Part 38: The King of Angolmois
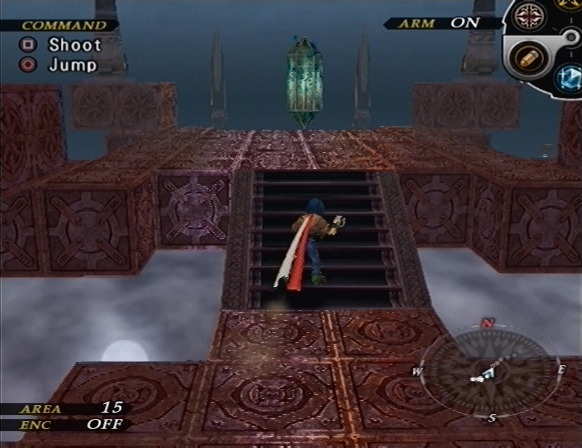
Today we'll be taking down the King of Angolmois, but before that we'll prepare by taking out most of the remaining dungeon Pillar bosses.Our first target is in Area 15 of Mt. Chug-Chug.
Boss: Que Sera Sera x3
Music: Terrible-Monster Attacking Crew!
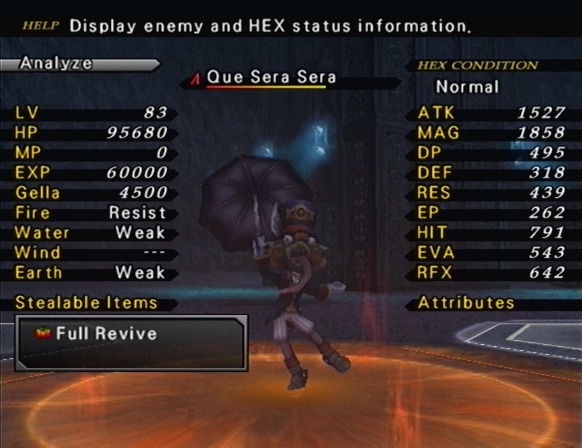
We're up against three Que Sera Seras. They have two physical attacks which deal 2500 and 4000 damage. They're pretty much just a basic physical and Crush, but they're both called Que Sera Sera. The basic strategy of using Widespread with Hi-Blast makes short work of them.
The next boss is in Area 03 of the Decrepit Path.
Boss: Ape Man Junma
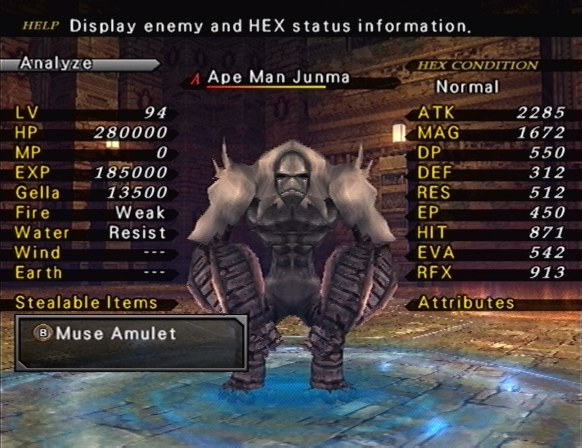
The Ape Man Junma is pretty tough. He mostly uses Beast Blow, a physical attack which deals about 4000 damage, but sometimes he'll attack with Beast Blow Plus, for 5000 damage. He also has Stone Bullet, which deals about 2500 damage.
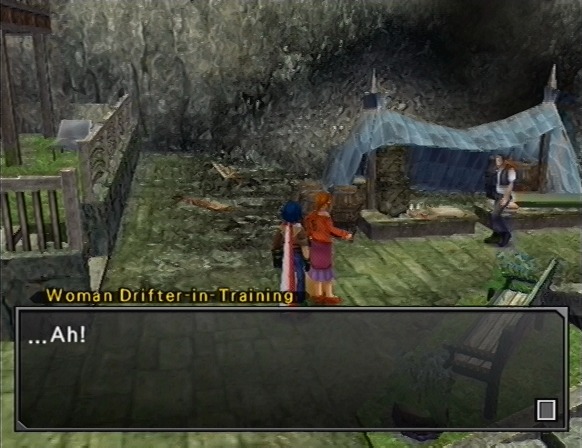
Woman Drifter-in-Training: Hey, hey, hey, that item you've got, lemme see it for a moment! That little shiny thing!
 You mean the Golden Angel? Sure, go ahead! Take your time.
Woman Drifter-in-Training: It's called the Golden Angel, huh? Sure is pretty... I can't take my eyes off this thing... Listen, can I ask you a favor? Would you mind if I took it off your hands?
*Trade the Golden Angel for Virginia's Spirit, a pair of wings that soars over the wilderness higher than any other?
Yes
Obtained Virginia's Soul!
Woman Drifter-in-Training: Guess I was a little pushy... Sorry about that, I usually don't care much for shiny stuff like this... ...Oh, but I just met this friend who enjoys gems and jewels, so maybe some of her is rubbing off on me, huh. Hah hah! Look at me, trying to pin the blame on someone else... But anyway, thanks for letting me have the Golden Angel. I'll treasure it always!
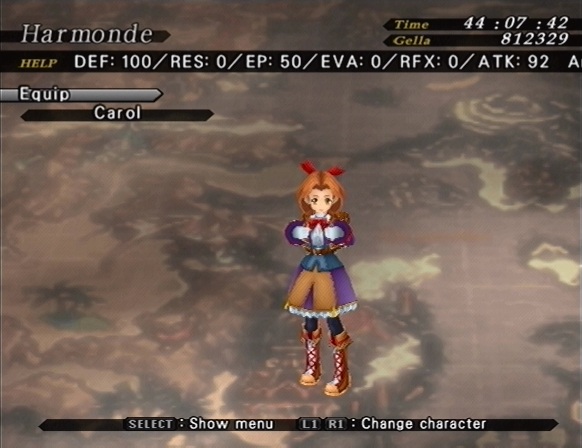
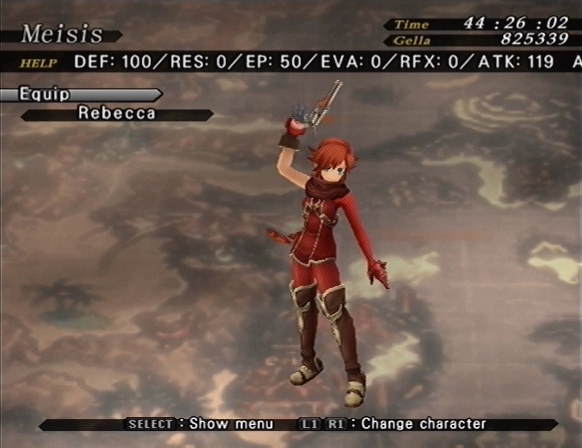
Here's Carol's first cameo armor. Anyone who played Wild Arms 3 should recognize it as Virginia's dress.
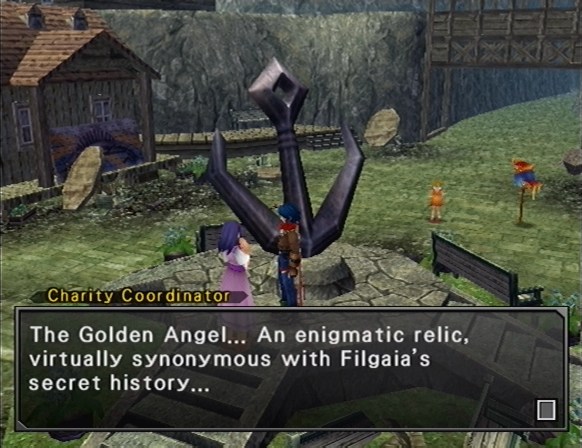
Charity Coordinator: I've heard that collectors have offered to trade vast sums of money for it... Please! Could you give it to me? Having that would be a major step forward for our rebuilding effort. I'd happily give you something as payment, of course...
*Trade the Golden Angel for the Ankh Garb, armor imbued with the power of the mighty hero who quelled the Blaze of Disaster?
Yes
Obtained the Ankh Garb!
Charity Coordinator: Oh, thank you! You've done so much for all of us here. ... But thanks to that... ...rivel's...can take advantage of that... *mumble* *mumble* Oh, I'm sorry! I just took off to my own little world there. I'm going to get a heck of a lot of use out of this, so don't you worry!
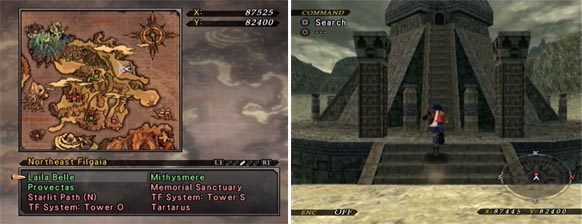
Now that we've traded in those Golden Angels, let's head for the Temple of Rejection.
With the Anchor Hook, we can finally cross over the gap from before.
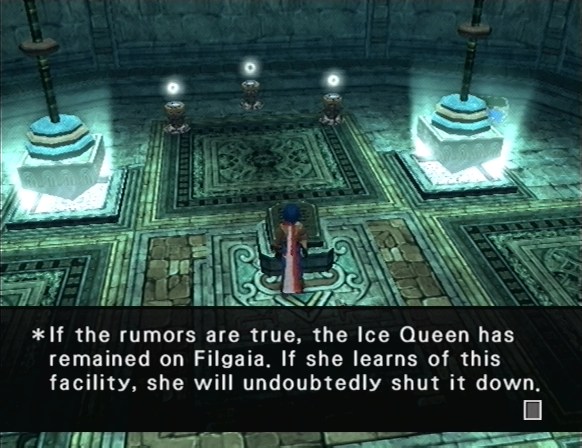
*We have thus equipped the facility with an advanced security system. For the sake of the planet, we must protect it at all costs...
This room has Duplicator Chests which contain a Magic Pot, which restores MP when the wearer is hit with a magic attack, and a Red Pepper, which restores HP each turn.
In this room we have to set the crystals to match the crystals in the first room. When you set the left crystal to red, the middle to white, and the right to blue, you hear a far off sound.
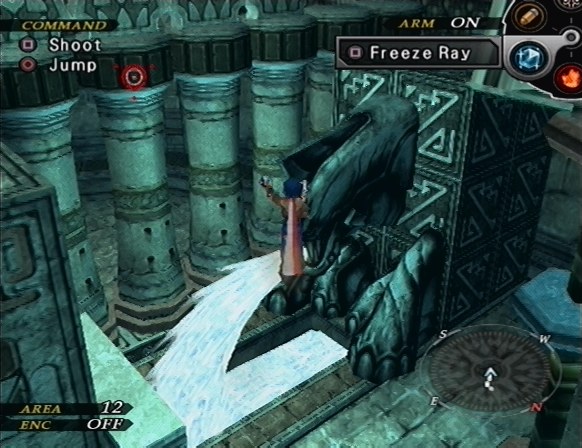
In Area 12, fountains have activated, which we can freeze and use as stairs to climb over a previously impassible wall. A Pillar Boss is on the other side.
Boss: Chaugnar Faugn
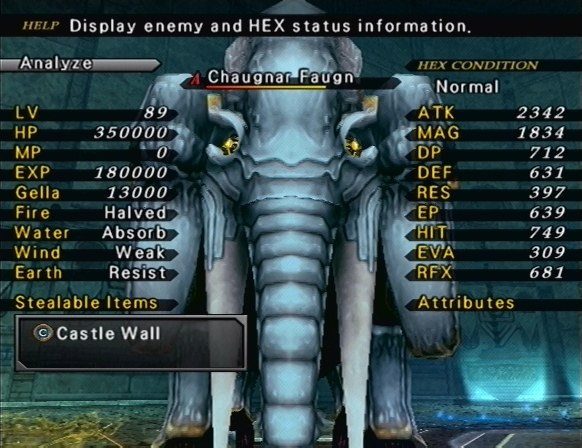
The Chaugnar Faugn is a physical powerhouse. His main attack, Stampede, deals about 4000 damage. He also attacks with Stampede Level 2 for 7000 damage, Stampede Level 3 for 8500 damage, and Stomp for 9000 damage. As long as you don't crowd your party members together in one HEX and have plenty of Revive Fruits, he's not a big problem.
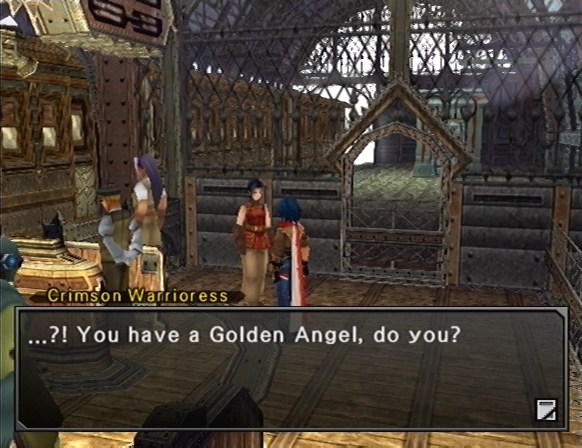
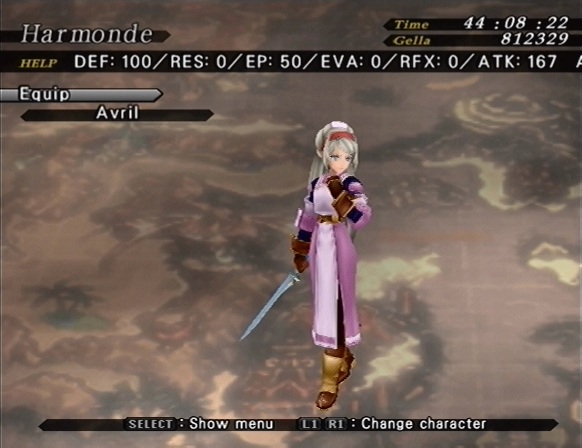
Crimson Warrioress: ...Fate works in woundrous ways. Who would have thought that I might have a chance to pass on my bloodline's ancient vesture?
*Will you exchange your Golden Angel for the Coiste-Bodhar, legendary armor passed down through generations within the bloodlines of demon slayers?
Yes
Obtained Coiste-Bodhar!
Crimson Warrioress: Perhaps you will believe this armor is nothing but a tall tale. However, the choice is yours. You may take it on your quest, or let it wither. I cannot force the burden of my own fate upon you, after all.
While I was here, I checked on my Sol Niger count. There are only 2 left to purify!
There's one more dungeon Pillar Boss left, but I can't get to it without spending a bunch of levels in the Black Market, which I'm not quite ready to do.
So it's time to go take down the King of Angolmois!
Music: Dungeon: Horror
I'm tired of At the Frozen Depths of the Heart, which is the background music of every optional dungeon. Instead, I've prepared an appropriate track from Wild Arms 2.
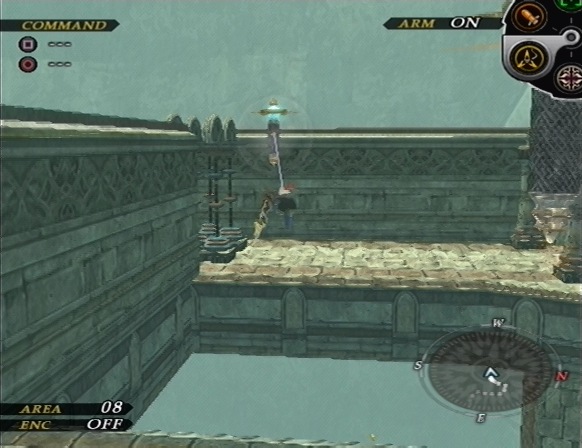
Welcome to Tartarus, the most annoying dungeon in the game, as far as I'm concerned.

Tartarus takes the teleportation tricks from Cocytus and Inferno, but adds in special platforms.
Throughout the dungeon are these crystals. Platforms appear and disappear depending on the color of these crystals.
I was originally writing out the steps I took, but it didn't make any sense and read like garbage, so instead I'll just be making note of points of interest. This isn't a strategy guide, anyway, so I'm sure nobody cares.
Arioch! Why do you continue to follow me, even after I defeated you in Wild Arms 3?! Leave me in peace!
These guys are great for collecting gella. First they'll use Gella Eater, and eat a huge amount of your gella. They may continue to do this and gather more and more gella, or they may fire it at you, dealing damage equal to the amount of gella they collect. When you defeat them, they drop twice the gella they're holding.
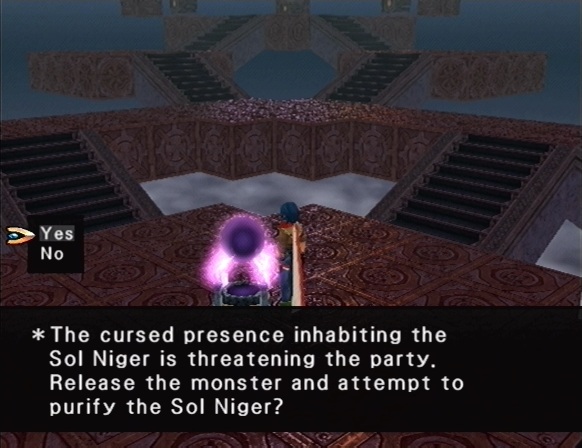
Eventually we come across this dungeon's Sol Niger and purify it. That's 24 Sol Nigers purified, and only one more to go!
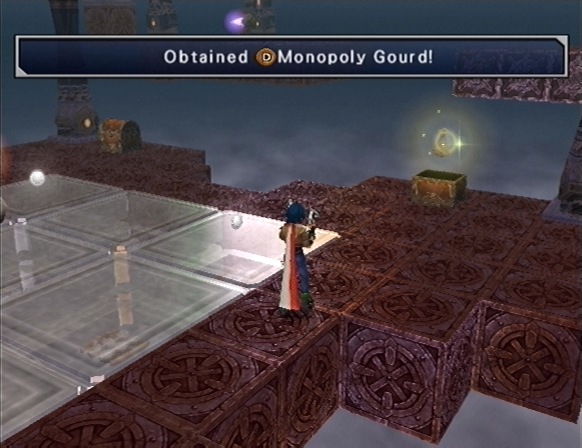
The Monopoly Gourd gives the wearer all the experience gained in battle. While I was in here, I also found a Violator, which reduces your attack power by 50%, but causes you to attack 2-5 times in a row.
Before long, we come to the boss of this dungeon.
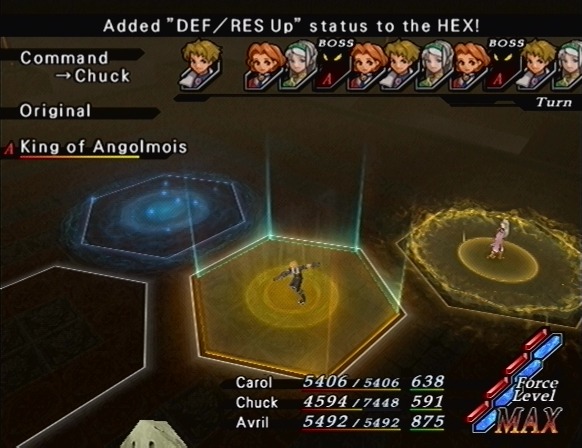
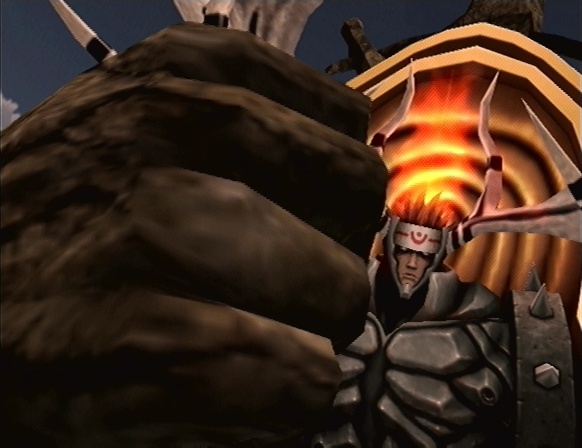
Boss: The King of Angolmois
Music: Terrible-Monster Attacking Crew!

The King of Angolmois is an optional boss in every Wild Arms game except for 3, in which he was a mandatory boss. Whenever the King of Angolmois is an optional boss, he always packs a serious punch, sometimes being even more difficult to beat than the King of Monsters, himself!
The King mostly uses Hi-Blast for about 6300 damage. He also uses Life Drain for 3598 damage, causes Disease with Stink Cloud, and will set your Force Level to 0 with FP Buster.
All of these attacks pale in comparison to his signature attack though.
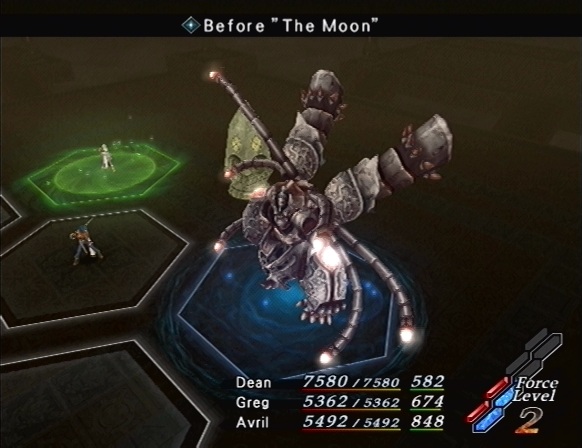
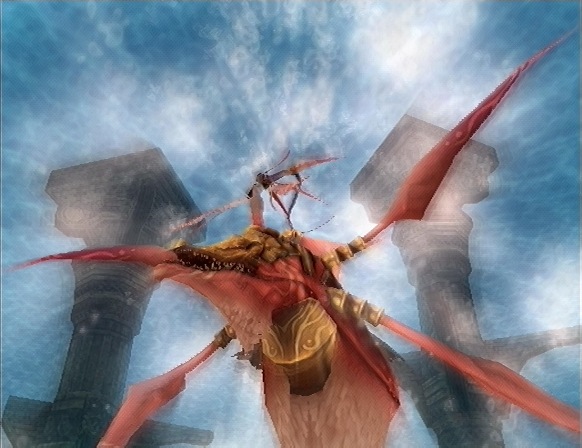
Every now and then, sometimes two times in a row if you're unlucky, the King will use Before "The Moon". On his next turn, he'll use his signature attack, The Seventh Moon.
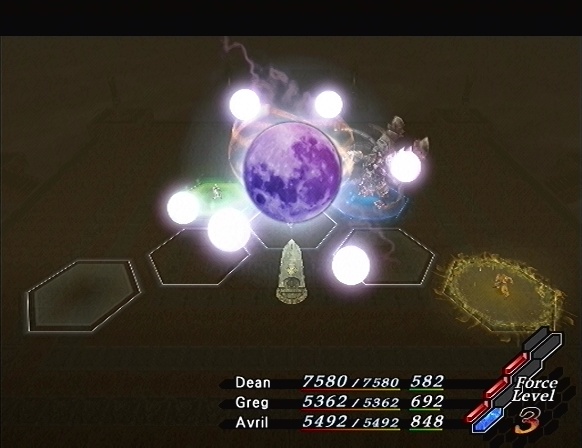
A full moon forms over the battlefield...

...and then lasers blast all around it.
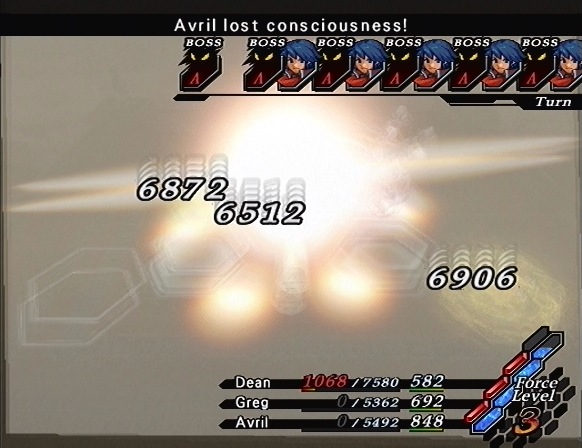
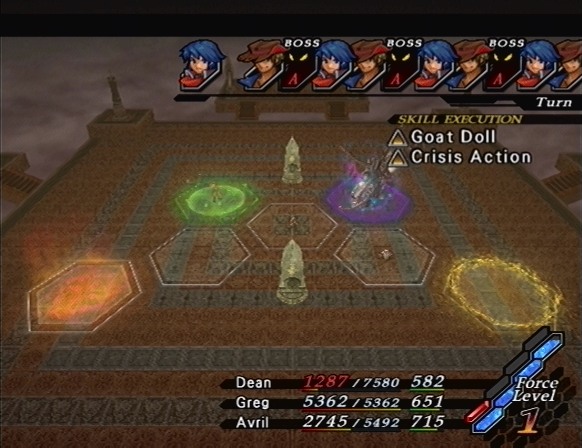
Yeah, up to 7000 damage to all of your party members. This attack is non-elemental, so it cannot be weakened by placing your characters on a Ley Point. Dean is the only character I have who can survive it, and the King will often finish him off before he gets a chance to use a Revive Fruit.
I had to change up my strategy, starting with Chuck and Carol in the party. Carol has the Moon Medium equipped, along with a Full Carrot badge, so we start with full FP. Chuck is here with the Mountain Medium to use Protect. Our goal is to reduce the power of The Seventh Moon by as much as possible.
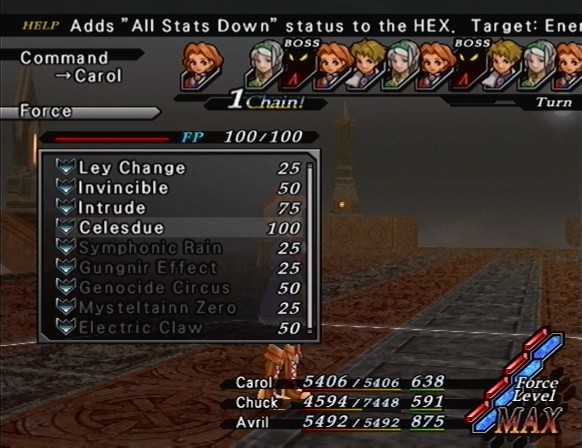
The plan is to surround the King so that he cannot move out of his HEX, and then use Celesdue to give it All Stats Down status.
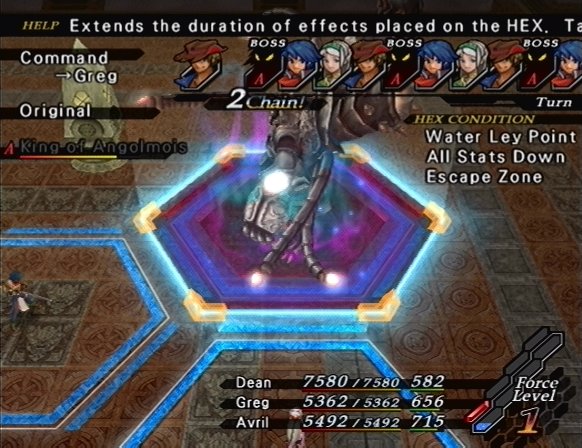
After we get everything set up, we bring Dean in to deal damage, and bring in Greg to use Extend on the King's HEX, so that All Stats Down lasts longer.
I also stuck a Goat Doll on Avril, so that she could survive at least one Seventh Moon.
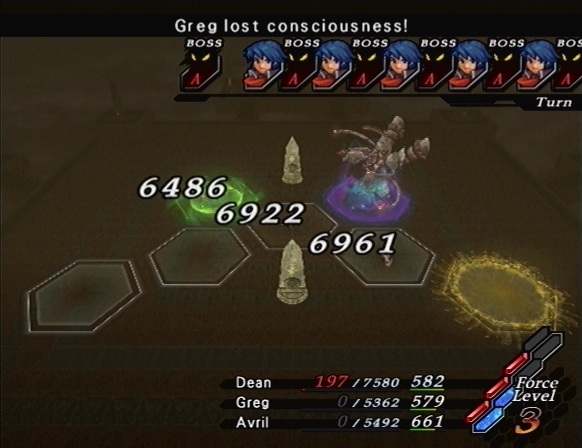
When he used The Seventh Moon two times in a row, I thought I was fucked, but Dean pulled through with 197 HP! At this point, I changed my strategy from defense to offense. Instead of focusing on surviving The Seventh Moon, I focused on keeping the King from using it, by attacking as much as possible and praying Avril's Double DP skill would activate, so that his turn would be delayed by as much as possible.
For defeating the King of Angolmois, we get 3 of every stat apple. Considering all the time I spent dying to this guy, that's not a great reward. Kanon has something for us too, but I completely forgot about it, so we'll be getting that next time!
Before I end this though, I want to talk to you about Filgaia's Guardians. At level 70, every Medium can summon a Guardian for 100FP.
Video: The Guardians

Chapapanga, the Guardian of Luck, attacks a single enemy HEX. He deals a tiny amount of damage, but any enemies killed by this attack turn into items.

Equites, the Sword Guardian, attacks every enemy HEX with an extremely powerful physical attack.
Lucadia, the Guardian of the Sea, restores all ally HP to maximum, revives fallen allies, and cancels all negative HEX effects.

Celesdue, the Guardian of the Moon, adds the All Stats Down status to every enemy HEX.
Dinoginos, the Mountain Guardian, adds the All Stats Up status to every ally HEX.
Solais Emsu, the Guardian of the Sky, attacks every enemy HEX with an extremely powerful magic attack.
That concludes this update. Next time, we'll be taking down the King of Monsters.
The Art of Wild Arms